Resident Evil Village: Photo Mode
This page of the guide to Resident Evil Village contains information on how to use the Photo Mode. You will learn how to activate the photo mode, what its main options are and how to save photos.

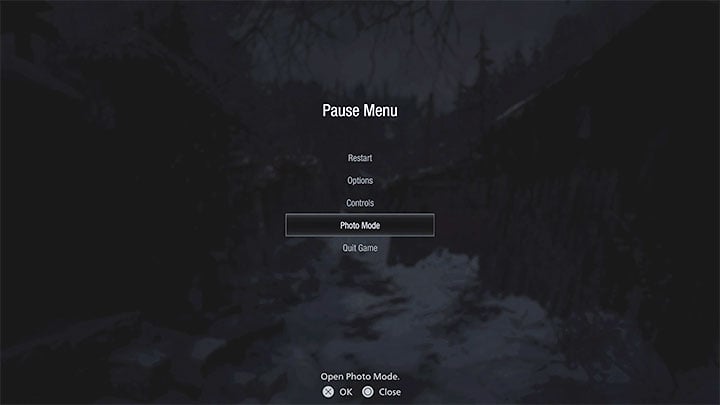
The Photo Mode in Resident Evil Village is available at any time during the game, including cutscenes. To activate it, you have to select Photo Mode from the pause menu.

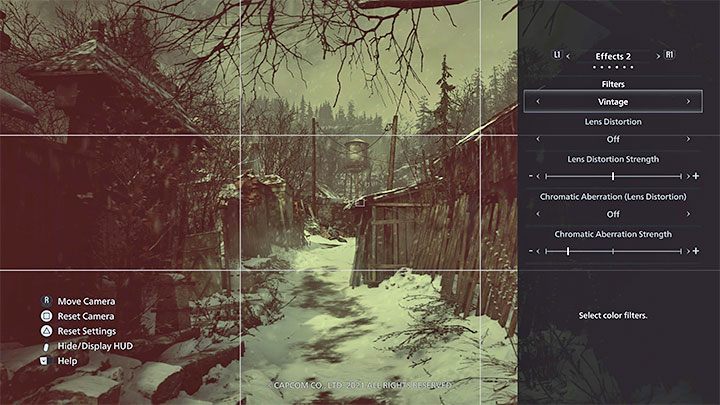
The game doesn't allow you to fly the camera freely and "exit" Ethan's body with it. Still, the options for setting a picture up are extensive. The most important ones are:
- Camera rotation
- Area of View
- Blur on/off
- Changing the Focus and the Bloom effect
- Brightness
- Filters
- Adding a border and the game logo on the screen
- Removing characters or enemies from the frame - this is useful if, for example, you want to take photos of a nice landscape
Pressing the option button hides the entire HUD and allows you to take a picture. If you are playing on PS4 or PS5, then just press the Share button and save the screenshot. Using photo mode for the first time rewards you with a Photographer trophy.
- Resident Evil Village Guide
- Resident Evil Village: Game Guide
- Resident Evil Village: Appendix
- Resident Evil Village: System requirements
- Resident Evil Village: Controls
- Resident Evil Village: Game editions
- Resident Evil Village: Language versions
- Resident Evil Village: Photo Mode
- Resident Evil Village: Familiarity with Resident Evil 7 - is it required?
- Resident Evil Village: Cheats - are they available?
- Resident Evil Village: Jumpscares - are there any in the game?
- Resident Evil Village: Game length
- Resident Evil Village: Trophies/Achievements list
- Resident Evil Village: Repairer trophy/achievement - how to get it?
- Resident Evil Village: Medium Rare trophy/achievement - how to get it?
- Resident Evil Village: Universe's Best Dad trophy - how to get?
- Resident Evil Village: Appendix
- Resident Evil Village: Game Guide
You are not permitted to copy any image, text or info from this page. This site is not associated with and/or endorsed by the developers and the publishers. All logos and images are copyrighted by their respective owners.
Copyright © 2000 - 2026 Webedia Polska SA for gamepressure.com, unofficial game guides, walkthroughs, secrets, game tips, maps & strategies for top games.
