Resident Evil Village: Exploring floor B4 - walkthrough, Heisenberg's Factory
This page of the Resident Evil Village game guide contains a walkthrough of floor B4 of the Heisenberg's Factory - Materials. In this guide you will learn, among other things, where to find Duke the merchant in the factory, how to eliminate or avoid the Soldat supersoldiers, how to get the Relief Mold and the Cog Mold, how to create quest items in the Casting Machine and how to start up the Backup Generator.
Additional note - The following walkthrough focuses on the main floor of B4, but you will also briefly visit other floors along the way (including MB4). These are also described in our walkthrough.
- Duke and the typewriter
- Reaching the Foundry and getting the Relief Mold
- The first battle against the Soldat supersoldier
- Using the mold in the foundry and opening the Hole in Wall
- Crossing the Engine Room
- Starting up the Backup Generator
- Reaching level B3 (Manufacturing)
Duke and the typewriter
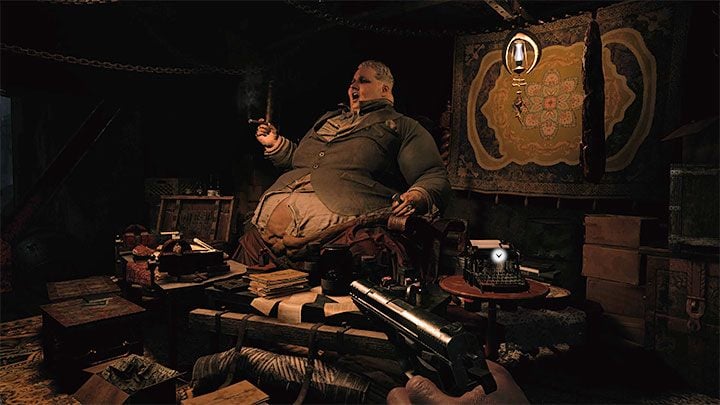
Start exploring floor B4 - Materials by visiting Duke, who has set up his store in the nearby cargo elevator (you will later use it to travel between the main floors of the factory). Duke's stock has expanded to include a new inventory expansion case and weapon modifications and upgrades, among other things. There is also a typewriter in this location.
In the side room on the opposite side of the main corridor, you'll find a new Labyrinth Puzzle, although you'll get the matching sphere much later and will need to create it.
Reaching the Foundry and getting the Relief Mold
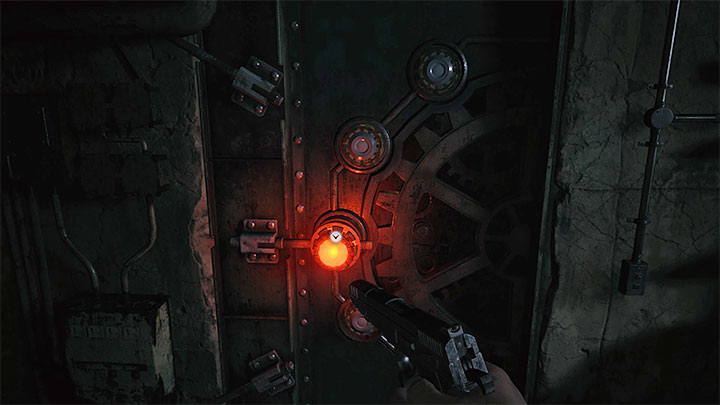
In order to really start exploring floor B4, go through the double door located to the right of where Duke is. While exploring the factory, you will first come across a locked door with an electronic lock marked by a glowing red light. What you need to do here is very simple - damage the lock with a gun or knife.
Destroying the red light is equivalent to destroying the lock. Expect, however, that further in the factory you will find locked passages that will require you to damage several locks.
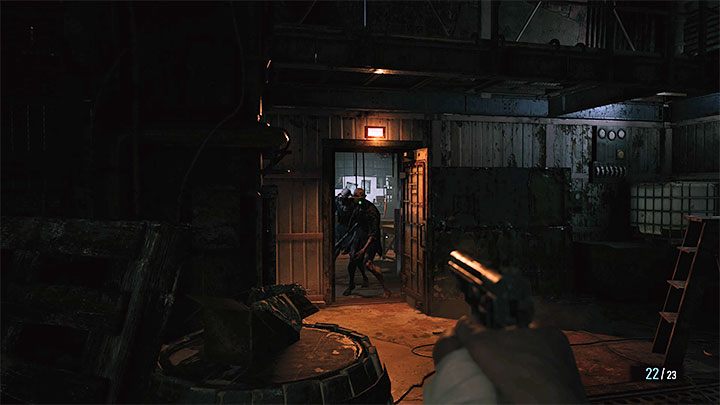
On level B3, you will come across the Lift Controls console, which is temporarily inactive due to a power outage. Continue forward (you'll descend to floor B4 again) and be ready to dispose of a few more regular zombies.
You will eventually reach the Foundry, where the Casting Machine is located. You cannot do anything here at the moment, but remember this place, because you will return here (probably more than once) later in the game. There is also a Hole in Wall in the same room - this is another temporarily inaccessible passage and you will have to get an unusual key to unlock the door.

The only available passage is a narrow corridor and be ready to have to deal with more of the usual monsters. Along the way, you will come across a Switch and once more you will need to restore the power beforehand.
Enter the room with the temporarily inactive supersoldier. In the next room, there is a suitcase containing a Relief Mold - take this quest item.
The first battle against the Soldat supersoldier
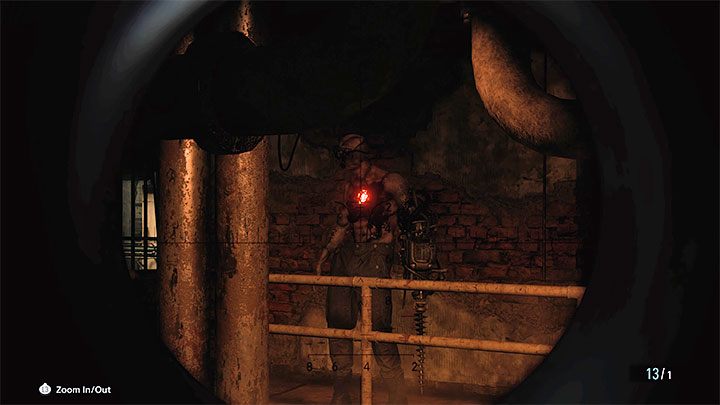
After returning to the previous room, the Soldat supersoldier will rise up. It's not a boss - Soldat are simply stronger enemies that you will encounter as you traverse the factory. The fights against this and many more Soldats are optional, but they do drop Treasures upon defeat. You can try to run past them, taking advantage of the fact that they are quite slow, or you can simply move away from them. Once you move outside of their range, they will stop following Ethan.
In order to defeat a "regular" Soldat, you must hit the red core on their chest, as it's the monster's weak point. However, shoot only when the supersoldier isn'tt covering the core with their upper limbs. For attacking Soldats, shotguns and sniper rifles are ideal.
Using the mold in the foundry and opening the Hole in Wall
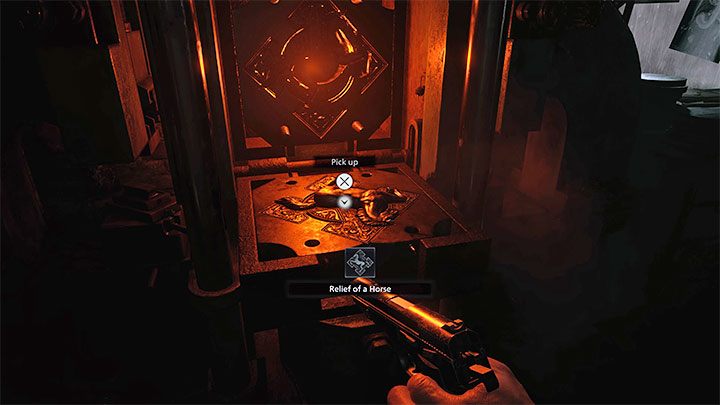
You will need to return to the Foundry and use the recently acquired Relief Mold on the Casting Machine. Wait a short while until the Relief of a Horse is created.
As soon as possible, use the new quest item on the locked right door of the Hole in Wall. The relief will fit in perfectly with the rest of the pattern and a new passage will become unlocked.
Crossing the Engine Room
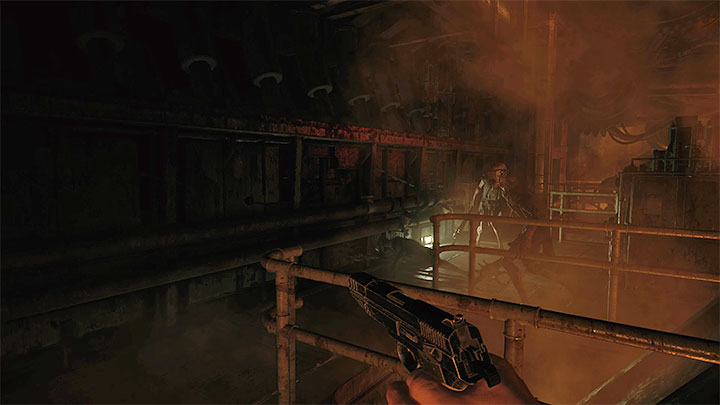
Watch out for monsters while exploring the new area. Along the way you will pass Heisenberg's Quarters, but you won't be able to explore them right now as you lack the necessary key. Remember its location and be sure to return here later during the game, once you have obtained the key.
You will eventually reach the Engine Room. As you traverse it, watch out for working machines, which you have to run past. However, they can also be used to easily eliminate monsters without wasting ammunition. Let the zombies notice Ethan and allow them to amble in his direction. There is a high chance that, because of their slow movement speed, they will be hit and killed by the working machinery.
Starting up the Backup Generator
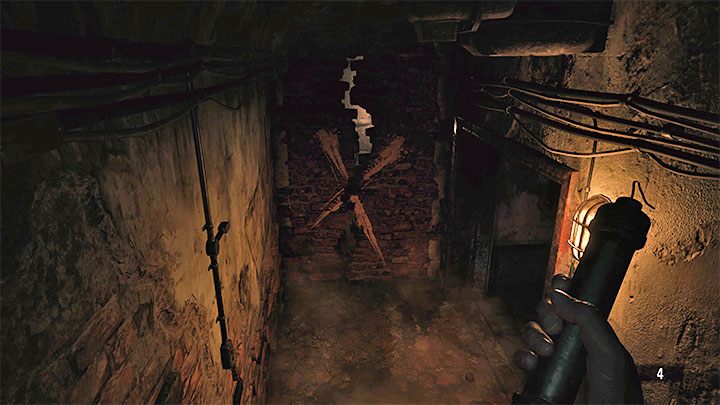
Carefully reach the very end of the Engine Room (look around for extra loot while going through it) and use the ladder. Open the ventilation shaft grate and squeeze through the tunnel.
You will reach a corridor adjacent to the Foundry that contains inactive supersoldiers . You can unlock the passage to the Foundry from this side. While exploring the new area, you may come across a Crumbling Wall and you can use a pipe bomb to destroy it. In the secret area, you will find supplies and the Mechanical Part Cylinder Treasure, among other things.
There is a Backup Generator in the next room, but it is temporarily inactive because it's missing a Cog. Continue on. After using the stairs, you will reach a door with two electric locks - you can destroy these with any weapon.
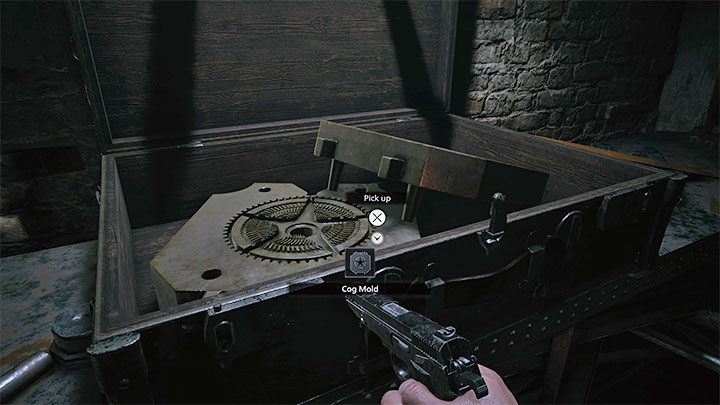
In the next room, you'll find the Factory Map (Lower Levels) and a large suitcase with the Cog Mold needed to make the cog for the generator.
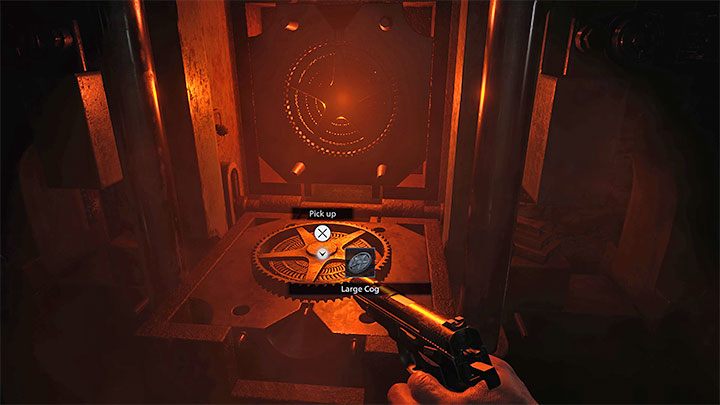
Be careful, because there will be some awakened supersoldiers in the adjacent hallway. It's a good idea to eliminate them, otherwise they'll pester you as you're solving the generator puzzle.
You must return to the Foundry again and use the Cog Mold on the Casting Machine - you will acquire a Large Cog.
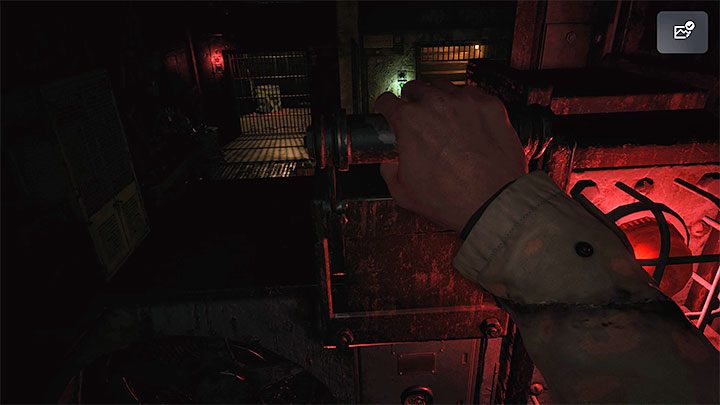
With the cog, head to the Backup Generator. This time, you will be able to get it up and running and restore the power supply.
You may now use the new passage next to the staircase you explored earlier. You will be able to access more areas of the factory this way.
Reaching level B3 (Manufacturing)
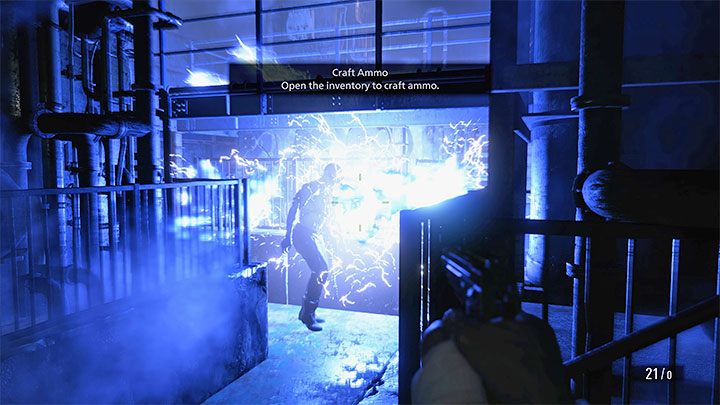
Eventually you will reach a square room, the lower level of which is usually patrolled by a single Soldat. You can avoid fighting them. Wait for the supersoldier to pass Ethan, then start sneaking and trailing them. It's also possible to shoot at the electrical devices on the wall. If your timing is right, you will temporarily paralyze the Soldat, making it easier for you to escape or attack the temporarily defenseless supersoldier.
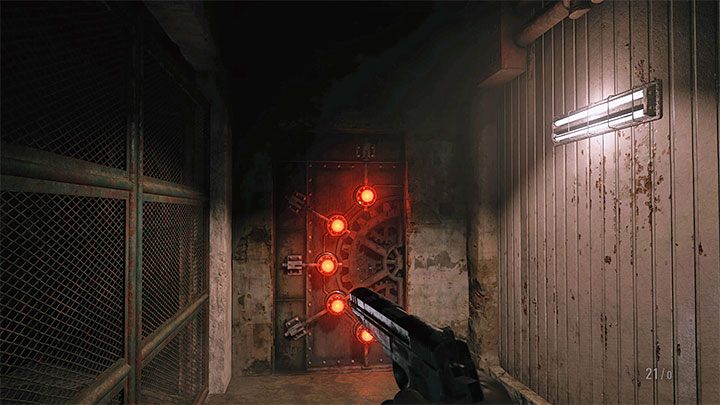
Once you reach the upper balconies, expect a second supersoldier to appear, ready to aggressively pursue Ethan. You can attack them or take advantage of the fact that they are easy to escape from and bypass them while trying to reach the balconies again.
Ultimately, you must reach the door showcased in the picture with as many as five electronic locks. Destroying them will allow you to progress. If you are being chased by the Soldat, you can destroy locks "in installments" or neutralize them with a pistol, which is faster than using a knife.
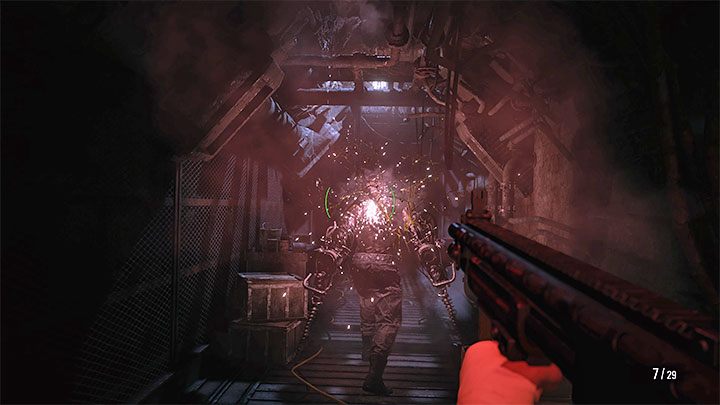
In the next room, at first be prepared to encounter a large group of regular zombies. To stun/eliminate the monsters, it's helpful to utilize the electrical devices to electrocute them.
In the same room, there is a staircase that will bring you back to level B3. A Soldat with a reactor on their back will emerge from the container. If you want to fight them, shoot them in the head at first or wait for a good opportunity to shoot at their exposed back. Successfully stunning your opponent will allow you to run behind them and use a powerful weapon on the reactor on their back. If you want to skip the fight, then wait until they start doing one of their slow attacks and run ahead to escape them.
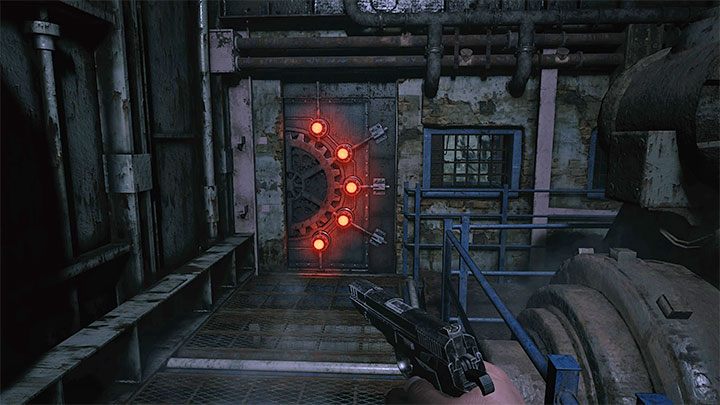
Ultimately, you must reach the door showcased in the picture. Again, you will need to destroy 5 locks here. This will return you to the room on level B3, which you might remember from earlier.
- Resident Evil Village Guide
- Resident Evil Village: Walkthrough
- Resident Evil Village: Heisenberg's Factory
- Resident Evil Village: Unlocking the factory, finding Heisenberg - walkthrough
- Resident Evil Village: Exploring floor B4 - walkthrough, Heisenberg's Factory
- Resident Evil Village: Exploring floor B3 - walkthrough, Heisenberg's Factory
- Resident Evil Village: Reaching floor B1, creating a key - walkthrough
- Resident Evil Village: Defeating Prototype Sturm and Heisenberg - walkthrough
- Resident Evil Village: Heisenberg's Factory
- Resident Evil Village: Walkthrough
You are not permitted to copy any image, text or info from this page. This site is not associated with and/or endorsed by the developers and the publishers. All logos and images are copyrighted by their respective owners.
Copyright © 2000 - 2026 Webedia Polska SA for gamepressure.com, unofficial game guides, walkthroughs, secrets, game tips, maps & strategies for top games.
