Resident Evil Village: Beating Moreau & leaving the Reservoir - walkthrough
This page of the guide to Resident Evil Village features a walkthrough of getting out of the Reservoir area. You will learn, among other things, how to defeat Moreau in the boss fight, as well as how to get the magnum revolver on your way back from the reservoir to the main part of the village.
- Reaching and defeating Moreau in the boss fight
- Leaving the reservoir area and returning to the village
Reaching and defeating Moreau in the boss fight
You can get out of the reservoir area after solving the Sluice Gate Controls puzzle. Consider shopping at Duke's (mods, upgrades, and supplies) because you're about to take part in a larger boss fight. We recommend that you stock up on as many mines as possible, as well as ammo for your shotgun and grenade launcher.
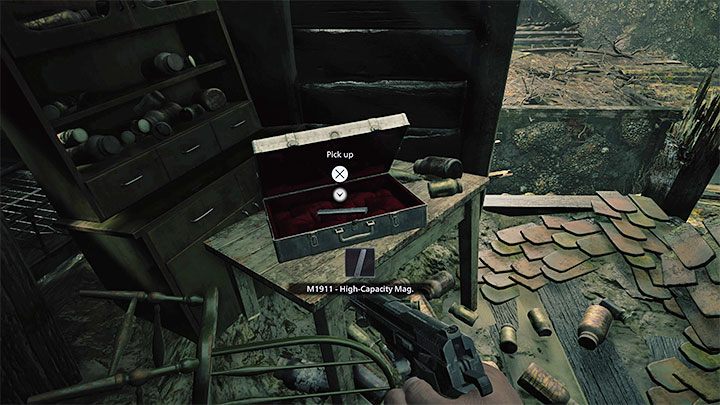
After leaving the Gatehouse, head out towards where you spotted the big monster. Be sure to look inside the buildings along the way. Among other things, you will find a High-Capacity Mag mod for your M1911 thanks to which you'll be able to have more bullets in the pistol mag.
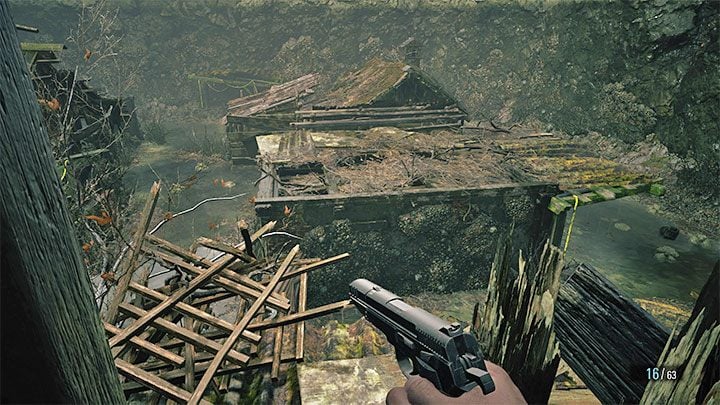
Ultimately, you have to reach the area in the picture. Descending into the flooded area will start a boss fight with Moreau. Before you do so, make sure Ethan is fully healed and that you have your best weapons and gadgets (especially mines) ready.
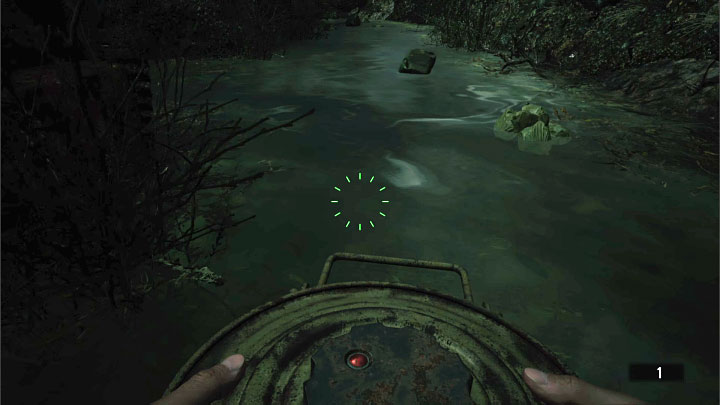
After jumping into the combat arena, it's worth setting up 1-2 mines right away - these traps will help you weaken Moreau very effectively. If you have more mines, use them as the fight progresses, preferably when the boss doesn't attack Ethan actively.
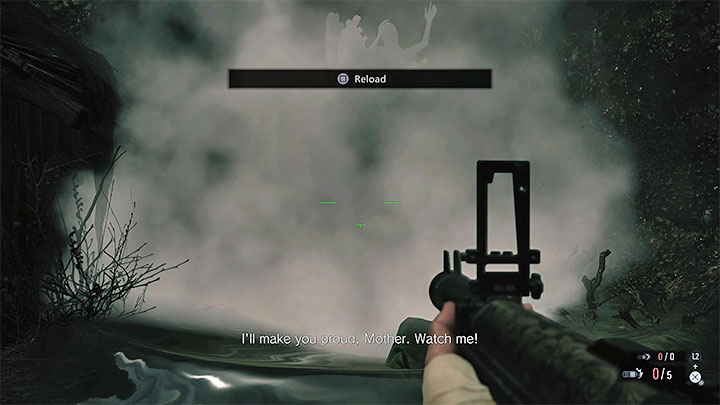
Moreau will appear after you get away far enough from spot where you entered the arena. The boss can easily be slowed down with mines which can also be used for further attacks at the same time.
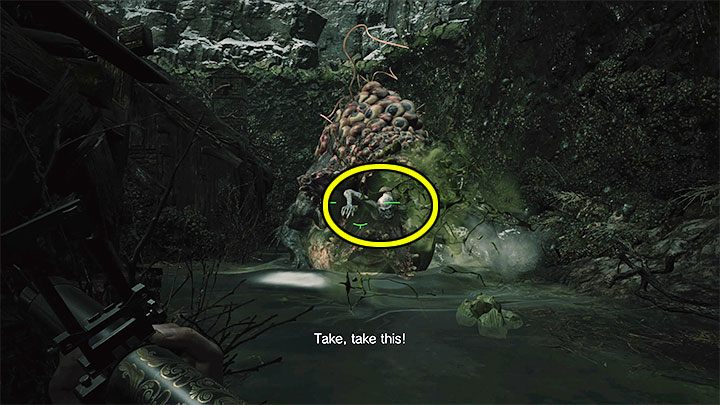
Similarly to the earlier fight with Lady Dimitrescu, look for opportunities to attack the upper part of Moreau's torso which protrudes from his body. This will make him particularly vulnerable to Ethan's attacks.
Use the grenade launcher and shotgun first to deal damage to Moreau. Switch to the sniper rifle and pistol only further down the line. Also, keep checking if you can craft ammunition with your newly collected crafting ingredients.
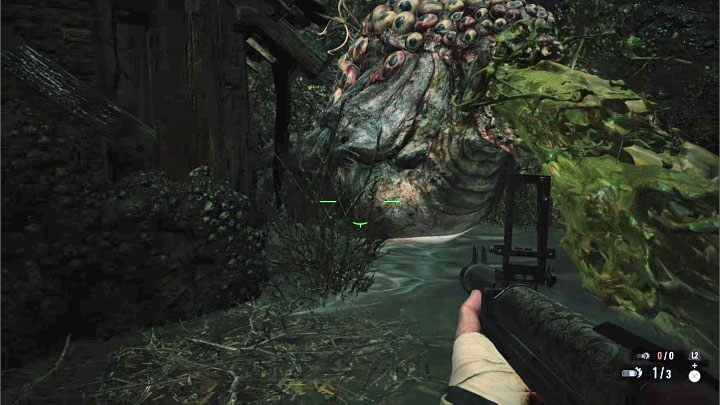
The boss likes to try and spit on Ethan. You can then quickly move away to a safe distance or hide in side areas.
Moreau can also perform powerful charges that can significantly weaken the main character. When you notice that the monster is trying to charge, you can hide or move away from it.
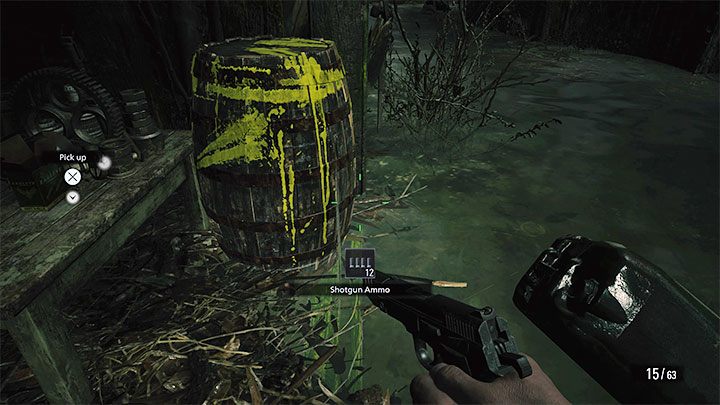
The battle area contains a lot of loot, which is worth collecting if possible. Look out for more mines first of all, but other loot, e.g. ammo, will also come in handy.
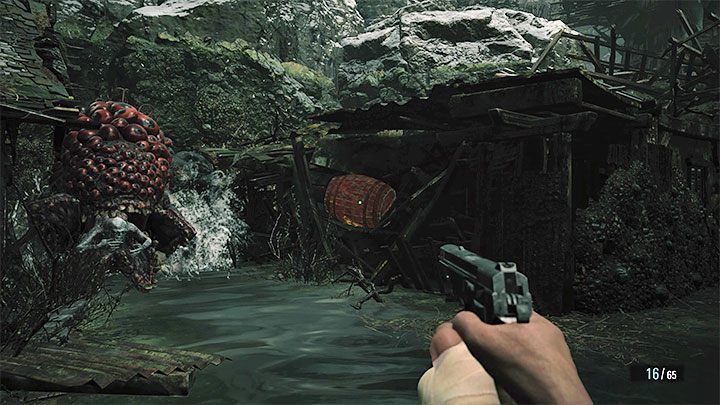
If you don't have any mines in your inventory (and you can't craft any more), you can aim for the red barrels. Fire only when the boss is close enough to a given barrel.
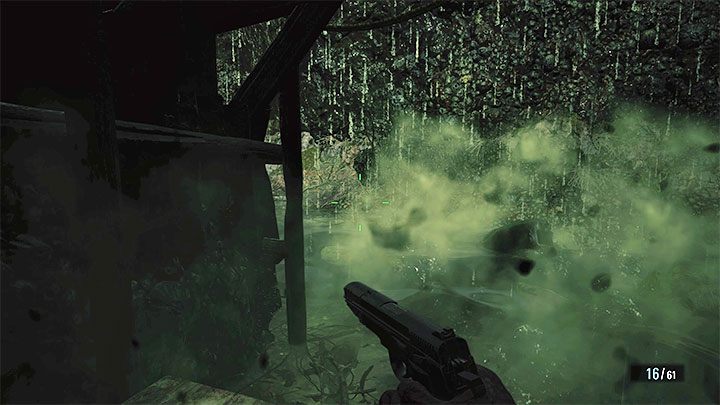
Pay special attention to the moment when the boss climbs to the roof of one of the buildings. This is a sign that Moreau is preparing to bombard the area with poisonous venom.
You must then quickly hide in one of the roofed areas. Don't come out of hiding until Moreau has finished the attack.
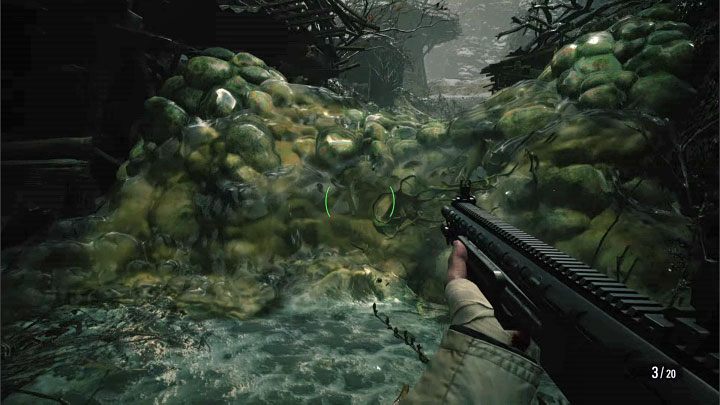
Moreau's attack brings one additional impediment - new obstacles similar to the one in the image above will appear in the fight arena . If you are in a hurry (e.g. because you are currently running from the toad), use a shotgun to destroy them quickly. However, it is better to run around the arena and destroy them in advance with the pistol.
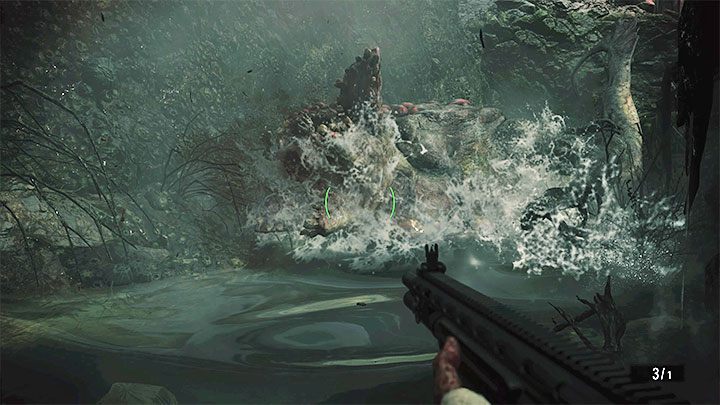
You must repeat all the steps described above until the end, that is, weaken the boss with mines and explosive barrels, fire at the "exposed" Moreau, run a lot to avoid the toad's usual attacks and hide under the canopy when the boss bombards the area.
By defeating Moreau, you will gain the Crystal Moreau treasure.
Leaving the reservoir area and returning to the village
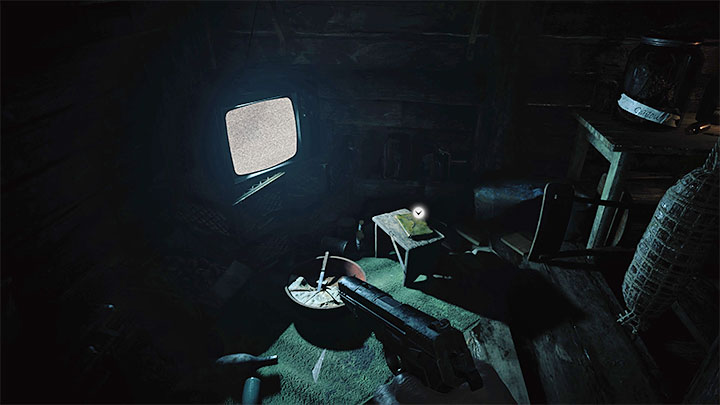
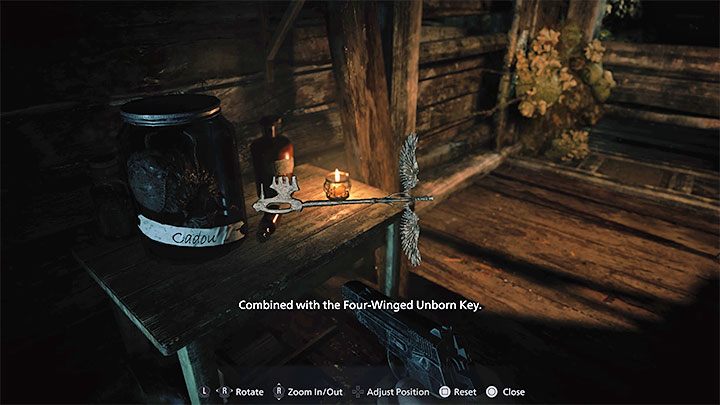
Explore the outskirts of the area where you fought Moreau, and you'll find a passage toward the new areas of the previously visited mine.
On your way, look inside the room shown in the picture. You'll find several interactive objects here, the most important one being a key fragment that will allow Ethan to make the Six-Winged Unborn Key. You can now use this key for the first time to open the gate in the main tunnel.
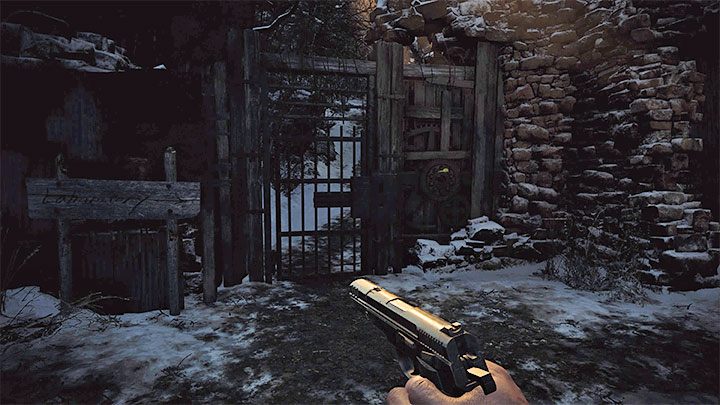
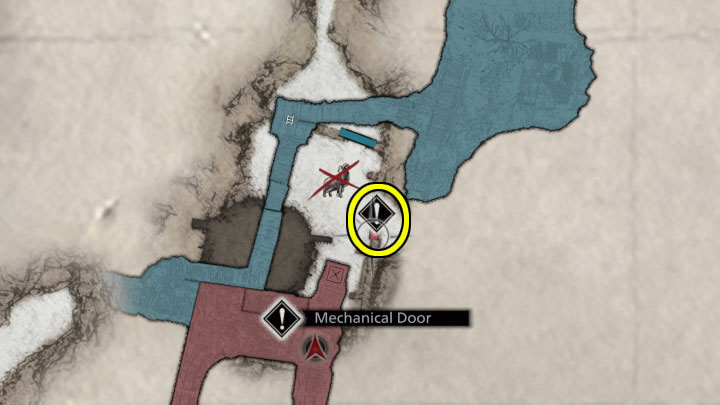
Use the elevator again to leave the mine. When you return to the windmill area, check out the Mechanical Door shown in the picture. They were previously inaccessible, but now Ethan can use the recently acquired Crank to open them. It's definitely worth doing, because the optional area behind that door contains some very valuable treasures.
Additional tip - Once you are back in the village you can also look around for other places to use the crank. Such places are e.g. the mechanical door and the drawbridge.
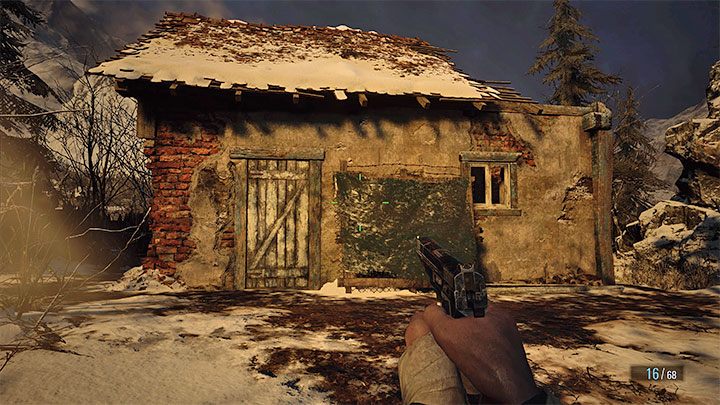
As you go through the optional location, you need to be ready to fight monsters. Your final destination is the hut shown in picture 1, which is marked on the map with the golden Moreau's Hidden Weapon chest icon.
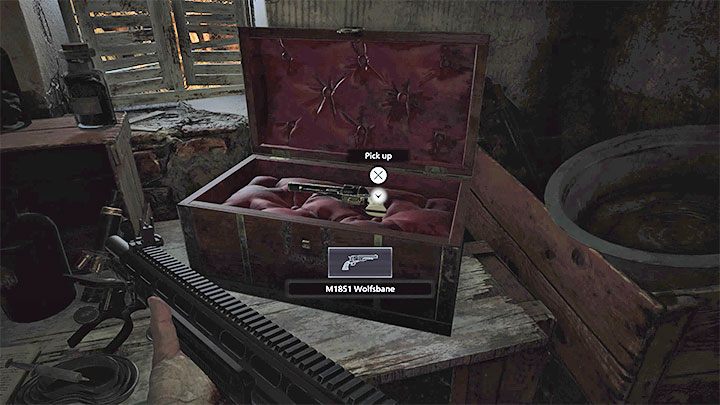
You can get inside the hut from the back. After dealing with one monster, examine the large suitcase. It contains the M1851 Wolfsbane magnum revolver - the best weapon out of the ones you obtain as you progress through the campaign.
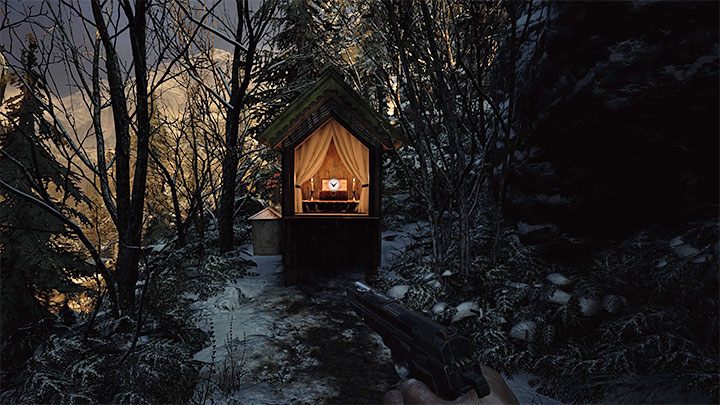
You need to be aware that taking the magnum will make a new werewolf (Varcolac) appear in the currently explored optional location. Just like in the previous confrontation, it's best to attack from inside the hut where the monster's claws won't reach you.
The optional area also features another unique treasure - you can find the shrine shown in the picture, which contains the Mermaid Ball. You can return to the windmill with it (the one next to the open mechanical door) and solve the Labyrinth Puzzle.
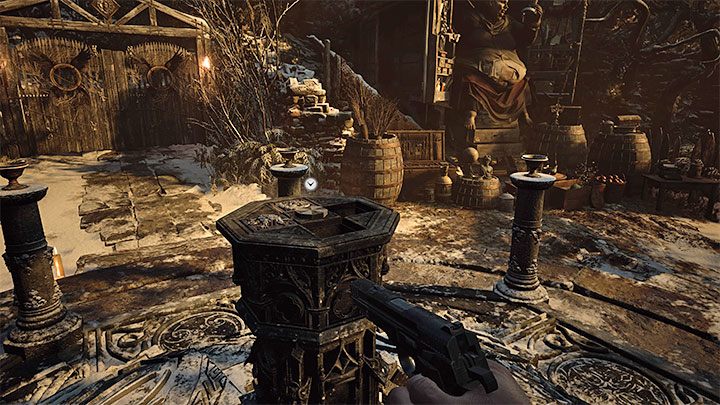
Return down the same path to the central part of the village, specifically to the Altar. You can place the Arms Flask, obtained during your visit to the reservoir area, at the altar. There is only one such object left to find - you can find it in the Stronghold.
You are not permitted to copy any image, text or info from this page. This site is not associated with and/or endorsed by the developers and the publishers. All logos and images are copyrighted by their respective owners.
Copyright © 2000 - 2026 Webedia Polska SA for gamepressure.com, unofficial game guides, walkthroughs, secrets, game tips, maps & strategies for top games.
