Divinity Original Sin 2: Fort Joy enemies and bosses
In this chapter you can find information about all key and challenging fights that take place on Fort Joy.
- Arena of the One
- Kniles the Fencer
- High Judge Orivand
- Radeka the Witch
- Voidwoken Deep-Dweller
- Bishop Alexandar
- Dallis the Hammer
Arena of the One
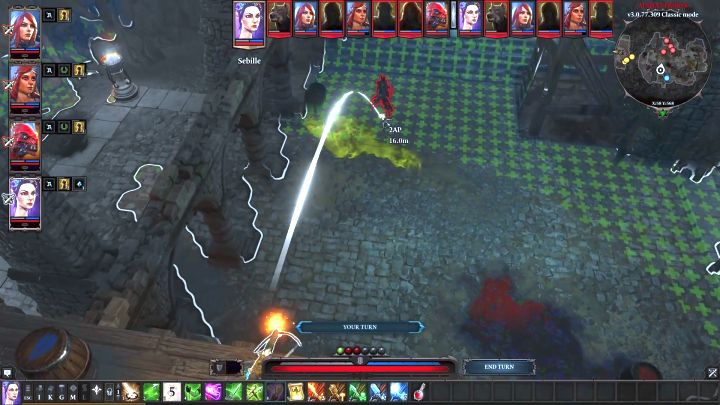
Arena of the One is located in Fort Joy - a hatch that leads to it can be found next to an elf called Amyro (connected to The Imprisoned Elf quest). The fight itself isn't that challenging but before you go there, you should have your characters reach level 3 (or even 4). Use platforms located near the arena's entrance to get height advantage - you increase reach of your spells and ranged attacks but it also allows an archer with Huntsman ability to deal a lot of damage. Try to spread out your characters - most of the enemies have a lot of area attacks that can hurt a few heroes at the same time. The first enemy that you should focus on is the archer (Veerle, The Avid One) who likes to use elemental arrows.
Kniles the Fencer
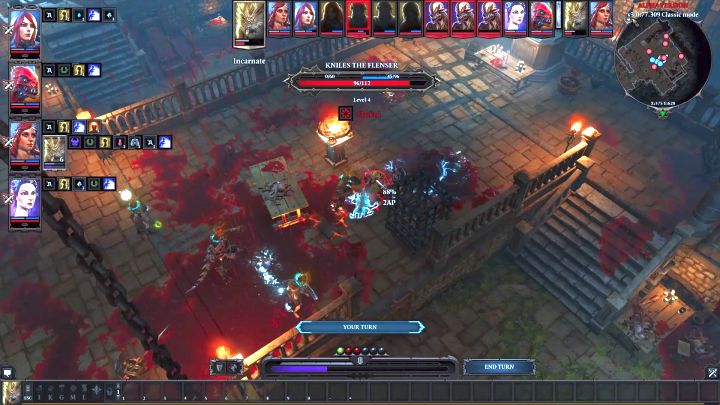
The fight with Kniles the Fencer takes place during your escape from Fort Joy, right before you escape from the city-prison. This is the first big challenge that can cause you problems. However, adequate preparations can make this fight much easier. Focus your attention on the main enemy and try to kill him before the second turn ends - he doesn't deal a lot of damage but the enemy can teleport himself and others which creates chaos on a battlefield. Ignore the Silent Monks - you must defeat Kniles before his Blood Golems free themselves from cages (usually, they do that in the third turn).
After Kniles' death you can eliminate Silent Monks one after another and if the Blood Golems are free, you can immobilize them because they don't have any armor - freeze or knock them down. Elemental Totem is very useful for this entire fight - use it if you get a chance.
High Judge Orivand
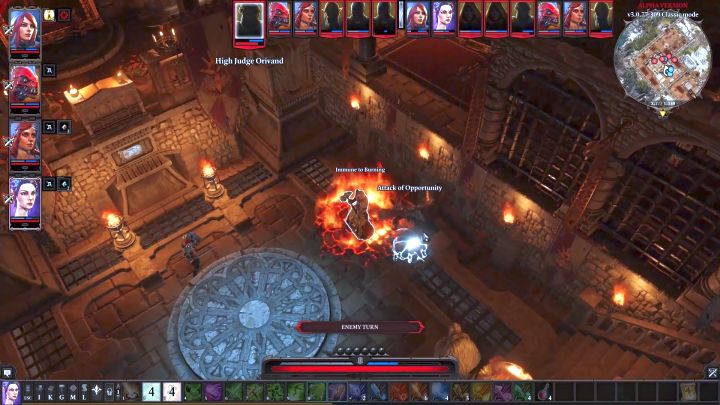
The fight with High Judge Orivand takes place in magisters' barracks in Fort Joy. This fight is optional - it is not connected to any important quests or items. However, you should participate in it because you can collect a lot of experience points and valuable items because the building that Orivand guards is full of them.
You can block Orivand with a resistant melee character - the main enemy deals a lot of damage at a short distance which makes him a big threat to your mages and archers. You should also pay attention to two mages (Cryomancer and Pyromancer) that are located in the higher part of the area - they use Hydrosophist and Pyrokinetic spells. The rest isn't that much of a threat - a few turns must pass for them to even reach your characters and deal them damage.
Radeka the Witch
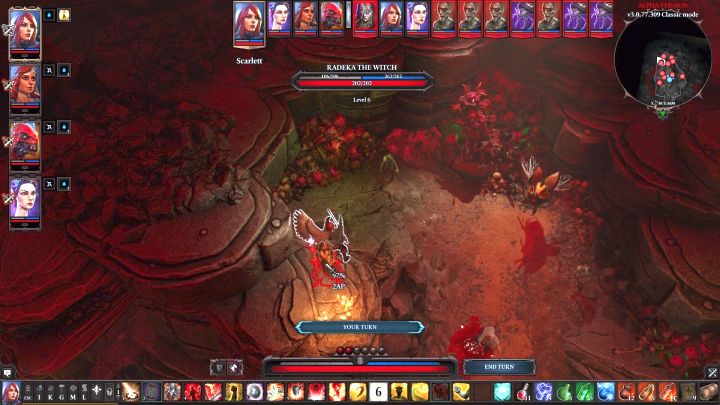
The fight with Radeka the Witch is a part of The Purging Dragon quest. She starts the fight by summoning a whole army of enemies - a few Carrion Beetles and Bloody Corpses. Start with sending a melee character straight to the witch - place that character in a such way that it would make her unable to move which, in turn, forces her to attack that person. She also can't use her deadliest spells. You must now focus 1-2 heroes (preferably those that deal physical damage) on her - deplete the witch's physical armor and keep knocking her down until you are able to kill her.
When it comes to the rest of the enemies, they aren't a threat - Bloody Corpses can be easily neutralized (freeze them by using Hydrosophist spells or freezing arrows) and Carrion Beetles have only weak ranged attacks. Don't forget to pick up a Blood Rose from the cave - you can combine it with Empty Bottle and create a potion that increases all of your hero's attributes by 1 point.
Voidwoken Deep-Dweller
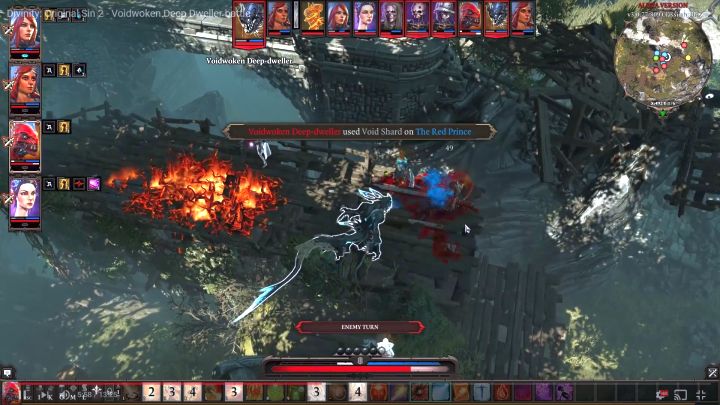
One of the most difficult fights in the game. It takes place during your stay on Fort Joy. However, the main enemy isn't the most dangerous one here - the biggest threat are the Undead that accompany him. Still, you should kill Voidwoken Deep-Dweller first - this enemy doesn't deal a lot of damage but can inflict numerous negative status effects. You should watch out for Decaying status - healing deals damage to a character with that effect.
If you have someone that has Teleportation spell then you should use it to move Decomposing Swashbuckler as far as you can - the enemy is forced to waste a few turns to return on the battlefield. In the meantime, you can kill the rest of the enemies. The rest of them isn't a threat - but don't charge too much, eliminate them one by one and allow new enemies to get closer to your party.
Bishop Alexandar
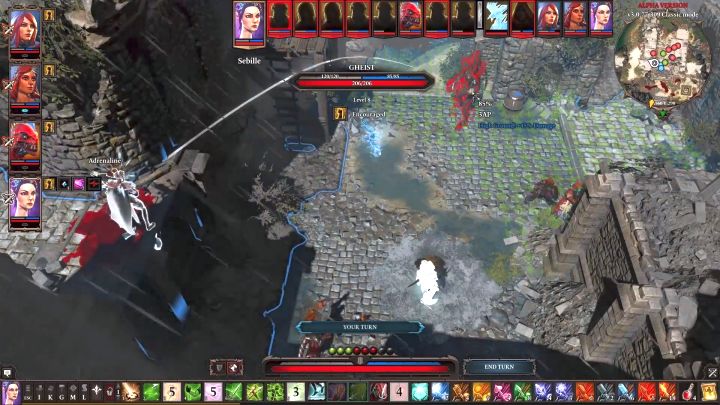
One of the last fights that takes place on Fort Joy. The battle is divided into two stages - during the first one you must fight with Alexandar and his allies; during the second stage a new enemy will join in. Before you start the fight, you should speak with Gareth in order to add two Seekers to your party - you can't control them but they fight on your side and (what is the most important) receive some of the damage that would otherwise hurt you. Try to defeat Gheist during the first fight - the enemy fights at a close distance but can deal a lot of damage and can kill player's character in one turn. Then, you should focus your attacks on Alexandar - the rest of the enemies fight with your companions that joined you and they will be moved on the walls.
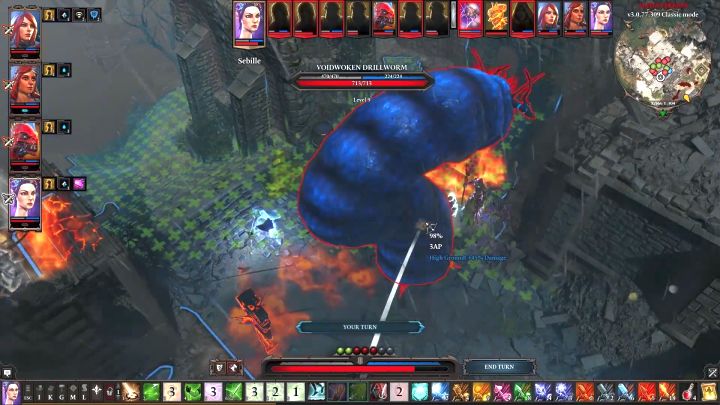
After a few turns a new enemy will appear on the battlefield - Voidwoken Drillworm. This enemy represents a third side of the conflict - the Drillworm fights with everyone and because of that the magisters will focus their attention on that enemy. Ignore it and focus on attacking the magisters, especially Alexandar. Then, you can start eliminating the remaining foes on the walls. Lastly, you can finish the Drillworm off (he should be weakened by now).
Dallis the Hammer
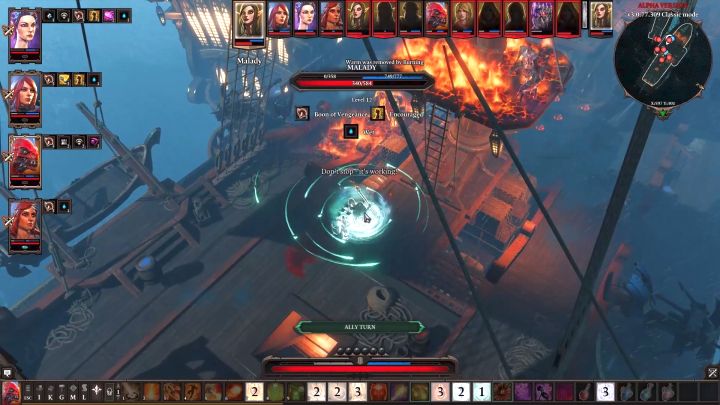
This is the most unique fight in the entire game because you don't have to win it - your goal is to keep Malady and yourself alive. The ship is filled with powerful foes. You should ignore Dallis the Hammer and her friend that stands on a higher part of the arena - your characters won't be able to kill them. You should quickly eliminate a pair of Gheists - just like in the fight with Alexandar, they deal a lot of damage and can kill someone from your party. Then, you should focus on minimalizing loses - heal your characters and Malady and make the enemies attack you, not her (use Teleportation) or you can try to immobilize them. After a few turns Malady will cast a spell that ends the fight. You must now watch a series of cut-scenes.
You are not permitted to copy any image, text or info from this page. This site is not associated with and/or endorsed by the developers and the publishers. All logos and images are copyrighted by their respective owners.
Copyright © 2000 - 2025 Webedia Polska SA for gamepressure.com, unofficial game guides, walkthroughs, secrets, game tips, maps & strategies for top games.
