Far Cry 5: Side quests in Whitetail Mountains
Last update:
This page contains walkthroughs for side quests that can be unlocked in Whitetail Mountains. Some of them are available right away while others require you to, e.g. capture a cult outpost first or to meet an important NPC during a story mission. More information about that can be found in their respective walkthroughs.
- Mountain Armed Convoy
- Grand Slam
- Shooting Gallery
- Nature Provides
- Turn the Tables
- Welcome Party
- Static Frequency
- Quadzilla
- The Lord of the Wings
- Mint Condition
- Tools of the Trade
- Gone Fishin
- The Admiral
- The Mooseknuckle Run
- Flavor Country
- Grill Streak
- Call of the Wild
Mountain Armed Convoy
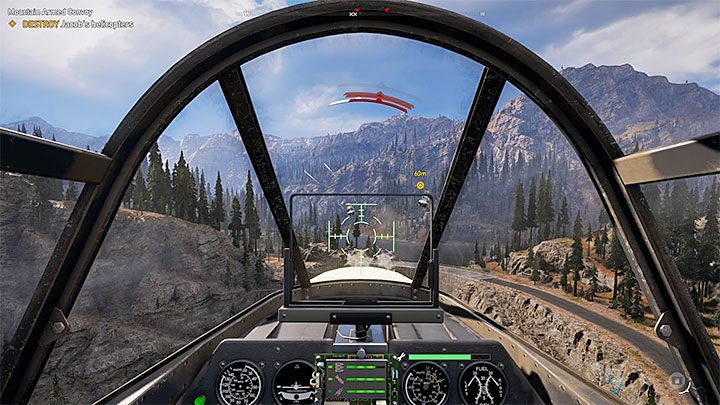
This quest is added to your journal automatically after sufficiently weakening the cult Whitetail Mountains (after reaching level 1 out of 3). The objective is to attack and destroy Jacob's helicopters that patrol this part of the world. You can check the current location of helicopters by setting the quest as active.
Get any of the planes equipped with a turret (and rockets but this is optional) for this quest. Planes can be bought or received as rewards after completing certain missions. Get closer to one of Jacob's helicopters and start shooting at them. You can also make this mission easier for you by selecting Nick (an airplane pilot) or Abigail (a helicopter pilot) as your specialist.
Rewards for completing this mission: $1,500, 200 resistance points.
Grand Slam
How to unlock: Speak with George Wilson in Oberlin Picnic Area.
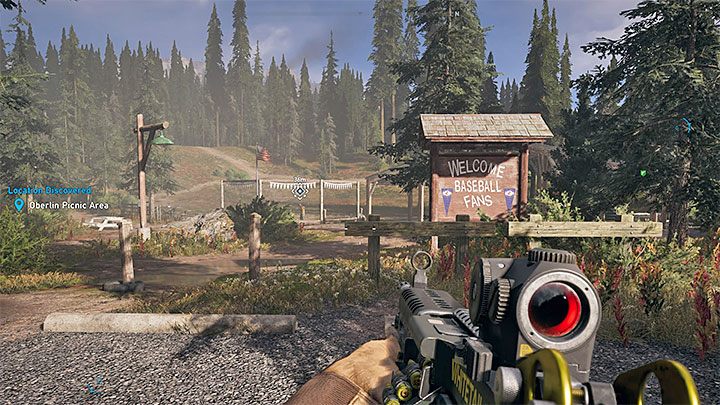
Oberlin Picnic Area is located in the south part of Whitetail Mountains near the huge water body (north-west from Joseph's island). George Wilson practices on the baseball training field. You learn that he is interested in getting a set of baseball cards. To complete this quest, you have to find a total of 9 baseball cards. They are one of the collectibles in Far Cry 5. Look for them in various locations (including those inhabited by allies) that have fast travel option.
Rewards for completing this mission: A unique t-shirt (Cougars T-Shirt), $900, 200 resistance points.
Shooting Gallery
How to unlock: Liberate Whitetail Park Ranger Station cult outpost. Find the NPC that will give you this mission.
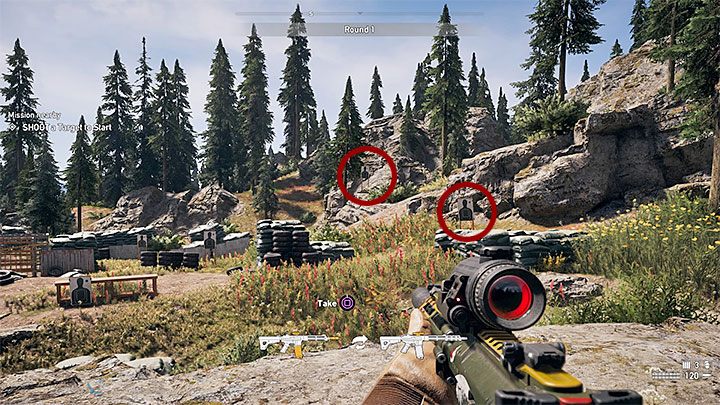
One of the NPCs has prepared a shooting gallery where you can test your skills. You have to complete three rounds. Each one of them requires you to shoot a certain number of targets before the time runs out. If you fail, you can replay the same round (the game doesn't force you to replay the entire quest from the beginning).
Rounds 1 and 2 are similar. You have to shoot 10 targets in both of them. The difference is that the objects in the second round move faster. Try to find all the targets before you start shooting at them (use a scope or binoculars). Those "hidden" are on the right - we have marked them in the picture above.
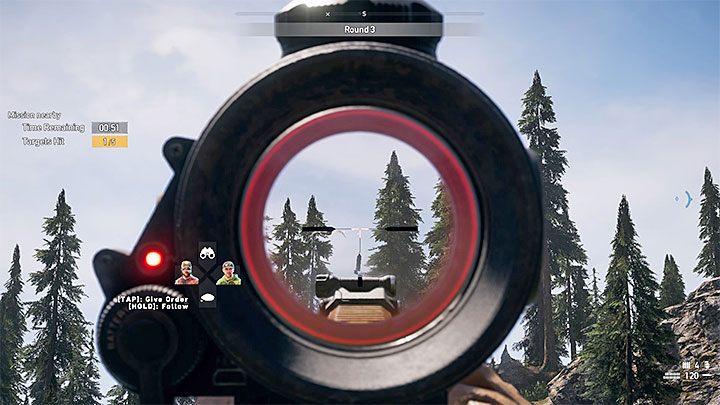
The third round changes things a little bit - you now have to shoot 5 birds within the time limit. The first bird is resting in the marked spot which means that you "only" have to kill 4 flying targets. Use the fact that more birds start flying as the time passes. This increases your chance of hitting a target even when you are shooting in longer bursts.
Wait for more birds to appear if you still have problems. Then, select a remote explosive charge from your inventory, throw it at the birds and detonate mid-air. The explosion should kill a few birds. Remember that you can repeat this move immediately after detonating the previous explosive.
Complete all 3 rounds to finish this quest.
Rewards for completing this mission: $800, 100 resistance points.
Nature Provides
How to unlock: Speak with Bo Adams near Bo's Cave.

Bo's Cave is located in the center of the map (the picture above shows its location). The quest giver wants you to bring him very rare materials.
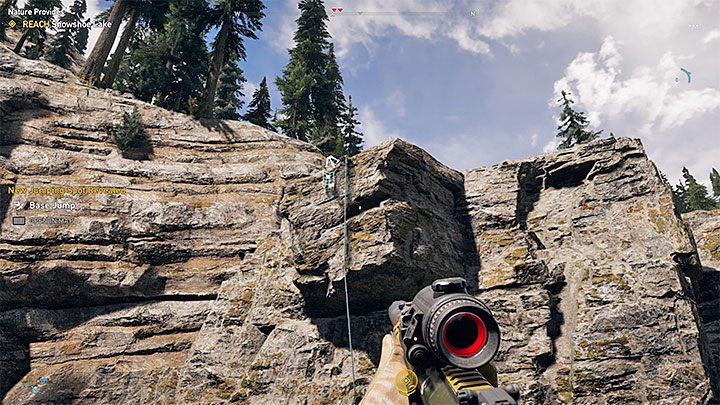
Reach Snowshoe Lake in the south-west part of Whitetail Mountains. Start near Ozhigwan Falls located east from the lake (discover the main roads in this area if you haven't already found the waterfalls). Examine the area a little bit to the south-west from the blue waterfalls marker. Use the Grappling Hook in the place presented in the picture. Reach the top and go down to the lake.
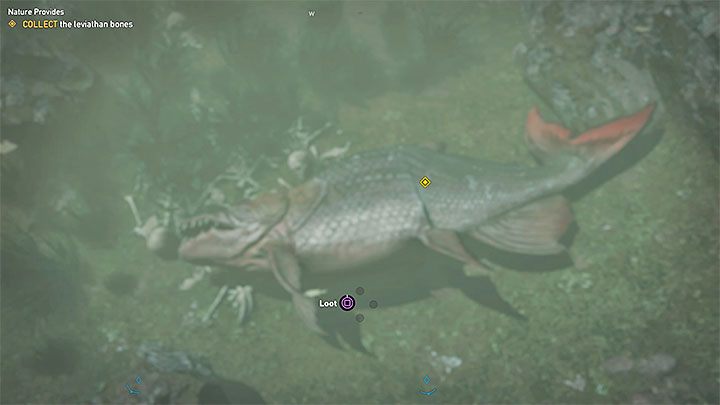
Be sure that there are no predators in the area (you can come across, e.g. bears). Jump into the lake, swim to its center and dive. You have to find the leviathan presented in the picture. Collect the Bones of the Leviathan.
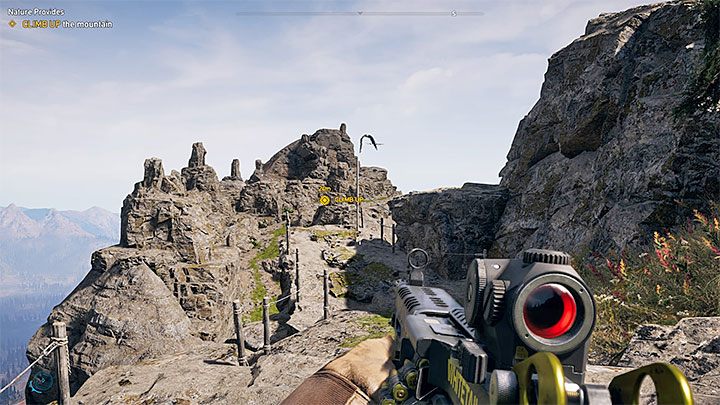

The mission isn't over - you have to walk an even longer path that goes through a mountain pass. Go south from the lake. Use the Grappling Hook - besides reaching higher ledges you will also have to "switch" between the interactive hooks. Also, you should prepare yourself to face a few cougars (kill them all) and eagles (ignore them or attack only when they get interested in your character).
The mountain path leads to the place presented in the picture 1 which is a huge mountain pass. Start by sliding down the rope. Then, you have to go down and reach the opposite part of the mountain pass. There, you must start climbing up. Use the Grappling Hook and jump towards the stone ledges (those with blue ropes). Your destination is the eagle nest presented in the picture 2. Examine it to receive feathers. You can now go back to Bo Adams.
Rewards for completing this mission: $800, 200 resistance points, The Ultimate Hunter drug (they help you detect enemies and wild animals)
Turn the Tables
How to unlock: Complete Gearing Up story mission and meet with Wheaty in the Wolf's Den.
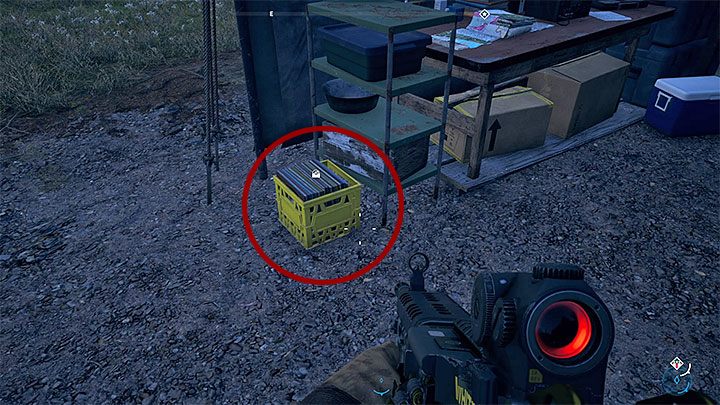
Speak with Wheaty in the Wolf's Den (the main resistance hideout in Whitetail Mountains) after completing Gearing Up main quest (the one where you had to find a few prepper stashes). You learn that the man is interested in Vinyl. Vinyl Crates are one of the collectibles available in Far Cry 5. Look for them in locations (including those inhabited by your allies) that have fast travel points (the picture above shows one of those crates).
Rewards for completing this mission: $900, 200 resistance points, new songs played by Wheaty's radio station
Welcome Party
How to unlock: Liberate Baron Lumber Mill cult outpost. Find the NPC that will give you this mission.
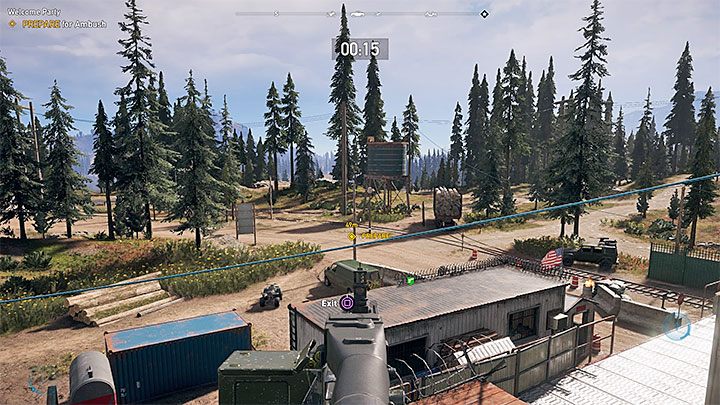
You have a little bit more than a half a minute to prepare yourself. You can collect ammo, place explosive charges on the road or reach the turret station (the picture above). Don't attack the convoy right away because the vehicles can start running away. Destroy two trucks at the last minute. Nick Rye is useful in this mission - he can bombard a marked vehicle. Chase the trucks if they somehow have managed to escape and destroy.
Rewards for completing this mission: $900, 100 resistance points.
Static Frequency
How to unlock: Liberate PIN-K0 Radar Station cult outpost. Find the NPC that will give you this mission.
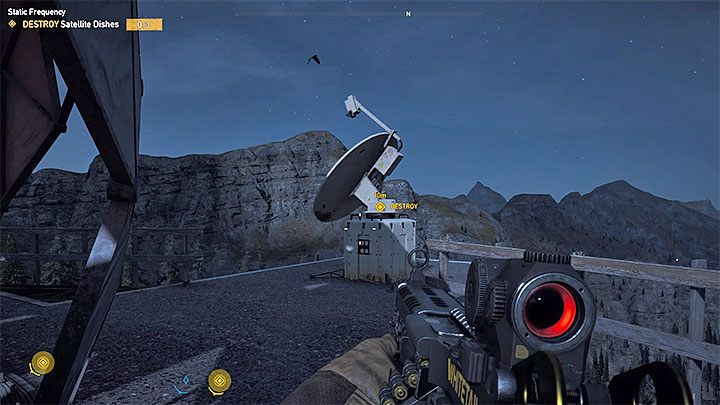
One of the NPCs informs you that 3 cult satellites are still active. You have to destroy them. Focus on this quest because new enemies will keep spawning in that area until you destroy the satellite dishes. The biggest threat here comes from snipers and helicopters (attack the cultists only when your character's life is in danger).
The radar area has three huge constructions with a satellite dishes on top of each one of them (the picture above shows an example). Reach them by going up the stairs, climbing ladders or climbing on ledges. The best way to destroy the satellites is to use remote explosive charges or grenades.
Rewards for completing this mission: $800, 100 resistance points.
Quadzilla
How to unlock: Examine the stunts location.
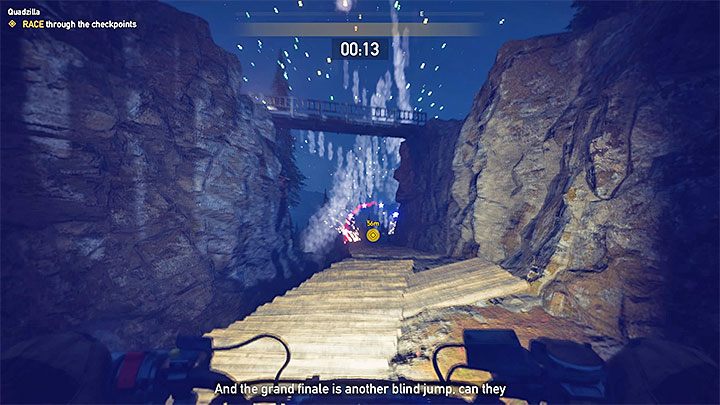
Visit Clutch Nixon location which is next to PIN-K0 Radar Station cult outpost (the western part of Whitetail Mountains). Find the stand and examine it to unlock this stunt trial.
You have to drive an ATV and complete the course before the time runs out. The time limit is partially replenished every time you drive through a checkpoint. Be very careful in the part presented in the picture where you have to drive on boards. Don't get too close to the chasm on the left because you can fall down easily.
Rewards for completing this mission: Shining Sea (a unique jet ski), $750, 200 resistance points.
The Lord of the Wings
How to unlock: Examine the stunts location.

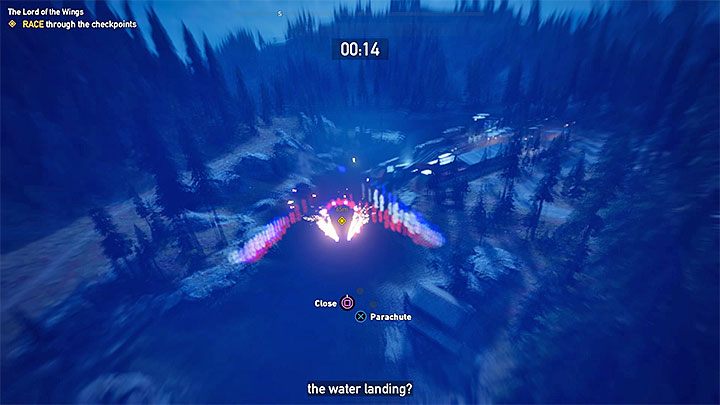
Visit Clutch Nixon location presented in the picture 1 - it is located in the north-east part of Whitetail Mountains, north from Fort Drubman. Find the stand and examine it to unlock this stunt trial.
This trial requires Wingsuit perk (Renegade category). Reach the edge of the cliff, jump and quickly deploy the wingsuit. Reach the checkpoints (each one of them gives you a little of the time back) to complete the course. Don't worry if you miss one checkpoint but remember that you can do that only once. Also, you have to be careful in the parts where you have to fly between trees (the picture above shows an example of that). Hitting any of them means instant failure. The last checkpoint is right above water (see the picture). Don't hit it until you go through that checkpoint because you would have to repeat the entire course.
Rewards for completing this mission: $750, 200 resistance points.
Mint Condition
How to unlock: Speak with Dave Fowler in Fowler's Retreat.
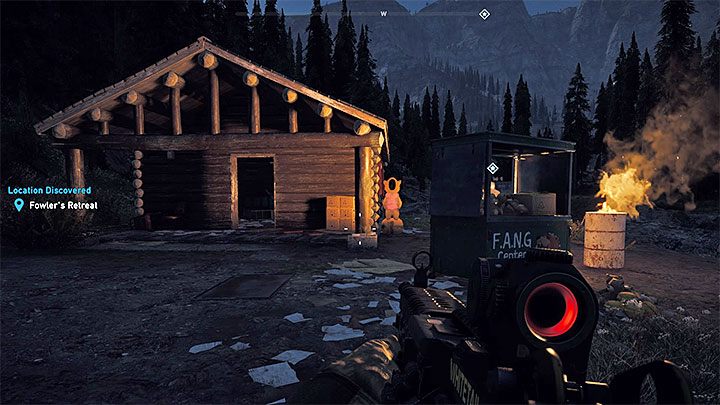
Fowler's Retreat is located in the south part of Whitetail Mountains, near Widow's Creek. Dave Fowler tells you that he wants to collect all bobblehead figures depicting Cheeseburger the bear. You can help him accomplish this goal. Your task is to find 10 Cheeseburger Bobbleheads. These figures are one of the collectibles available in Far Cry 5. Look for them in locations (including those inhabited by allies) that have fast travel points.
Rewards for completing this mission: A unique t-shirt (Cheeseburger T-Shirt), $900, 200 resistance points.
Tools of the Trade
How to unlock: Speak with Skylar Kohrs near Dylan's Master Bait Shop.

This is the first out of the three missions given to you by Skylar. We recommend playing them one after another. They can help you learn more about the fishing mechanic in Far Cry 5 and to obtain one of the unique fishing rods.
Skylar Kohrs can be found in the south part of Whitetail Mountains (see the picture above), near Dylan's Master Bait Shop and Widow's Creek (the western shore of Silver Lake).

Listen to the conversation. After that you have to shoot at Dylan's camping trailer. Keep shooting until the bar, displayed in the upper left corner of the screen, is full.
Speak with Skylar and follow her to the nearby fishing spot. Your new objective is to catch 3 trout. Select a fishing rod from your inventory and choose Trout Bugger as your bait. Catch 3 trout. After that the mission will end. This also unlocks another quest.
Note - Check Fishing chapter to learn more about fishing mechanic in Far Cry 5.
Resistance points: $700, 200 resistance points.
Gone Fishin
How to unlock: Speak with Skylar Kohrs after completing Tools of the Trade side mission.
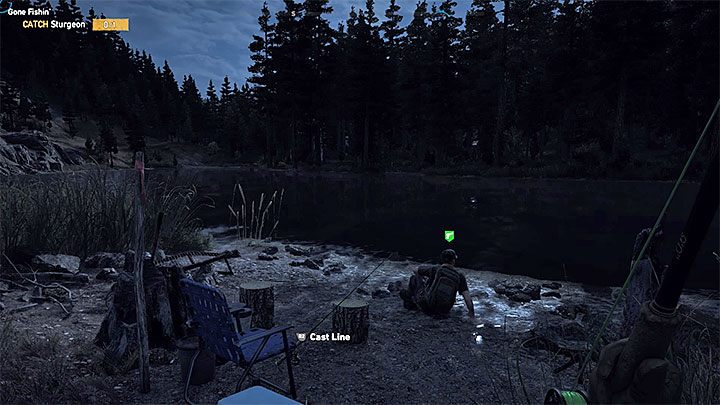
This is the second mission given to you by Skylar. It can be unlocked right after completing Tools of the Trade side quest. You have to prove again that you are a good fisherman. Skylar orders you to catch 3 different fish species.
This mission offers a lot of freedom. Reach any of the fishing spots that have fish you are looking for. We also recommend checking Maps chapter. One of the maps from that chapter has all fishing spots marked on it. Remember to use the right bait before you start fishing.
Note - You can complete this mission faster if you already have the fish requested by Skylar.
Rewards for completing this mission: $700, 200 resistance points.
The Admiral
How to unlock: Speak with Skylar Kohrs in Clagett Boathouse after completing Gone Fishin' side mission.
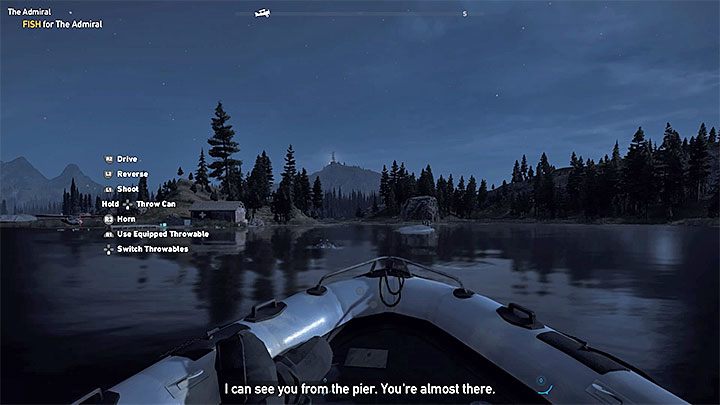
This is the final quest given to you by Skylar. Your task is to catch the titular "legendary" fish called The Admiral. Meet with Skylar in Clagett Boathouse (located on the western shore of Silver Lake) after completing Gone Fishin' side quest.
Use a boat to reach the place marked by the game (the middle of the lake). Don't jump out of your boat. Instead, you have to take out your fishing rod. The Admiral is a variant of scaphirhynchus species. You can take that into consideration while you are choosing your bait. However, this isn't necessary because this fish can be caught even with the basic bait.
In our case, The Admiral was the first fish that we caught but it is possible that you will have to catch a few other fish before you get this one. Prepare yourself to complete a challenging mini-game - The Admiral is a tough fish. Remember to observe a color of your line and don't let it to snap. Catch The Admiral and go back to Skylar.
Rewards for completing the mission: Wonderboy Fishing Rod (a unique fishing rod), $1450, 200 resistance points.
The Mooseknuckle Run
How to unlock: Examine the stunts location.

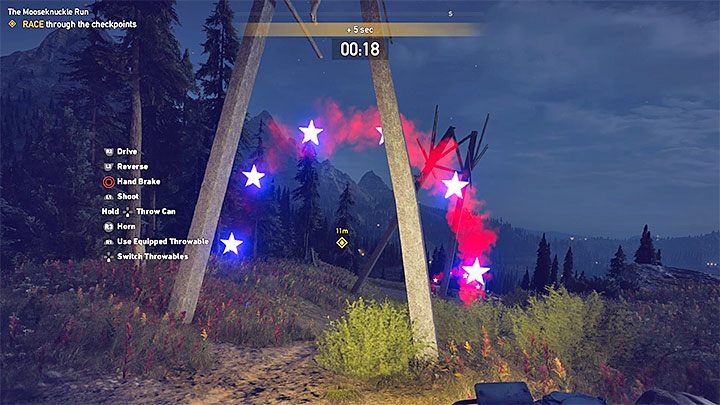
Visit Clutch Nixon location presented in the picture 1 - it is located in the eastern part of Whitetail Mountains, between F.A.N.G. Center and Fort Drubman. Find the stand and examine it to unlock this stunt trial.
You have to drive an ATV and complete the course before the time runs out. The time limit is partially replenished every time you drive through a checkpoint. This trial is challenging because the course has multiple narrow parts. Be very careful in those parts where you have to drive between poles (the picture above shows an example). They are easy to hit - your ATV stops which will cost you a few precious seconds. Besides that, you have to watch out for animals and cultists in vehicles and on ATVs. Don't try to hit them or to fight. Focus only on completing the course.
Rewards for completing this mission: Quad-State Area (a unique ATV), $750, 200 resistance points.
Flavor Country
How to unlock: Talk with Chad Wolanski in The Grill Streak.
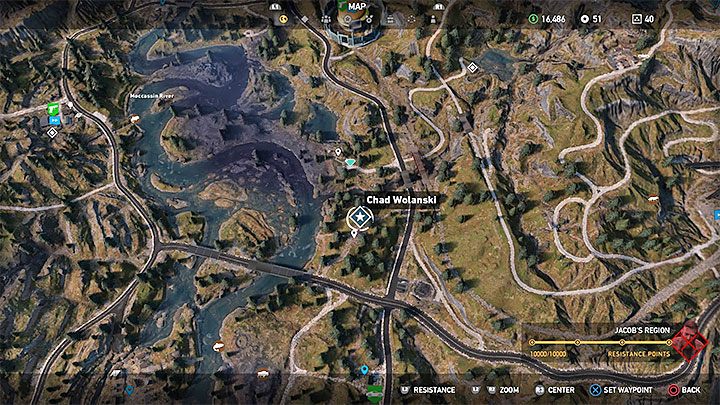
The Grill Streak is situated by one of the main roads in southern parts of Whitetail Mountains - west of Baron Lumber Mill. Go to this location and meet up with Chad Wolanski to get information about demand for meat.
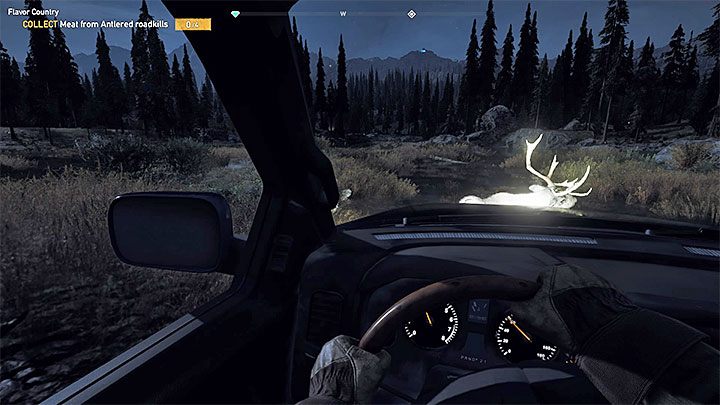
This is an unusual task, because you need to obtain meat by crushing animals by car. All locations where the sought wildlife is located have been marked on the world map. For example, you can visit the wetlands near the start of the mission where the moose appears, but be careful not to drive your car into the water. For example, you can use any pick-up to crush the animals. After killing the animal, examine its carcass to get meat (Roadkill Deer Meat). Return to Chad with 4 pieces of meat. You can pick up the next quest from him right away.
Note - The game will not accept the objective of obtaining the meat if you have used any other way to kill the animals, e.g. by relying on a firearm!
Rewards for completing the mission: 750$, 200 resistance points.
Grill Streak
How to unlock: Talk with Chad Wolanski after completing the side quest Flavor Country.
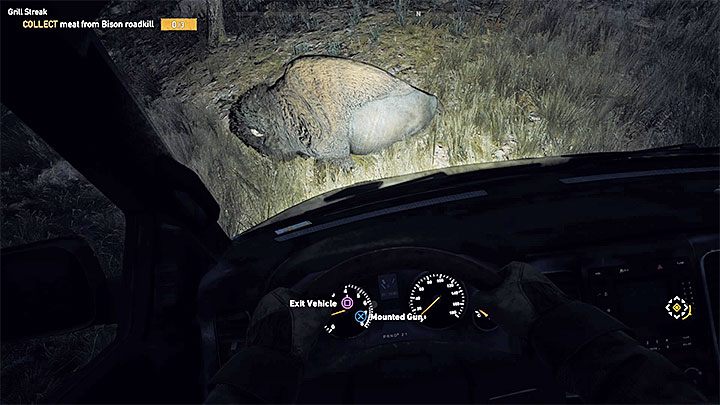
The second task from Chad Wolanski is very similar to the one described above. This time you have to kill the bison with vehicles. Chad will suggest you to use a truck, but any pick-up (the penultimate tab in the vehicle selection menu in the garage) will suffice, and this type of machine is much more maneuverable.
The world map shows all locations where bison resides. Reach any of them and start "hunting". The buffalos are tough, so you usually have to hit them several times in each case. After killing the bison, leave the car and take the meat (Roadkill Bison Meat). Obtain 3 pieces of meat and deliver it to Chad.
Note - Before starting this mission, make sure you have an Auto Repair talent. It will protect you from replacing your car in case of a "counterattack" by a buffalo.
Rewards for completing the mission: 2014 Adjudico Mastodon XZT (unique vehicle), 1550$, 200 resistance points.
Call of the Wild
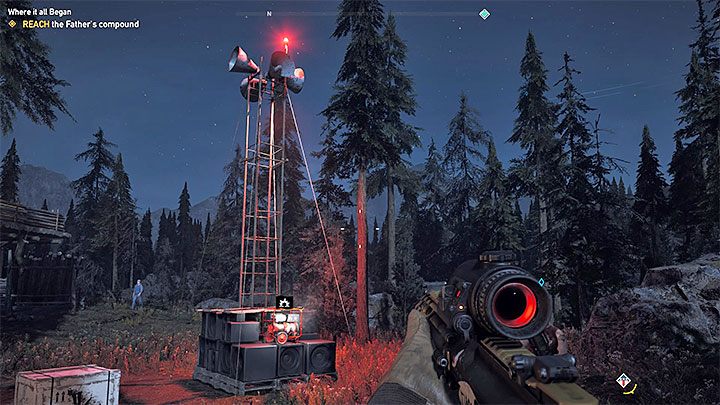
This task will automatically appear in the hero's diary after he has sufficiently weakened the cult influences in the Whitetail Mountains and has destroyed at least 1 lure.
You will receive information about the possibility of destroying the cult property in this region - these are wolf lures. An example of this type of construction (tower with megaphones) is shown in the screenshot above - there are 10 of these in Whitetail Mountains. You can find new lures by exploring the game world or get to know their locations through maps or conversations with NPCs. You can also refer to the Maps section in our guide where you can find maps with location markings.
After arriving at each lure shoot it's generator at the base of the tower with any weapon available. Each lure destroyed grants 100 resistance points.
Rewards for completing this mission: 1600$, 200 resistance points.
- Far Cry 5 Game Guide
- Far Cry 5: Game Guide
- Far Cry 5: Walkthrough
- Far Cry 5: Whitetail Mountains
- Far Cry 5: Baron Lumber Mill in Whitetail Mountains
- Far Cry 5: A Dish Served Cold - Jess Black, a new companion in Whitetail Mountains
- Far Cry 5: A Right to Bear Arms - Cheeseburger, a new companion in Whitetail Mountains
- Far Cry 5: The Prodigal Son - Hurk Drubman Jr, a new companion in Whitetail Mountains
- Far Cry 5: The World is Weak - cult kidnapping in Whitetail Mountains
- Far Cry 5: Missing in Action in Whitetail Mountains
- Far Cry 5: Search and Rescue in Whitetail Mountains
- Far Cry 5: We Must Be Strong; Sacrifice the Weak
- Far Cry 5: Radio Silence
- Far Cry 5: Eviction Notice
- Far Cry 5: Get Free in Whitetail Mountains
- Far Cry 5: Gearing Up in Whitetail Mountains
- Far Cry 5: Make Hope Great Again in Whitetail Mountains
- Far Cry 5: Only You in Whitetail Mountains
- Far Cry 5: Casualties of War in Whitetail Mountains
- Far Cry 5: Dinner Time in Whitetail Mountains
- Far Cry 5: Side quests in Whitetail Mountains
- Far Cry 5: Cult locations and prepper stashes in Whitetail Mountains
- Far Cry 5: Whitetail Mountains
- Far Cry 5: Walkthrough
- Far Cry 5: Game Guide
You are not permitted to copy any image, text or info from this page. This site is not associated with and/or endorsed by the developers and the publishers. All logos and images are copyrighted by their respective owners.
Copyright © 2000 - 2026 Webedia Polska SA for gamepressure.com, unofficial game guides, walkthroughs, secrets, game tips, maps & strategies for top games.
