Shadow of the Erdtree: Fire Knight Queelign quest walkthrough
Fire Knight Queelign is an NPC that haunts the player's world twice in the Shadow of the Erdtree add-on. On this page, we will give you tips on how to complete a questline related to this aggressive hero.
Fire Knight Queelign is a person who will attack you twice in specific locations in the course of the Shadow of the Erdtree expansion. His presence in the plot is important and related to a quest, thanks to which you can obtain some rather interesting weapons or ghost ashes. This guide will tell you how to fully complete his task and what possible choices will appear here.
- Where will you encounter Fire Knight Queelign for the first time?
- Where to find Fire Knight Queelign for the second time?
- Completion of the Fire Knight Queelign quest
- Rewards
Where will you encounter Fire Knight Queelign for the first time?
Related map marker: Crusade Insignia - Belurat @ Shadow of the Erdtree
Related map marker: Fire Knight Queelign #1 - Belurat @ Shadow of the Erdtree
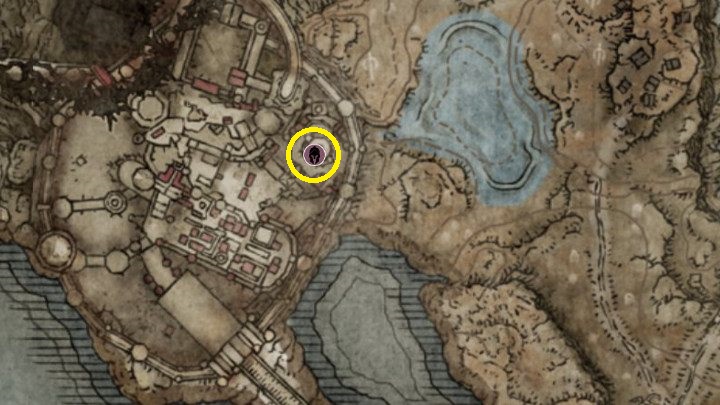
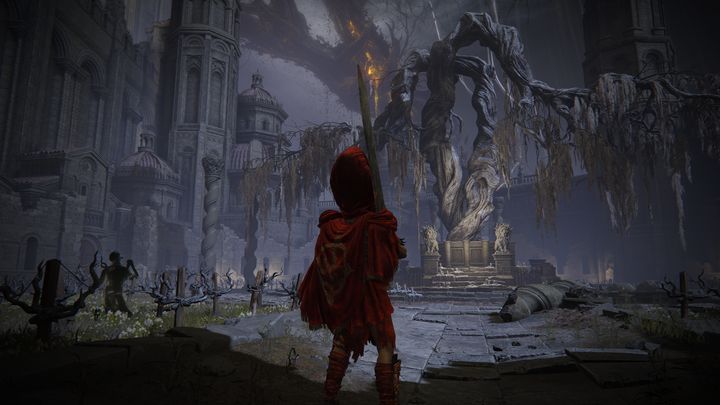
You will first encounter Fire Knight Queelign in Belurat, Tower Settlement. You must find the Site of Grace called Small Private Altar. From there, go up stairs and immediately turn right. Avoid the enemies and you will land in the place shown in the photo. Go there and after a while you will be attacked by Fire Knight Queelign. By defeating him, you will obtain a talisman - Crusade Insignia.
Where to find Fire Knight Queelign for the second time?
Related map marker: Fire Knight Queelign #2 - Church of the Crusade @ Shadow of the Erdtree
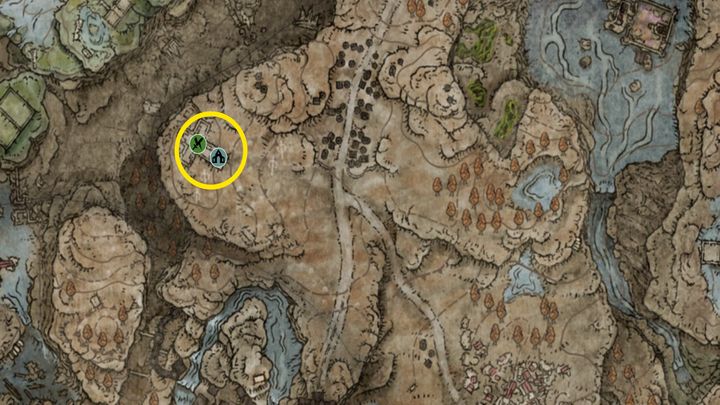
After emerging victorious from the battle, now go to the Church of the Crusade, which is located in Scadu Altus. When you defeat him again, you will receive Ashes of War: Flame Skewer and the key needed to open the cell where you will find him in the final stage of the quest.
Completion of the Fire Knight Queelign quest
Related map marker: Prayer Room Key - Church of the Crusade @ Shadow of the Erdtree
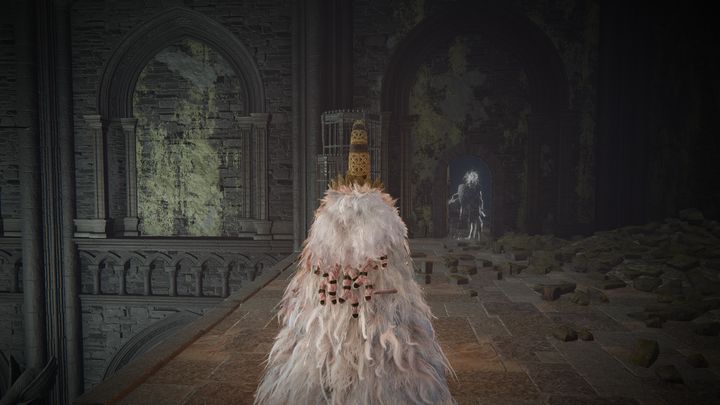
Before attempting to find Fire Knight Queelign, make sure you have any Iris, as it will be required to complete the quest.
To complete the quest with Fire Knight Queelign, go to the church district, near the Shadow Keep. Start at the Site of Grace called Church District Entrance. From there, head forward, jumping over buildings and climbing onto broken walls.
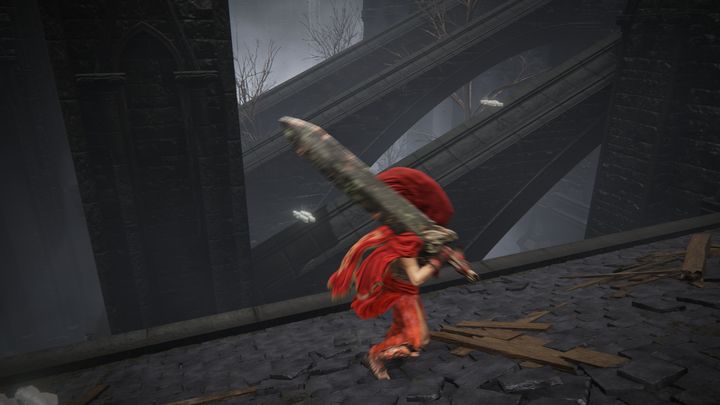
Then jump onto the part of the roof shown in the photo, be sure to sprint. Once you succeed, go up.
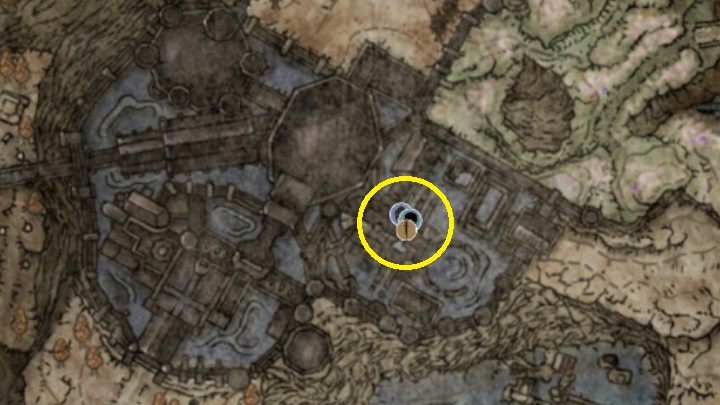
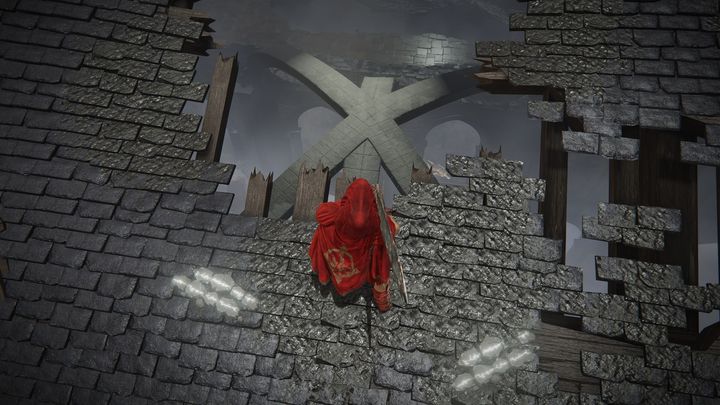
At the top you will notice a hole in the roof. Jump on the object in front of you, then go down a bit, keeping on the ledge, and jump into the hole in front of you. Turn left and open the door to find Fire Knight Queelign.
Rewards
Related map marker: Queelign's Greatsword - Church District @ Shadow of the Erdtree
Related map marker: Water level rotating mechanism - Church District @ Shadow of the Erdtree
Related map marker: Fire Knight Queelign - Ash of War @ Shadow of the Erdtree
Related map marker: Iris of Occultation #2 - Church District @ Shadow of the Erdtree
Related map marker: Iris of Grace #2 - Tree-Worship Sanctum @ Shadow of the Erdtree
Related map marker: Iris of Grace #1 - Shadow Keep @ Shadow of the Erdtree
Related map marker: Iris of Occultation #1 - Fort of Reprimand @ Shadow of the Erdtree
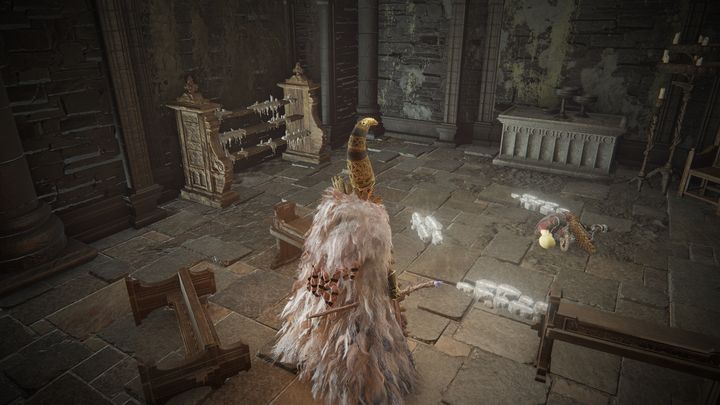
Approach Queelign lying on the ground and interact with him. Below we present which iris will lead you to which reward:
- Iris of Occultation - you will receive Queelign's Greatsword.
- Iris of Grace - you will receive Fire Knight Queelign summon ashes.
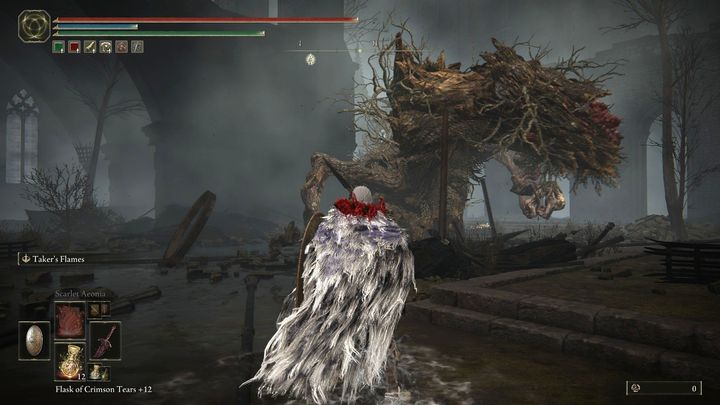
Iris of Occultation and Iris of Grace can be found in the flooded part of the Church District. After you use the lever to drain the water, you will find two Ulcerated Tree Spirits, powerful regular enemies. After killing one of them, you will get an Iris of Occultation.
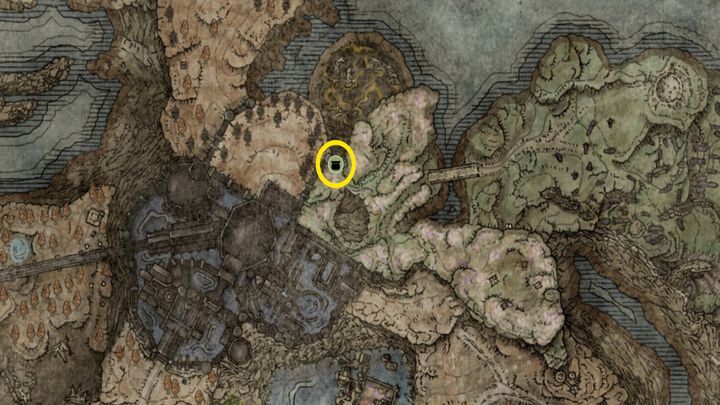
To get an Iris of Grace, after lowering the water in the Church District, go to the Sunken Chapel Site of Grace. Enter the building, heading northwest, and keep going forward until you are right in front of Marika's statue. Then head northeast and follow this path until you reach another statue of Marika. The Iris will be in front of it.
- Elden Ring Guide
- Shadow of the Erdtree: Shadow of the Erdtree DLC
- Shadow of the Erdtree: Quests
- Shadow of the Erdtree: List of all quests, all NPCs map
- Shadow of the Erdtree: Needle Knight Leda quest walkthrough
- Shadow of the Erdtree: Hornsent quest walkthrough
- Shadow of the Erdtree: Hornsent Grandam quest walkthrough
- Shadow of the Erdtree: Ymir and Jolan quest walkthrough
- Shadow of the Erdtree: St. Trina, Thiollier and Moore quest walkthrough
- Shadow of the Erdtree: Fire Knight Queelign quest walkthrough
- Shadow of the Erdtree: Igon quest walkthrough
- Shadow of the Erdtree: Dryleaf Dane quest walkthrough
- Shadow of the Erdtree: Freyja quest walkthrough
- Shadow of the Erdtree: Sir Ansbach quest walkthrough
- Shadow of the Erdtree: Dragon Communion Priestess Florissax quest walkthrough
- Shadow of the Erdtree: Quests
- Shadow of the Erdtree: Shadow of the Erdtree DLC
You are not permitted to copy any image, text or info from this page. This site is not associated with and/or endorsed by the developers and the publishers. All logos and images are copyrighted by their respective owners.
Copyright © 2000 - 2026 Webedia Polska SA for gamepressure.com, unofficial game guides, walkthroughs, secrets, game tips, maps & strategies for top games.
