Silent Hill 2 Remake: Toluca prison
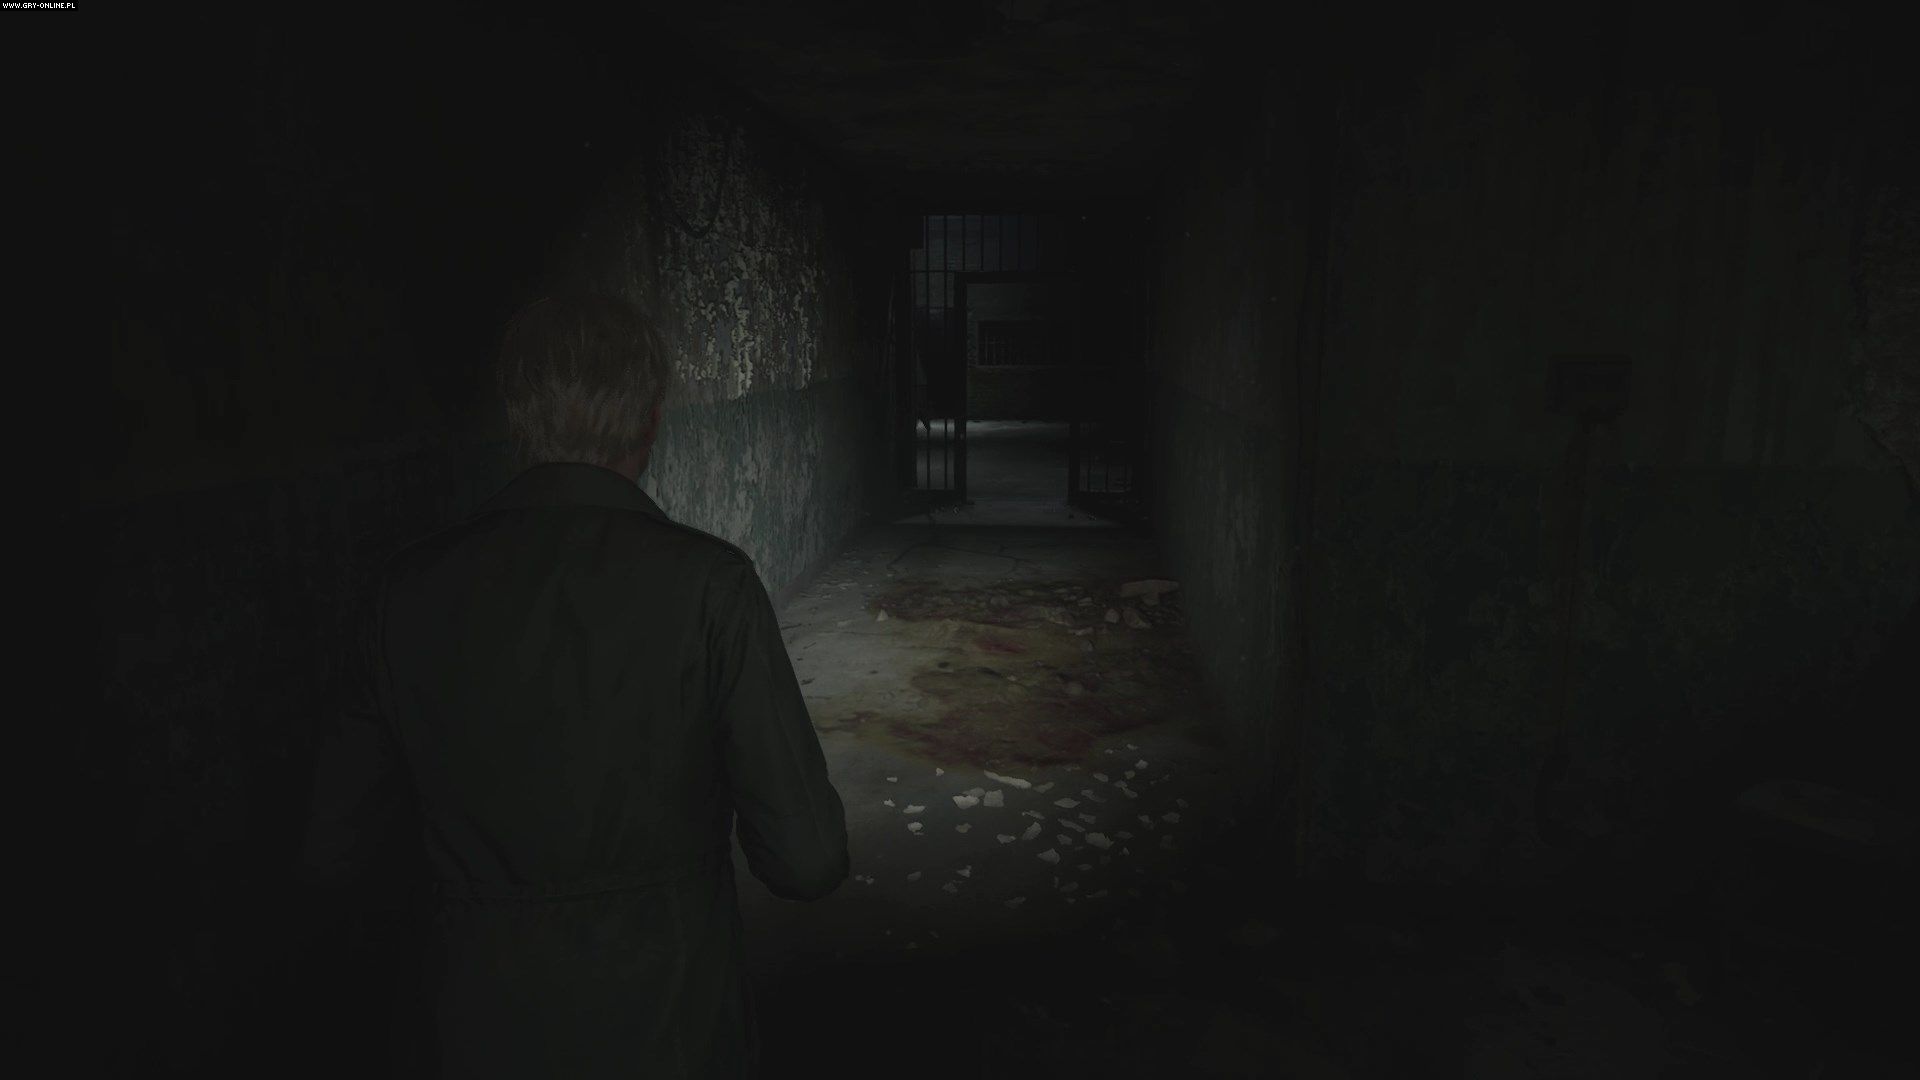
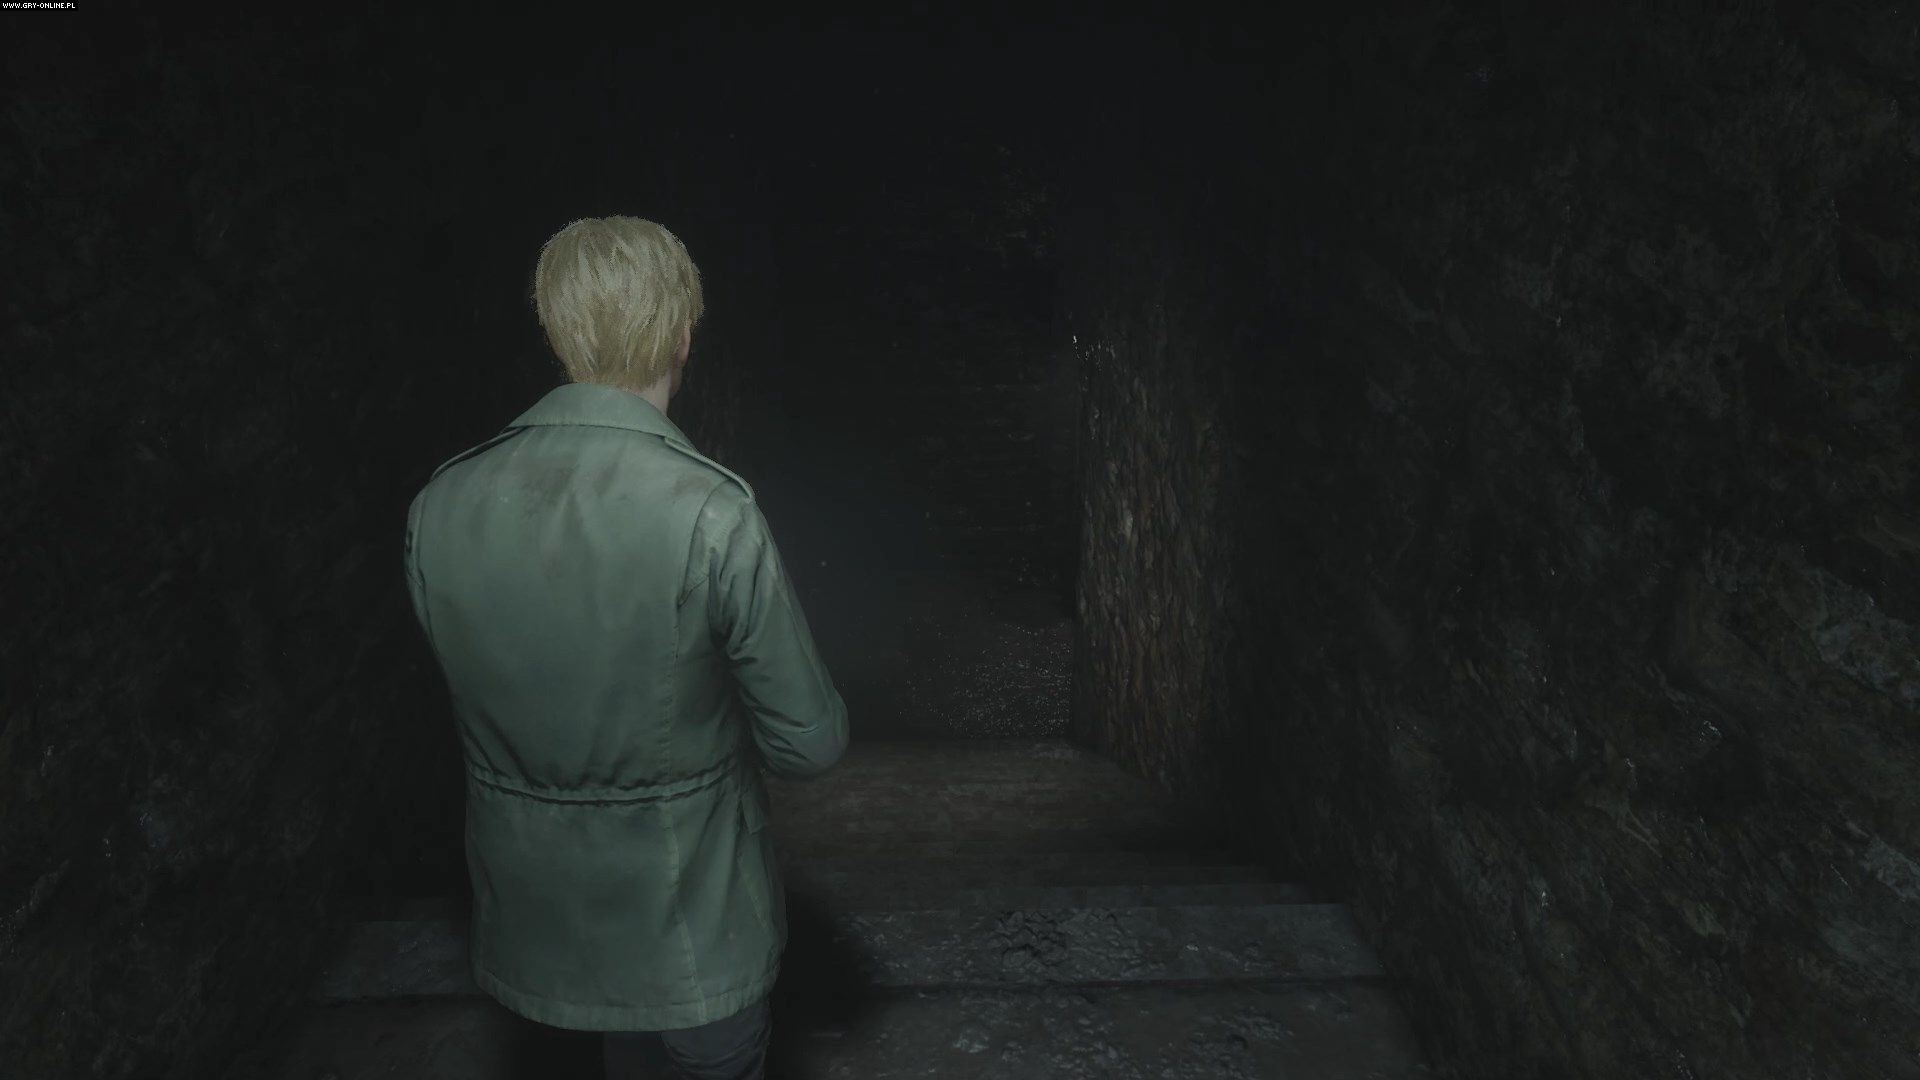
Toluca Prison is the eighth area in Silent Hill 2 Remake. It is a long area with a rather simple structure characterized by omnipresent darkness. On this page we have described how to explore Toluca Prison, get the rifle and all the weights.
Toluca prison is the eighth area in Silent Hill 2 Remake, which you will get to after leaving Otherworld South Vale. It is a long location, but its structure is quite simple and intuitive, while the main obstacle will be the pervasive darkness. On this guide page, we described how to explore the entire Toluca prison, get the rifle, and all the weights.
- How to get to the yard?
- How to get through the snake area?
- How to get through the area of Wola?
- How to get through the boar area?
- How to get through the pigeon area?
- How to leave the prison?
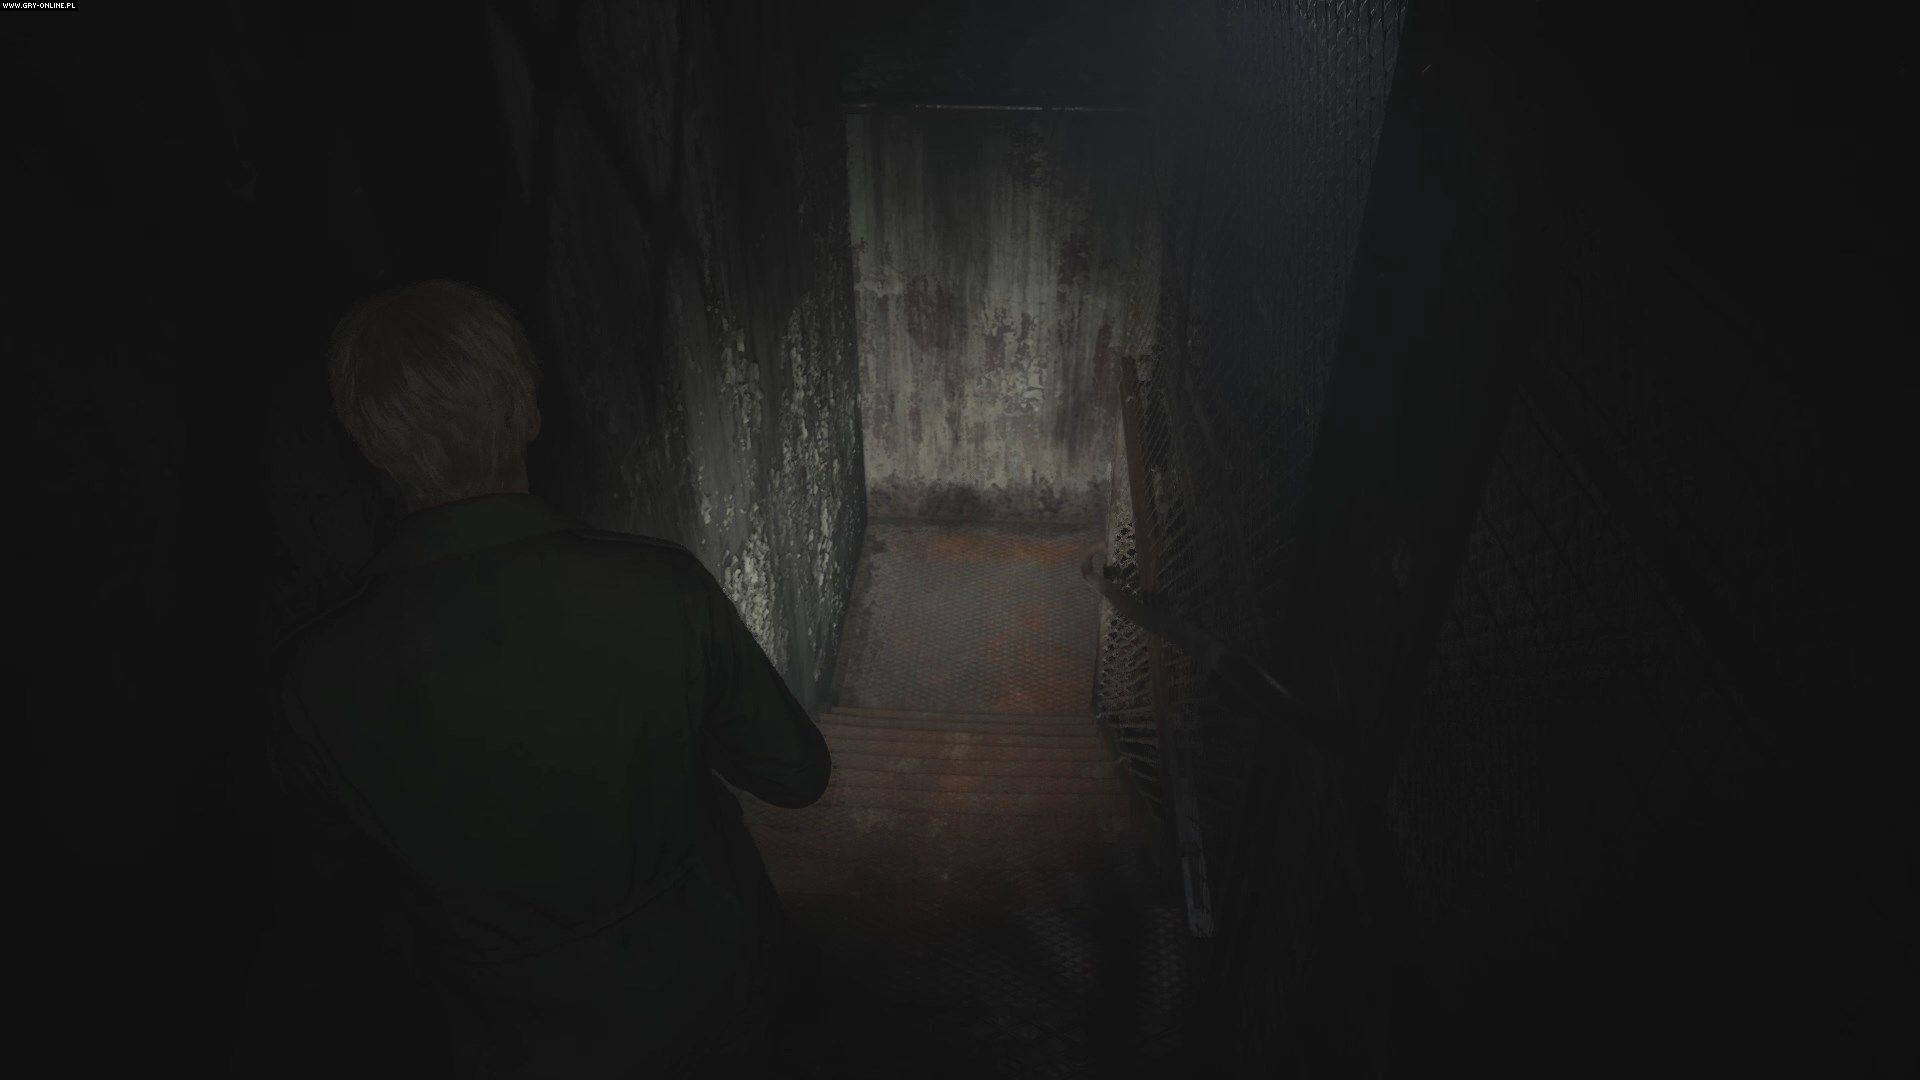
How to get to the yard?
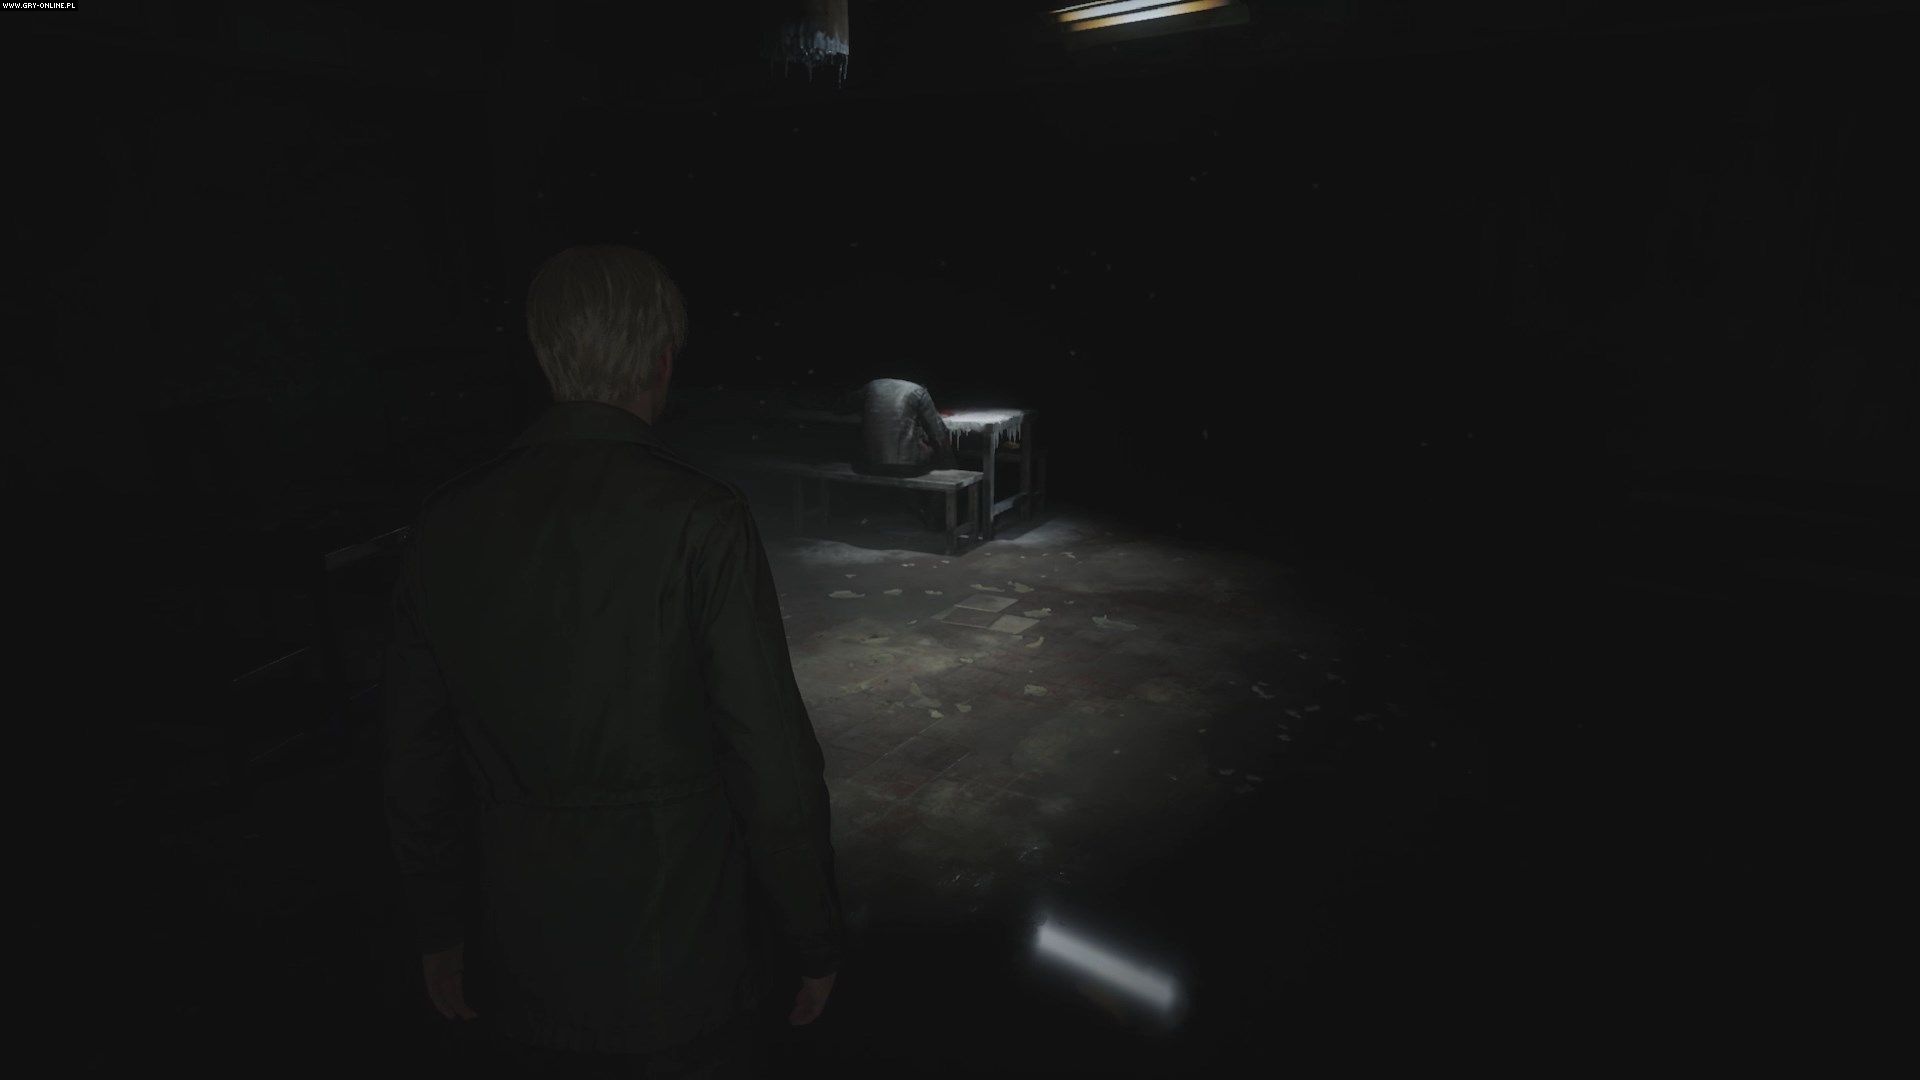
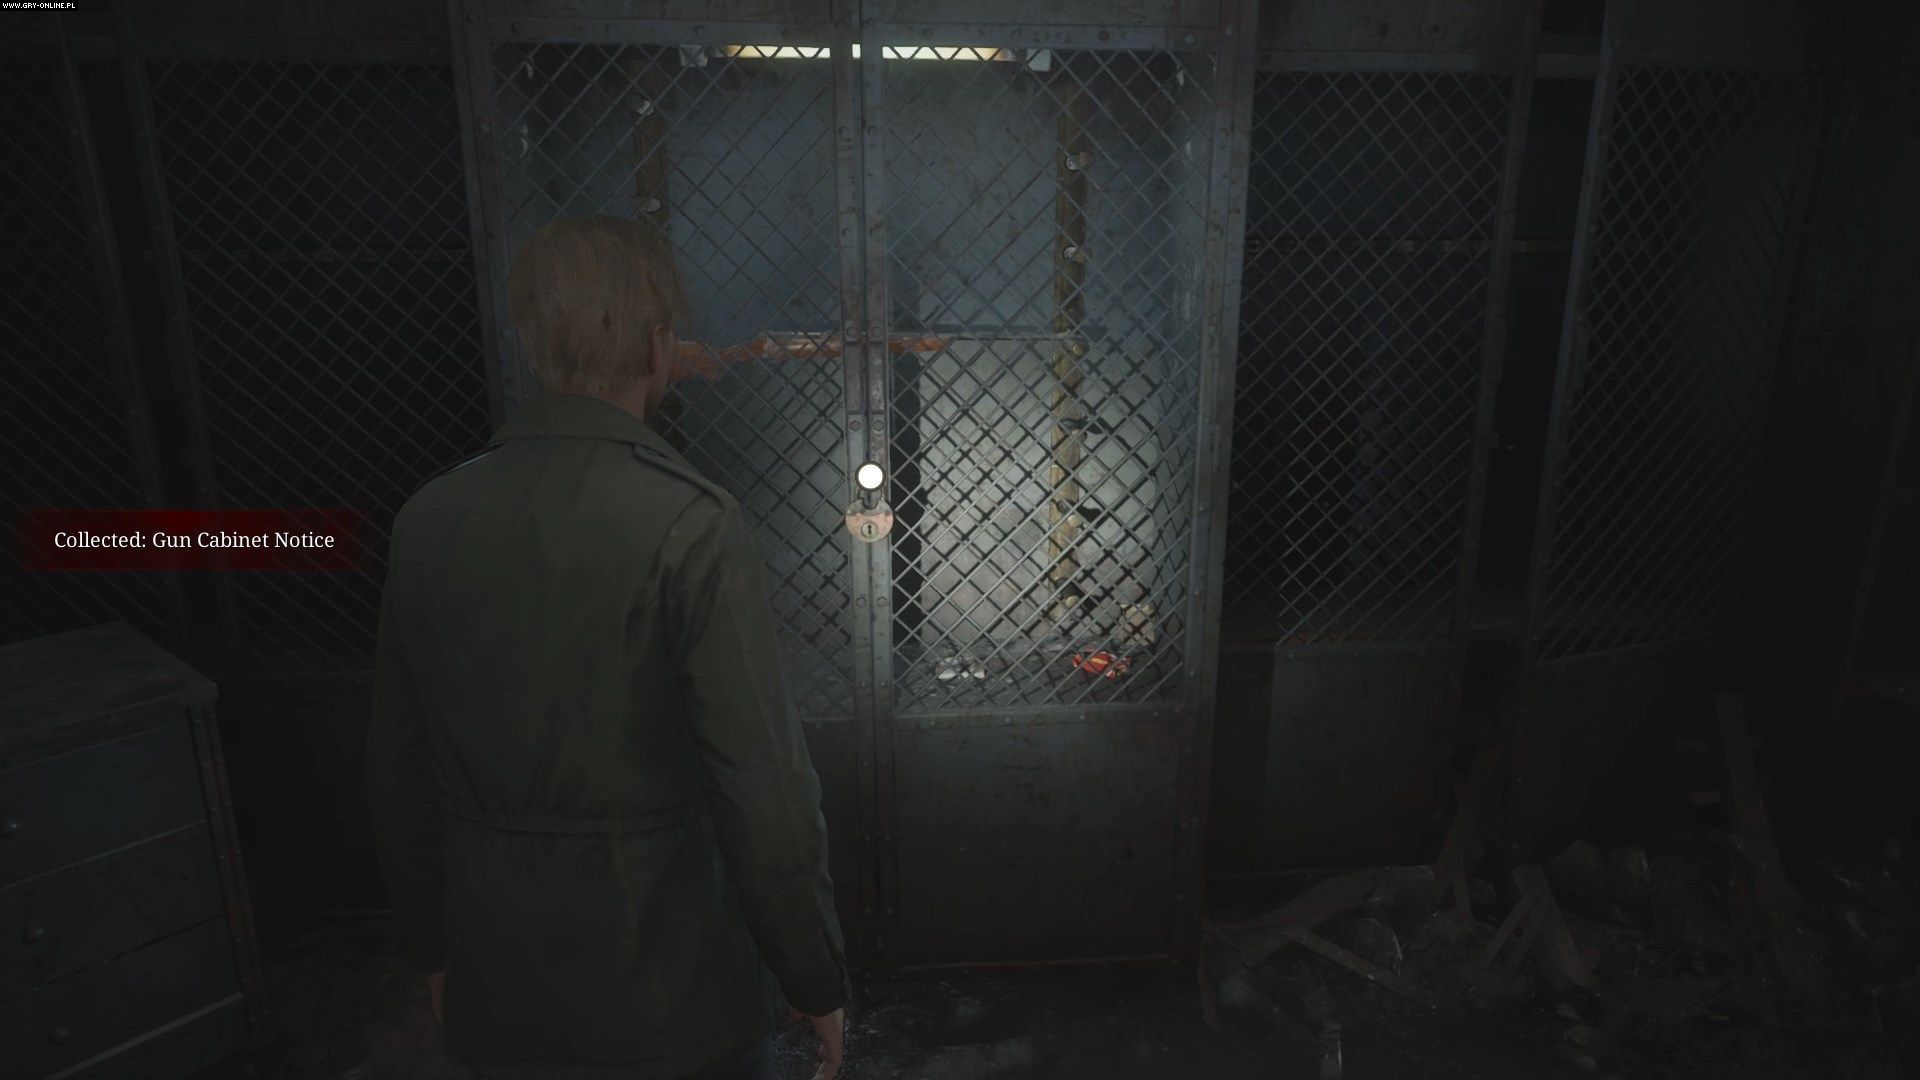
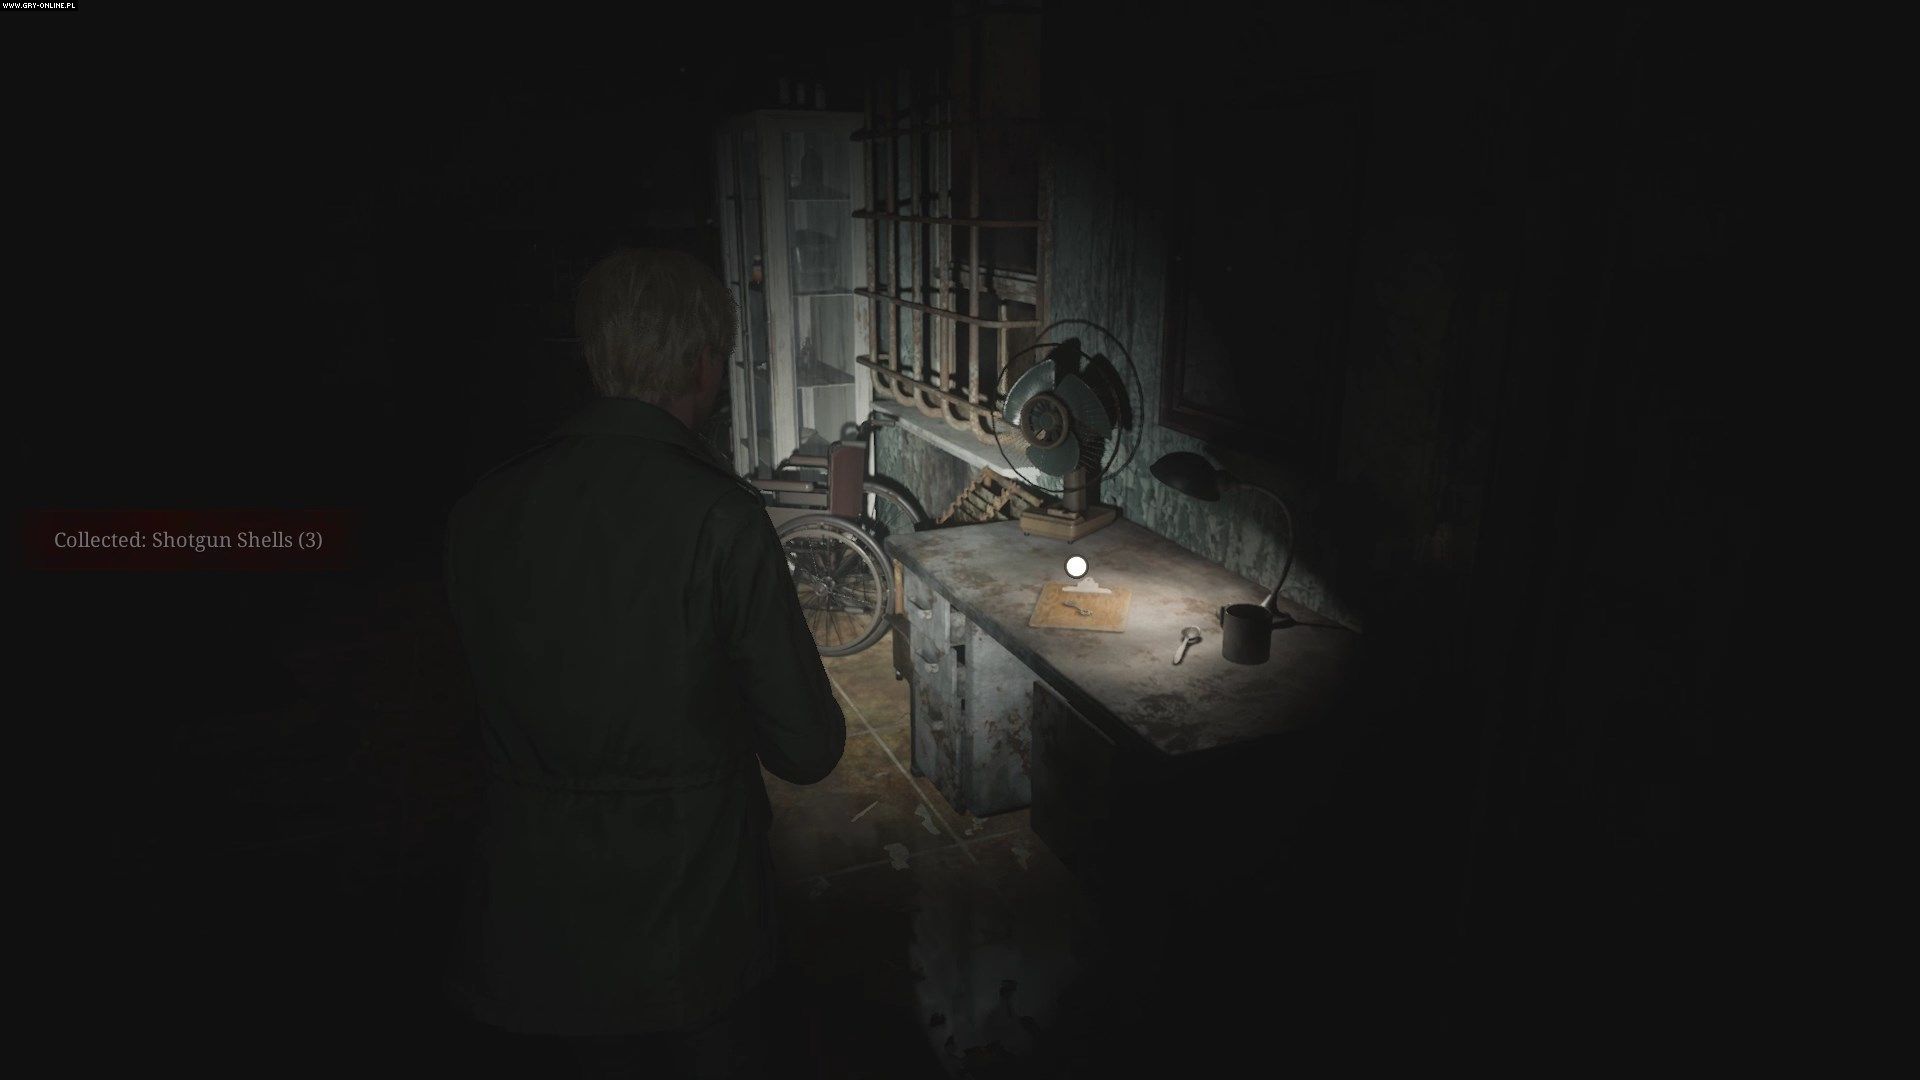
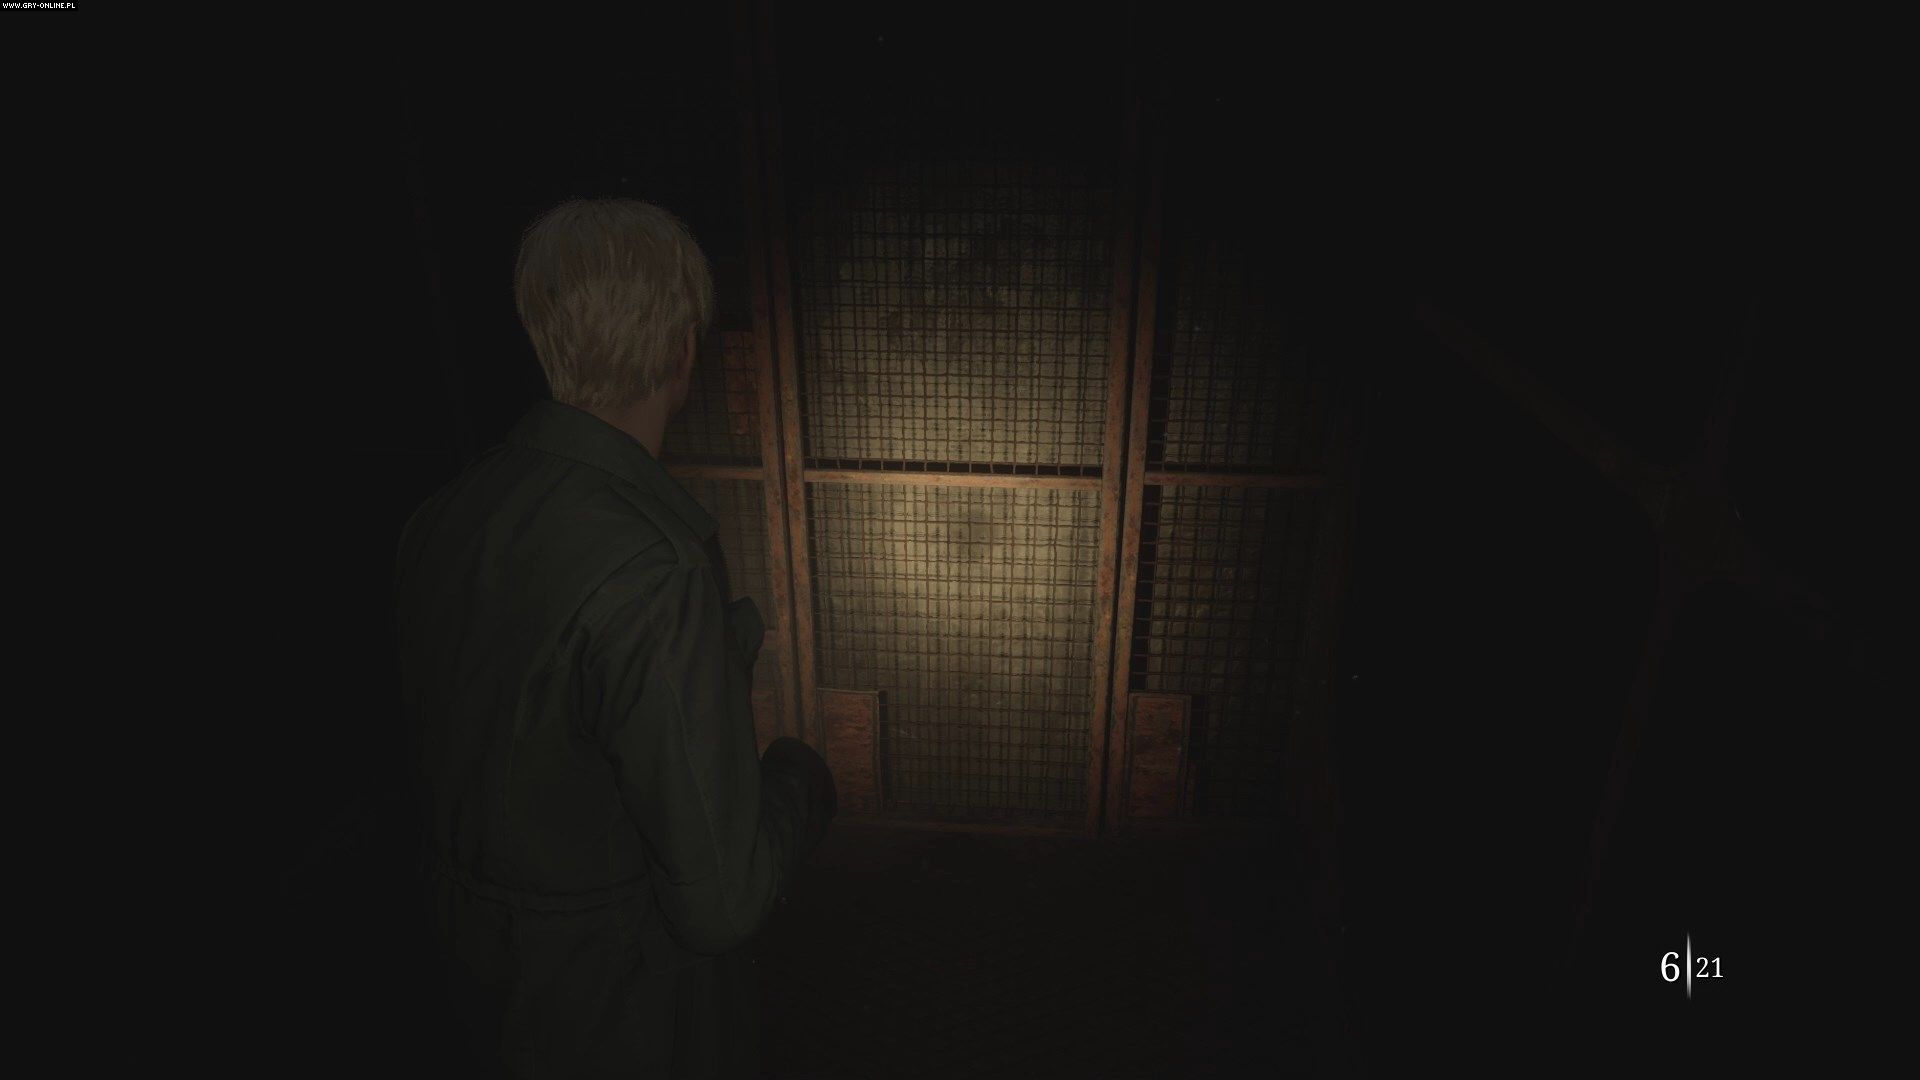
You start exploring the location in the cafeteria. Approach the only lit table and watch the cut-scene, during which you will meet Eddie again. After the disturbing conversation, exit through the same door as Eddie and enter the armory. Notice the locked gun cabinet. Inside is a rifle, the last weapon in the game. You need a key, which you will obtain soon. Take the map from the table.
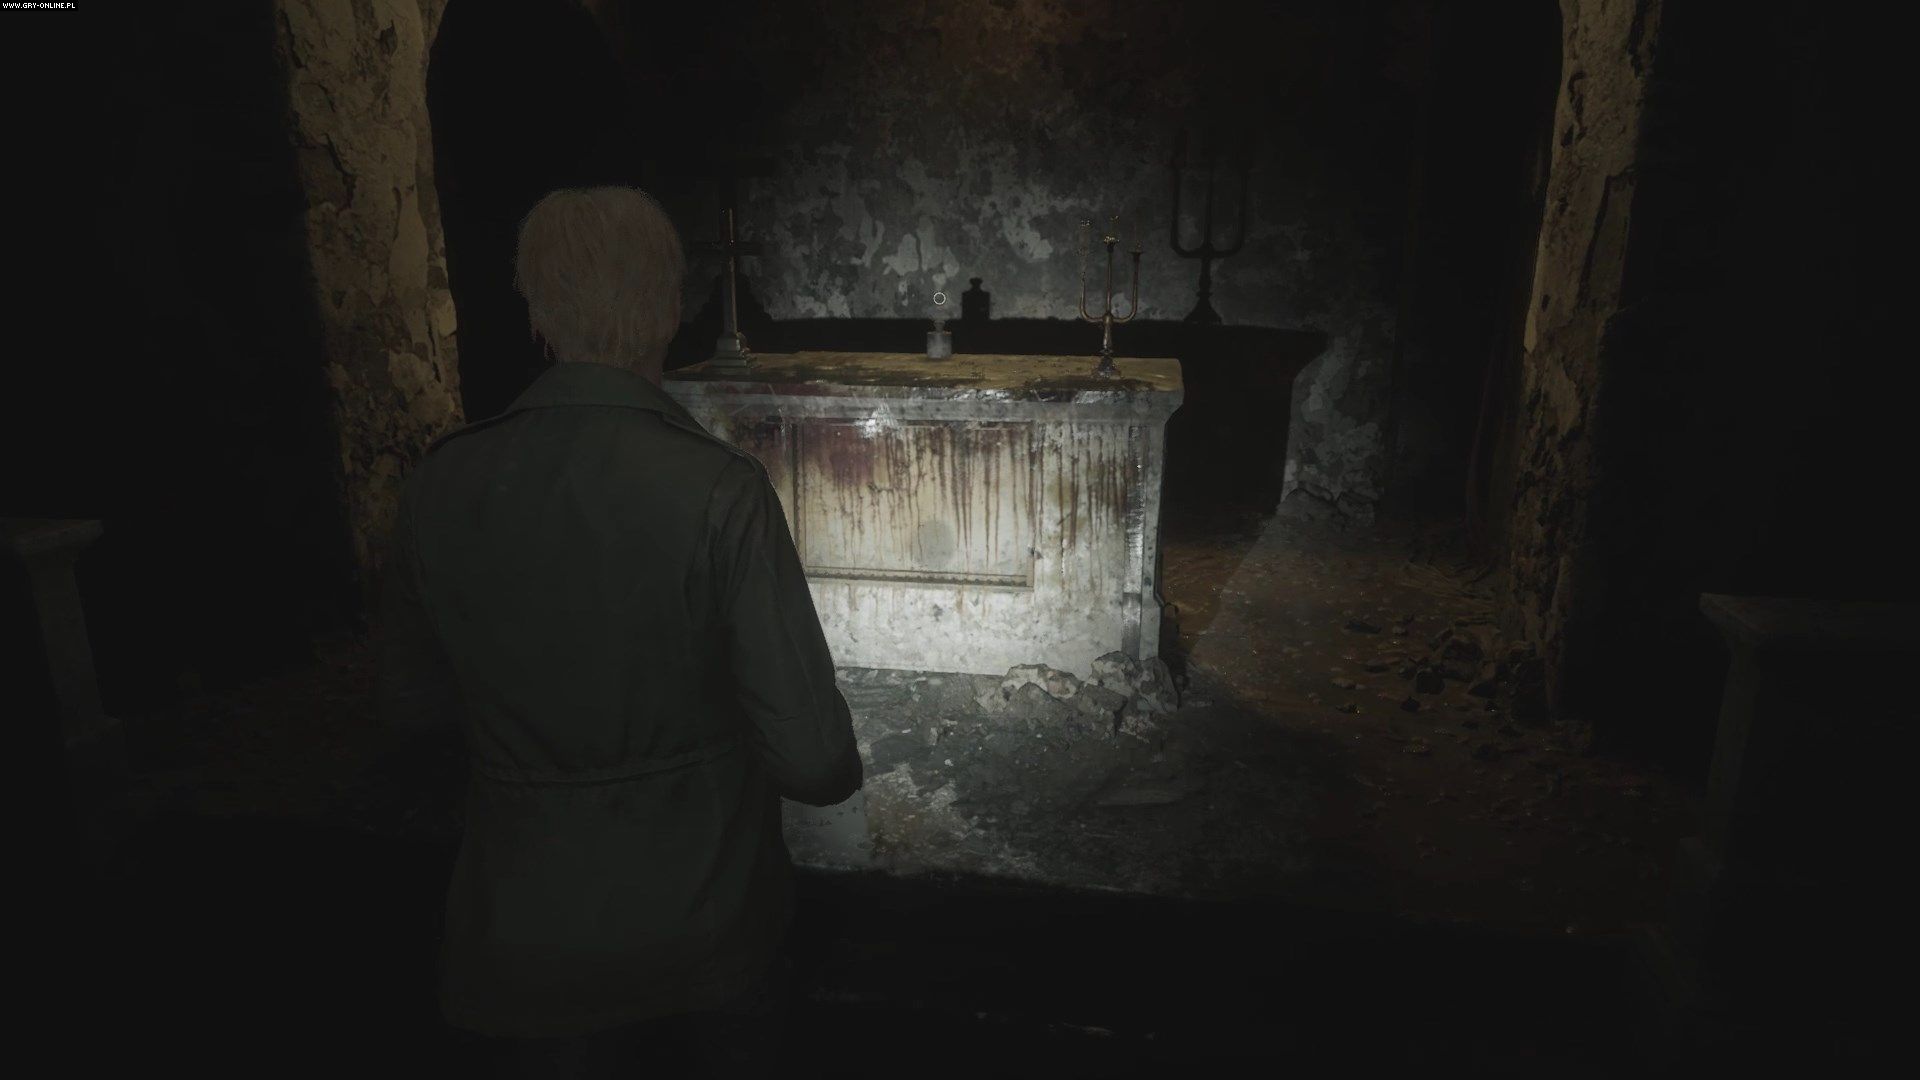
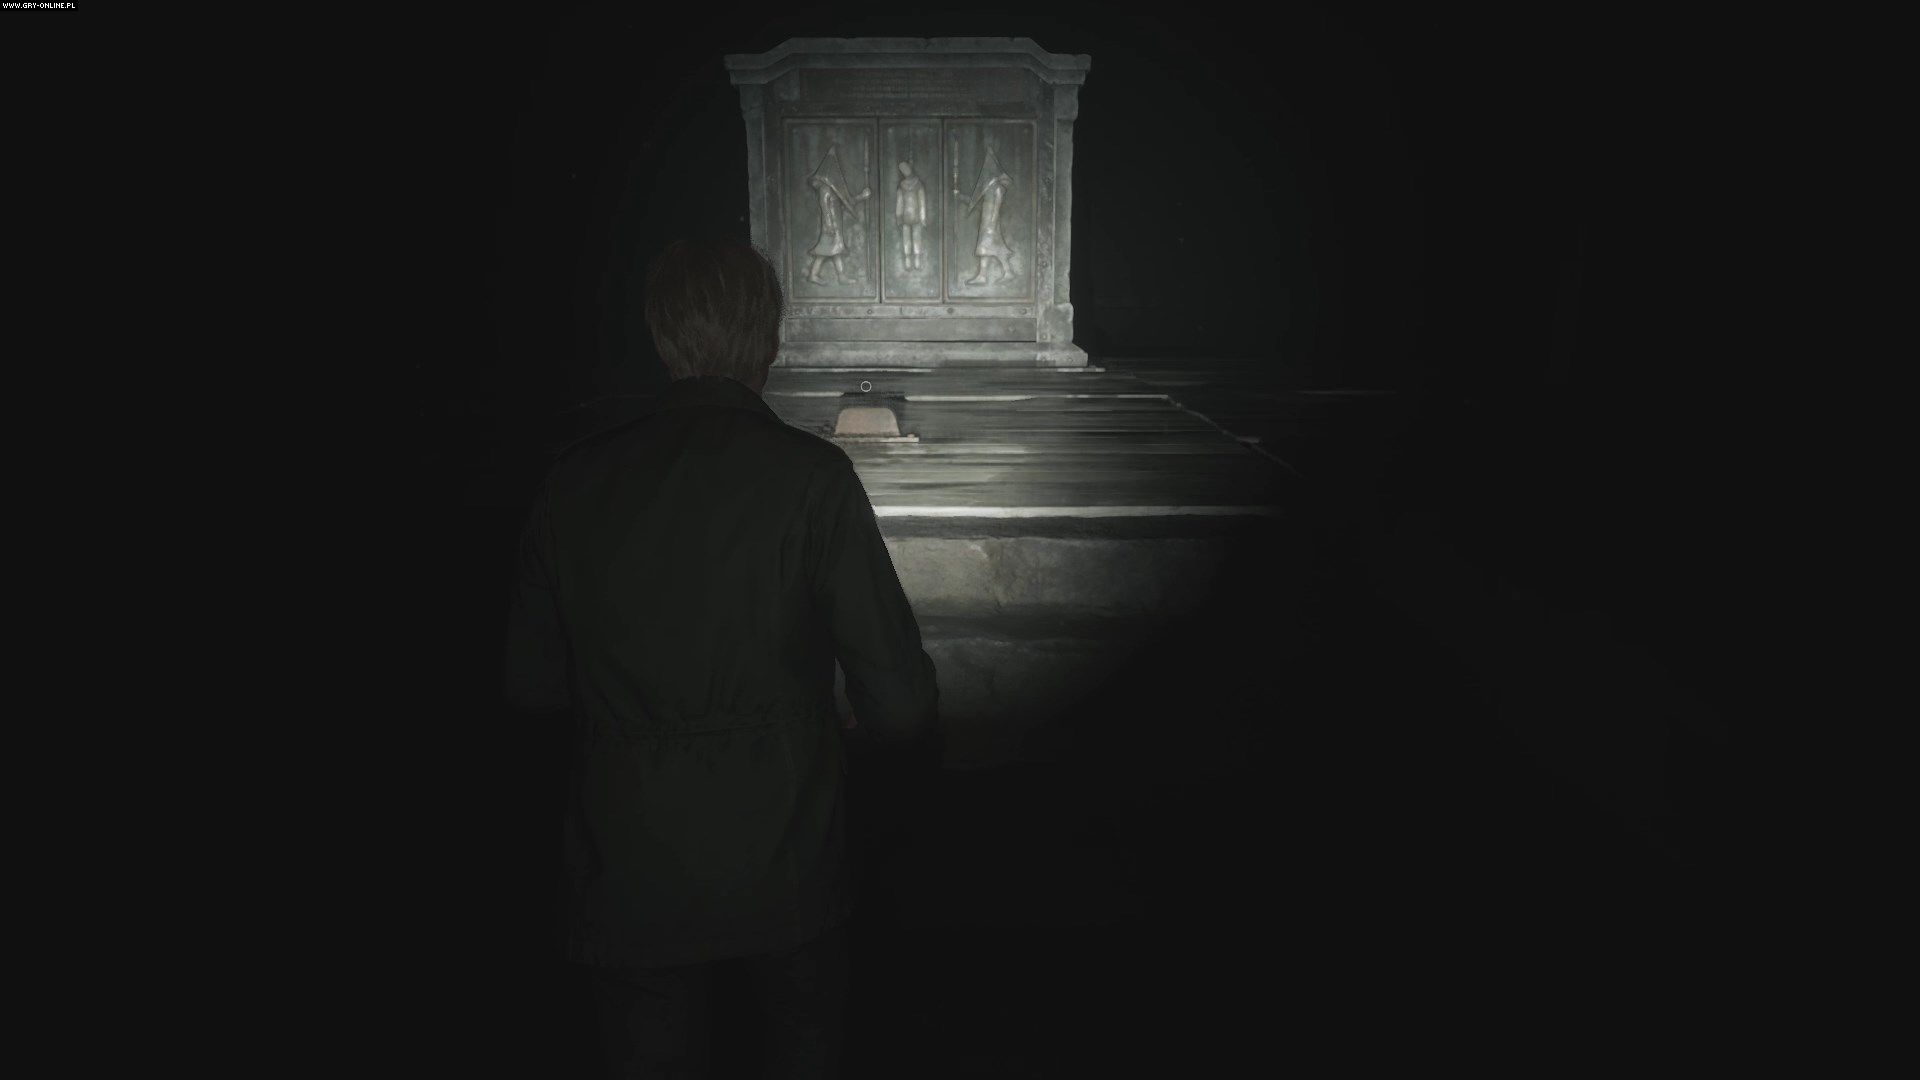
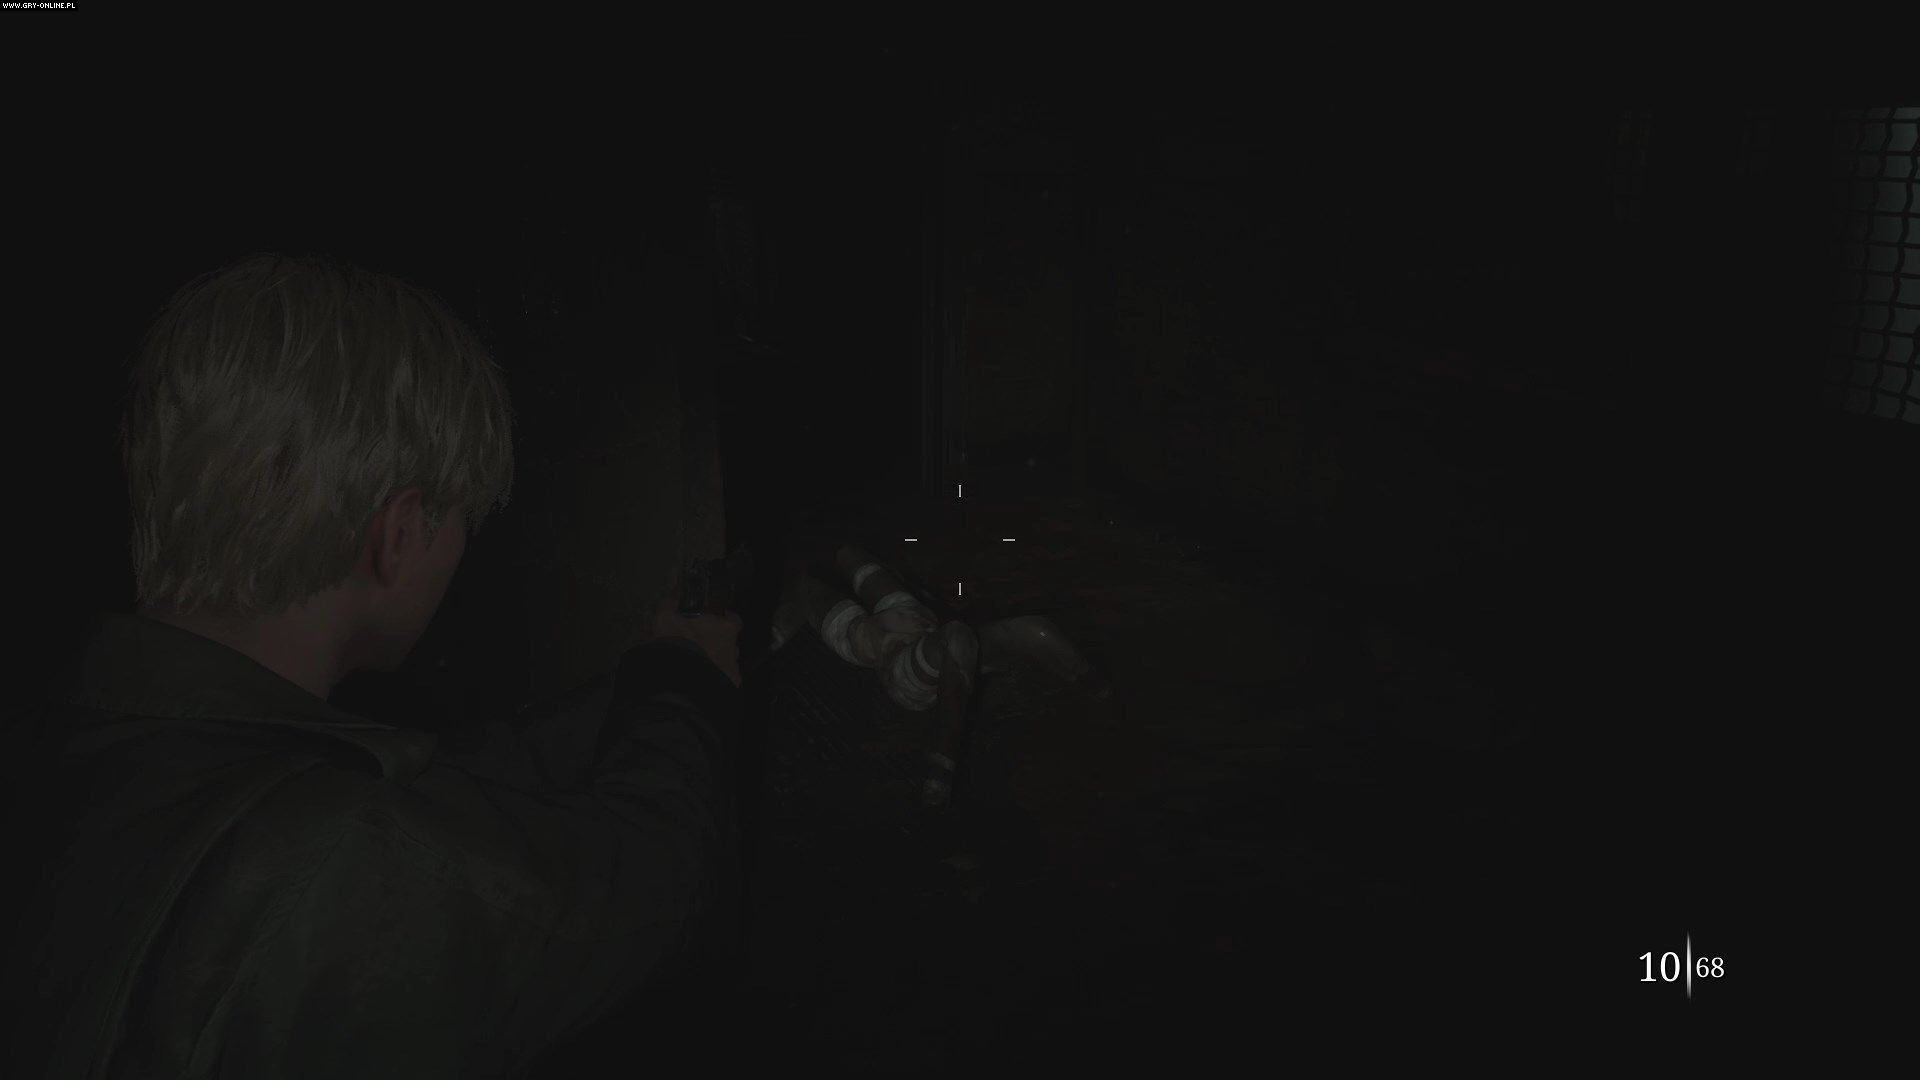
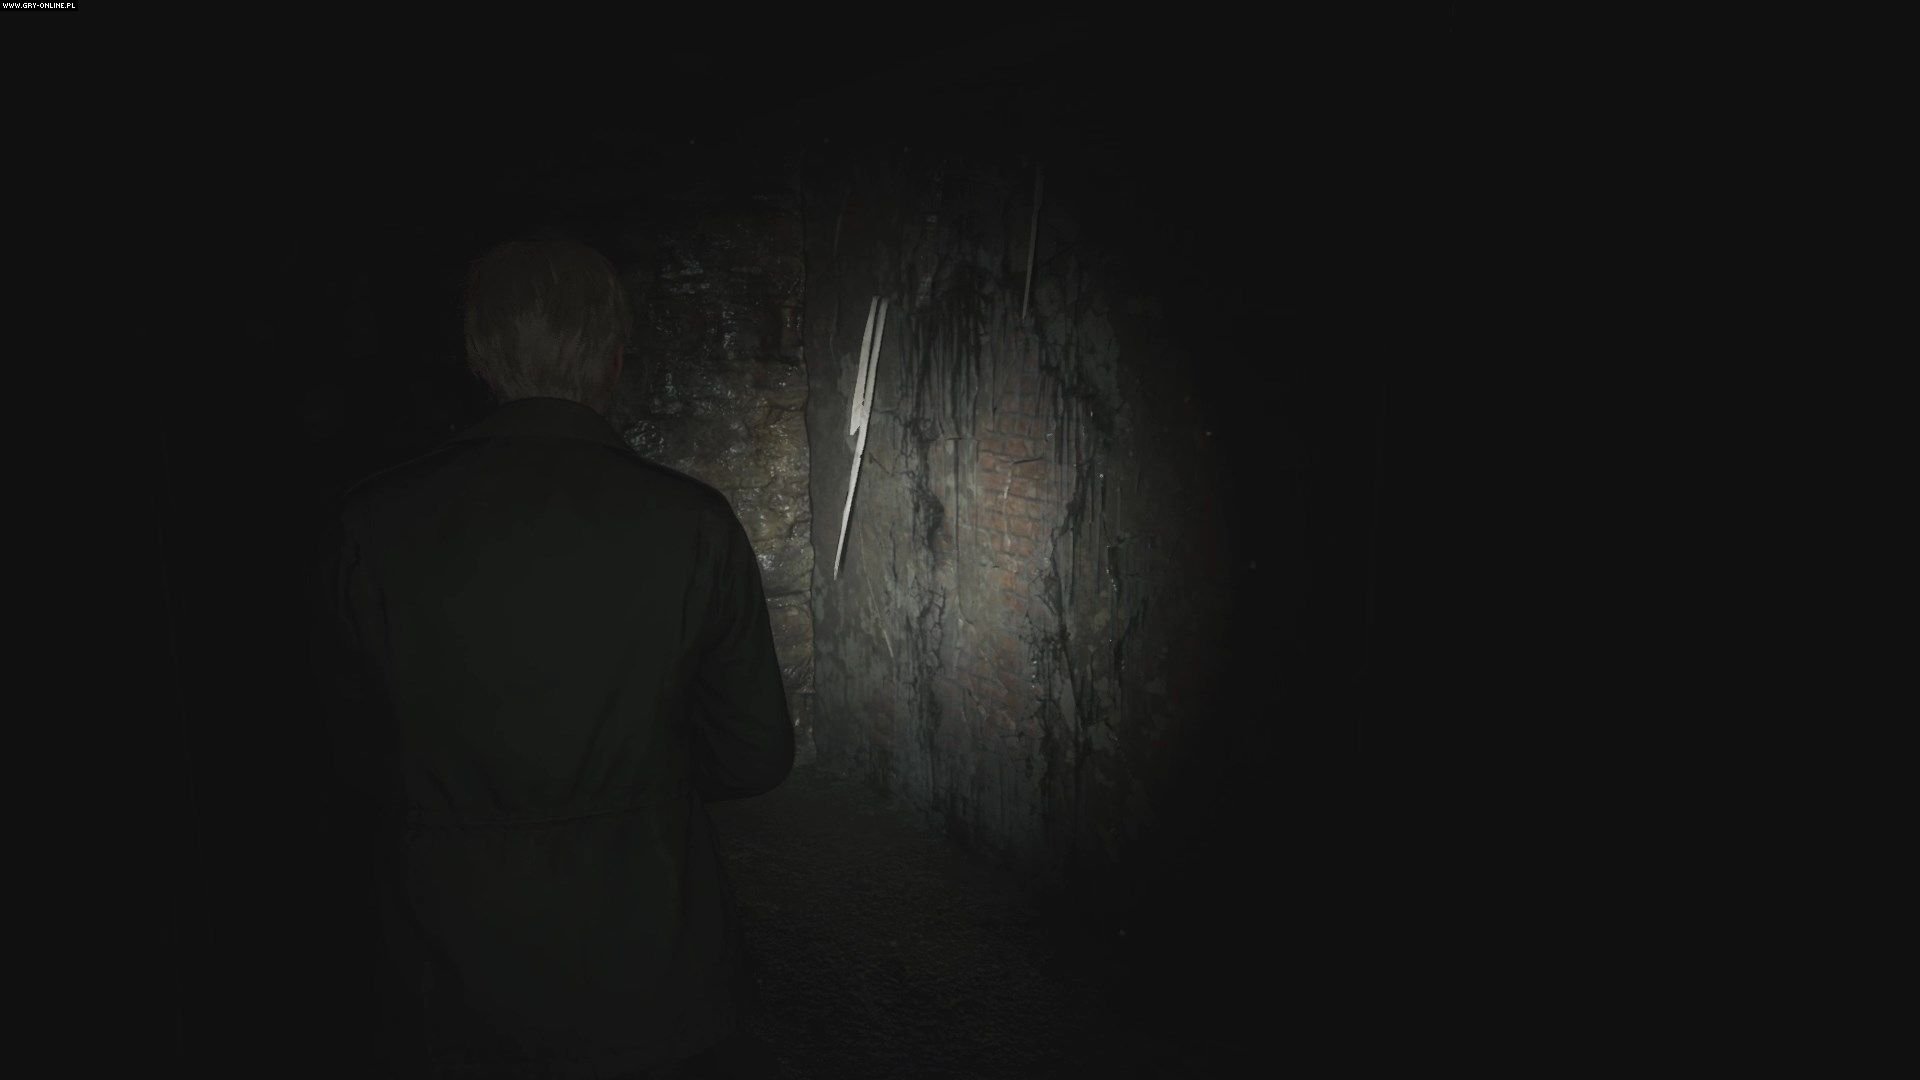
Go to the chapel next door and take the heaviest weight from the altar. Your goal in this area is to collect five of these weights. Beware of the enemy who will attack you after picking up the weight and head to Block A. You will encounter a new enemy here - spider mannequins crawling on the walls. Also pay attention to the levers on the walls. The prison is very dark, but pulling these levers temporarily brightens the room.
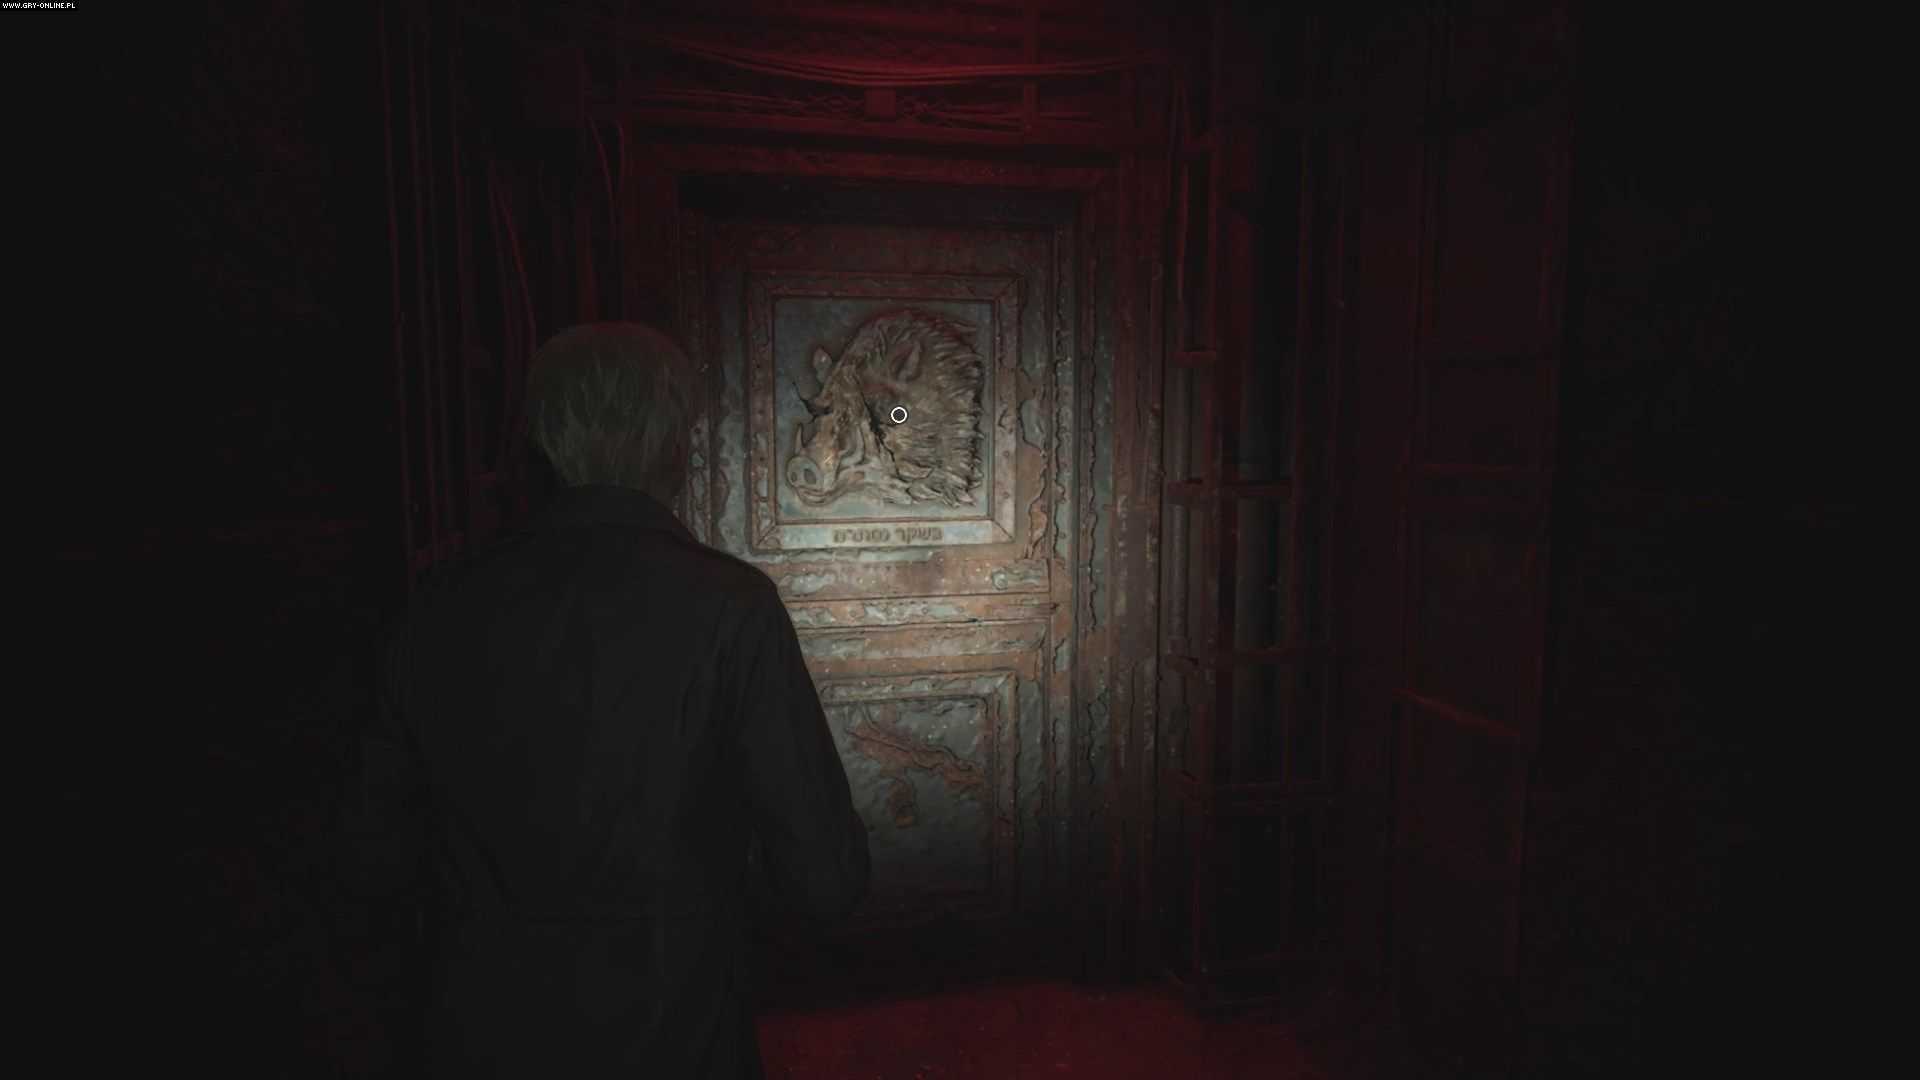
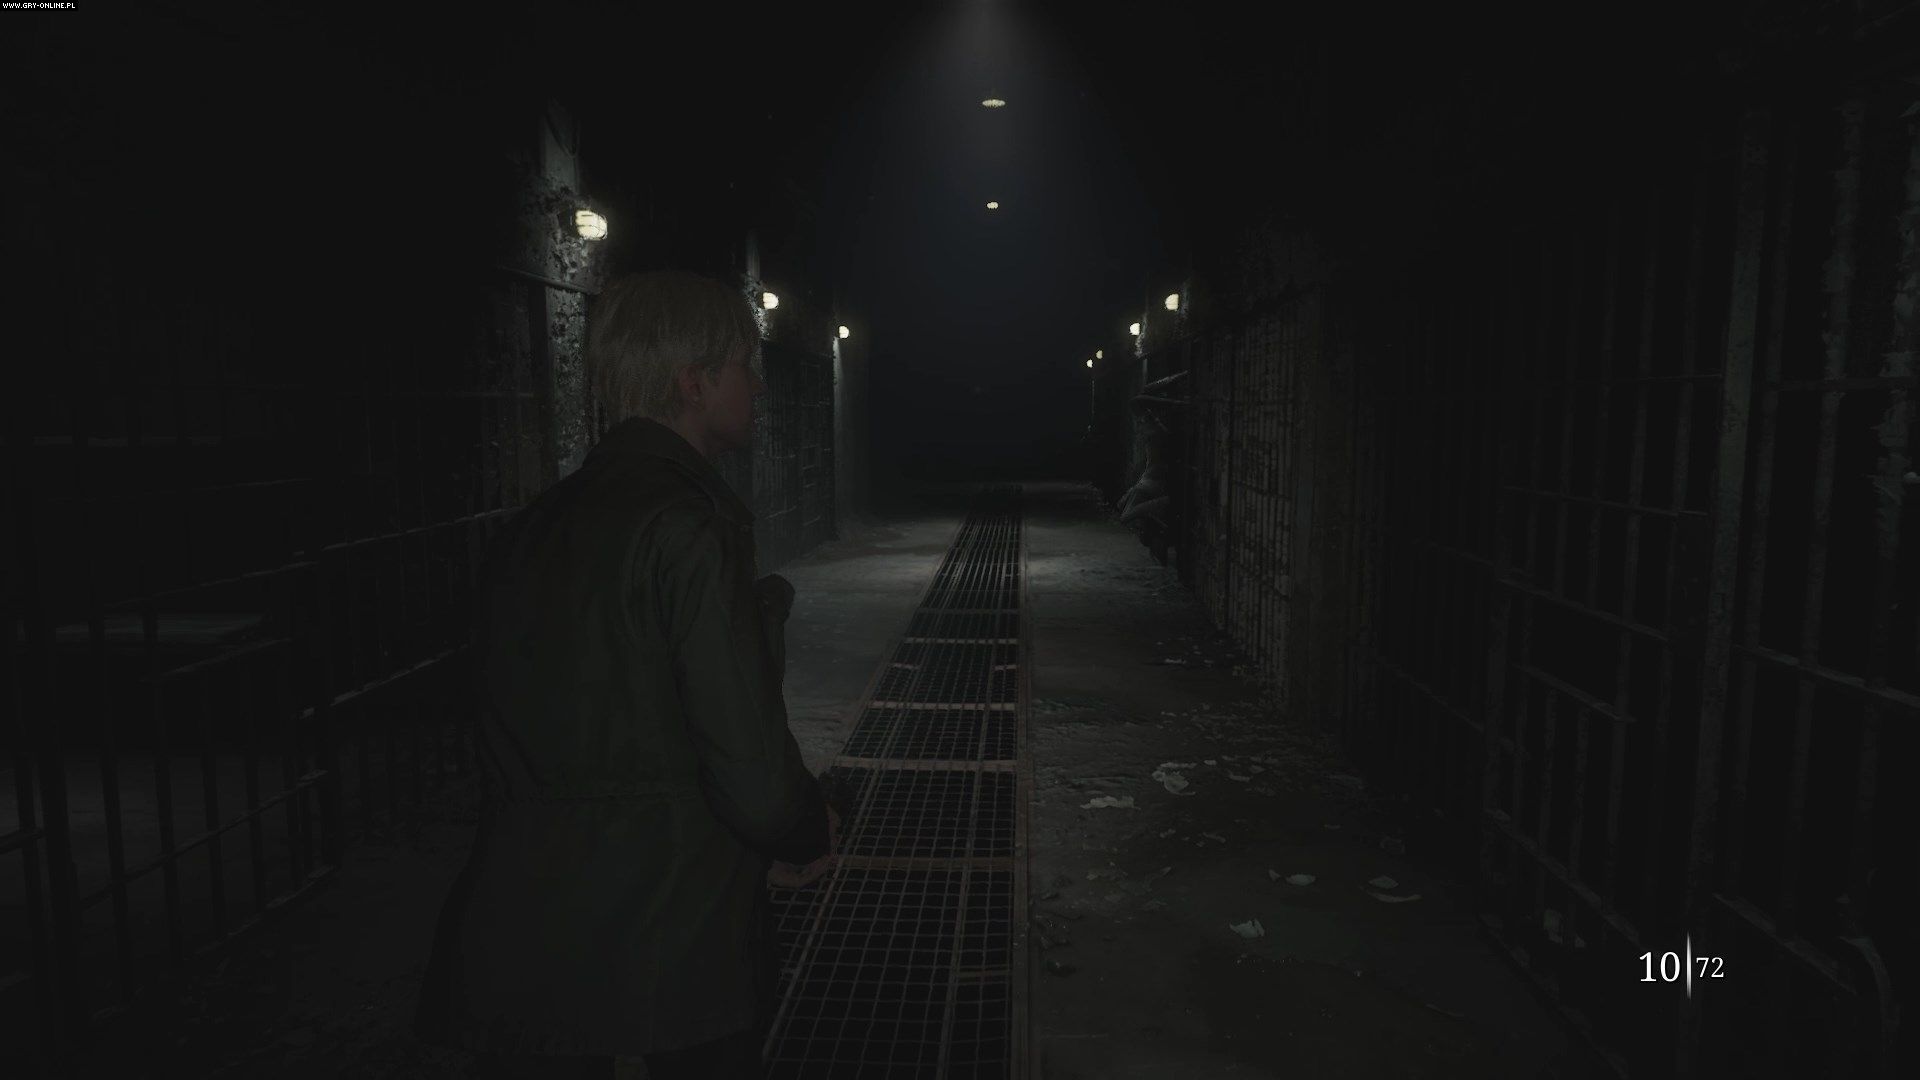
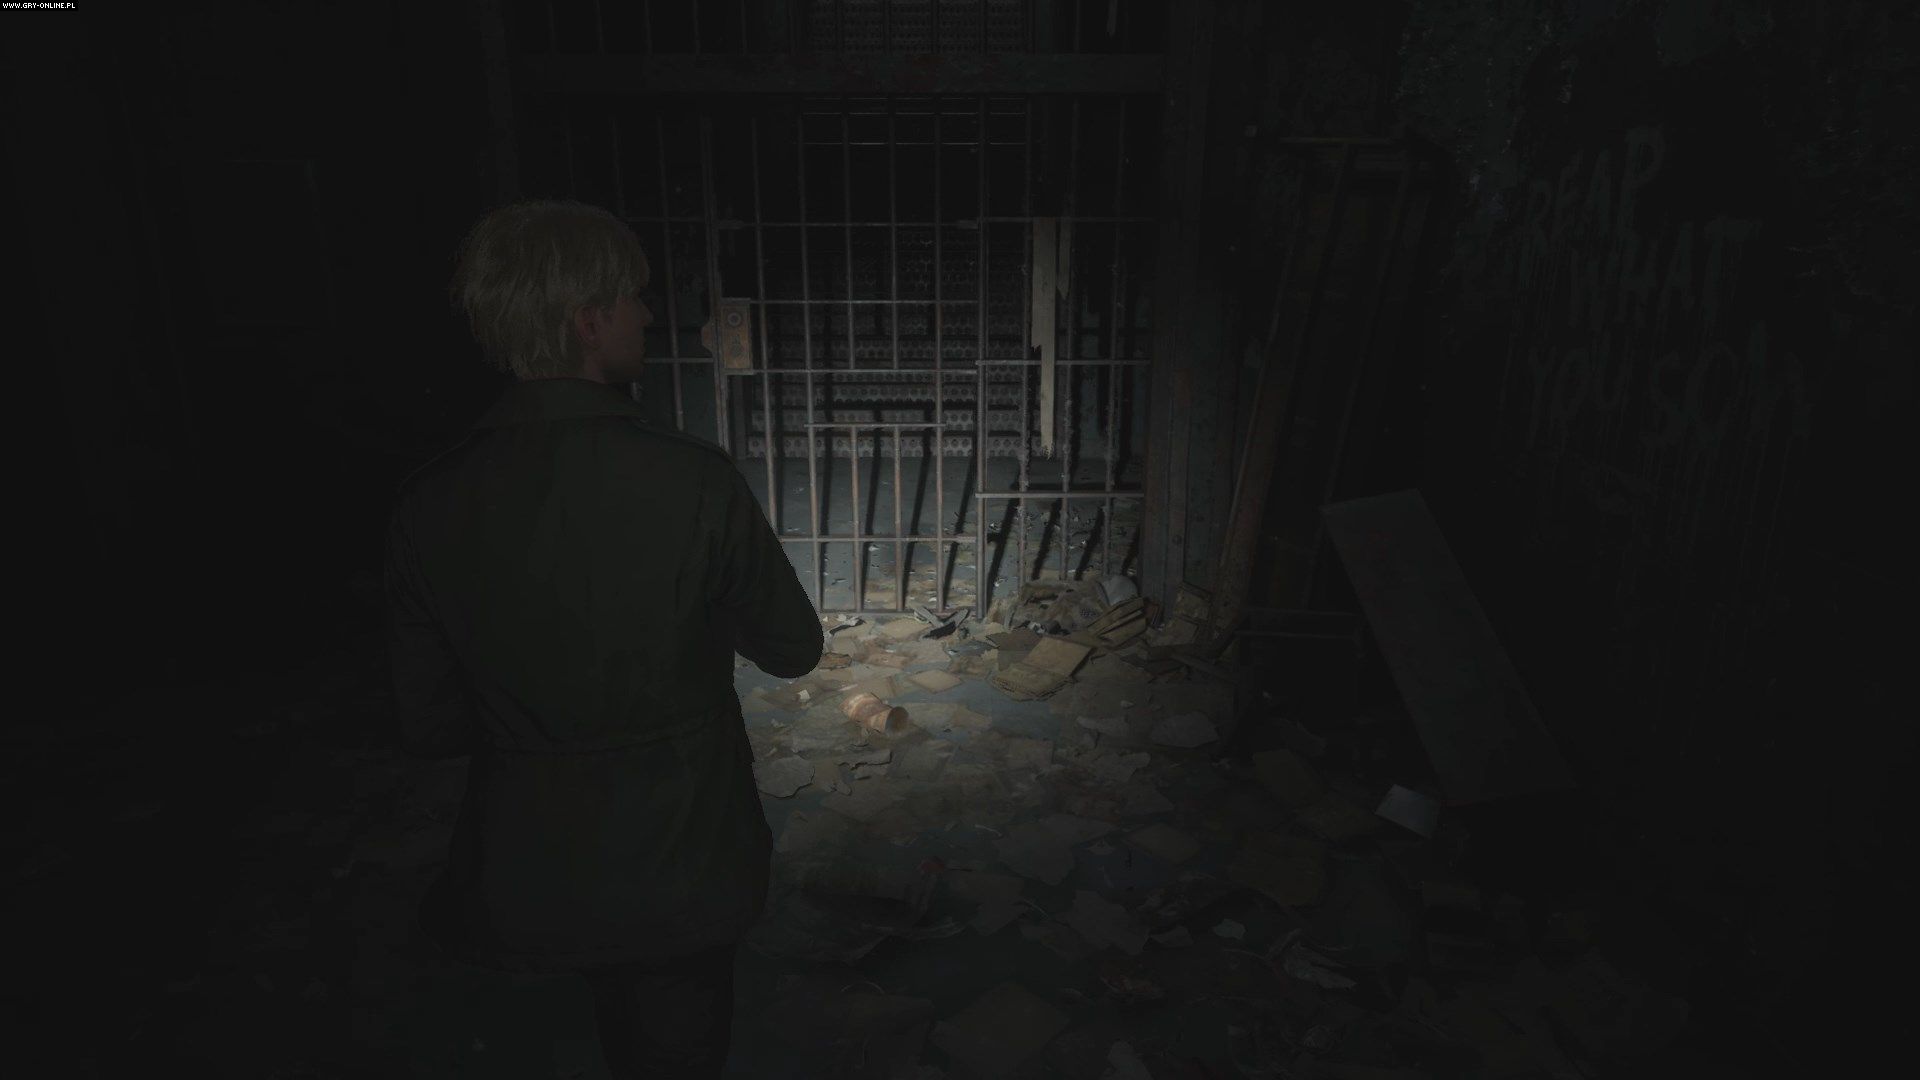
Explore the prison blocks to find four locked doors with symbols of an ox, snake, boar, and dove. Each of these doors leads to a separate area and a new weight. You must explore these areas one after another, and completing a location requires obtaining all the weights. After visiting the prison cells, head to the yard.
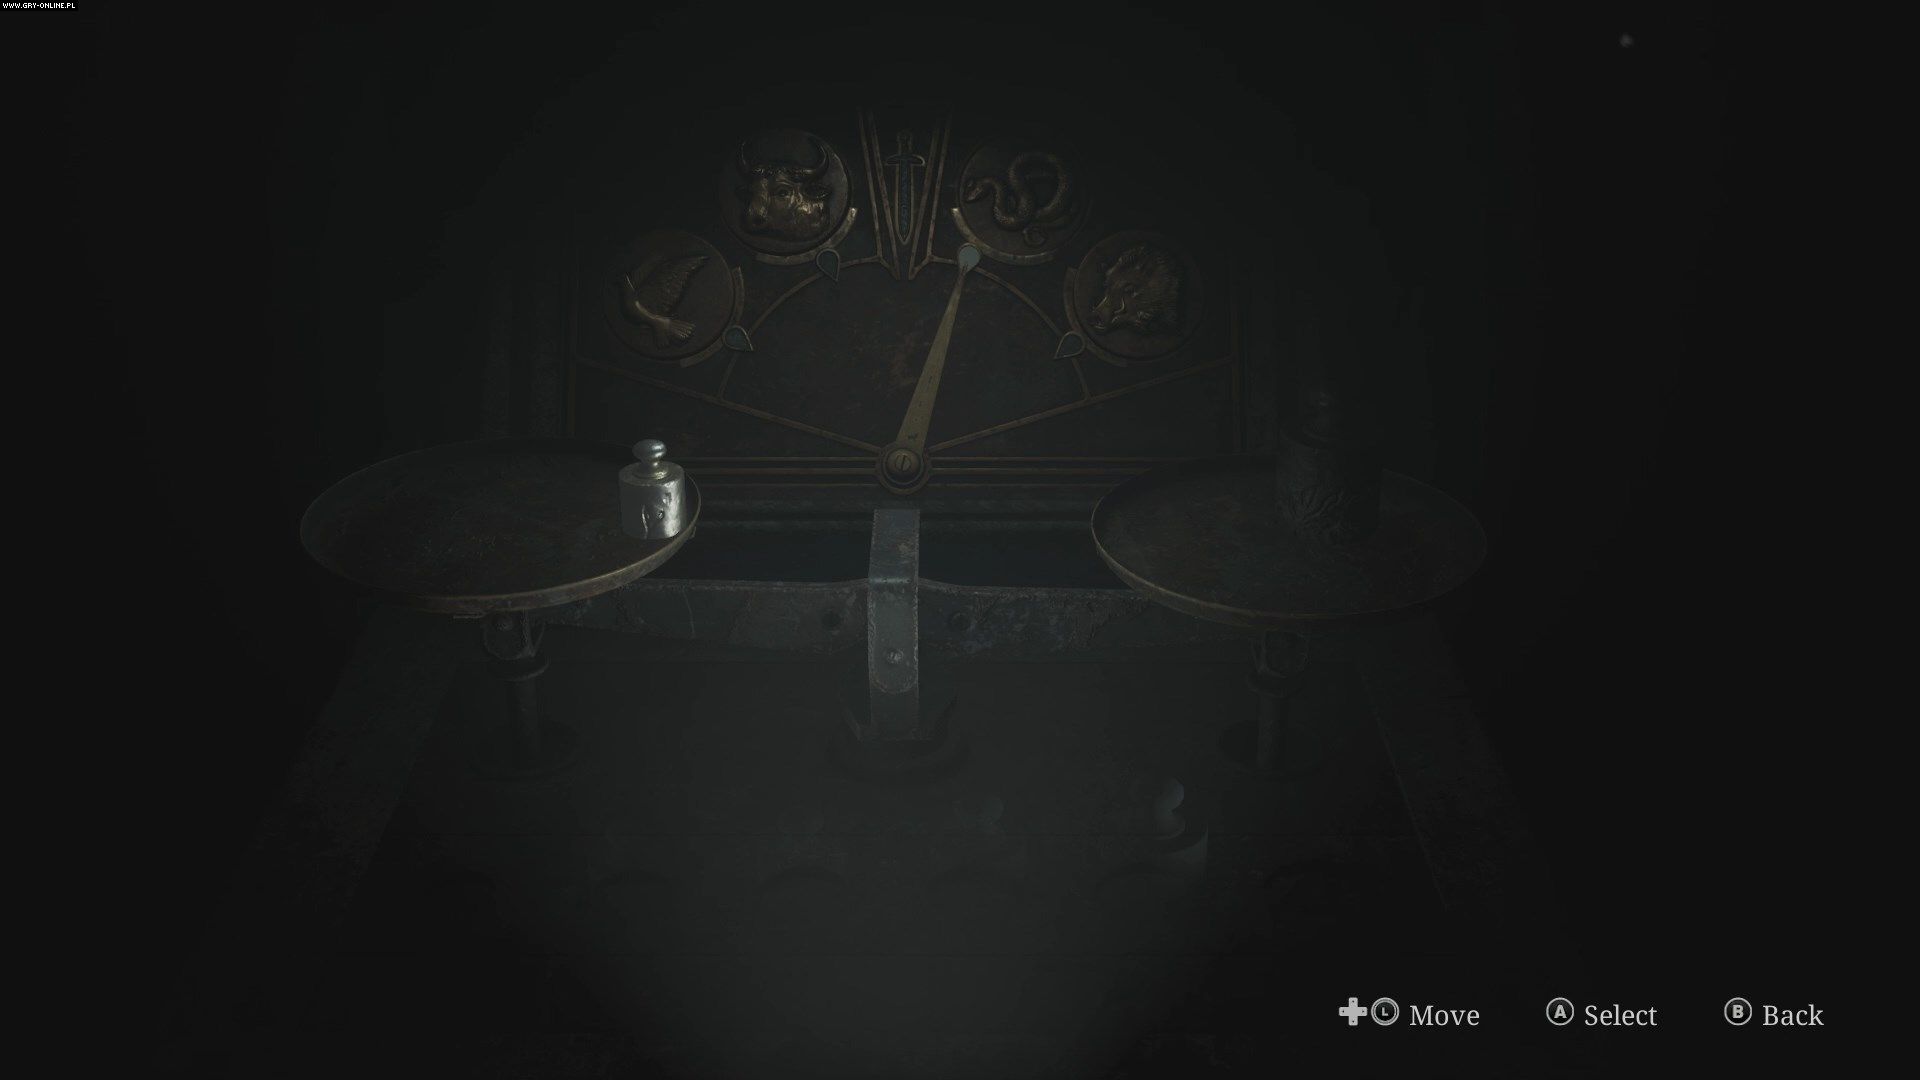
The yard is very dark - go forward from the door. You will come across a gallows (ignore it for now) and the scales of justice. There is already one silver weight on the scales - place the heaviest weight you obtained in the chapel. Scales are used to open doors with animal symbols. You need to balance their weight so that the pointer between the scales points to one of the symbols. Place the silver weight on the left scale and the heaviest weight on the right scale to open the snake door.
How to get through the snake area?
Head to the snake door in the south of block A. Walk down the corridor to the guardhouse and then go through the corridor between the cells. Most of the cells are currently locked.
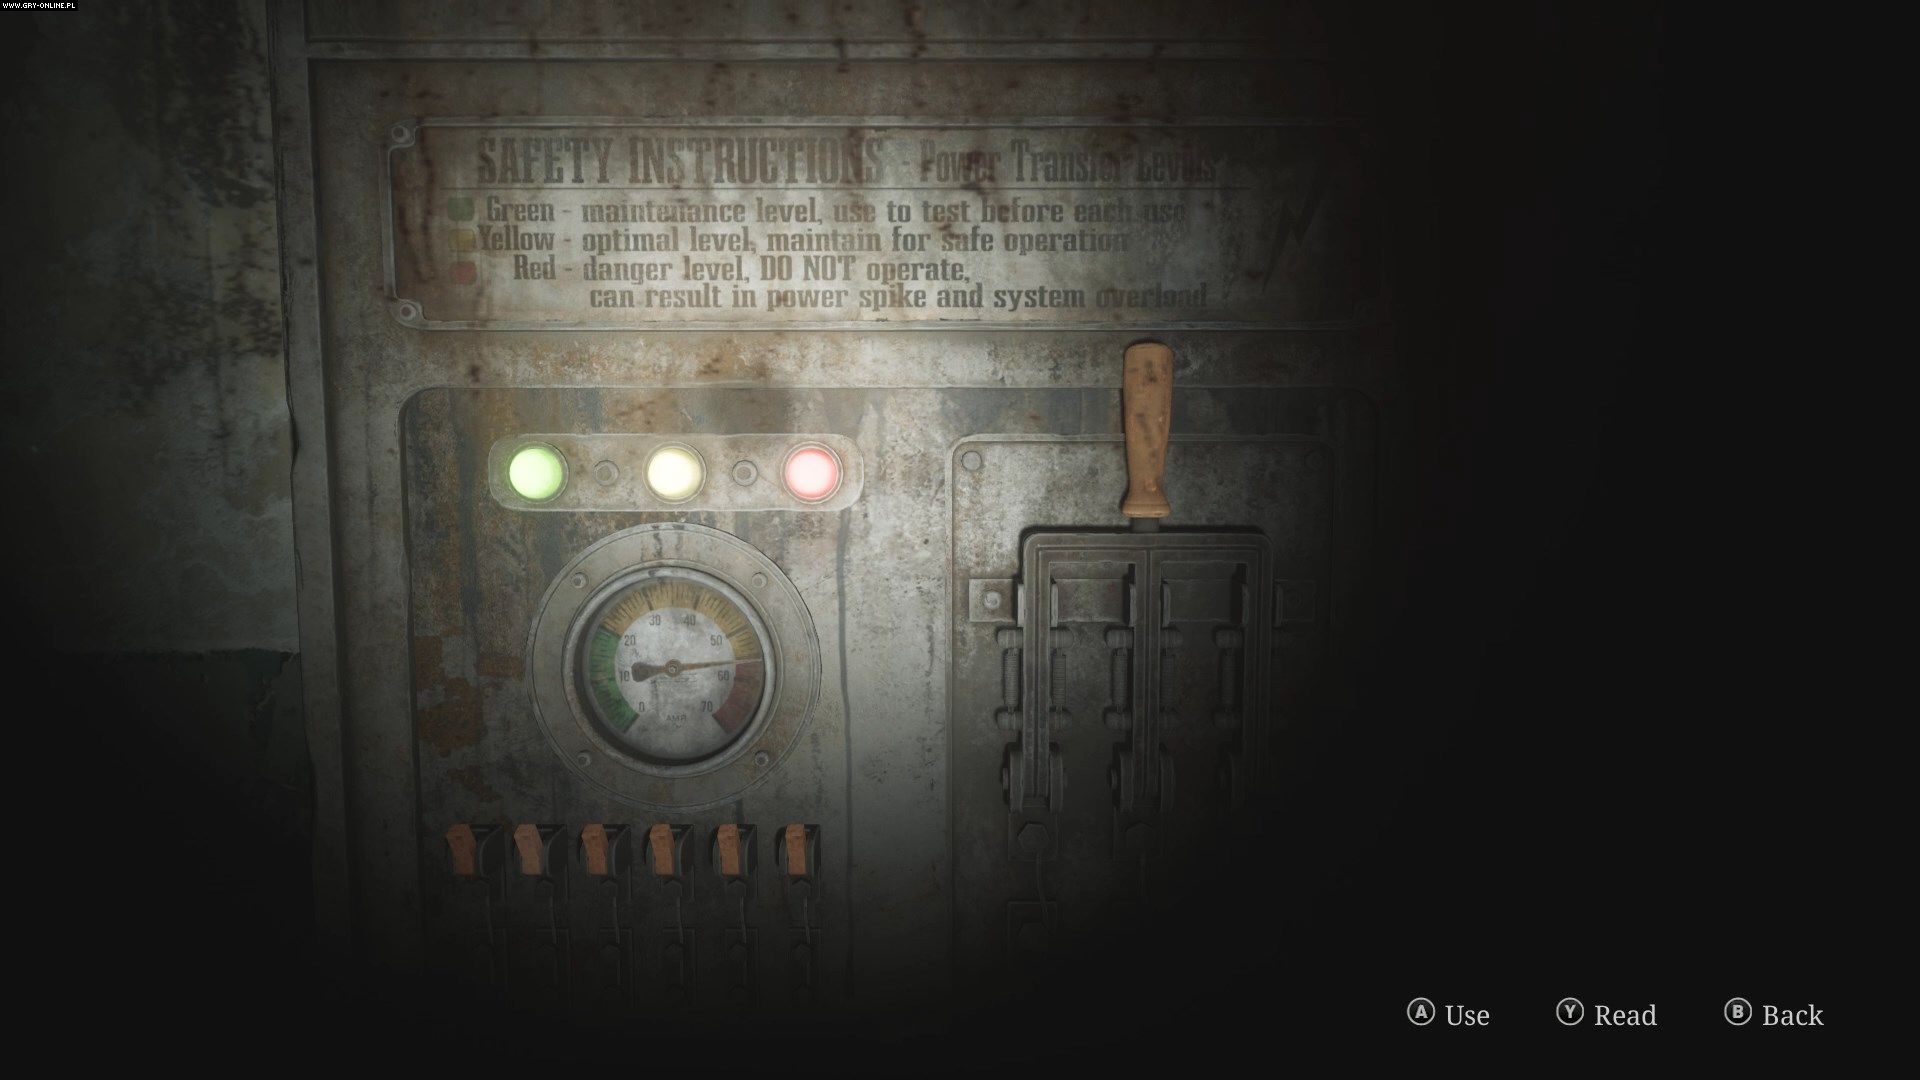
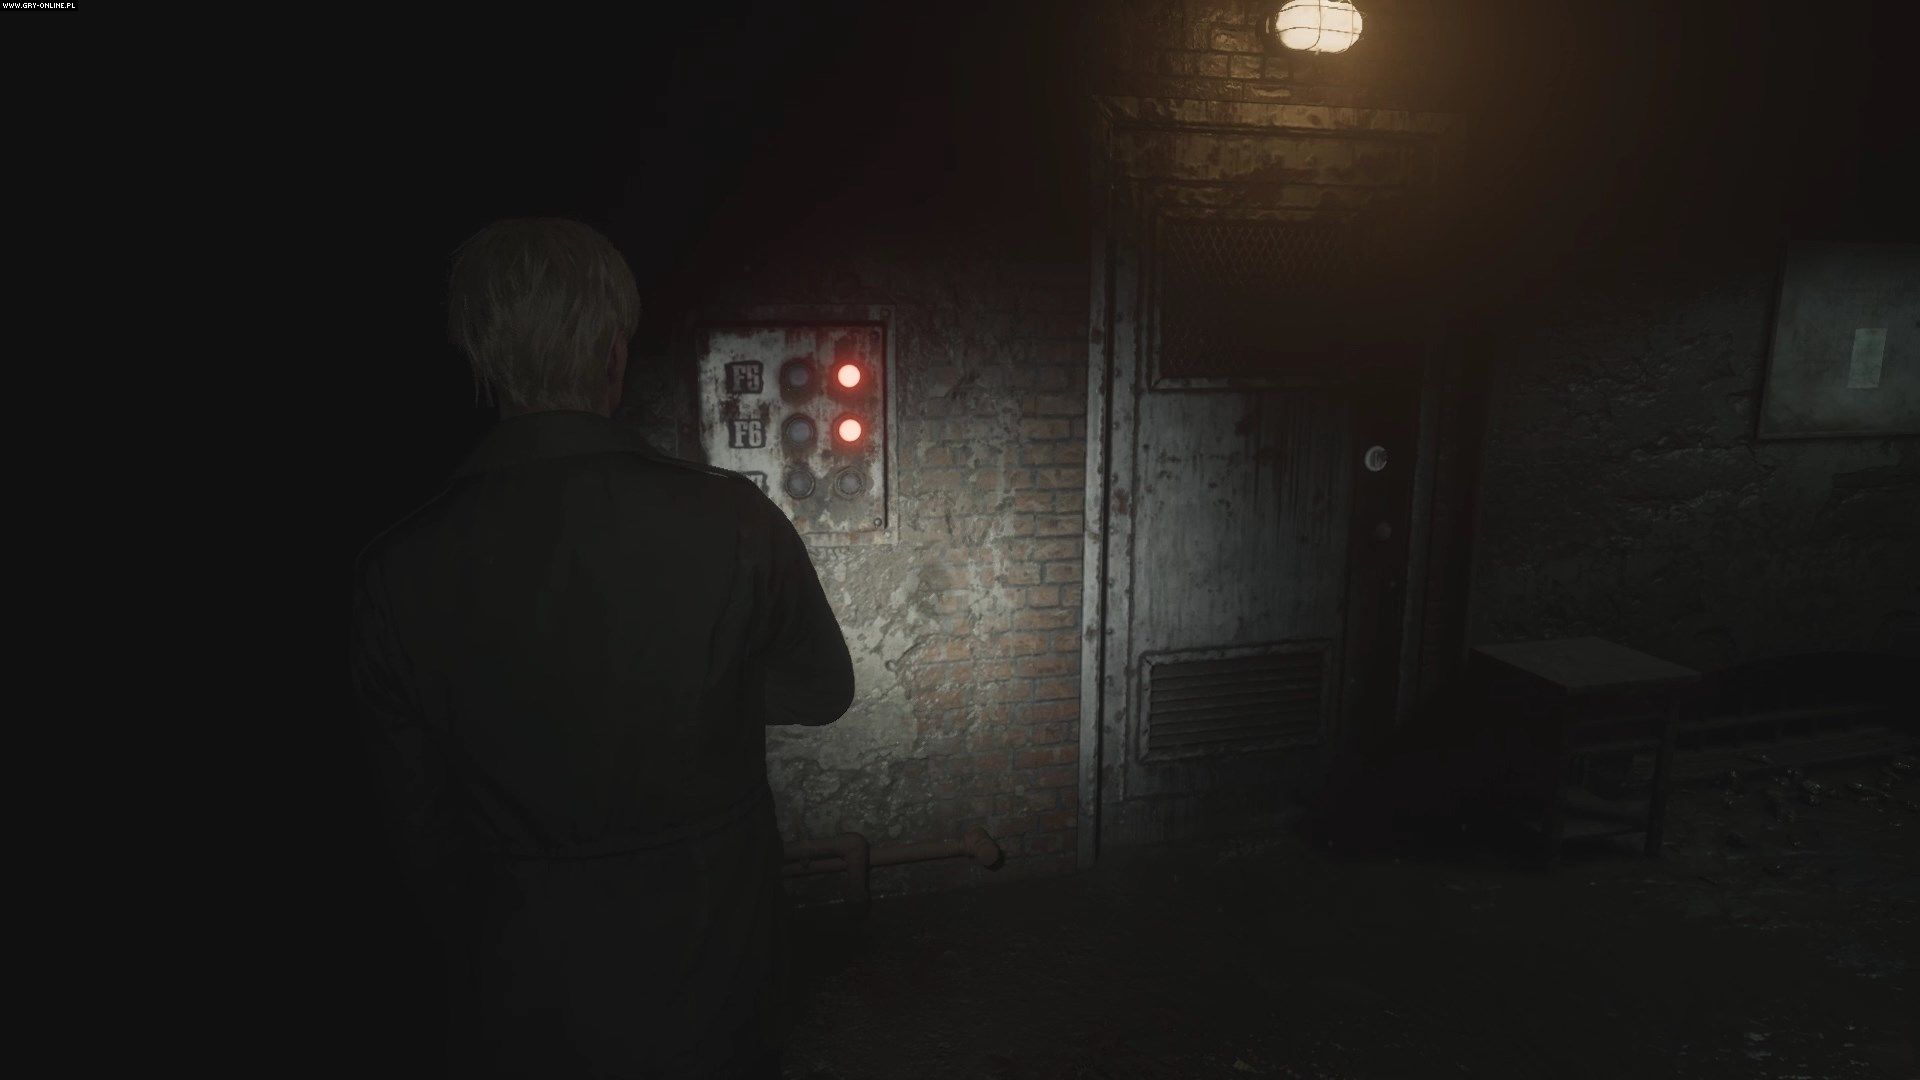
In the second corridor, beware of the enemy locked in the cell - he can still hurt you by spitting acid. At the end, enter the witness room, where you will find a generator. You must turn on all six switches before it can be activated, but turning on some switches turns off others. To start the generator, turn on the switches in the following order (from the left side): 6, 5, 4, 5, 3, 2, 1, 3, 2. Pull the big lever.
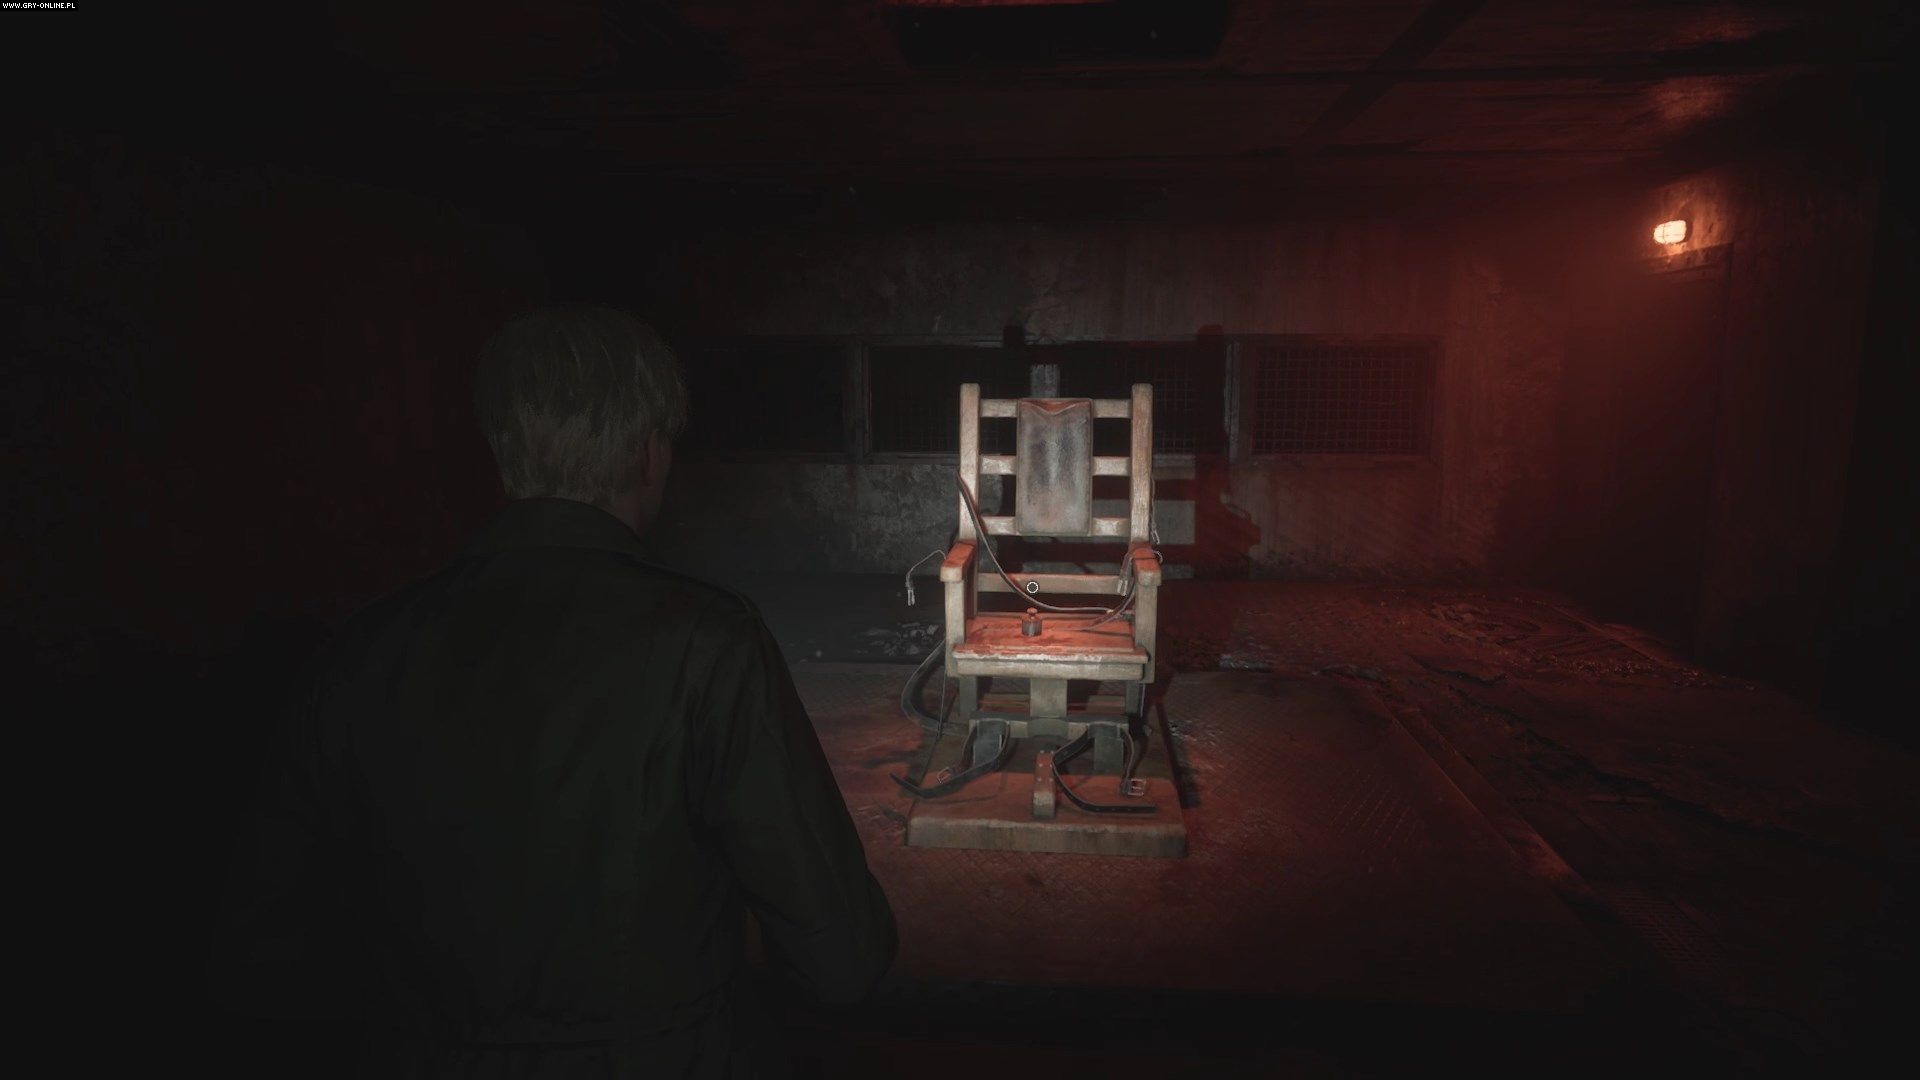
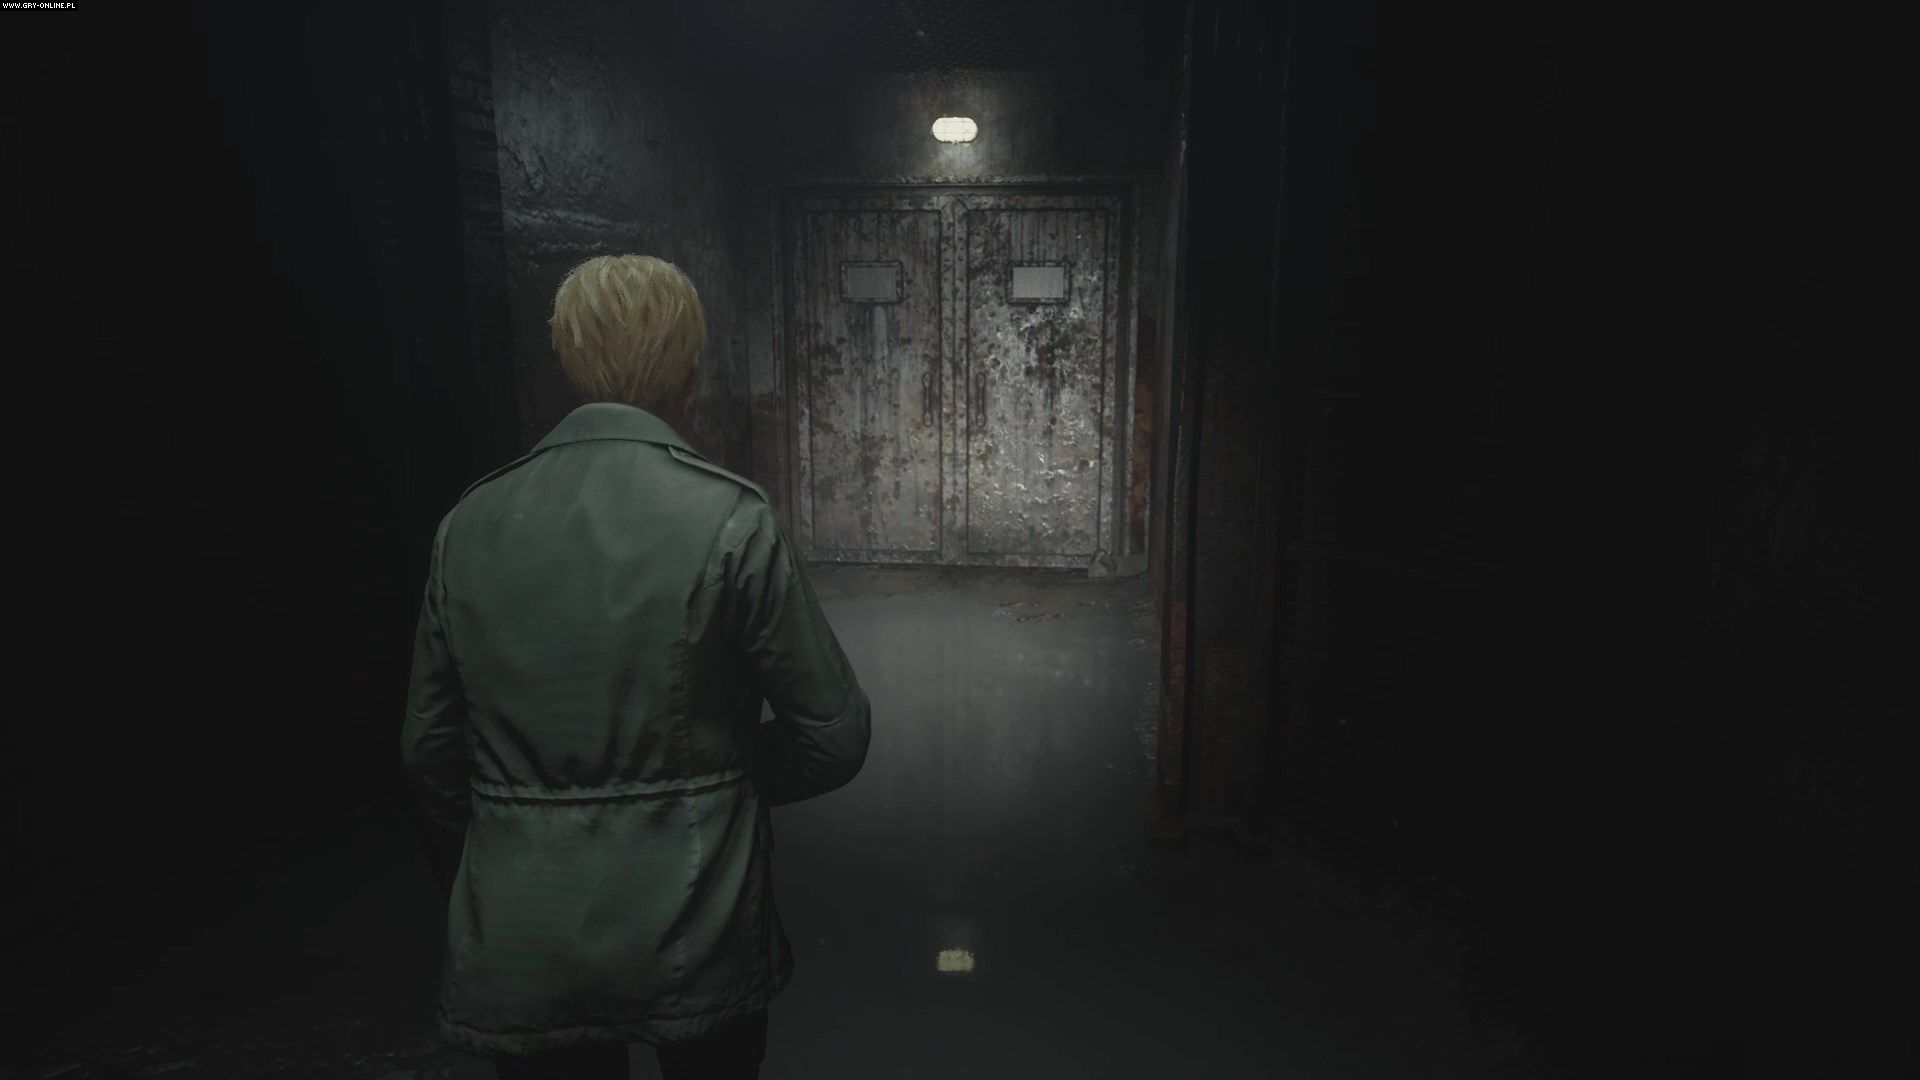
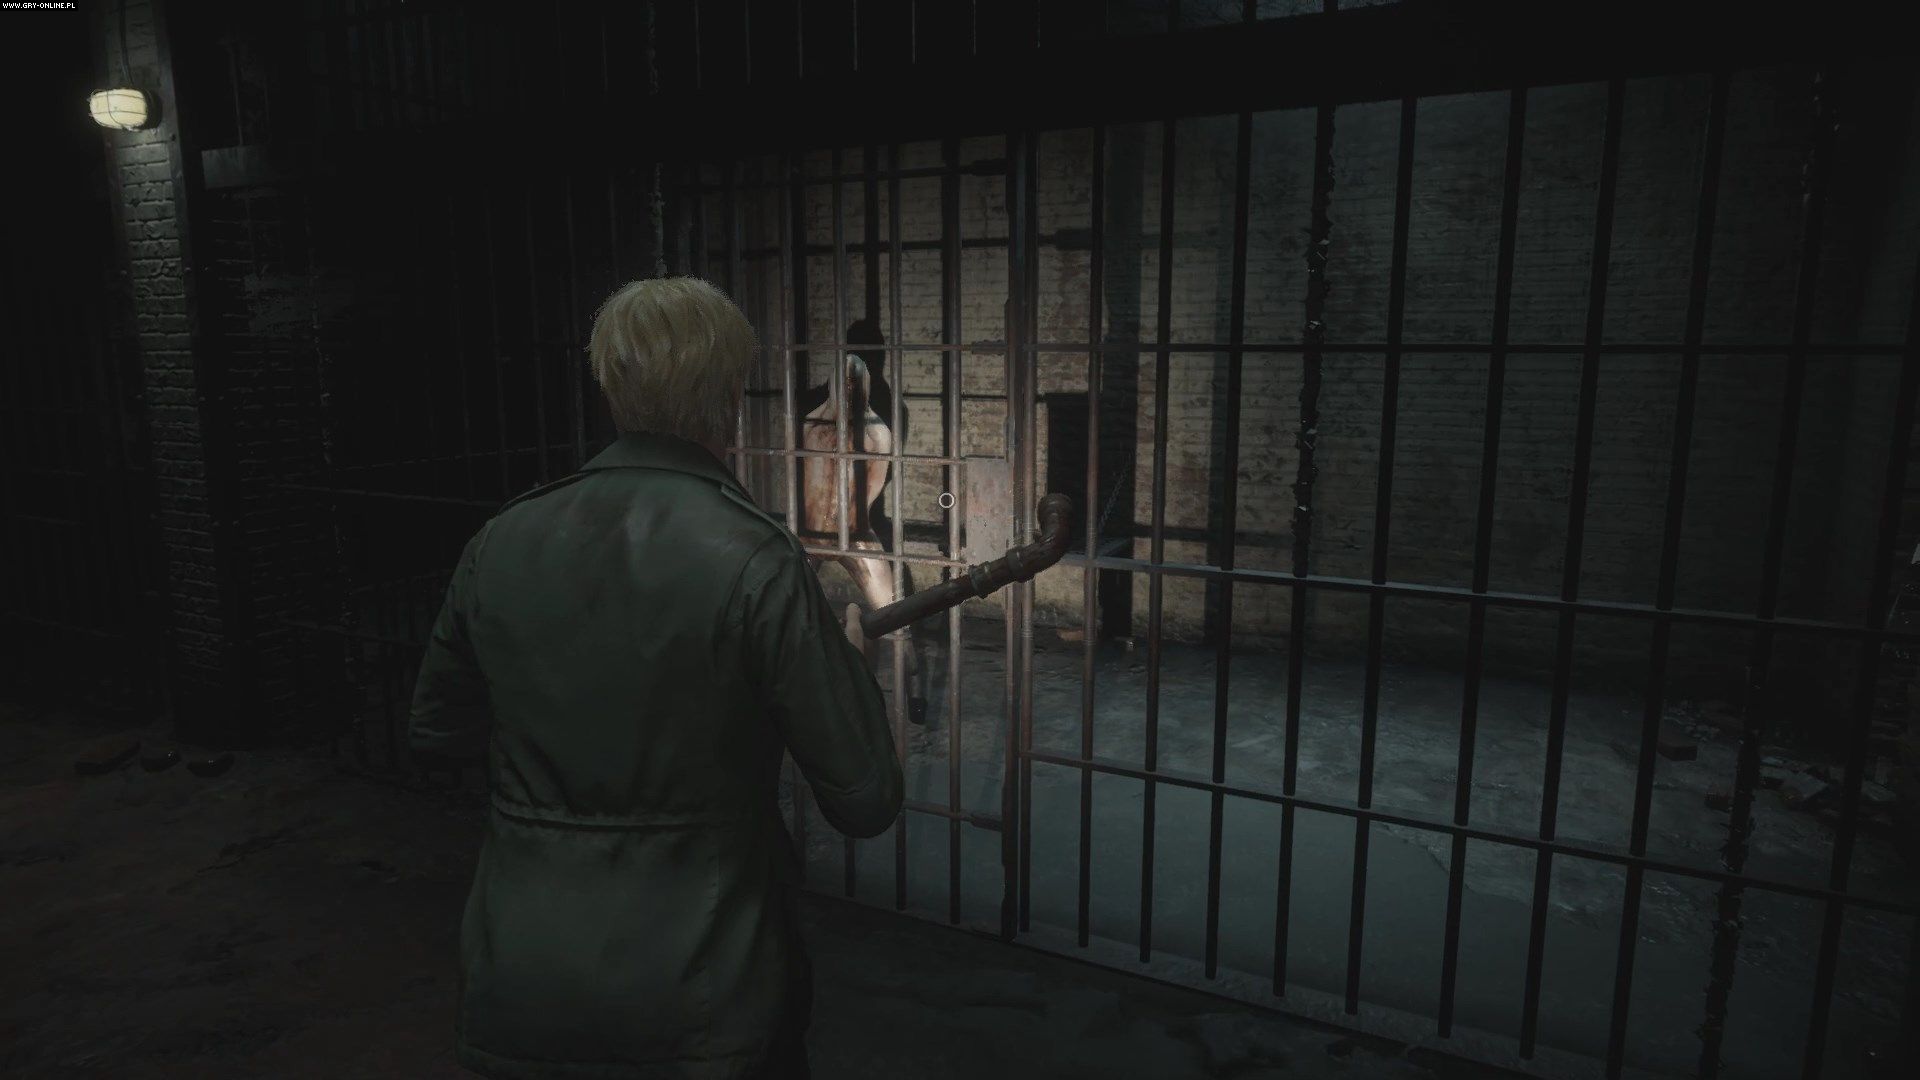
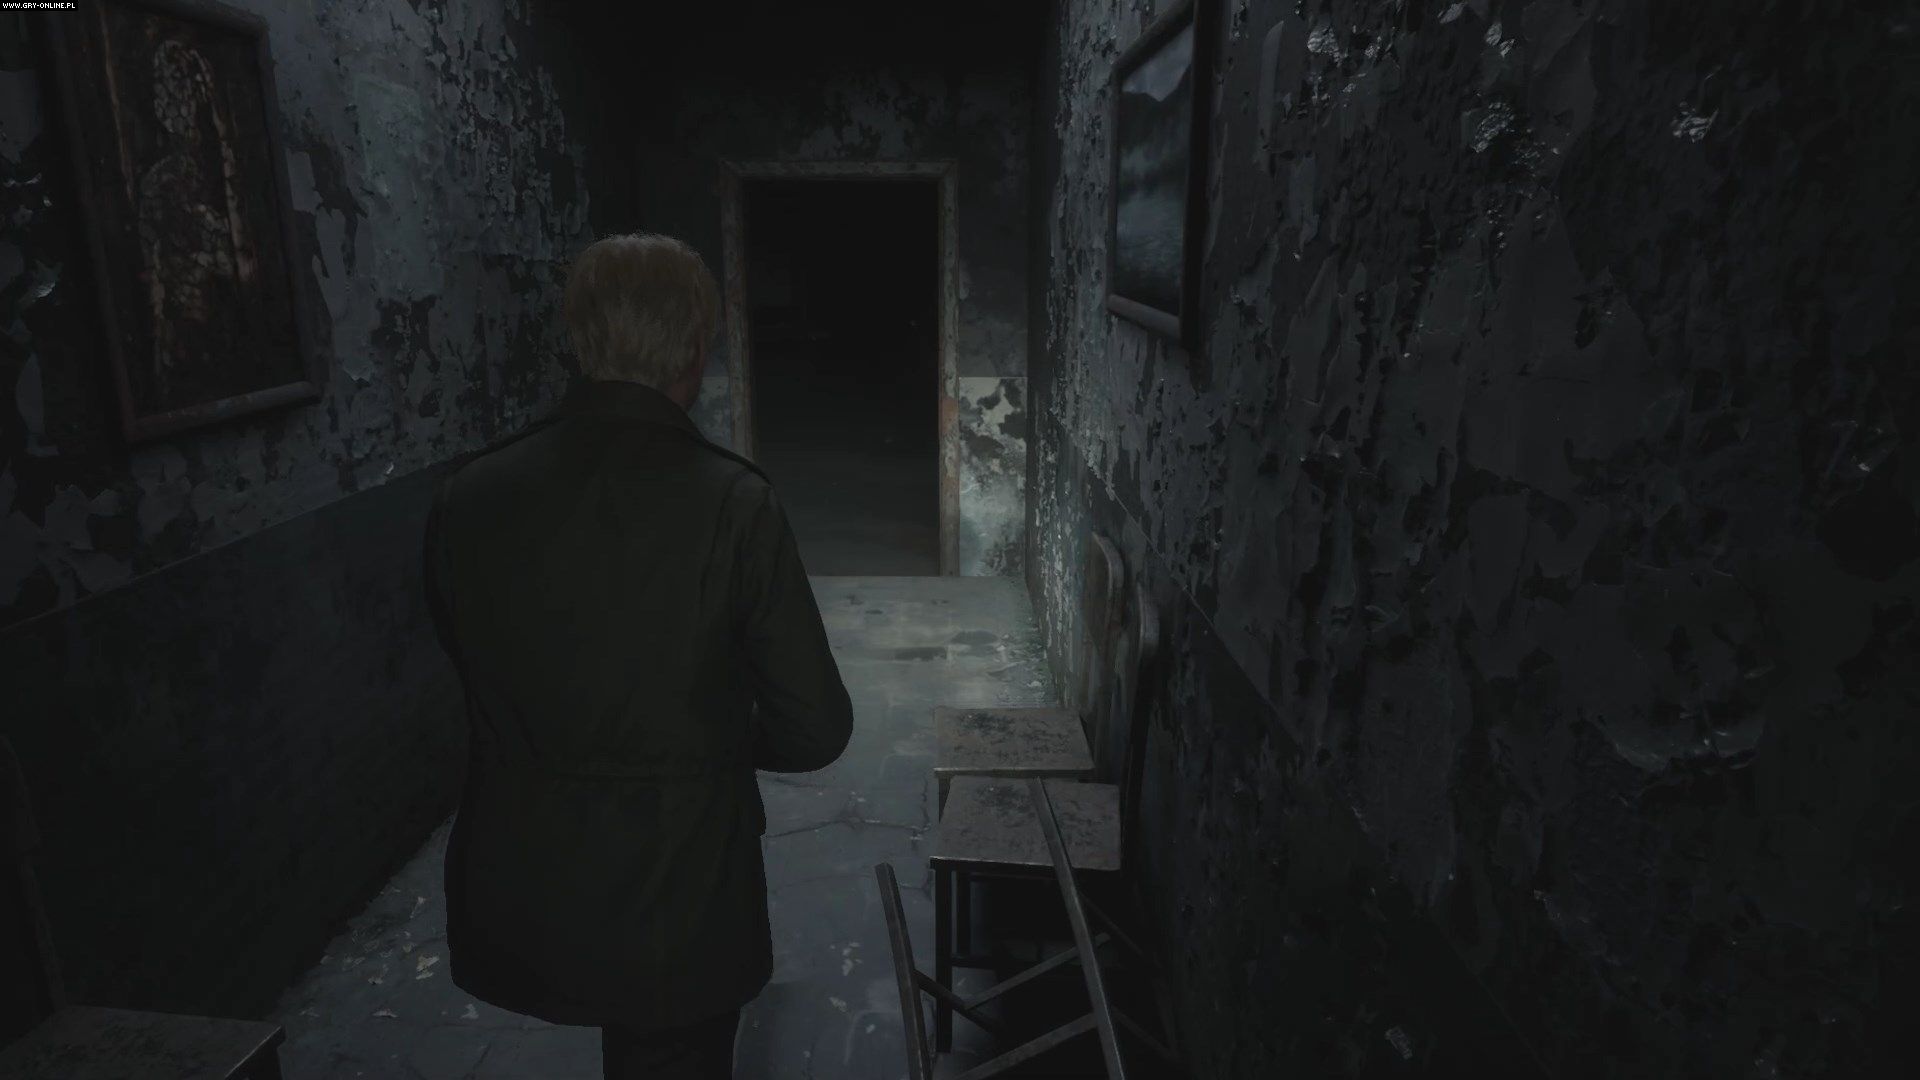
You will open the door to the death chamber, where a medium weight lies on the electric chair. You will also open all the other cells, releasing the enemies locked inside them. Go through the first corridor, defeating enemies and searching cells for items. Demolish the wall in cell E1 to return to the second corridor.
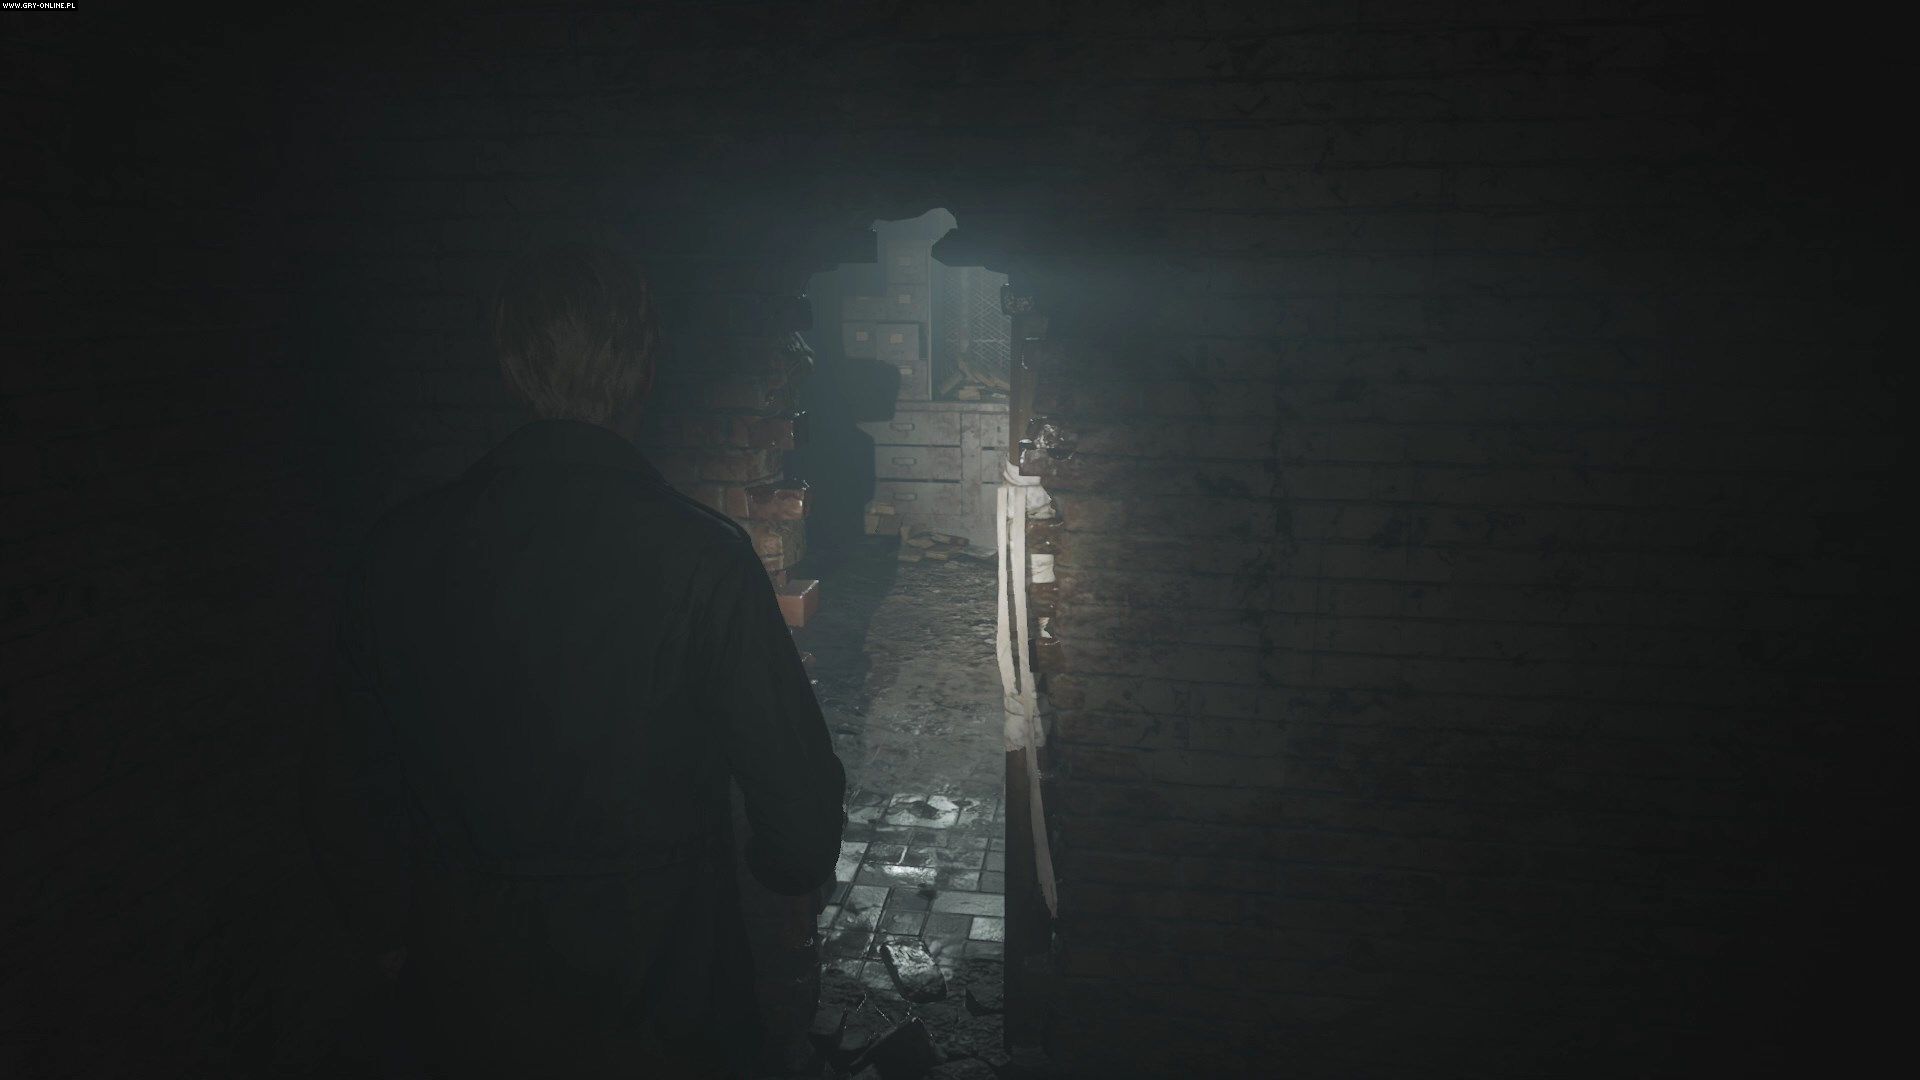
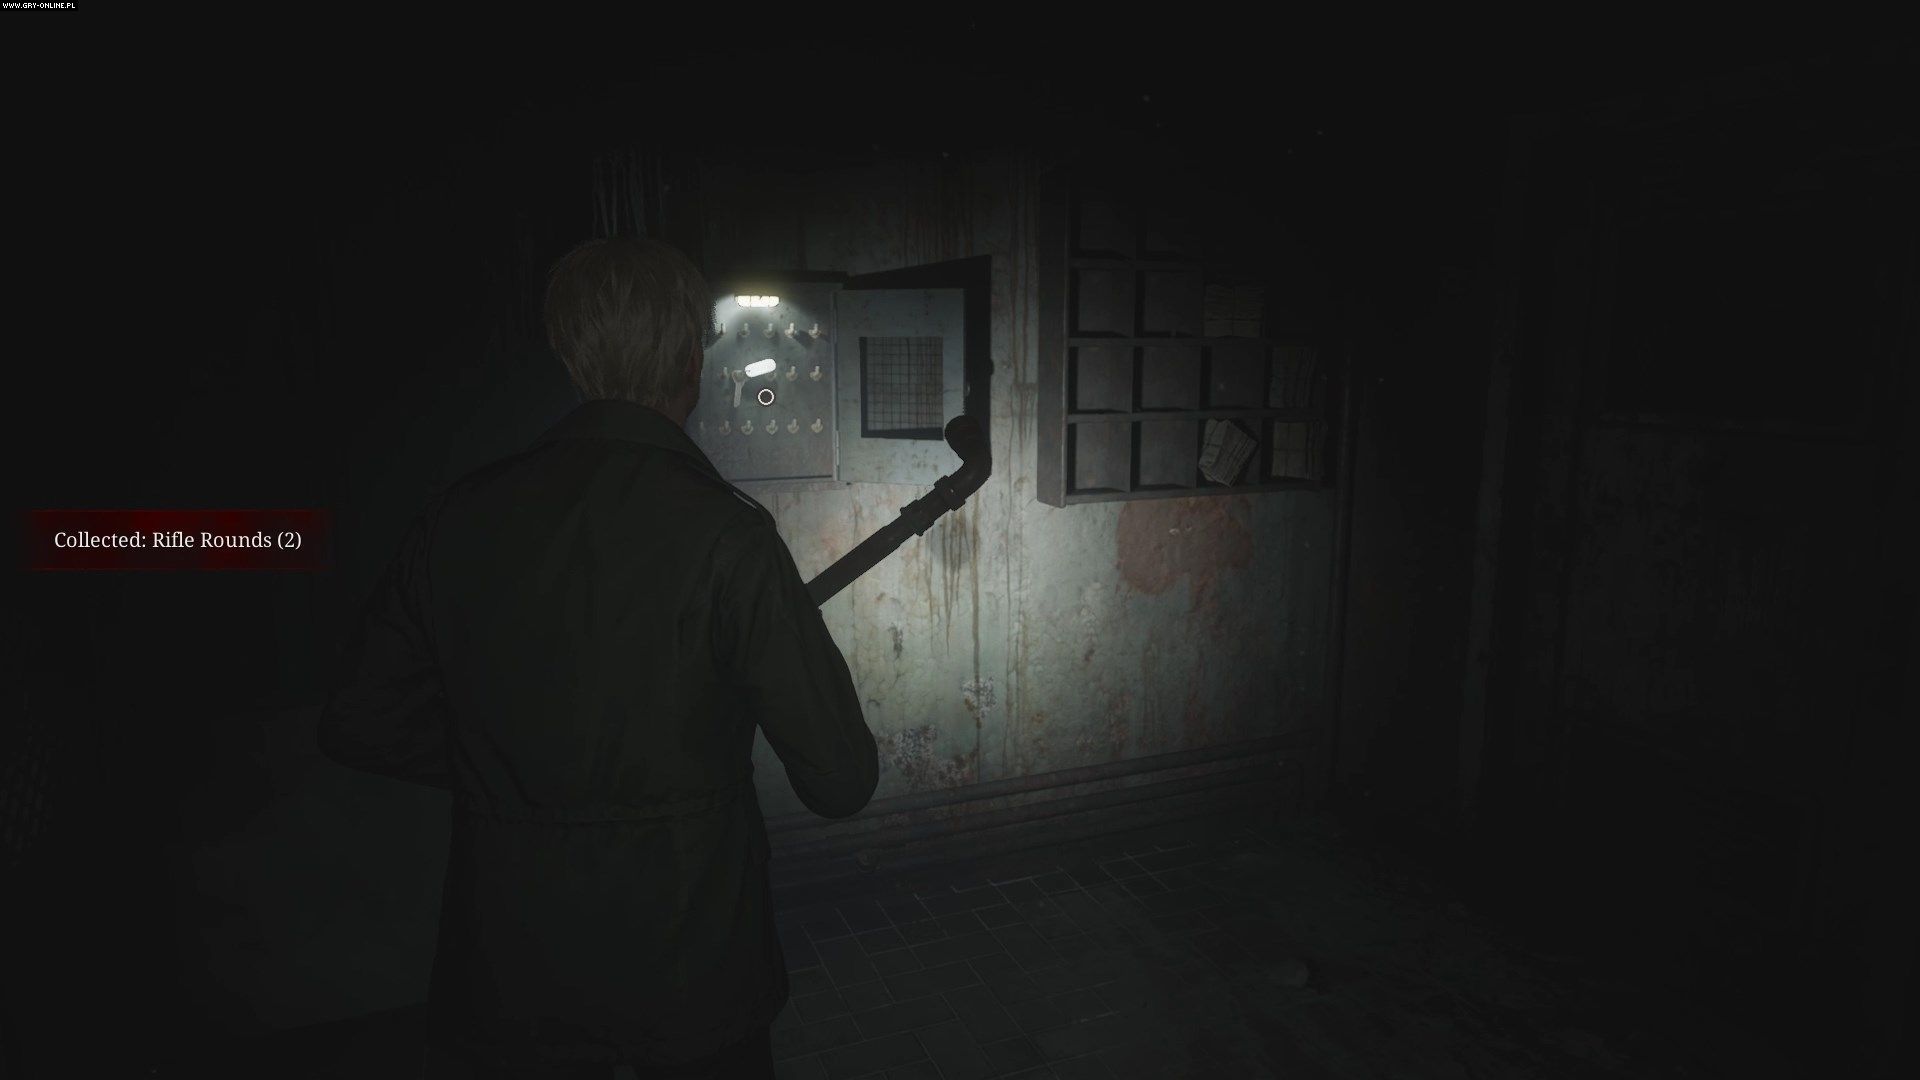
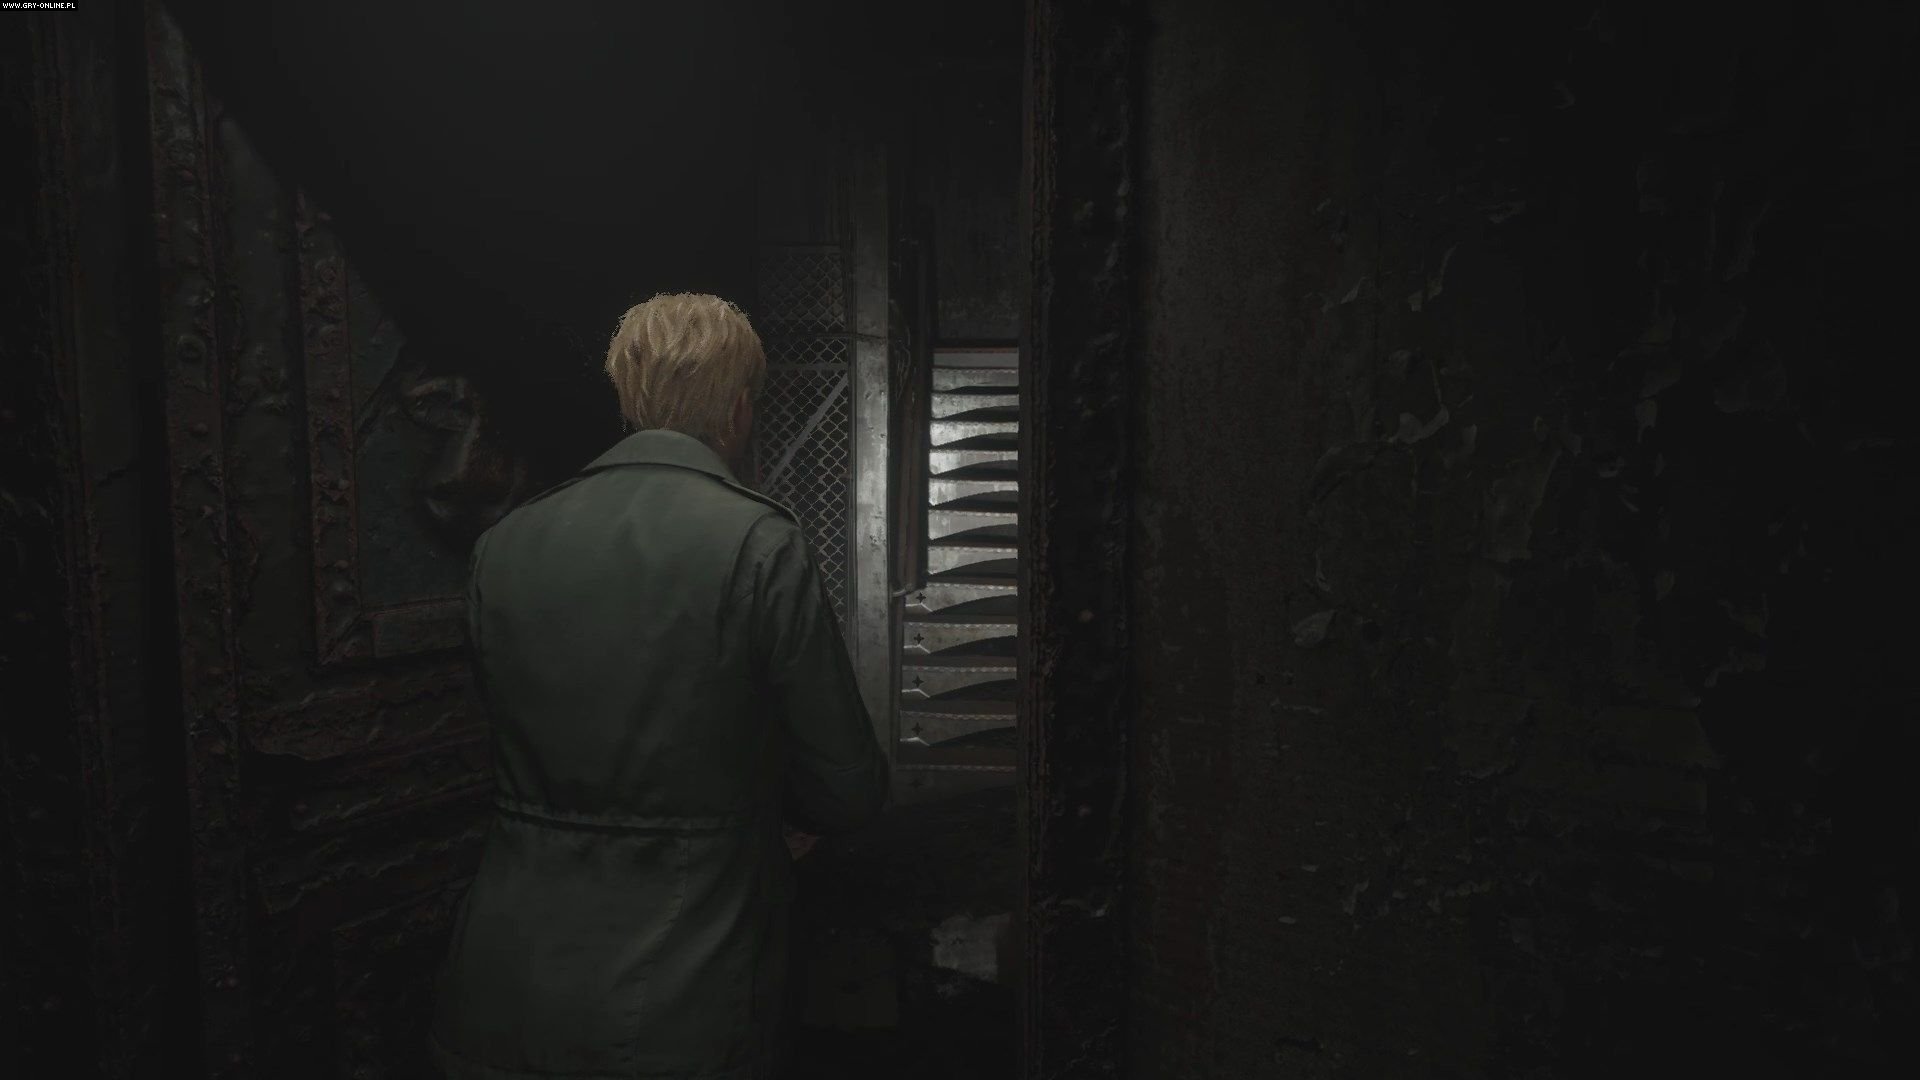
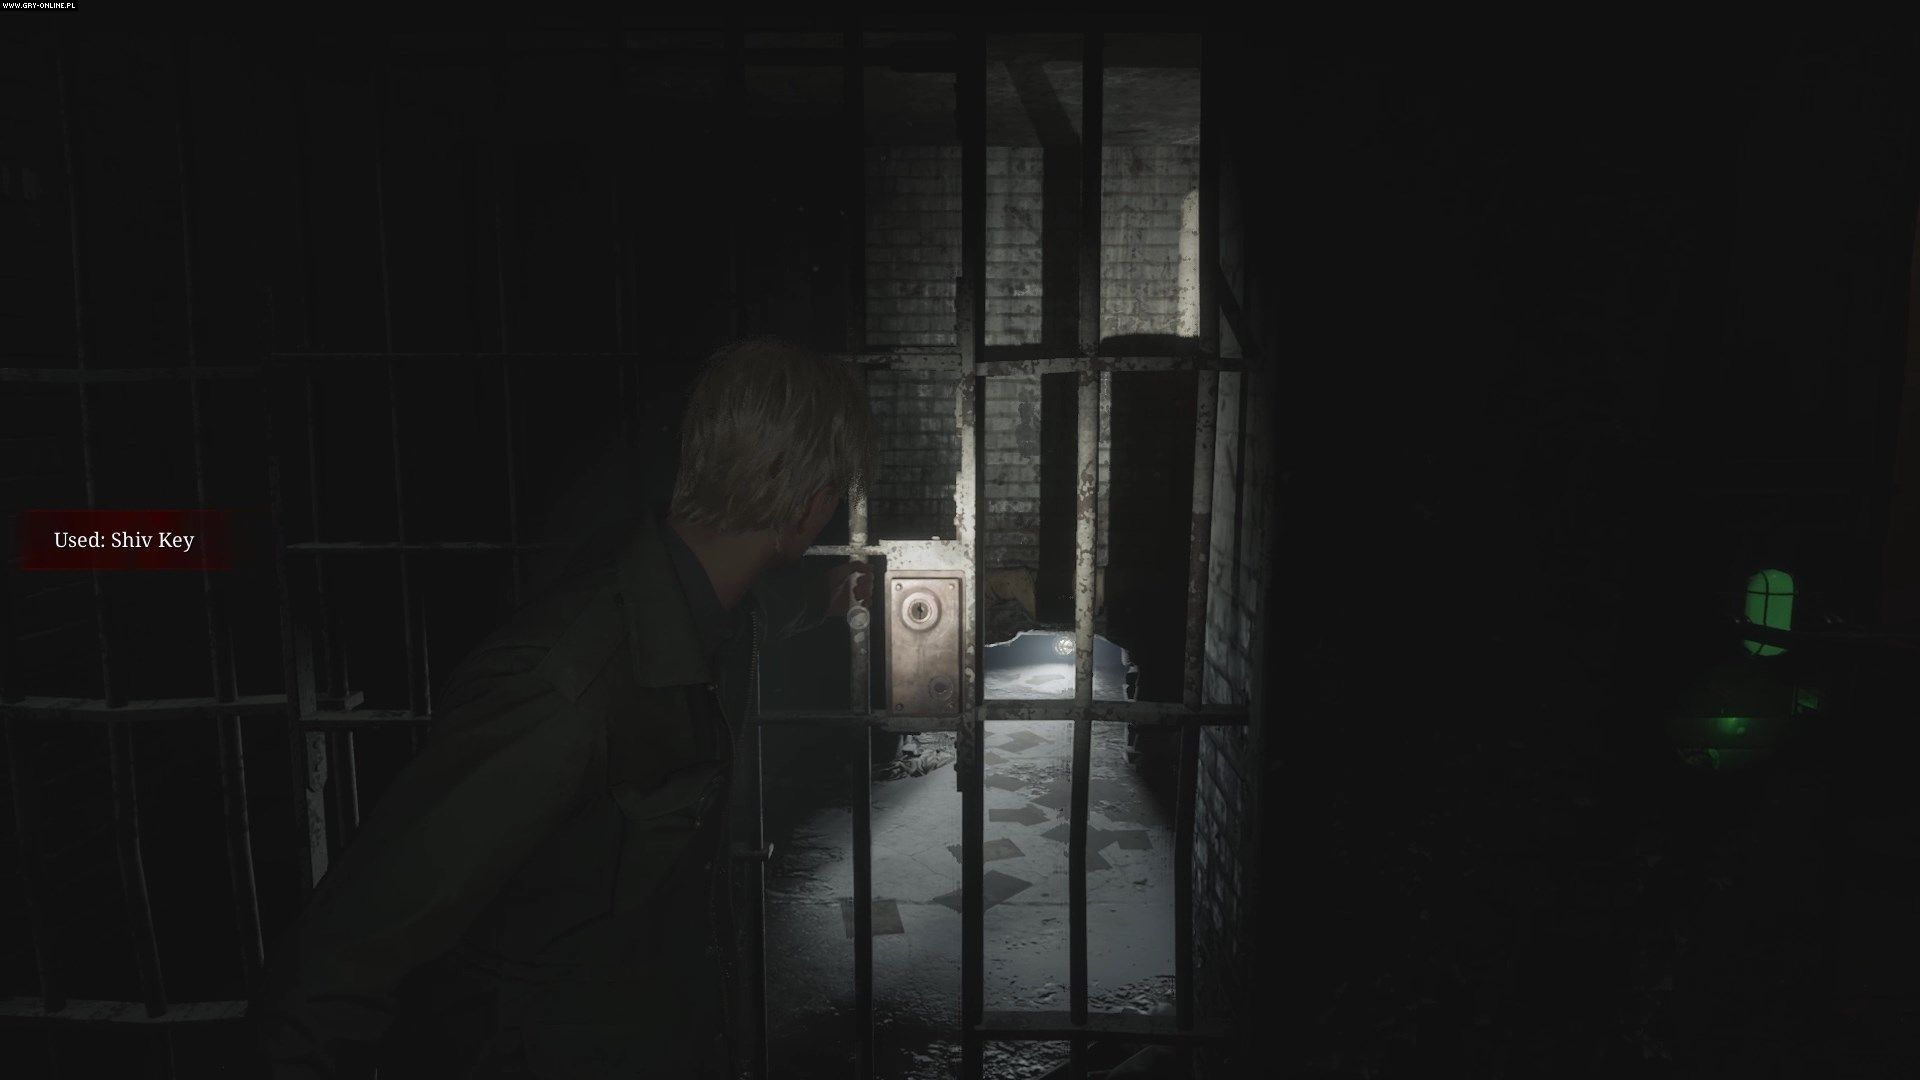
In the second corridor, get rid of the enemies, search the cells, and squeeze through the gap in cell E10. On the other side, you will find the armory key in the key cabinet.
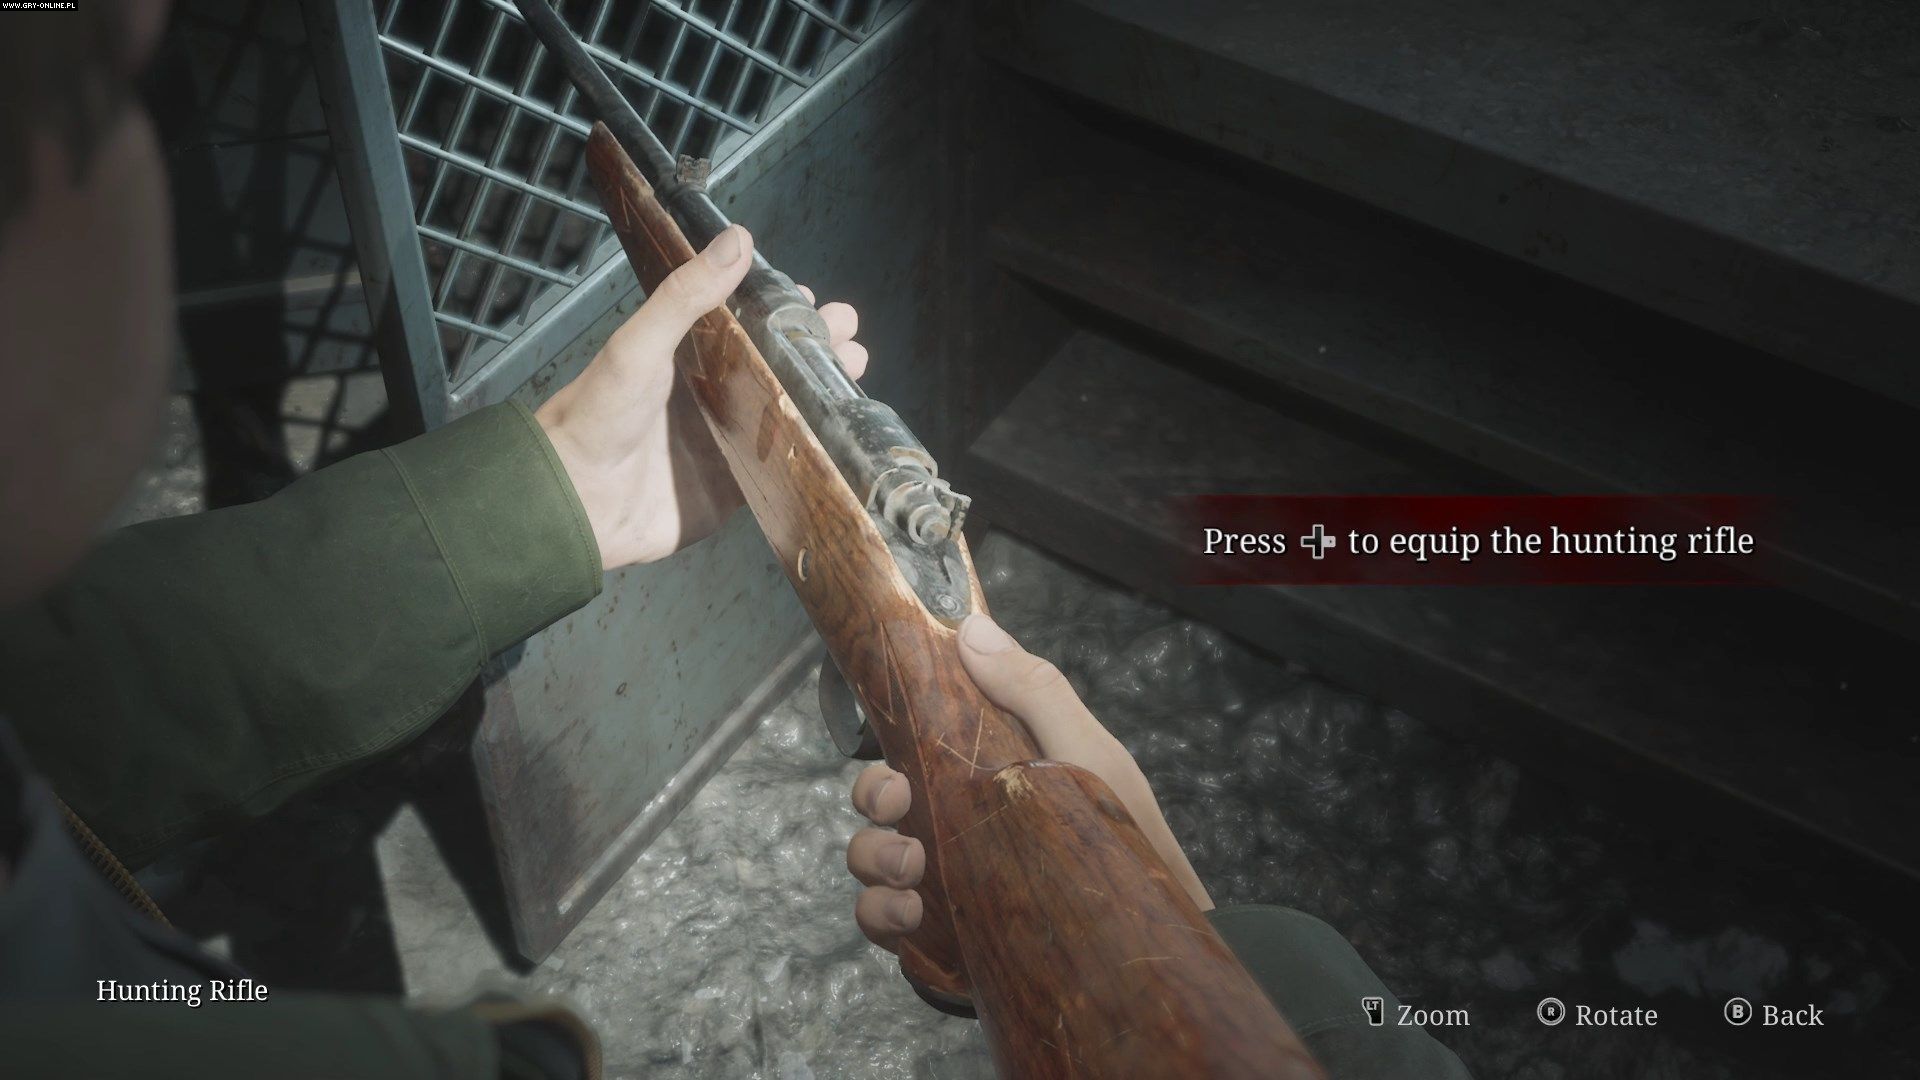
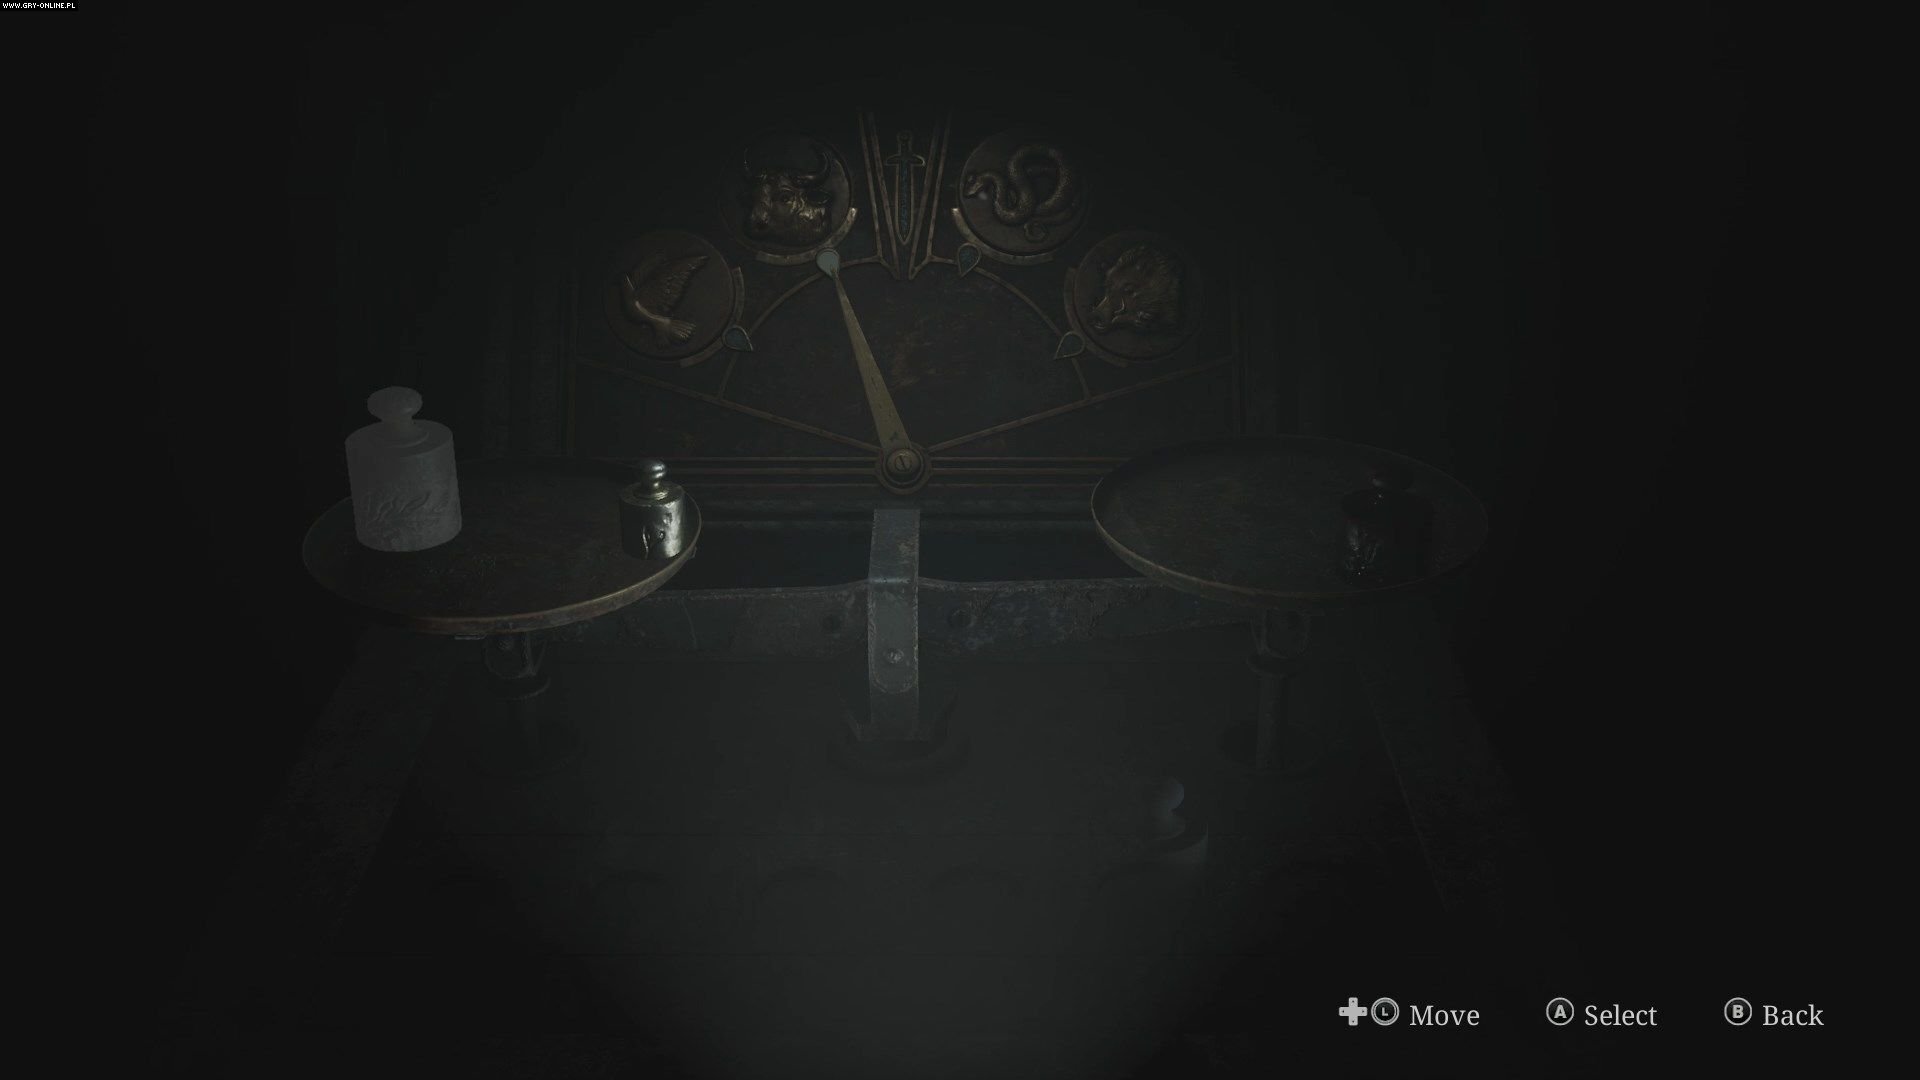
The doors in this room will take you back to the main part of the prison, just before the armory. Go inside and open the cabinet to get the rifle. This is the most powerful firearm in the game, but its ammunition is also the rarest. The rifle also doesn't perform as well in close quarters as the shotgun, which means it has only one role - save it for boss fights. Return to the yard and place the medium weight on the scales. Place the heaviest and silver weights on the left scale and the medium weight on the right scale to open the door.
How to get through the area of Wola?
Head to the door called ox door, right next to the armory. They will lead you to the upper floor. Reach the guardhouse, where in the desk drawer you will find the key to block D.
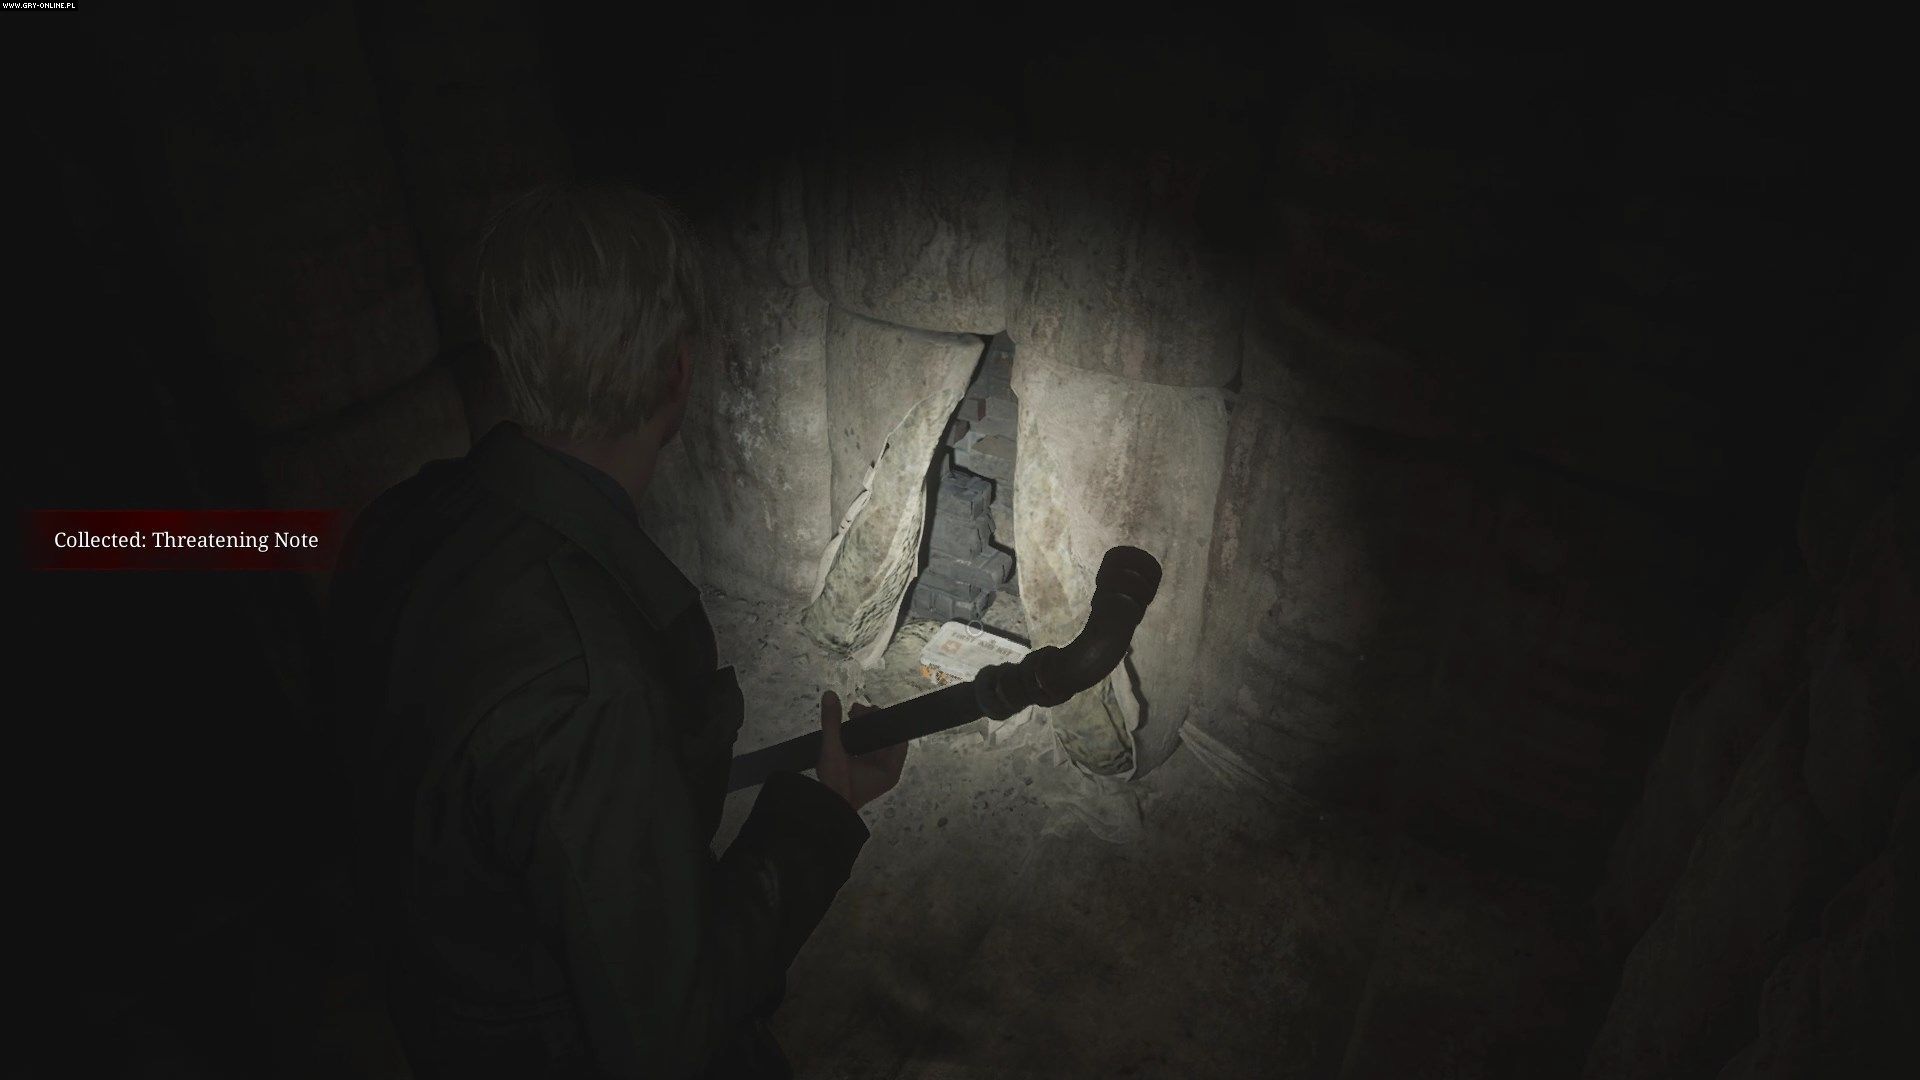
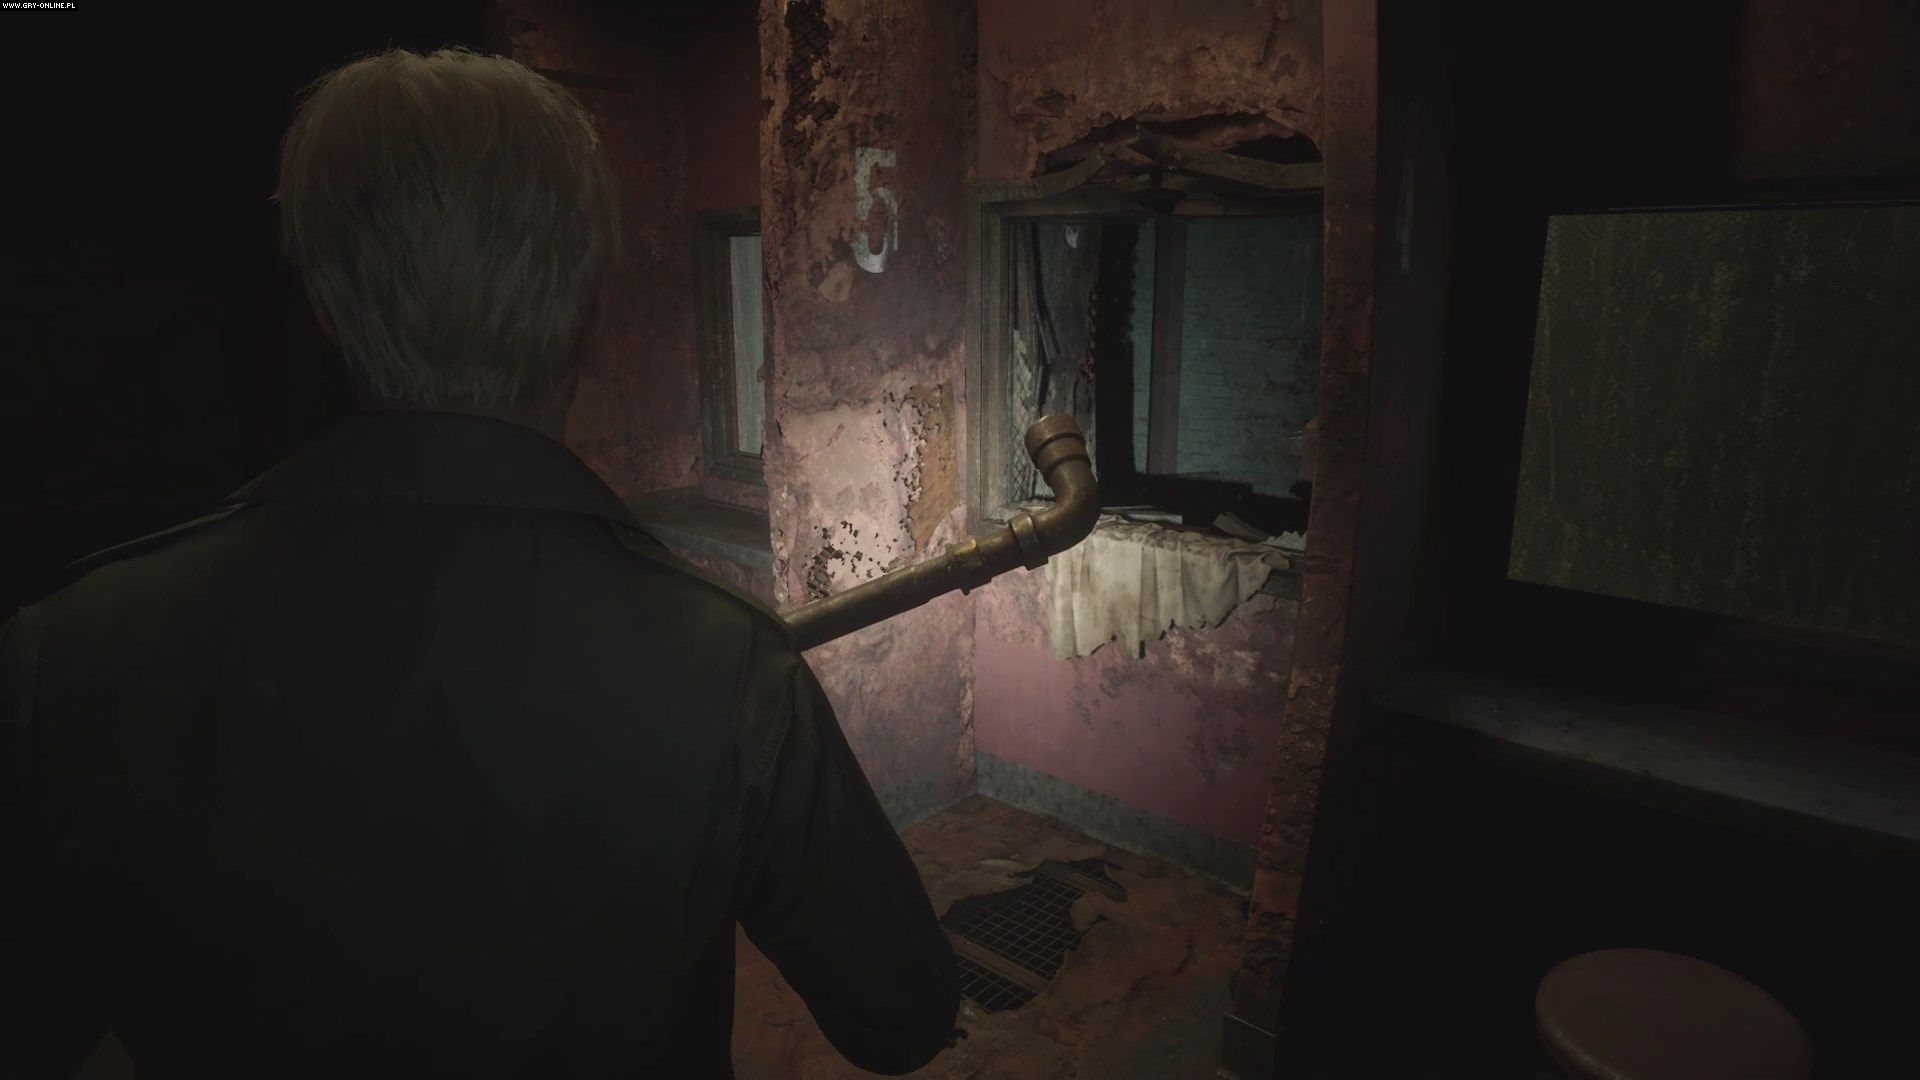
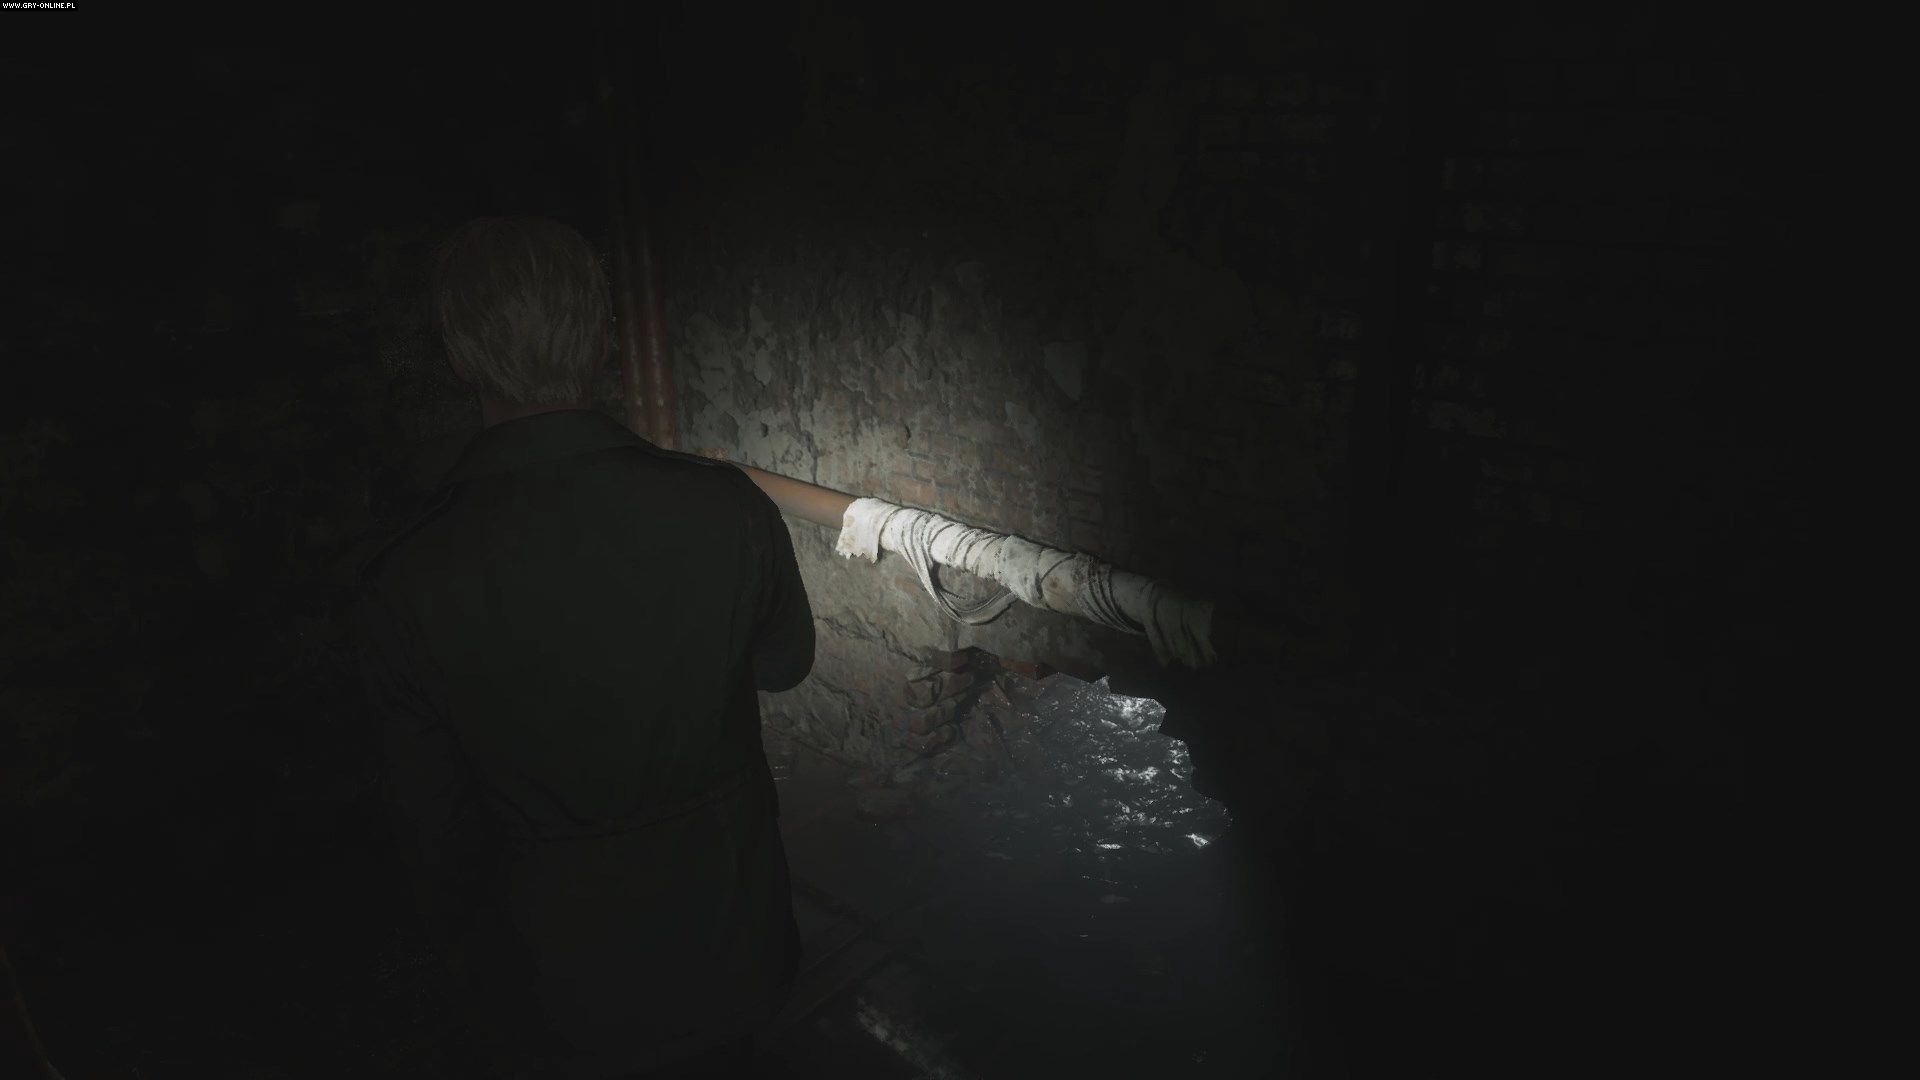
In block D, go to cell D5, where you will find a makeshift key. You can use it to open cell C4 and squeeze through the gap in the middle to get to the toilets and then the showers.
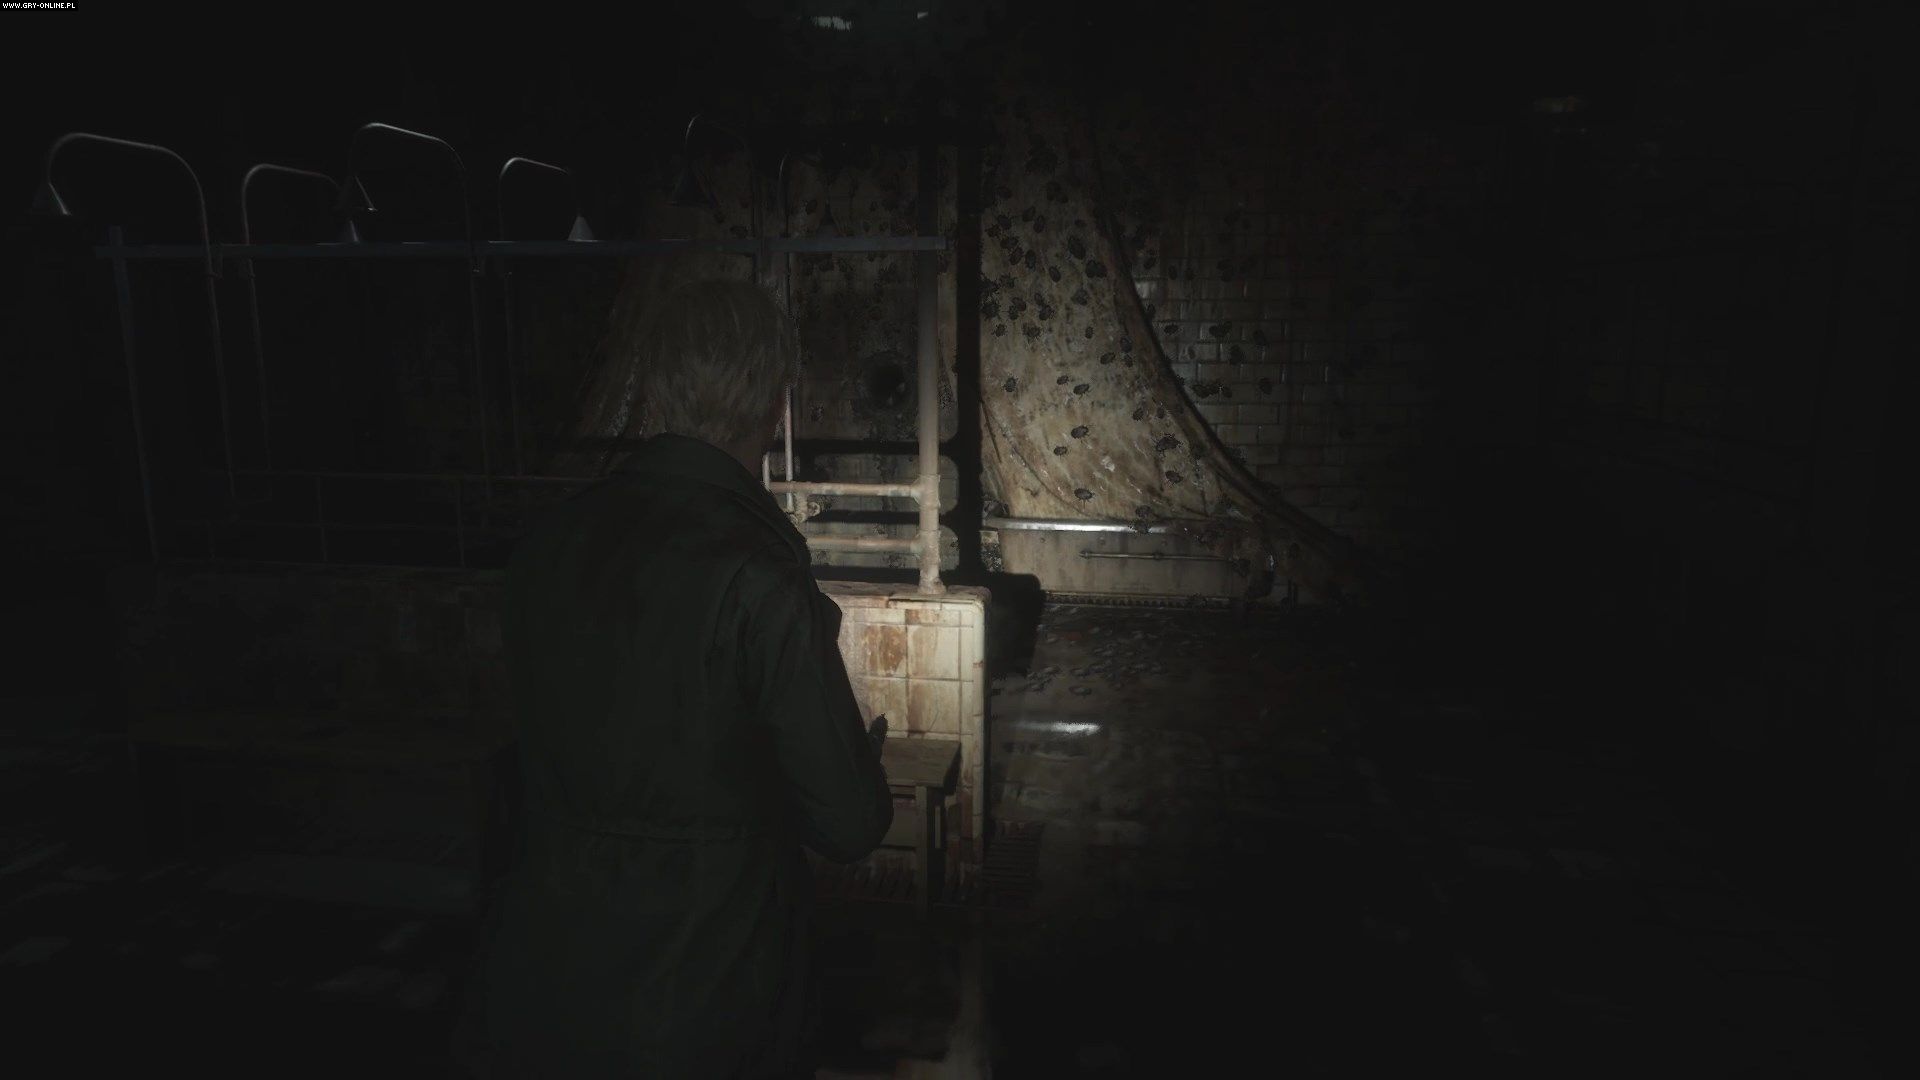
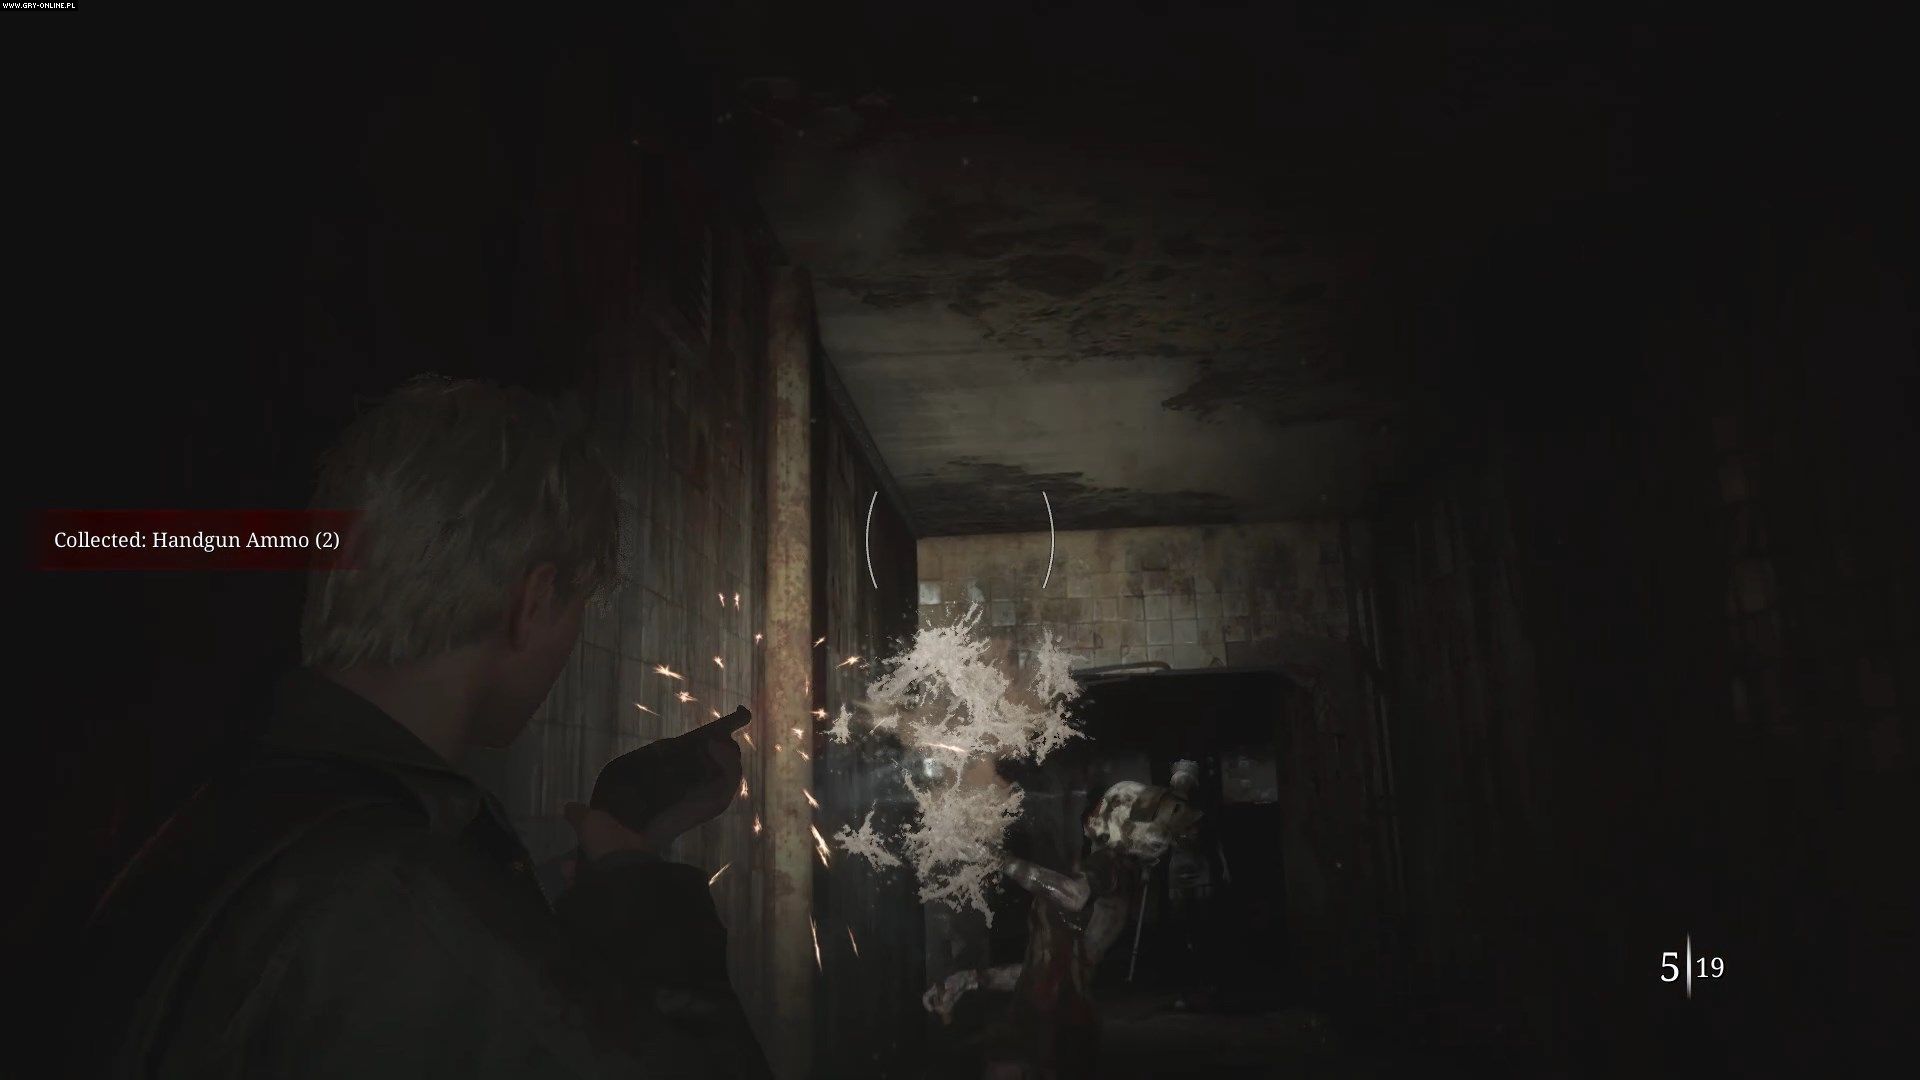
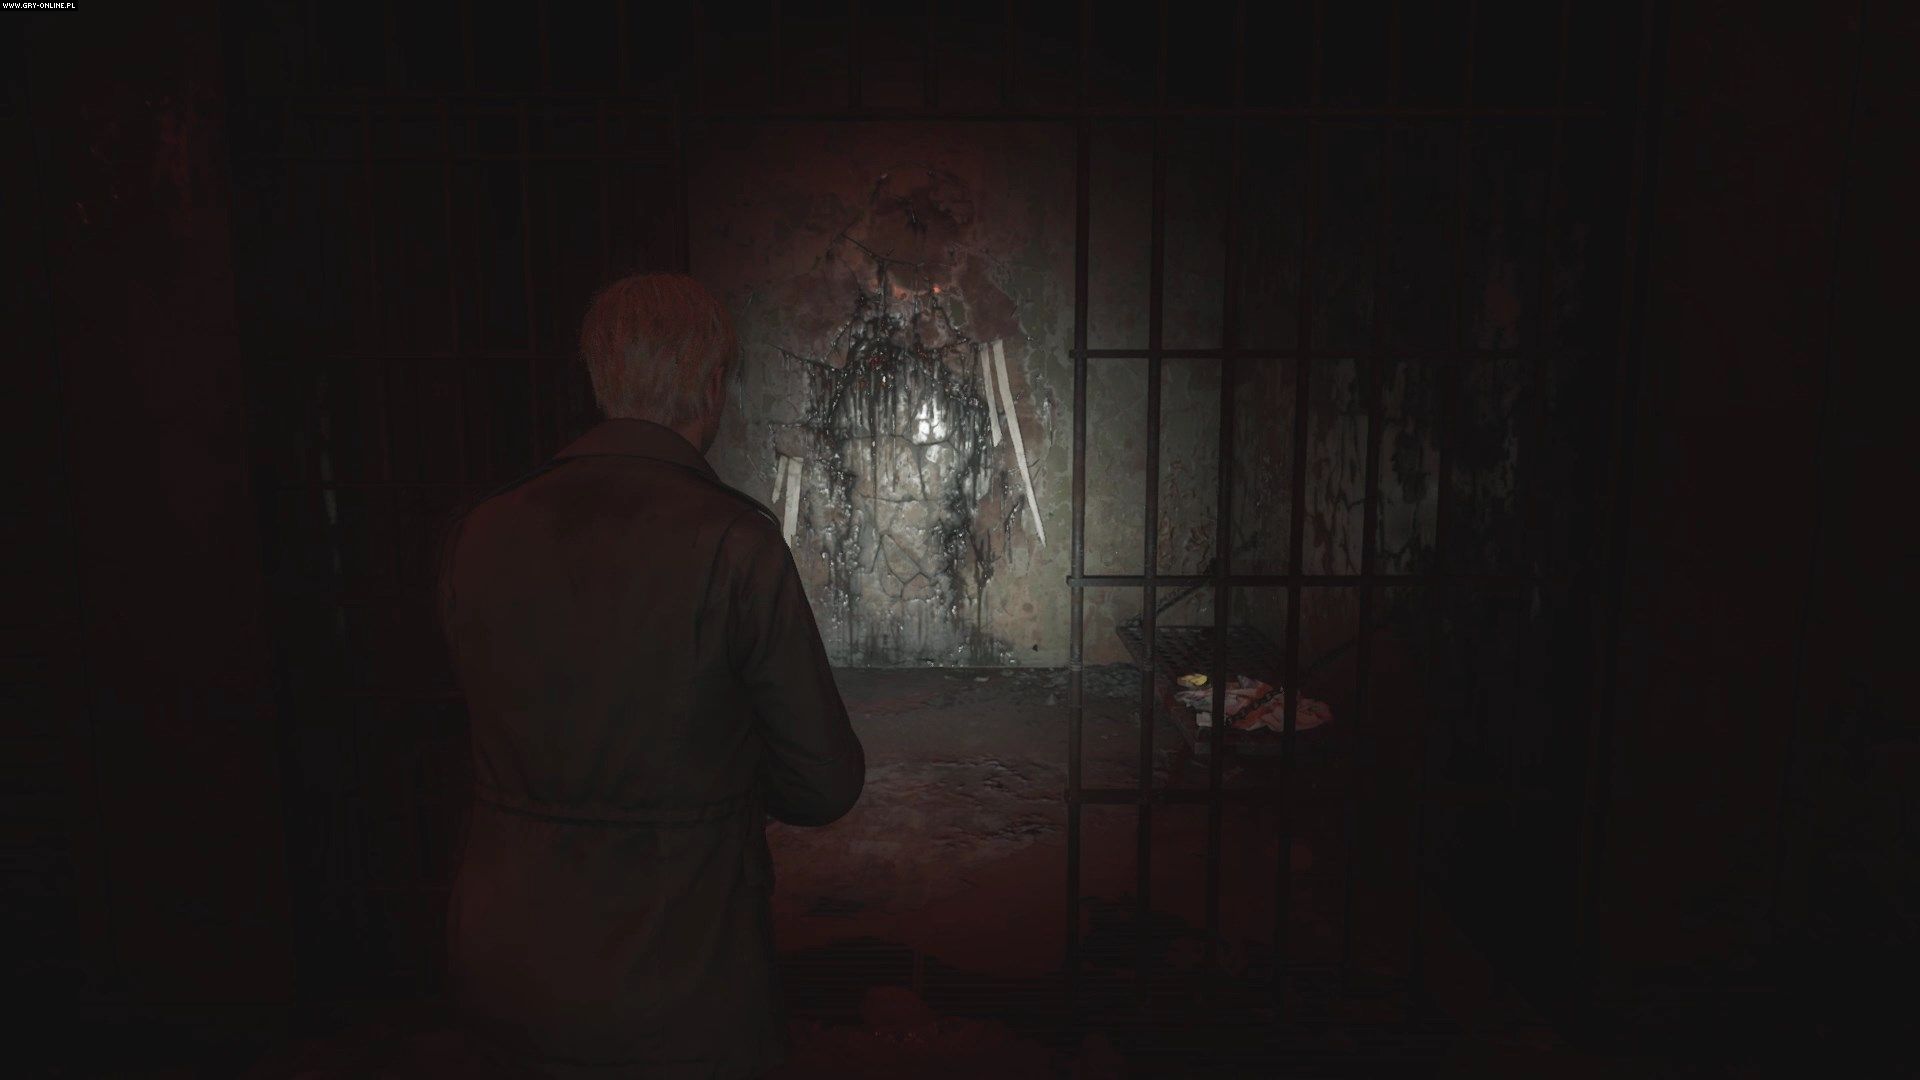
There are plenty of resources and ammo lying around here, so search the rooms before reaching into the bug-infested hole in the shower wall to grab a heavy weight. The moment you pick up the weight the room will get full of enemies. Run straight and don't fight them. If an opponent stands in your way, kill him with a shotgun and run to the end of the corridor and the open doors. Opponents should not follow you to blocks C and D.
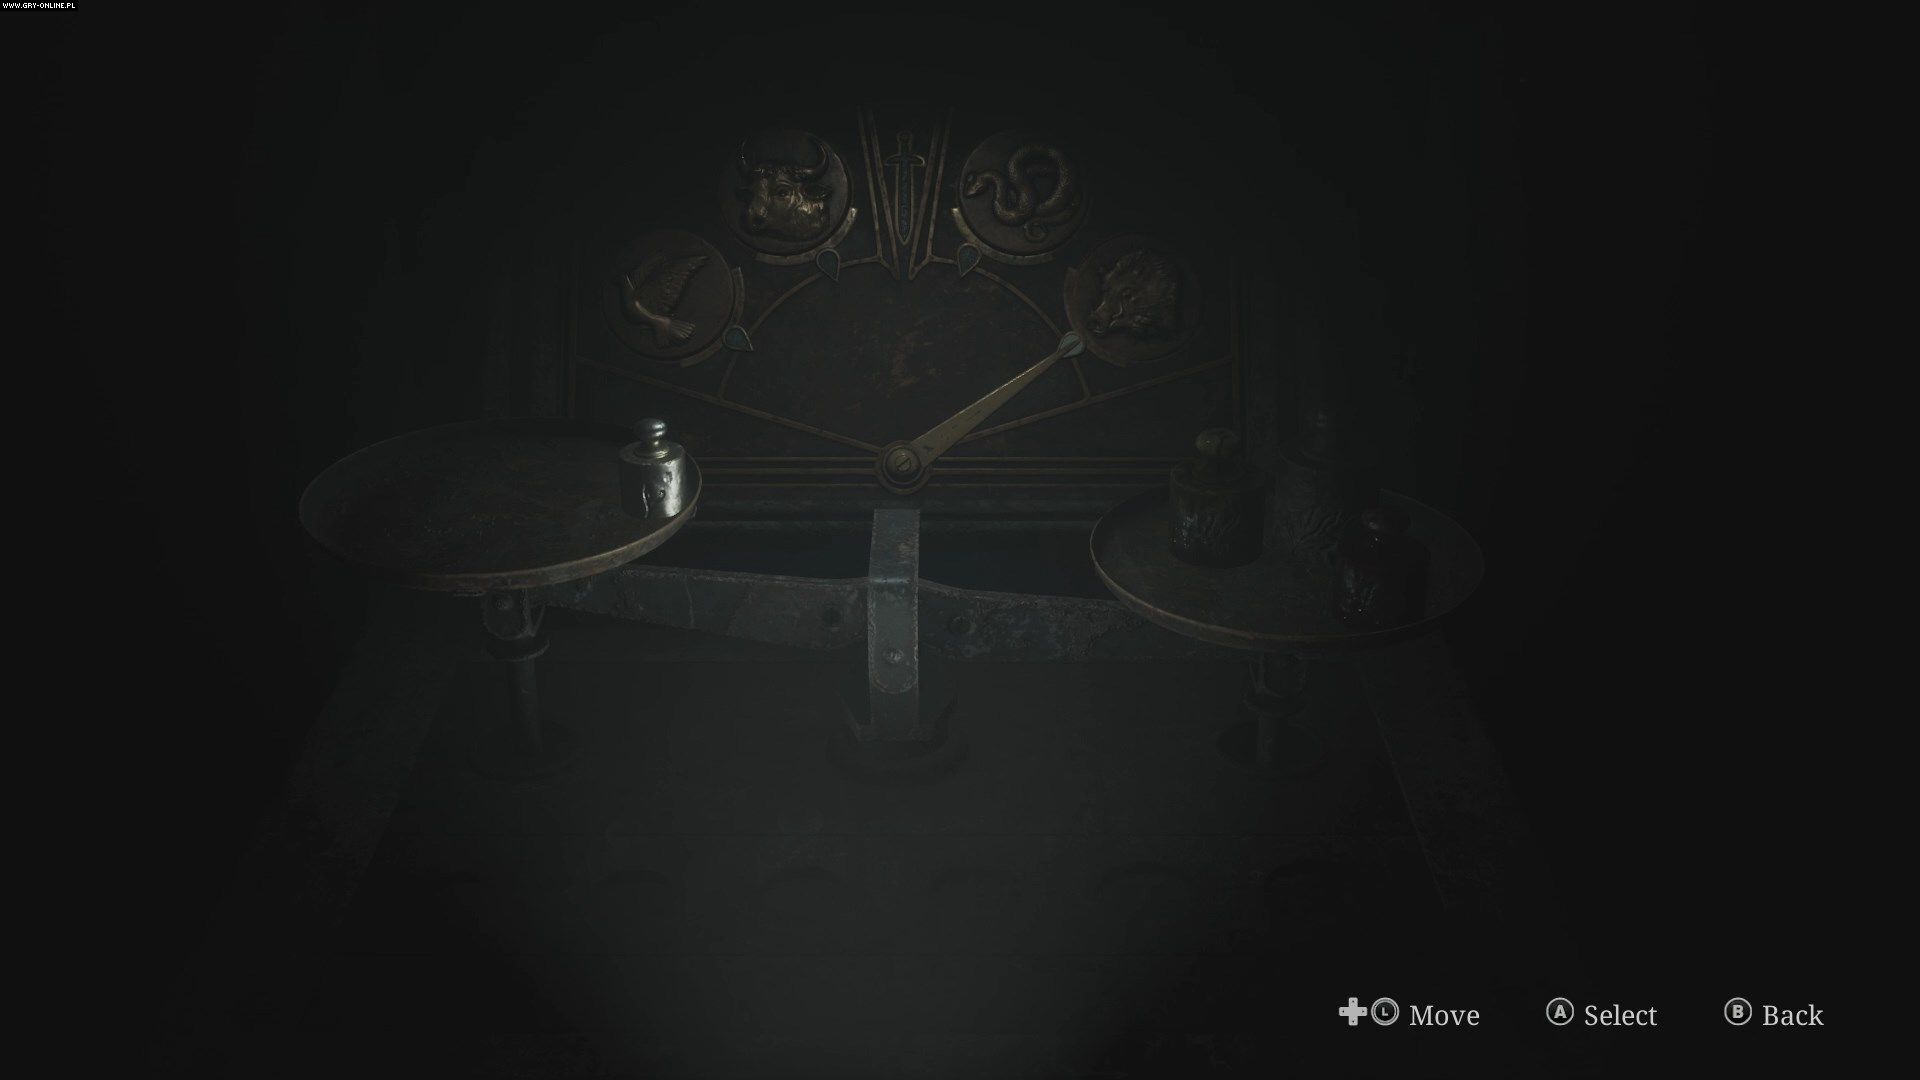
Return to the main part of the prison the same way you came and head to the yard. Place the heavy weight on the scales. Place the silver weight on the left scale and all the others on the right scale to open the boar door.
How to get through the boar area?
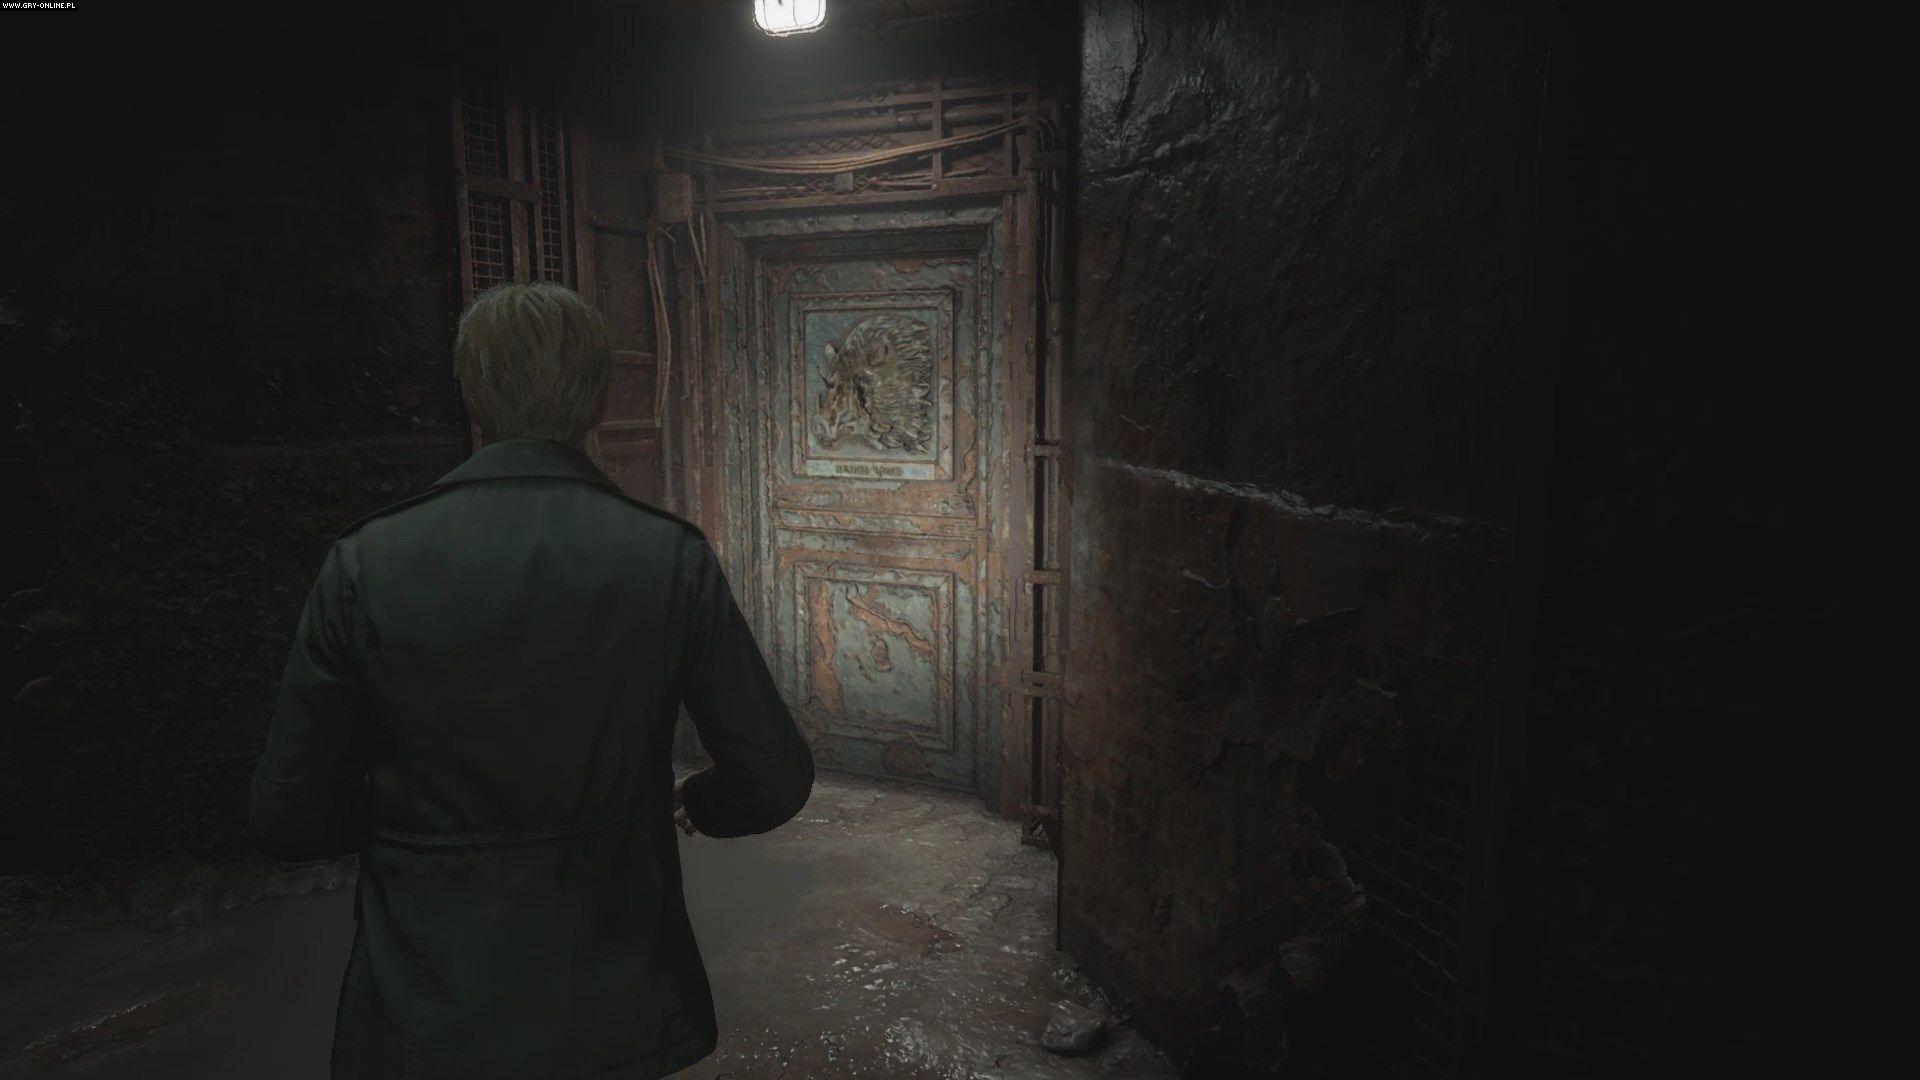
Head to the boar door to the north of block B. The route through this area is linear. Head down the corridor through the visitations room, where you'll need to go through a broken window.

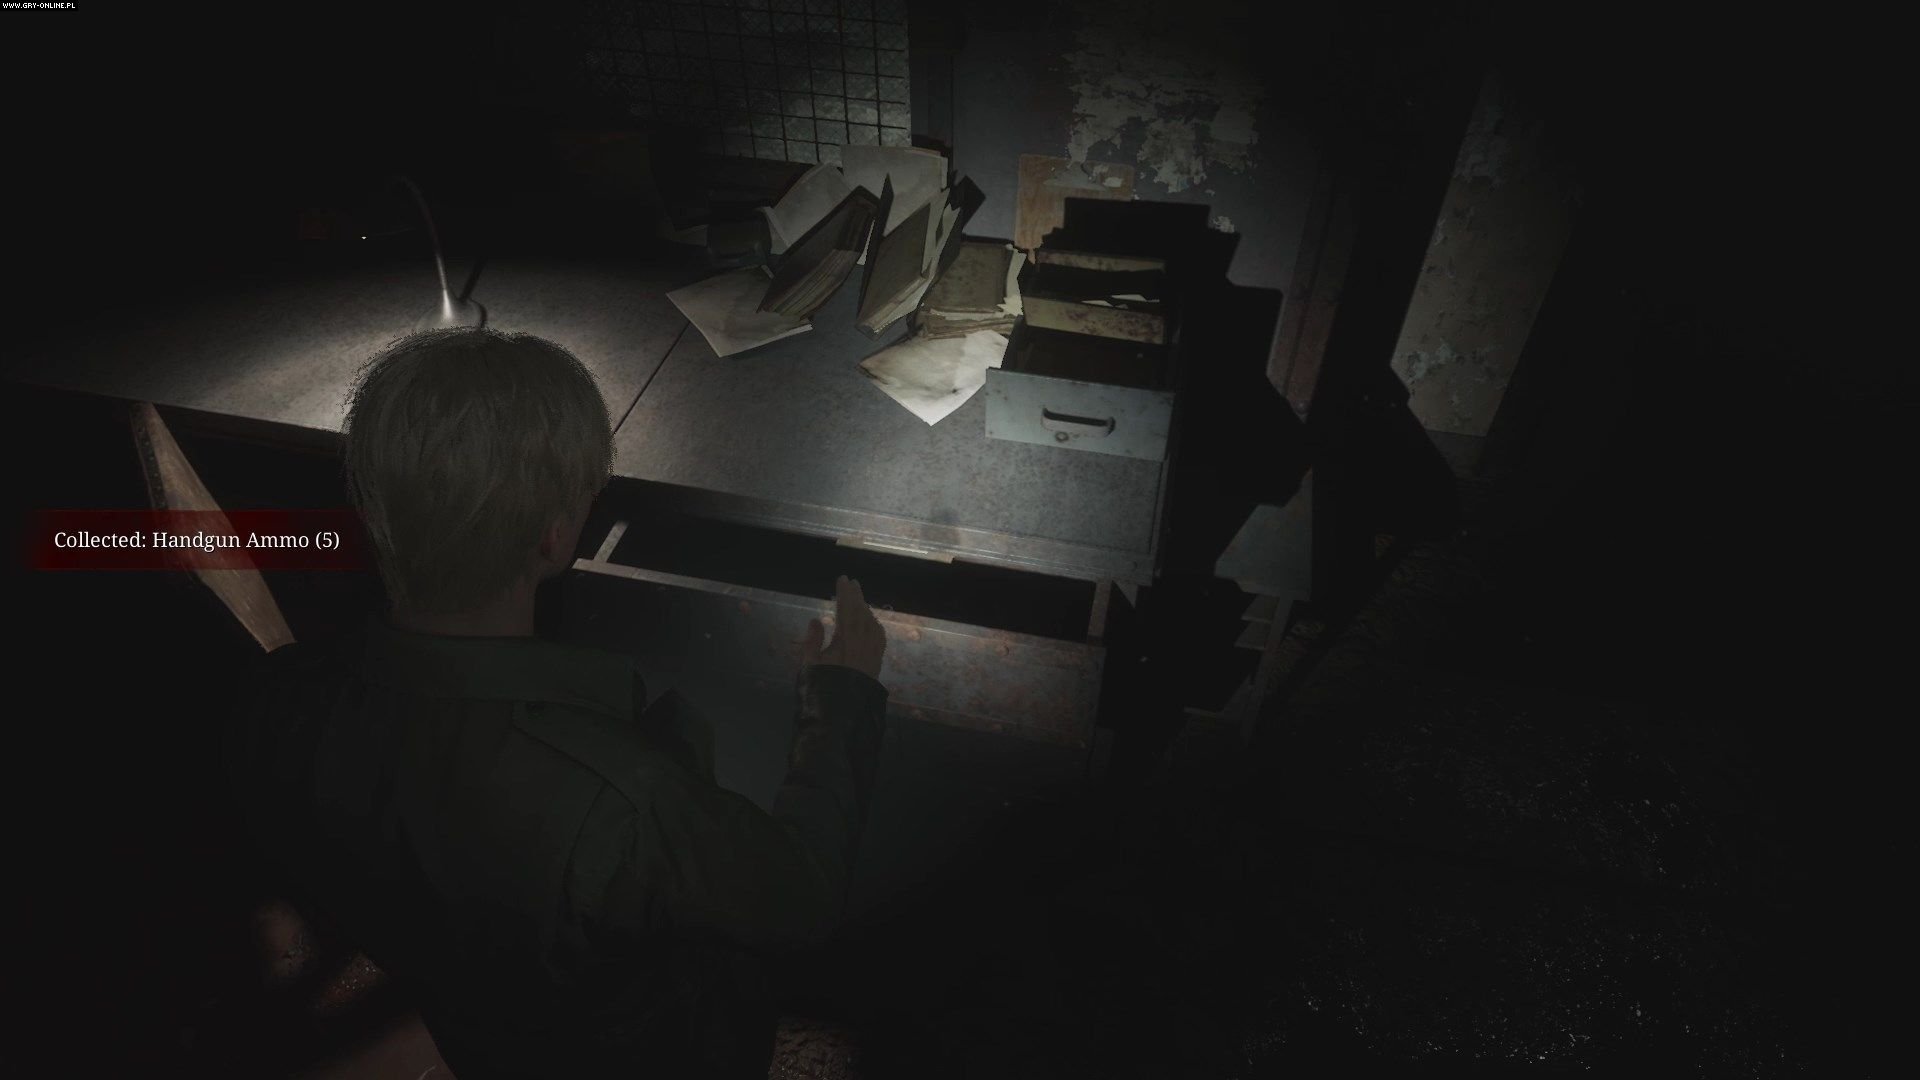
Go through the next hallway, around or through the break room, until you reach the infirmary. On the desk you will find a key to the upper floor.

Return to the previous corridor and open the door to the stairwell, south of the toilets. On the other side, go up the next staircase to reach the third floor and the warden's office. There is a typewriter on the desk on which someone has been writing just one word. Write that word - SICK - to get a light weight.
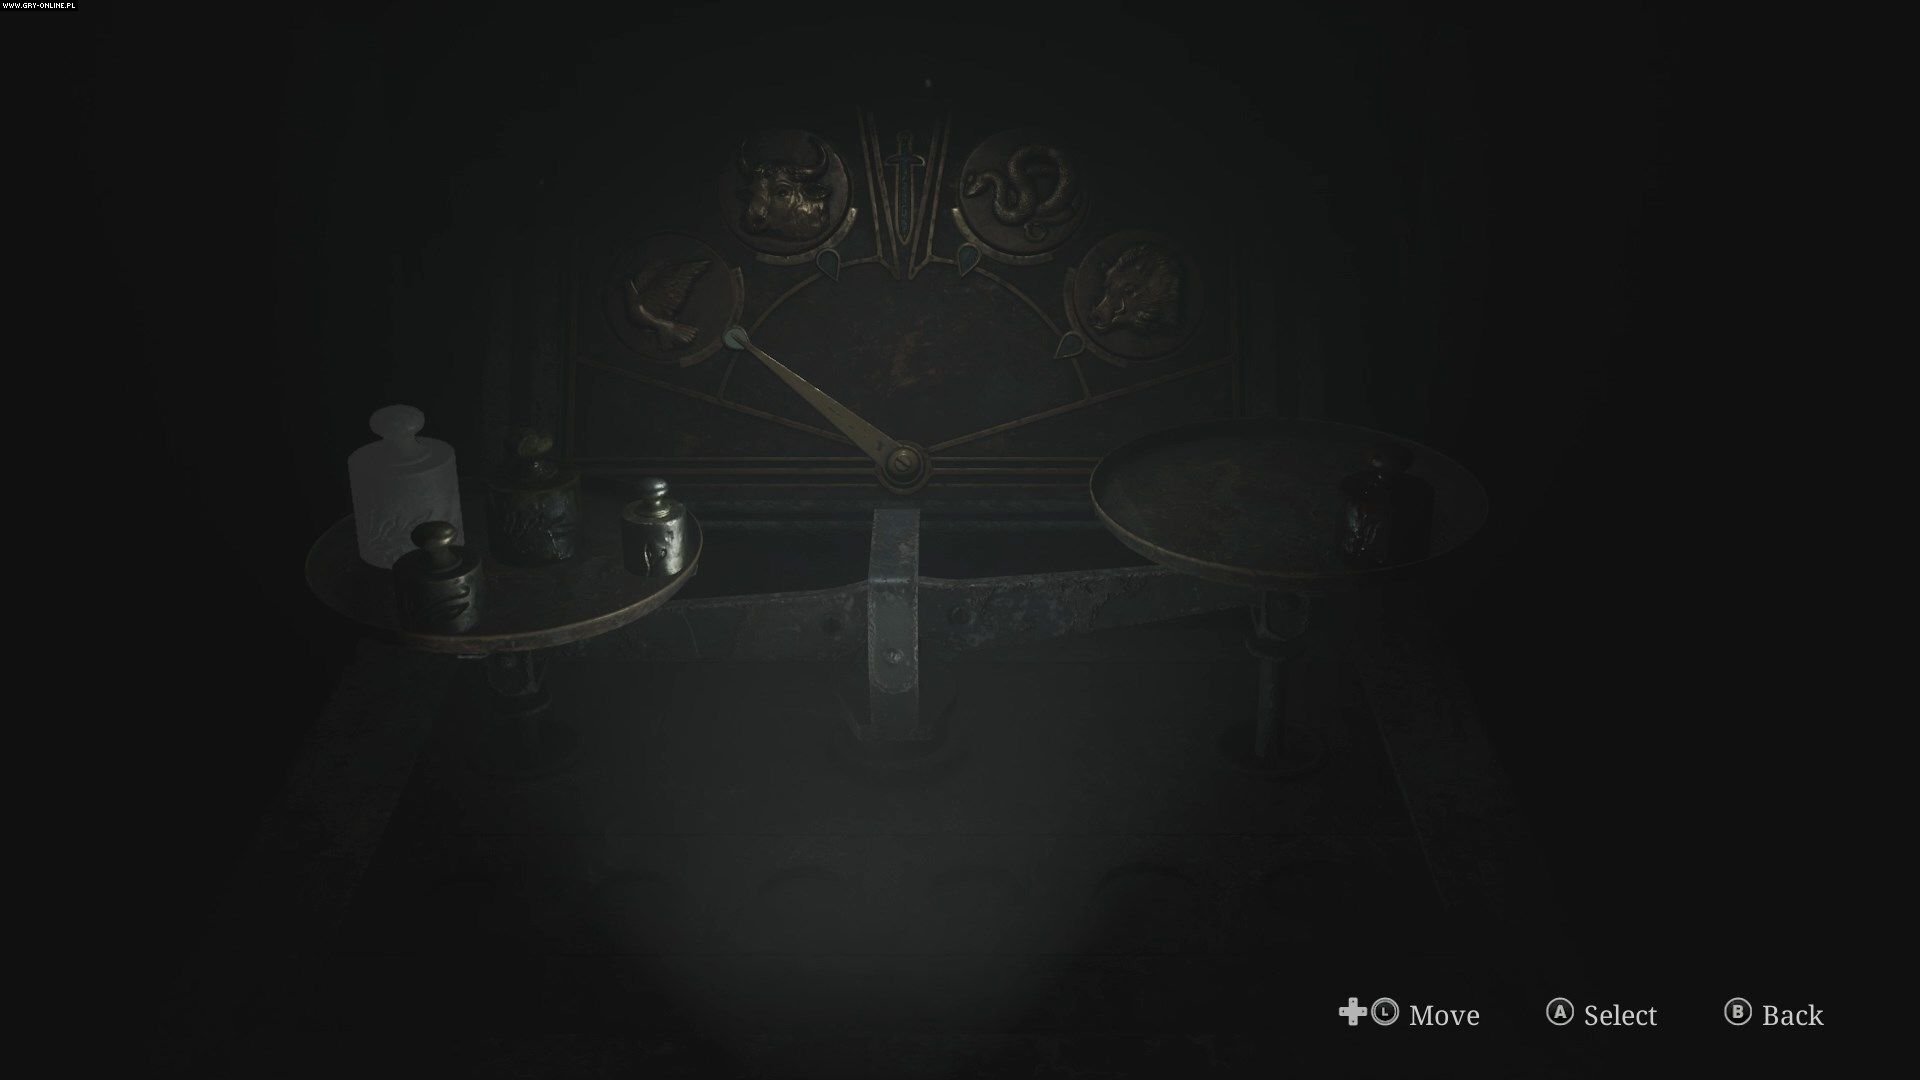
Return to the main part of the prison via the second floor or through the visitations room again. Go to the yard and place the light weight on the scales. Place the medium weight on the right scale and all the others on the left scale to open the pigeon door.
How to get through the pigeon area?
The pigeon door leads to the basement. The passage will collapse behind you - you have to find another exit. Go to the very end of the corridor and squeeze through the gap opposite cell F15.
On the other side you will find a panel with buttons that open cells. You can open both of them, then proceed to the newly opened cell F6. Enter it and take the lightest weight. The cell will close and you will be trapped inside. Be patient and ignore the disturbing sounds - the cell will open itself after about thirty seconds.
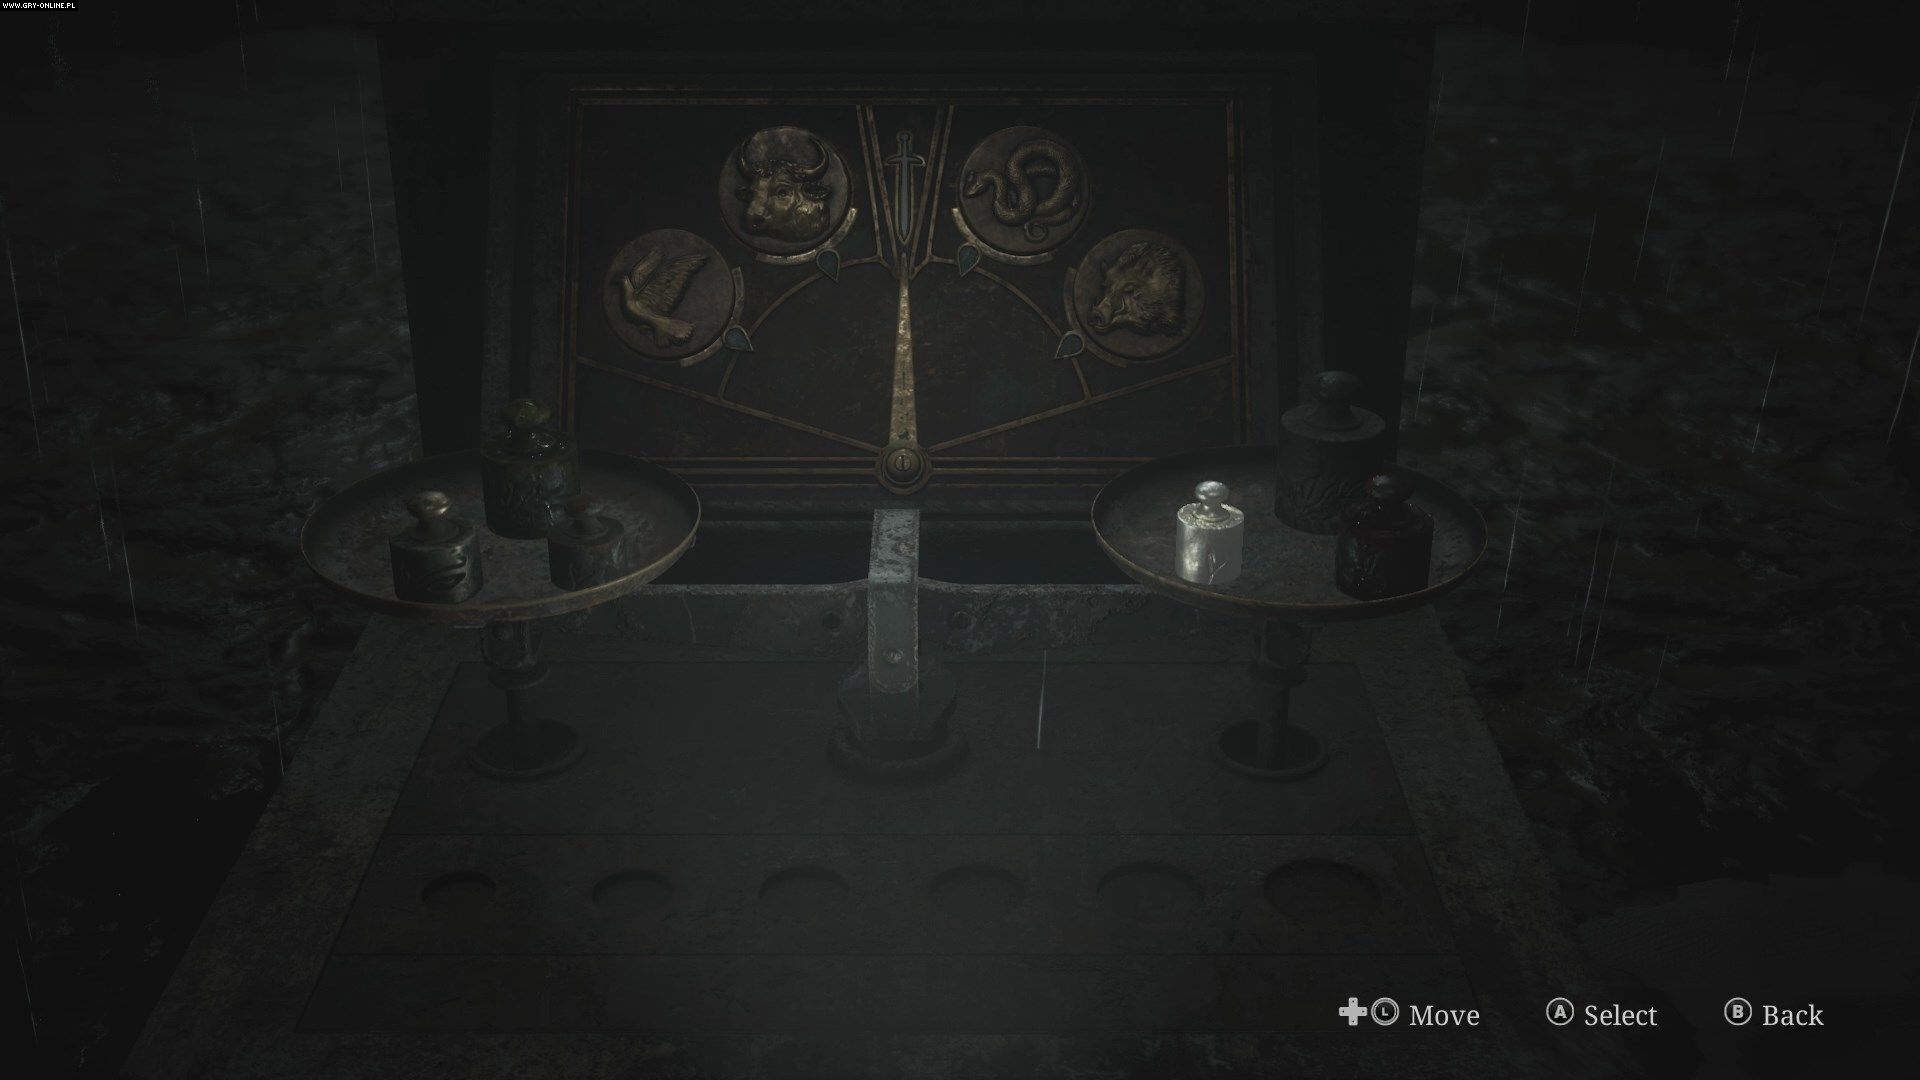
After leaving the cell, you must find the exit. Go to cell F9 and destroy the wall inside, then squeeze through it and climb the ladder to the upper floor. You will find yourself in the main area once again. Go to the yard and place the lightest weight on the scales. Place the heaviest, medium, and silver weights on one scale, and the heavy, light, and lightest weights on the other scale to obtain execution lever.
How to leave the prison?
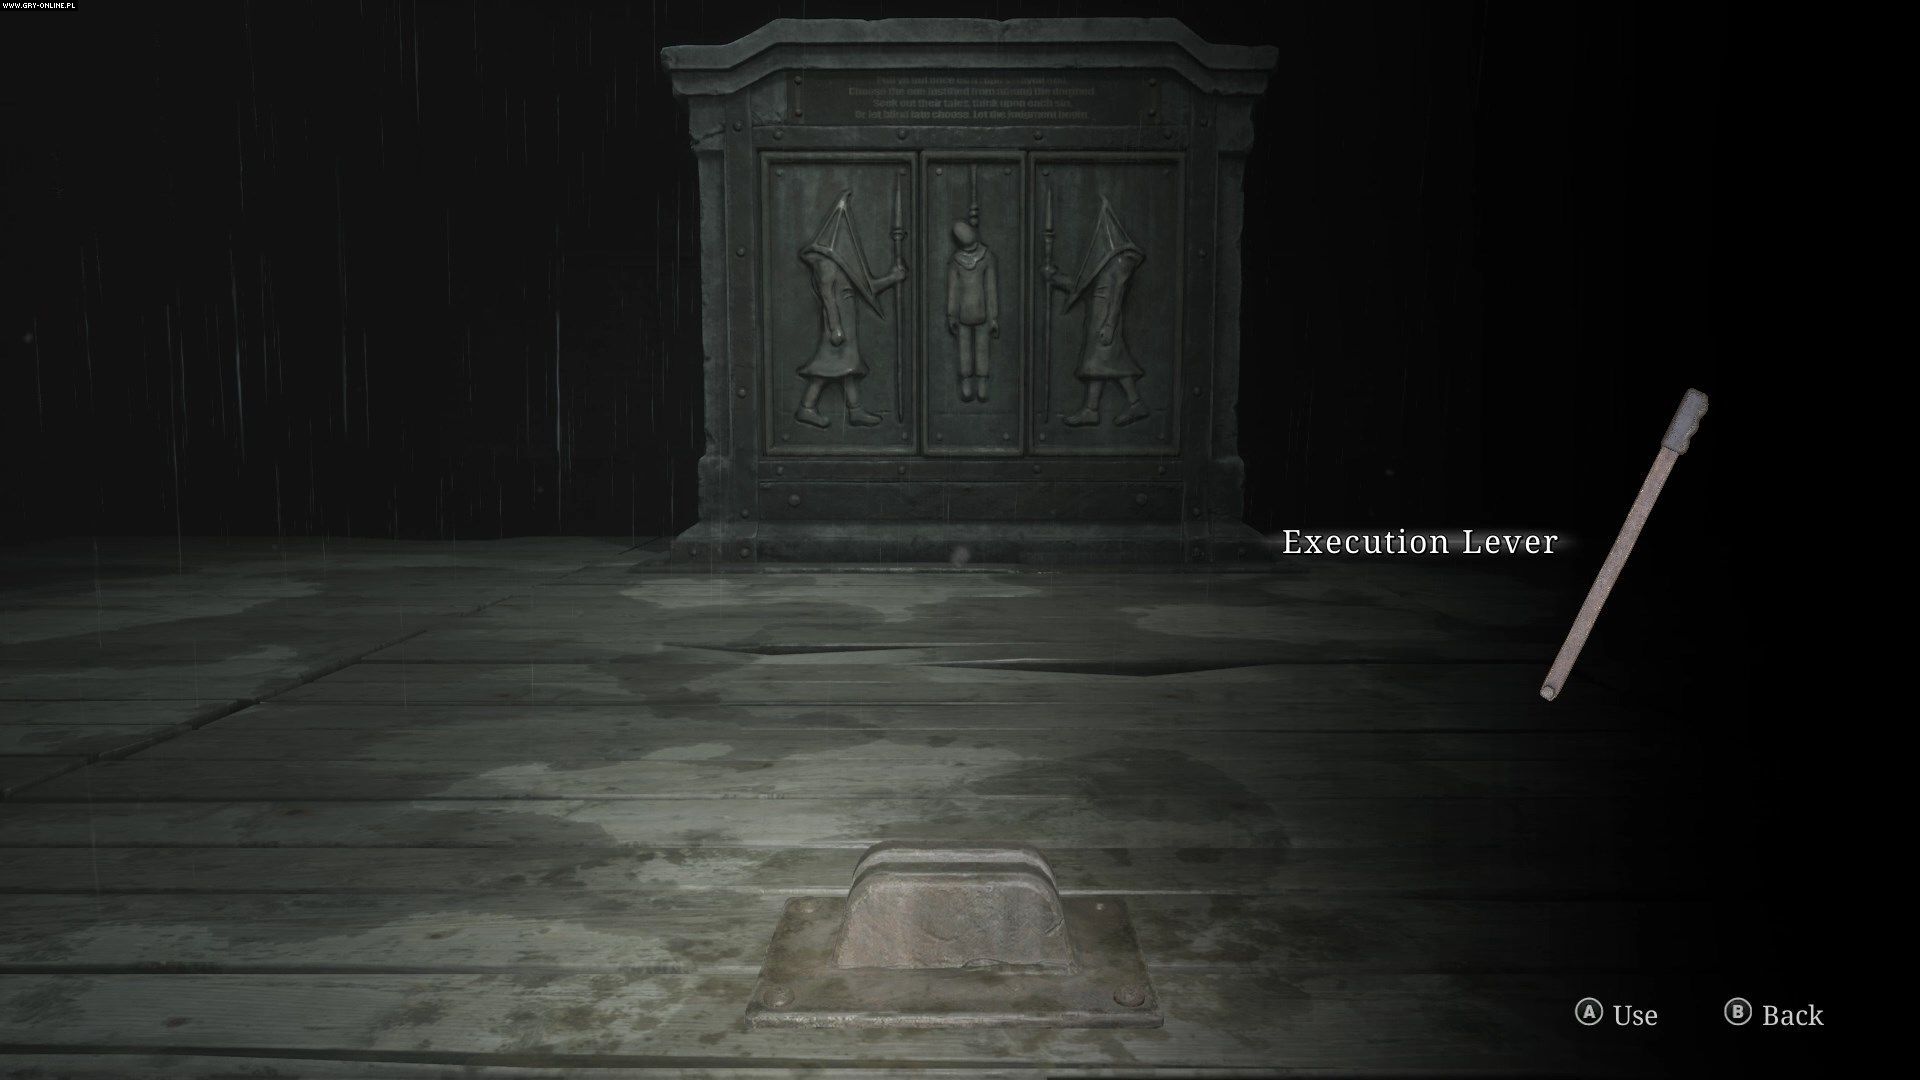
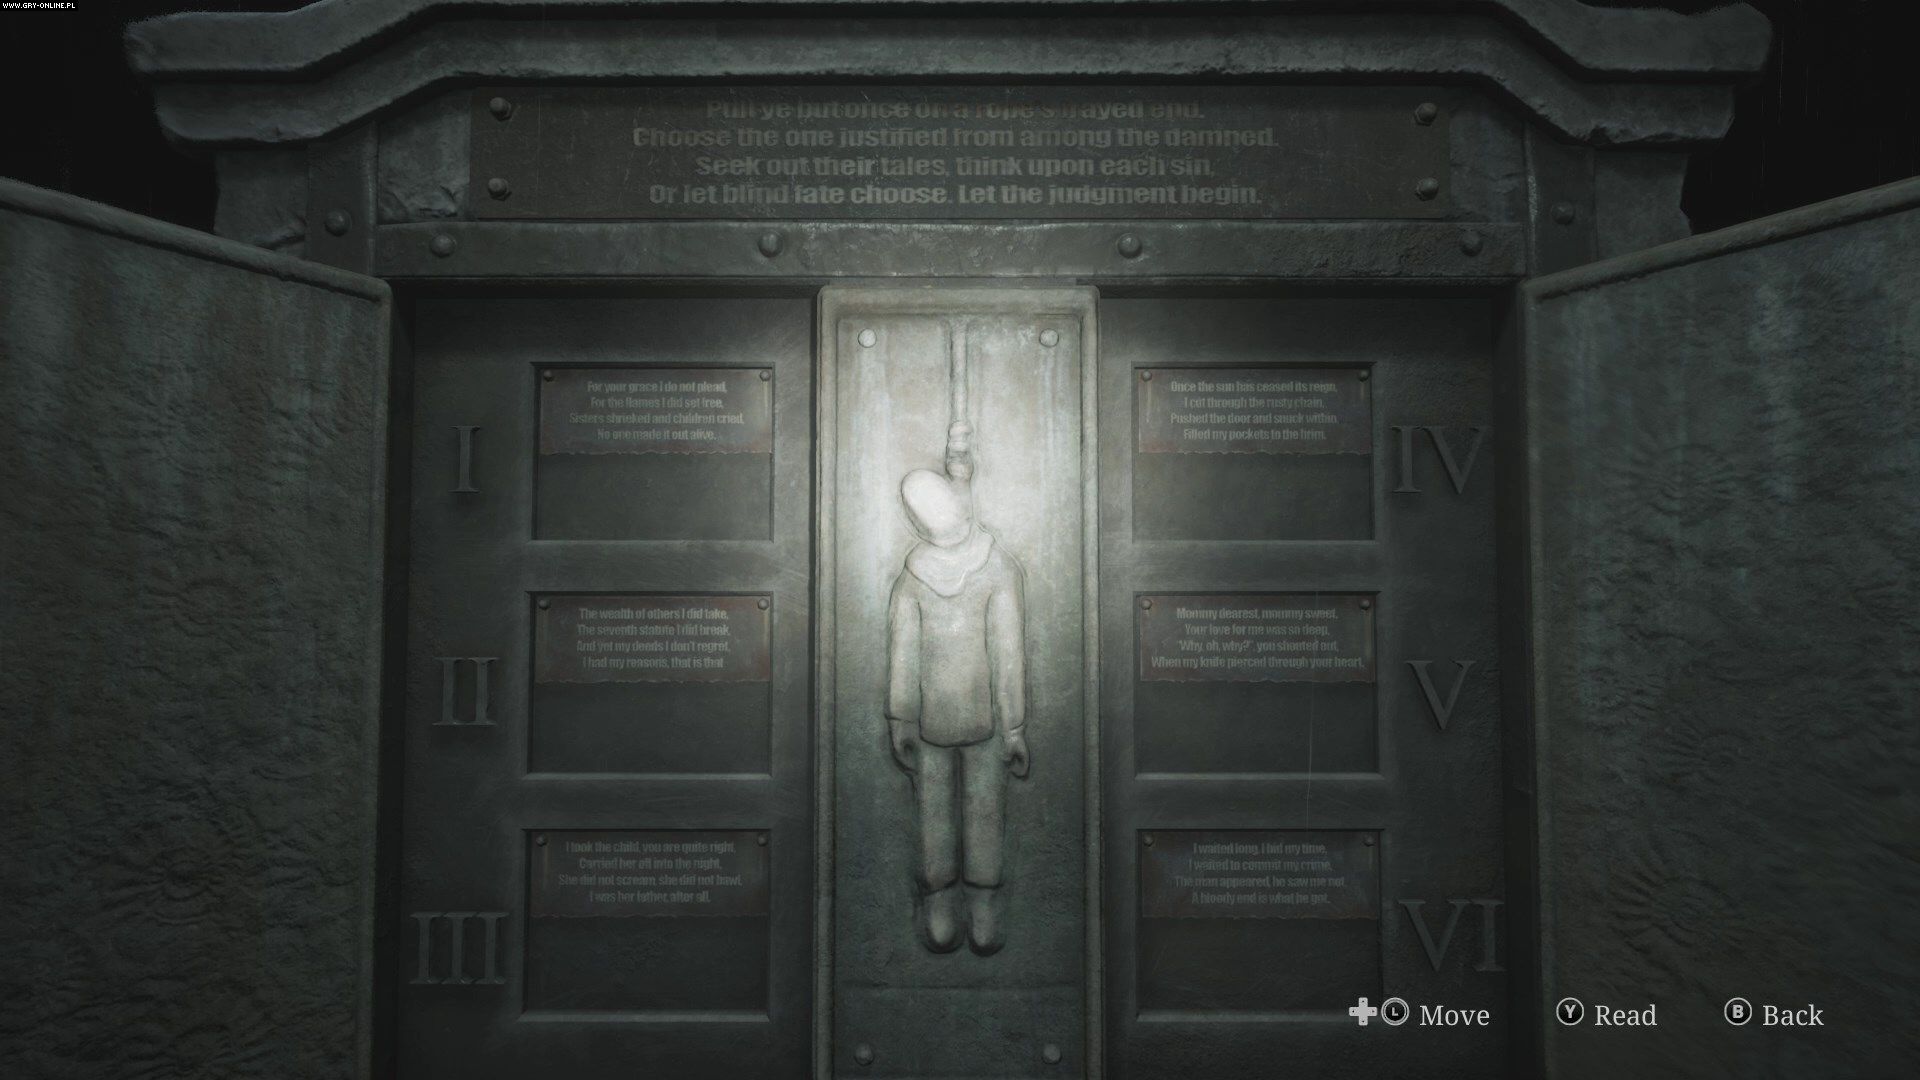
Go to the gallows and insert the lever into the device in the center of the platform. It will open the board in front of you. You must solve the puzzle by selecting the only innocent among the six convicts. We described it on a separate guide page.
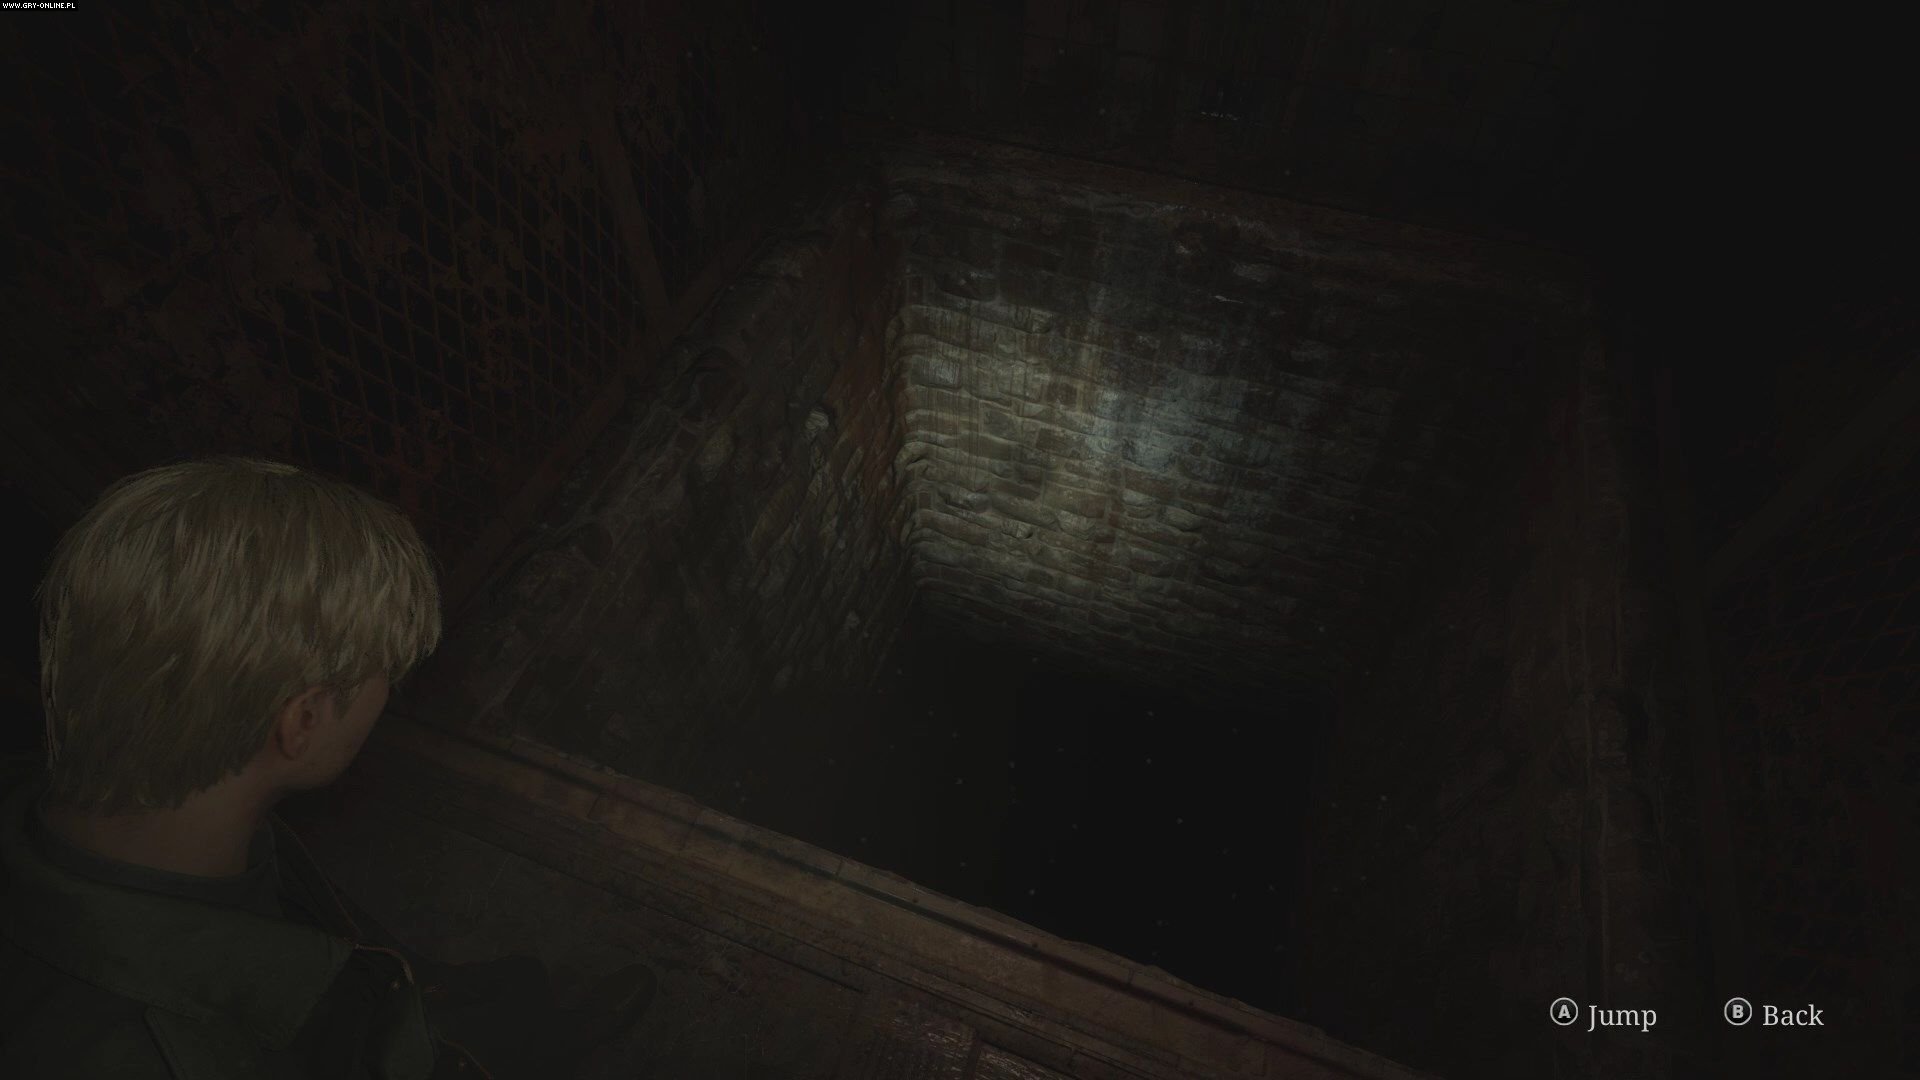
The correct solution to the puzzle will drop you into the morgue, where you will find another hole in the floor. Jump down the next holes until you reach the elevator. Enter inside to get to the next area - the Labyrinth.

- Silent Hill 2 Remake Guide
- Silent Hill 2 Remake: Game Guide
- Silent Hill 2 Remake: Walkthrough
- Silent Hill 2 Remake: All chapters
- Silent Hill 2 Remake: East South Vale
- Silent Hill 2 Remake: Wood Side Apartments
- Silent Hill 2 Remake: Blue Creek Apartments
- Silent Hill 2 Remake: Western South Vale
- Silent Hill 2 Remake: Brookhaven Hospital
- Silent Hill 2 Remake: Otherworld Hospital
- Silent Hill 2 Remake: Otherworld South Vale
- Silent Hill 2 Remake: Toluca prison
- Silent Hill 2 Remake: Labyrinth
- Silent Hill 2 Remake: Lakeview Hotel
- Silent Hill 2 Remake: Otherworld Hotel
- Silent Hill 2 Remake: Walkthrough
- Silent Hill 2 Remake: Game Guide
You are not permitted to copy any image, text or info from this page. This site is not associated with and/or endorsed by the developers and the publishers. All logos and images are copyrighted by their respective owners.
Copyright © 2000 - 2026 Webedia Polska SA for gamepressure.com, unofficial game guides, walkthroughs, secrets, game tips, maps & strategies for top games.