Silent Hill 2 Remake: Otherworld Hospital
Otherworld Brookhaven Hospital is the sixth area in Silent Hill 2 Remake. It features difficult enemies, but a much simpler structure than the normal hospital. On this page of the guide, we described how to open the chained chest and escape from the Pyramid Head.
Otherworld version of Brookhaven Hospital is the sixth area in Silent Hill 2 Remake, which you will get to after leaving the normal Brookhaven Hospital. The opponents in this location are still dangerous, but the structure of the area is much simpler. On this guide page, we described how to open a chest bound with chains and escape from the Pyramid Head.
- How to get a lapis key?
- How to get the combination for the iron padlock?
- How to get the combination for the electronic lock?
- How to get two rings?
- How to escape from the Pyramid Head?
How to get a lapis key?
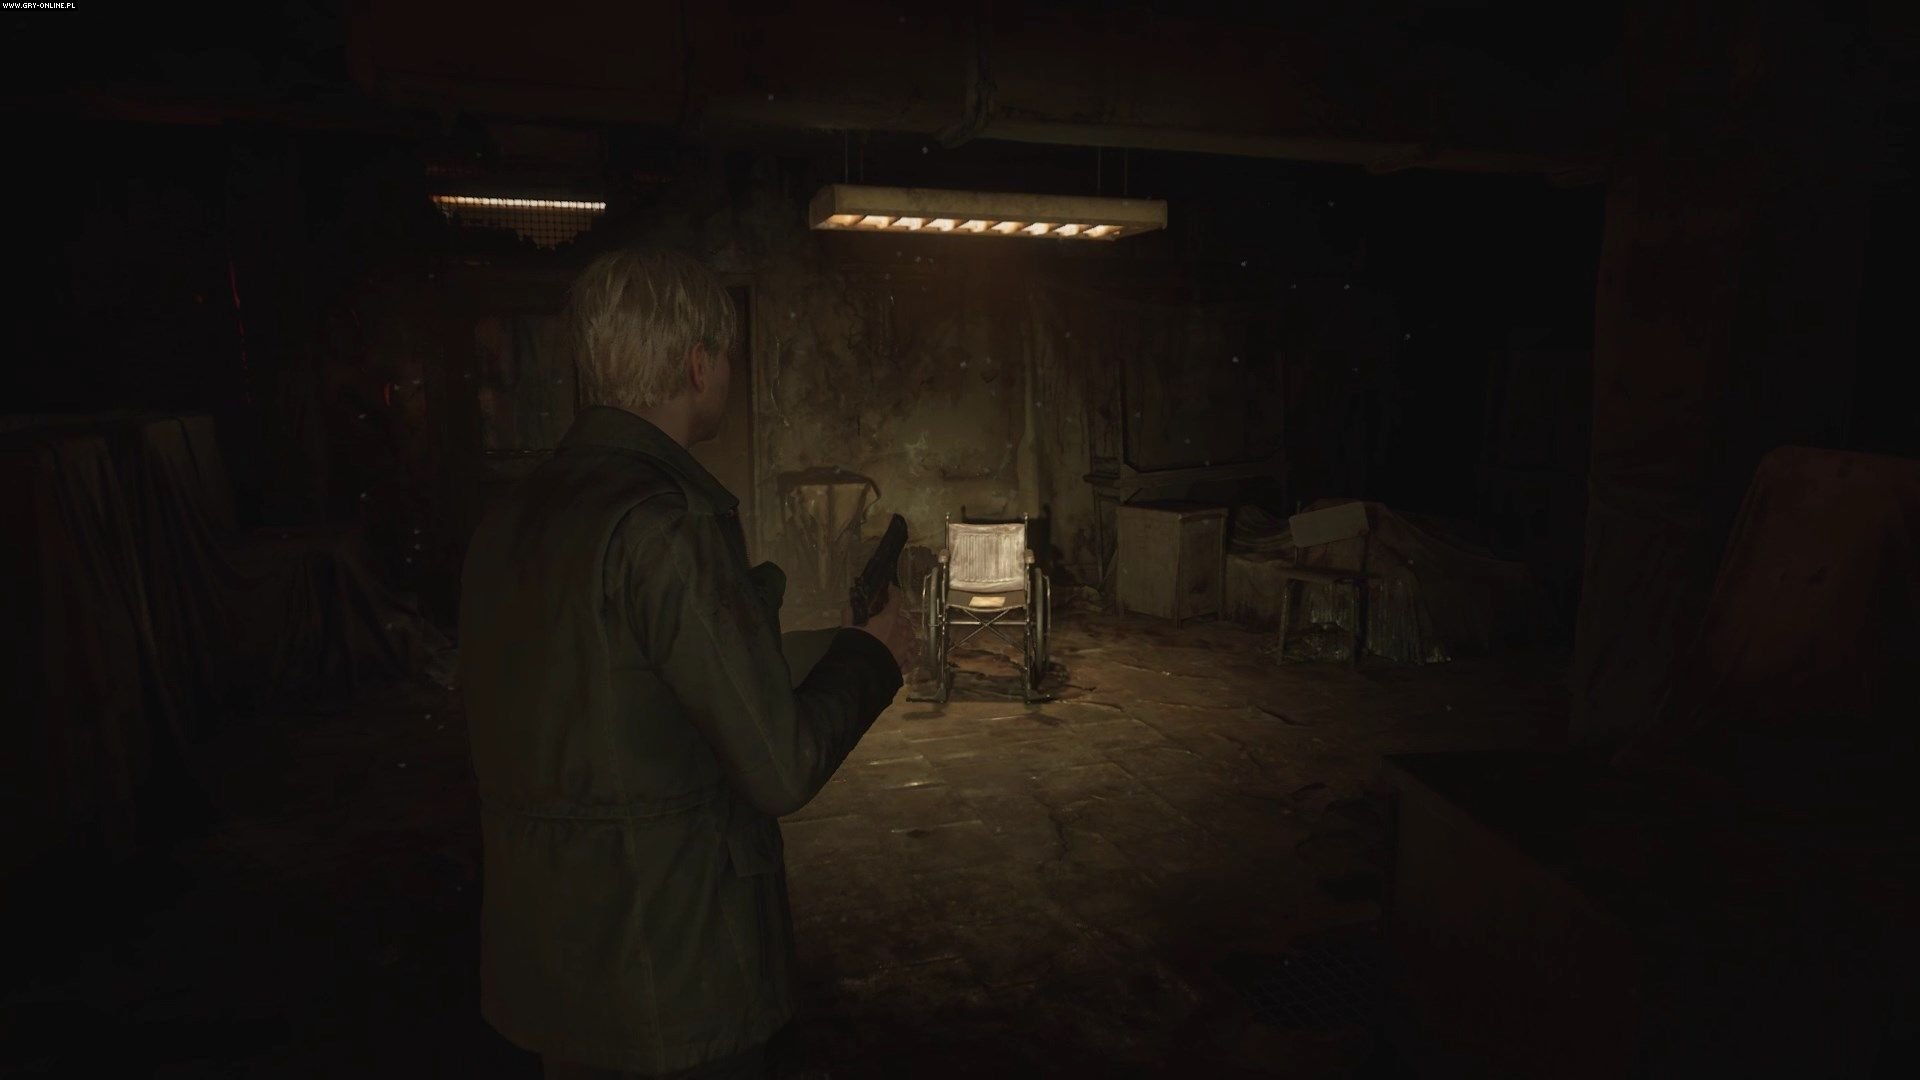

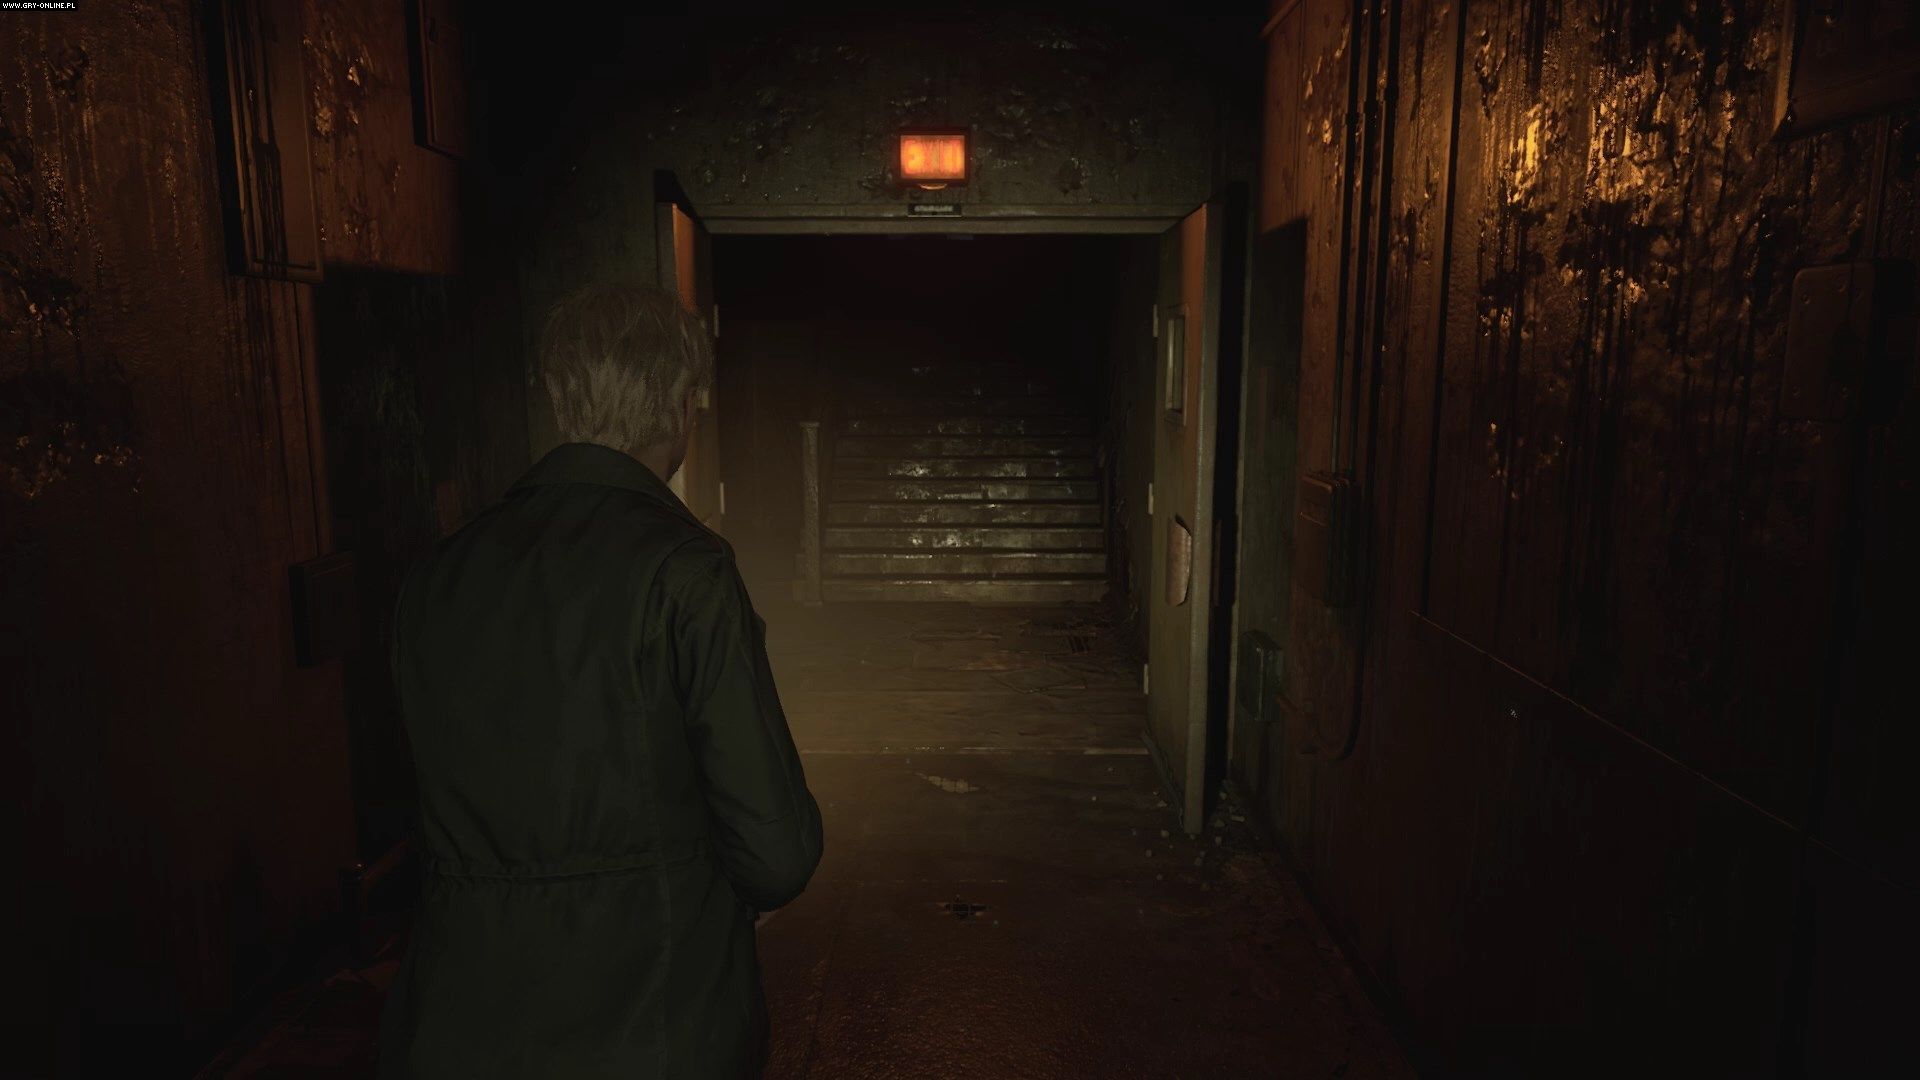
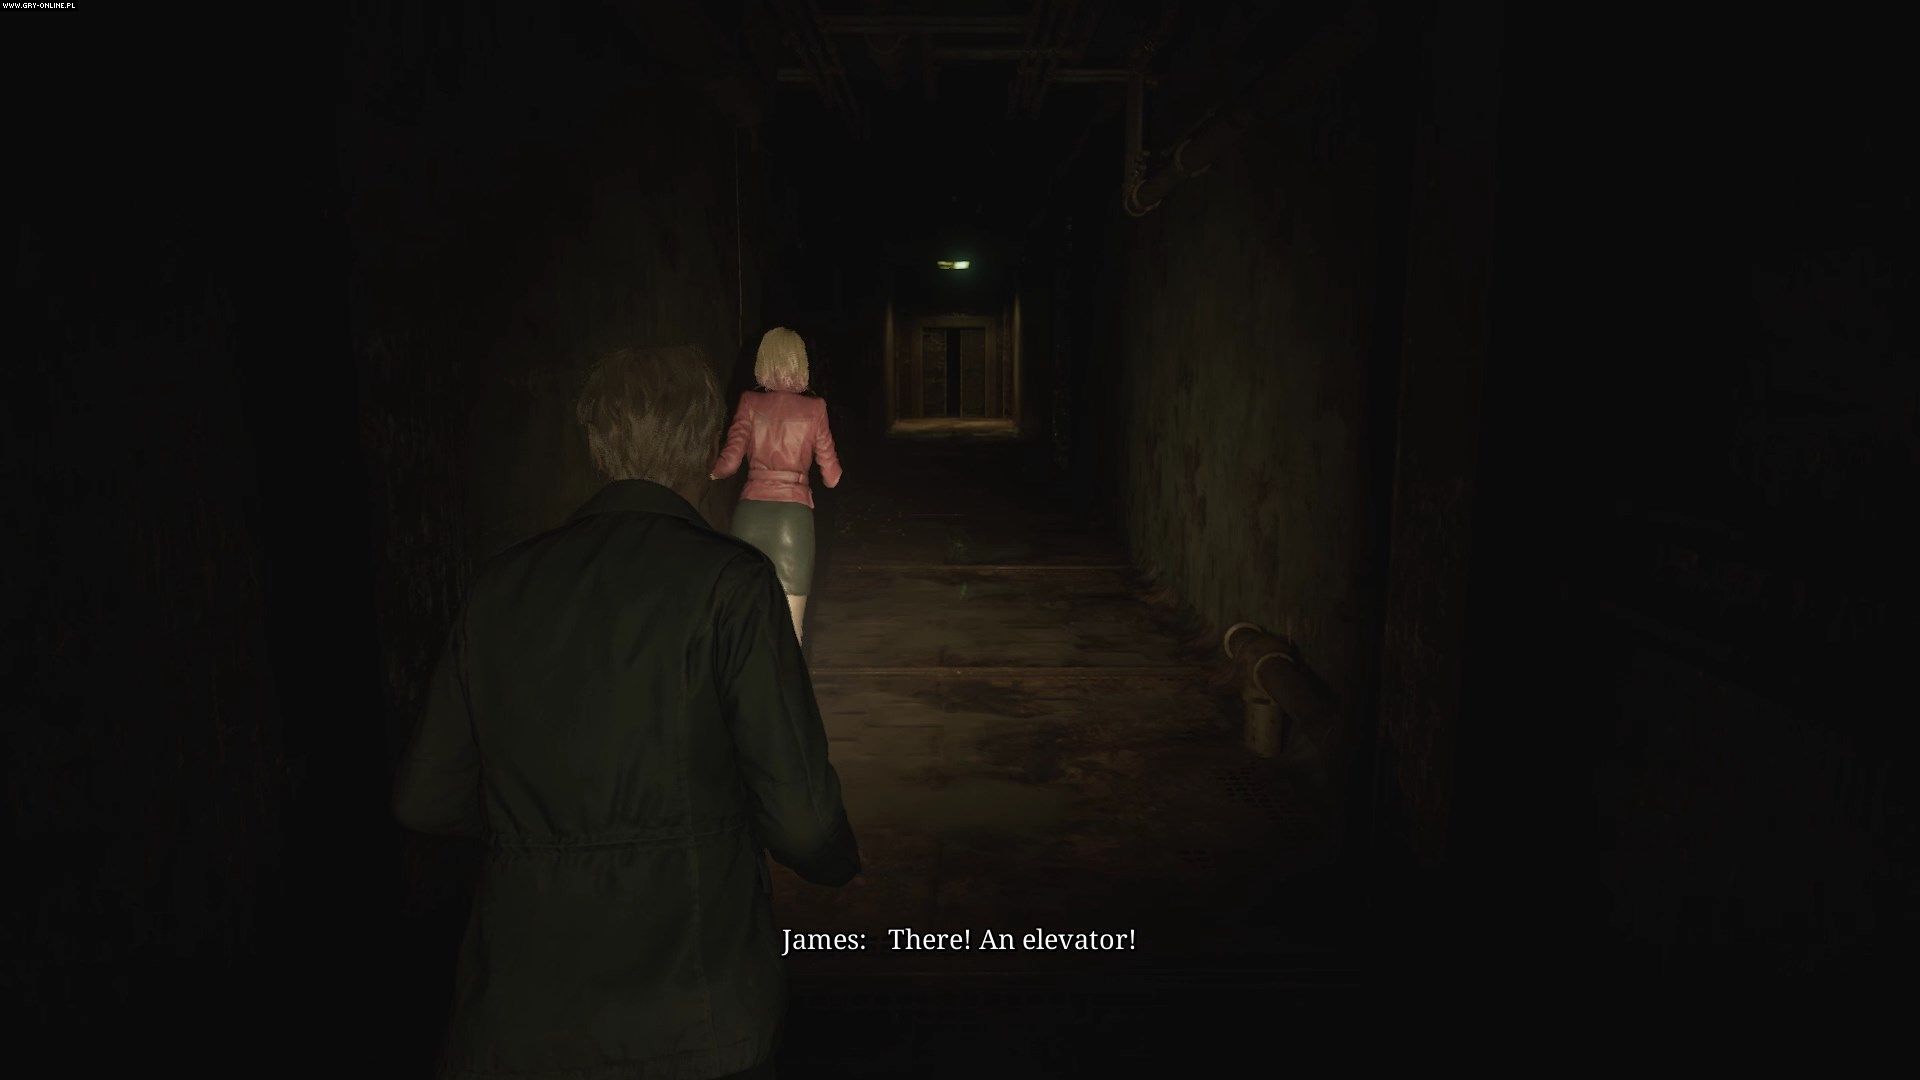
After a fairly long cut-scene, go forward and pick up the map from the wheelchair. Enter the elevator at the end of the corridor and go to the second floor.
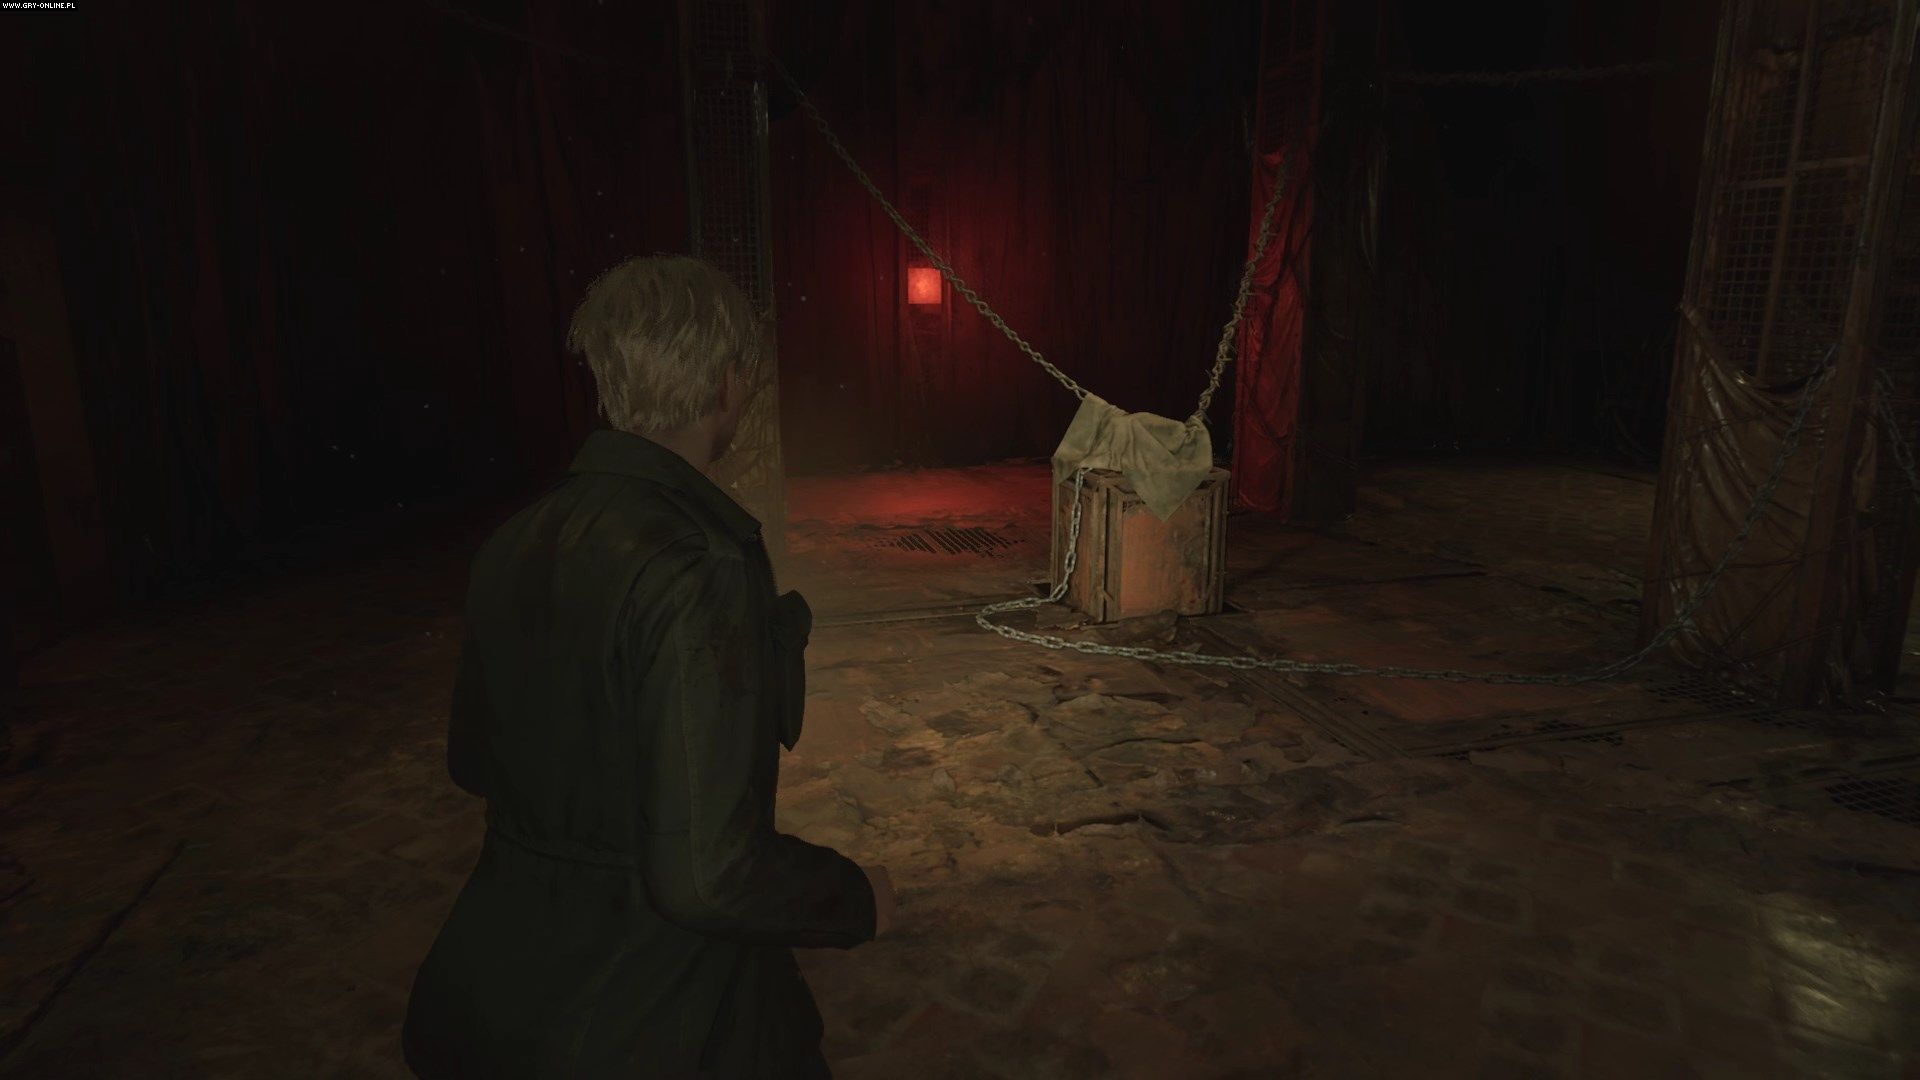

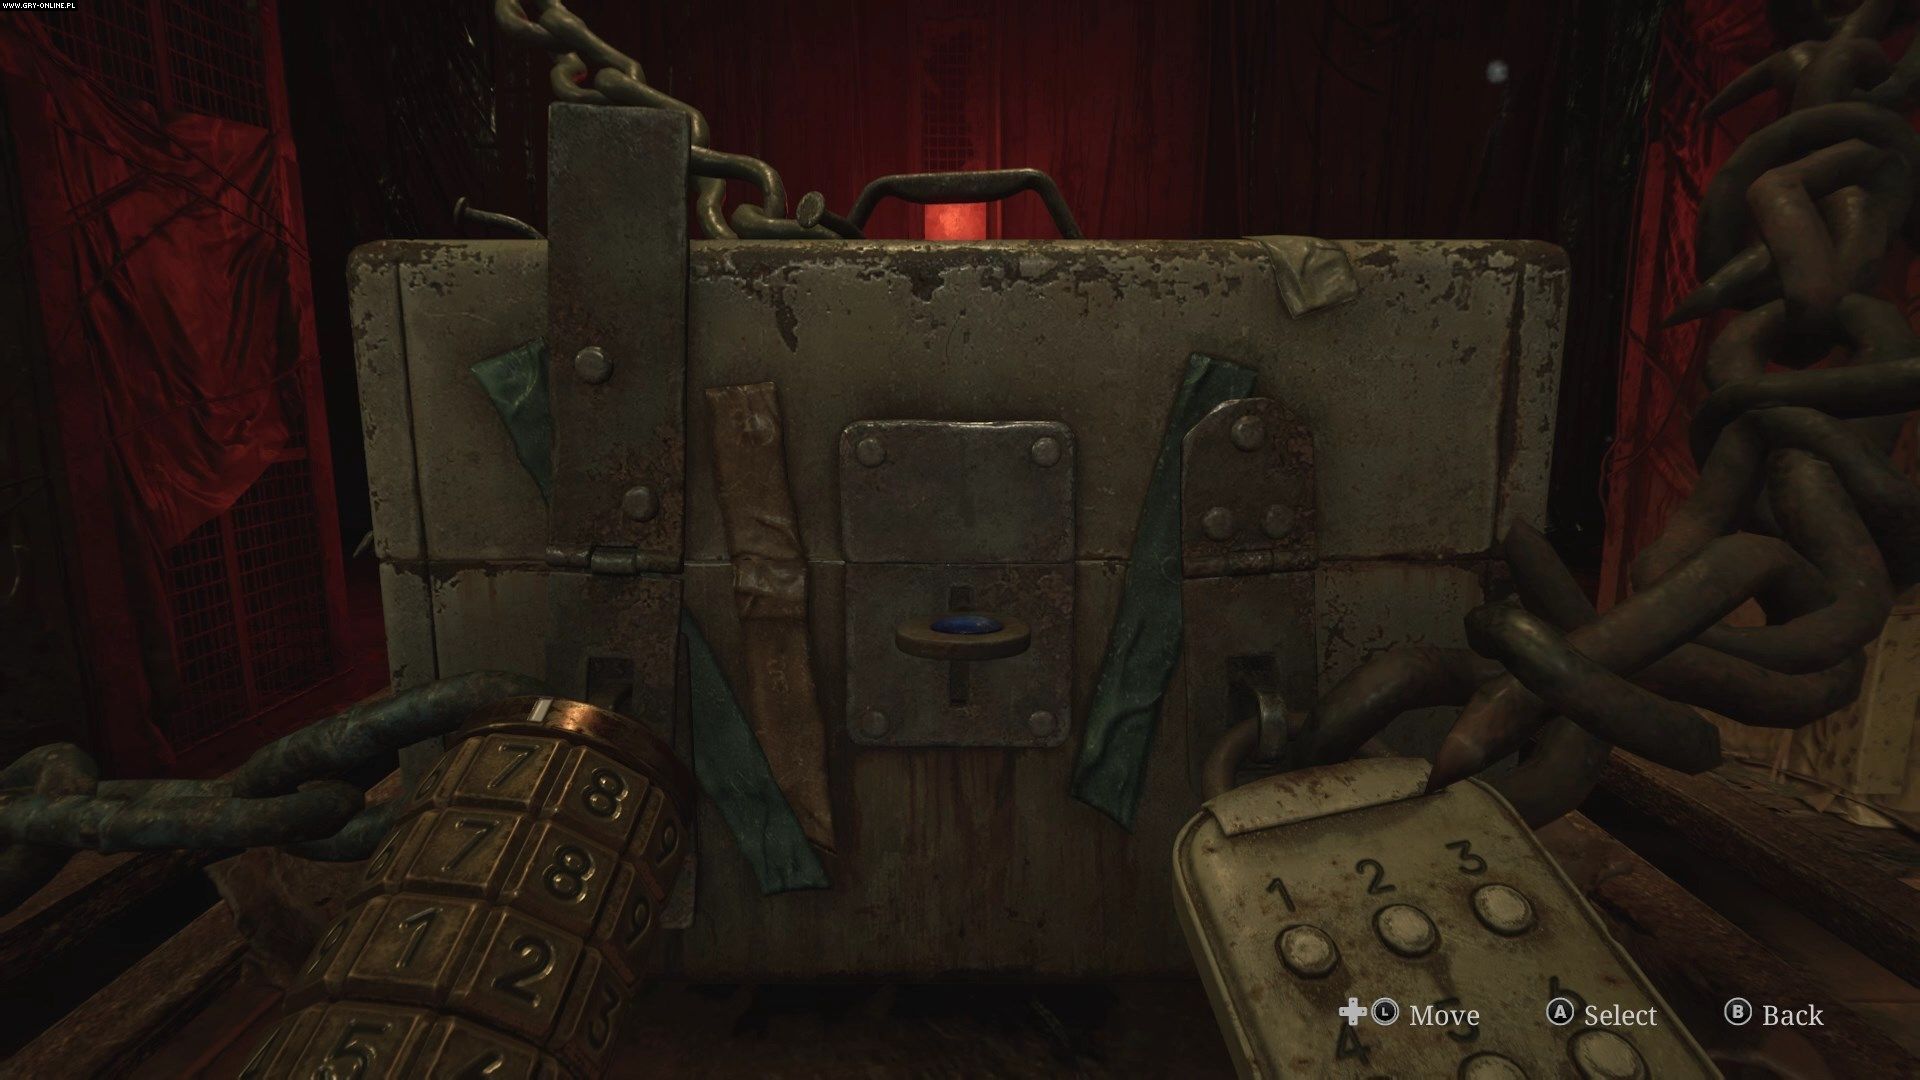
Right after exiting the elevator, you will find yourself in a large, central room, which serves as a hub of this area. Pay attention to the chest bound with chains in the middle of the room - opening it is your main goal here. For this you need three things - a lapis key, an iron padlock combination, and an electronic padlock combination.
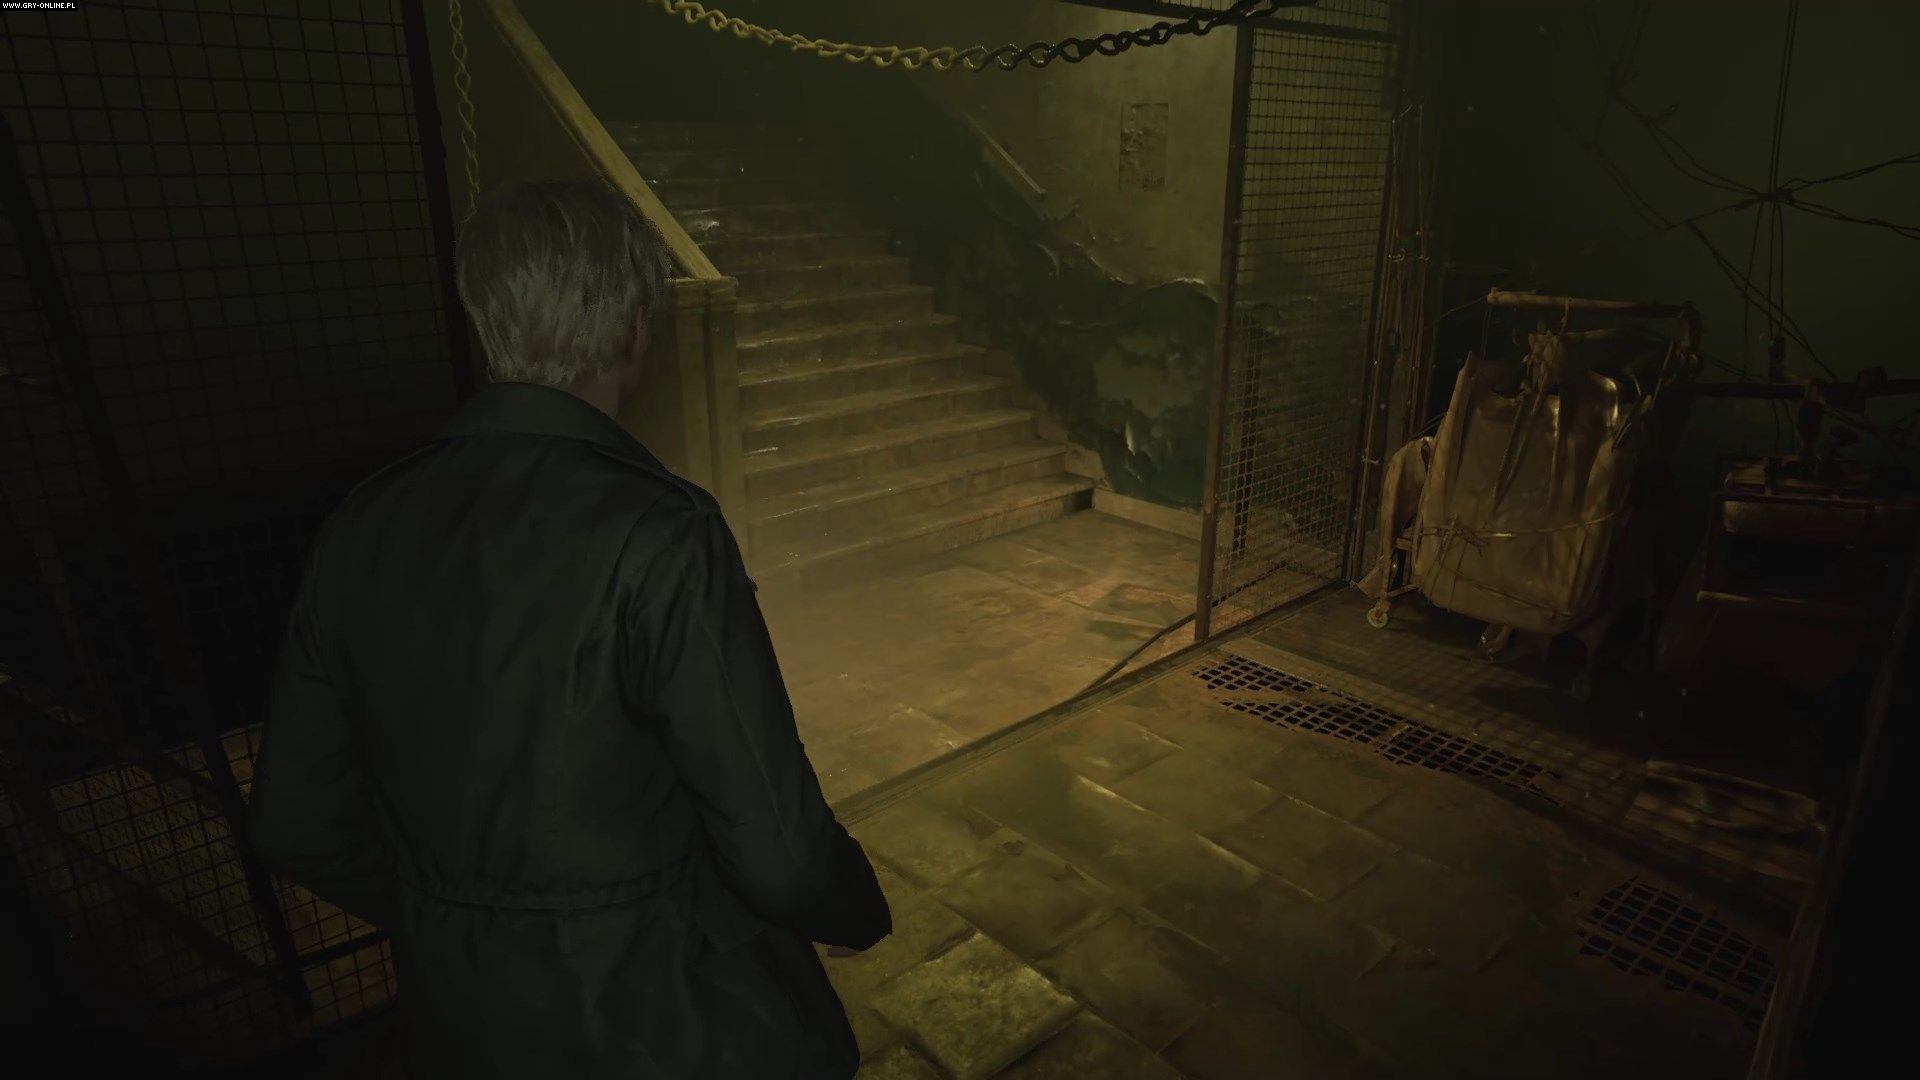
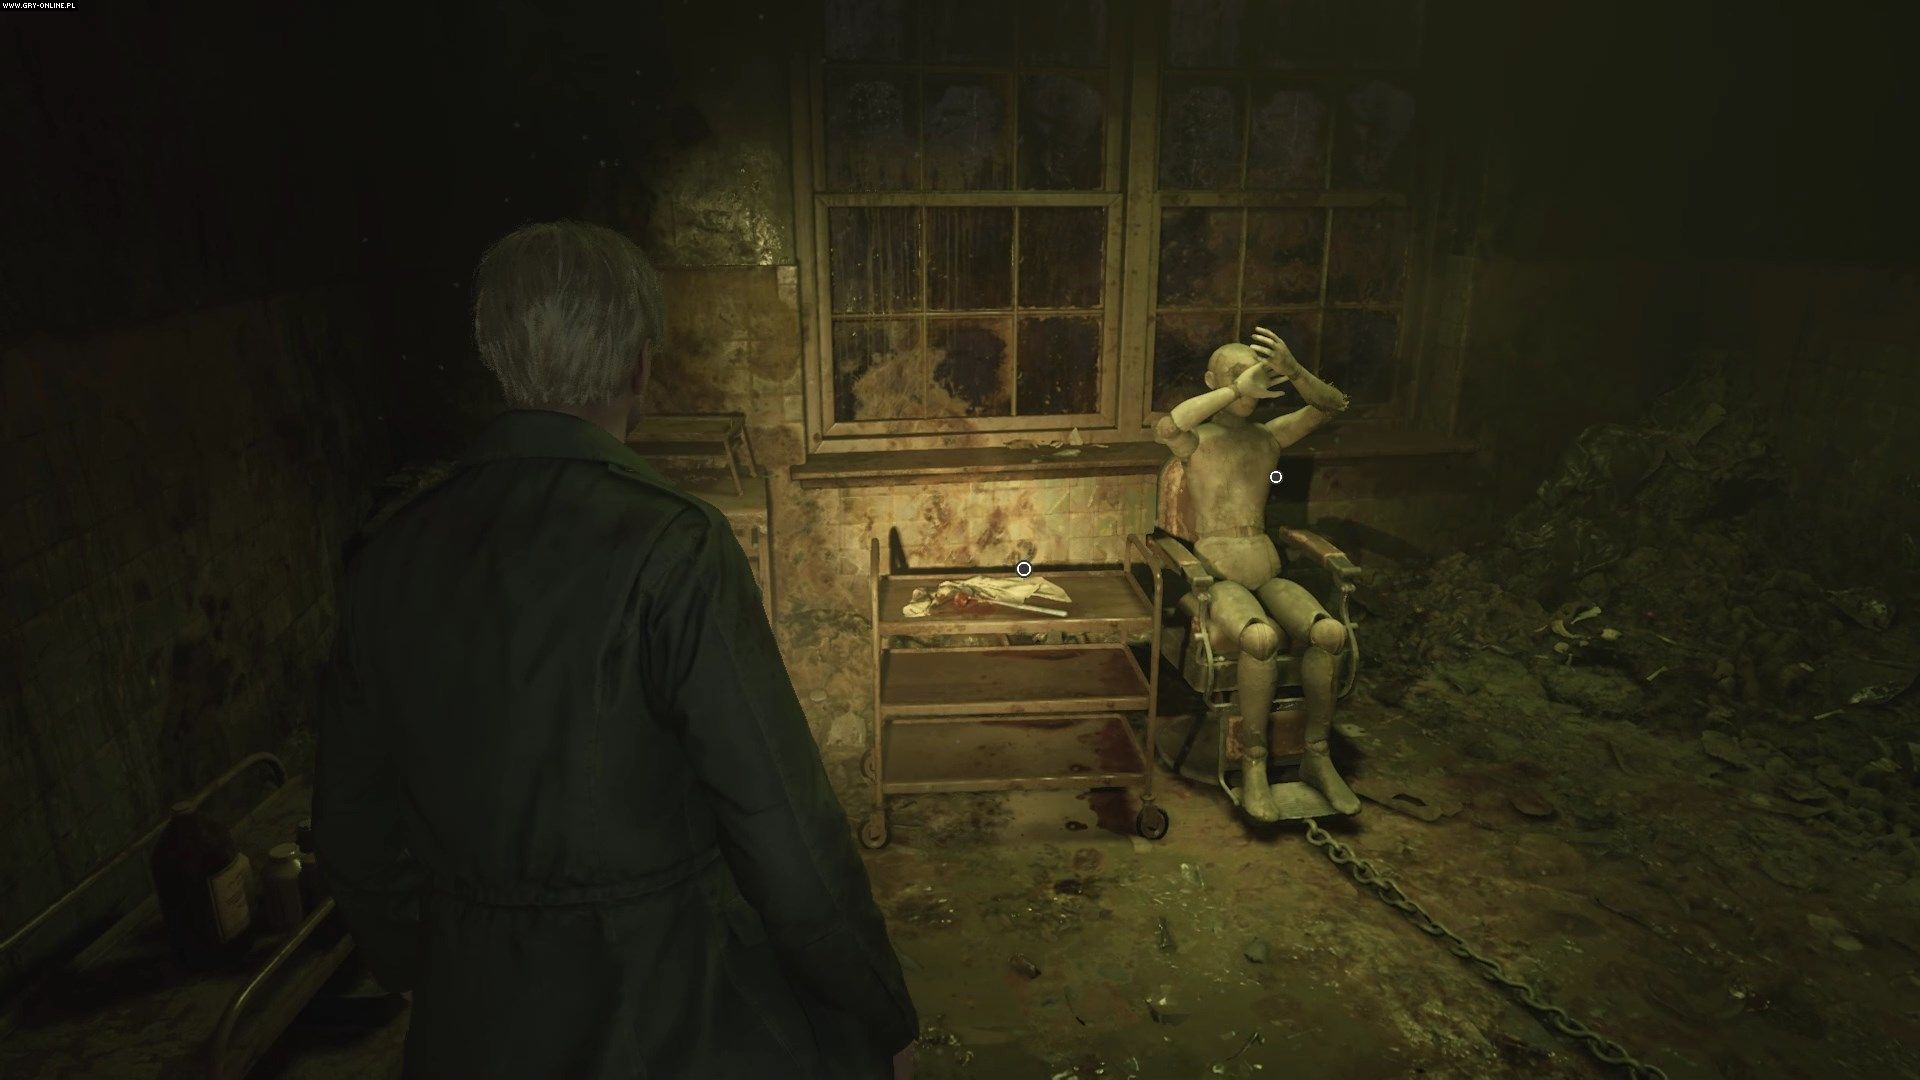
First, head west to the staircase leading to the third floor. Go to the X-ray room. Right next to it, in research room no. 4, you will find a mannequin sitting on a chair. Next to him lies a small hammer - use it on the mannequin to break its arm. Now you need to find a spike so you can stick it in its eye.
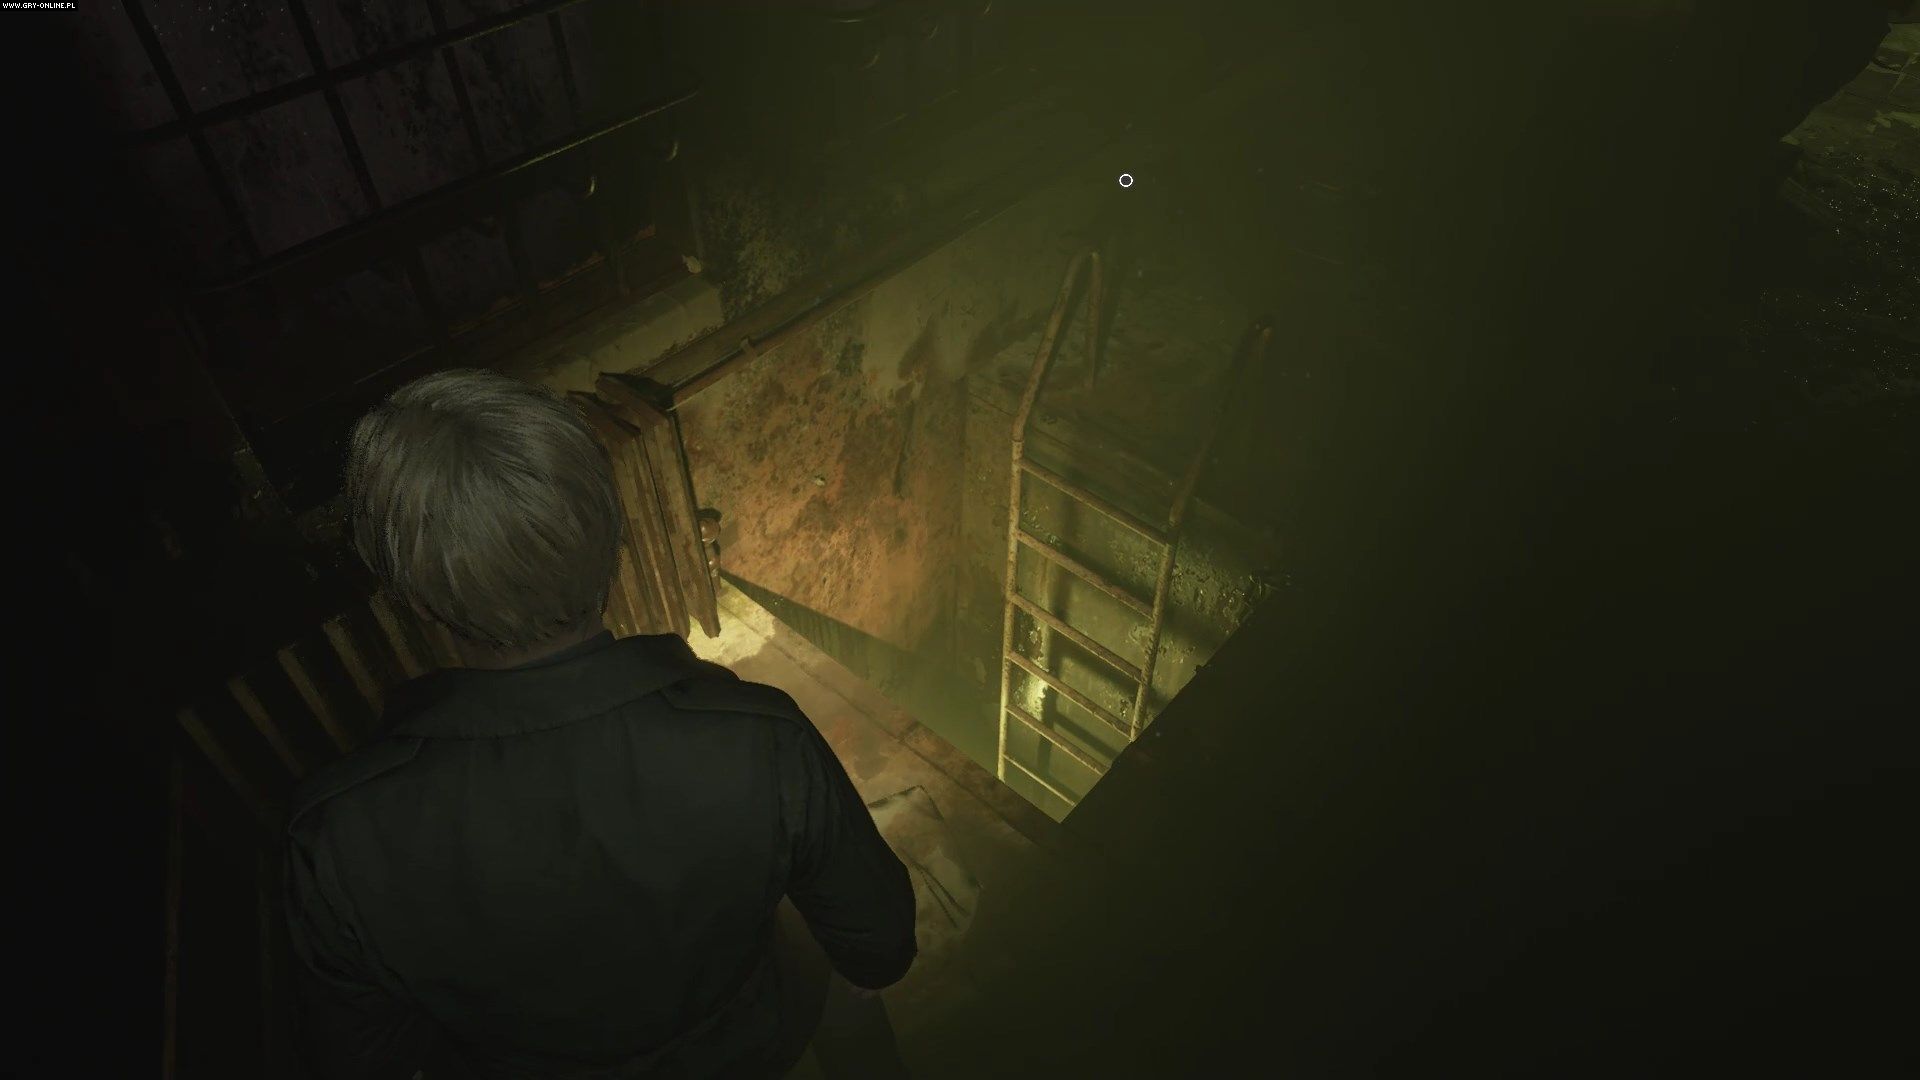
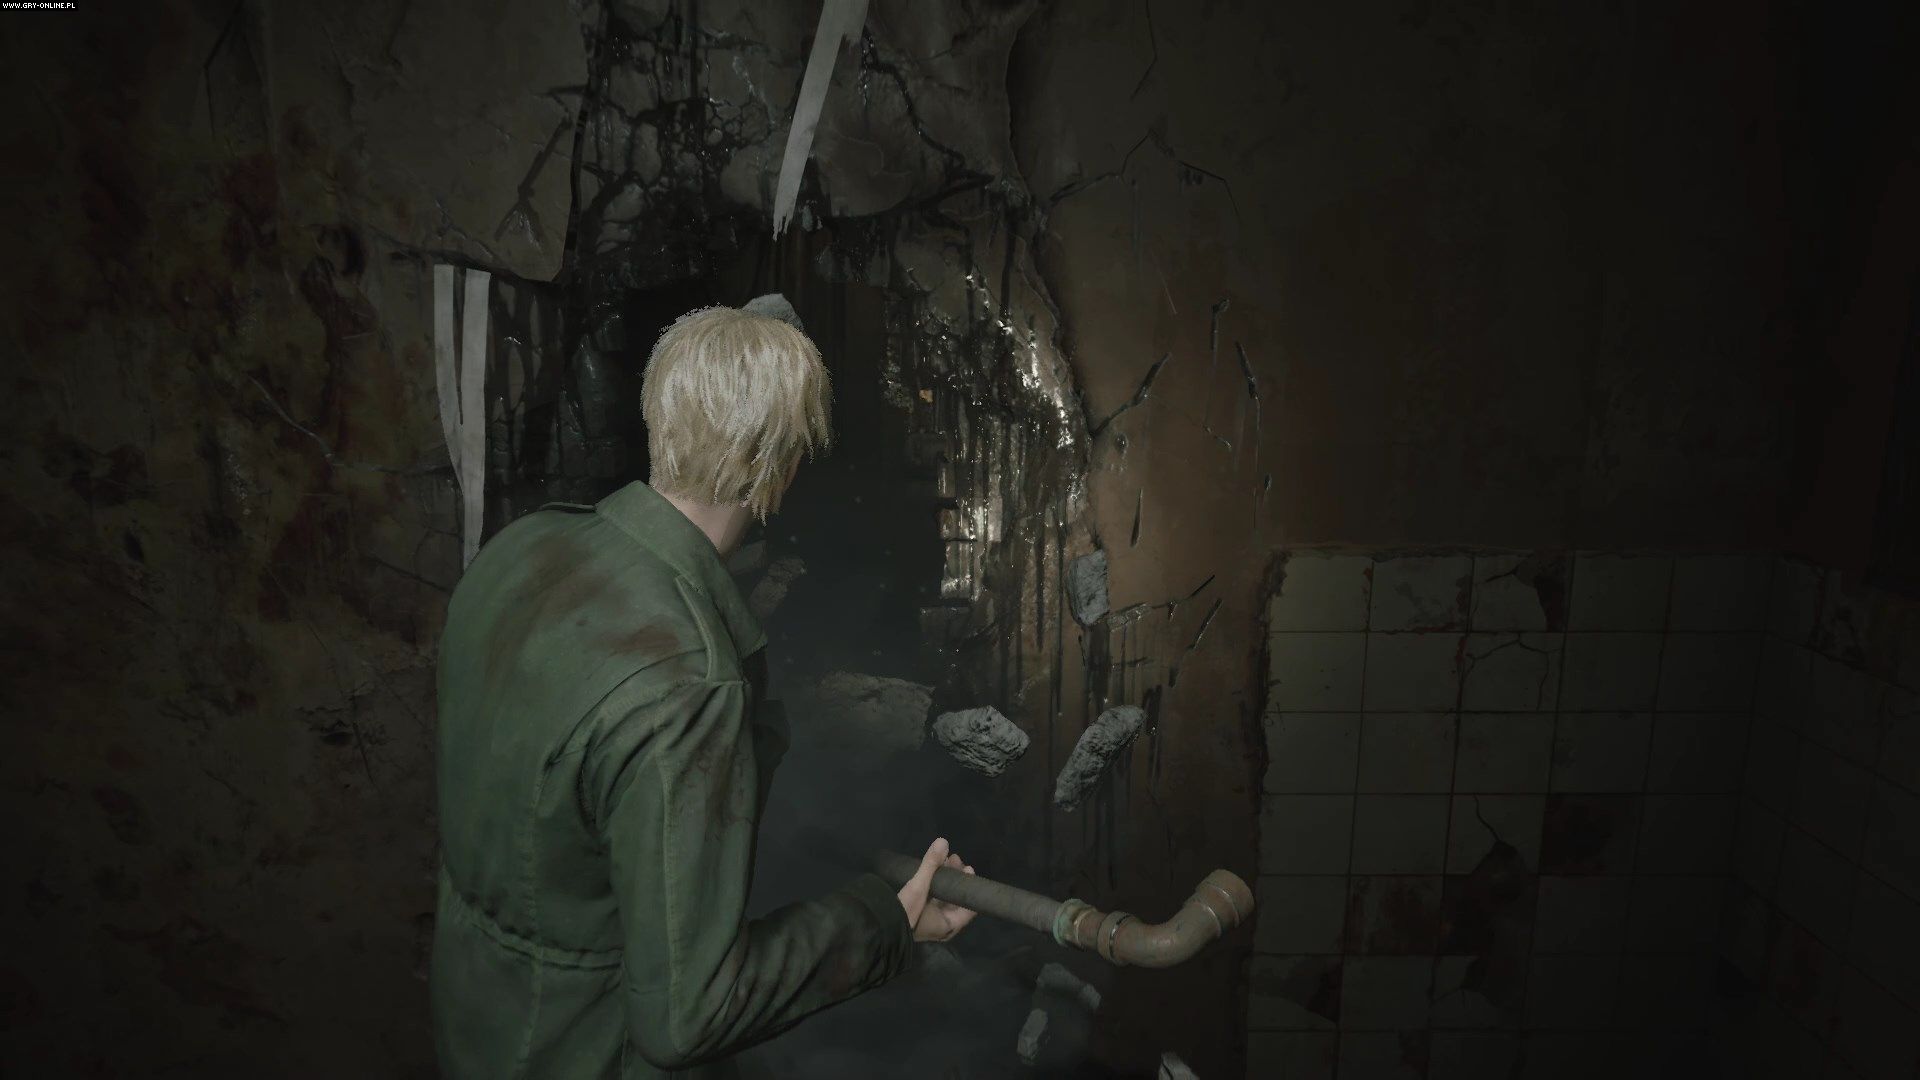
Enter the room D2 by destroying the cracked wall. Then go down the ladder to the second floor.
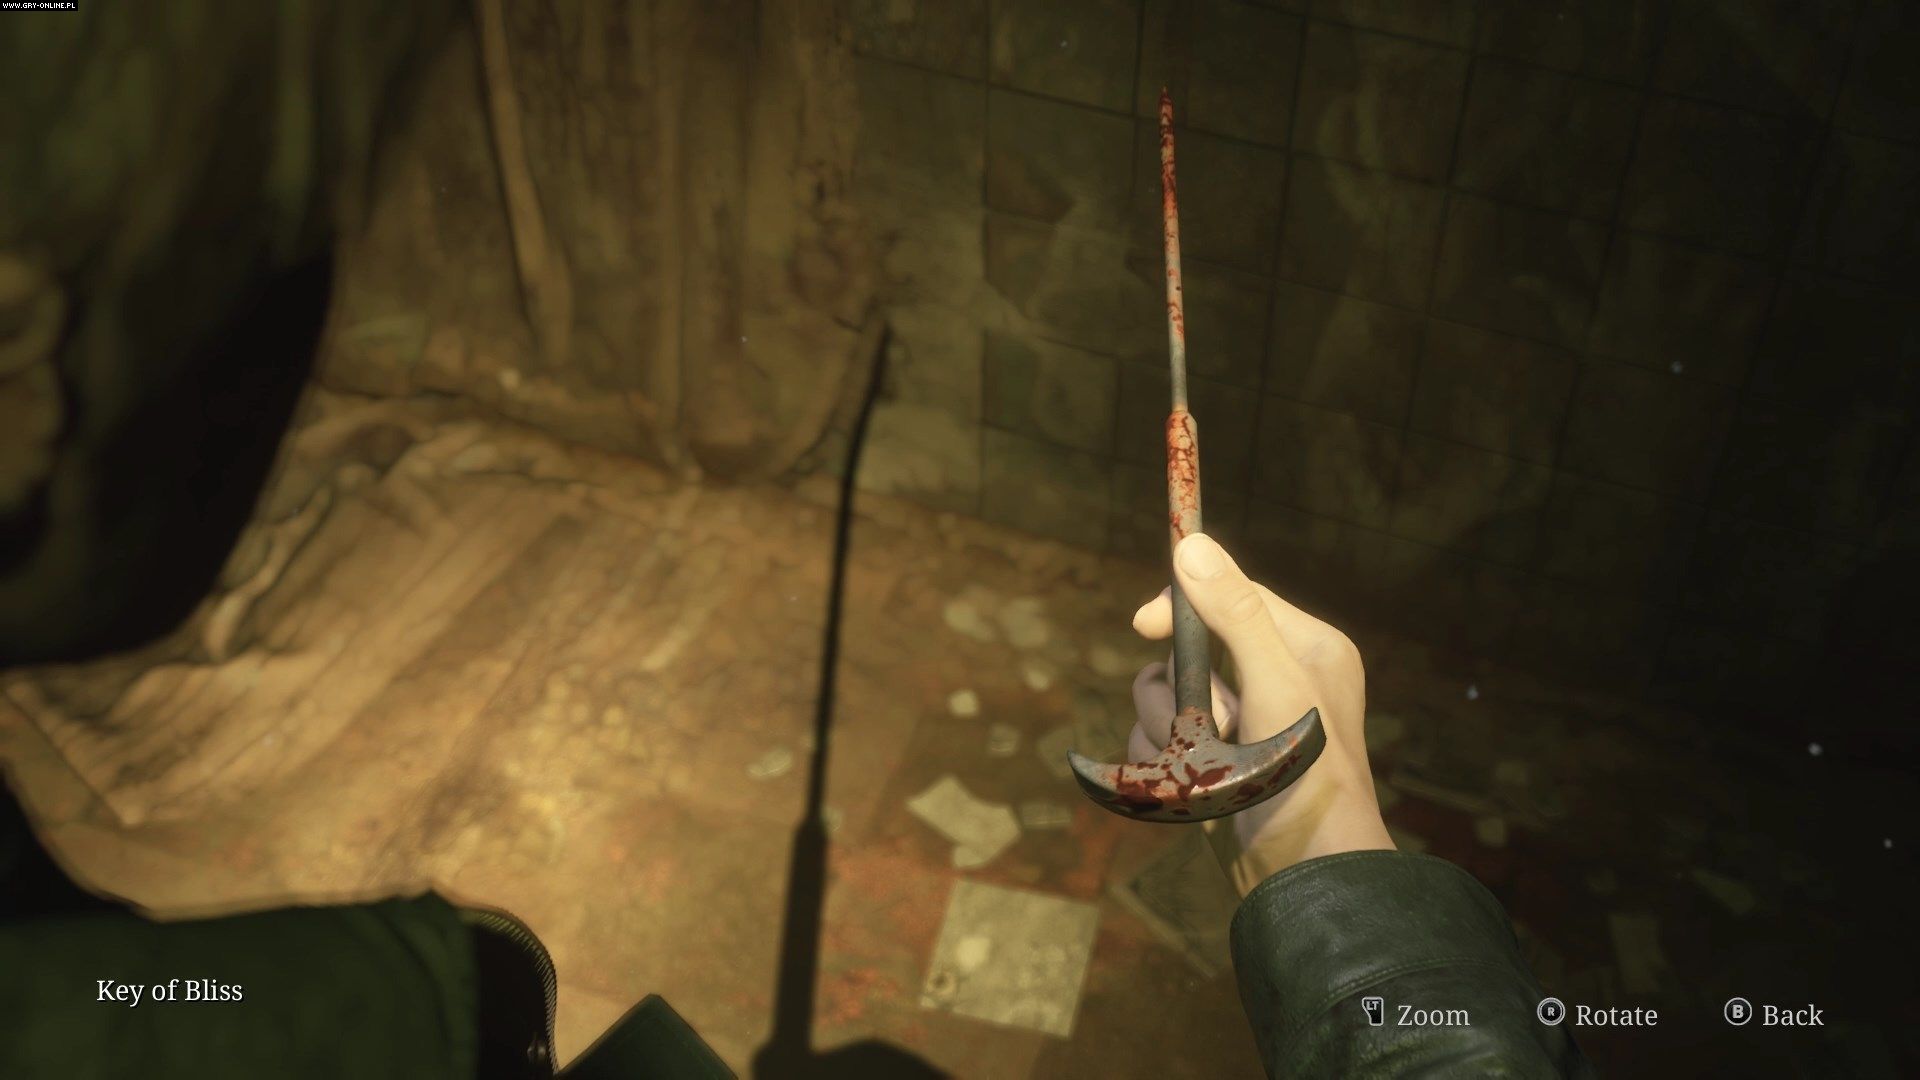
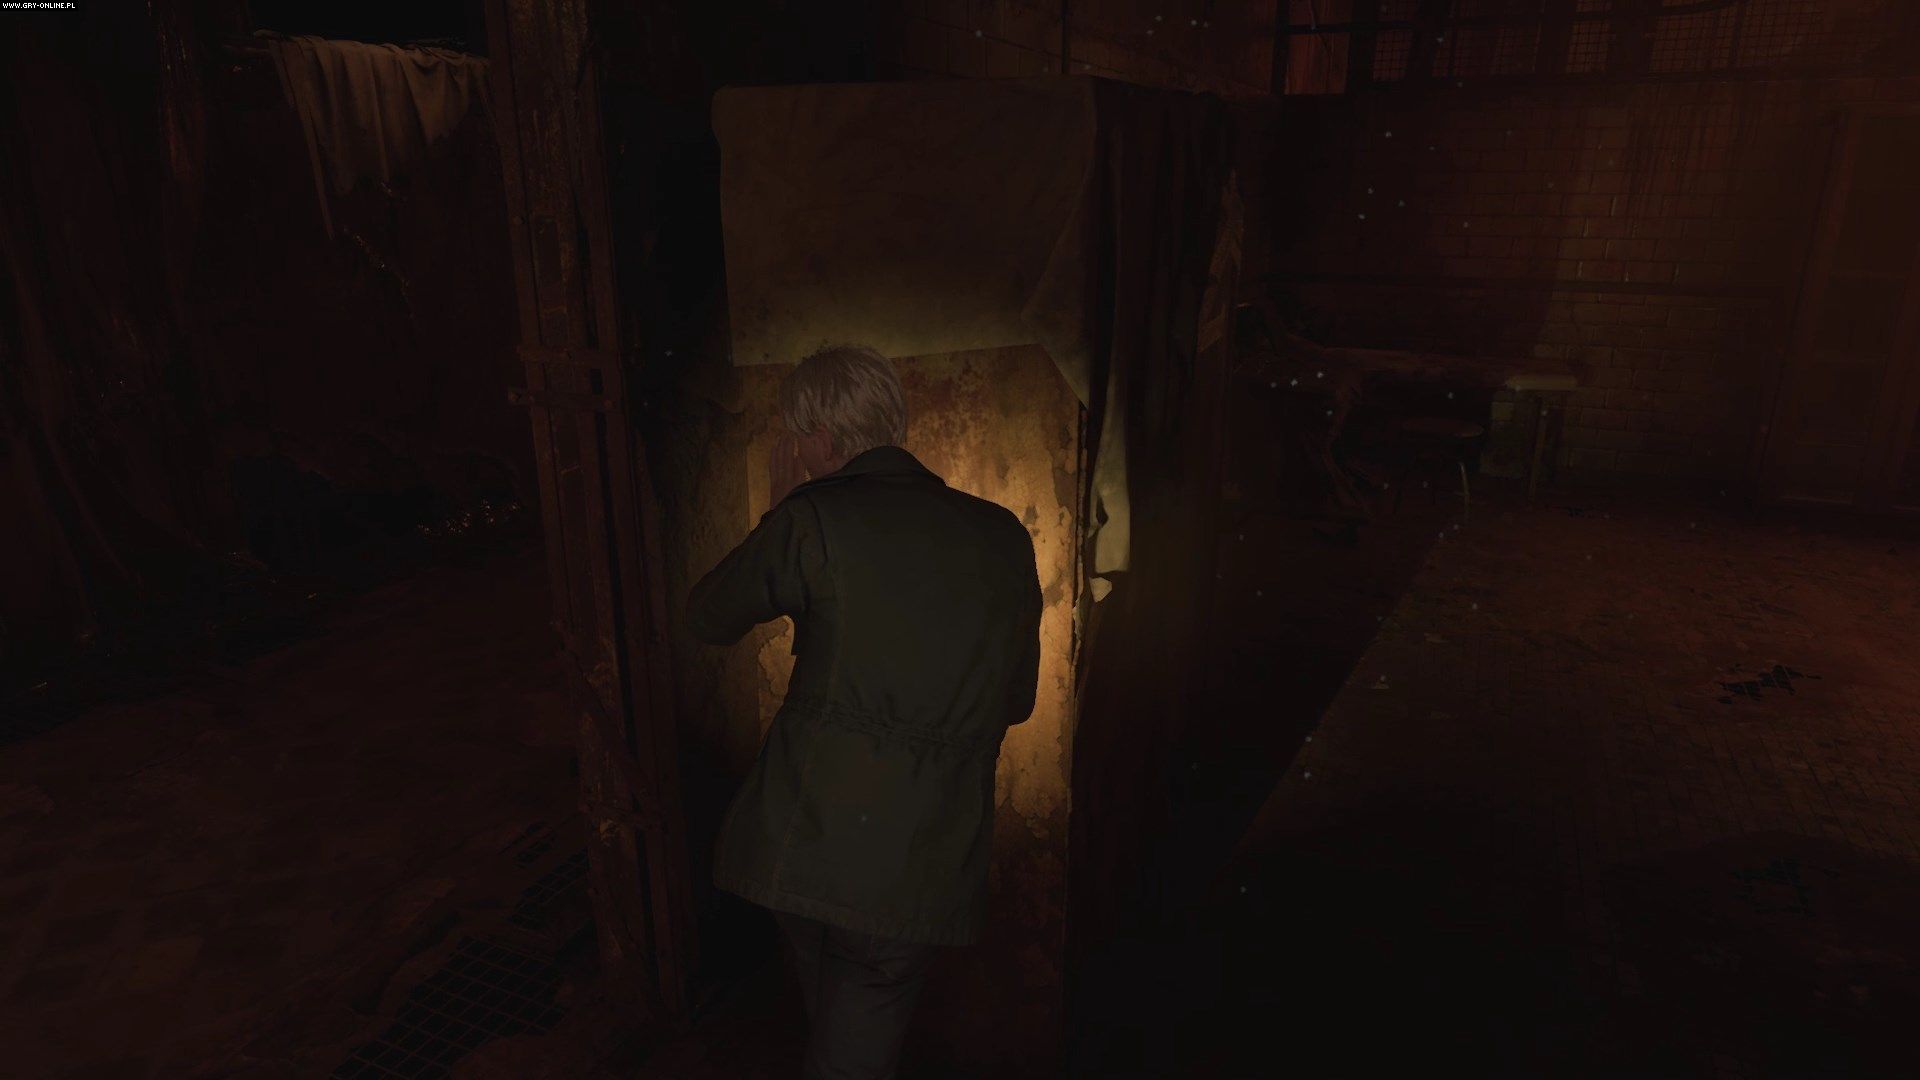
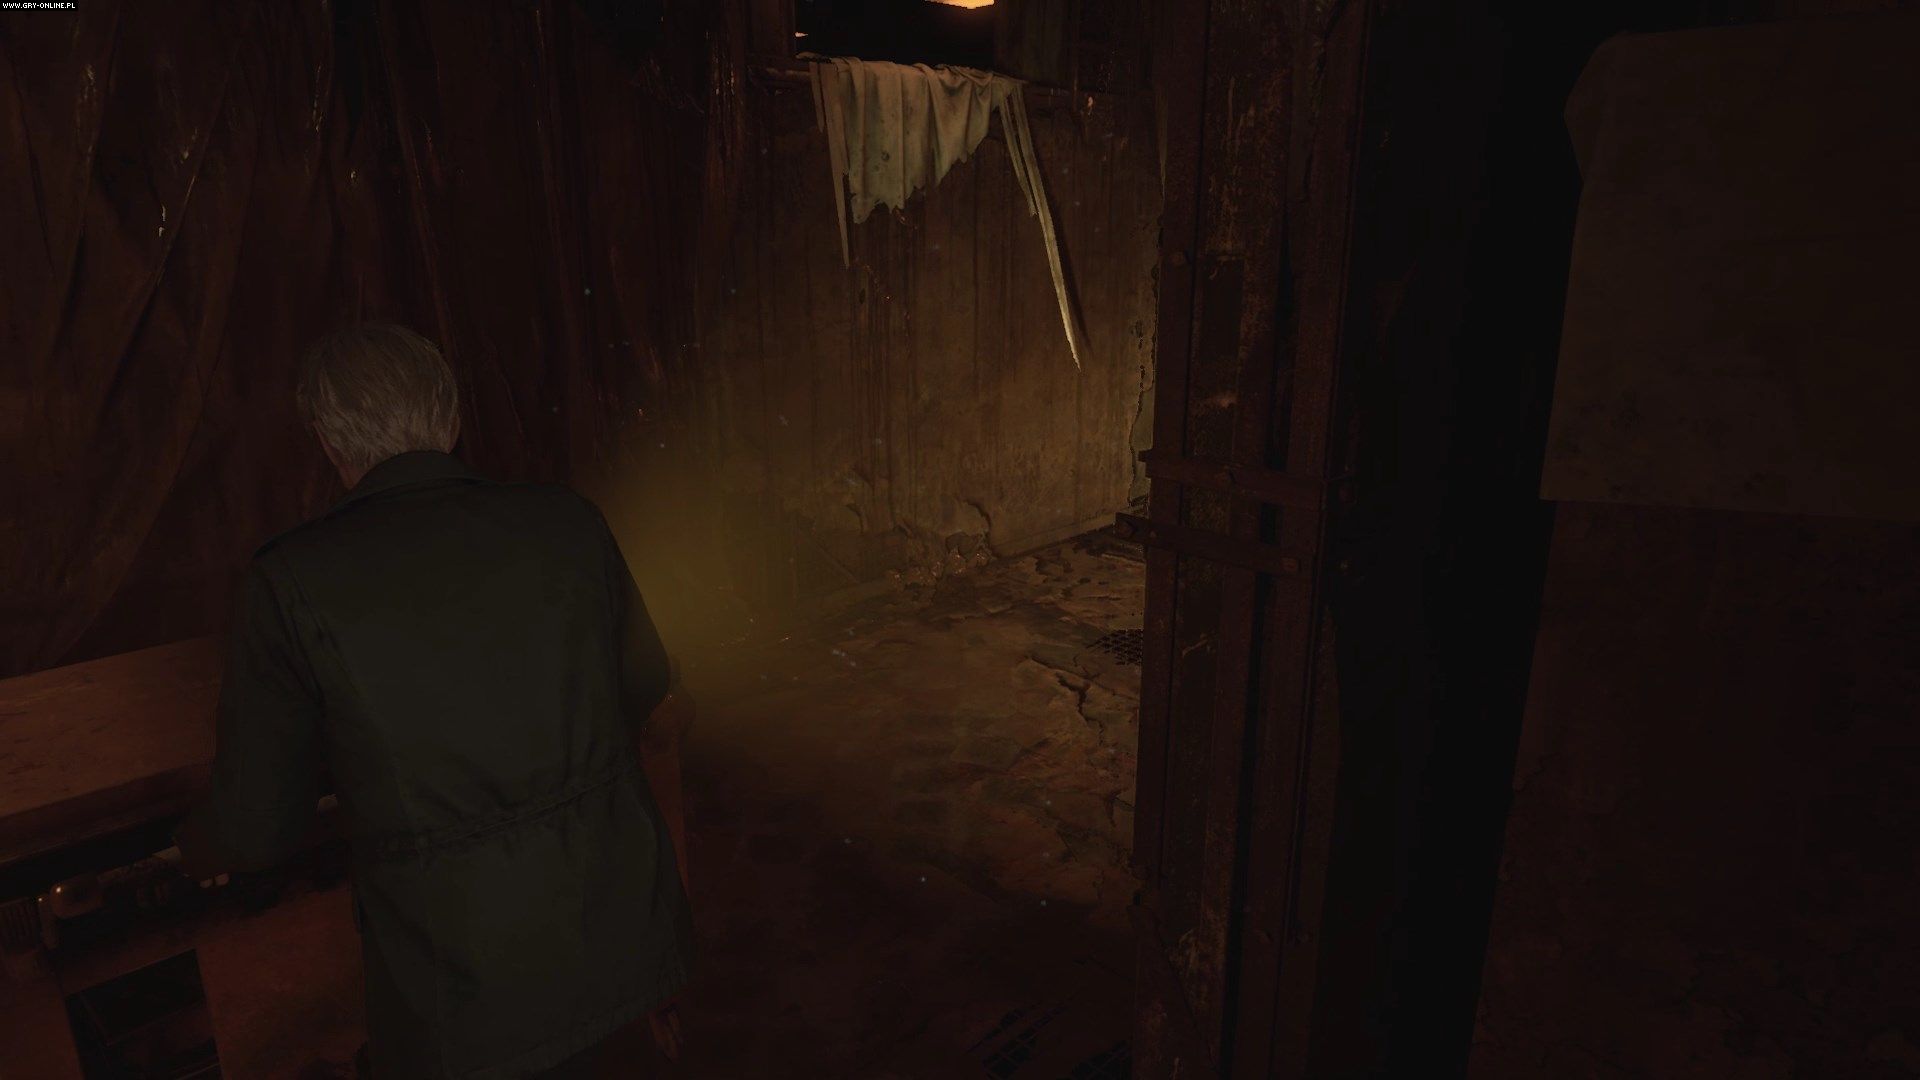
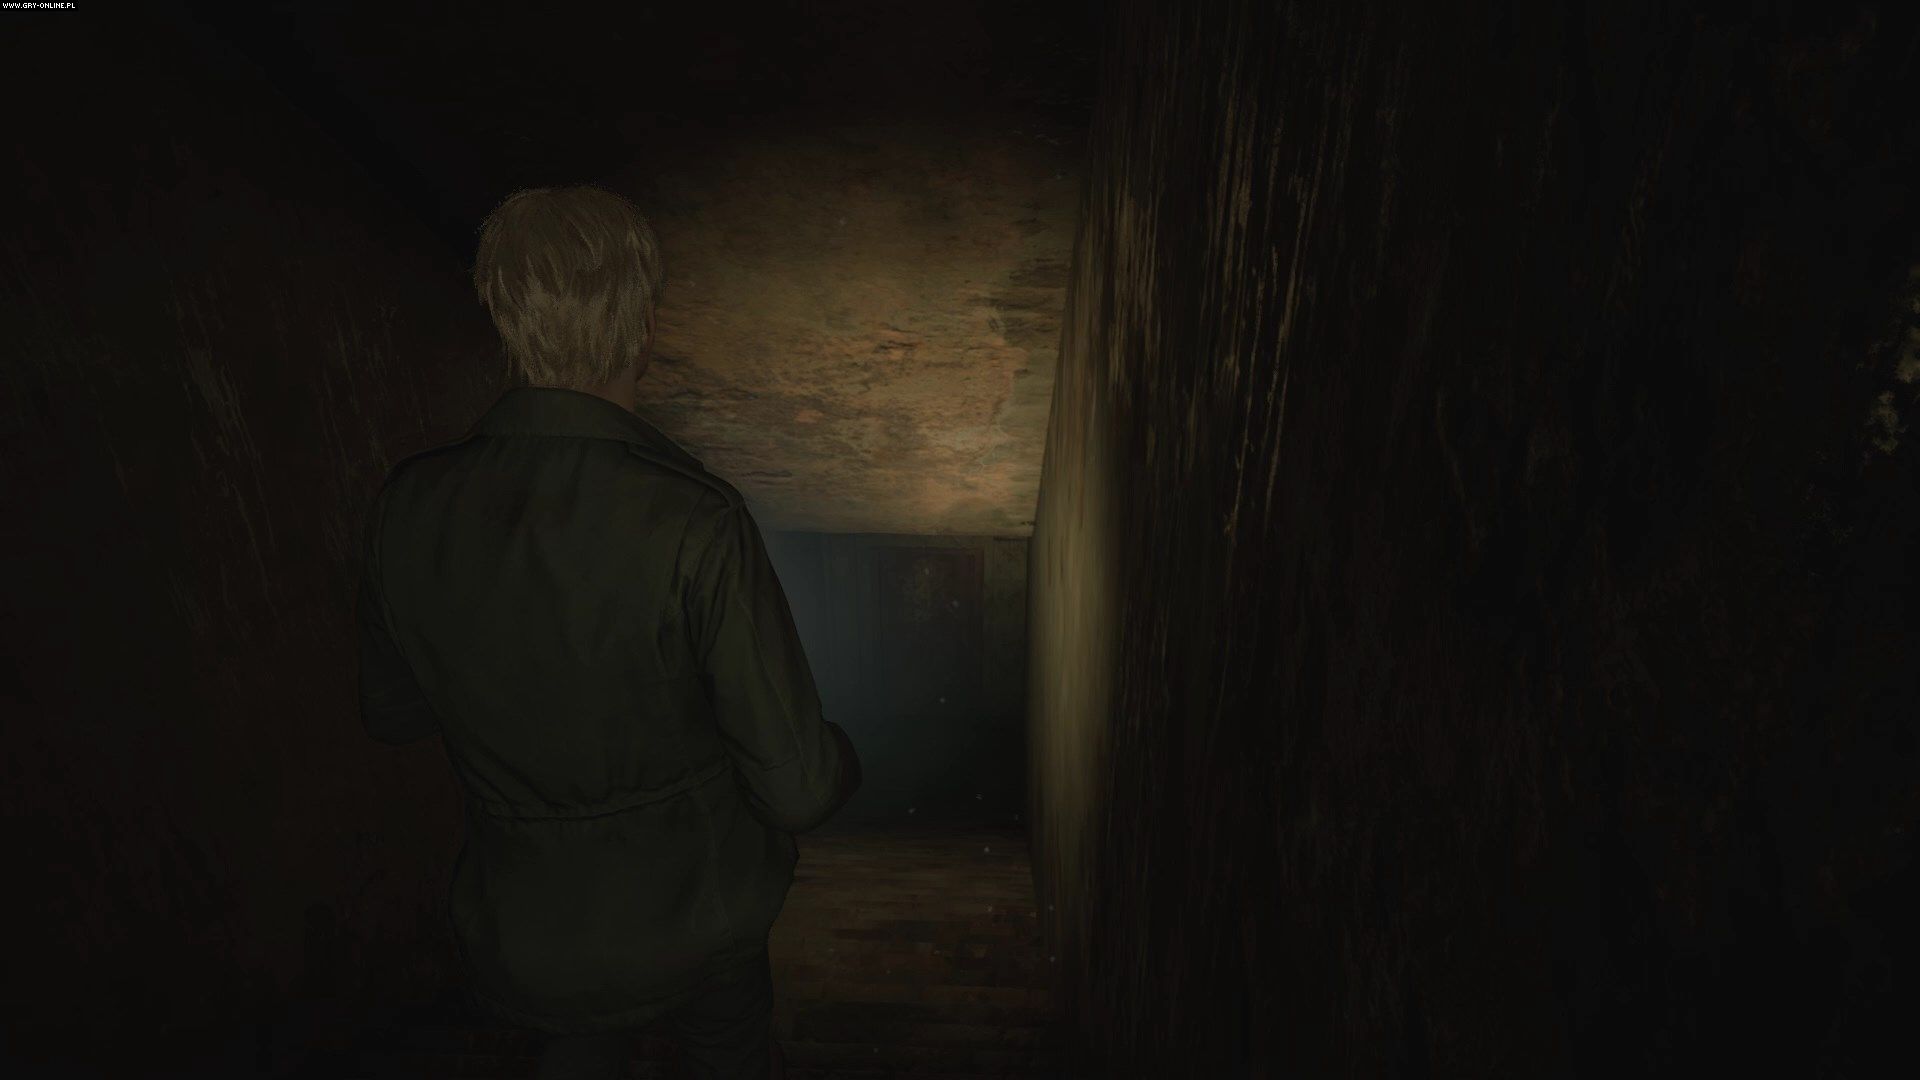
You can explore the kitchen and adjacent rooms to get some resources. To proceed further, you must go through the cafeteria and medical records, squeezing through a crack in the wall to the room directly south of the staircase. There, you will find a spike.
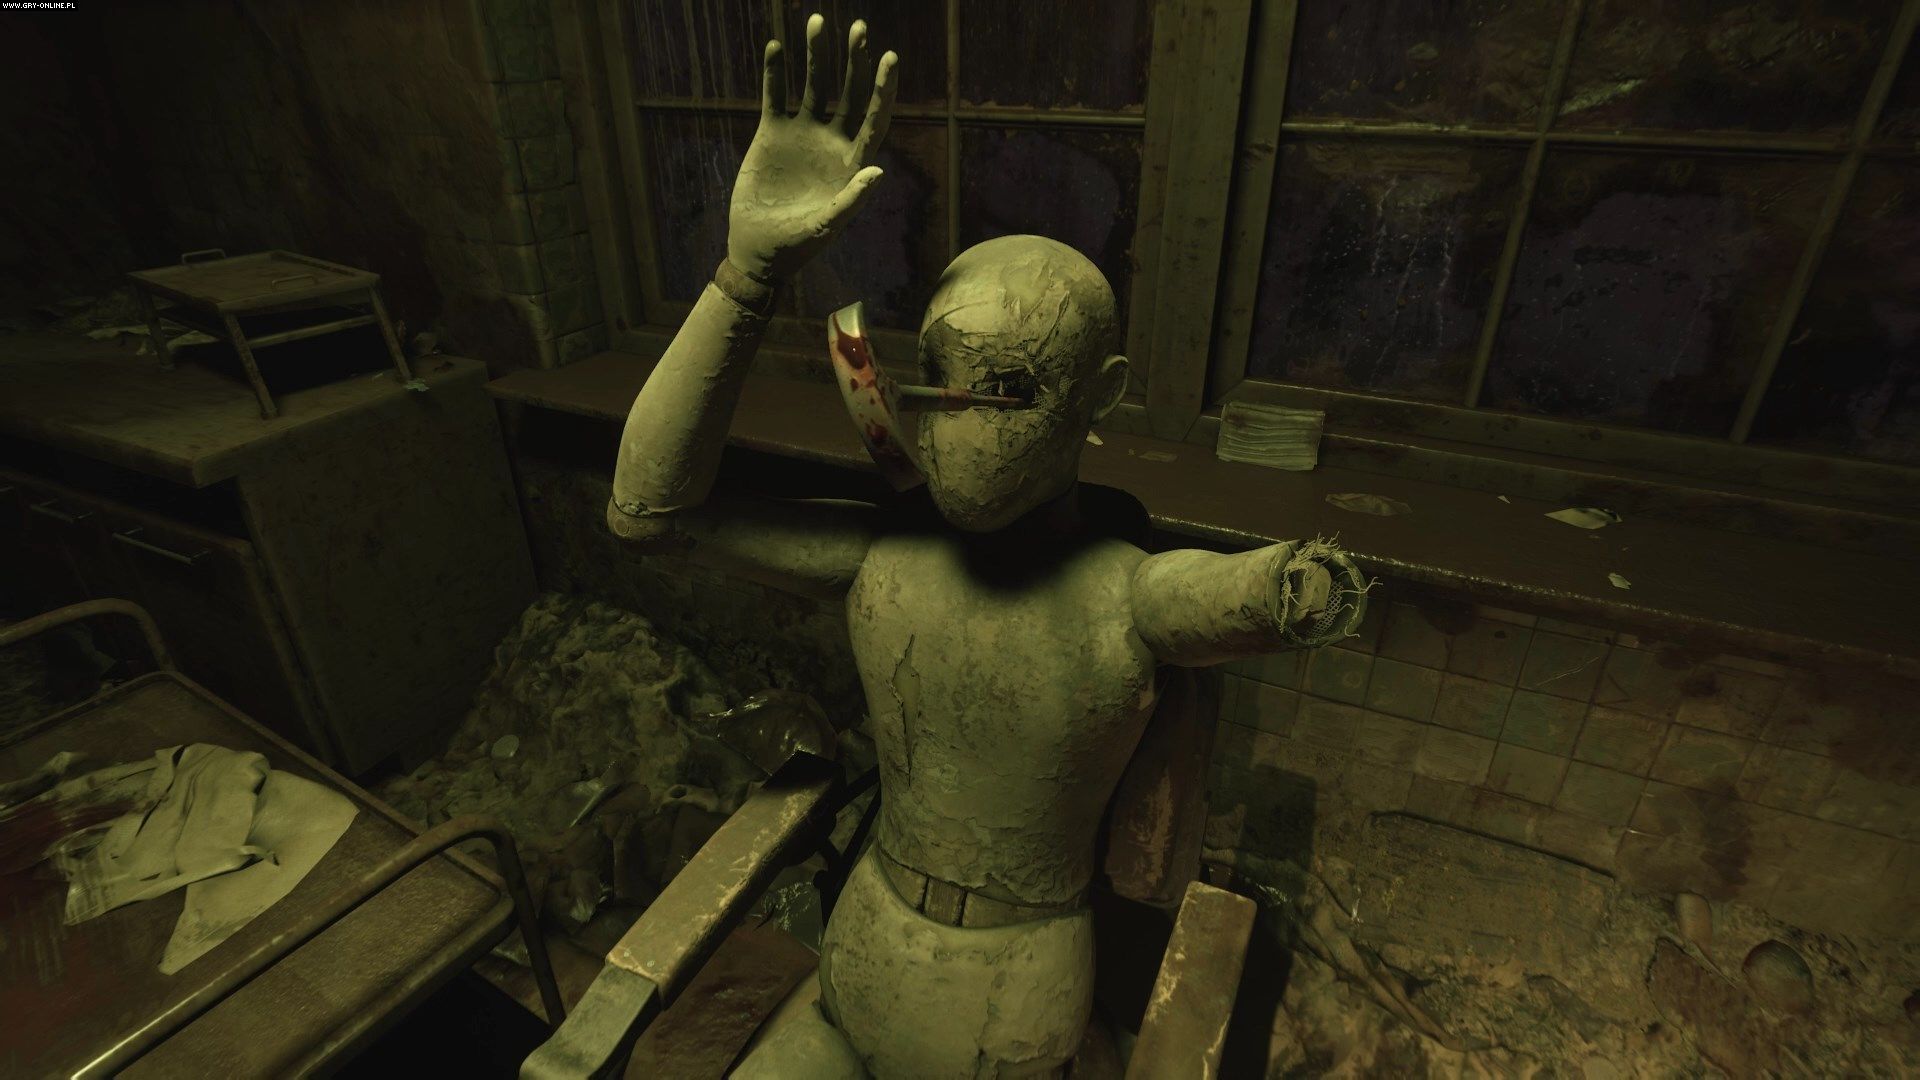
Return to the third floor and stab the mannequin in the eye to get the lapis key. Then return to the main room and use the key on the bound chest.
How to get the combination for the iron padlock?

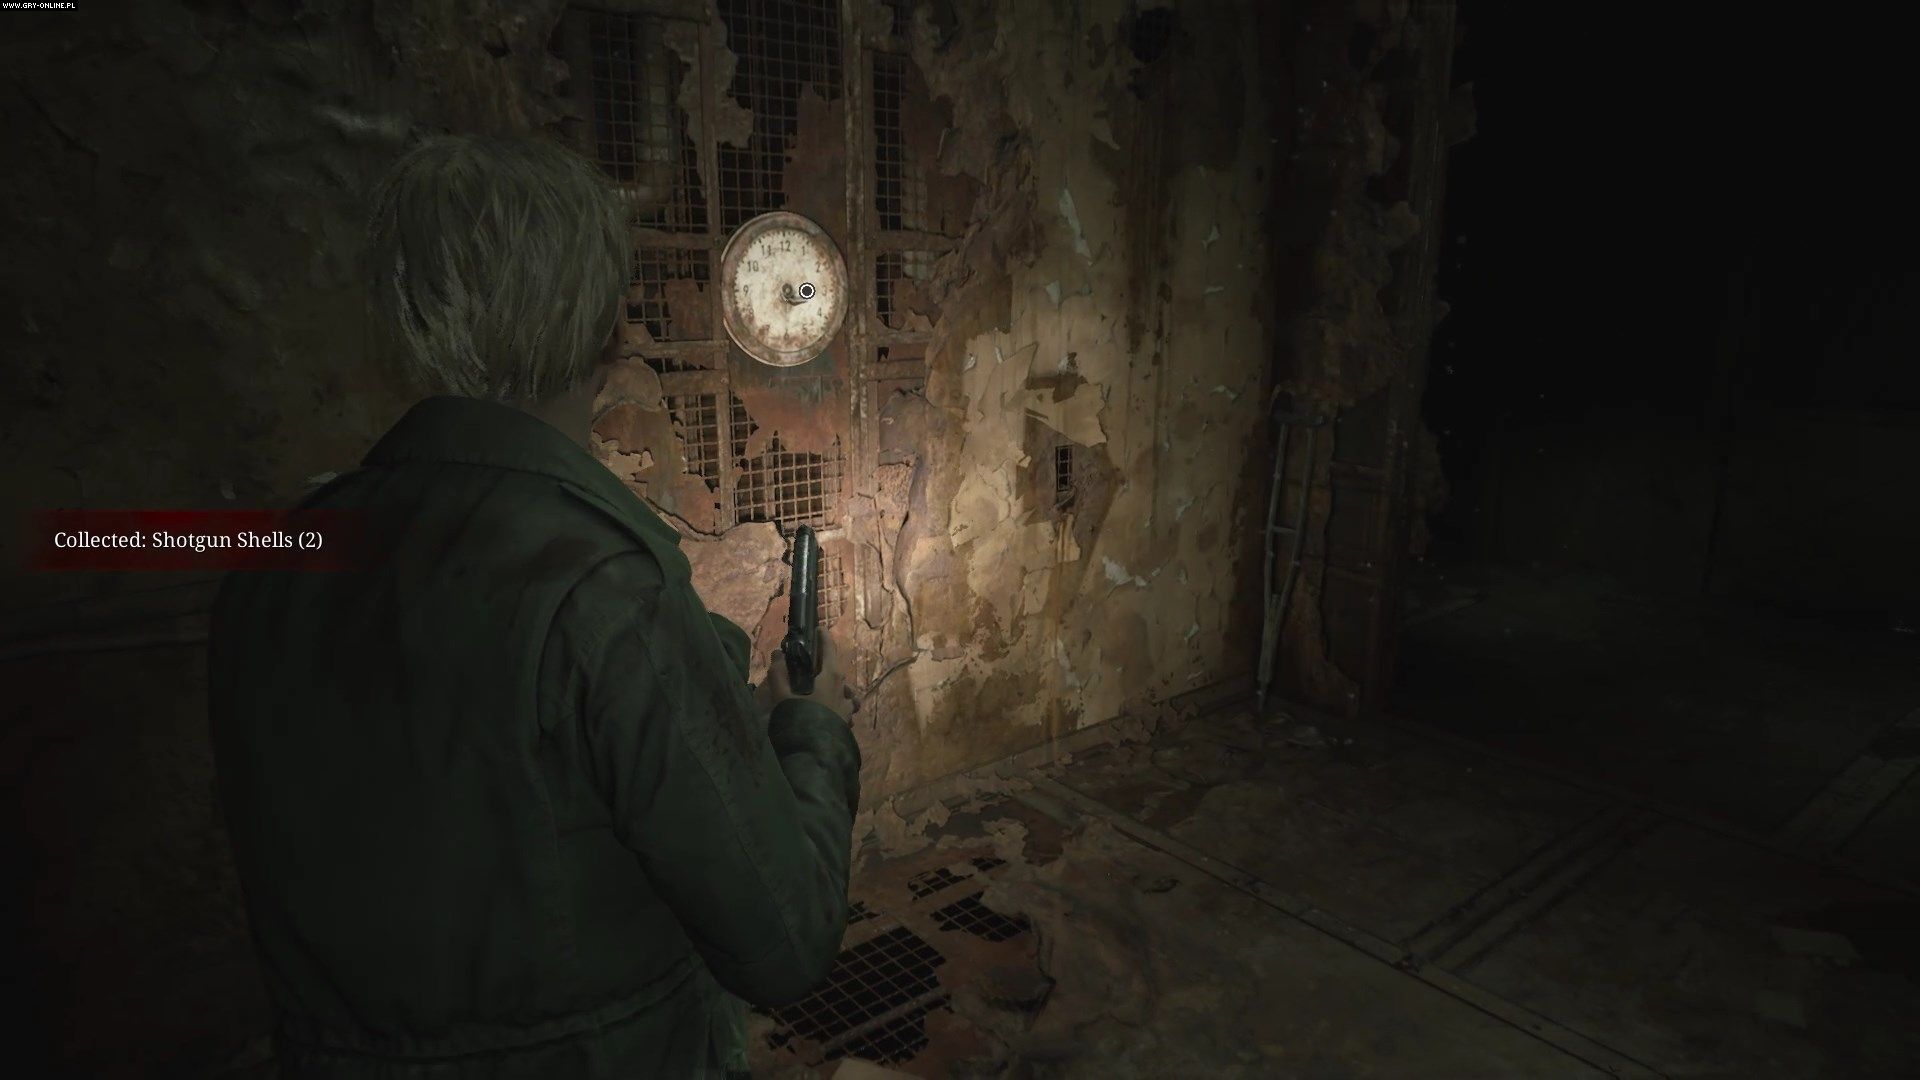
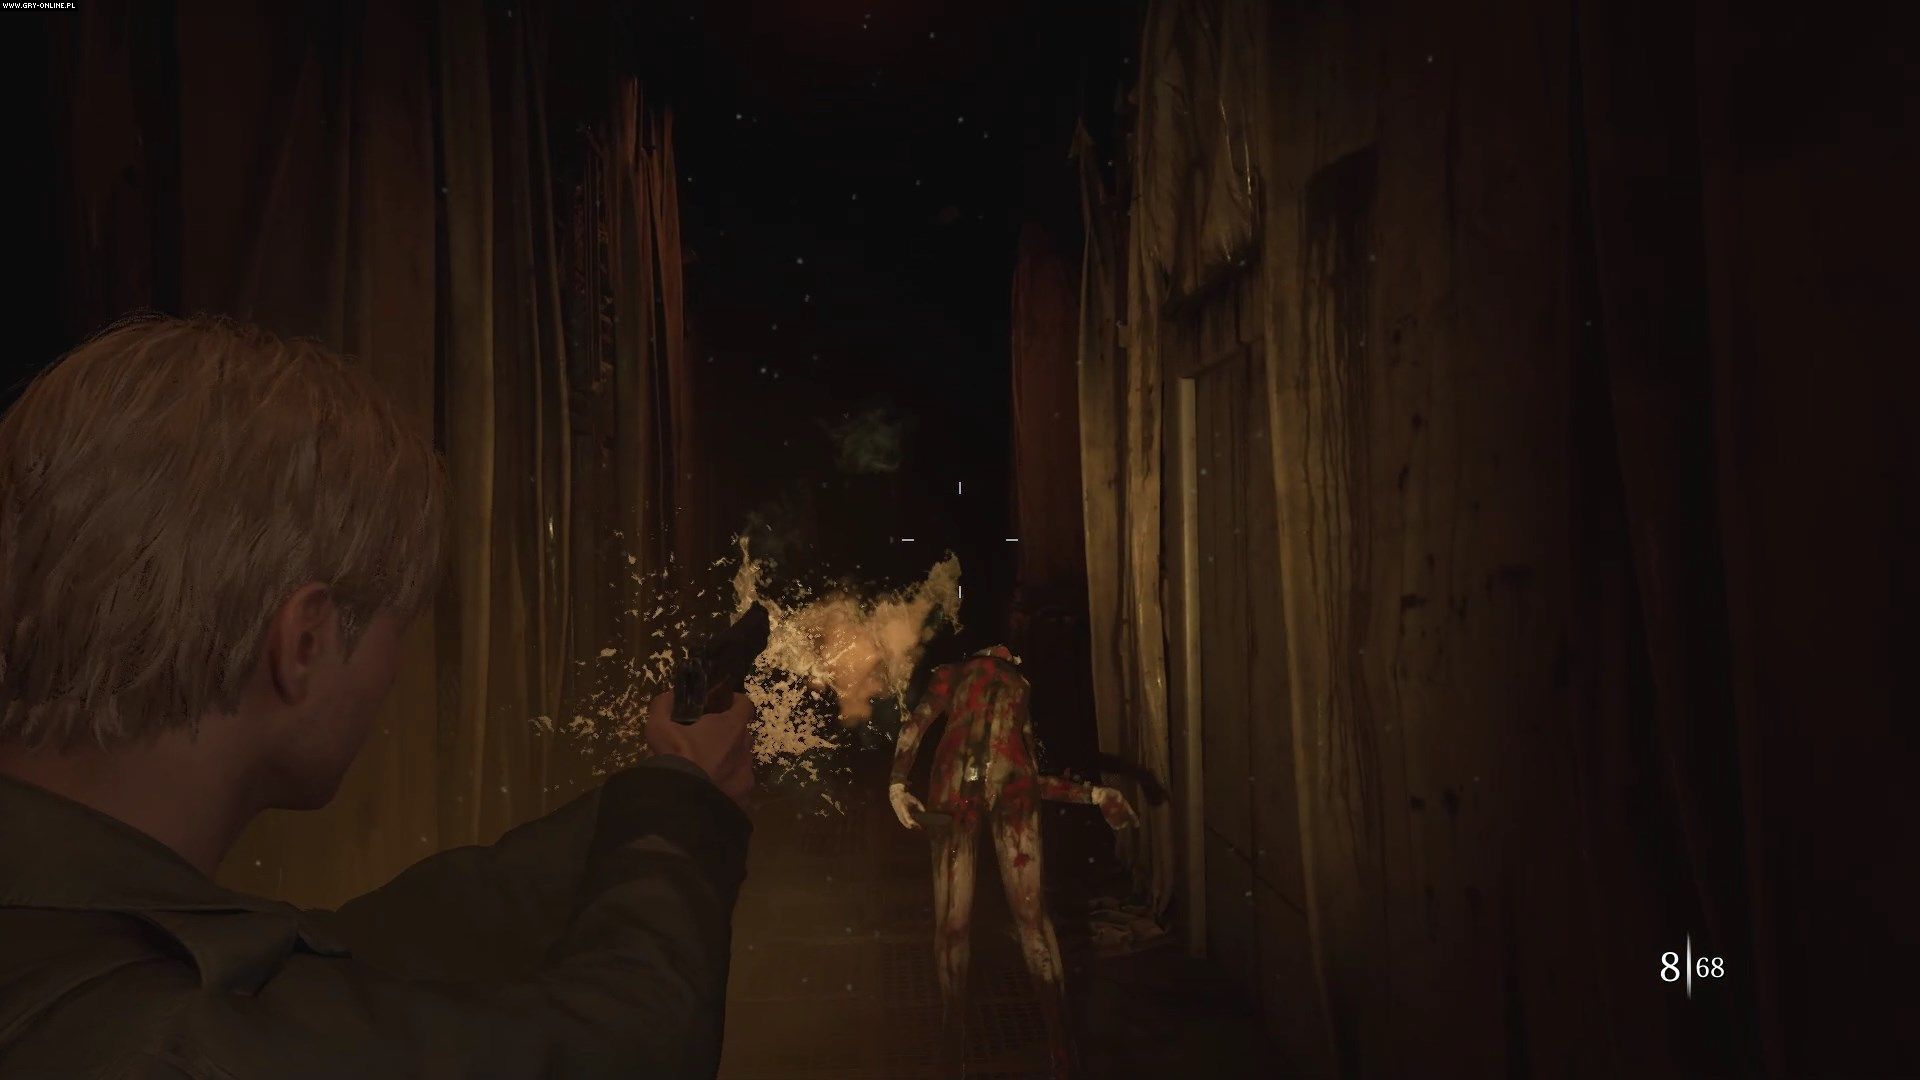
Head south from the main room. Enter the toilet and squeeze through the small window to the room L1. From there, go to the room M1, where on the wall you will find a clock. It only has one clock hand, so start rearranging it. When you set the hand to two o'clock, the clock will be locked, and a Lying Figure and two nurses will appear in the room - you can use the shotgun here, a single shot to the head is enough to kill a nurse.
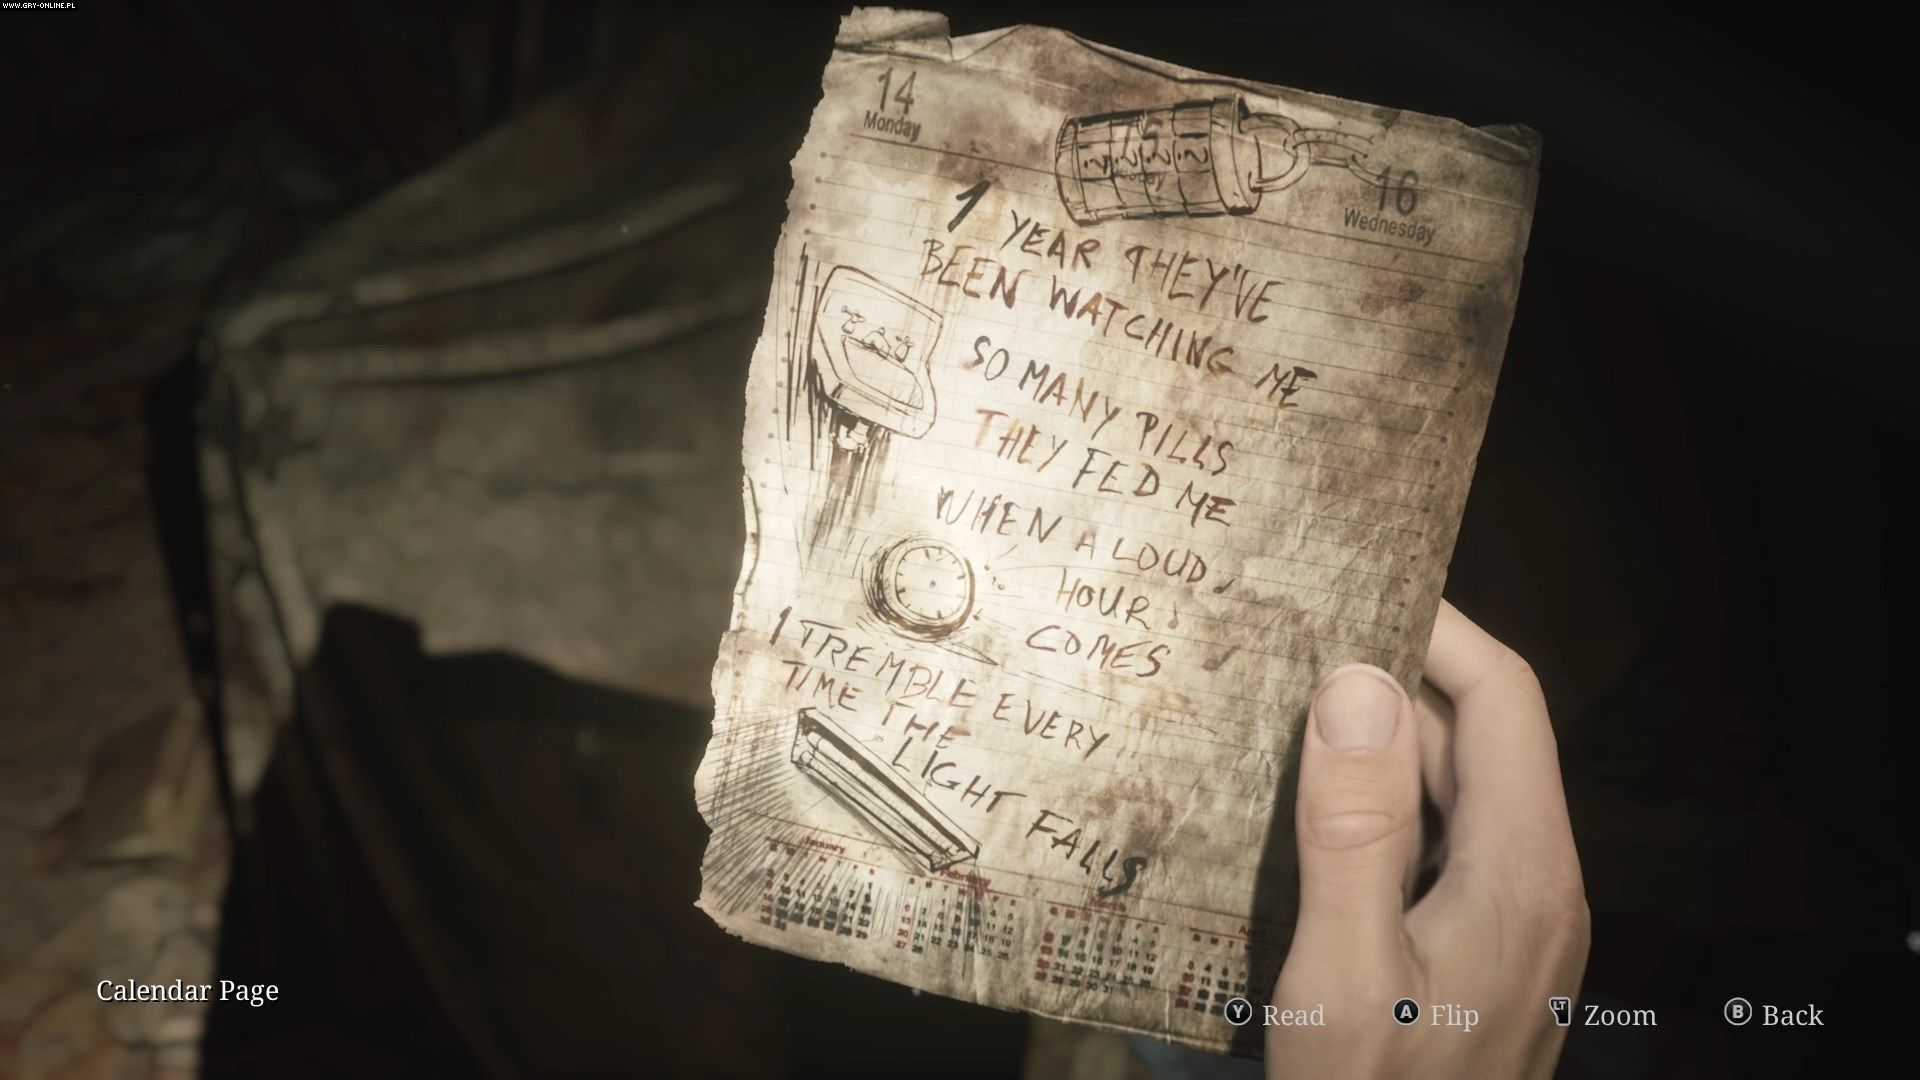
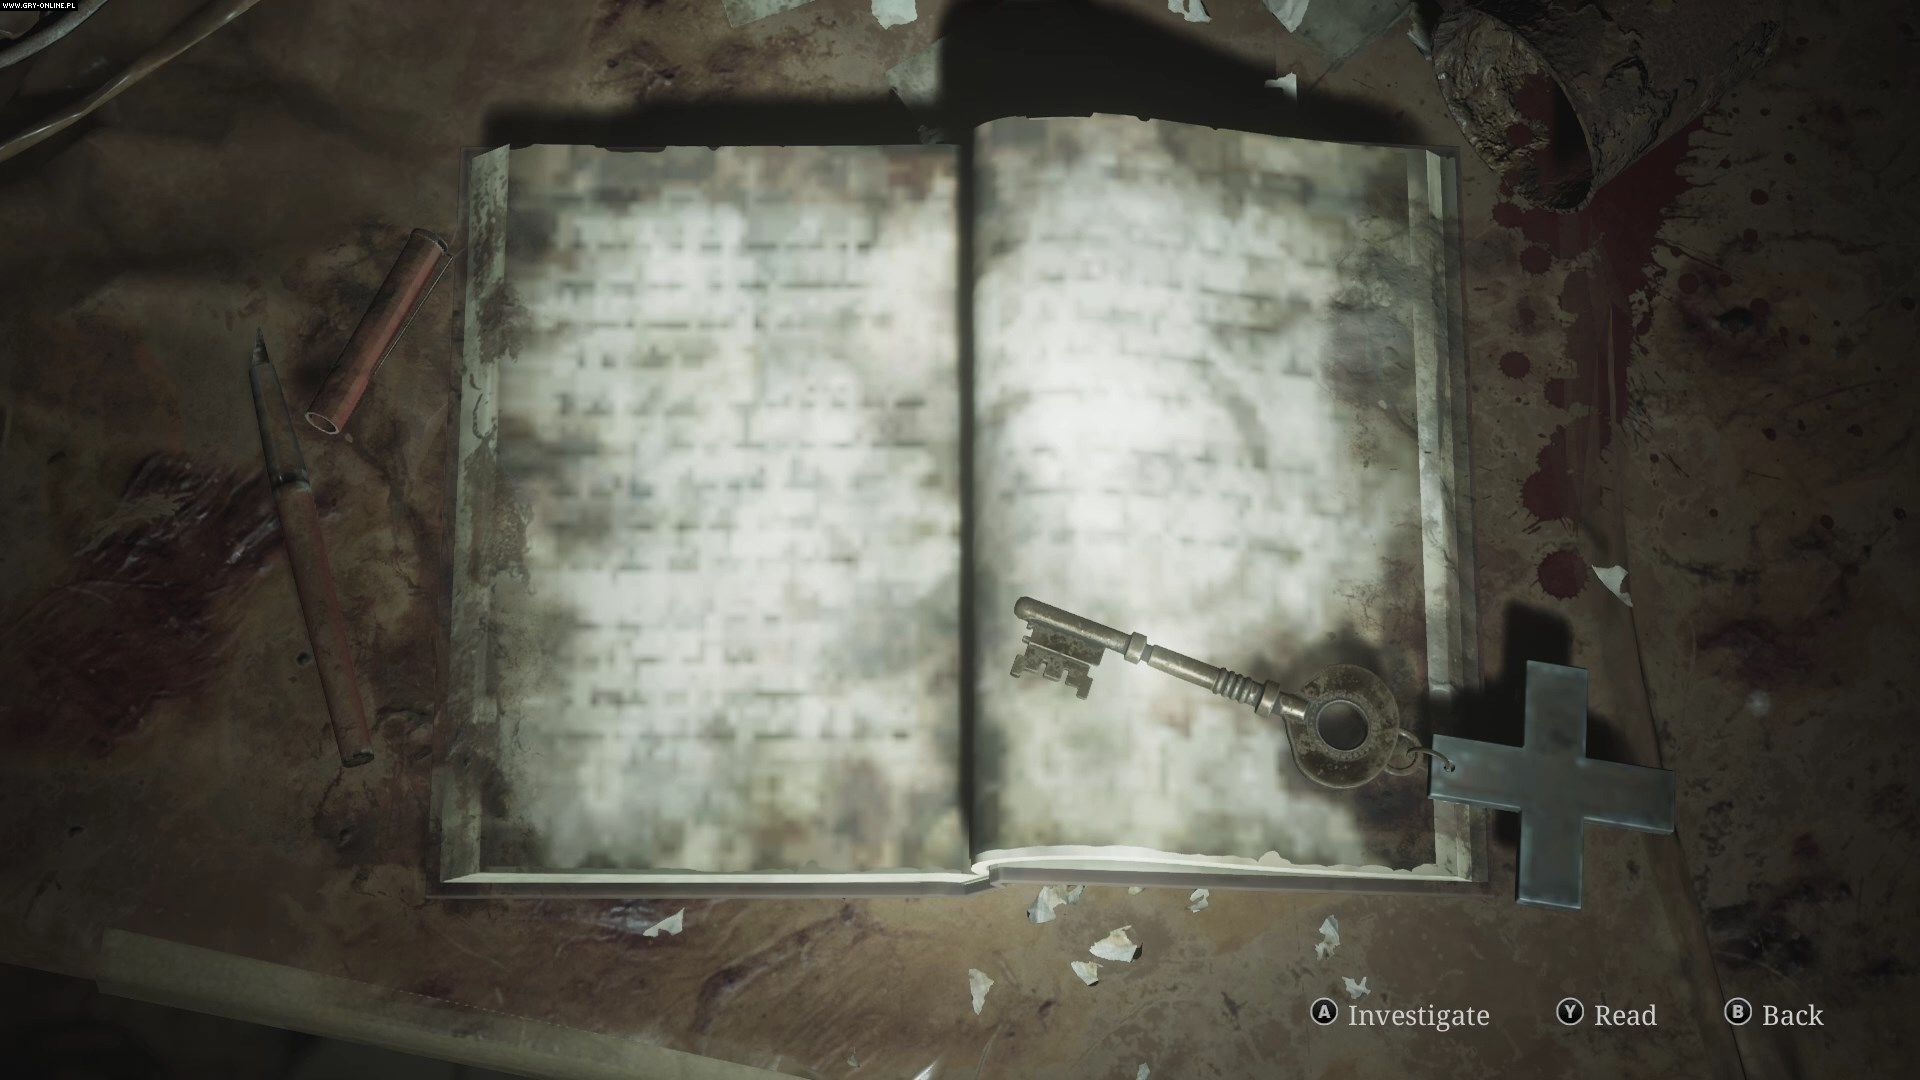
You now need to go to room M2. You will get there by entering room M3 and destroying the cracked wall. In room M2 you will find a page from a calendar, with an iron padlock drawn on it. This is a hint for the correct combination. The page mentions being held in the hospital for one year, pills in the sink, loud hour, and problems with room lighting.
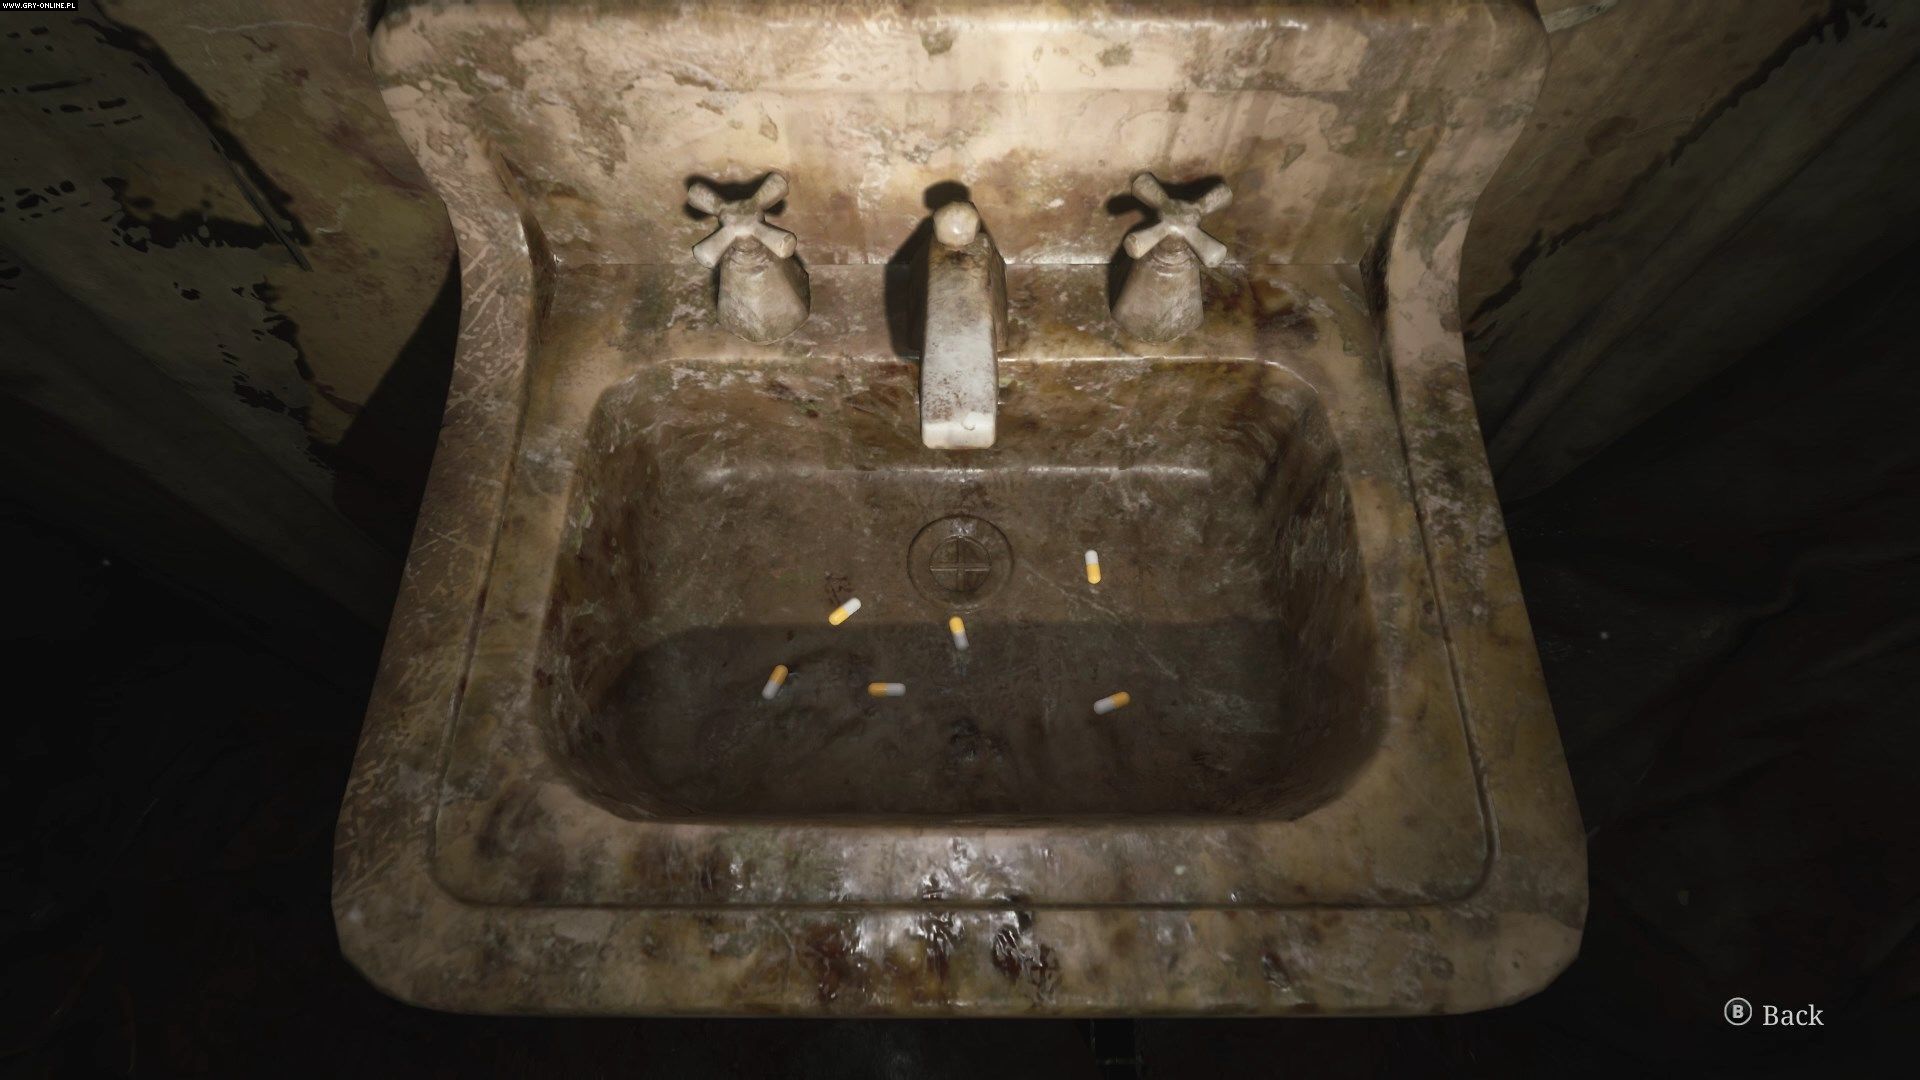
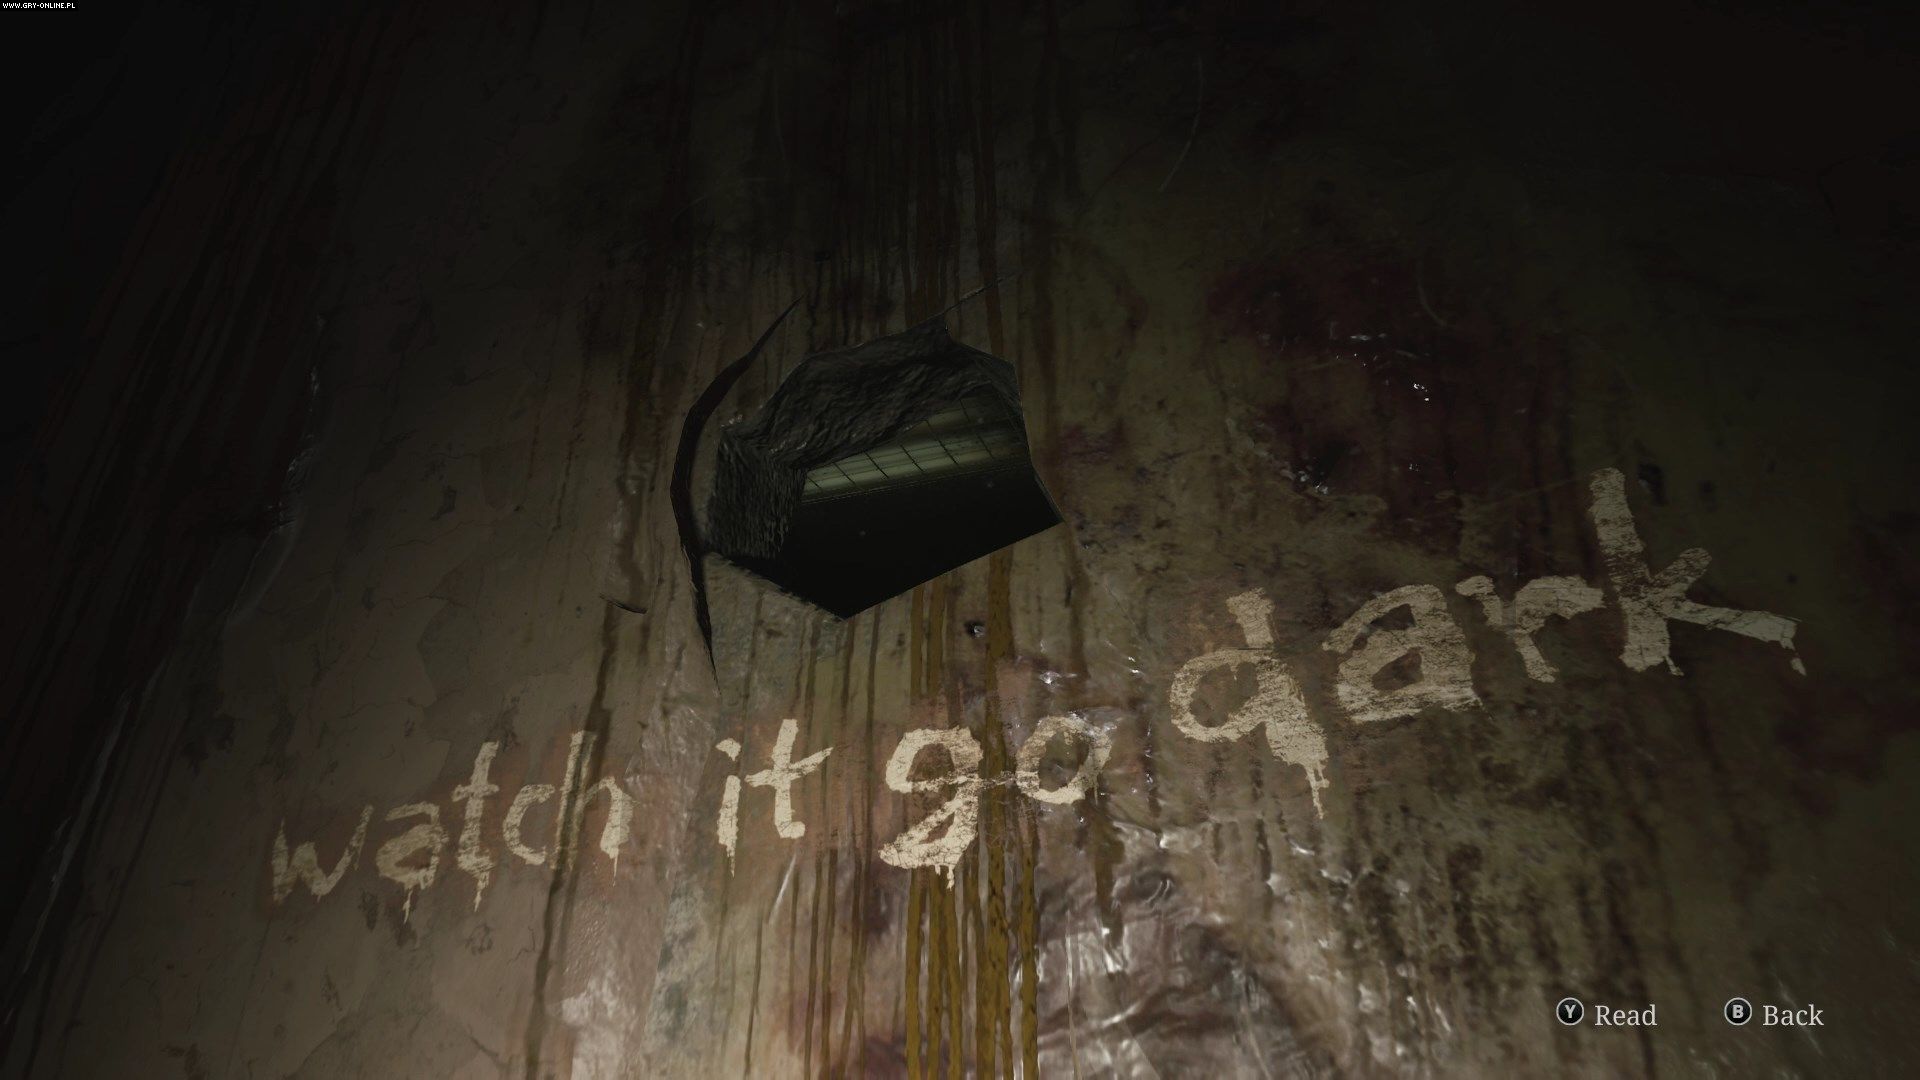
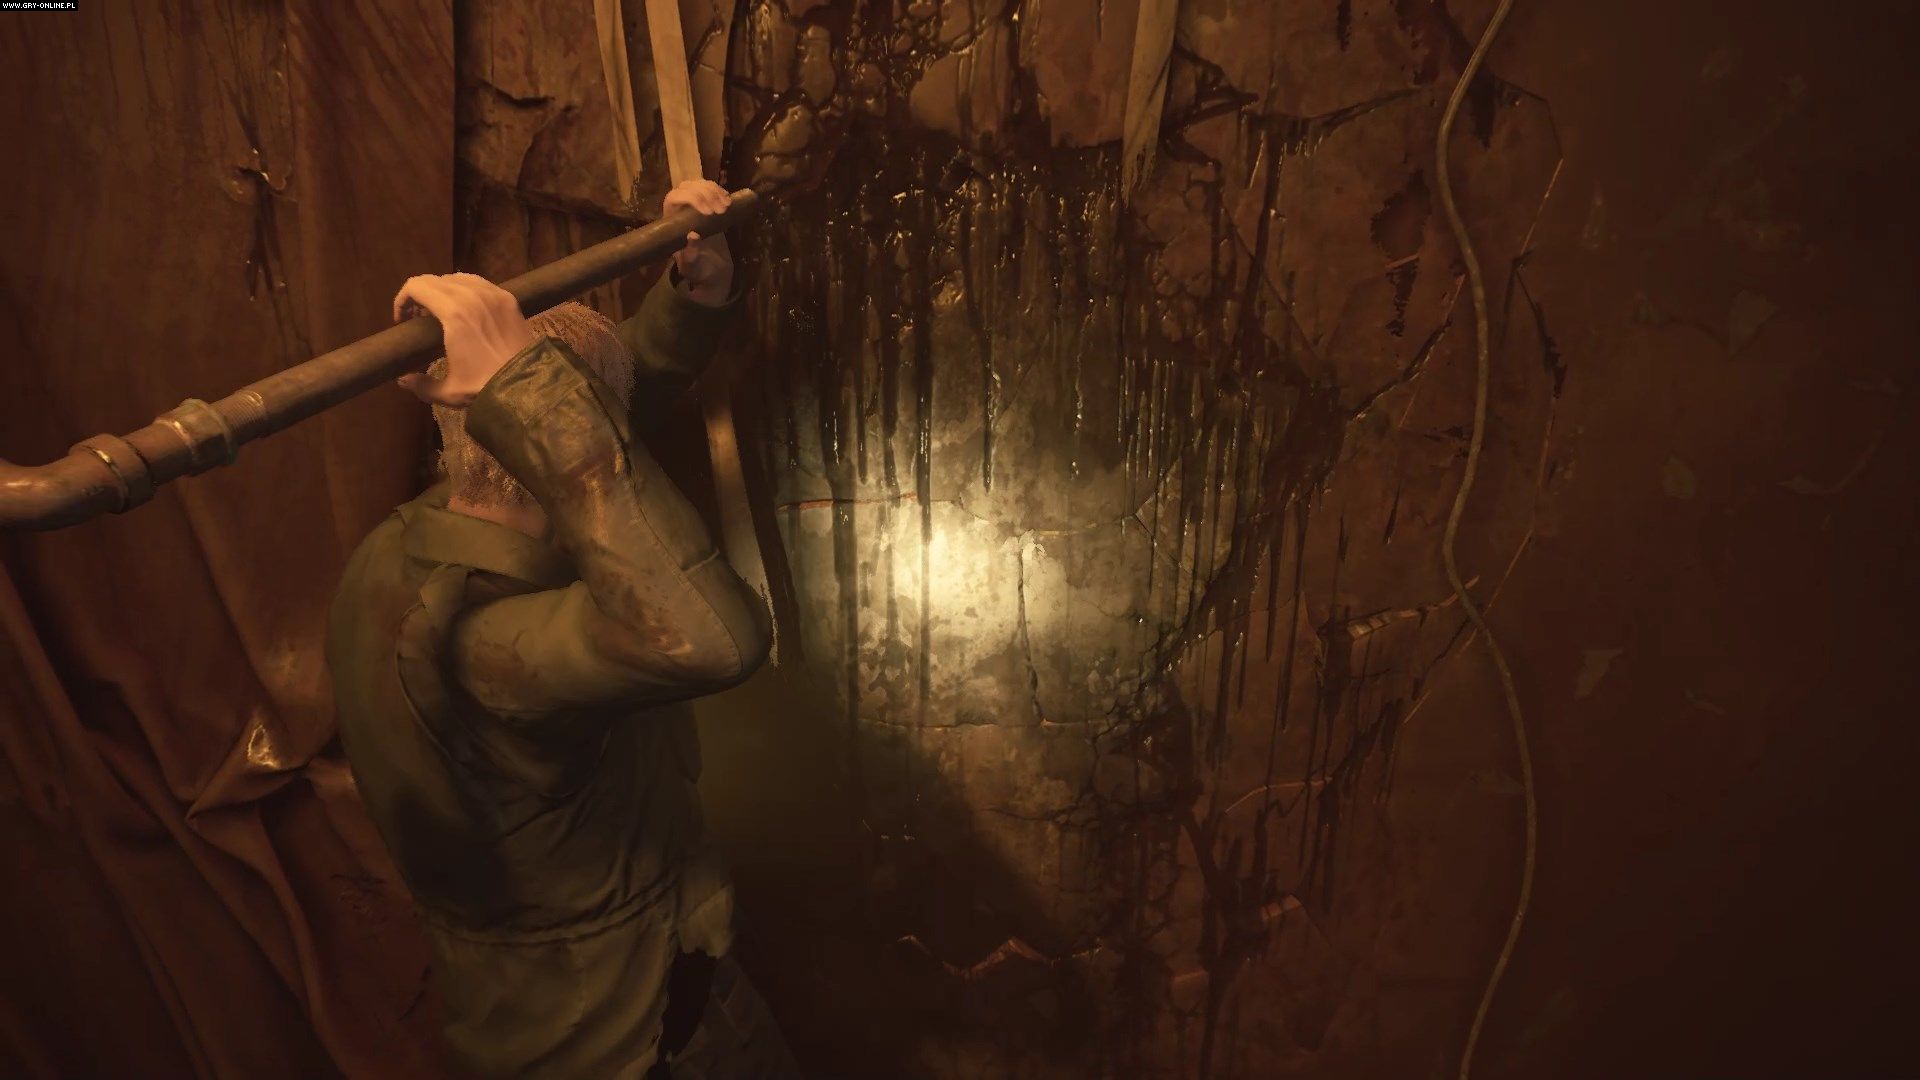
Examine the sink in the room and look through the hole in the wall at the nearby lamp. Count the pills in the sink and how many times in a row the lamp light momentarily goes out.
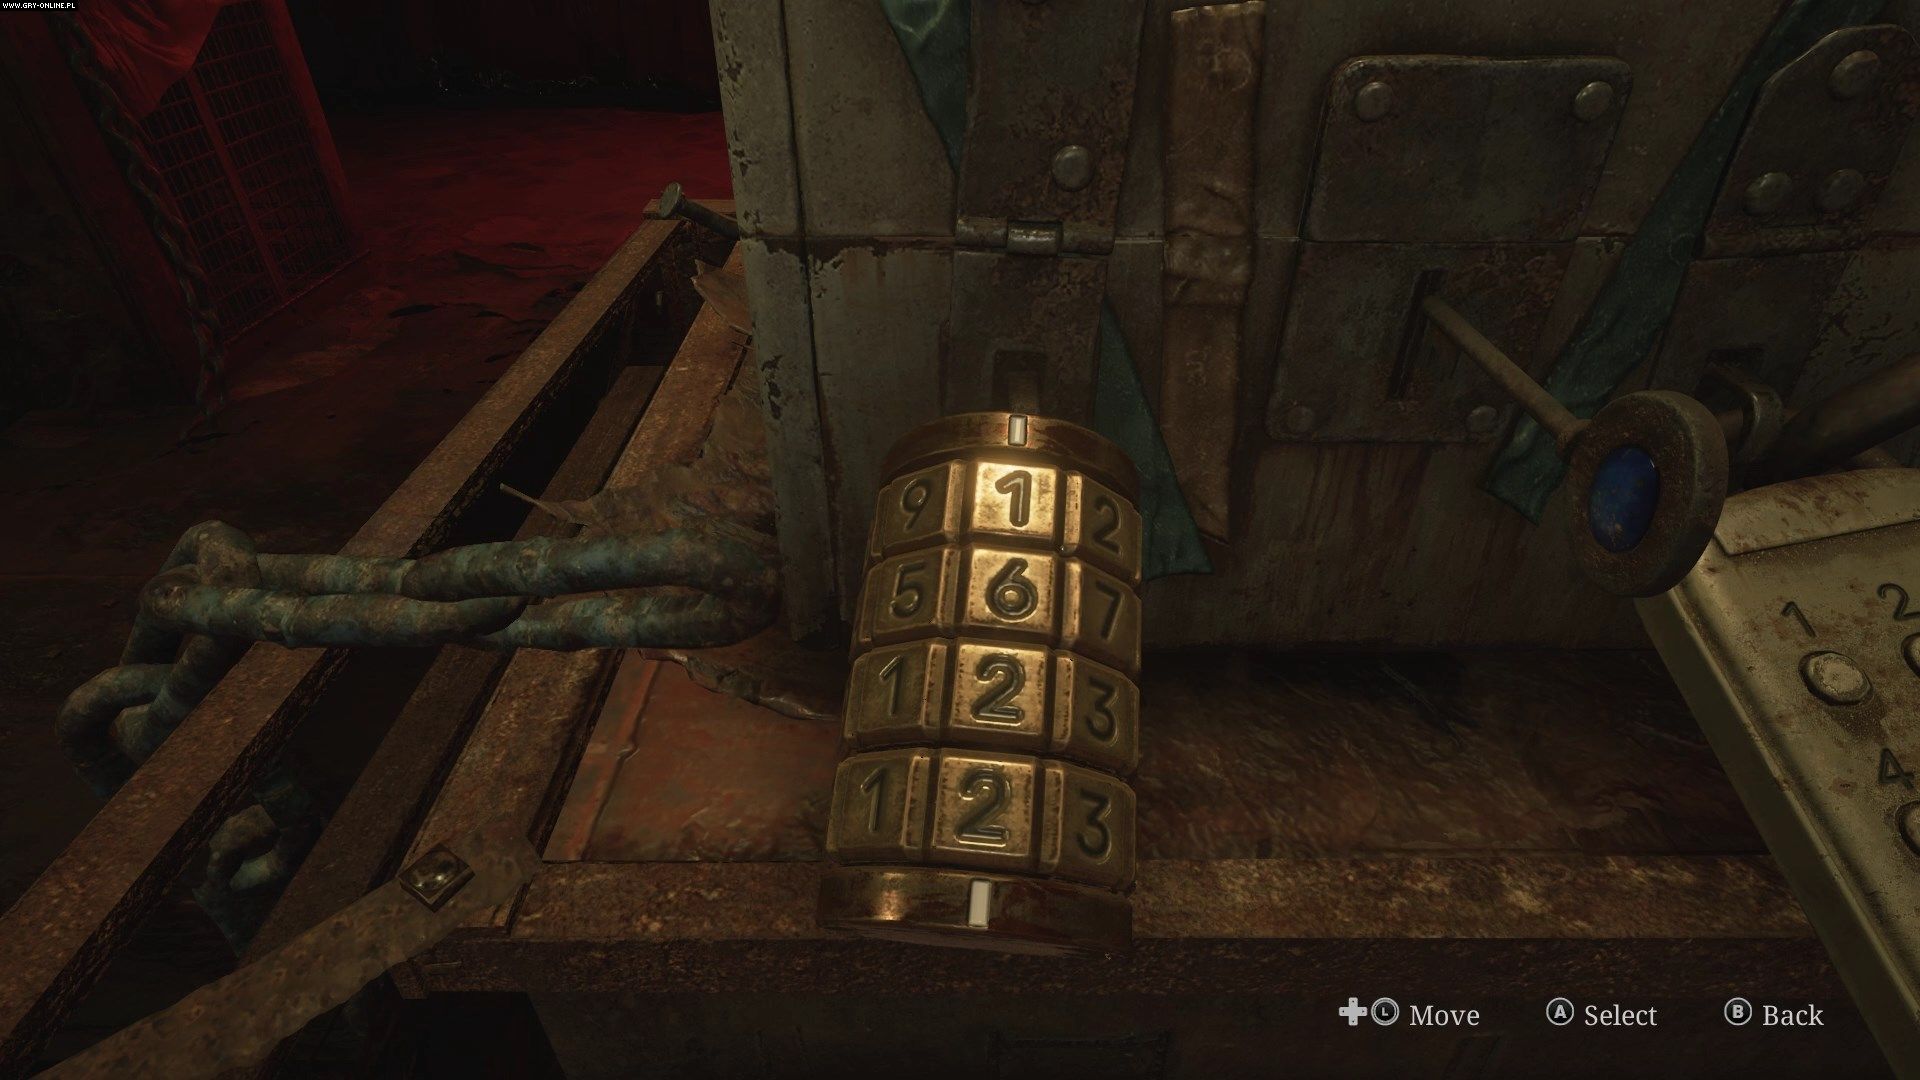
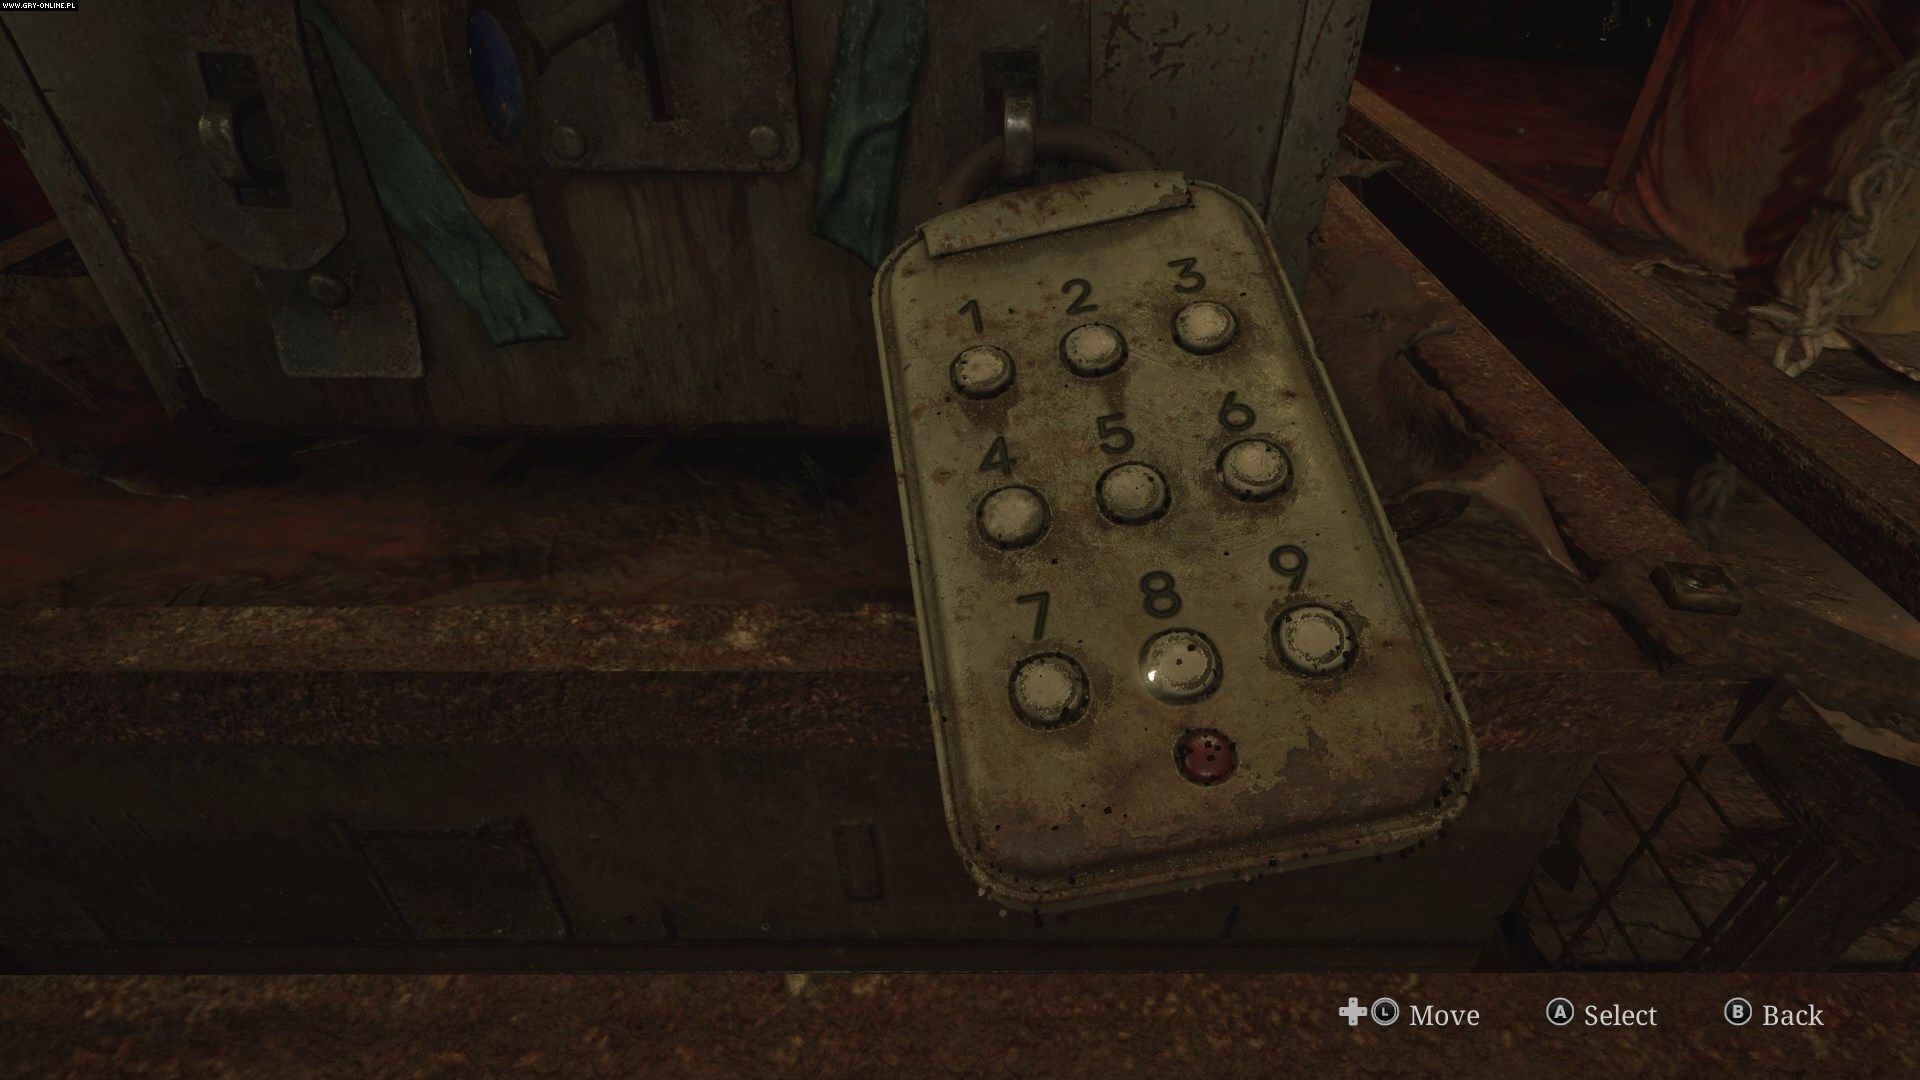
You can now return to the central room and open the iron padlock - the note will help you with this. The author of the note was kept in the hospital for one year, there are six pills in the sink, the clock you adjusted stopped at two o'clock, and the lamp by the room blinked two times in a row. So the correct combination is 1622.
How to get the combination for the electronic lock?
Head along the corridor to the east from the central room. At the very end of the corridor, right next to the director's office, destroy the cracked wall and enter the laundry room.
Get through the laundry room to room L2 and move the wardrobe blocking the door. You can now move the cart from the corner of the room through the open door to the wall in the corridor and the window leading to room L3.
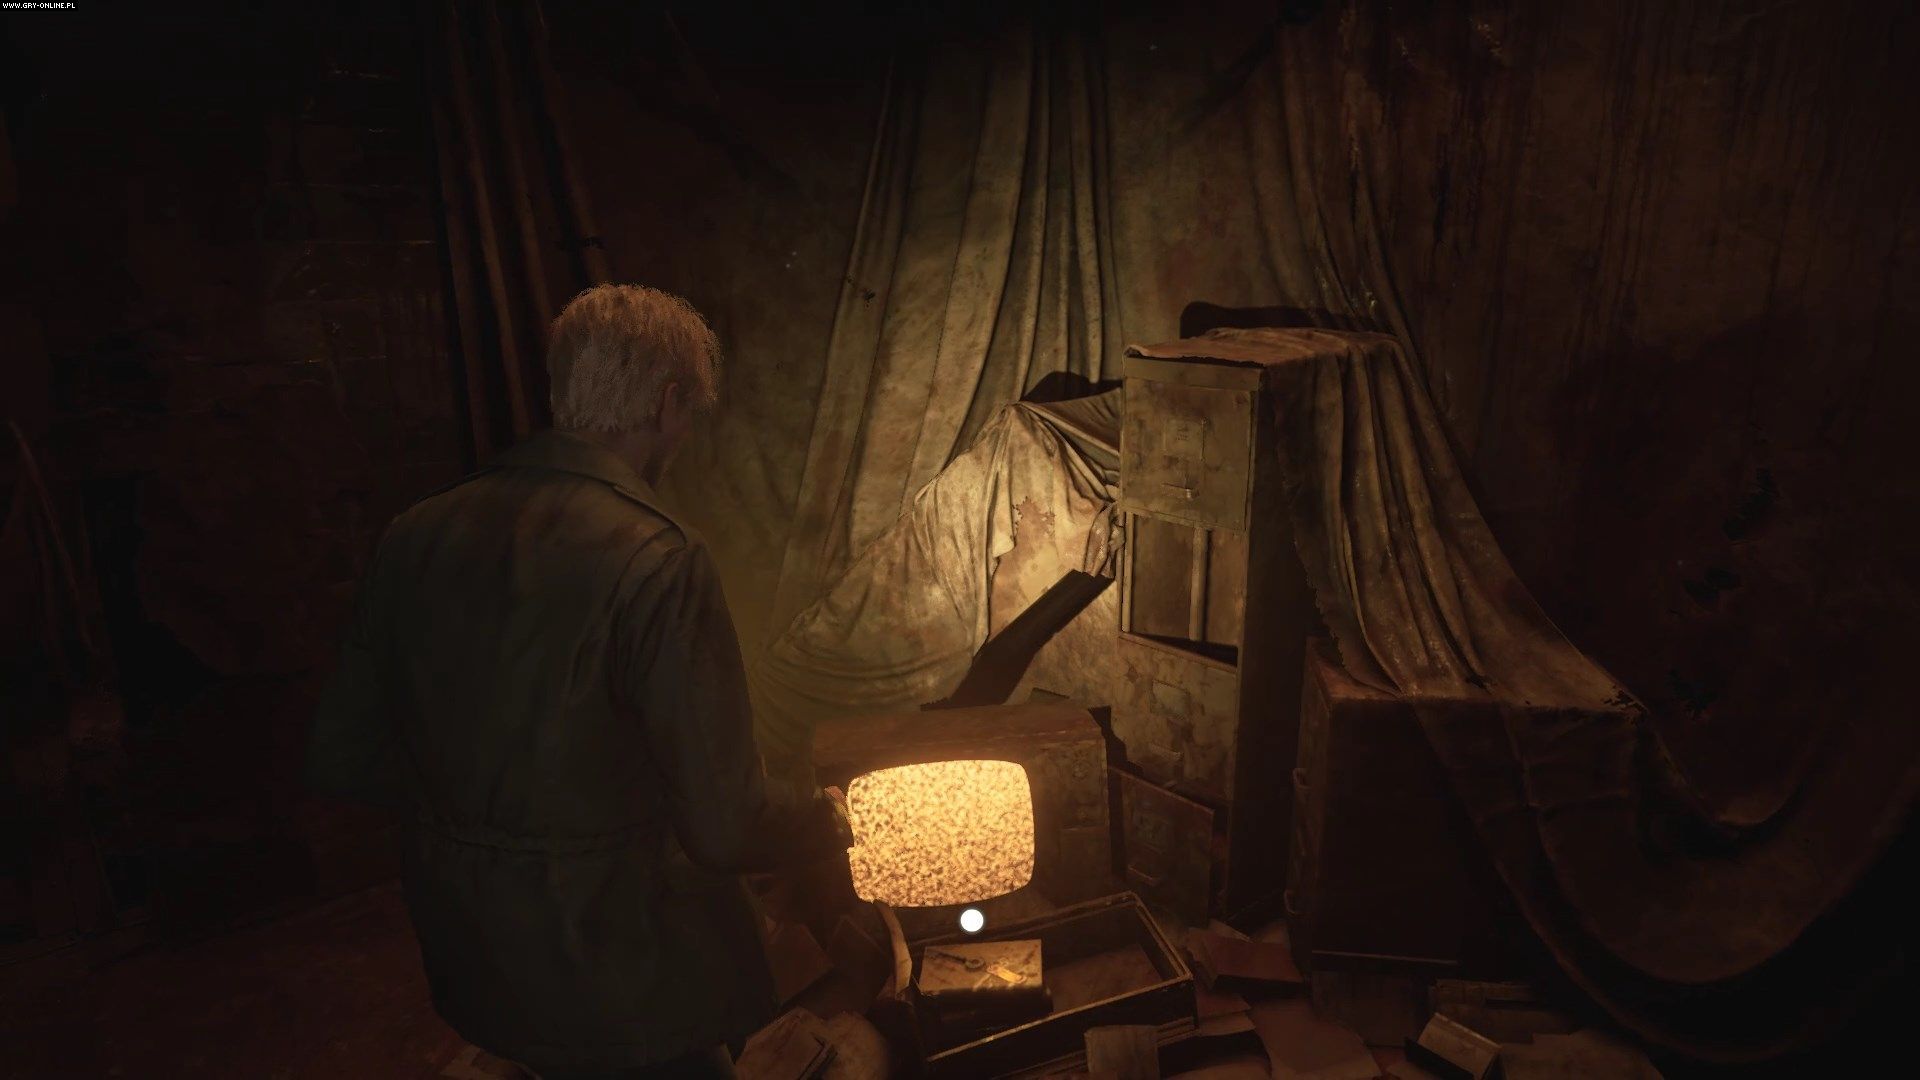
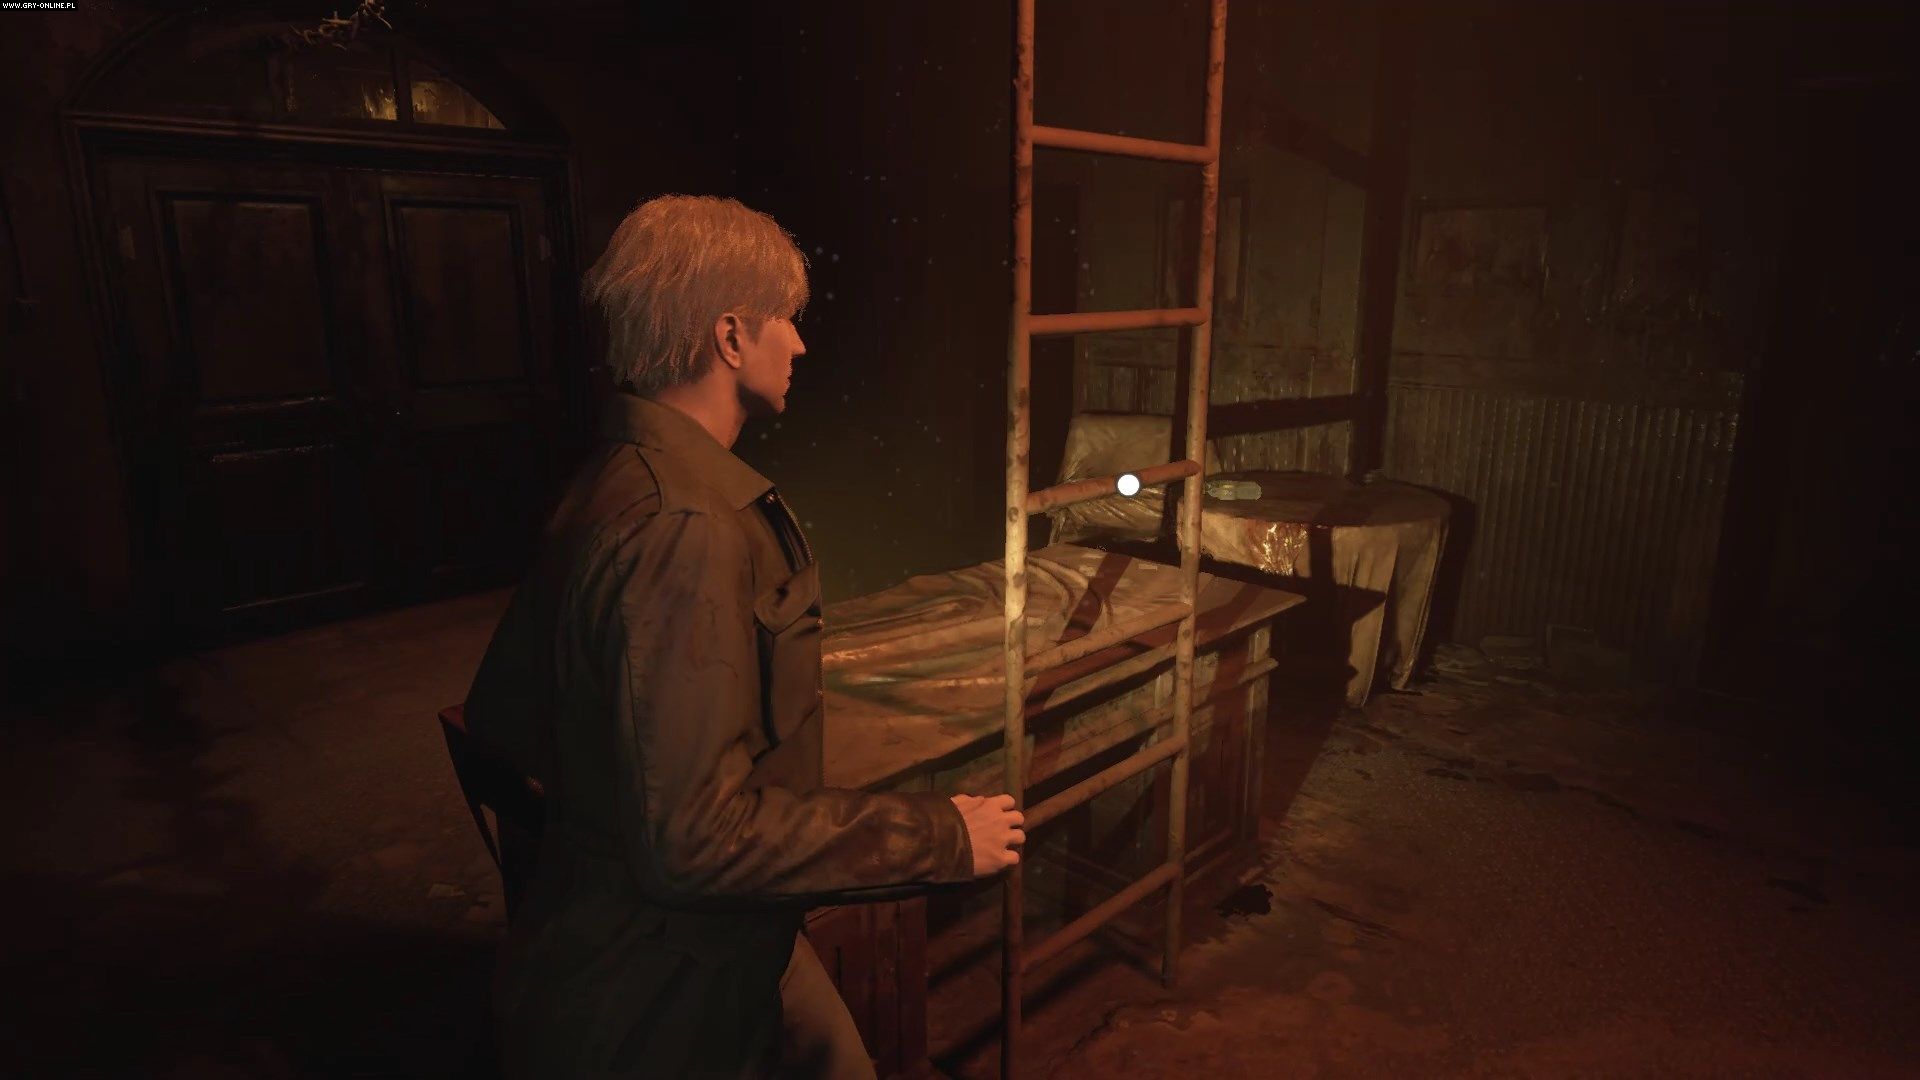
Go to the observation room next door and pick up the key to the director's office next to the turned on TV. Go to the director's office and climb the ladder to the third floor.
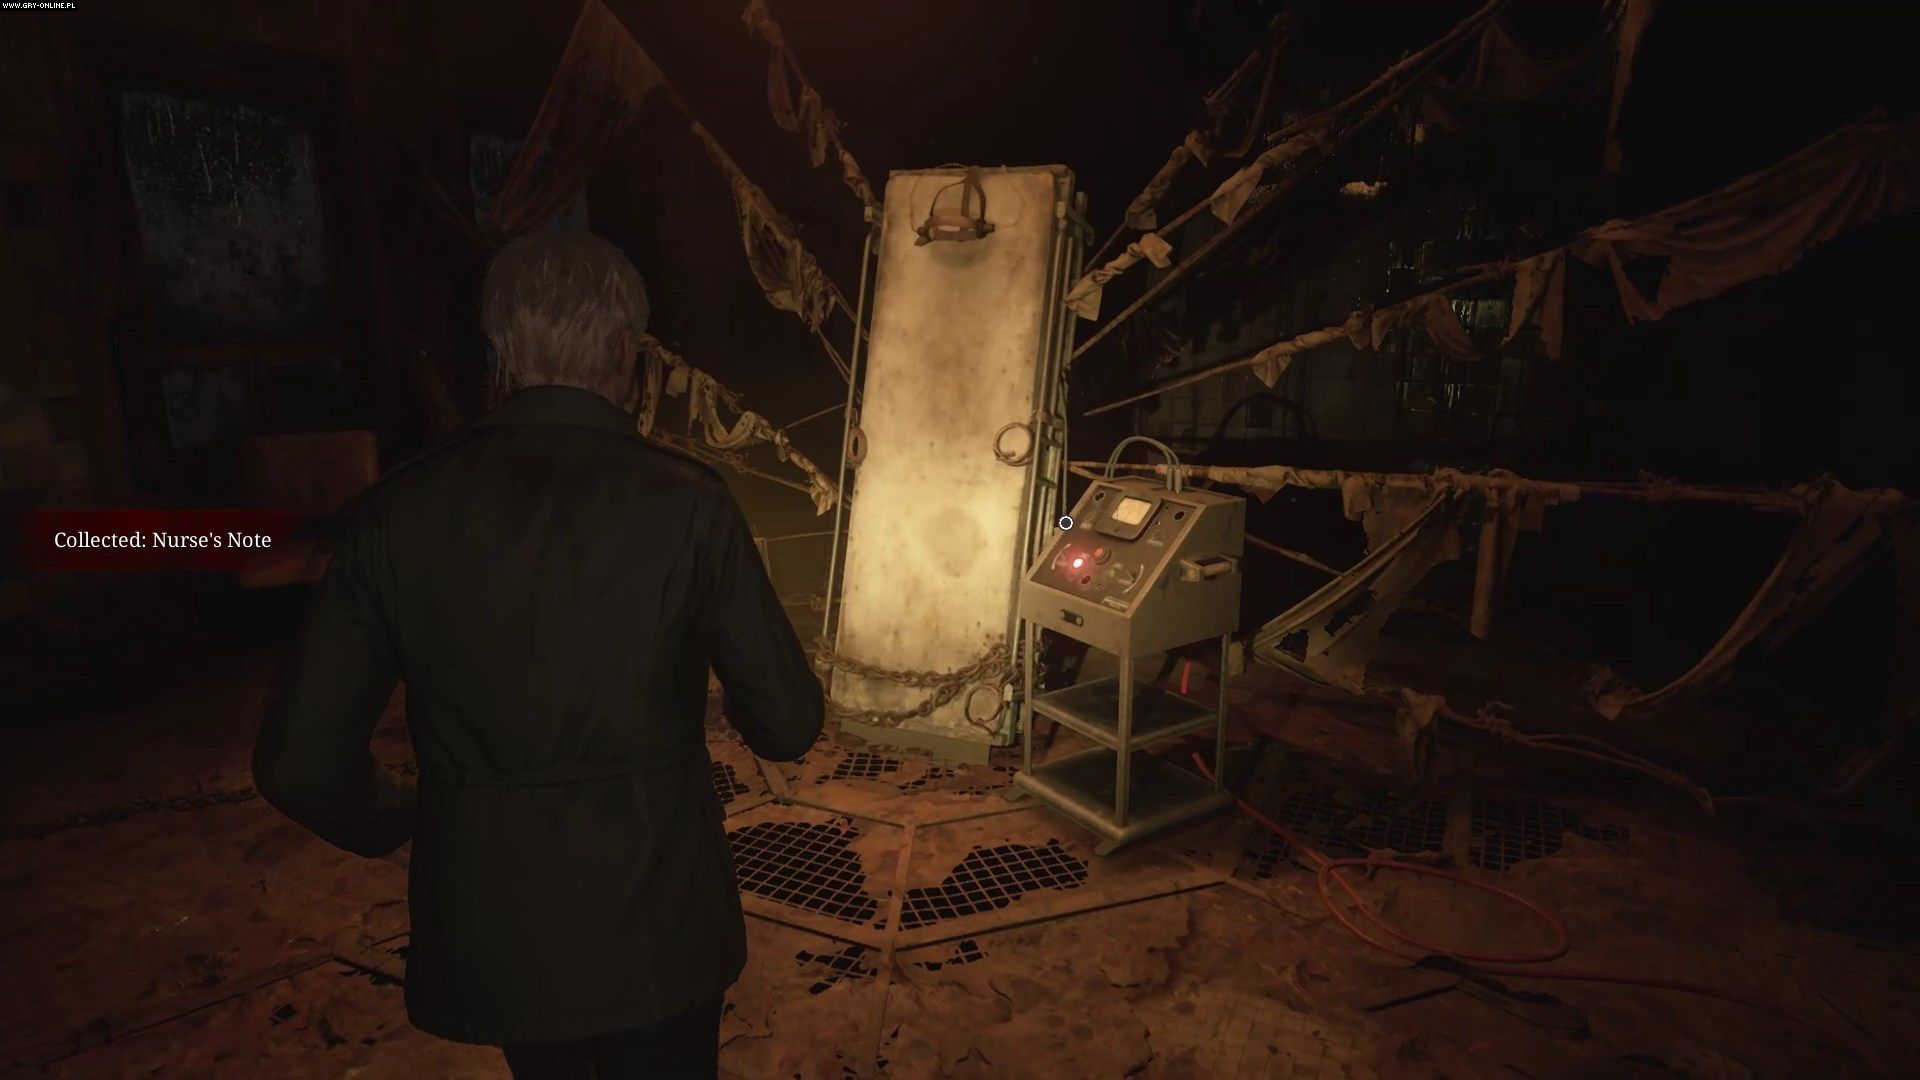
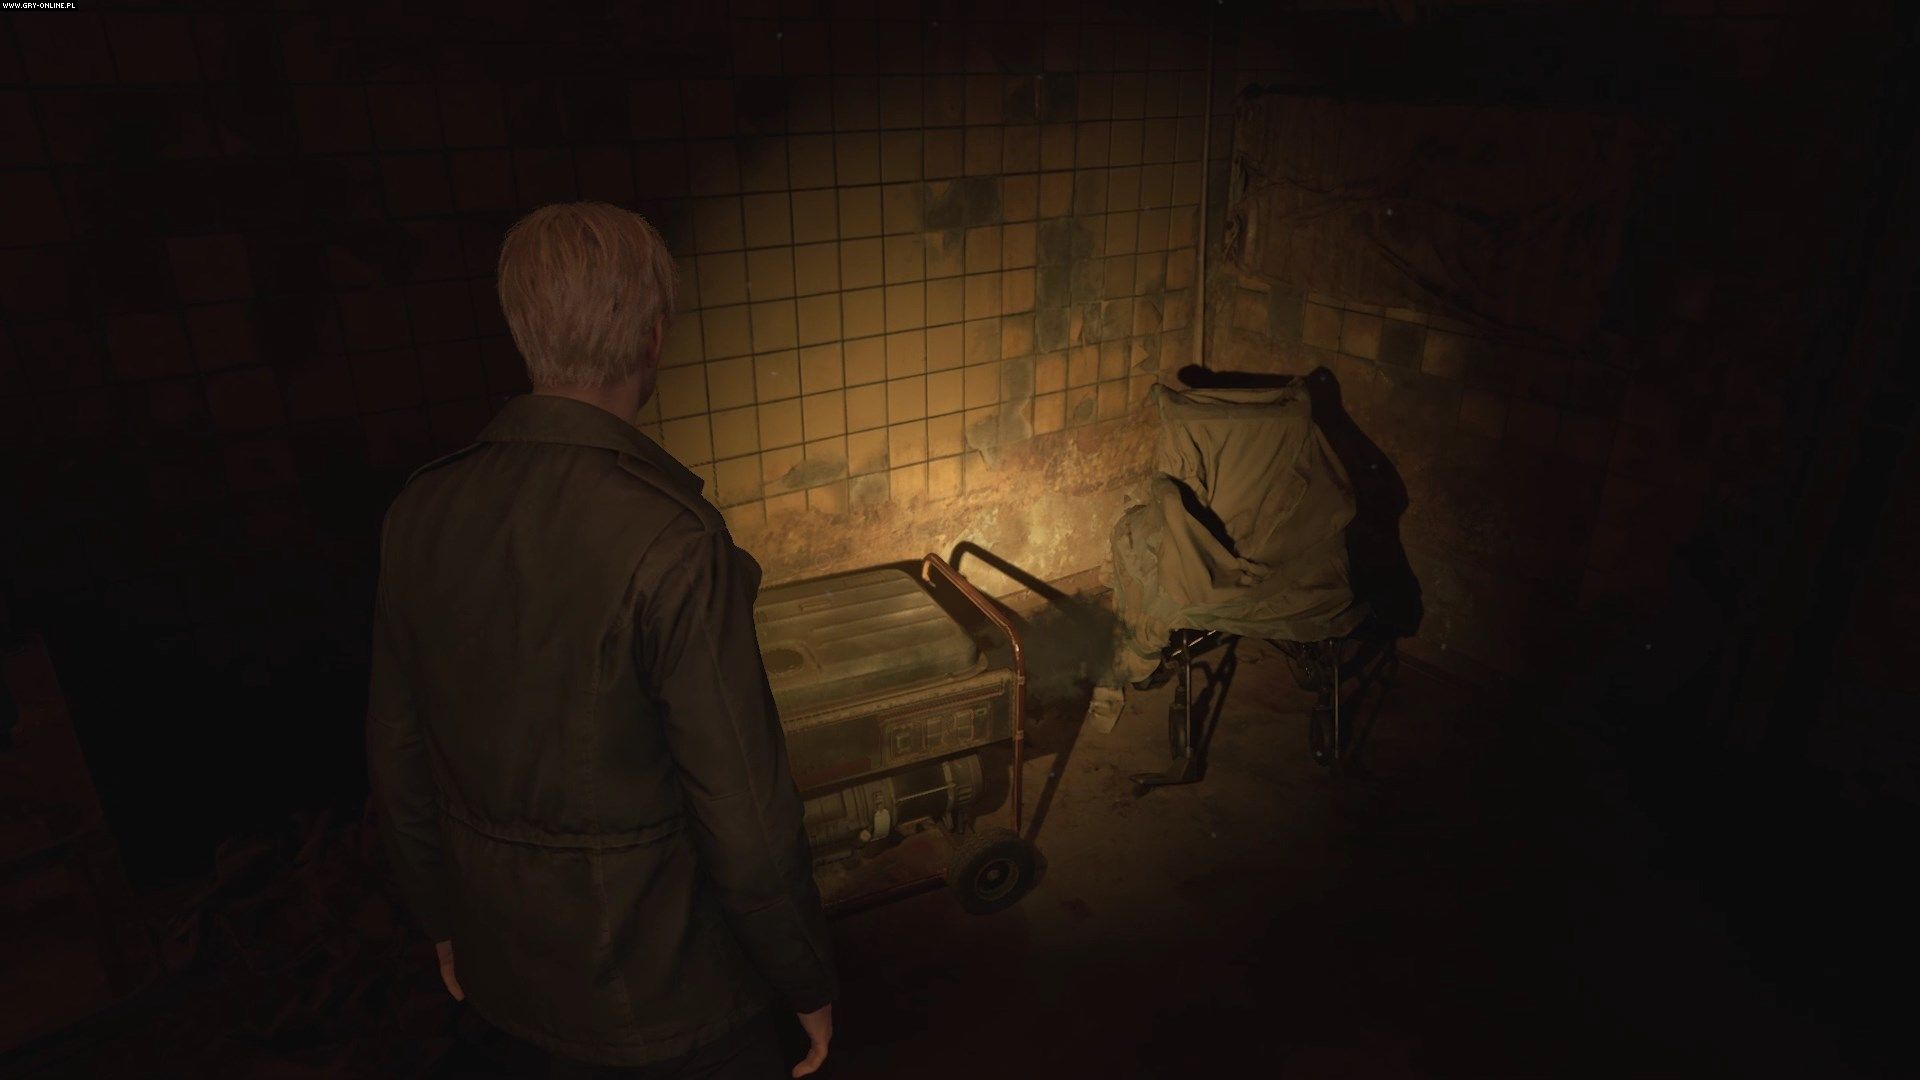
Right after climbing the ladder you'll notice an electroshock machine. You have to start it, but in order to do that, you first need to restore the power. Follow the corridor along the red cable, which will lead you to the room directly north of the toilet. There you will find a generator - turn it on.
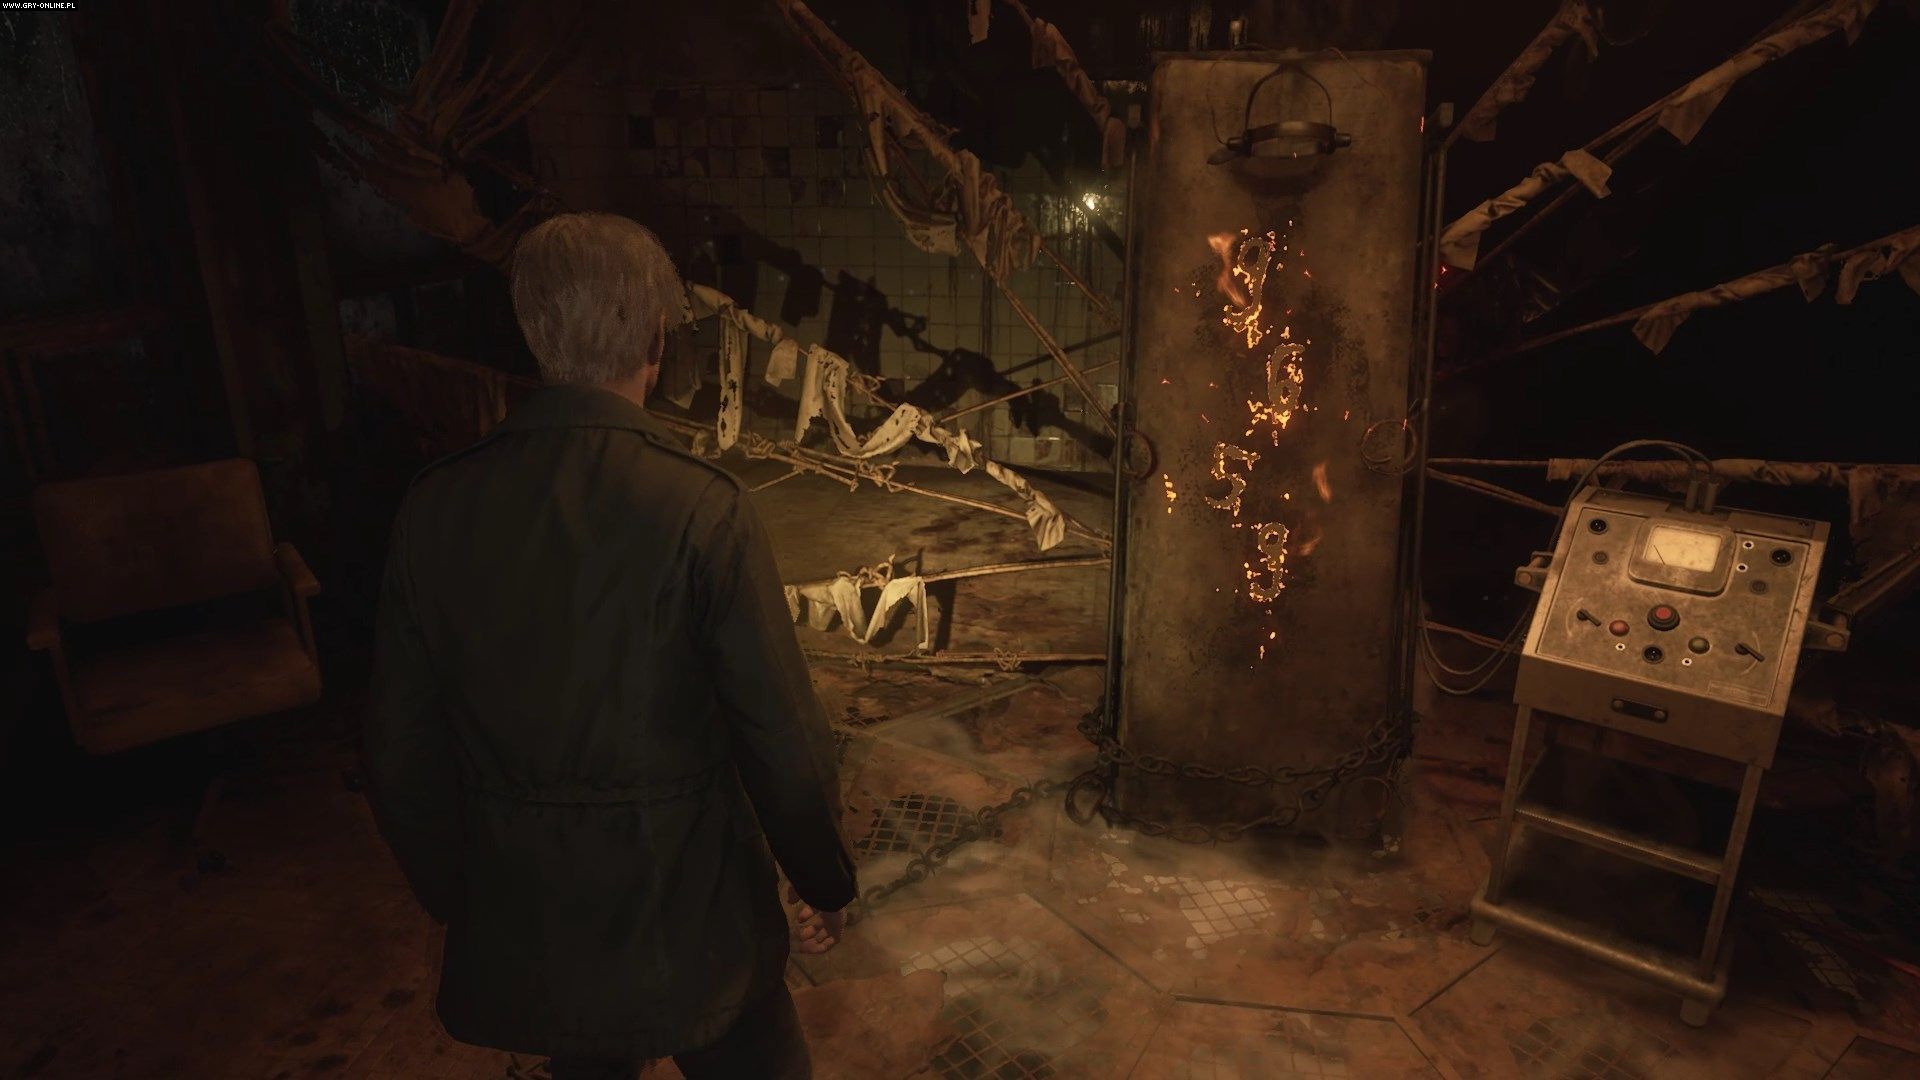
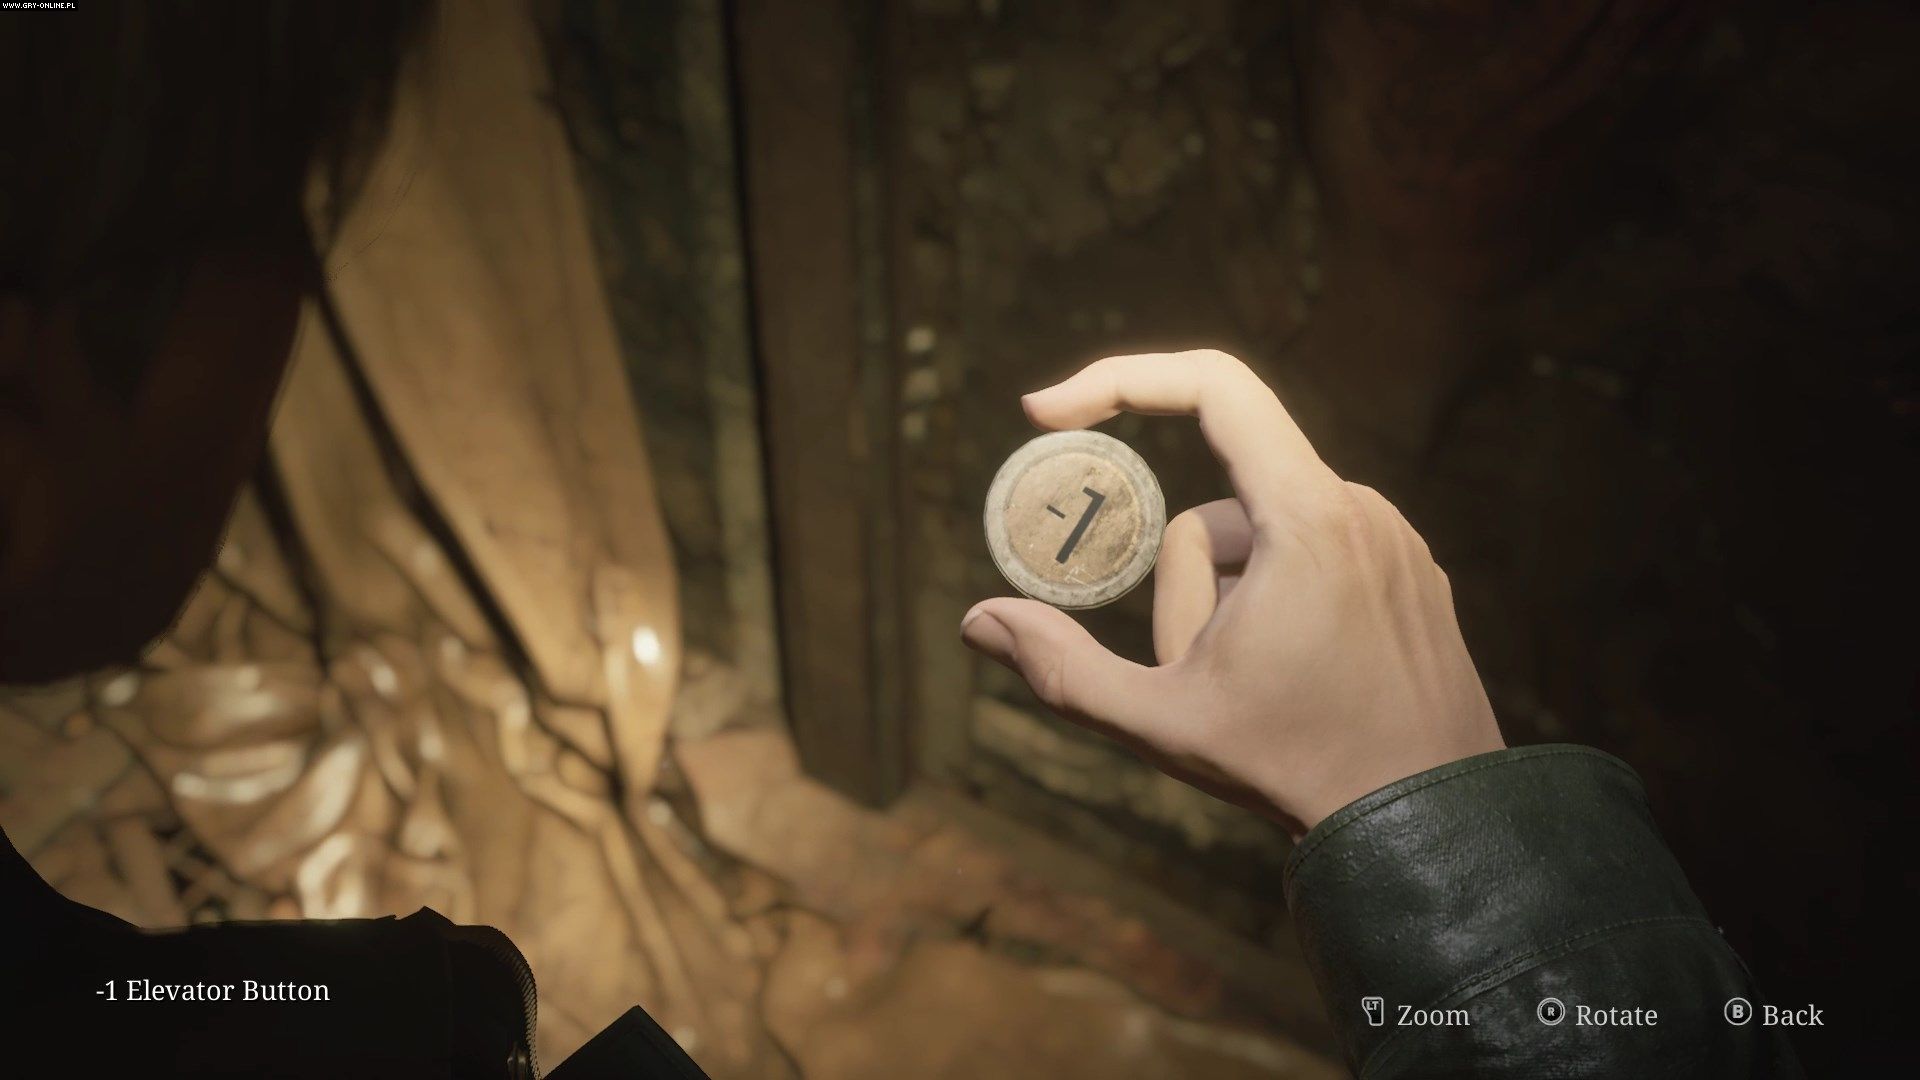
Go back to the electroshock machine and turn it on. The current will burn the code for the electronic lock on the machine - 9659. Go back to the central room and enter the code to open the chest. After the cut-scene, you will receive an elevator button, which will allow you to go down to the basement. Your next goal is to obtain two rings that will allow you to open the door in this room.
How to get two rings?
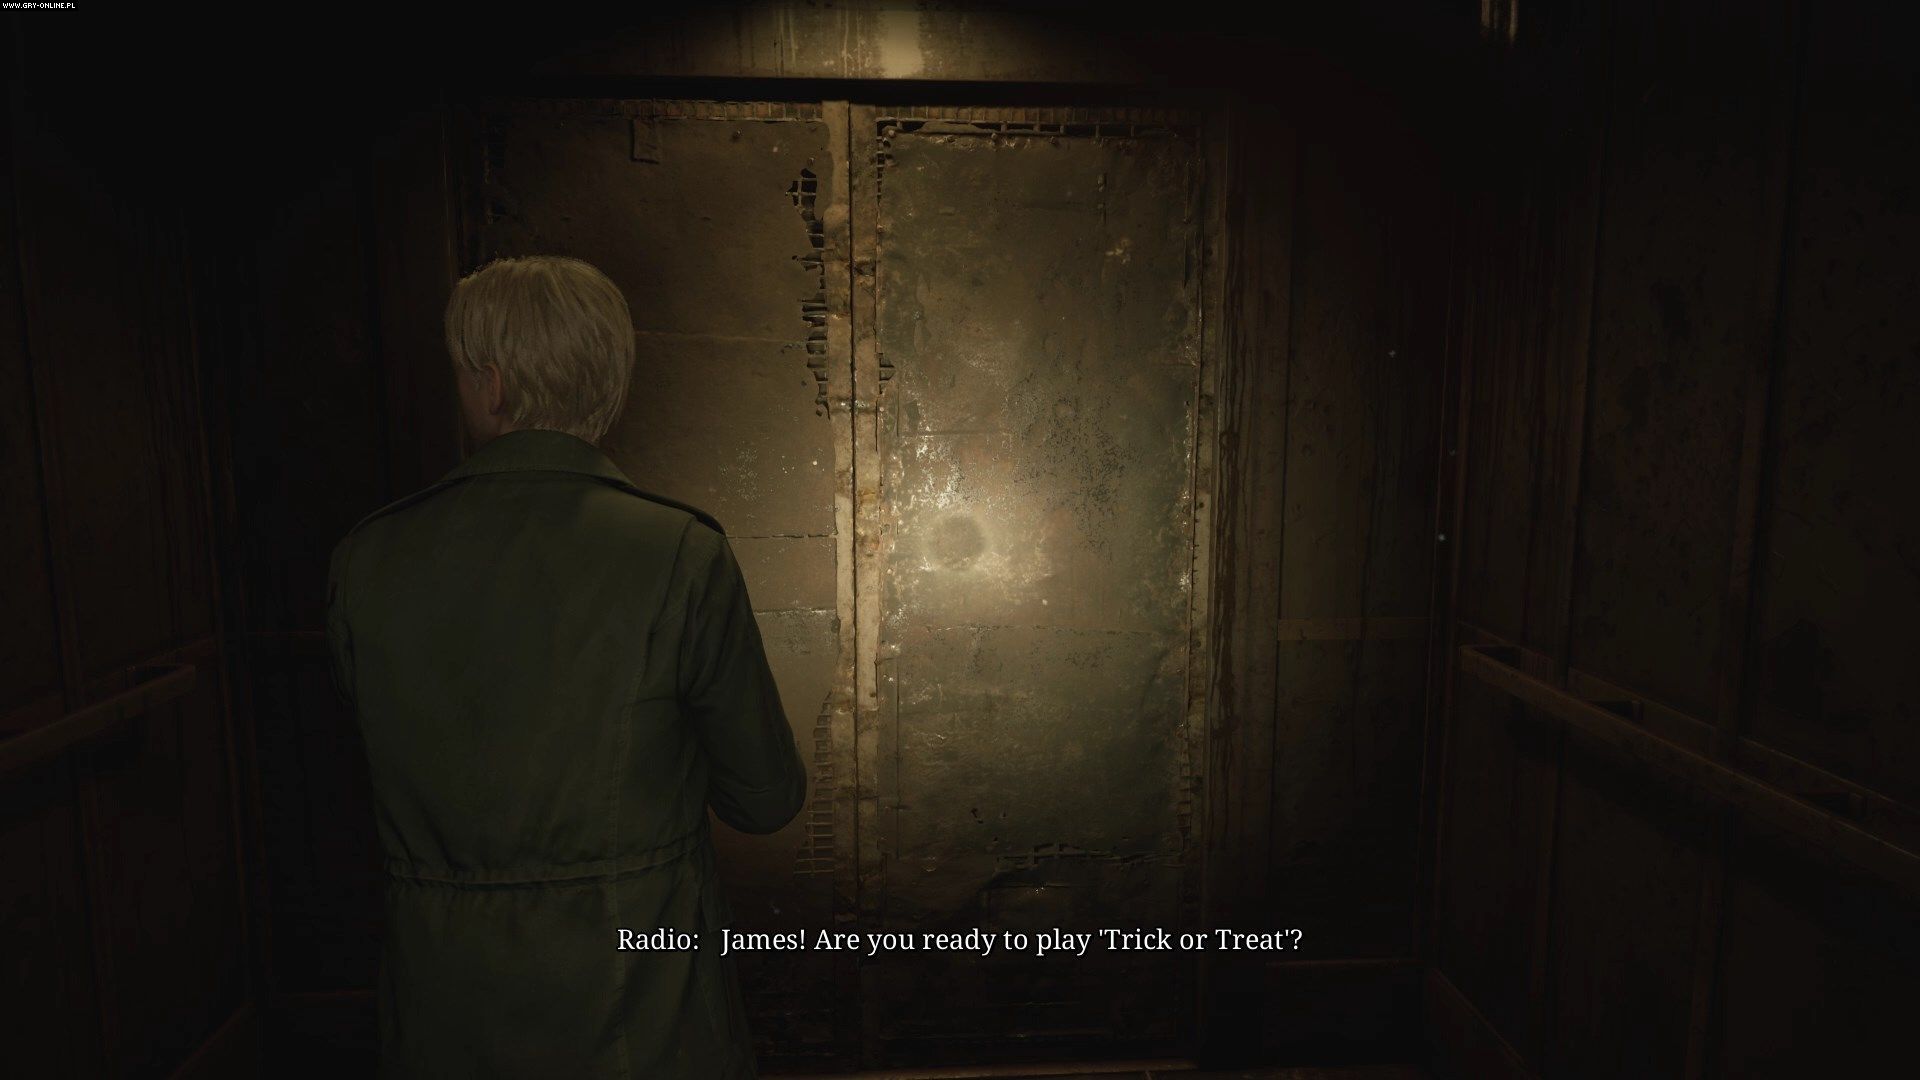
Enter the elevator, use the new button and go down to the basement. While in the elevator, your radio will start receiving a game show transmission. This is the first part of an optional puzzle, which you will solve only if you carefully examined the previously visited locations. We described this puzzle on a separate page.
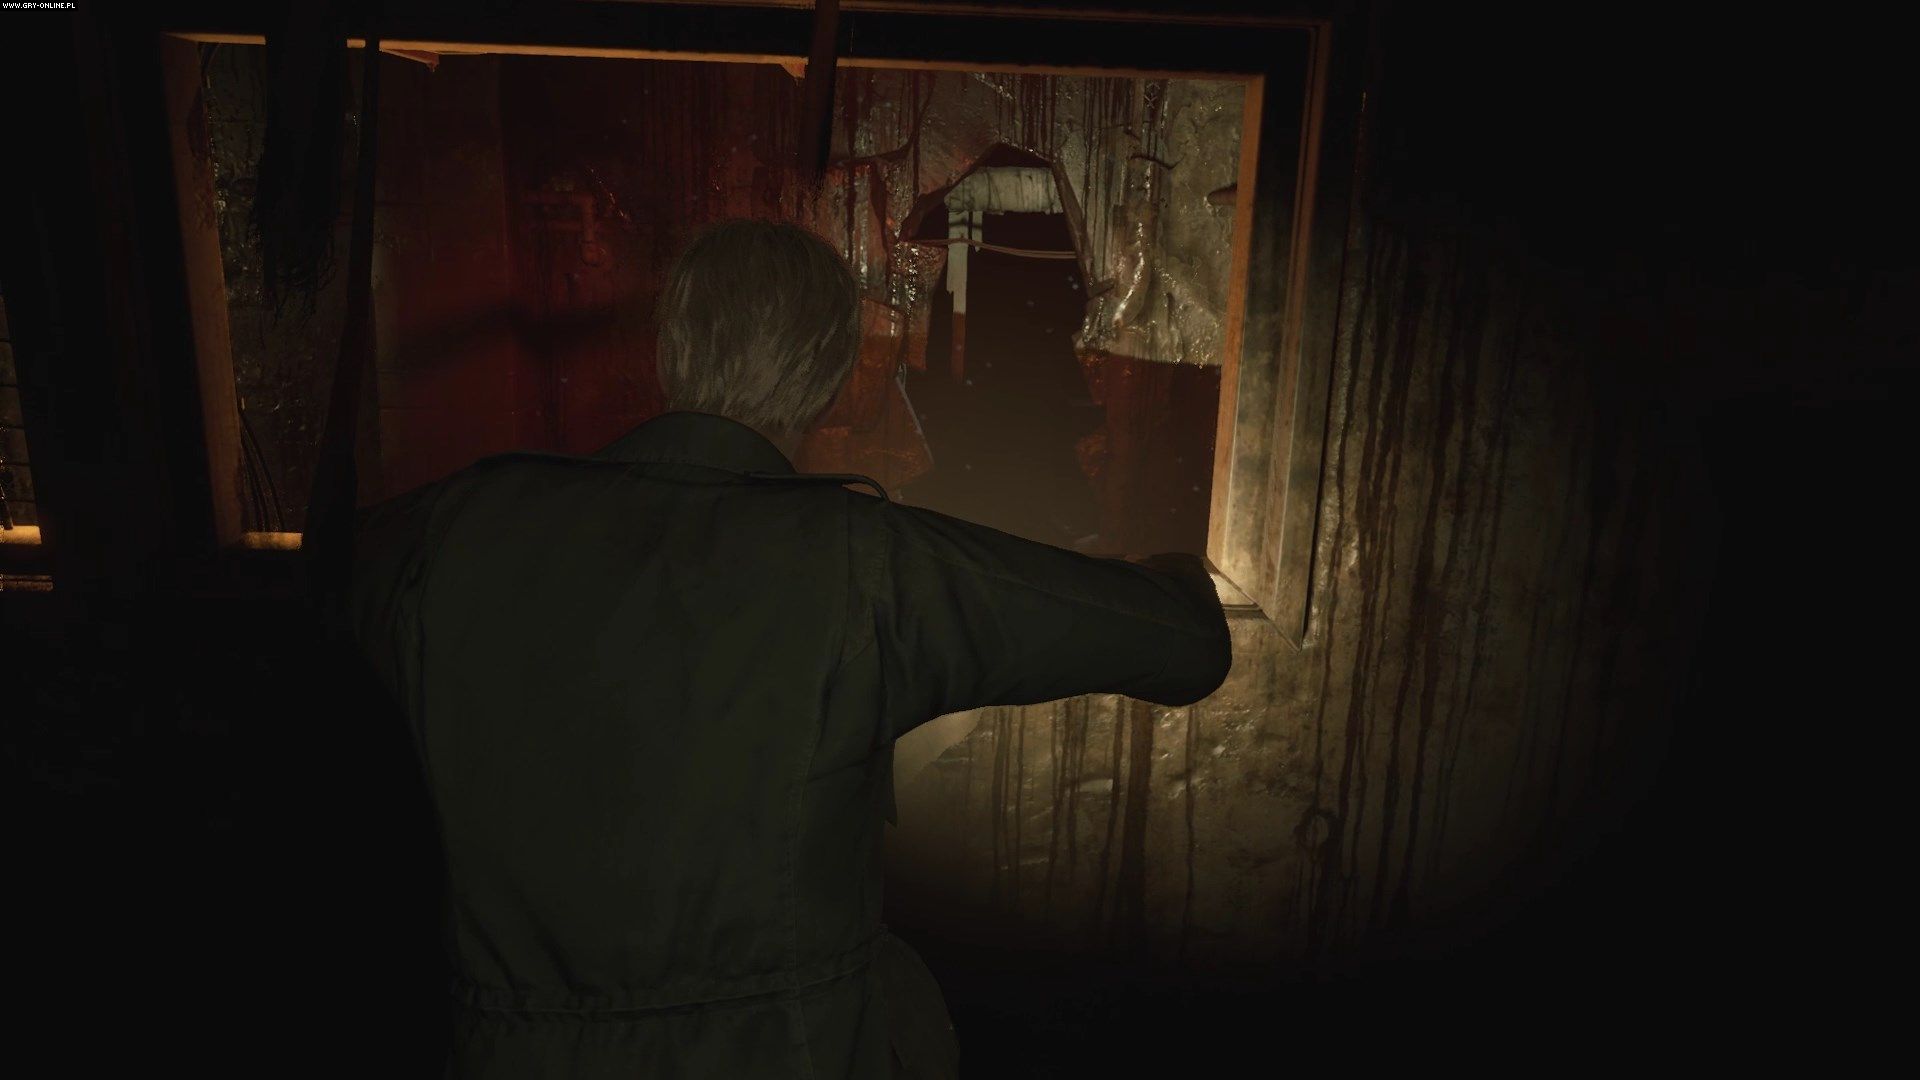
Upon reaching the basement, proceed to room 02 through the demolished wall, and from there to room 03. You have to go around through the basement, avoiding the chasms in the corridor - go through room 05 to room 09, and then from room 10 to room 06. Squeeze through the window and the crack in the wall to room 04.
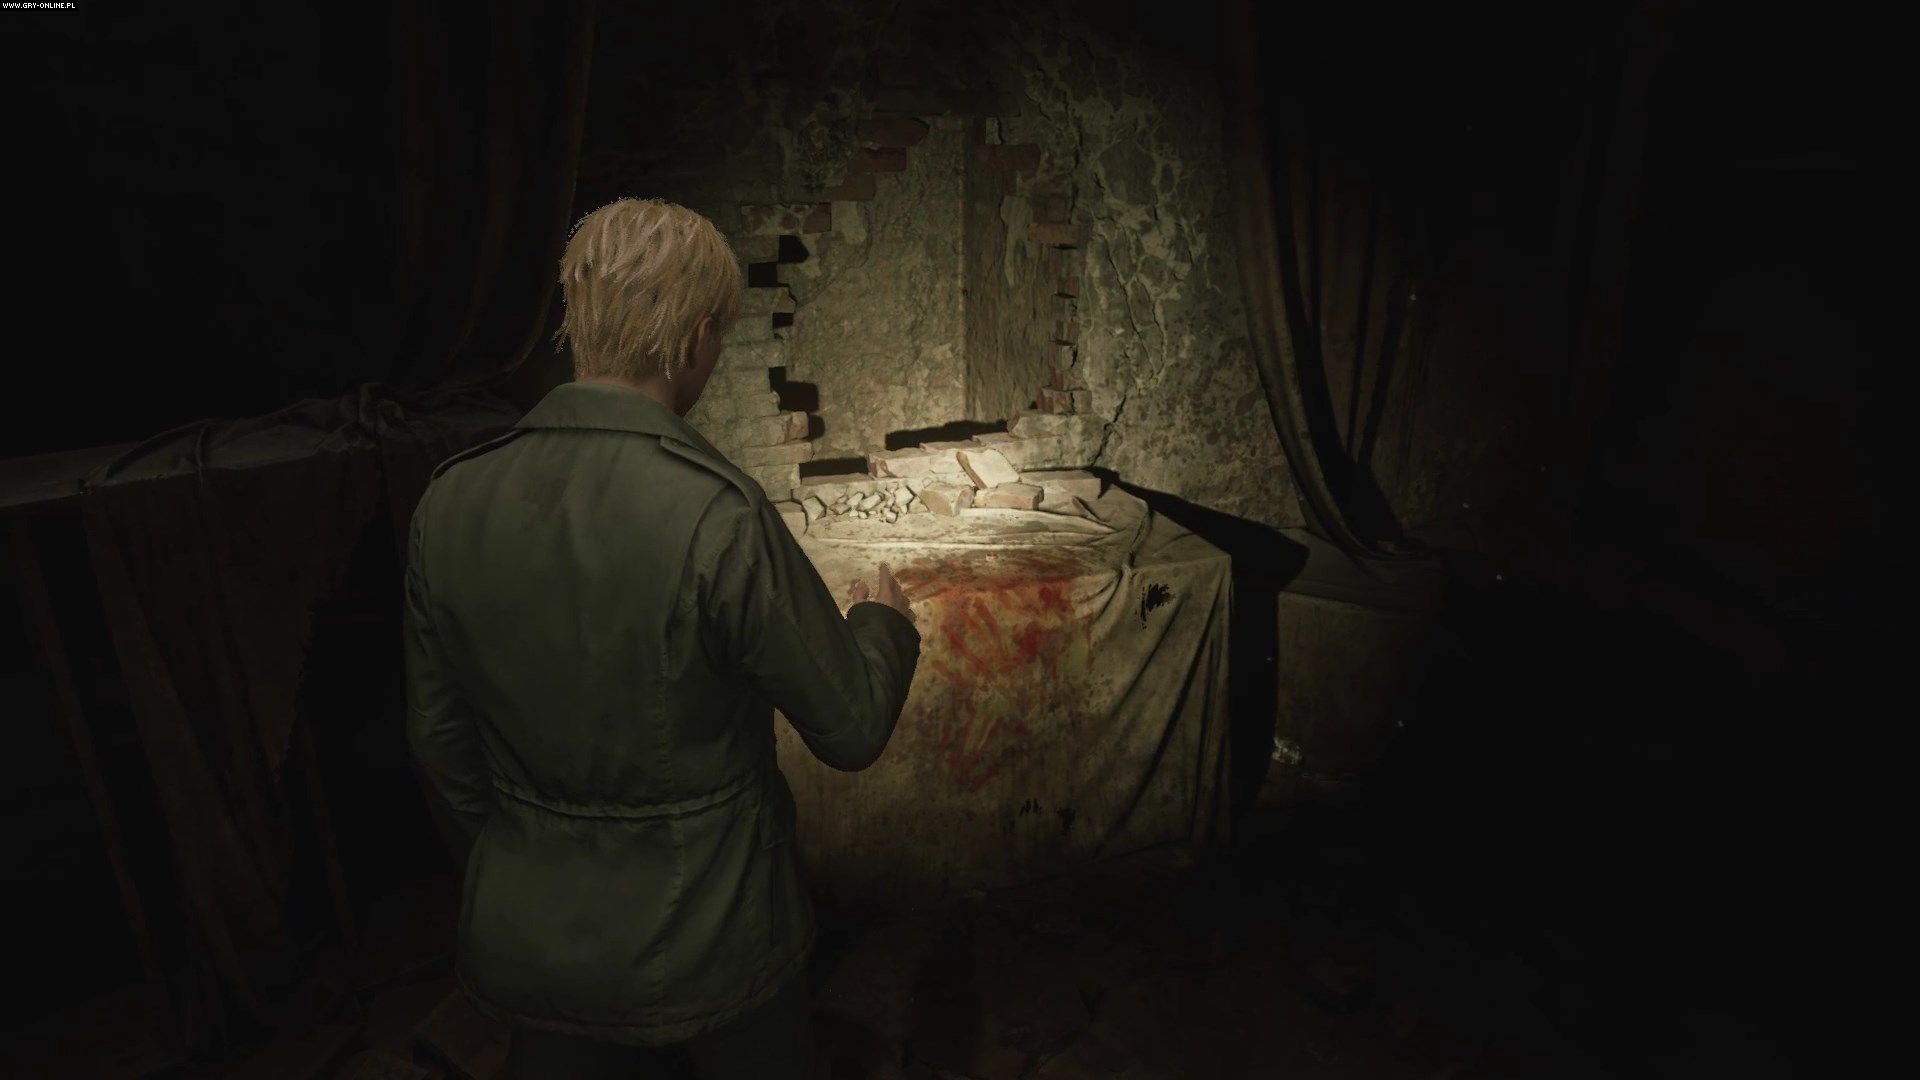
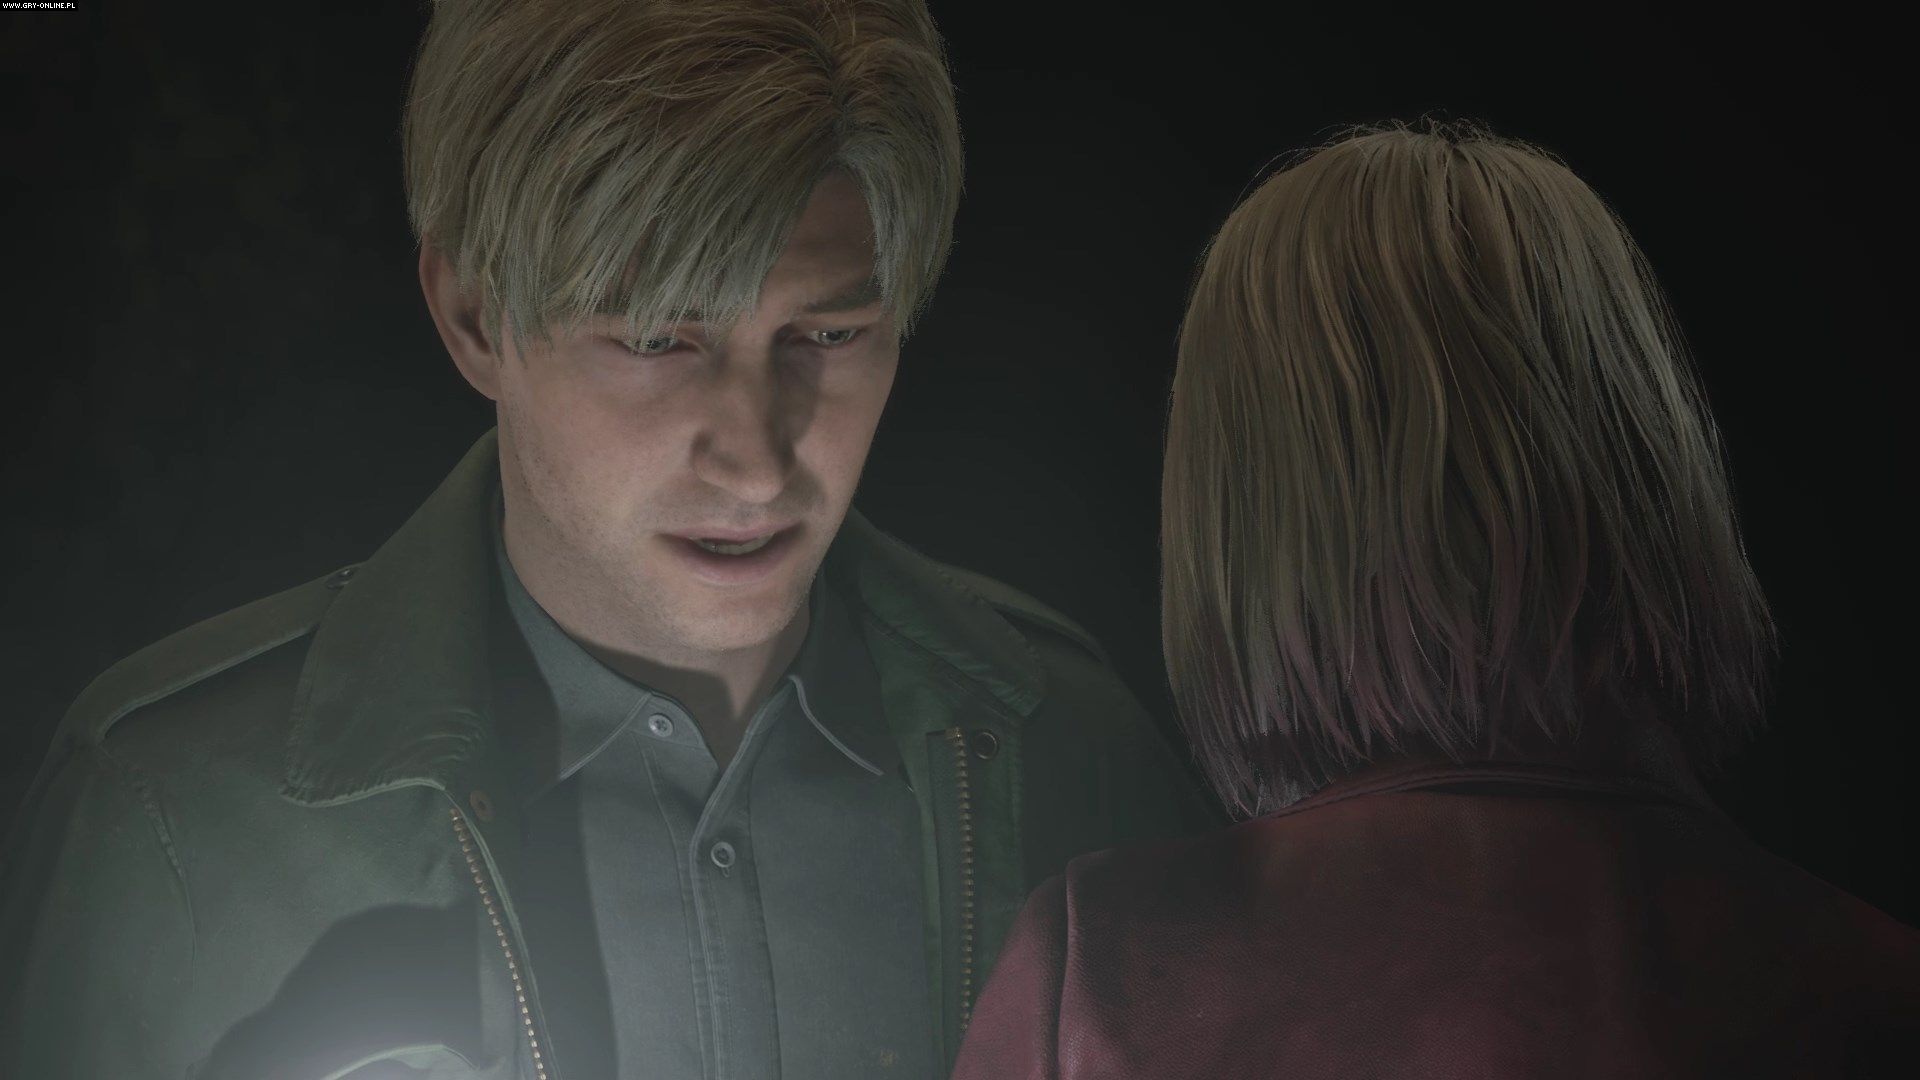
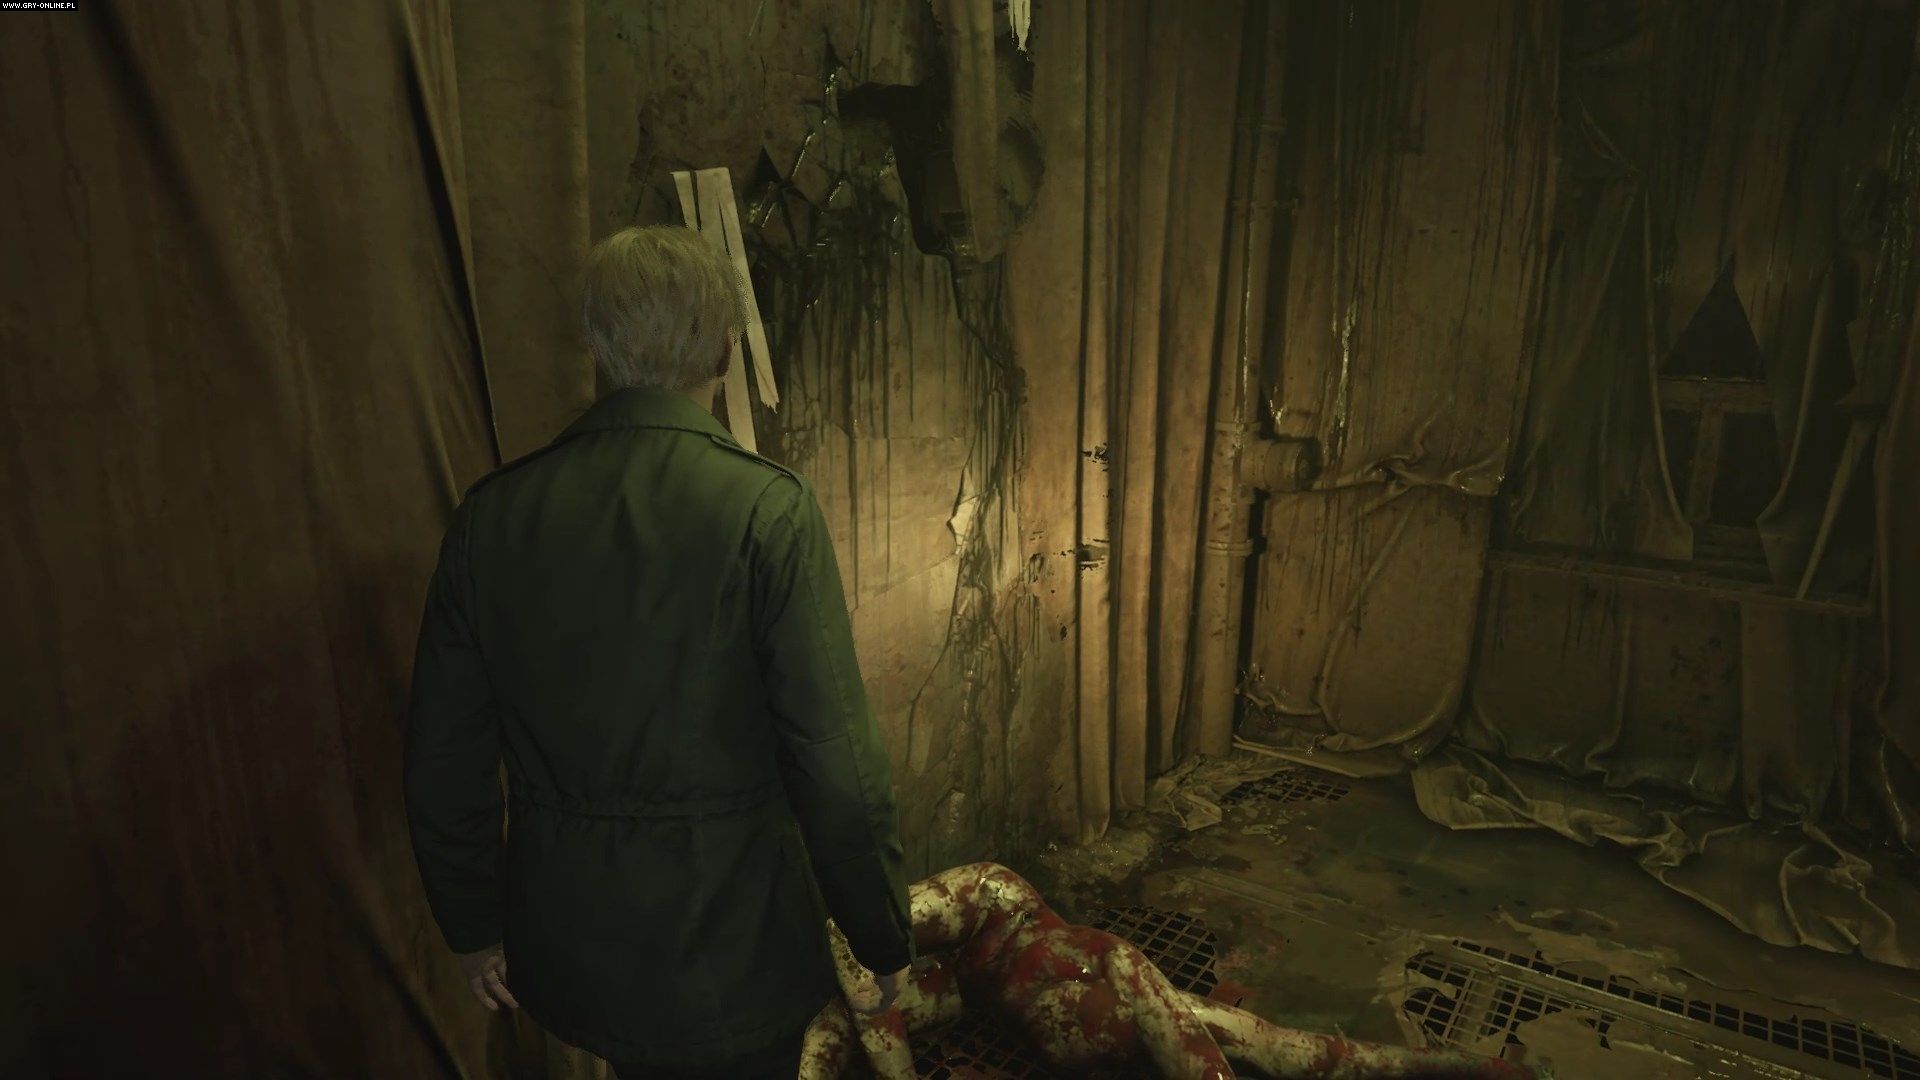
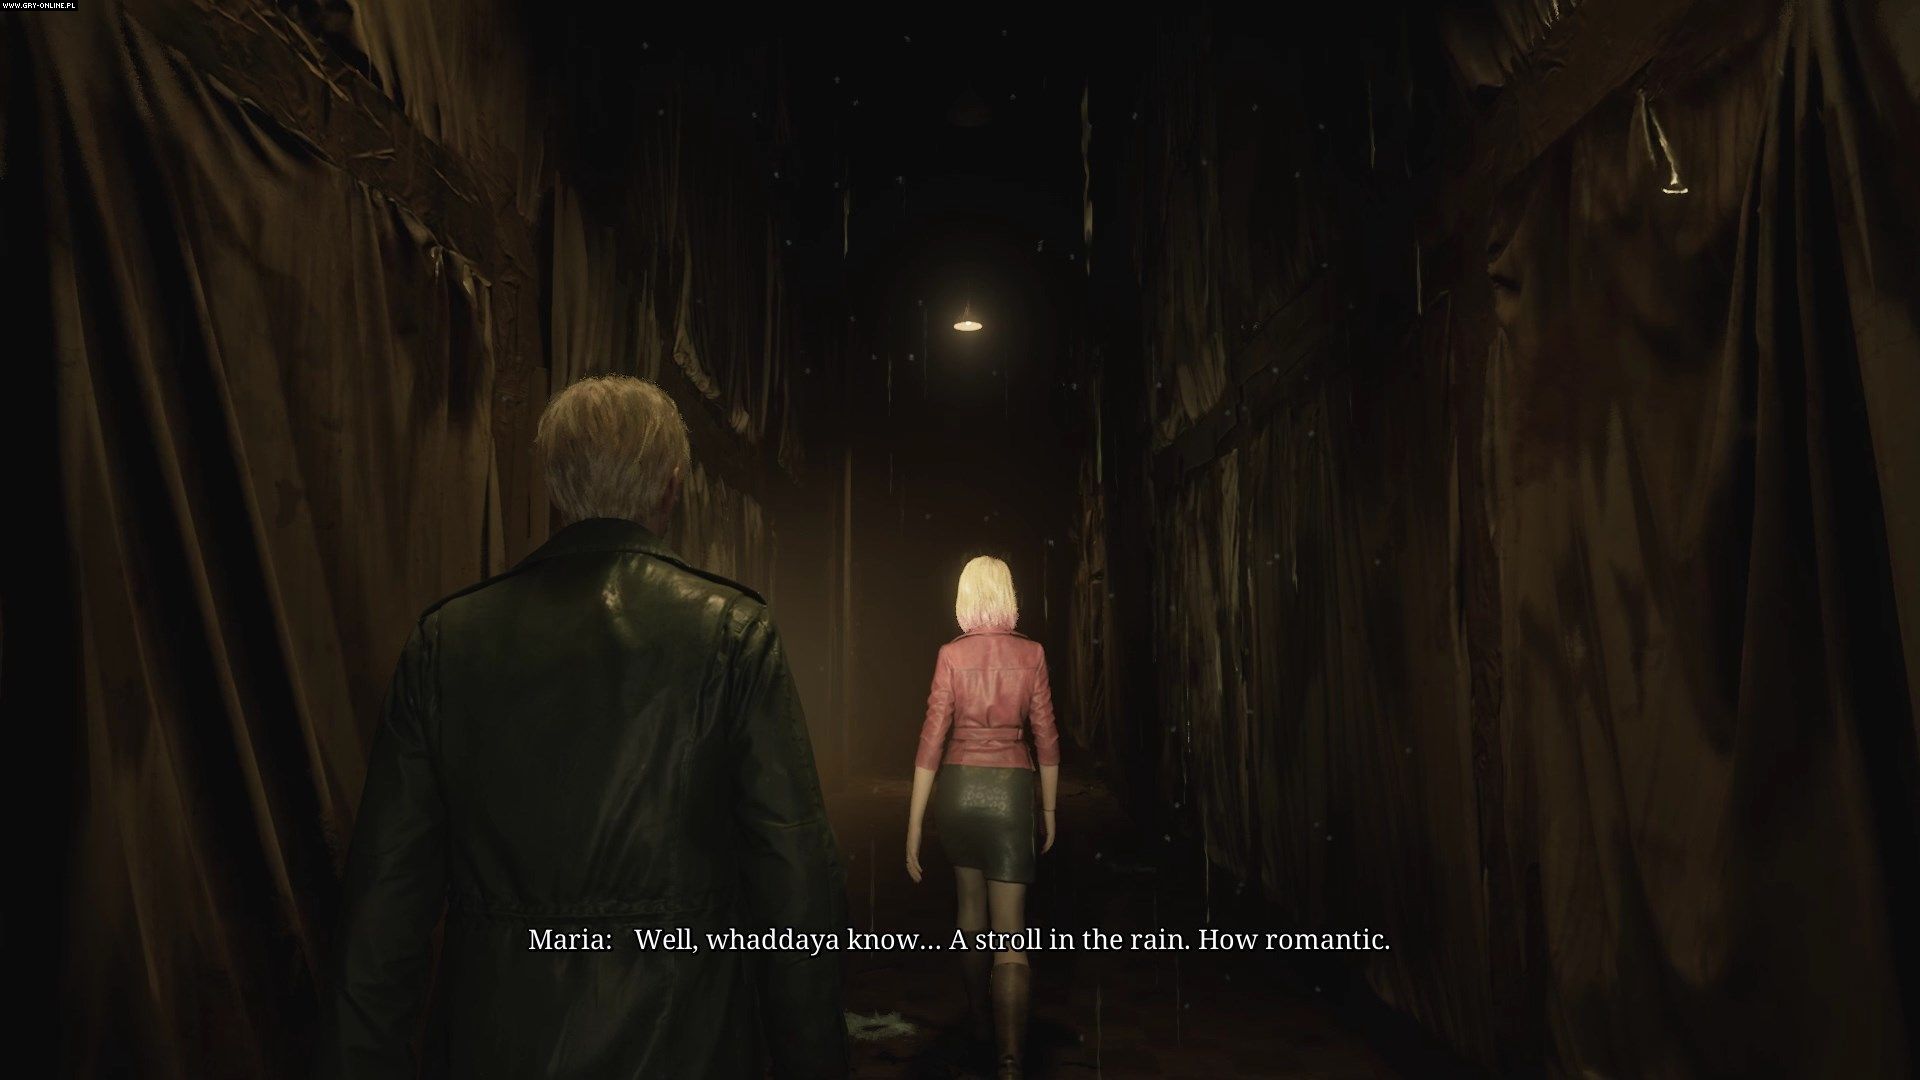
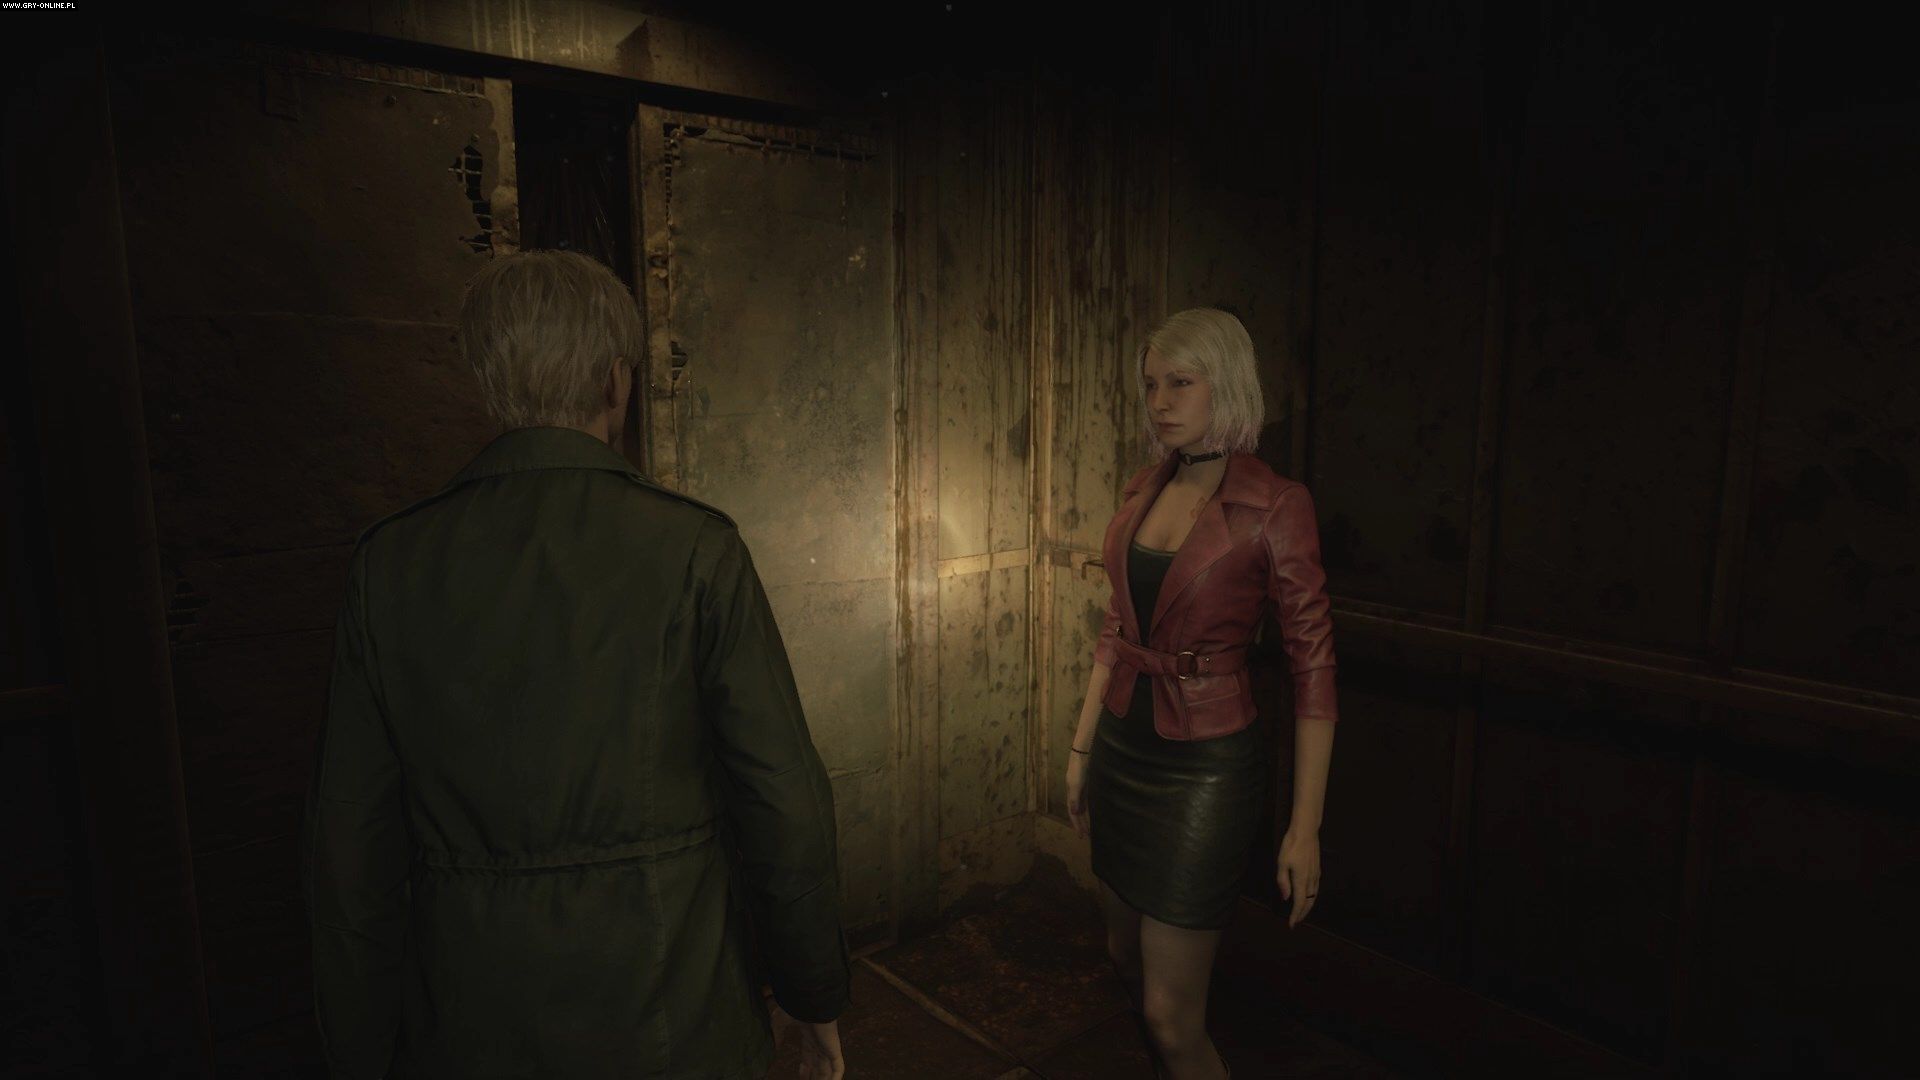
On the bloodstained table in room 04 you will find a copper ring. Watch the cut-scene - from now on you have to escort Maria again.
Go to the end of the corridor until you reach the staircase, which will take you to the first floor of the hospital. Go down the long corridor until you reach the swimming pool.

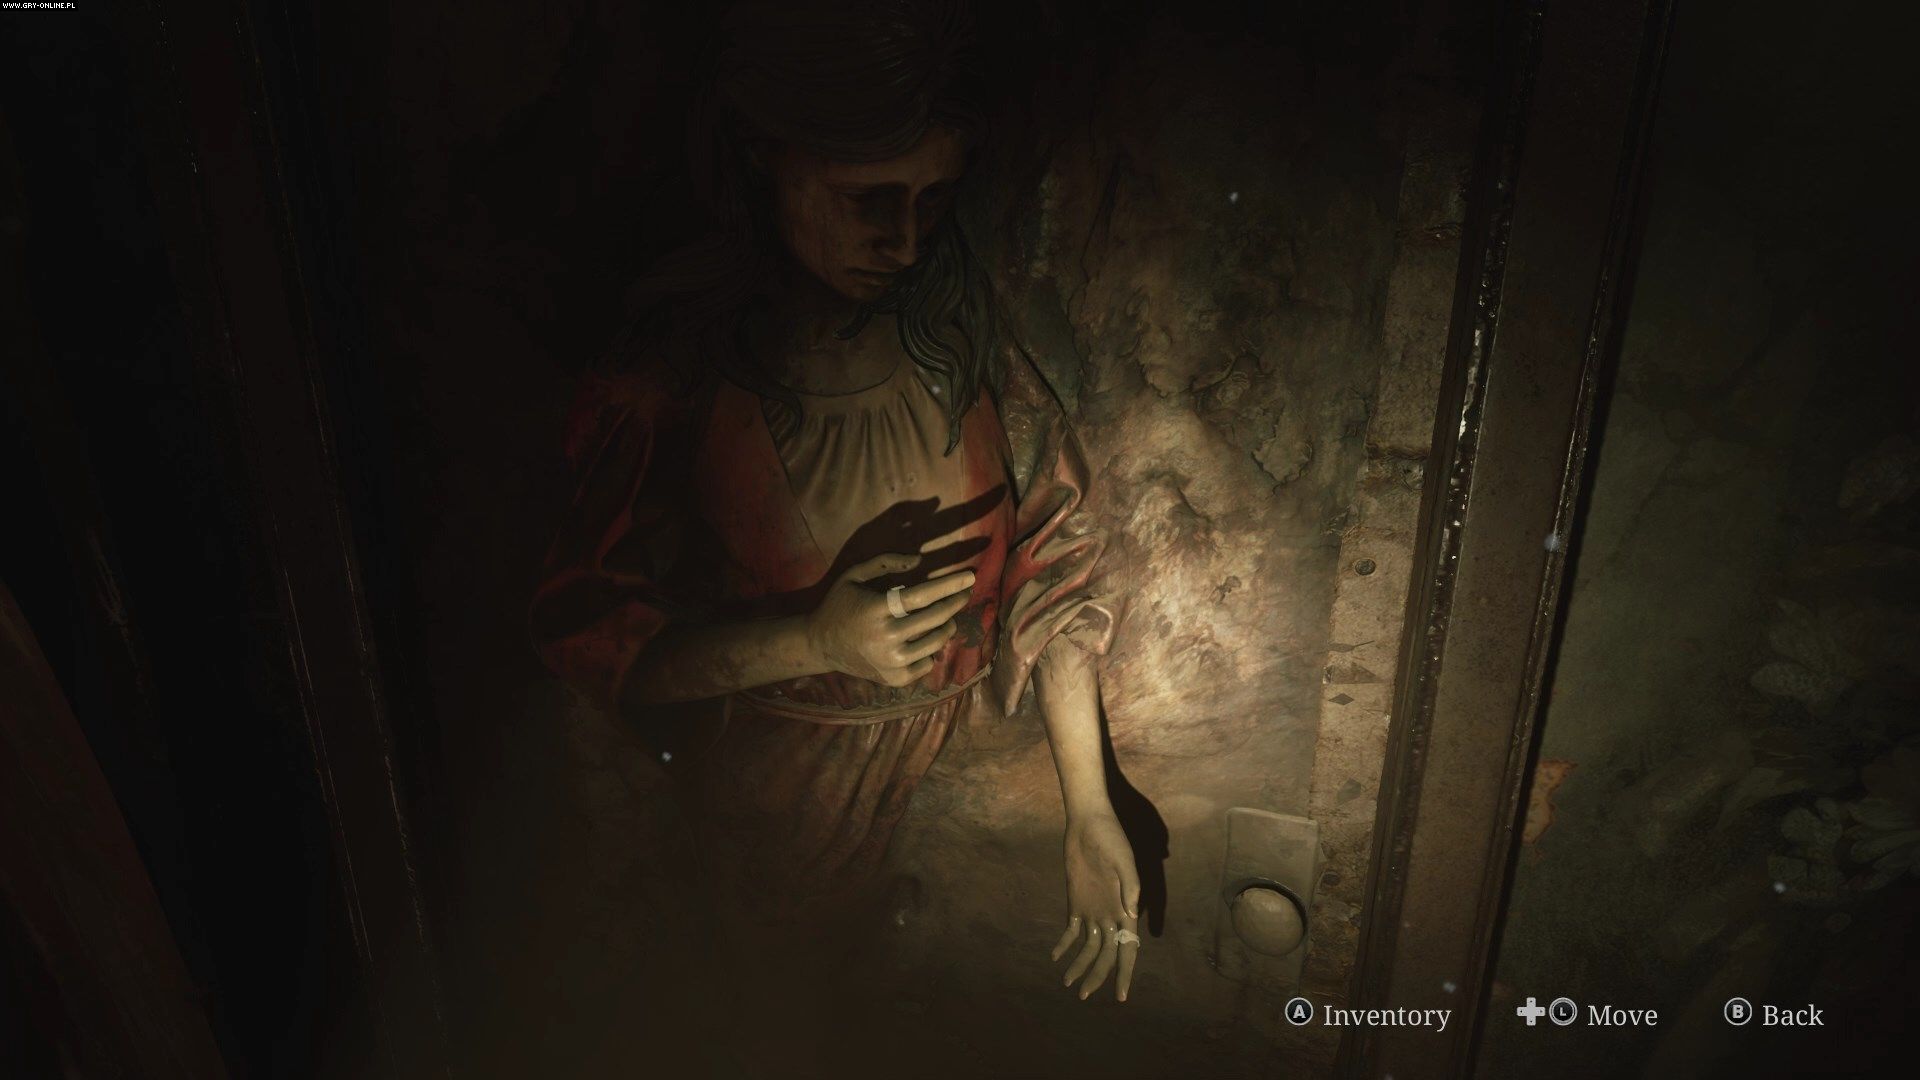
From the pool, go through the shower all the way to the doctors' lounge, where you have to open the coffin. You will get a lead ring. Exit through the cloakroom to the central corridor and head to the elevator. On the way, you can stop by the pharmacy, where you will find a decorative box. This is the second part of the optional game show puzzle, which we have described on a separate page of the guide.
Take the elevator to the second floor and return to the central room, where the chest was tied up. Place both rings on the door with the bas-relief and go down the stairs to the very bottom.
How to escape from the Pyramid Head?

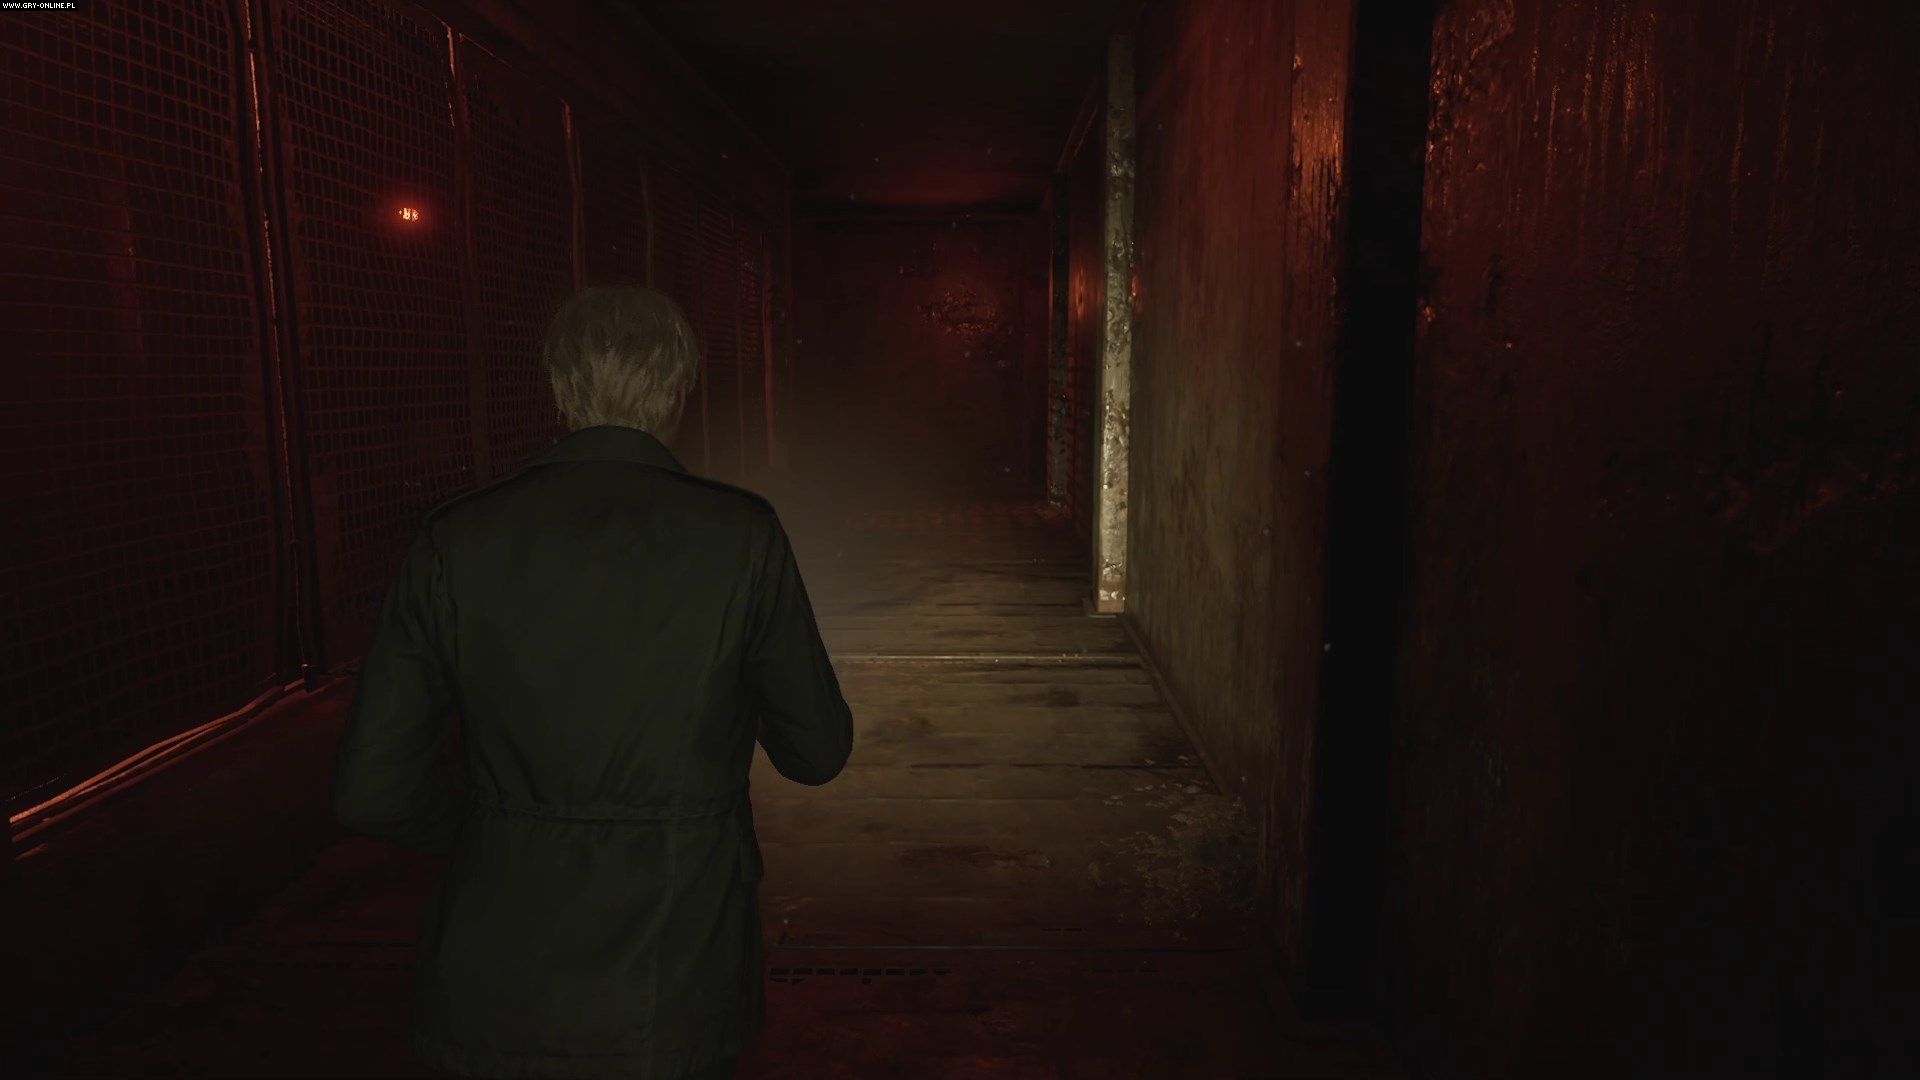
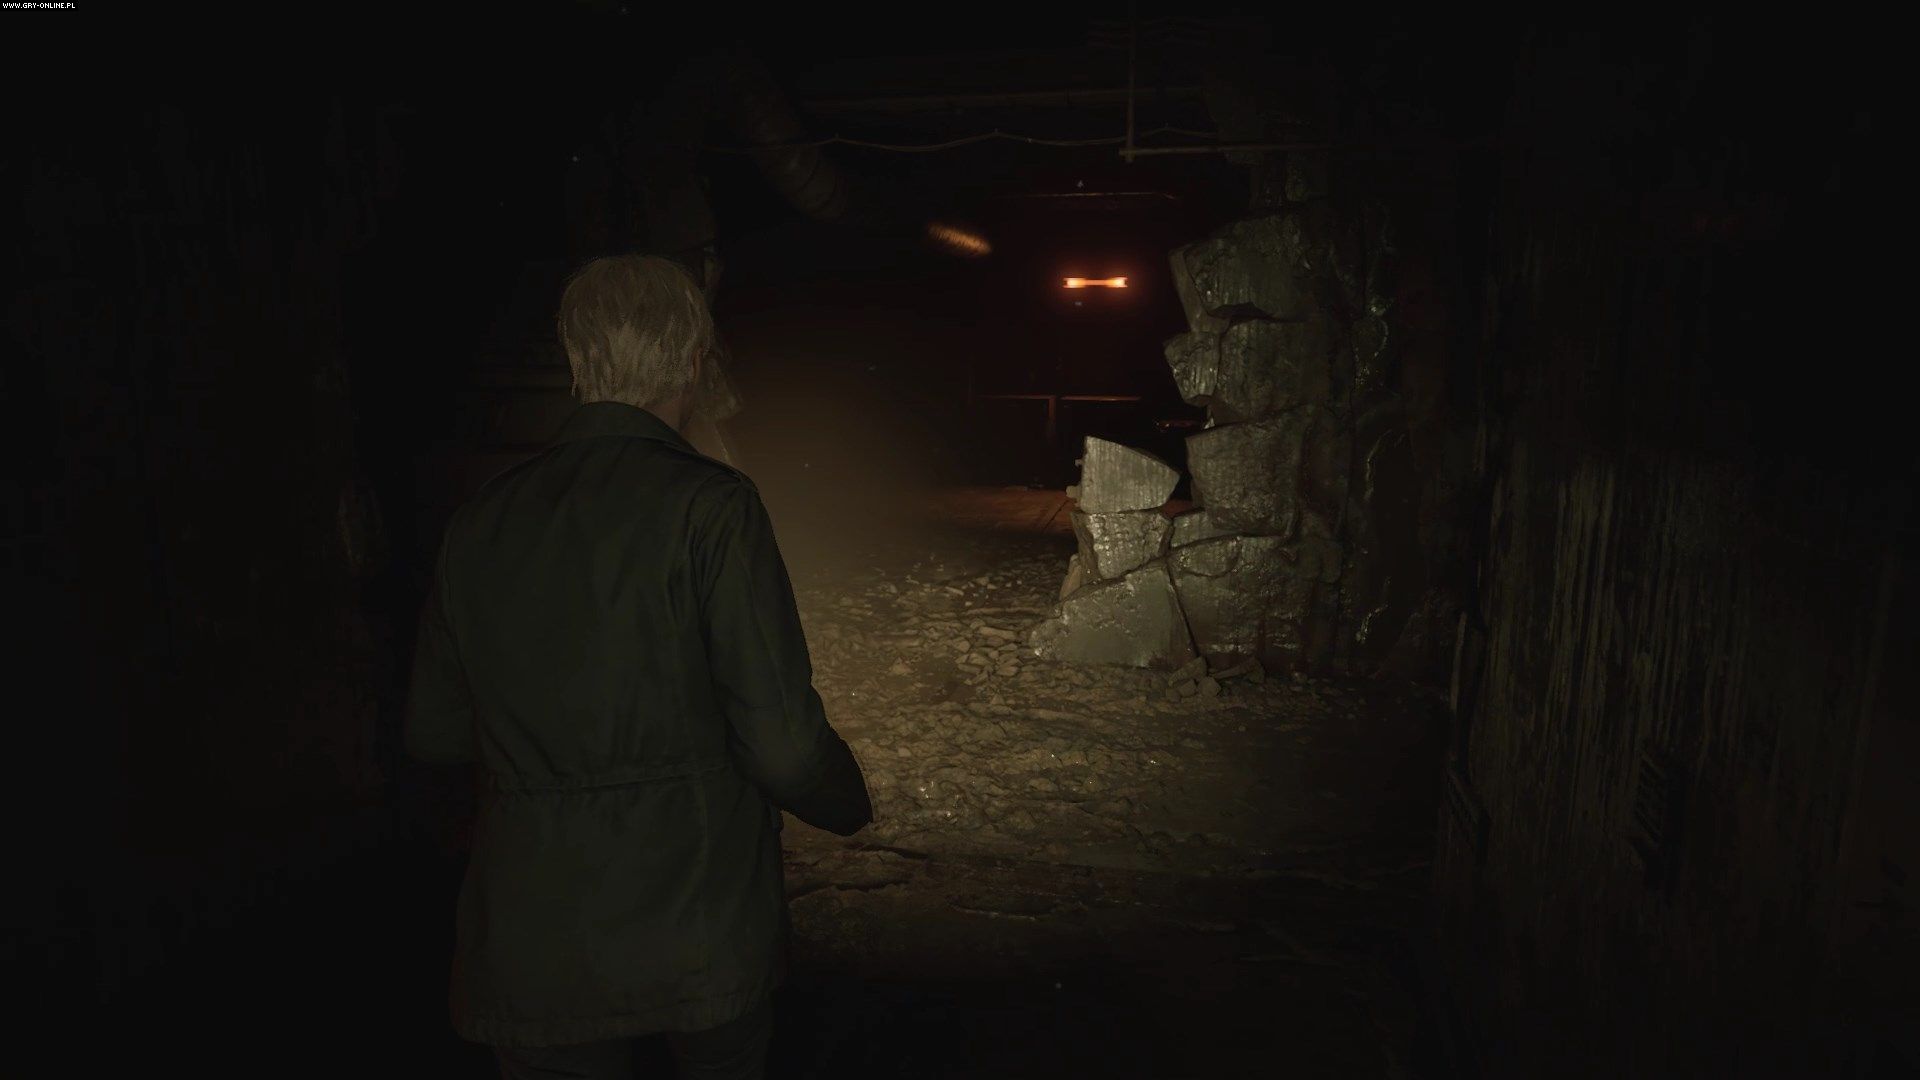
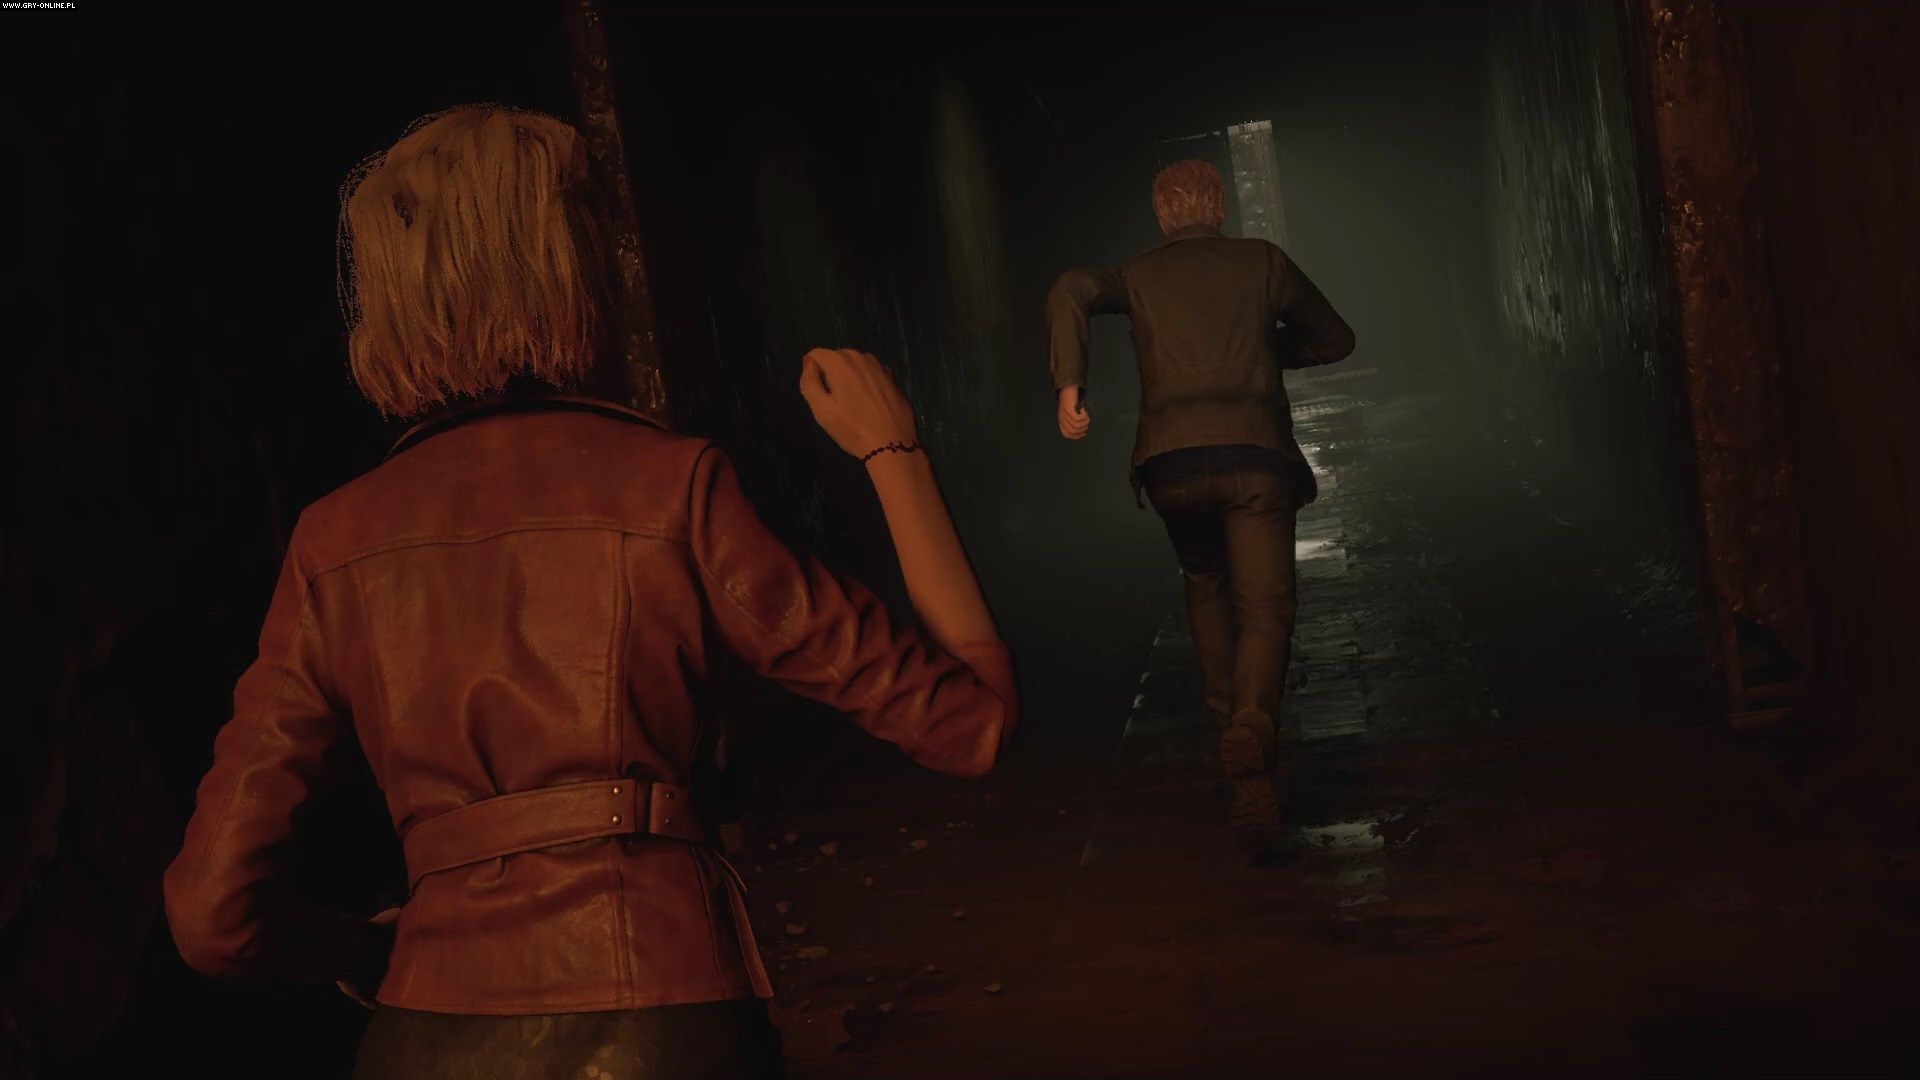
Go down the long, red-lit corridor. Watch the cut-scene, and after it ends, you will have to run away from the Pyramid Head.
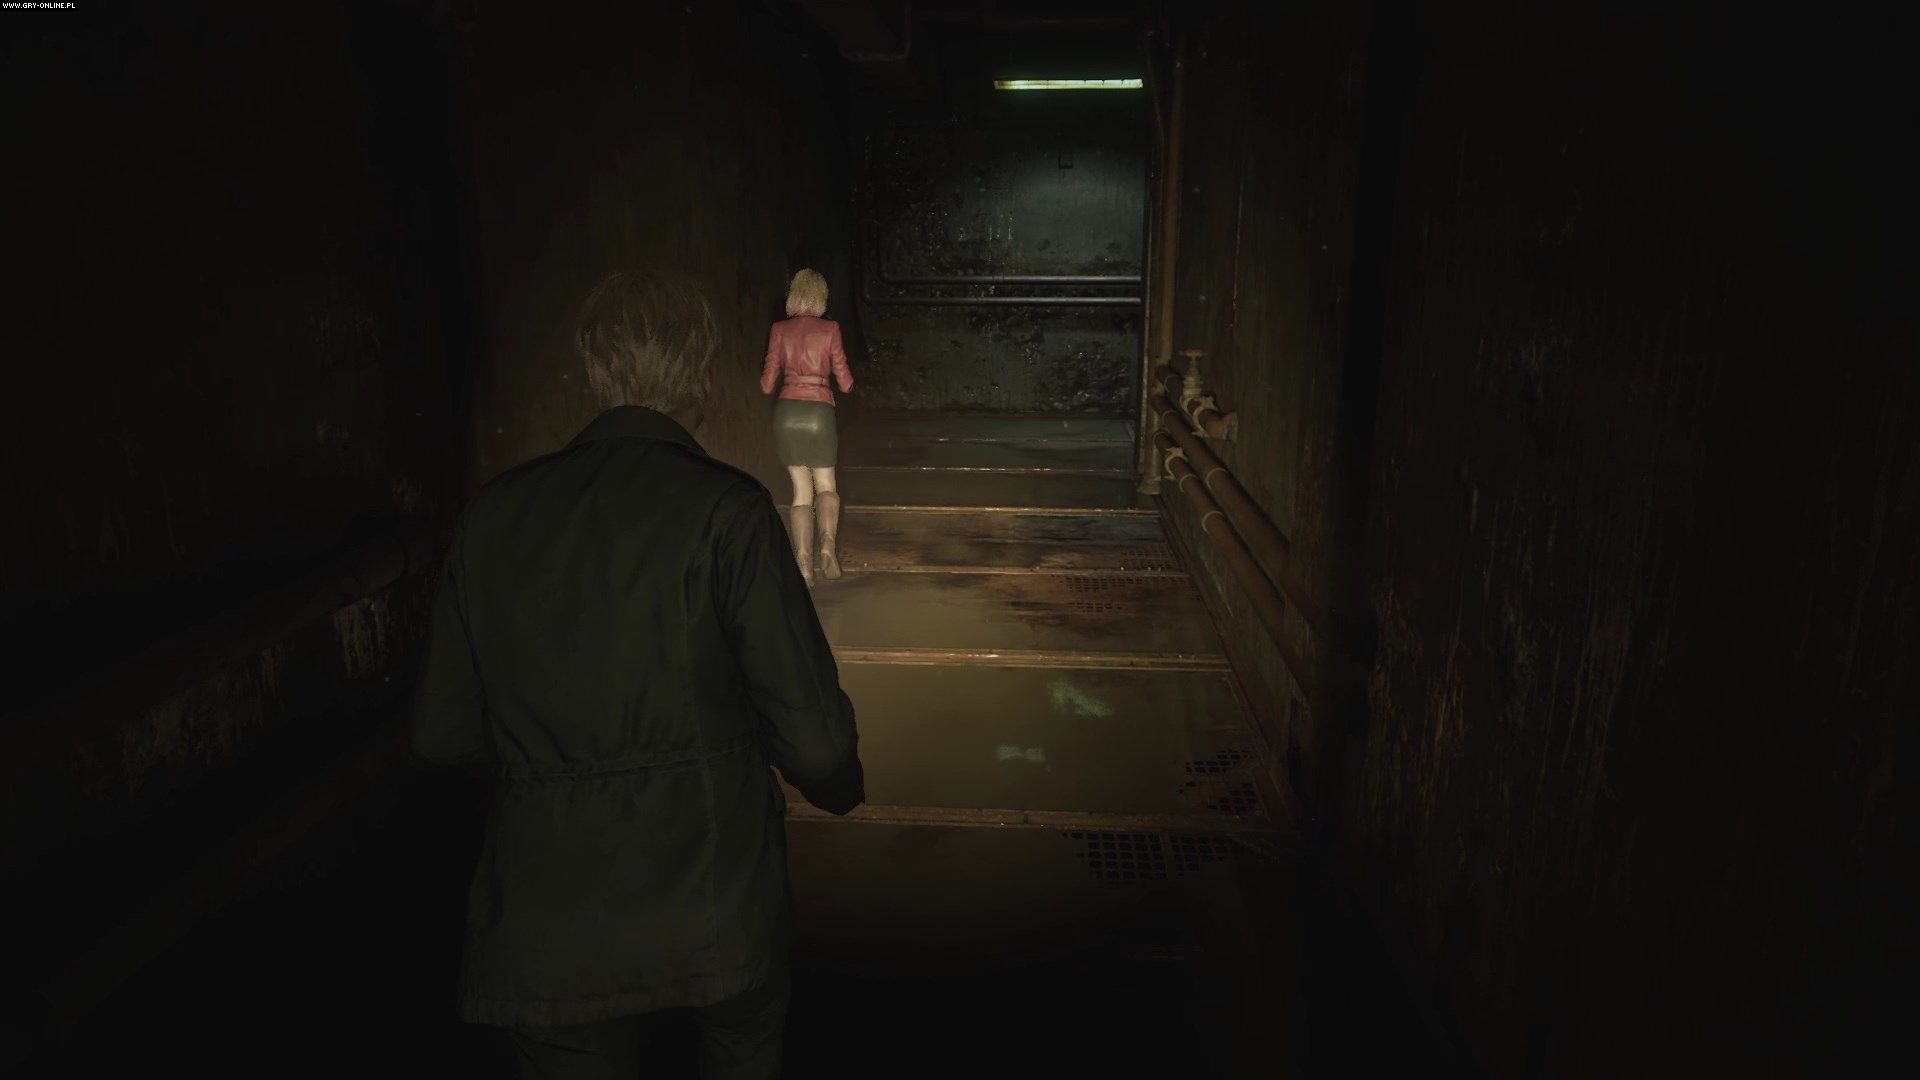
The chase is a scripted sequence. Don't stop or look back - keep sprinting through the corridor, following Maria. On the way, jump over encountered objects, avoid holes in the floor and watch out for sharp turns.
Reach the elevator. When you approach it, you will automatically trigger a cut-scene that will end the chase. You return to the first floor of the hospital, you are safe now.
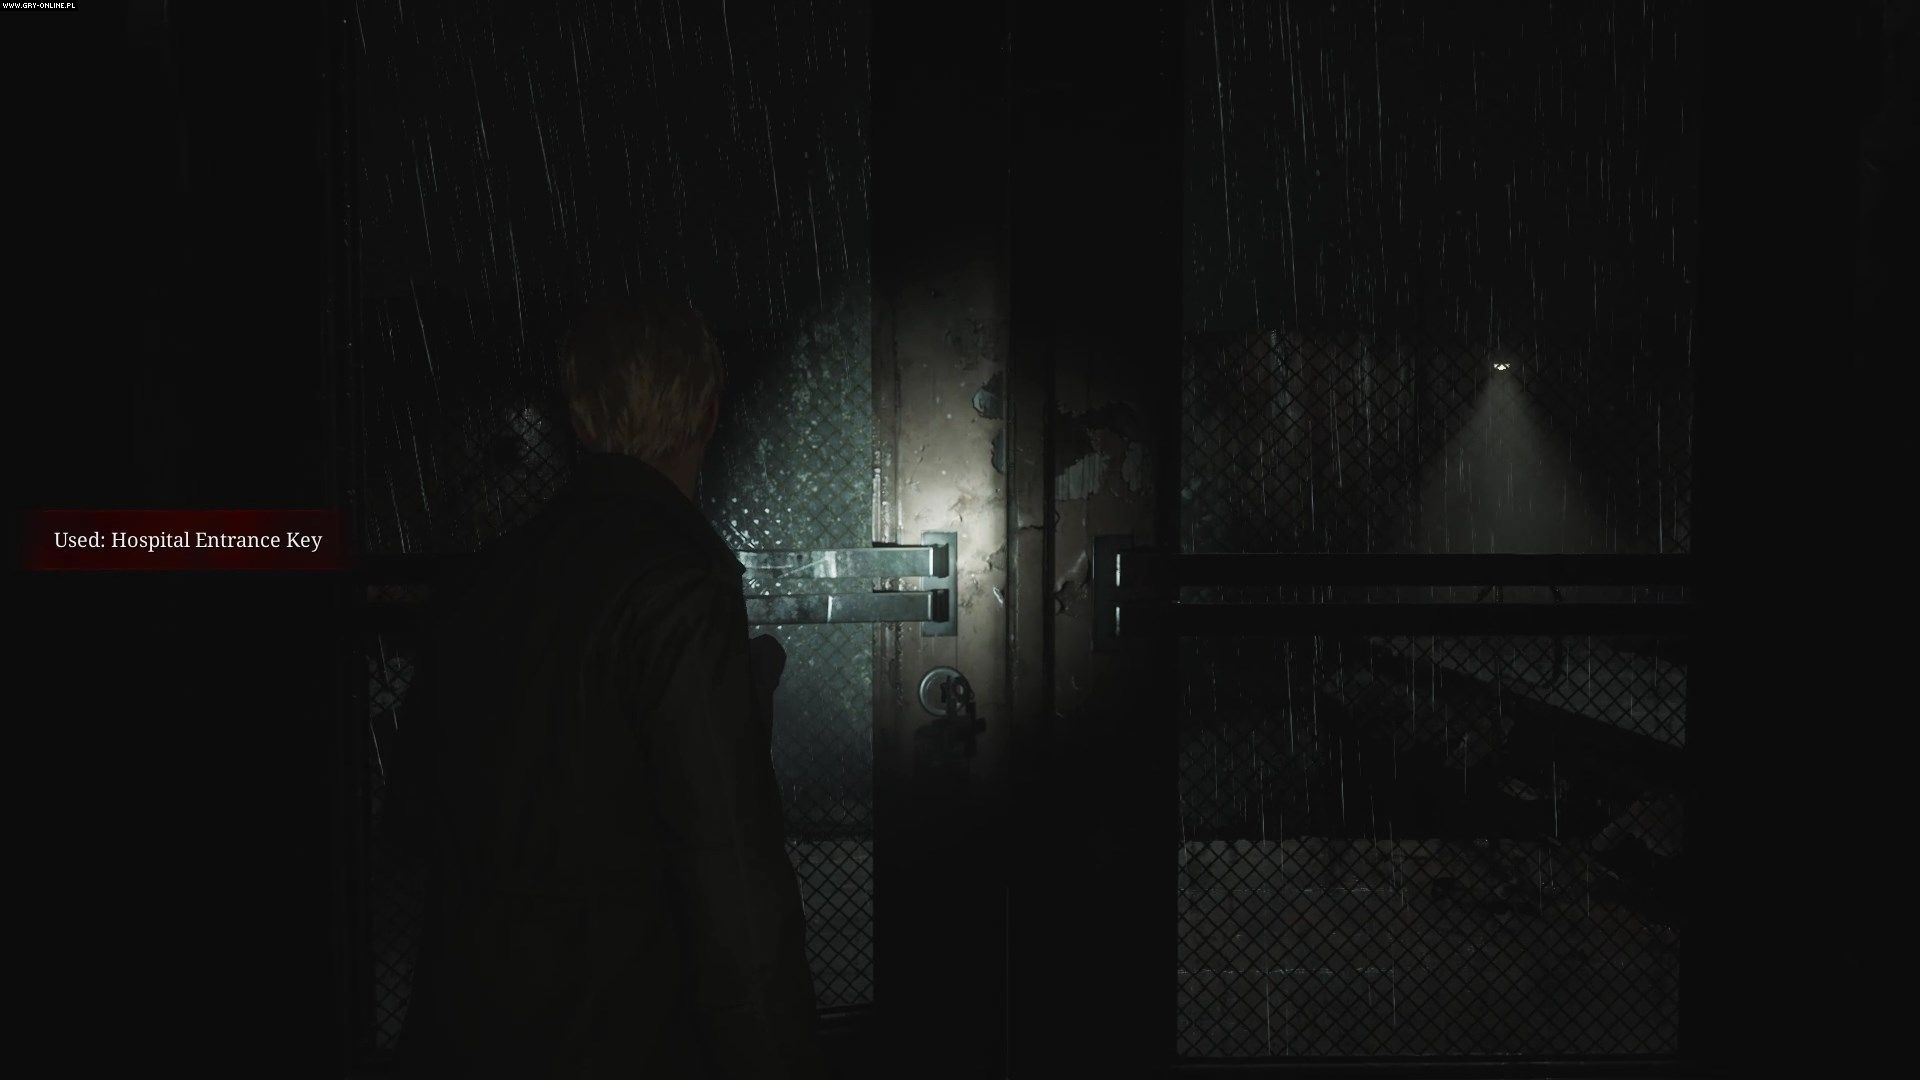
Go to the reception desk and pick up the front door key lying next to the window. Watch the cut-scene during which you will see Laura. Open the doors and leave the hospital, heading out into the twisted streets of South Vale.

- Silent Hill 2 Remake Guide
- Silent Hill 2 Remake: Game Guide
- Silent Hill 2 Remake: Walkthrough
- Silent Hill 2 Remake: All chapters
- Silent Hill 2 Remake: East South Vale
- Silent Hill 2 Remake: Wood Side Apartments
- Silent Hill 2 Remake: Blue Creek Apartments
- Silent Hill 2 Remake: Western South Vale
- Silent Hill 2 Remake: Brookhaven Hospital
- Silent Hill 2 Remake: Otherworld Hospital
- Silent Hill 2 Remake: Otherworld South Vale
- Silent Hill 2 Remake: Toluca prison
- Silent Hill 2 Remake: Labyrinth
- Silent Hill 2 Remake: Lakeview Hotel
- Silent Hill 2 Remake: Otherworld Hotel
- Silent Hill 2 Remake: Walkthrough
- Silent Hill 2 Remake: Game Guide
You are not permitted to copy any image, text or info from this page. This site is not associated with and/or endorsed by the developers and the publishers. All logos and images are copyrighted by their respective owners.
Copyright © 2000 - 2026 Webedia Polska SA for gamepressure.com, unofficial game guides, walkthroughs, secrets, game tips, maps & strategies for top games.