Silent Hill 2 Remake: Labyrinth
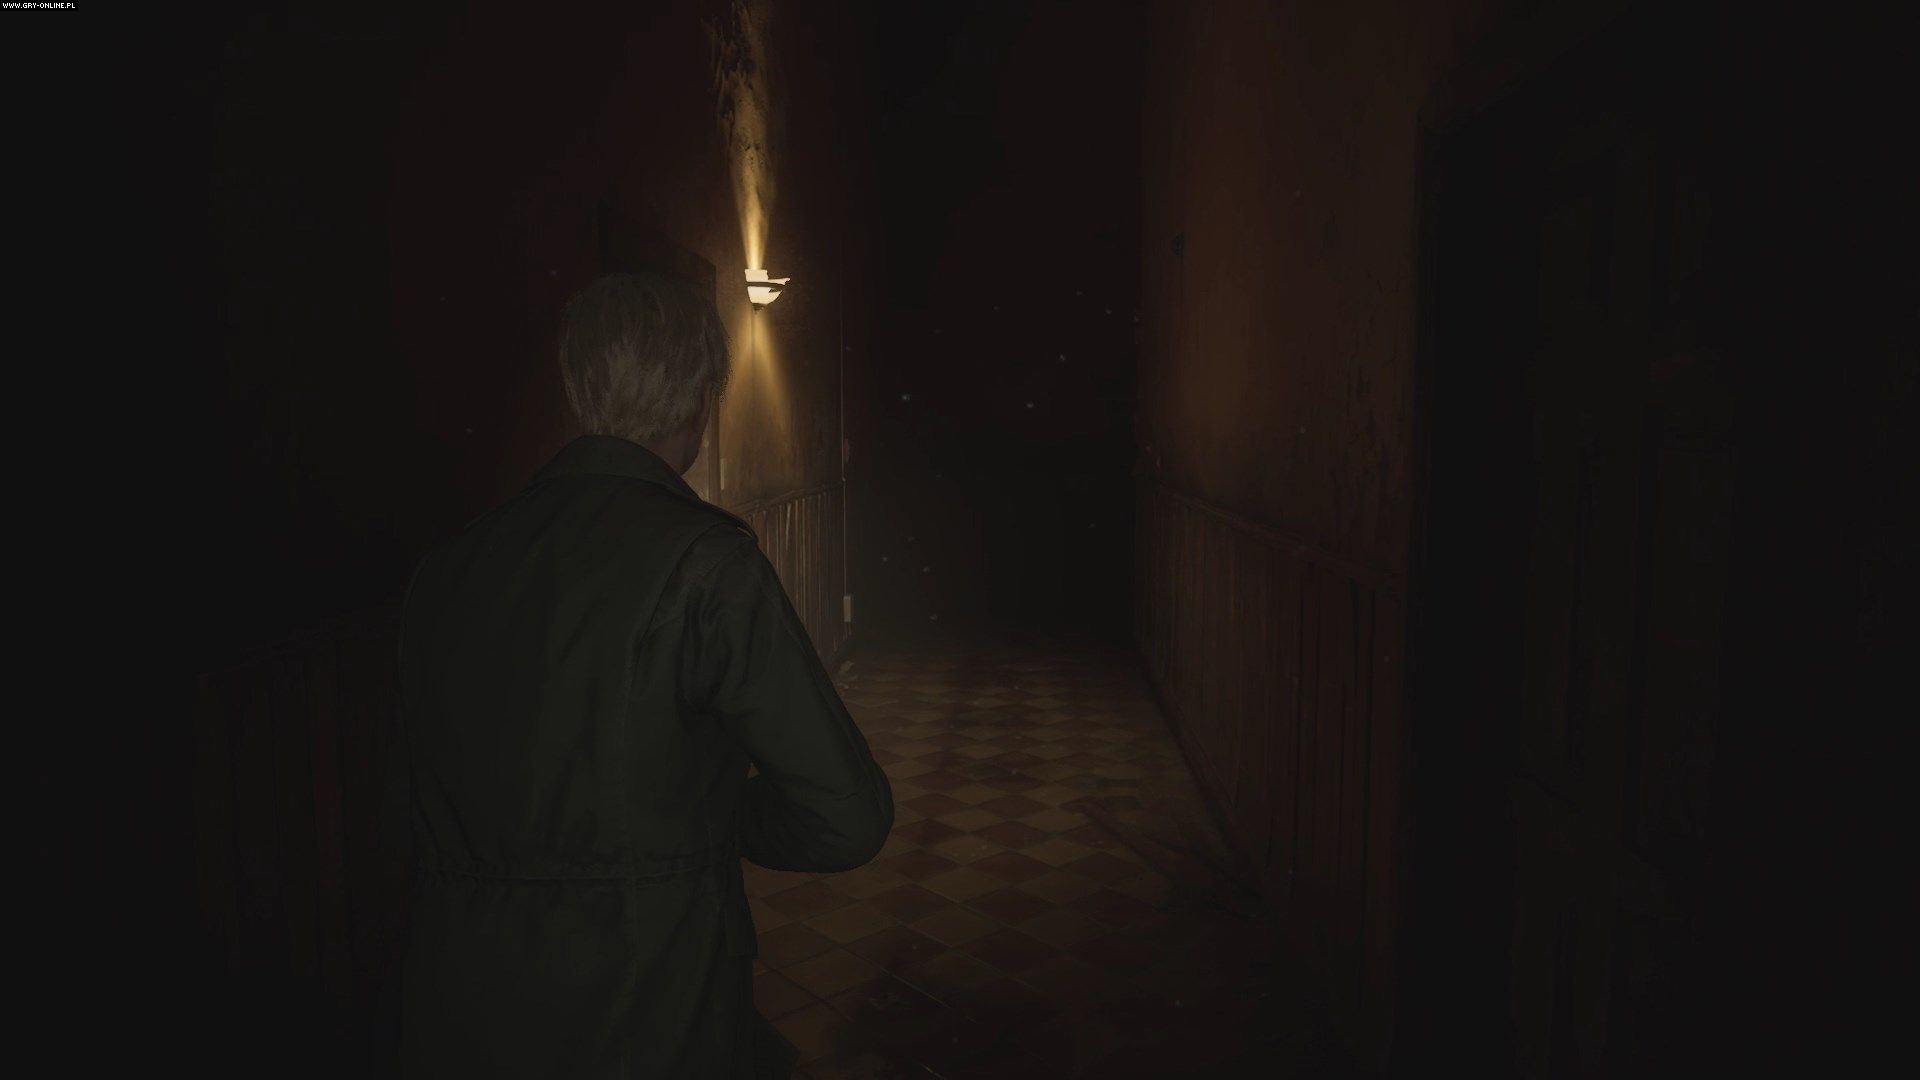
The Labyrinth is the ninth area in Silent Hill 2 Remake. It is the most combat-laden area in the game, with a surreal but fairly simple structure. On this page of the guide we have described how to defeat the Abstract Daddy, complete the rotten, abandoned and destroyed section and defeat Eddie.
The Labyrinth is the ninth area in Silent Hill 2 Remake, which you will get to after leaving Toluca Prison. This is an area most abundant in both combat and horror and its structure is simple yet surreal. On this guide page, we described how to defeat Abstract Daddy; complete the Rotten, Desolate and Ruined Areas; and defeat Eddie.
- How to defeat Abstract Daddy?
- How to get out of the Labyrinth Center?
- How to get through the Rotten Area of the Labyrinth?
- How to get through the Desolate Area of the Labirynth?
- How to get through the Ruined Area of the Labyrinth?
- How to leave the Labyrinth?
- How to defeat Eddie?
- How to cross the Toluca Lake?
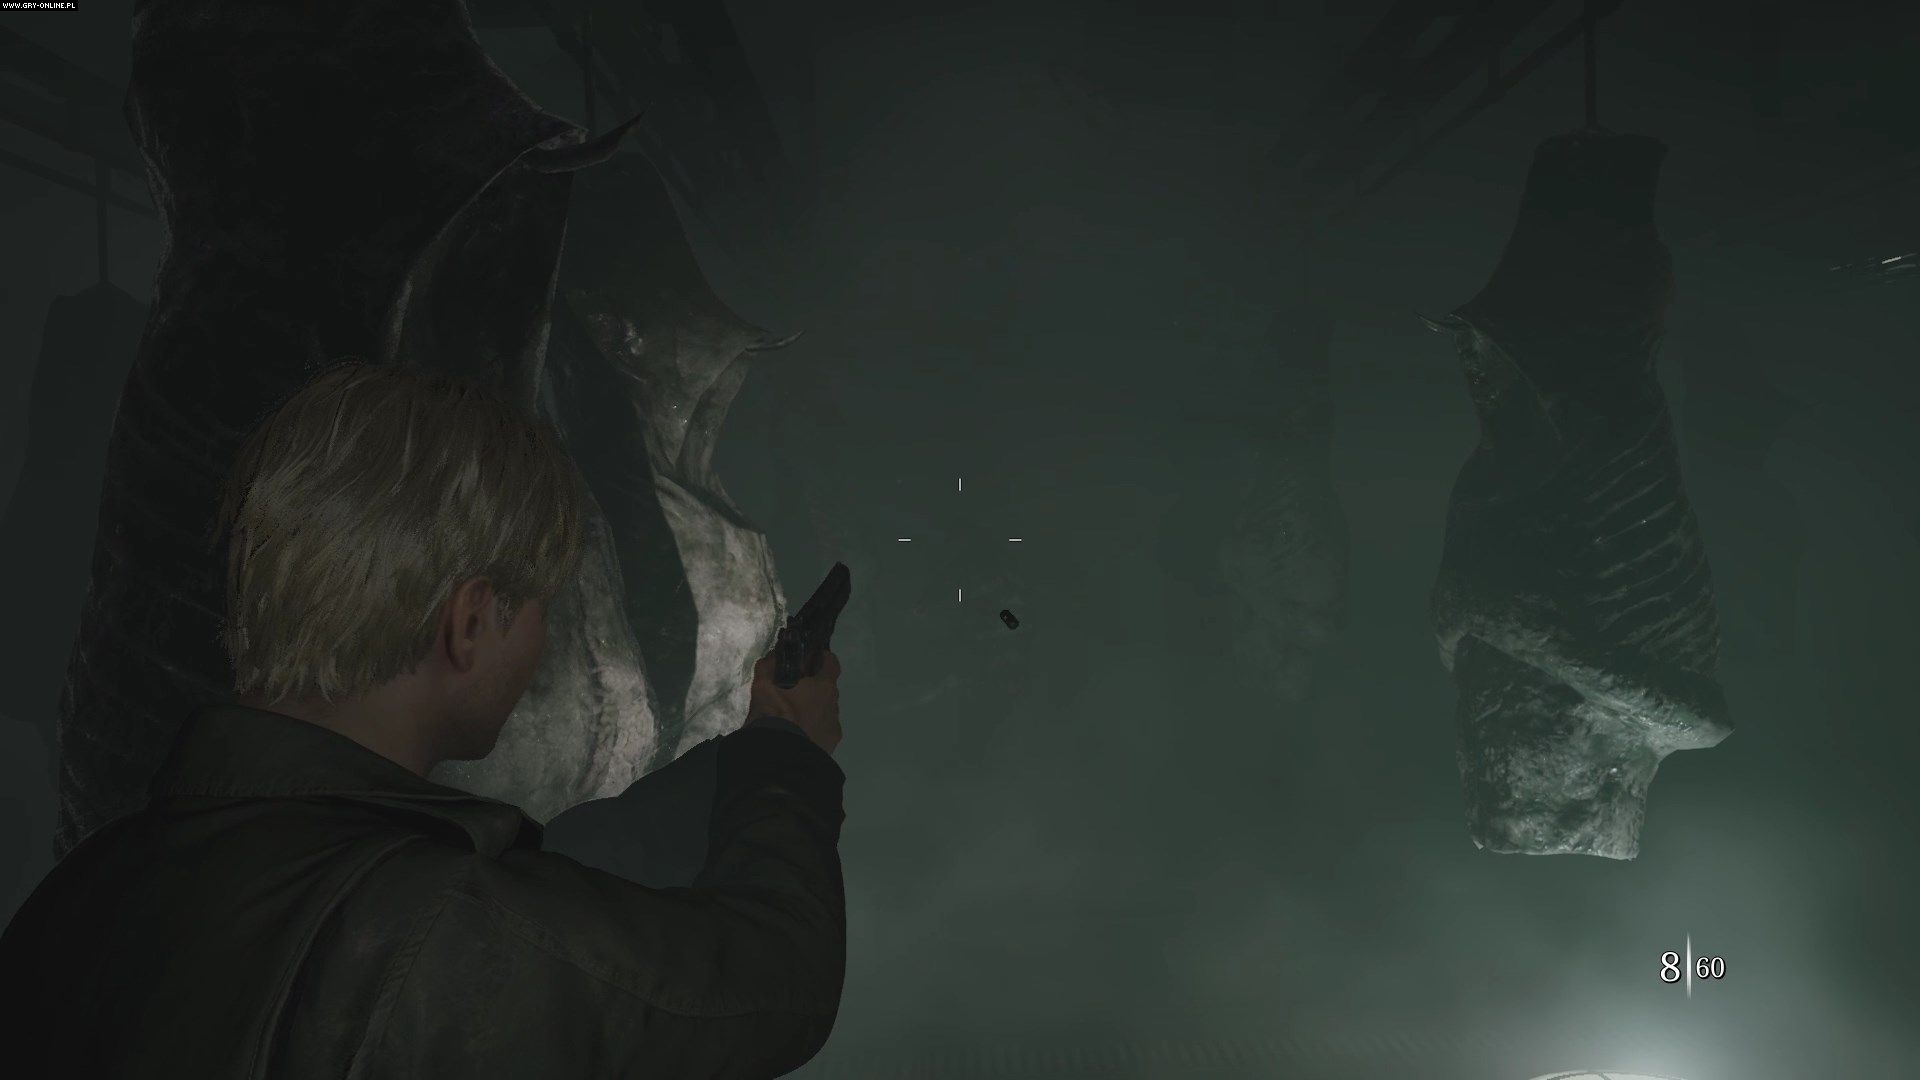
How to defeat Abstract Daddy?
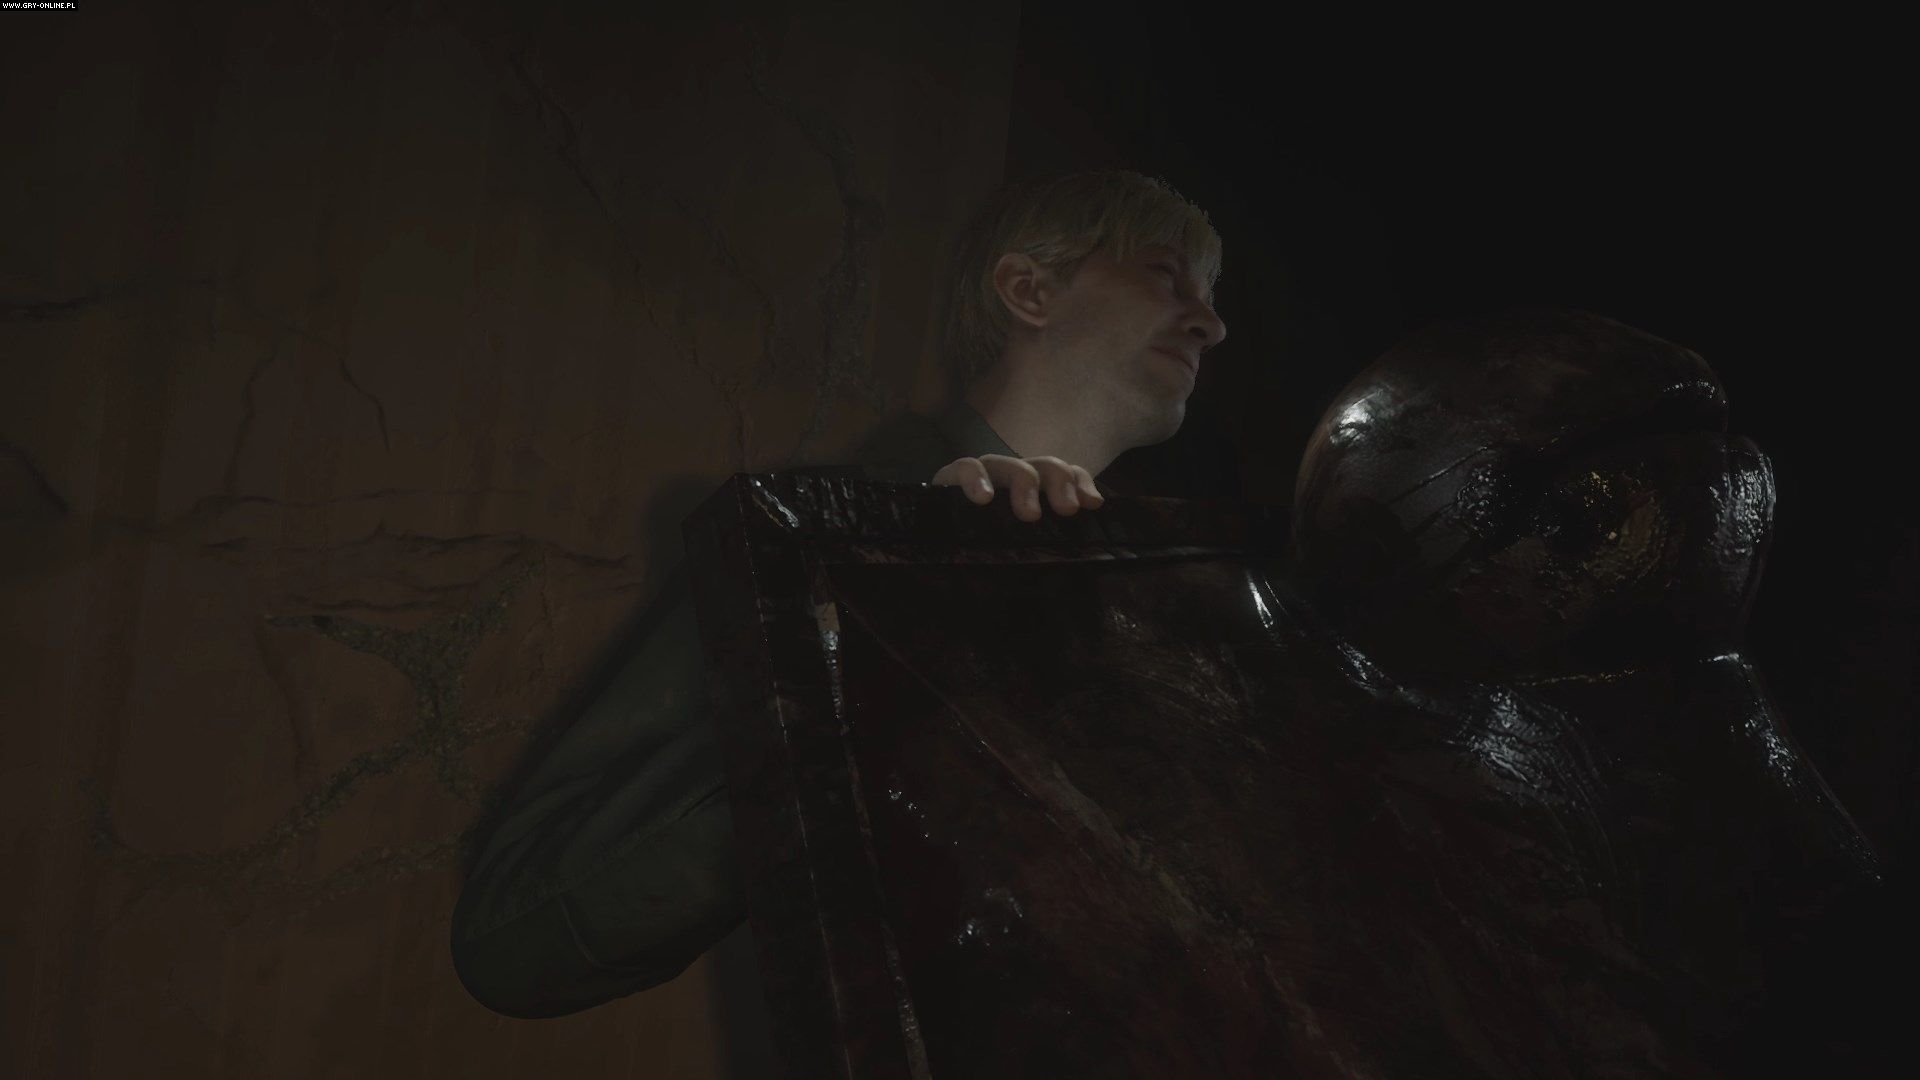
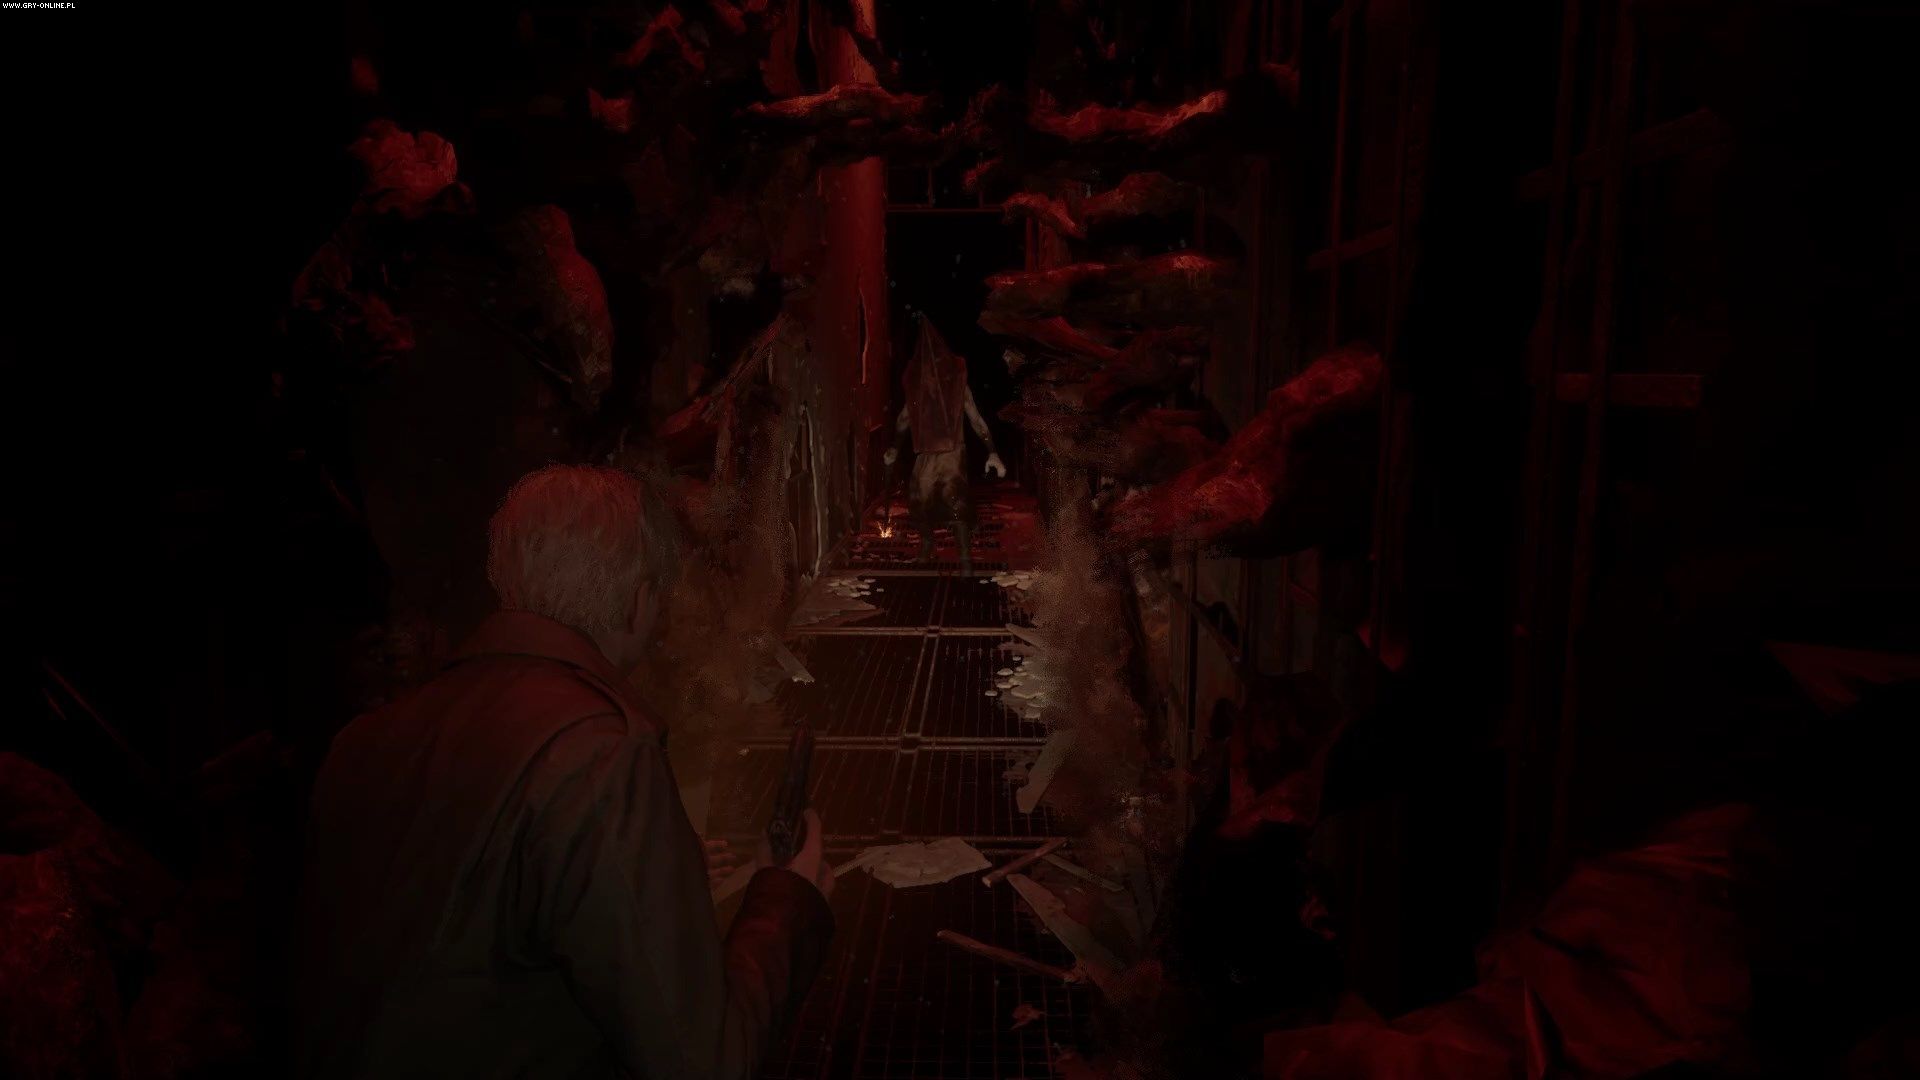
The area begins with a boss fight. After leaving the prison, follow the long, linear hall until you meet Angela. After a cutscene, you will fight Abstract Daddy.

You will start the fight in a narrow hallway. Your priority should be to turn around and run to the door at the end of the hall, which will lead you to a slightly larger room.
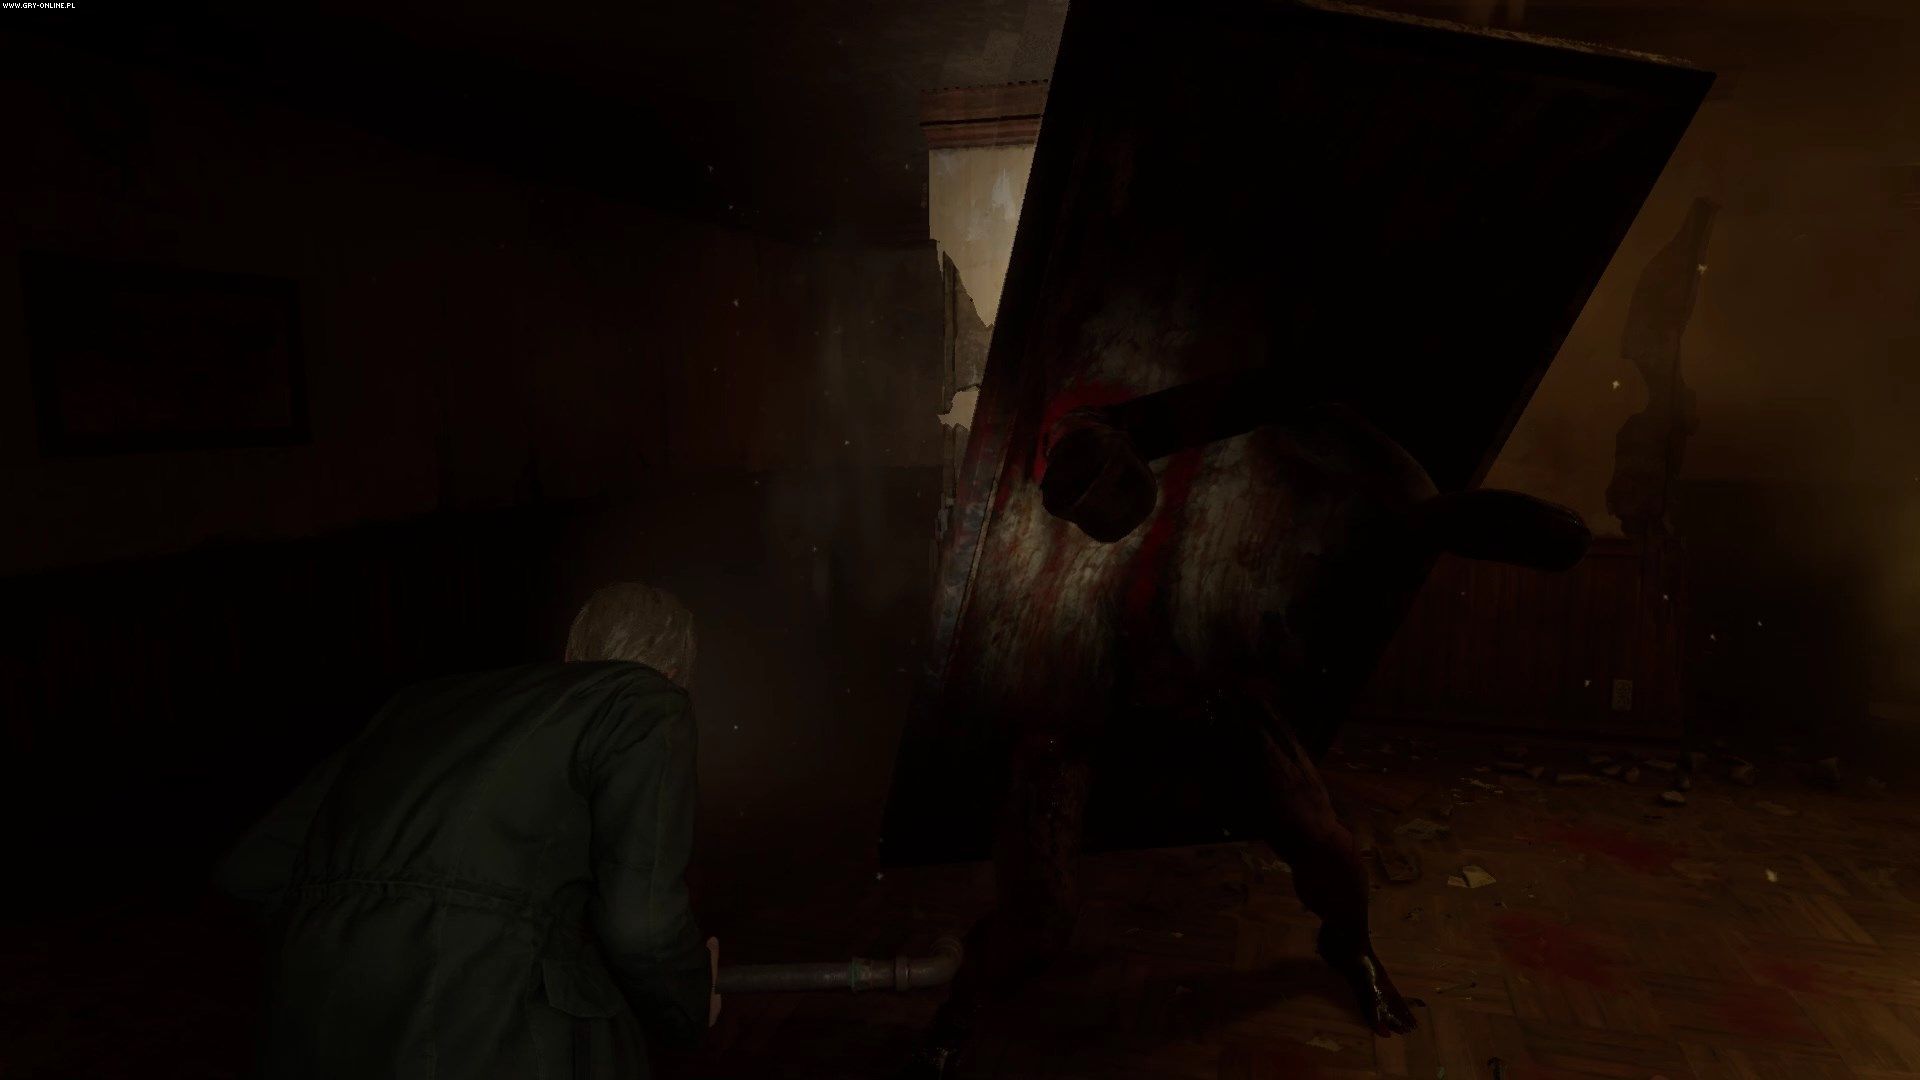
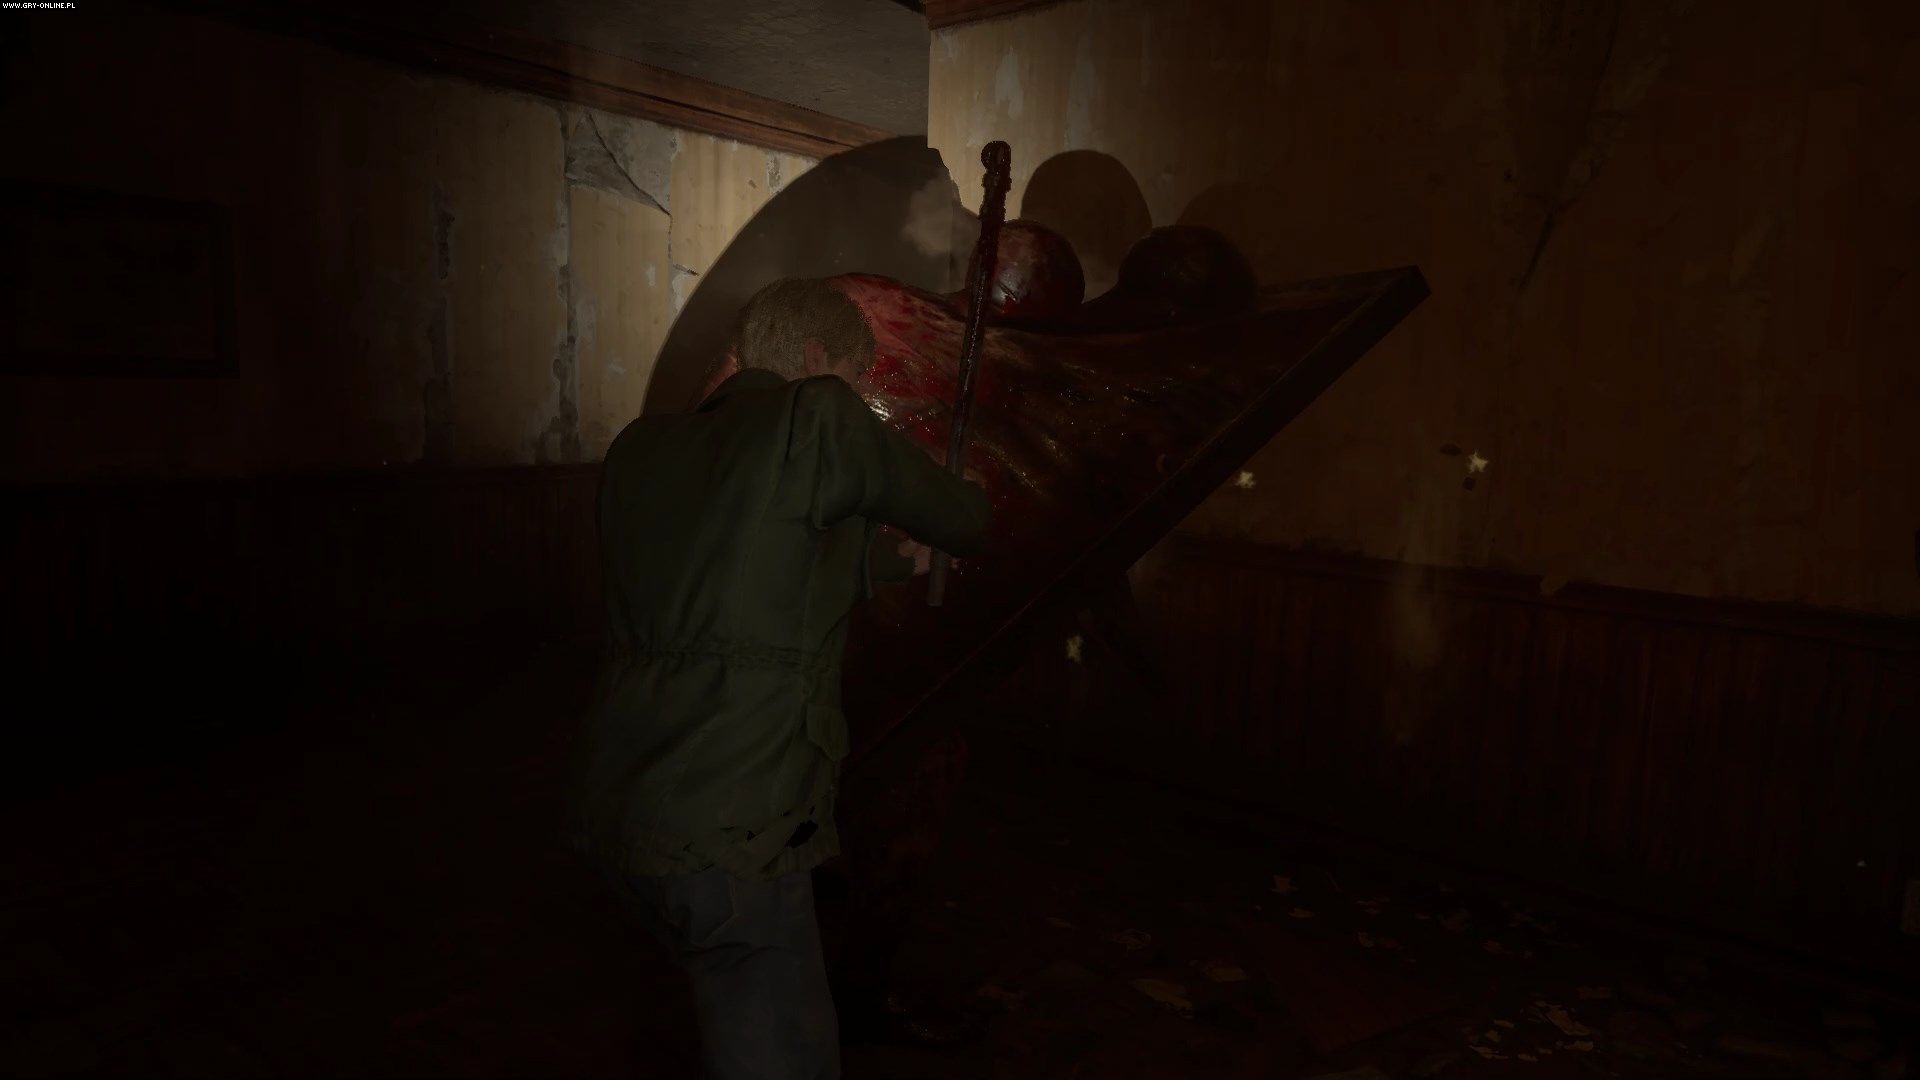
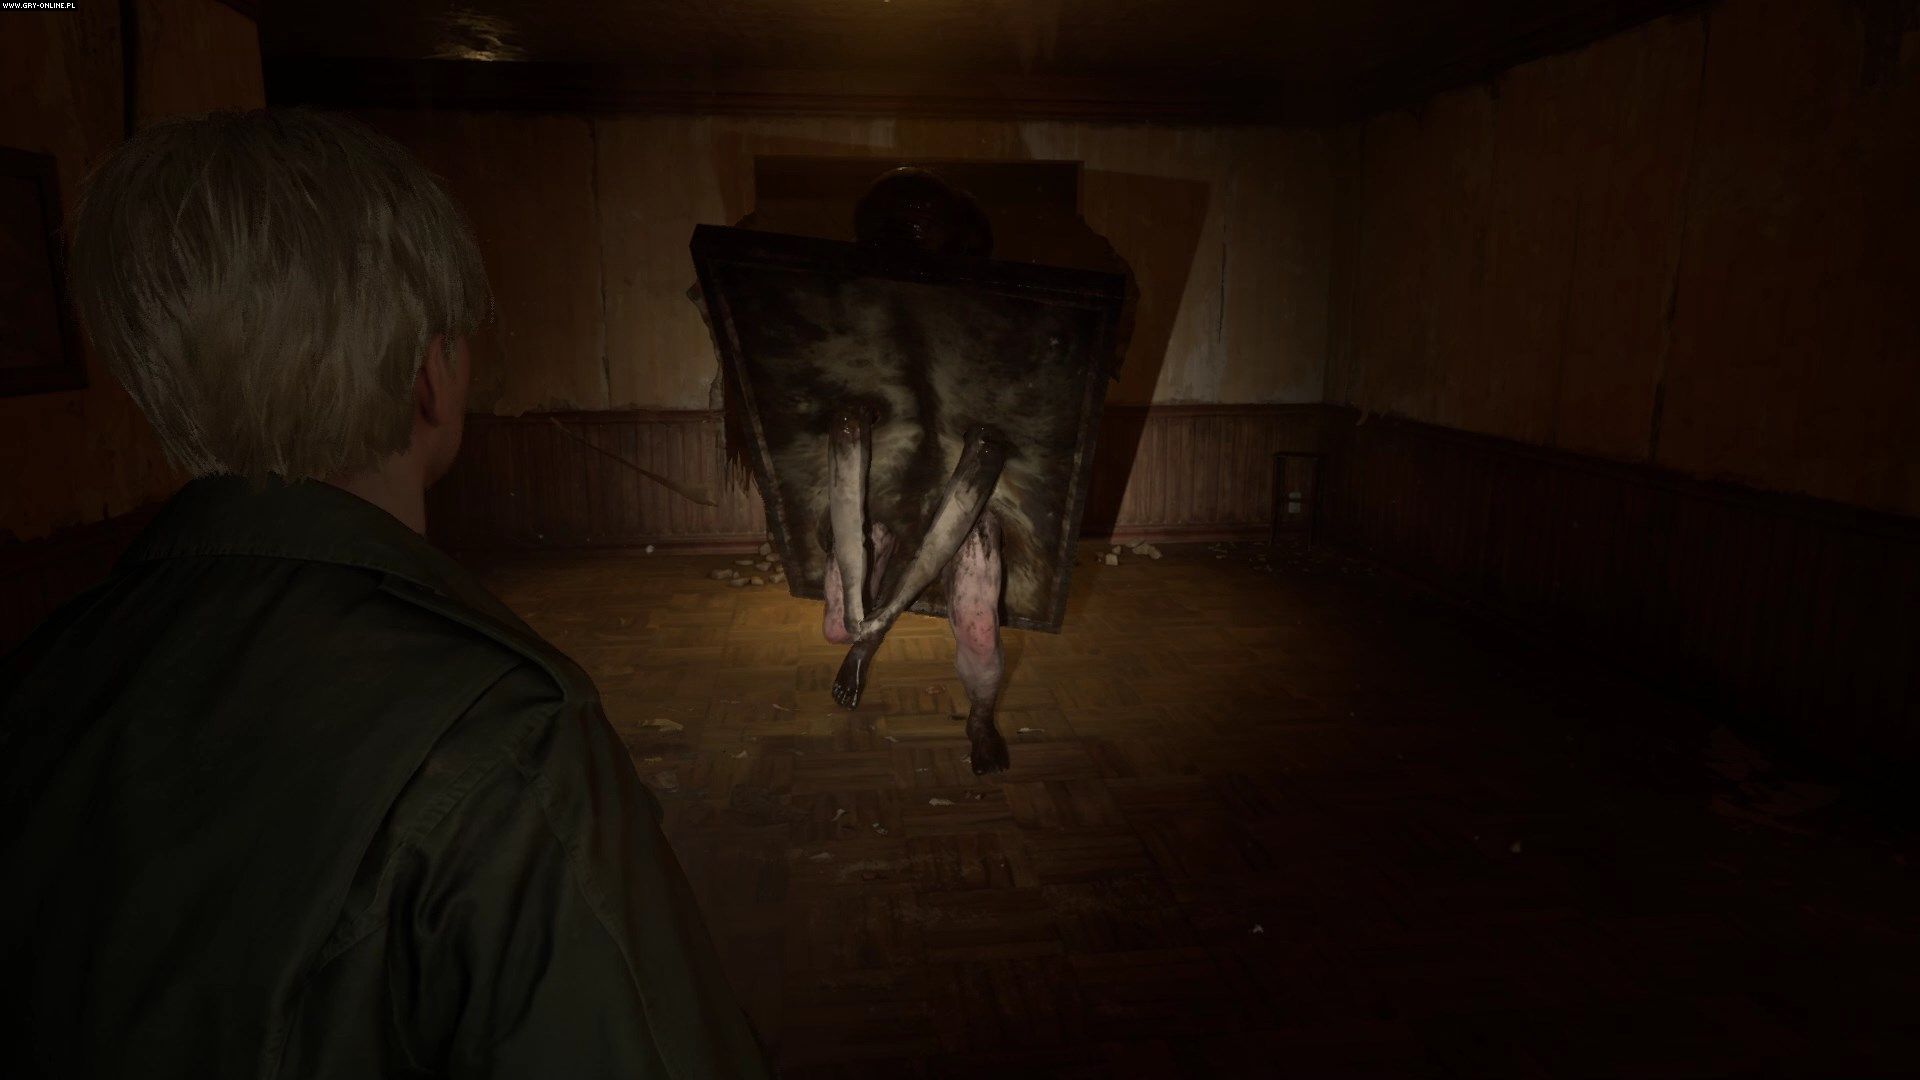
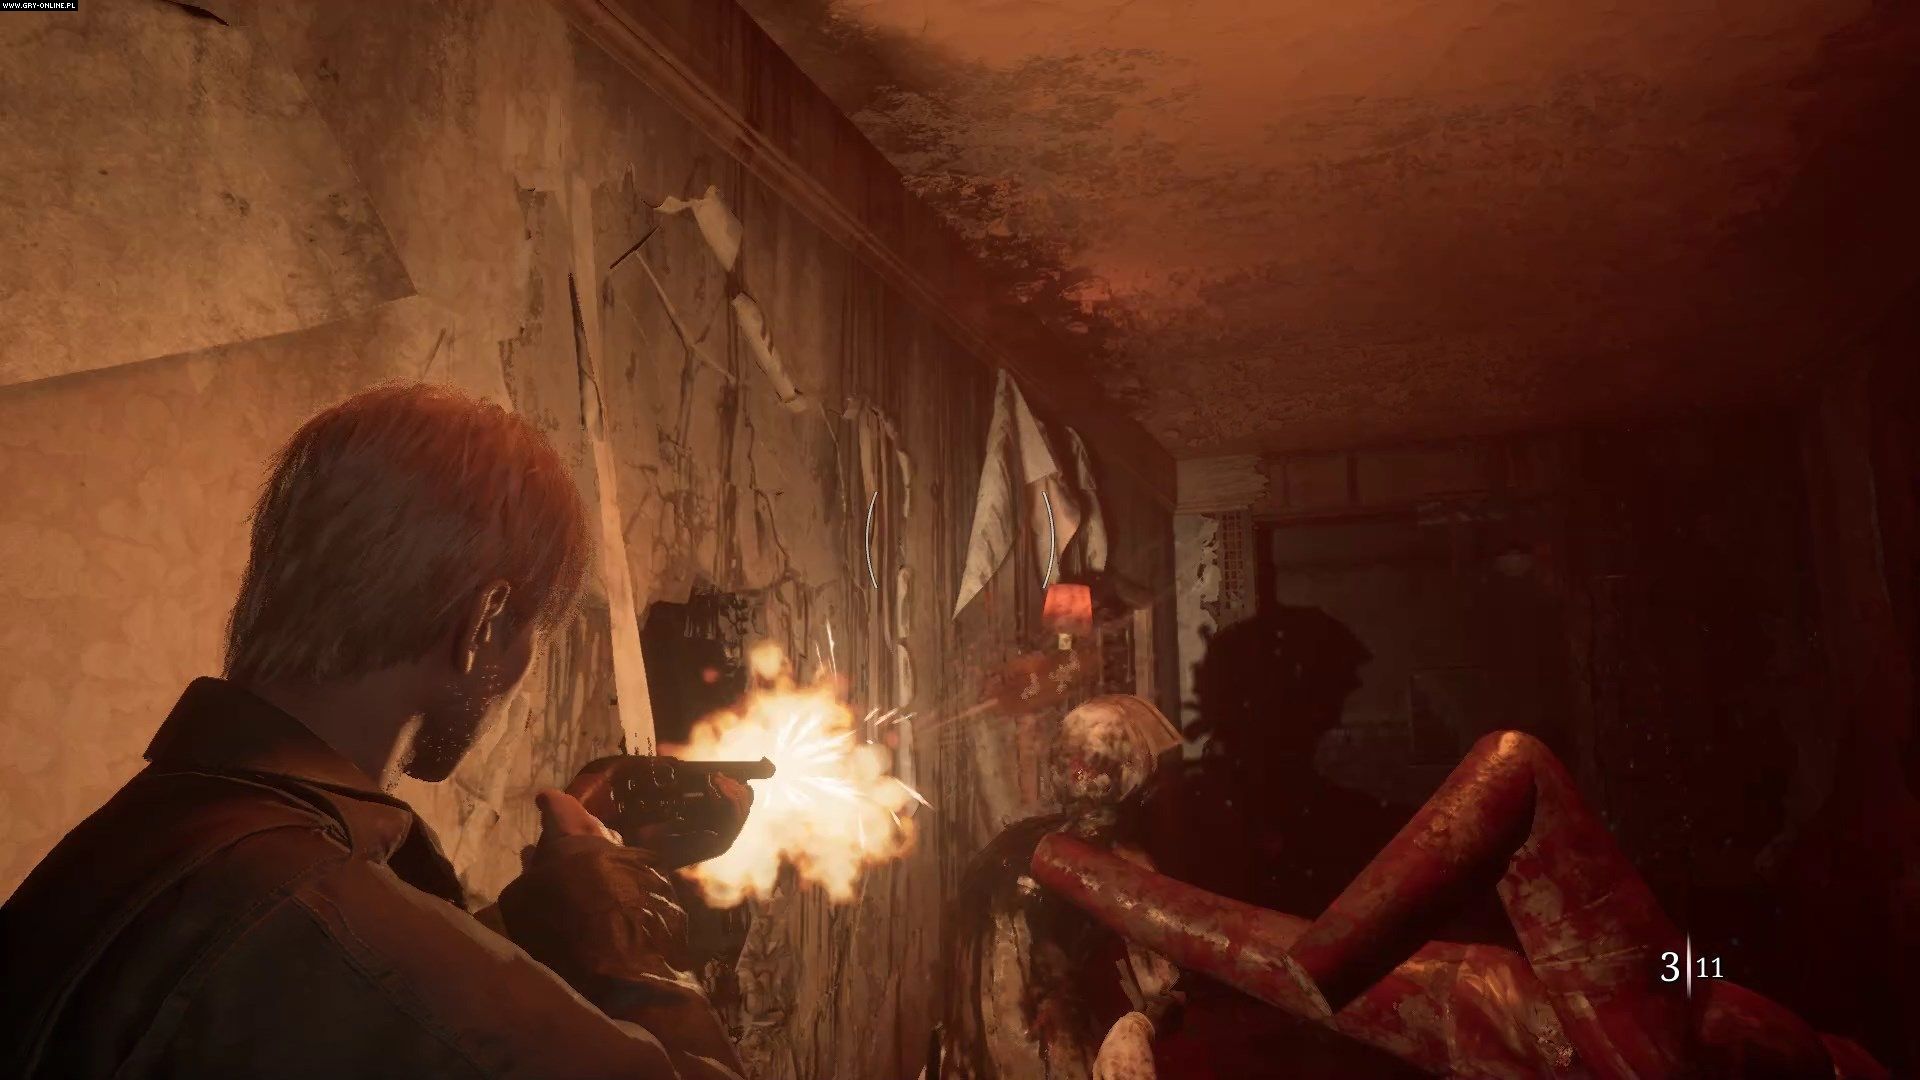
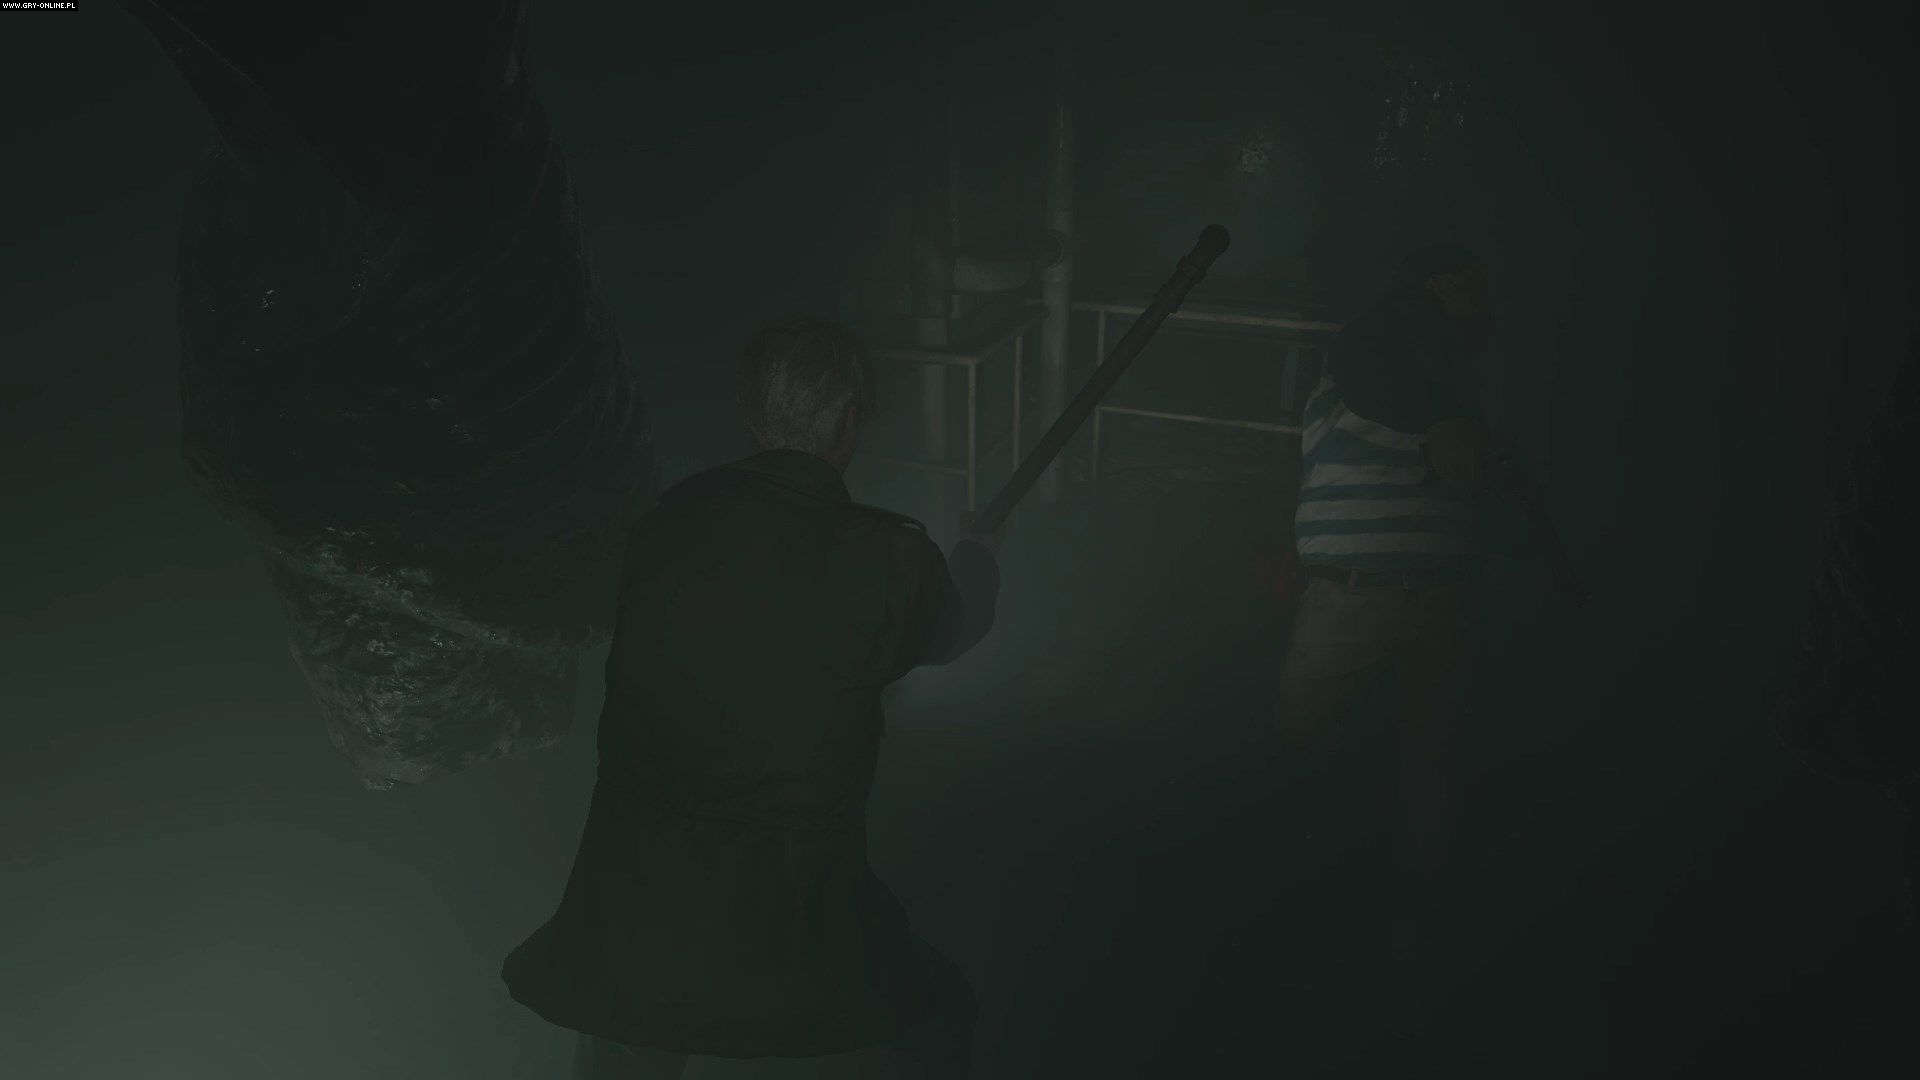
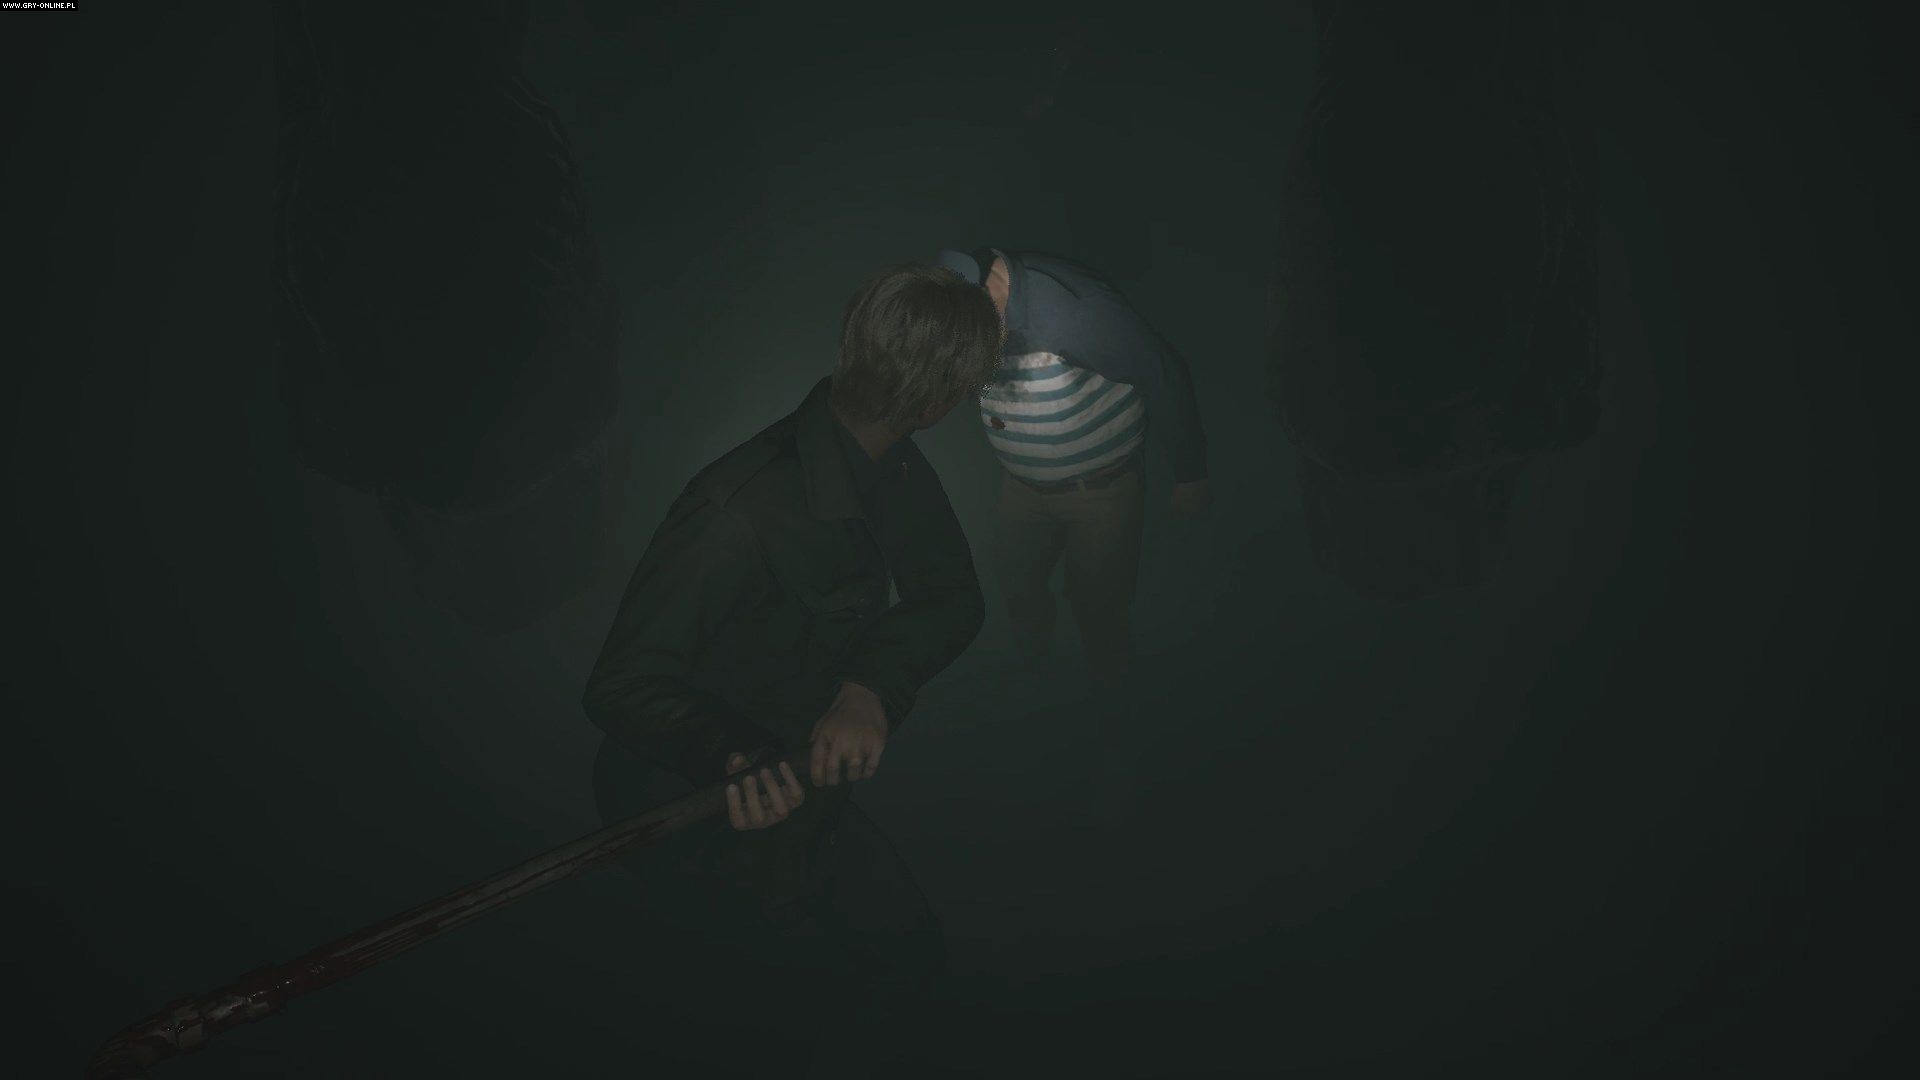
Once you get out of the narrow hall, the fight will be very simple. Although the surroundings and the appearance of the boss are meant to terrify you, Daddy himself can only attack in close combat, with single blows and grabs against you. Stay close to the boss, dodge to the side when the boss turns towards you and tries to grab you, then counterattack with a shotgun or two pipe hits. The rhythm of the fight is easy to grasp and it never changes - dodge to the side, then strike twice and repeat the whole sequence until the boss falls. The fight is so simple that in our opinion it's not worth wasting ammo on it.
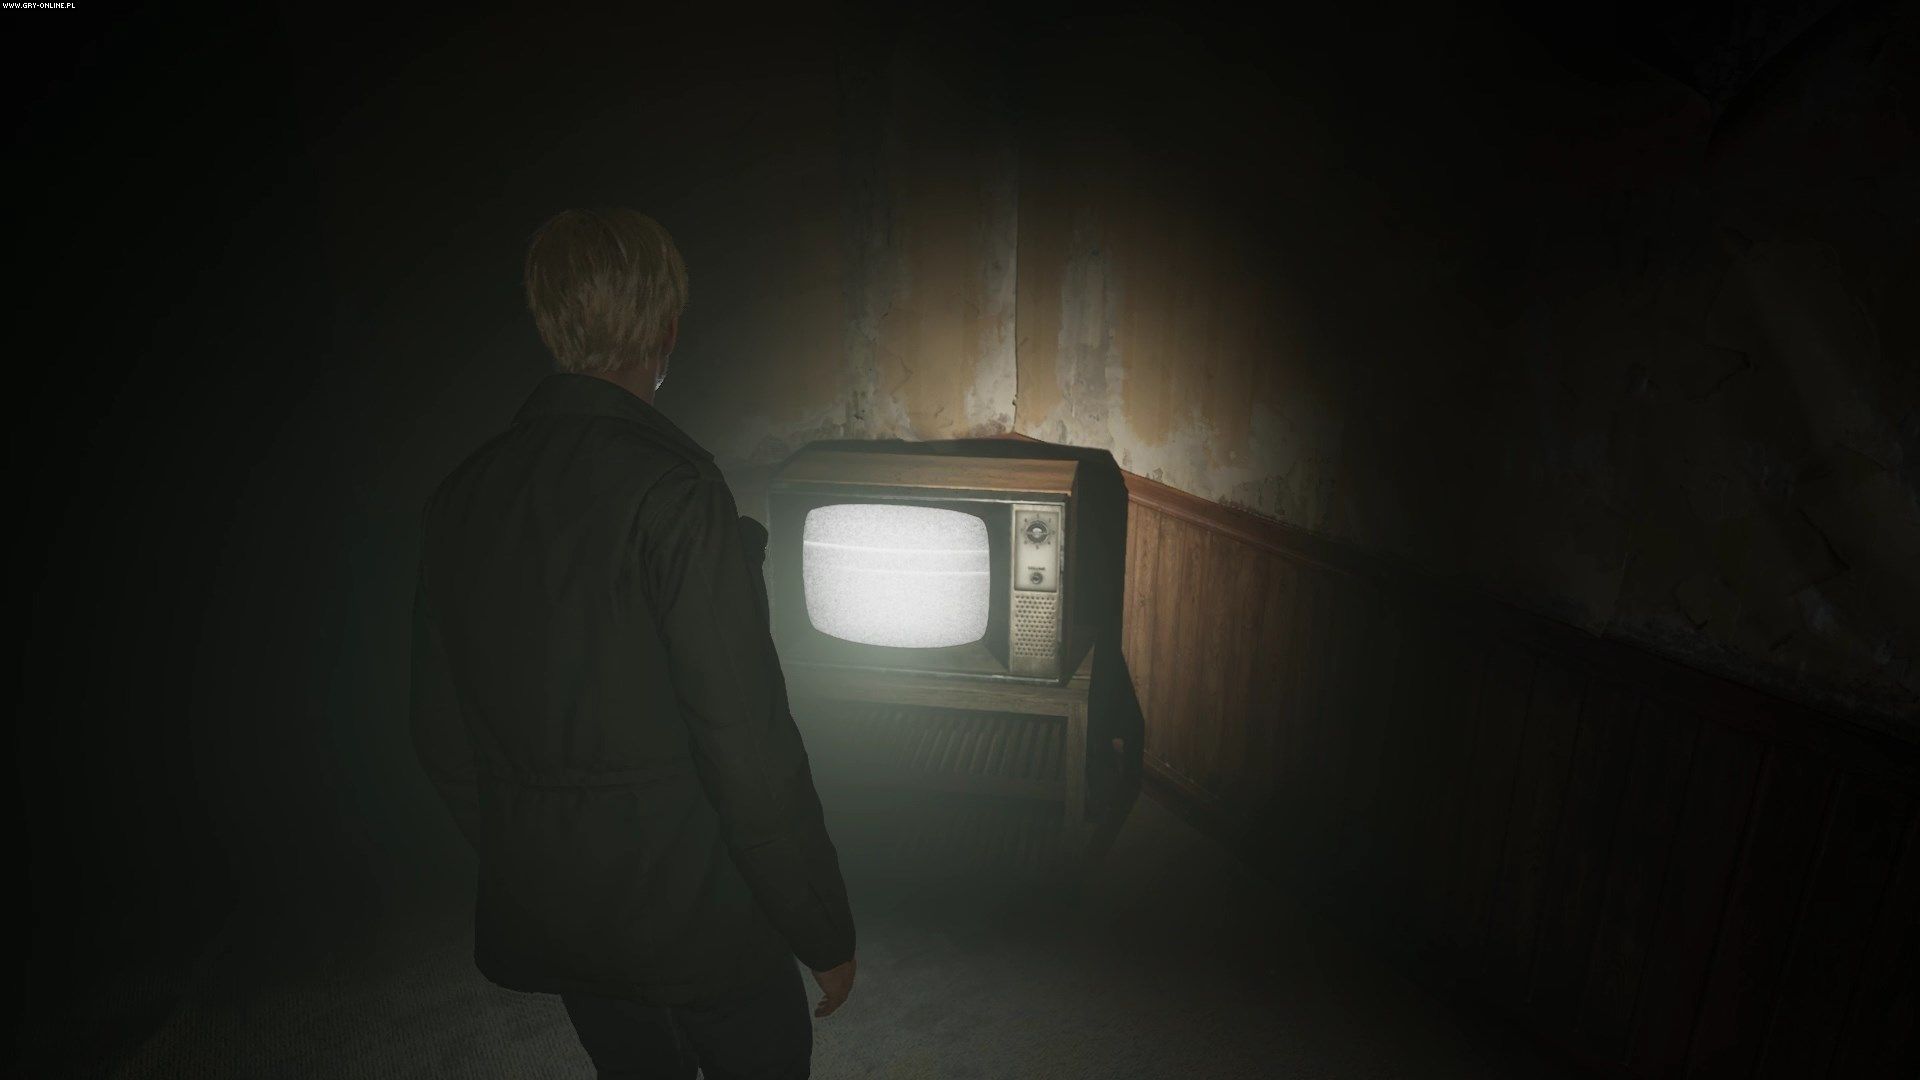
After a while, the boss will disappear, opening the hallway ahead. Go all the way down the hall until you come across a turned on television, which you have to destroy. It can either open the path forward or summon Daddy again. Continue down the hallway or fight Daddy the same way as before - just make sure you lure him into a location where you have room to dodge.
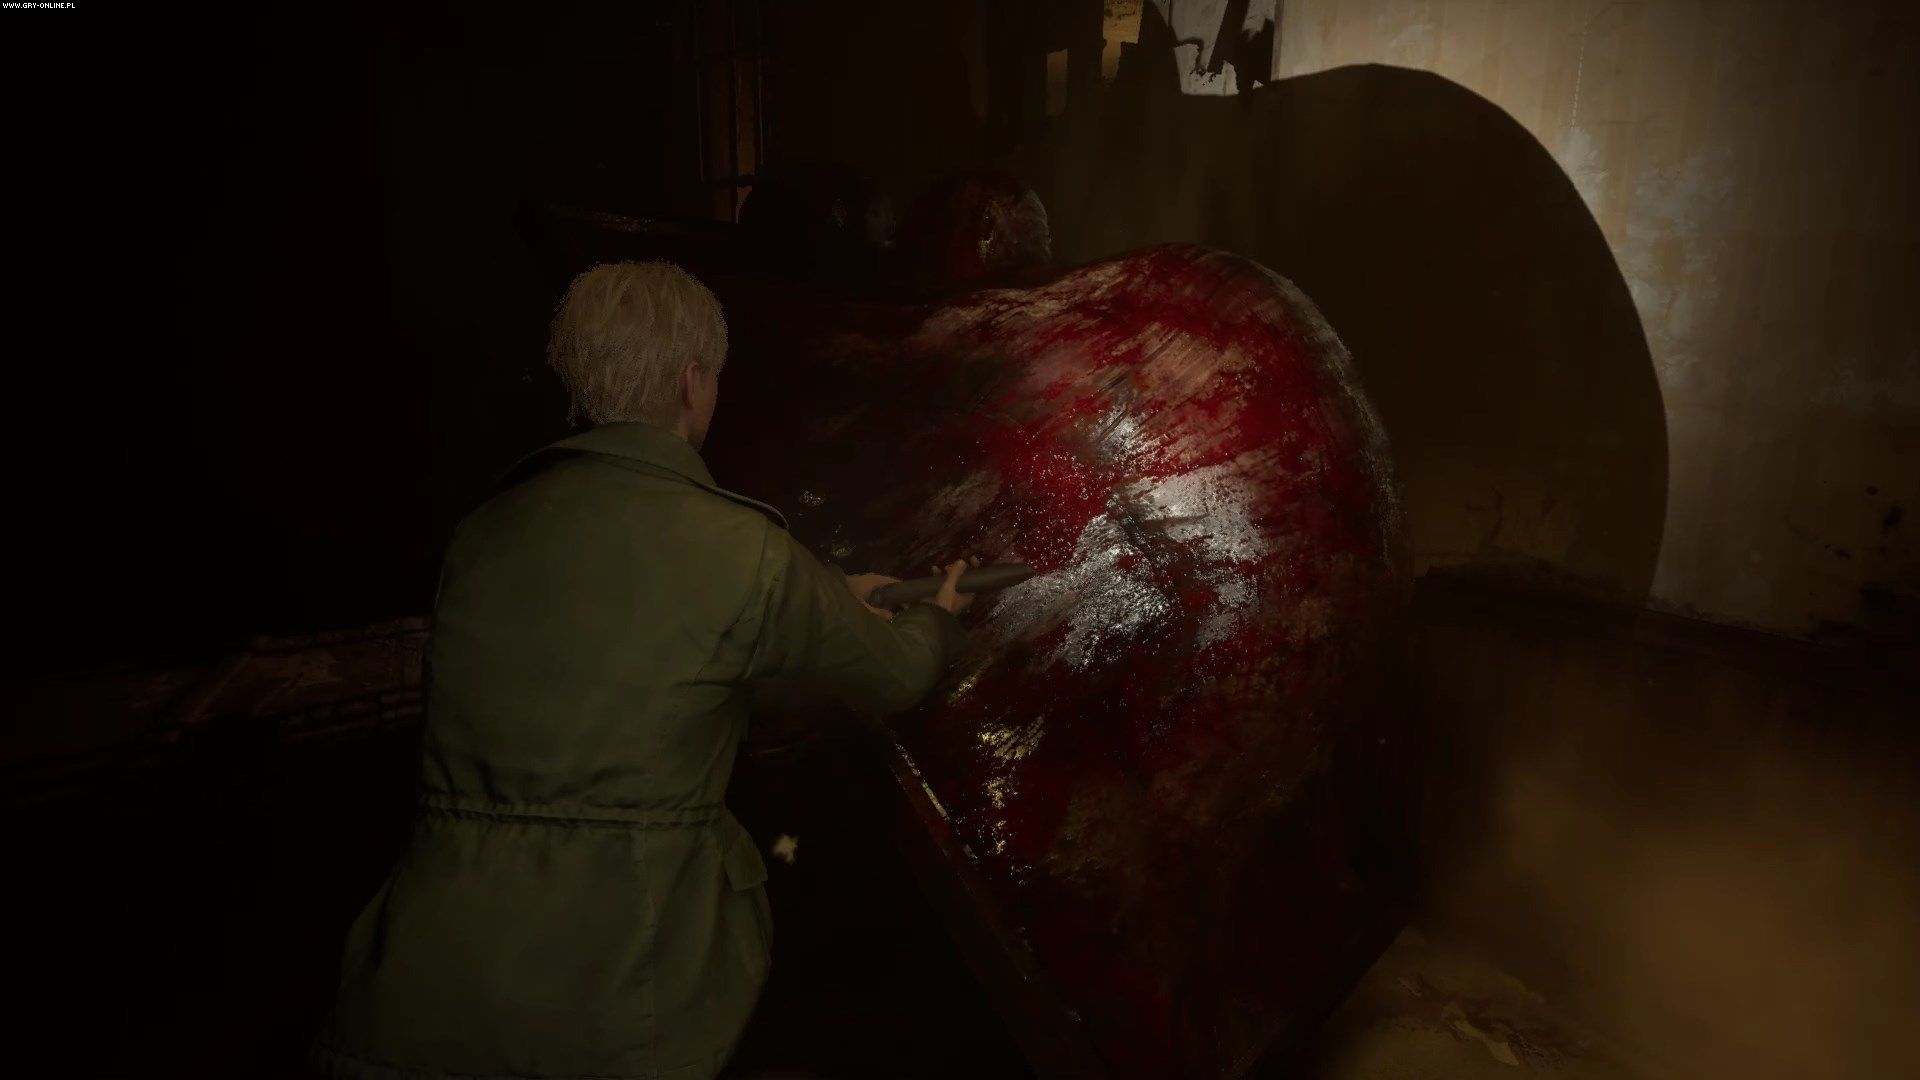
Occasionally, Daddy will break through walls, trying to ambush you in narrow halls - if this happens, run away from him until you reach a slightly larger room and then start fighting. The boss is dangerous in the hallways because you don't have much room to dodge there. Anywhere else, the fight is fairly simple.

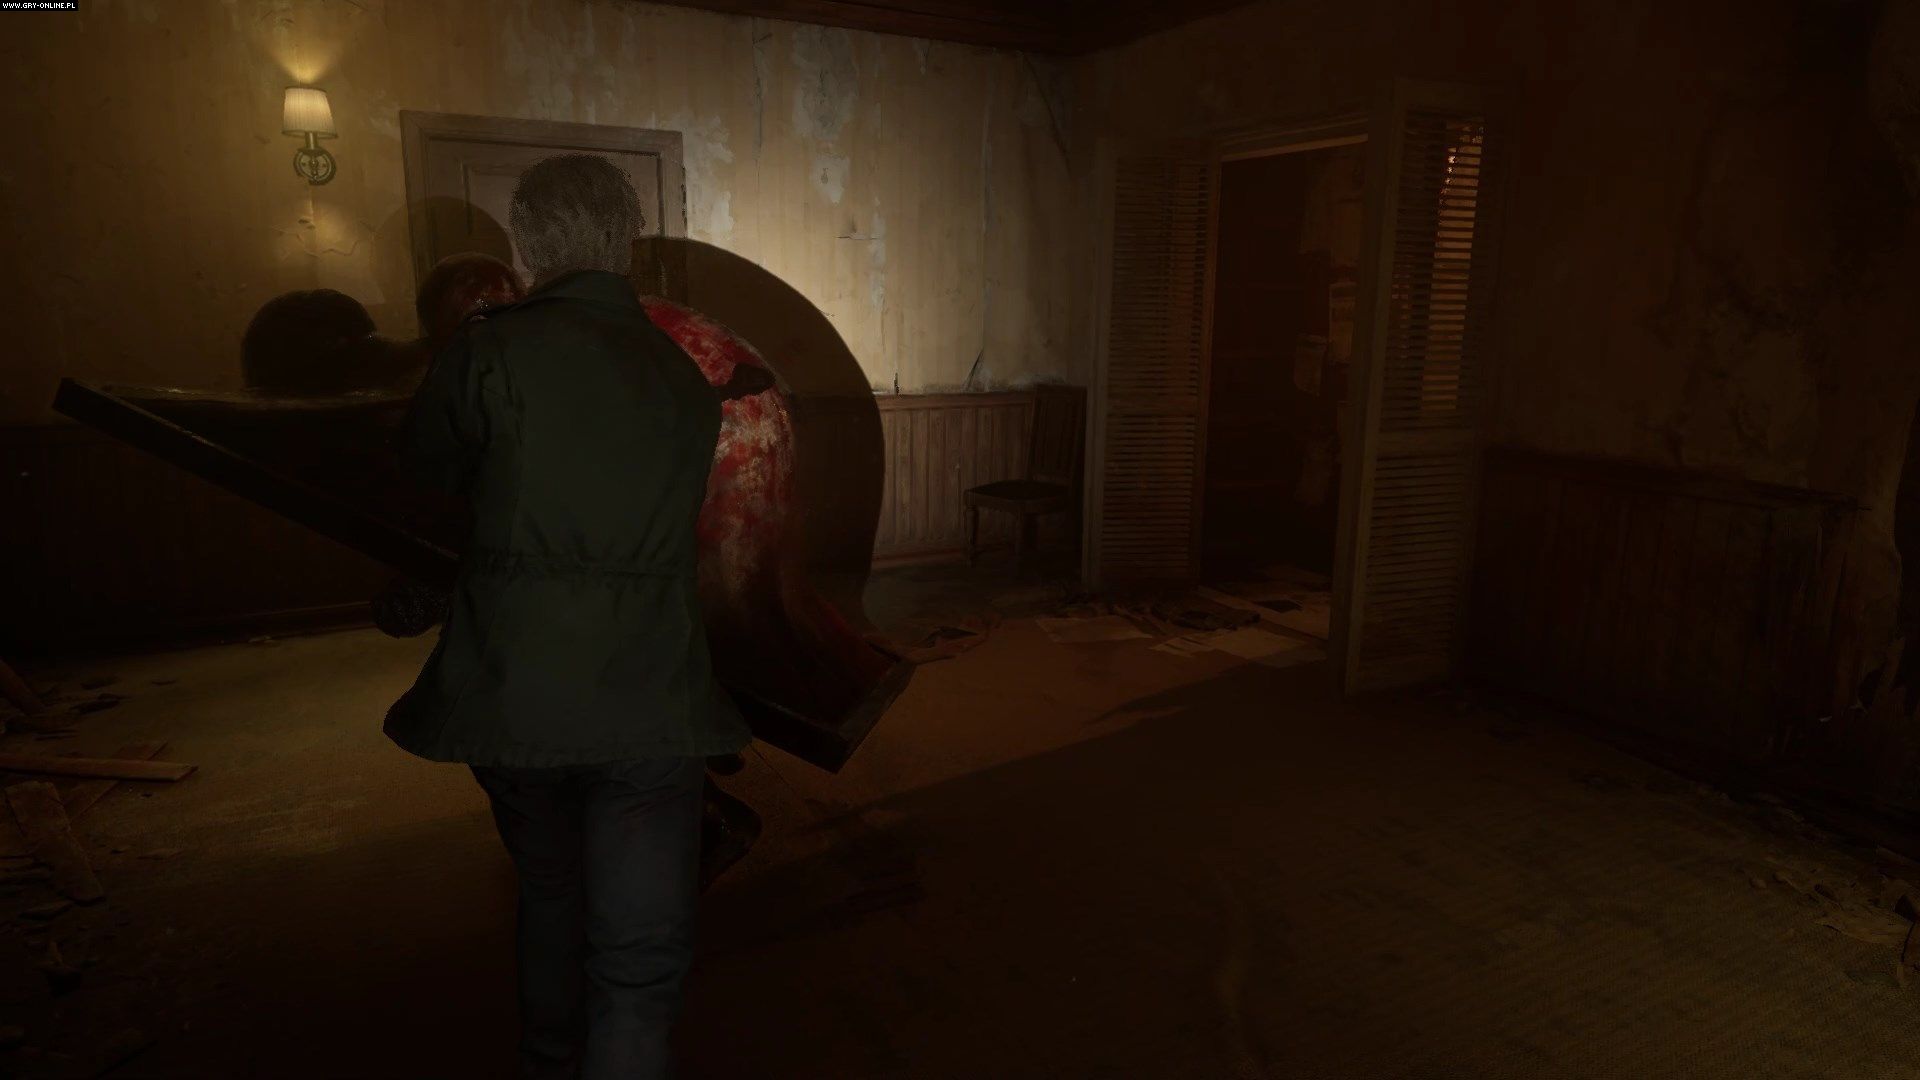
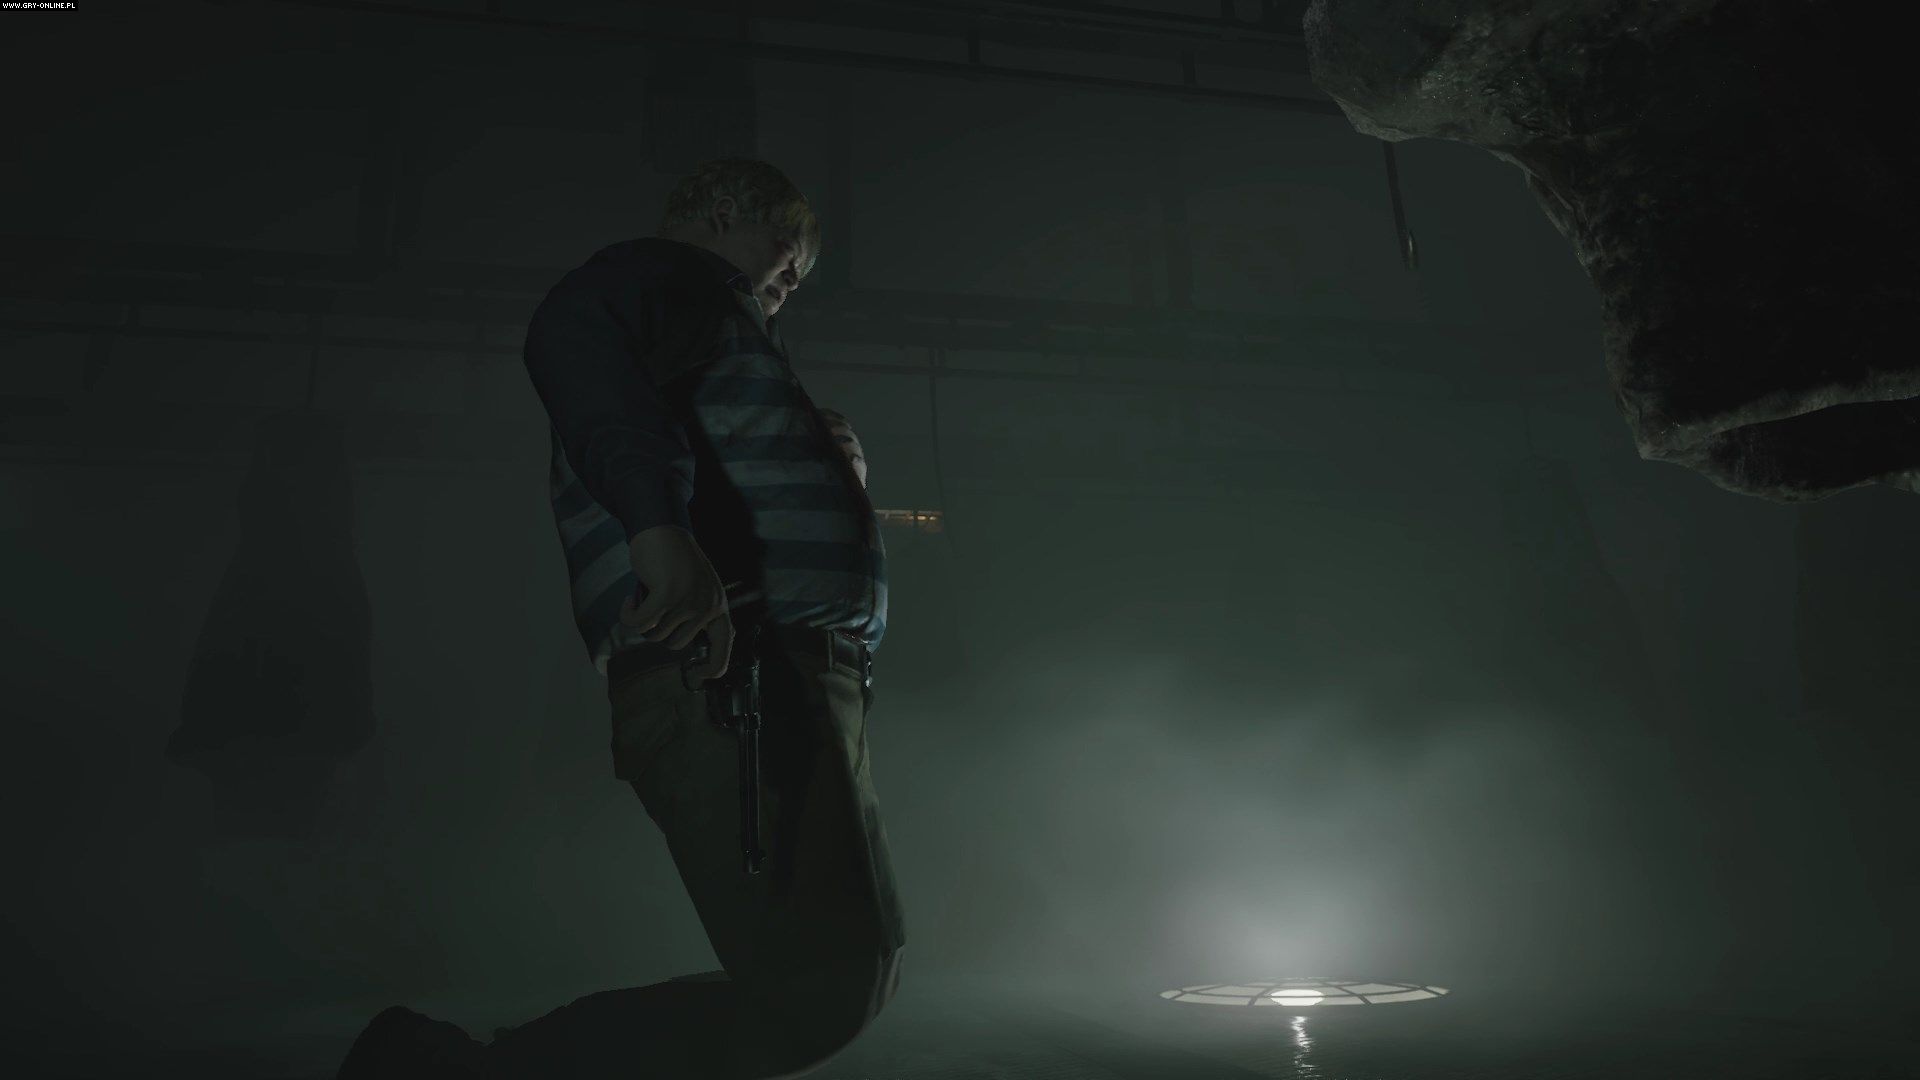
Make your way through the hallways and destroy the TVs, fighting the boss until he runs away and you reach a huge room covered in leather and filled with machinery. Here Daddy will attack you for the last time. The strategy remains the same - side dodge, two hits, repeat. Eventually you will defeat the boss for good - watch the cutscene that will end the fight.
How to get out of the Labyrinth Center?
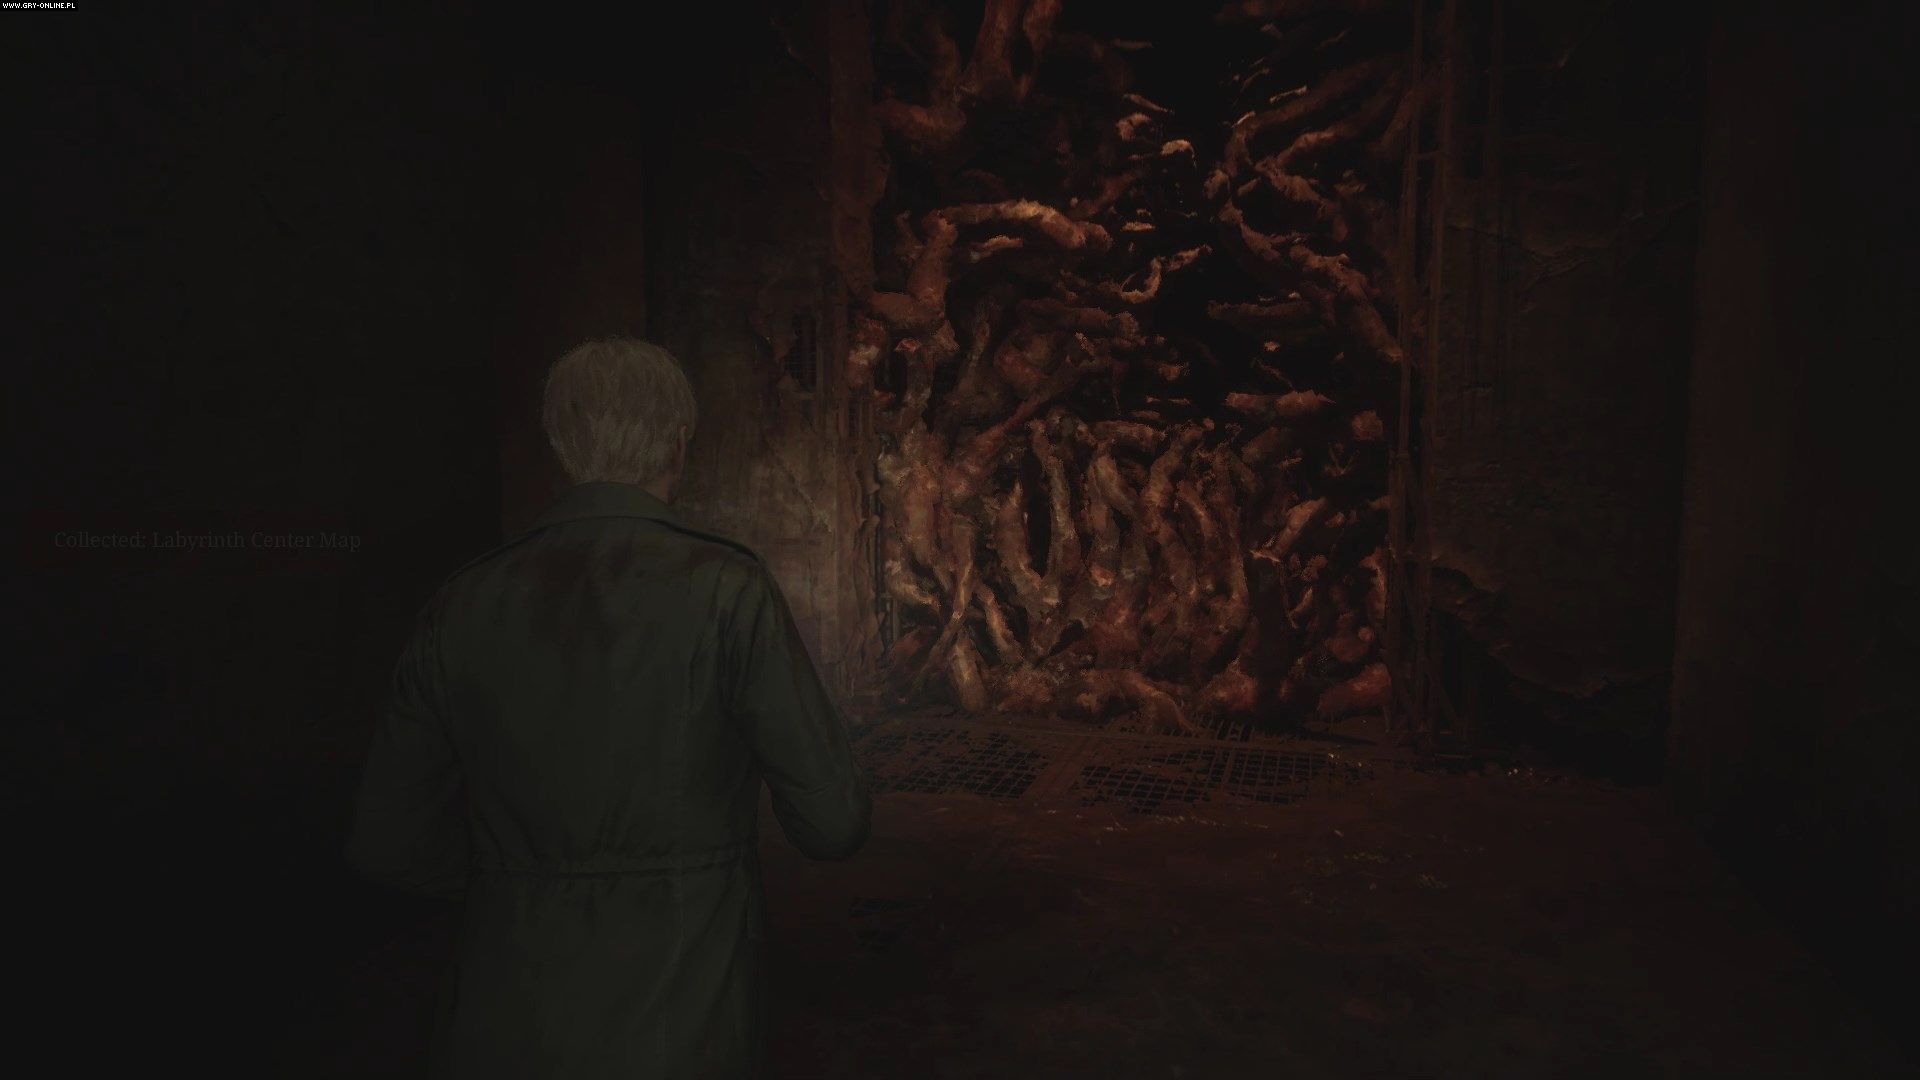
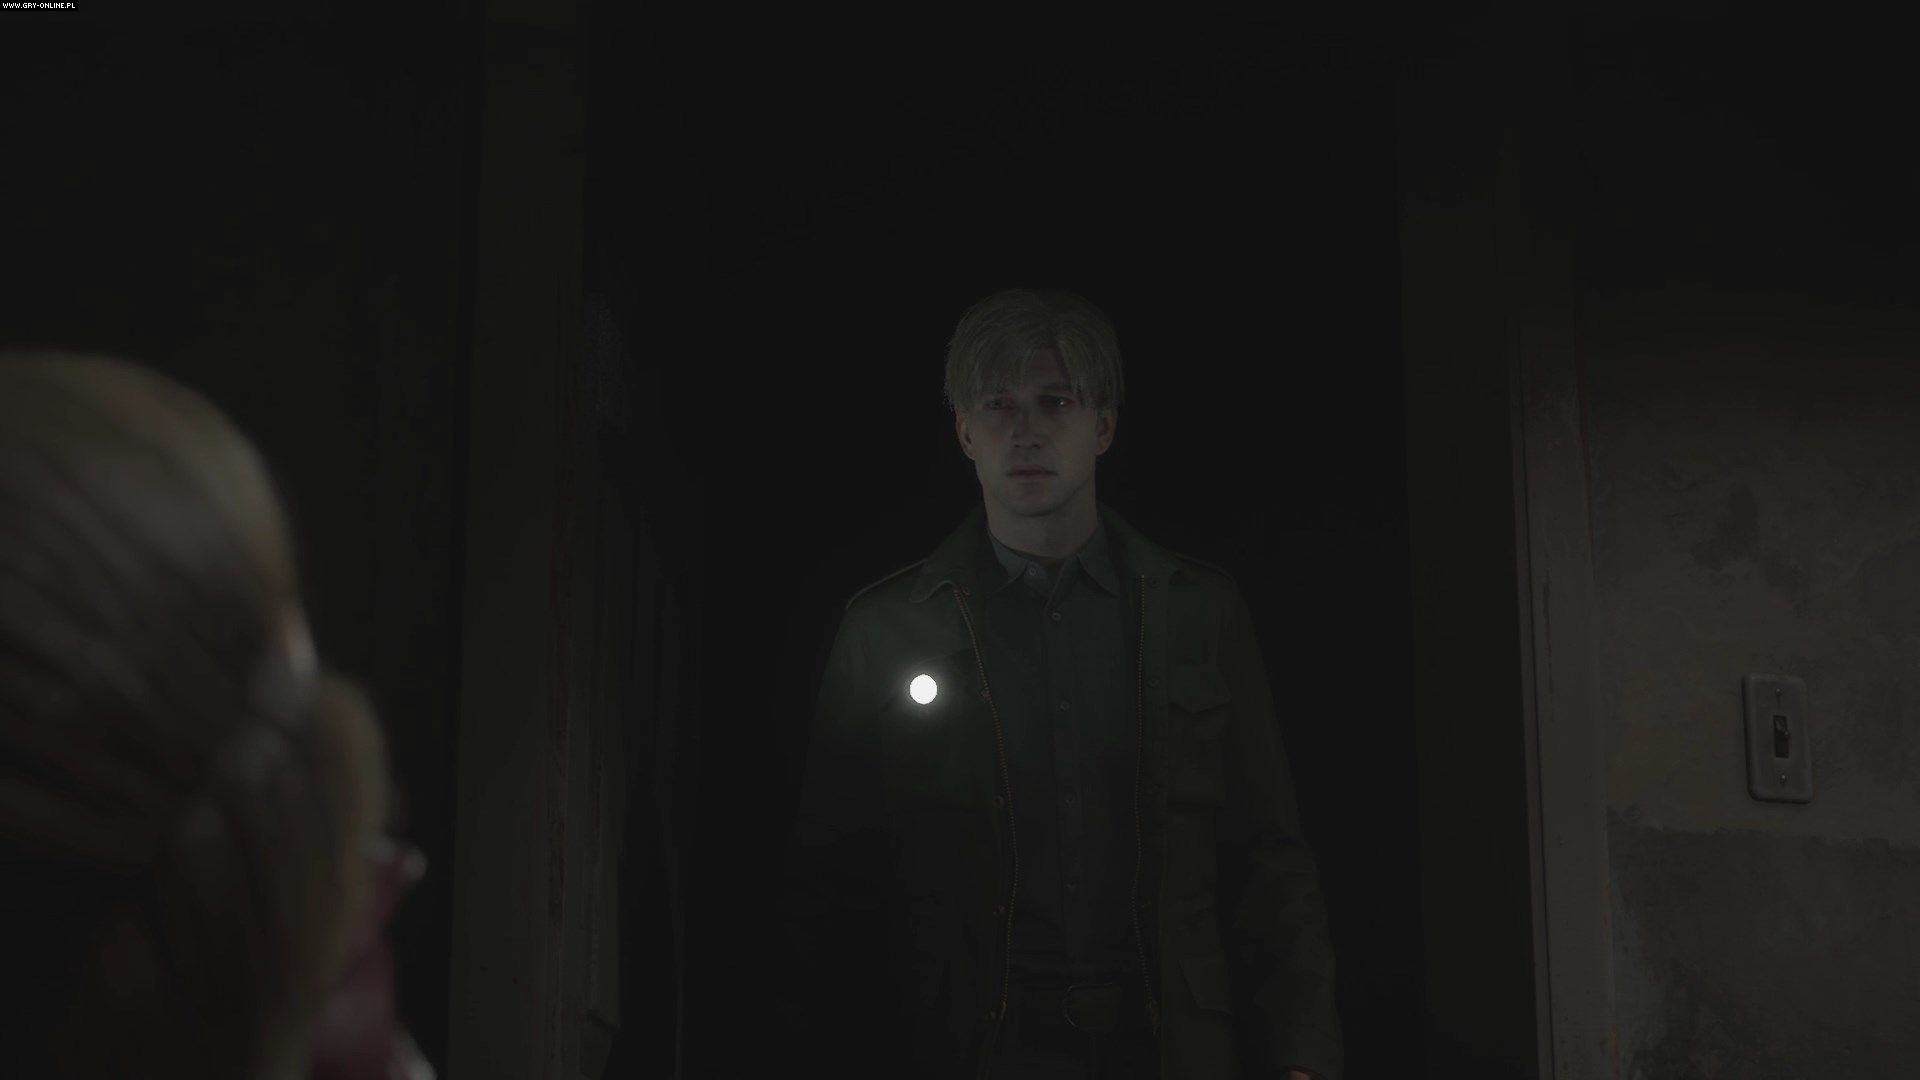
After the fight, you will end up in the Labyrinth Center. The map in this location works a bit differently than usual - it is uncovered gradually as you explore the areas. Just ahead of you, you will see a hall blocked by strange tentacles - ignore it for now. Head north along the hall, where you'll meet Maria again on the other side of the door.
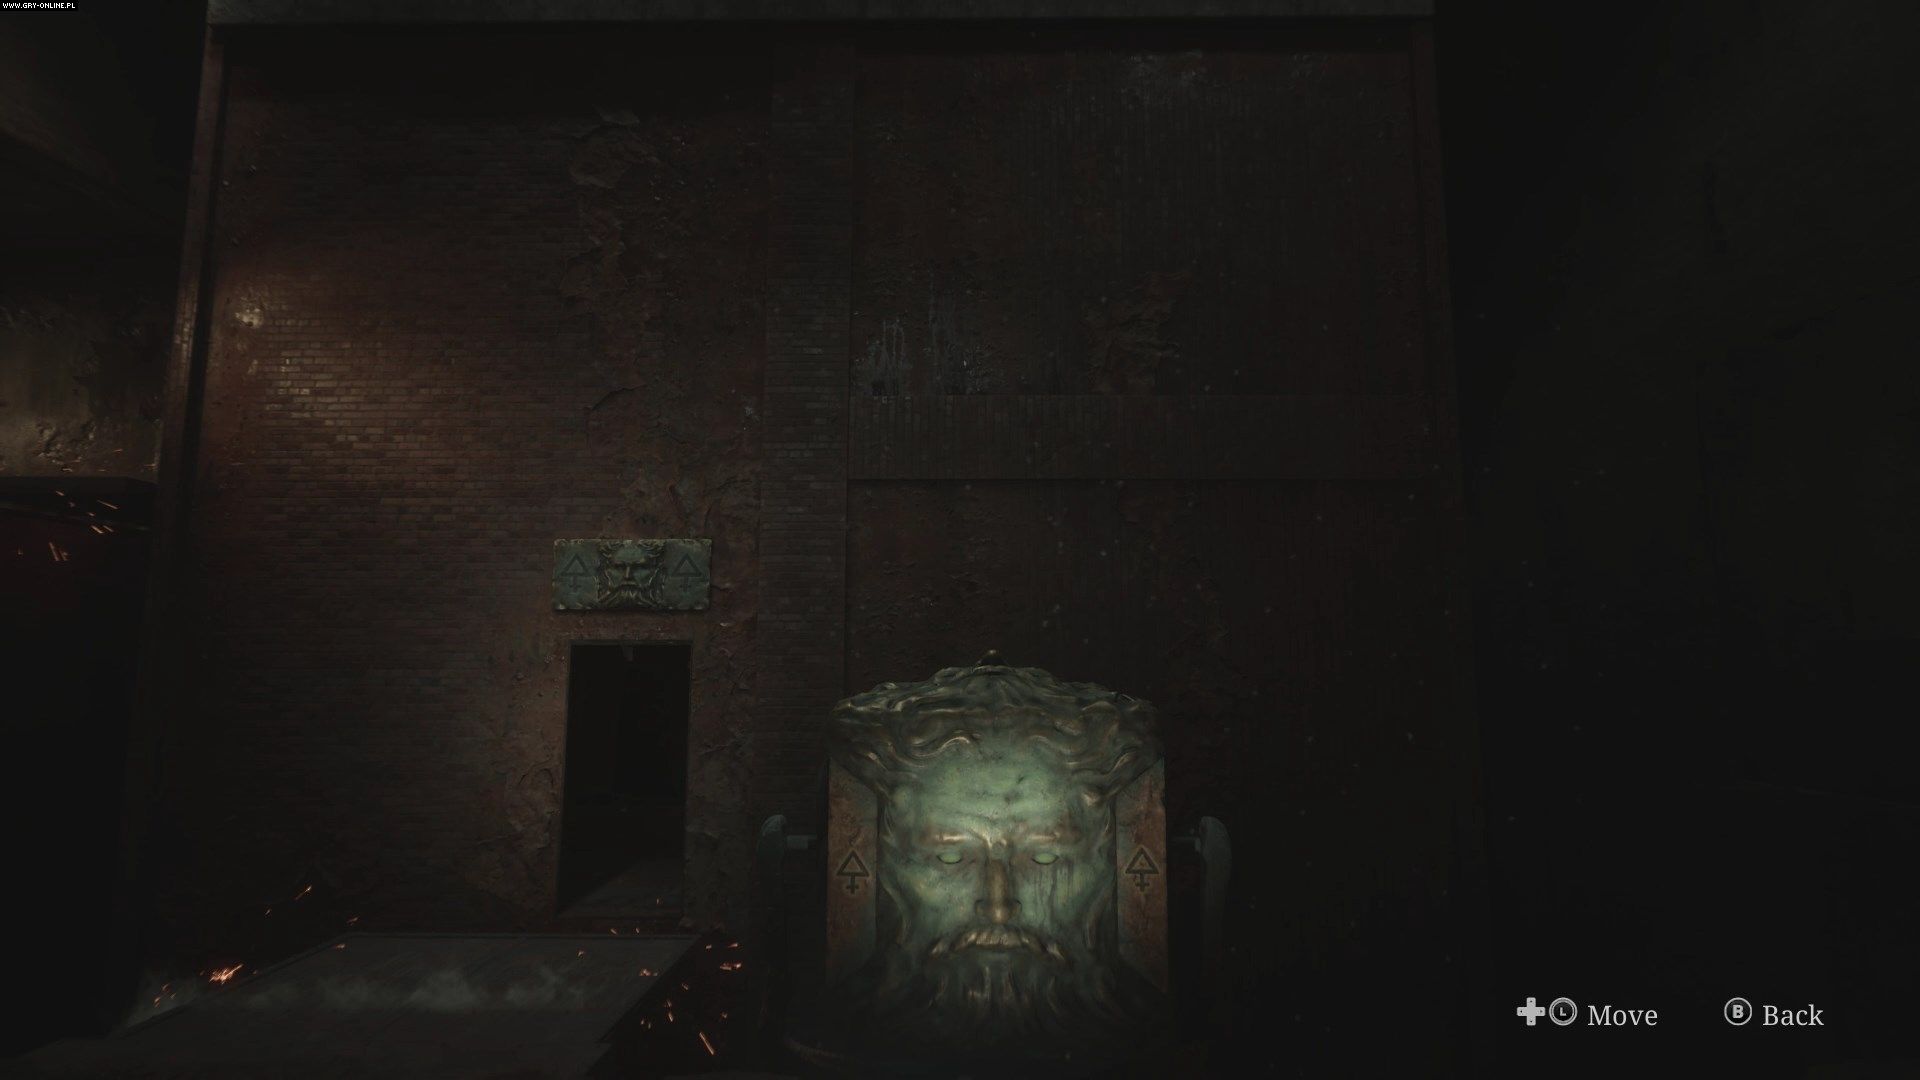
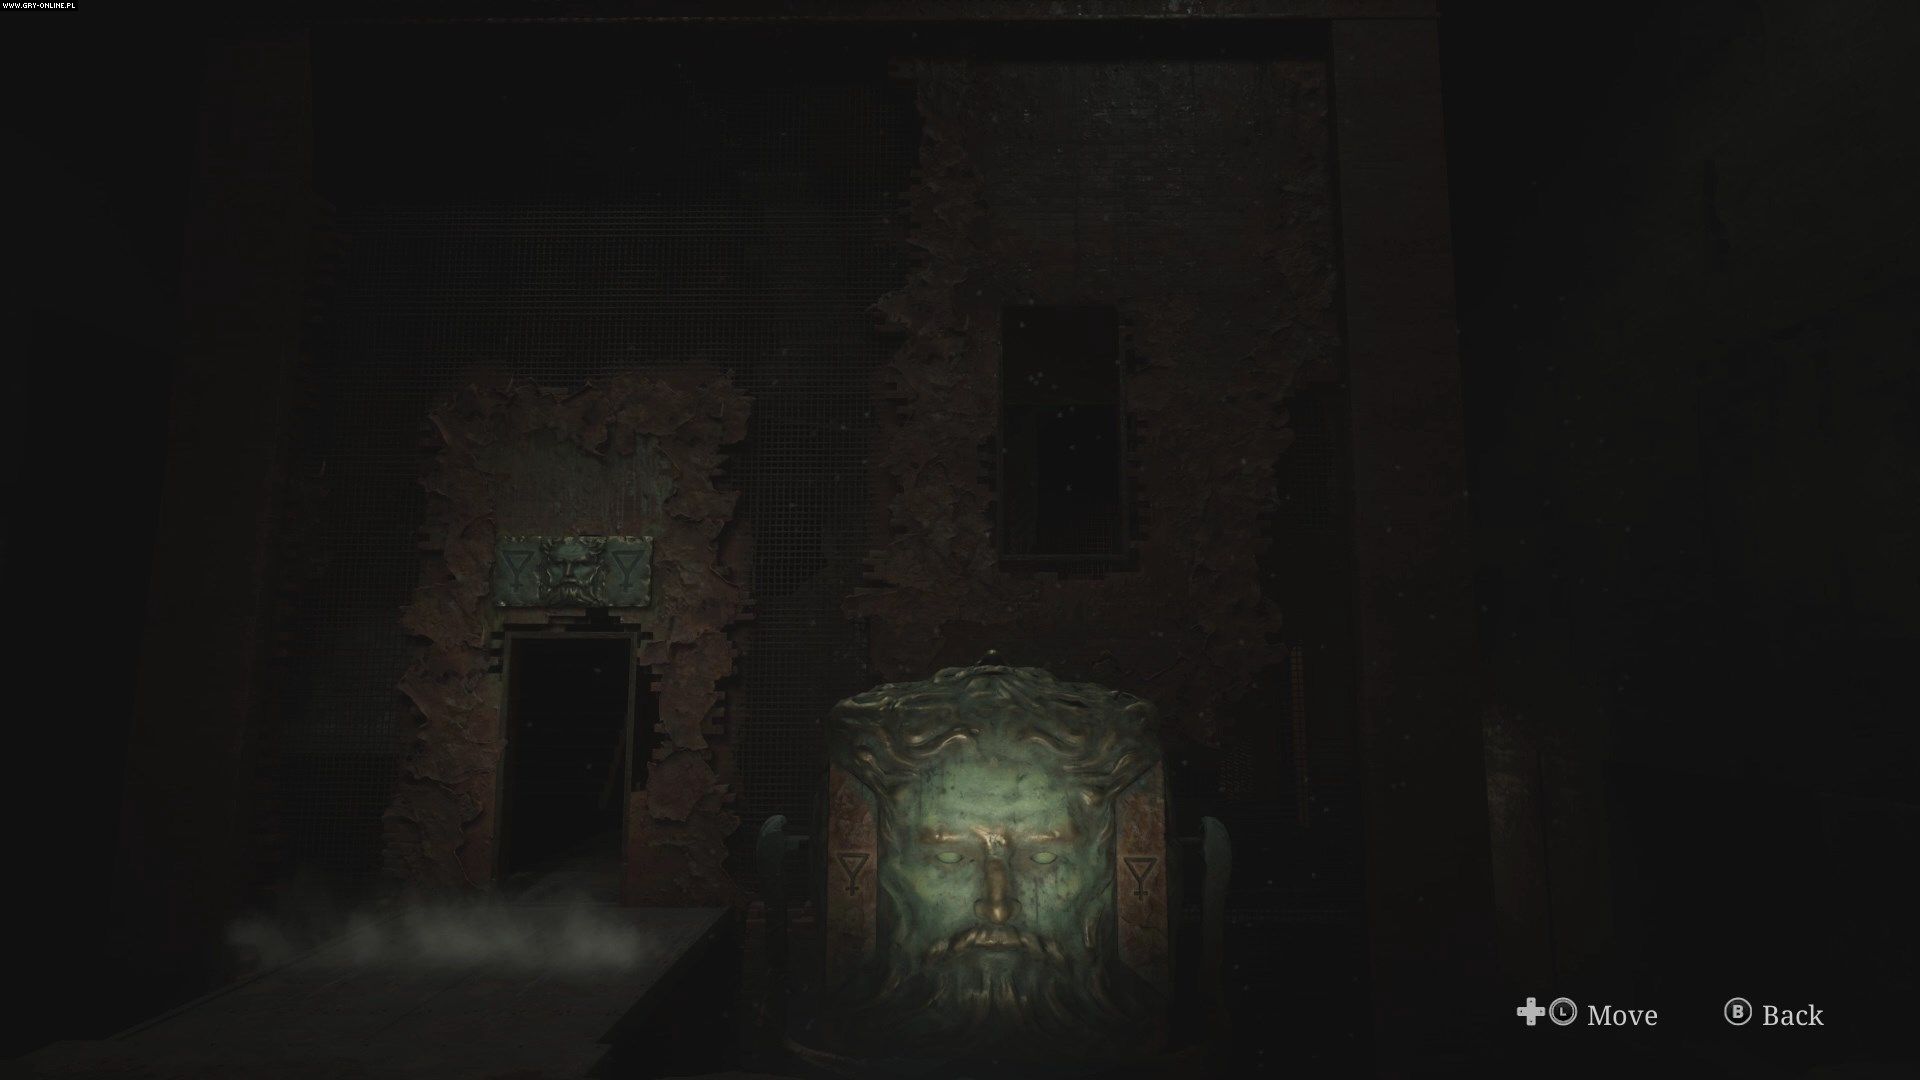
Return to the central room where the cube-shaped device appeared. When you spin it, it will make the the huge cube in the center of the room rotate as well. As you probably noticed, there's an entryway in the cube and there are symbols on the cube as well. Turn the cube so that a symbol resembling a triangle connected to an inverted cross appears in front of you. This will pull forward the gangway into the interior of the cube. Go inside and up the stairs inside, to a hall on its upper level that will take you to the Rotten Area of the Labyrinth.
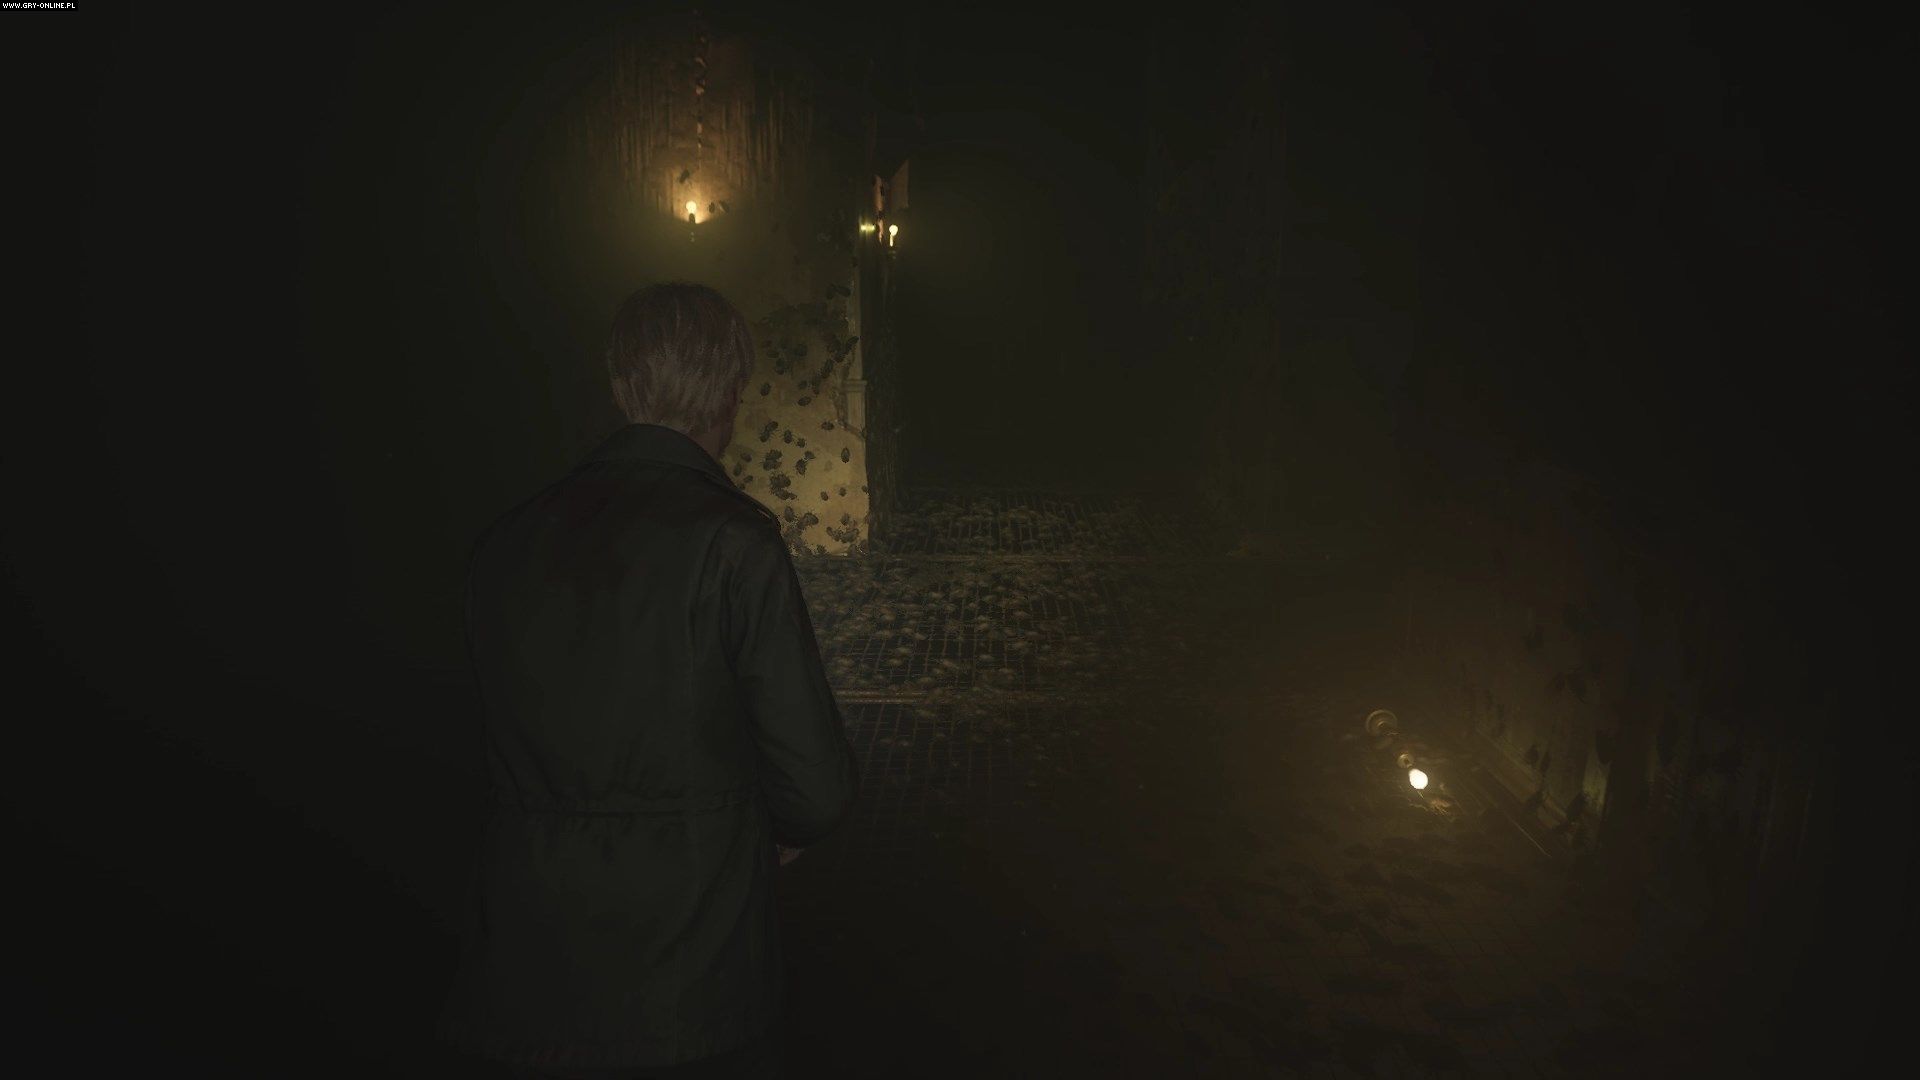
How to get through the Rotten Area of the Labyrinth?

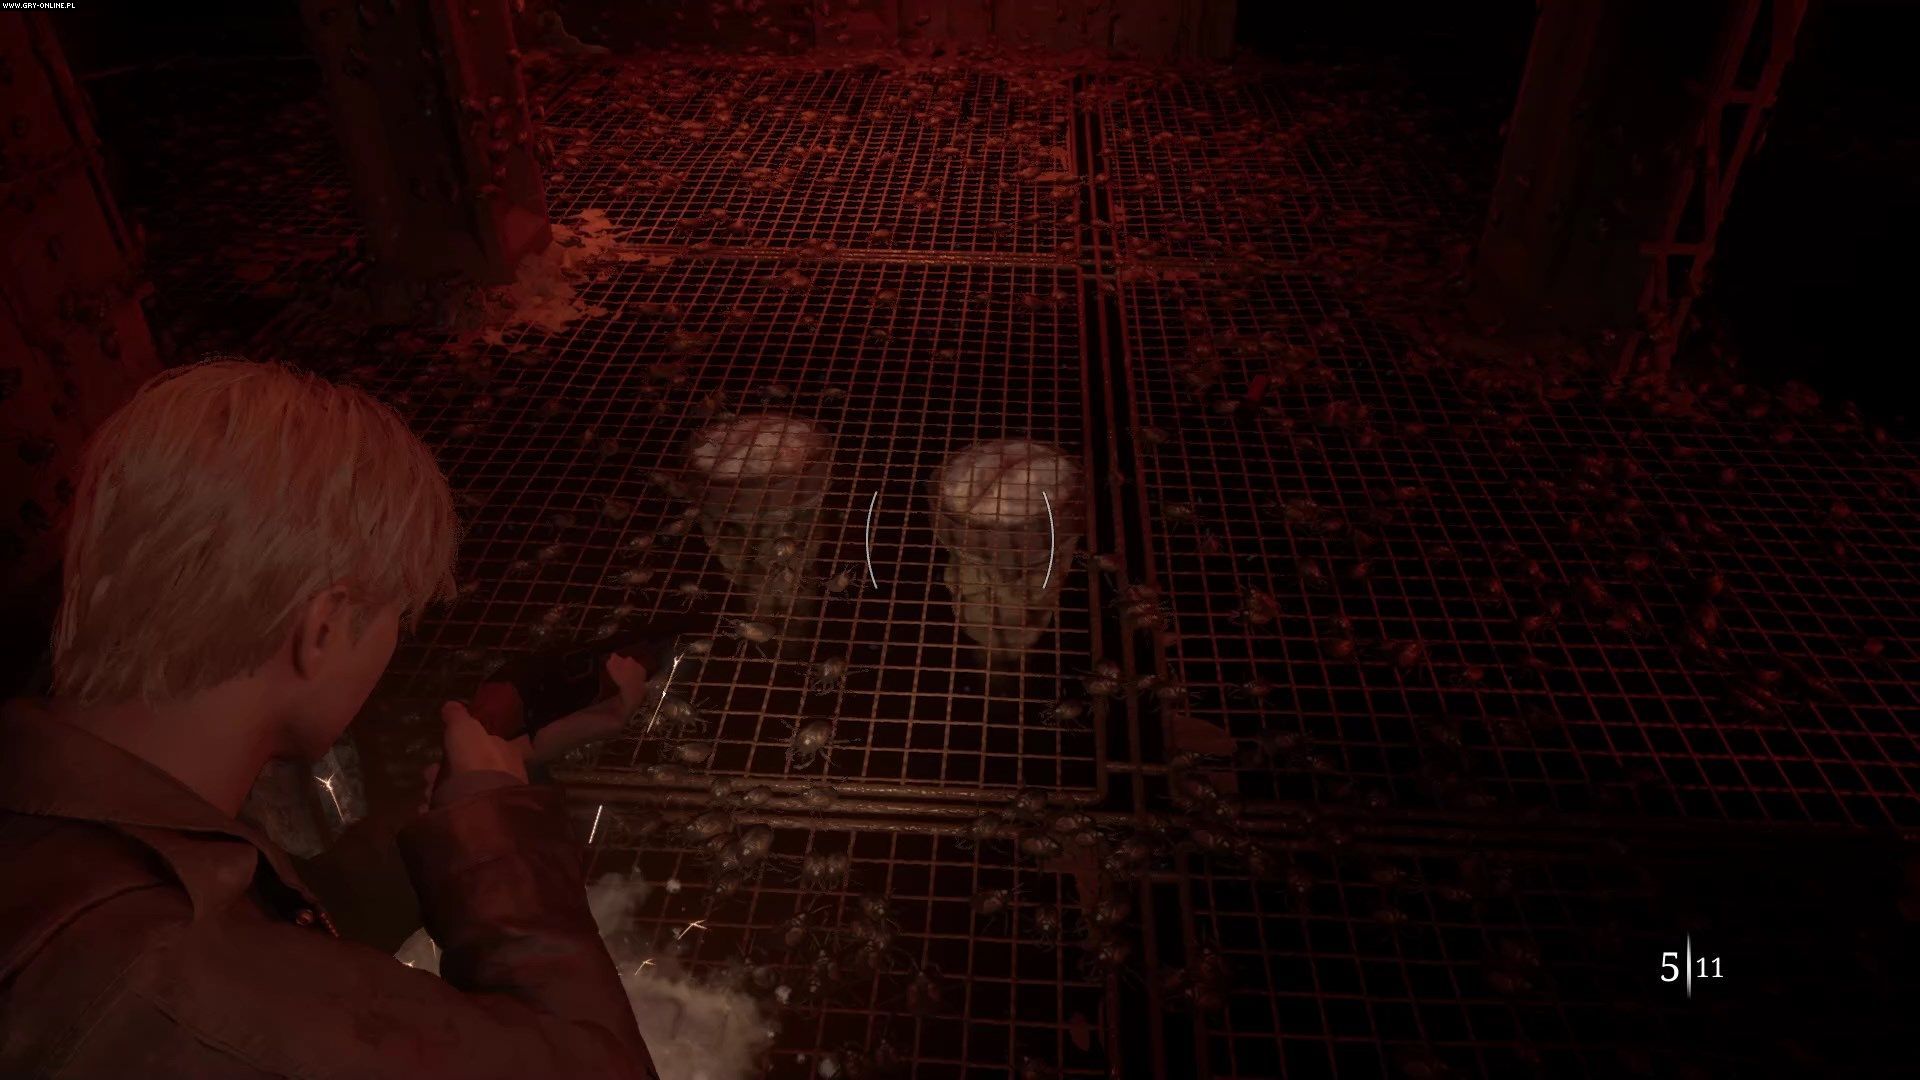
At the end of the corridor you will find yourself in the central room of the Rotten Area, where a cage hangs from the ceiling. It is held up by a rope, which you must burn. So, your goal in this area is to acquire a lighter, which is dismantled into three parts. Go to the east hall and enter the room at its end. The Mandarin is hiding under the floor - avoid the monster and get to the room to the east.
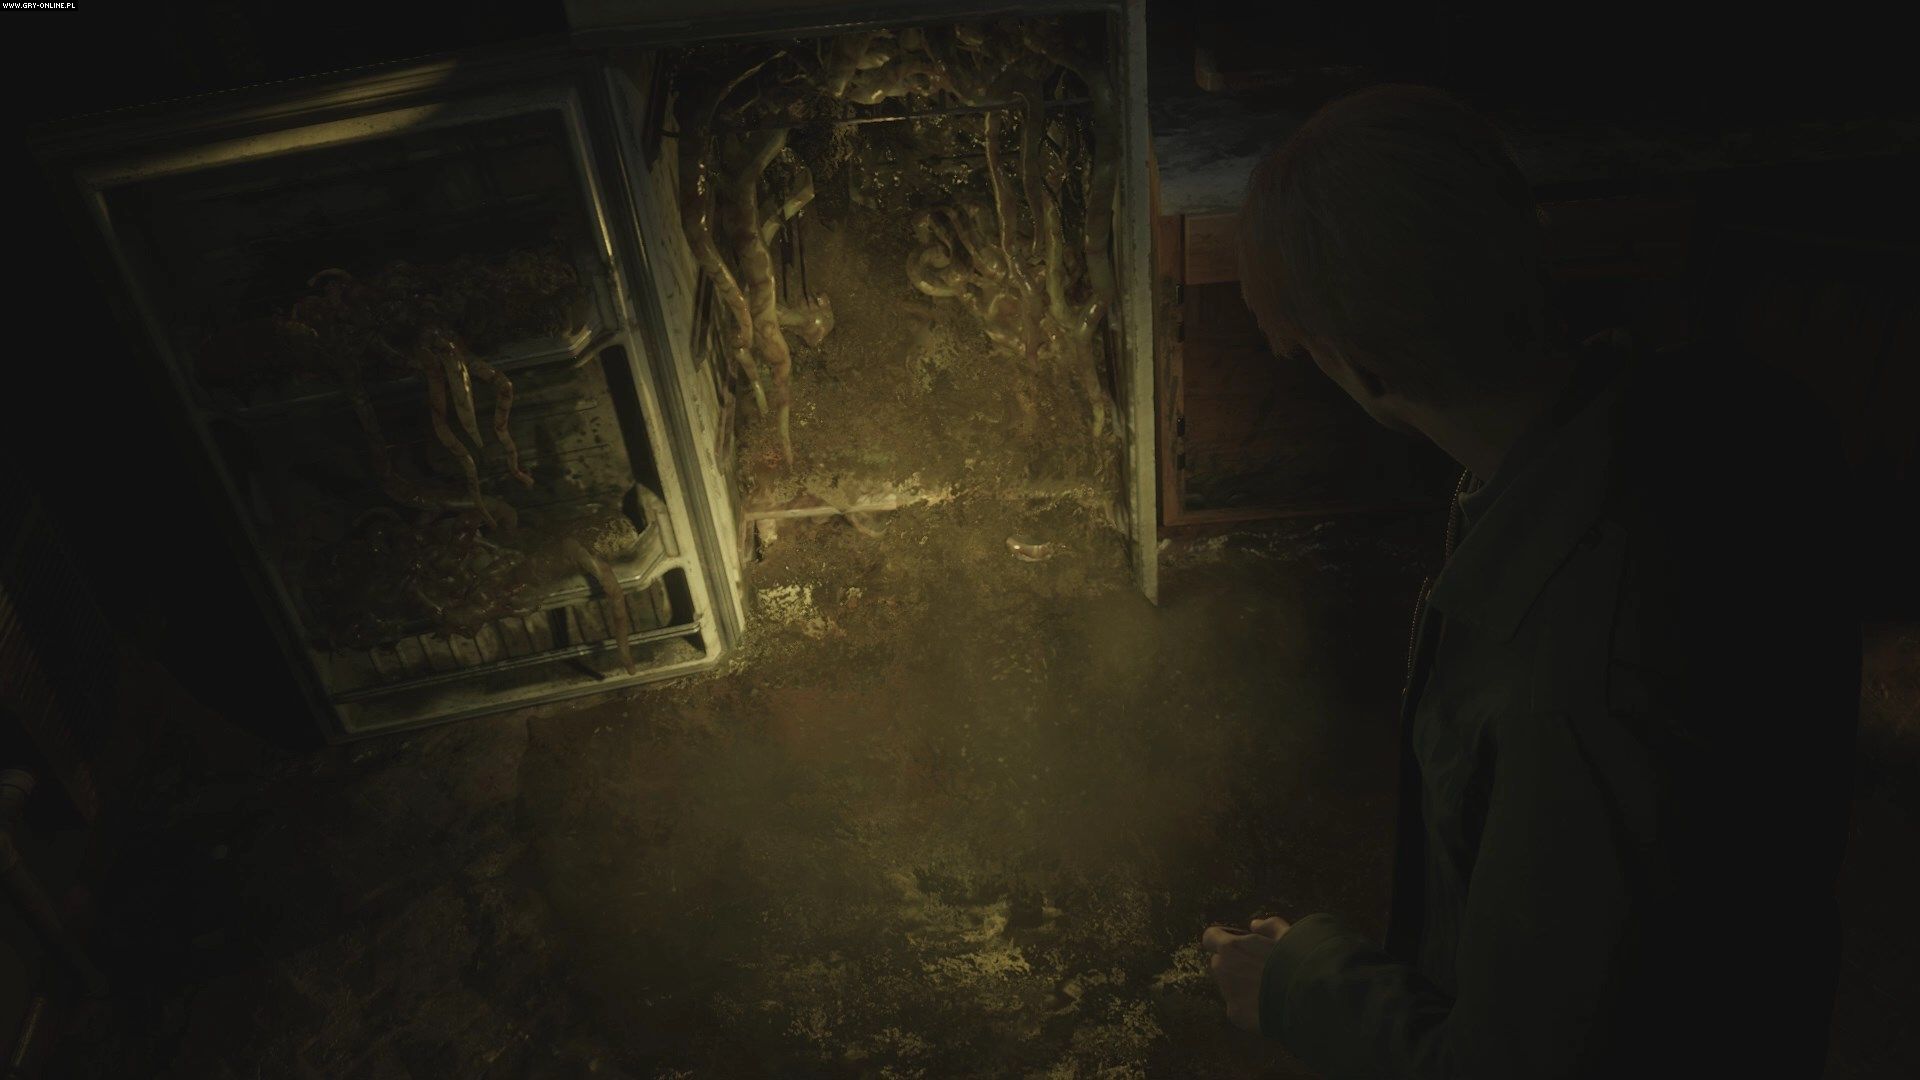
Inside the room, move the cart under the small window and go to the other side. Open the refrigerator there. You will get some lighter gas. Once again, enter the room with bars instead of floors and return to the central room.
Head south through the hall starting from the central room. Avoid another Mandarin. In the room at the very end of the hall, there is a hole in the wall, inside of which you'll find a lighter wick.
Exit the room through the eastern door and follow the linear hall until you reach an office-like room. Get rid of the nurse inside and take the key from the desk. Exit through the door at the end of the hall and once again go through the room with the bars on the floor to return to the central room.
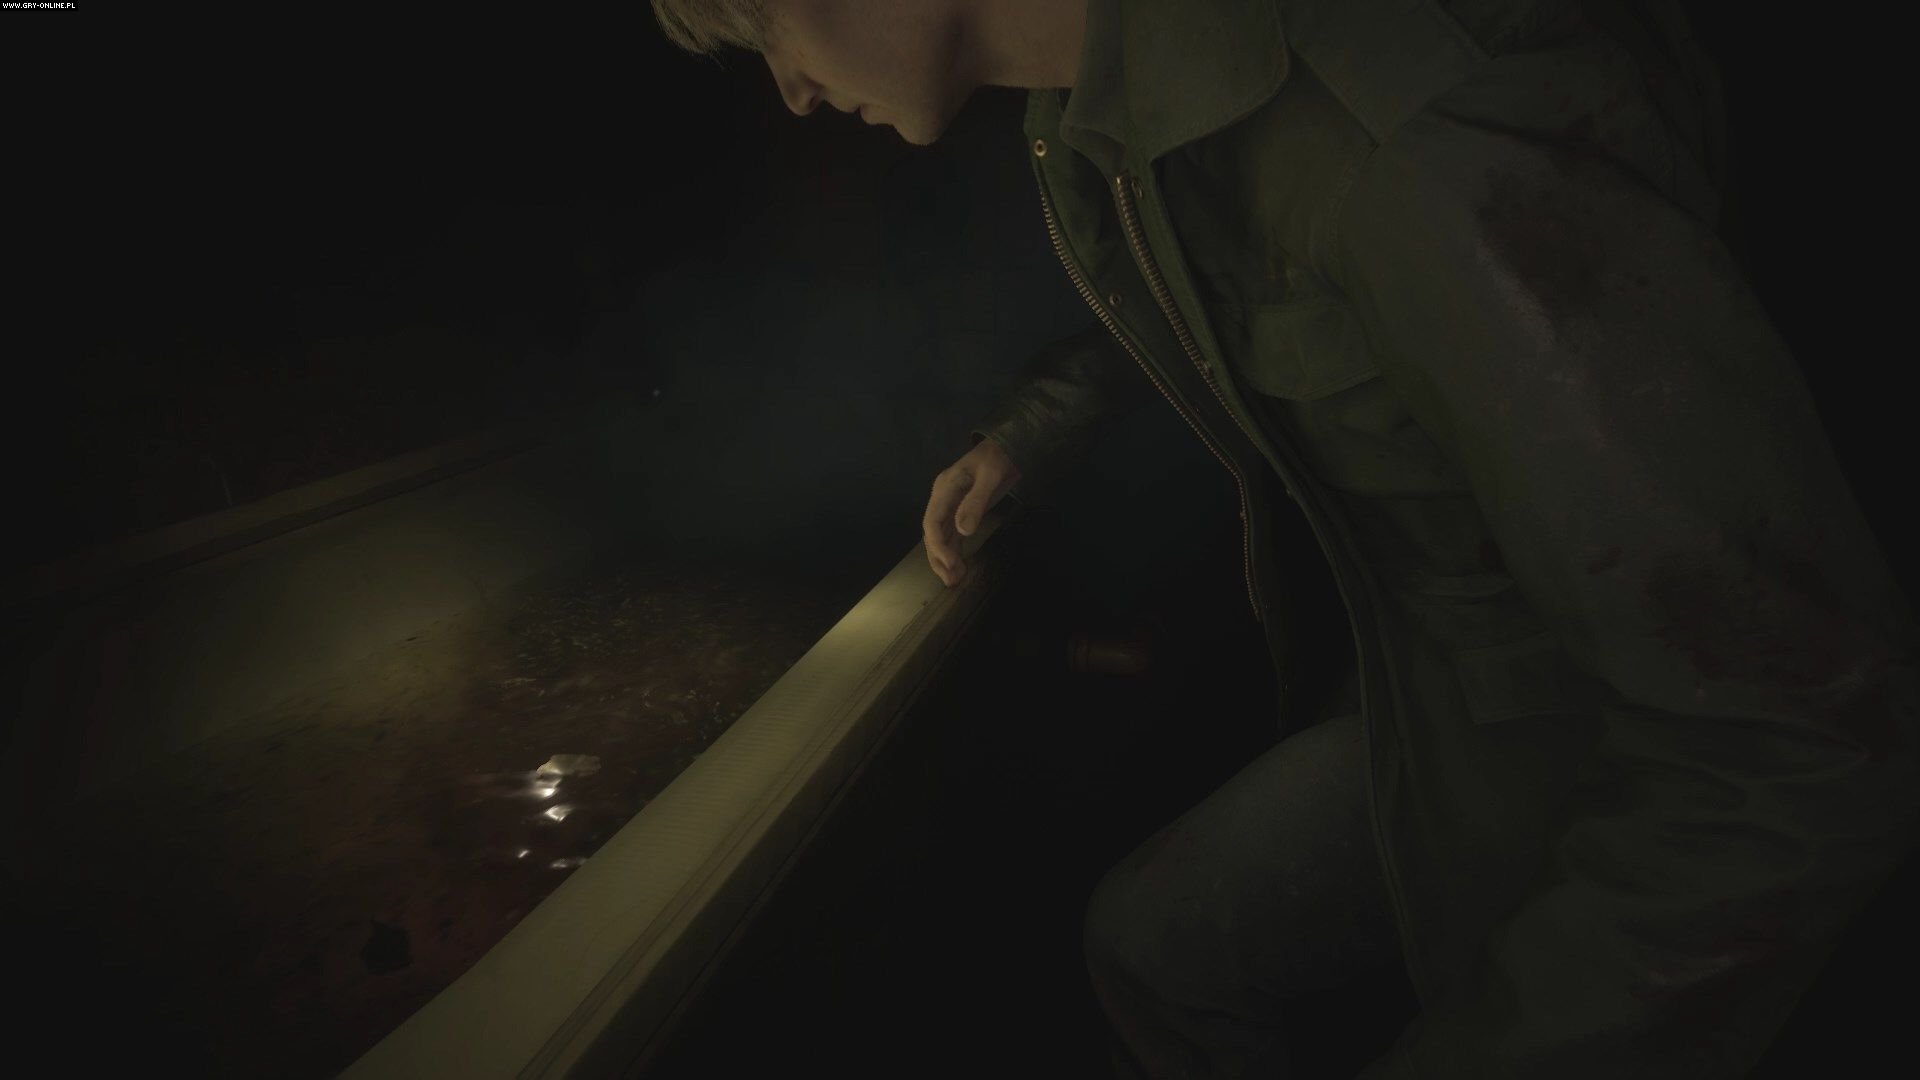
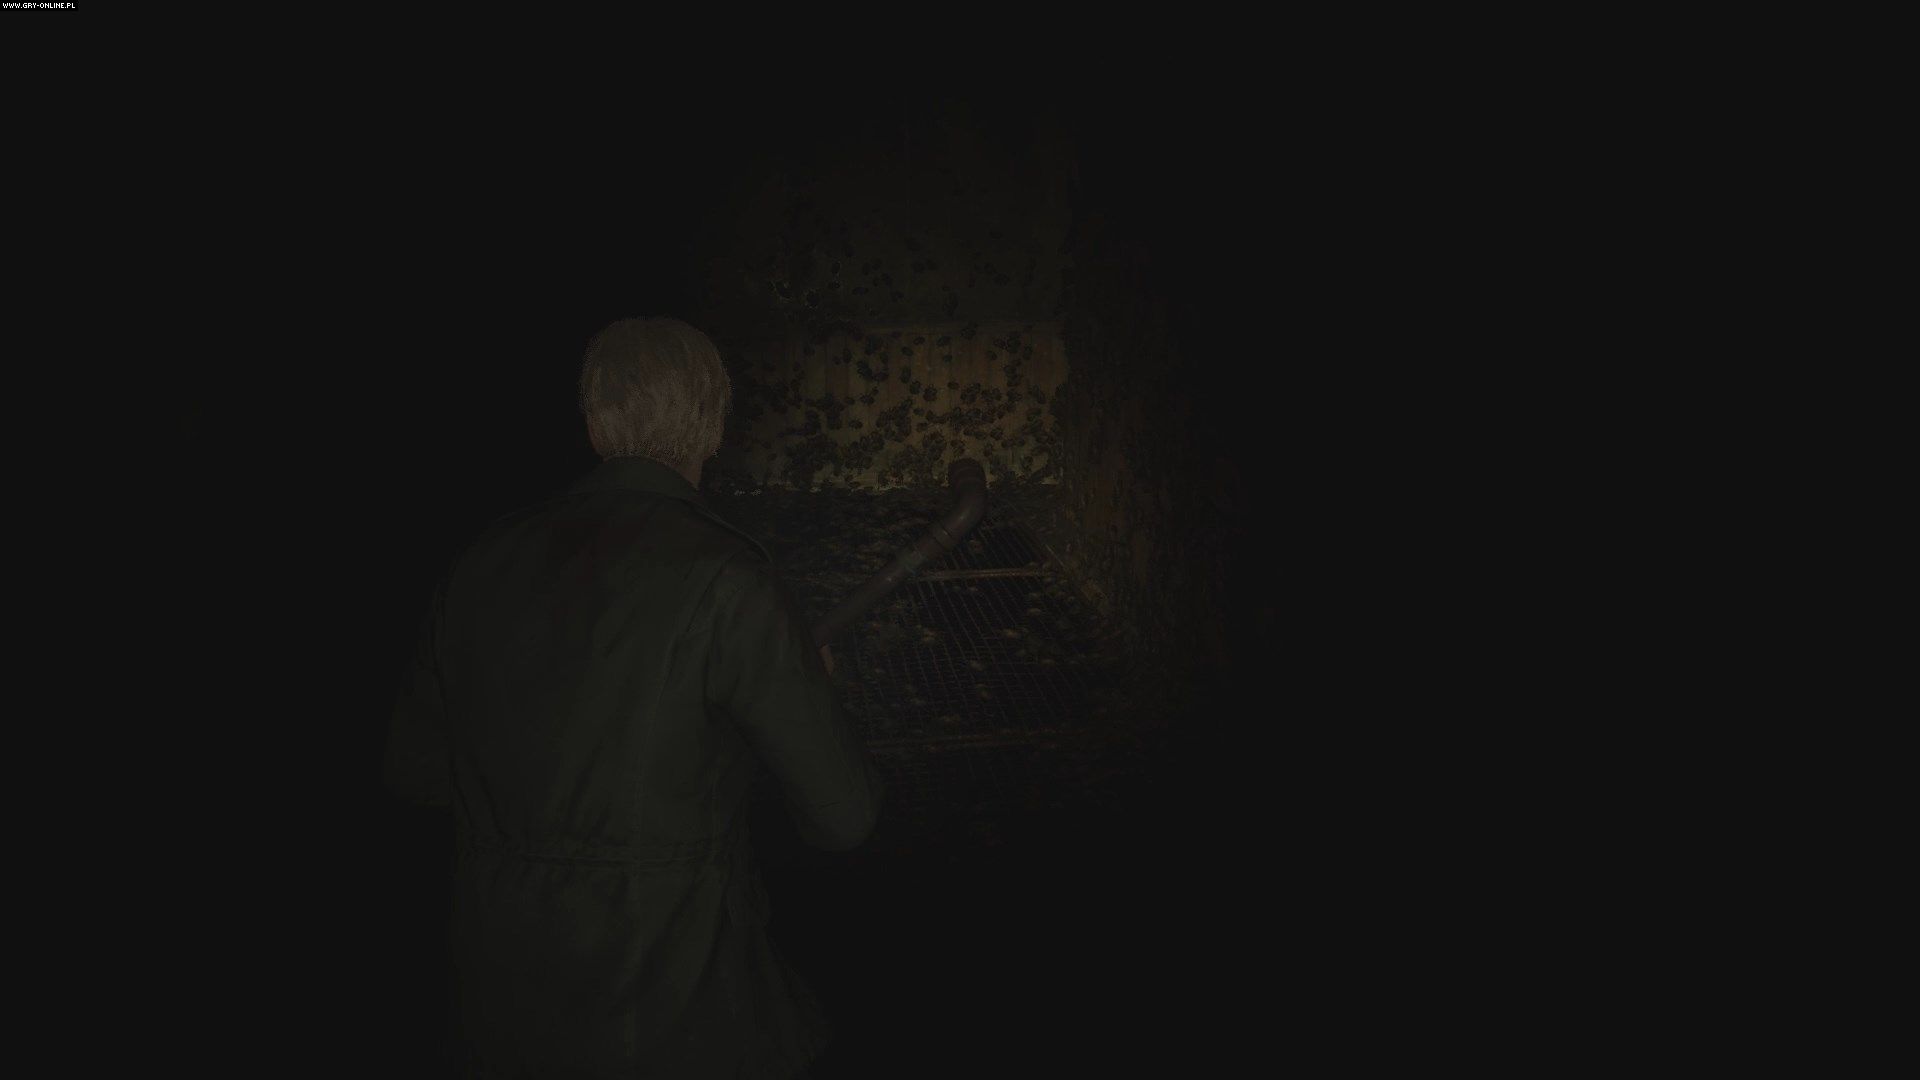
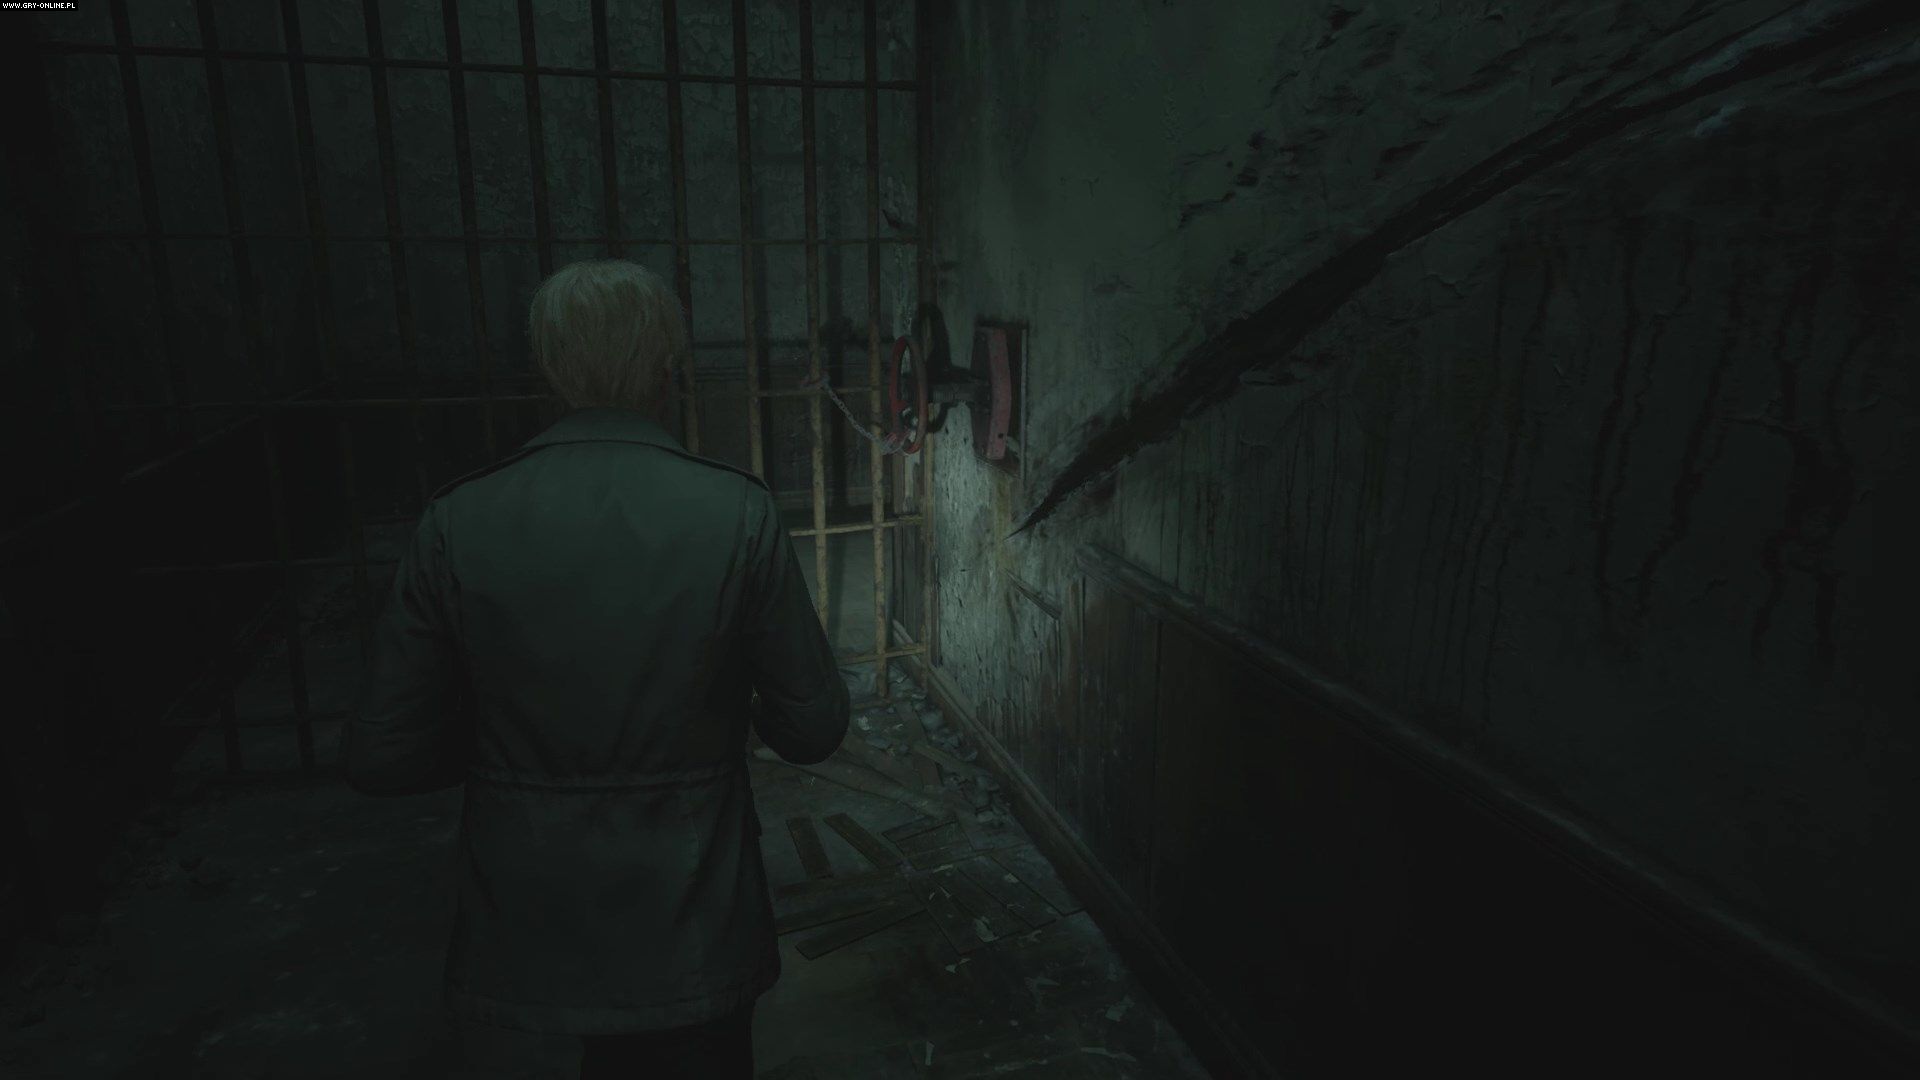
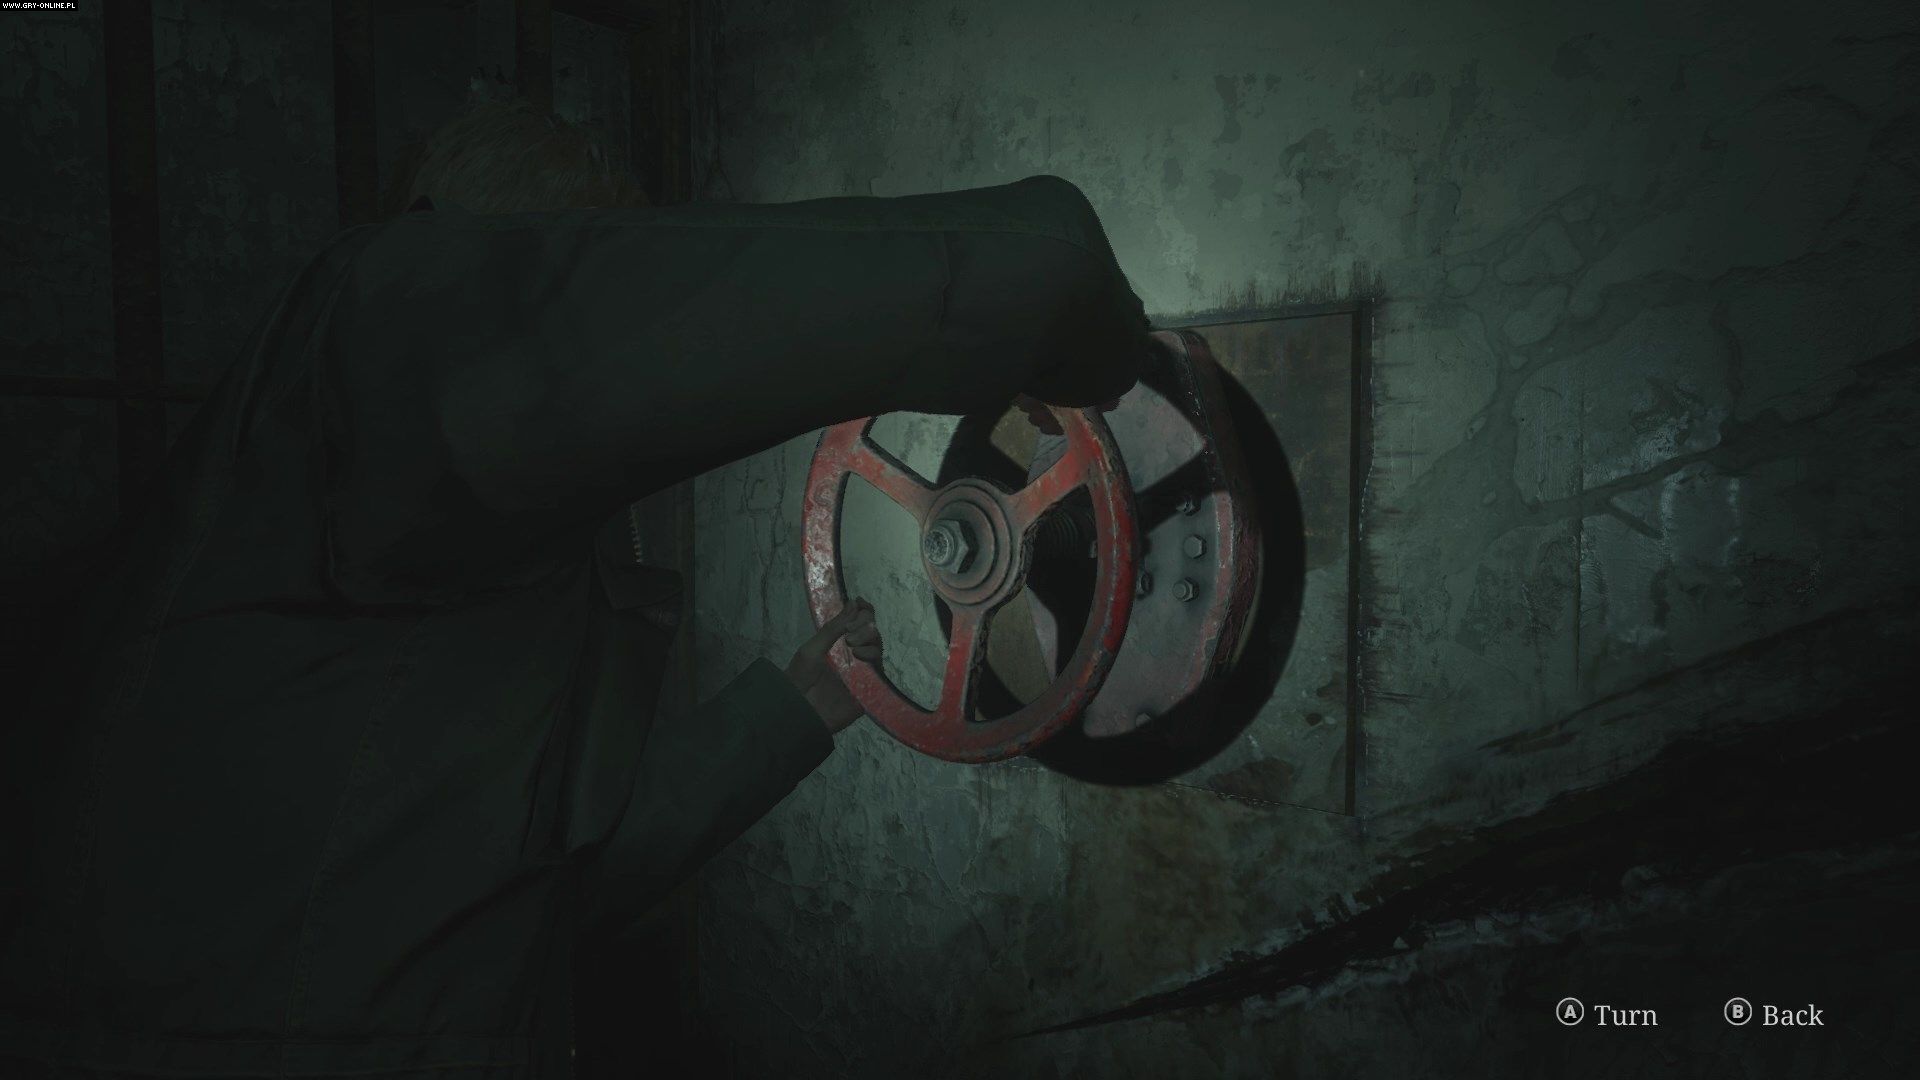
Once again, head to the eastern hall and open the locked door in its middle using a key. You will find yourself in the bathroom. You need to empty the bathtub of acid to retrieve the necessary item. For this purpose, squeeze through the crack in the bathroom wall and go to the very end of the narrow hall, where you have to turn the valve. Go back to the bathroom and take the broken lighter from the bathtub.
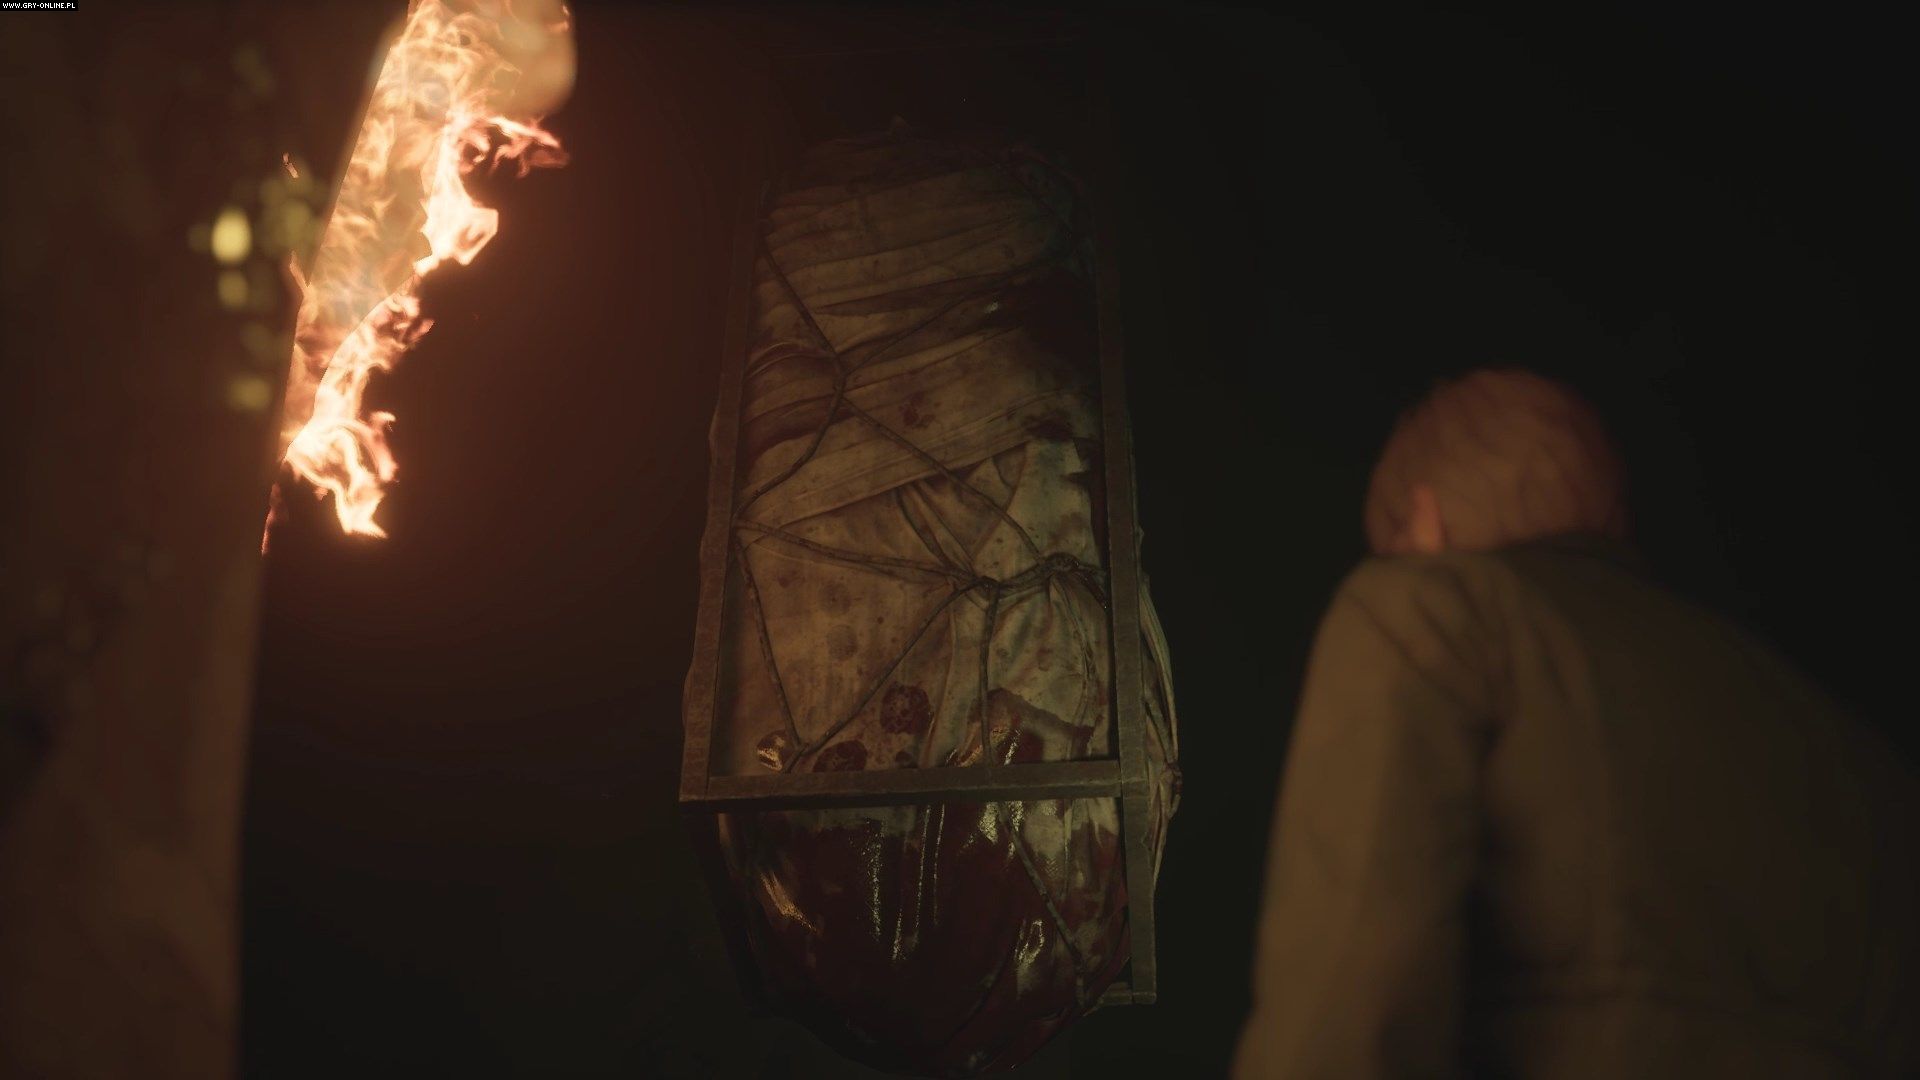
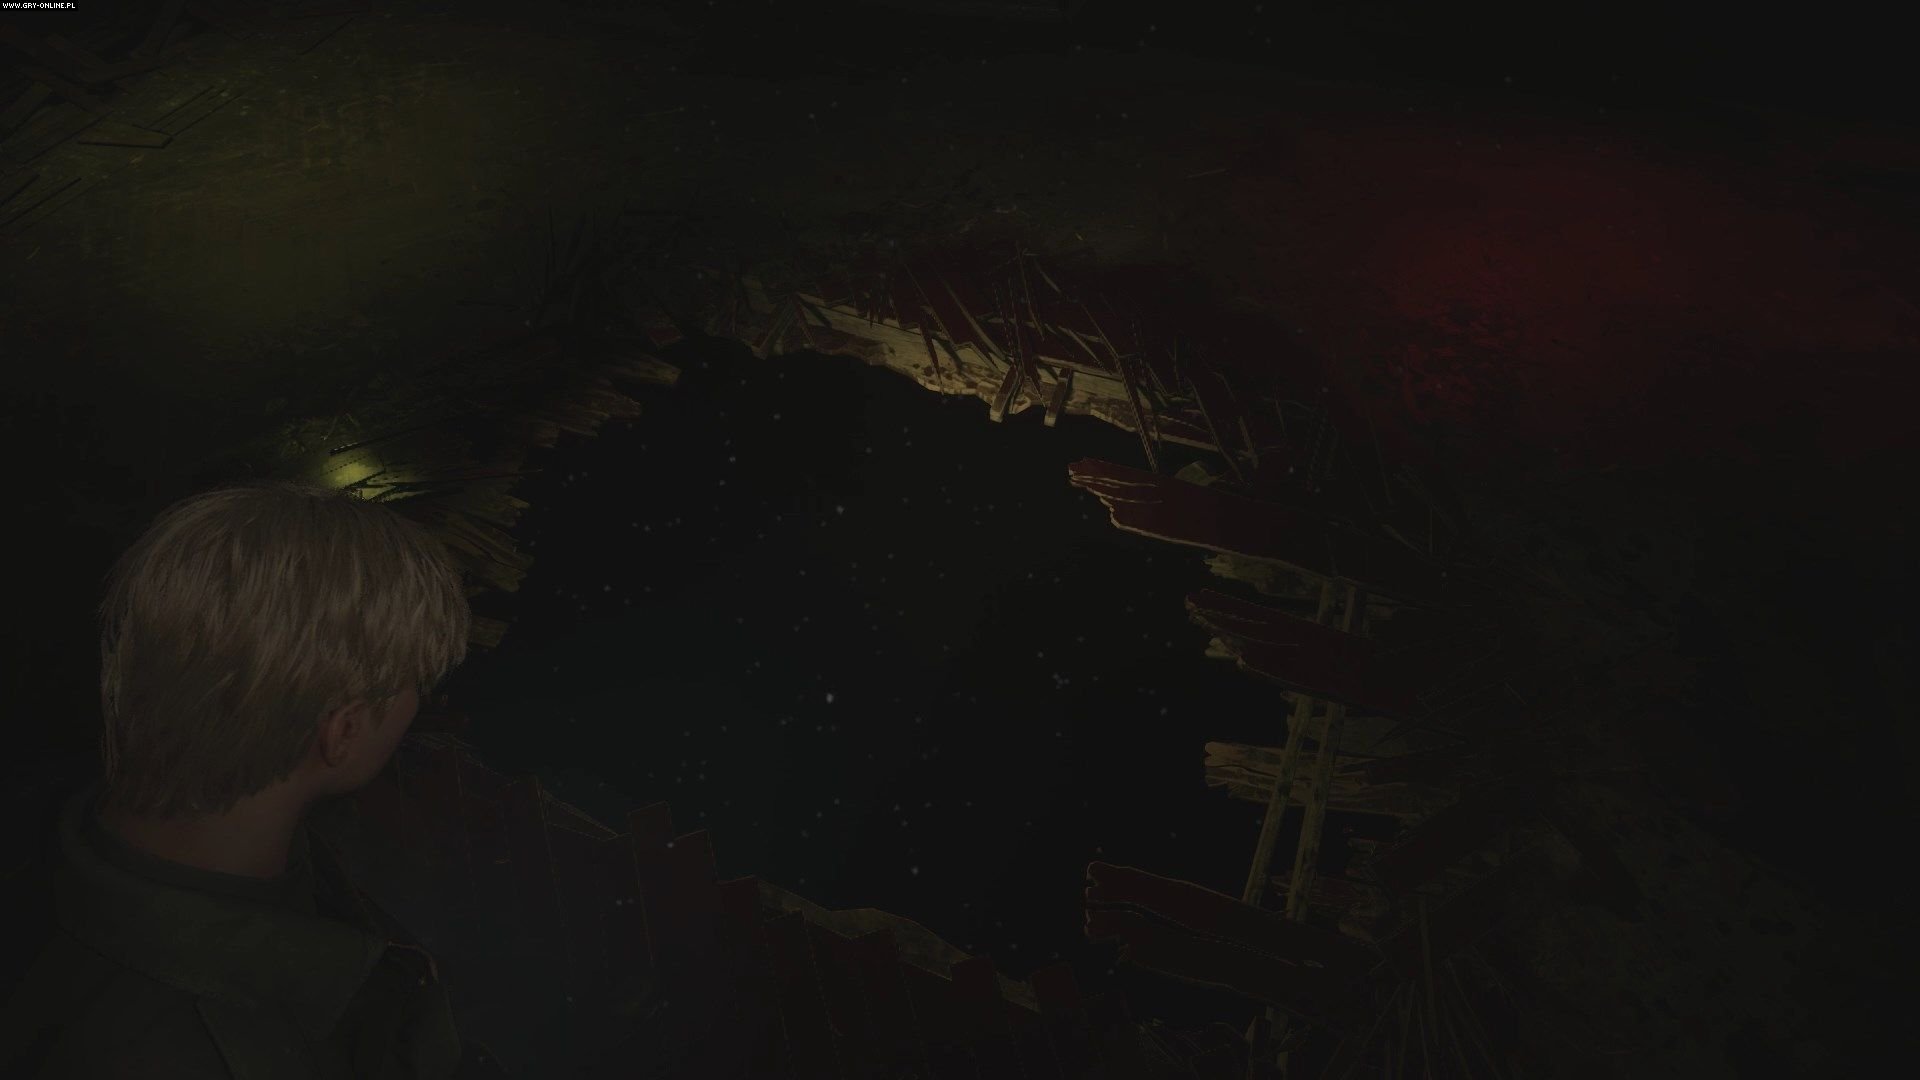
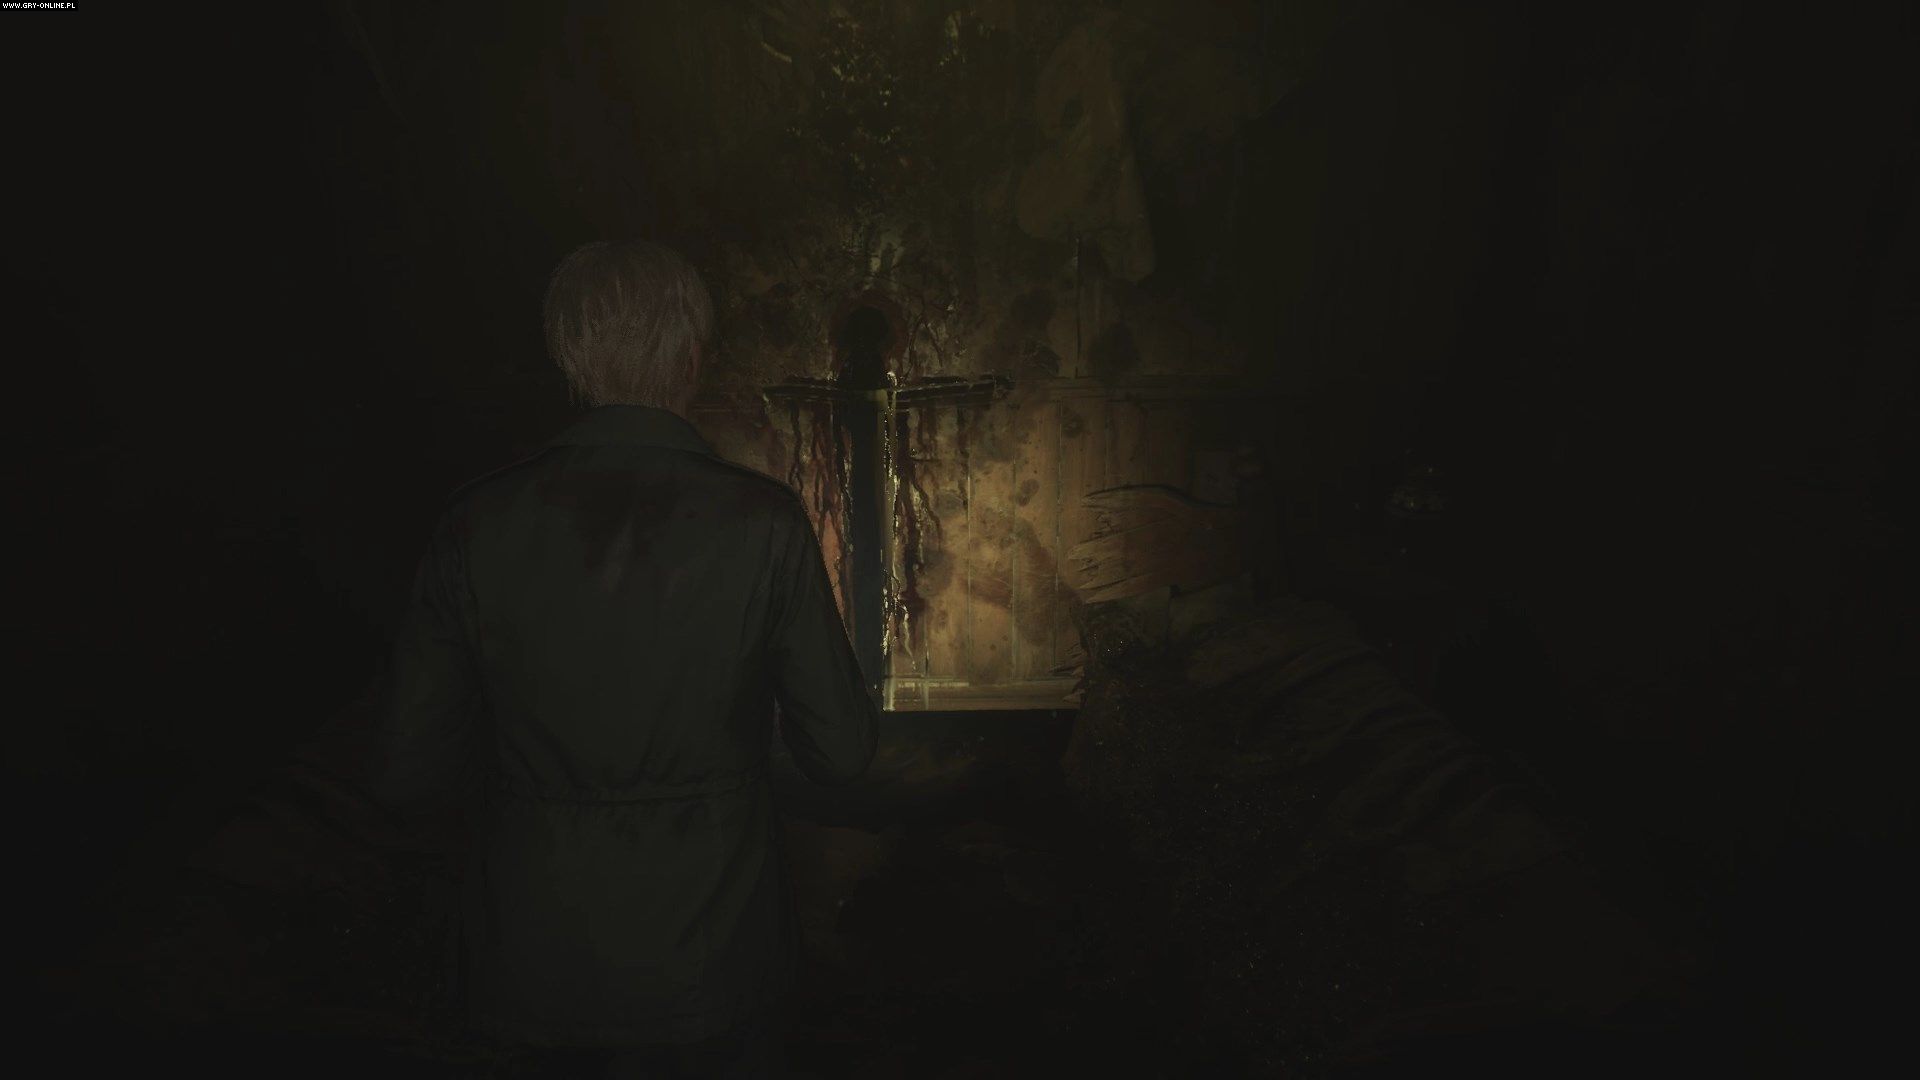
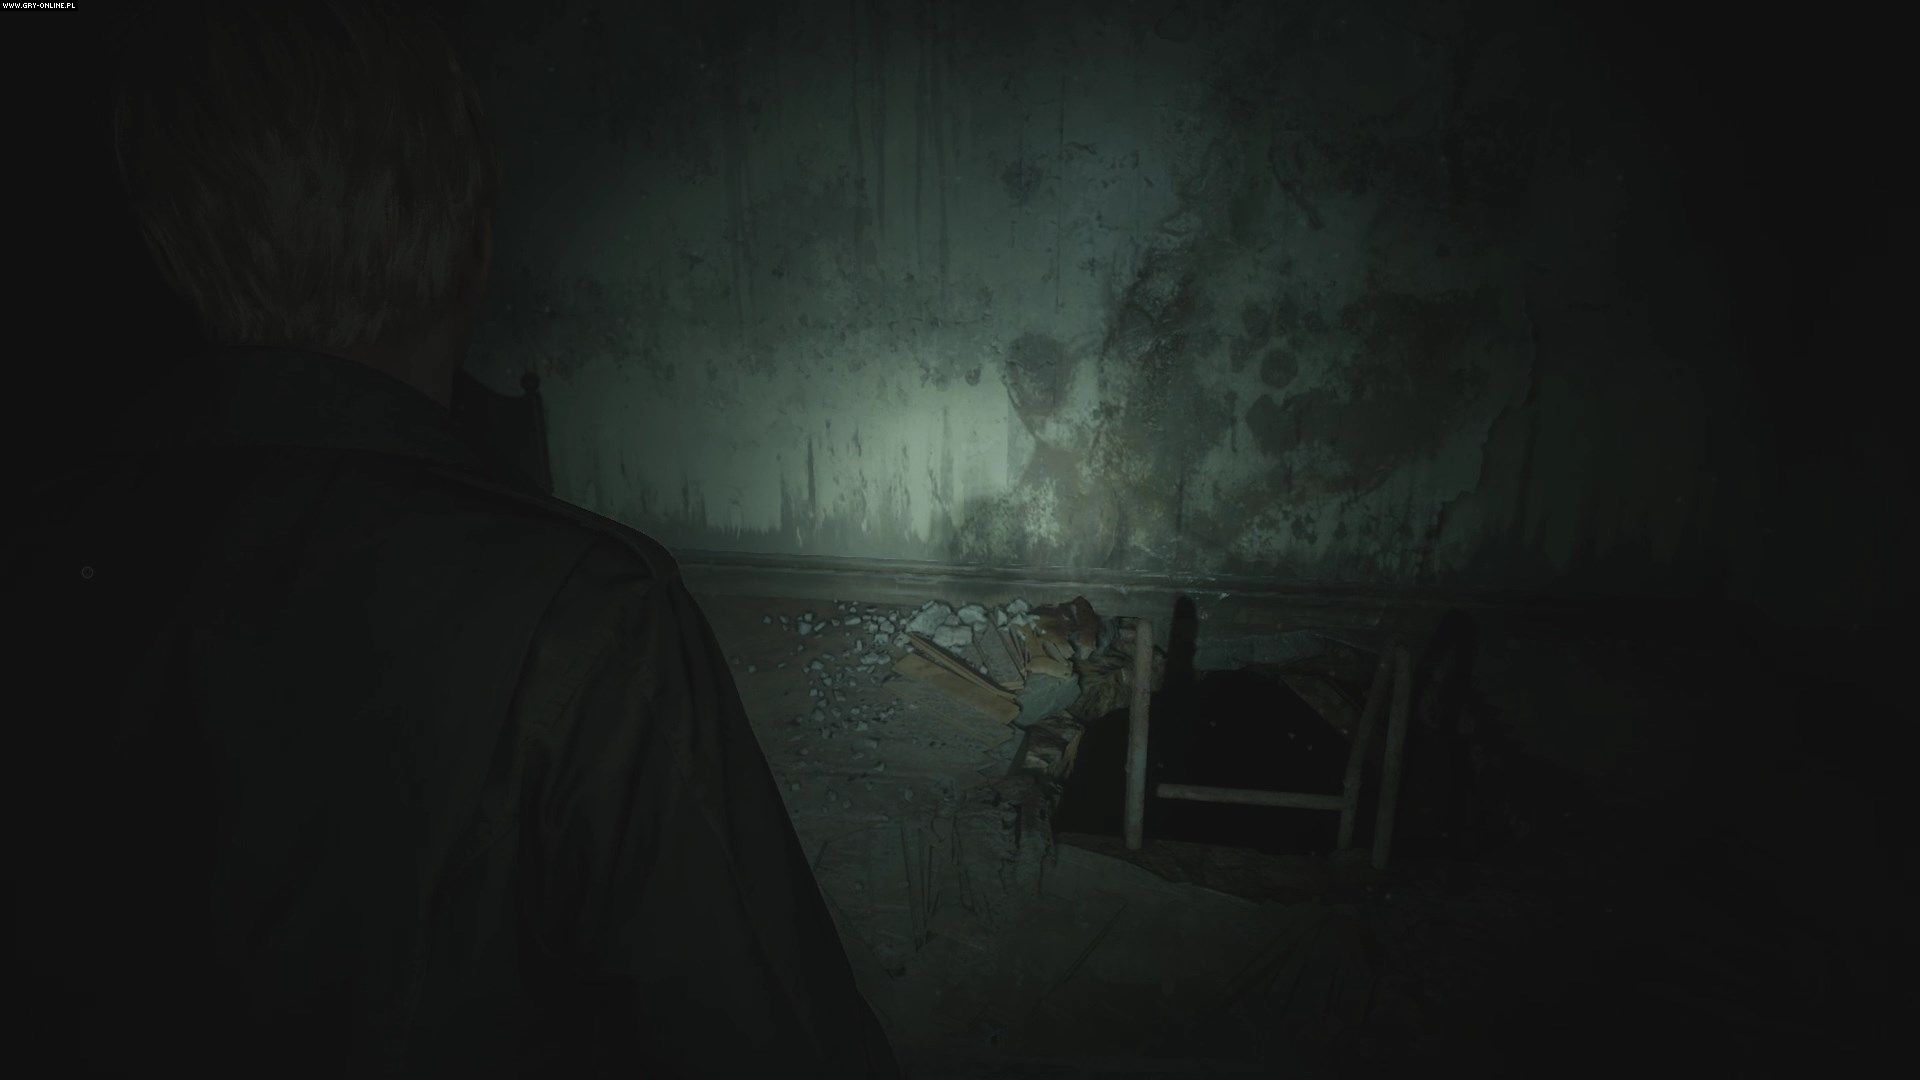
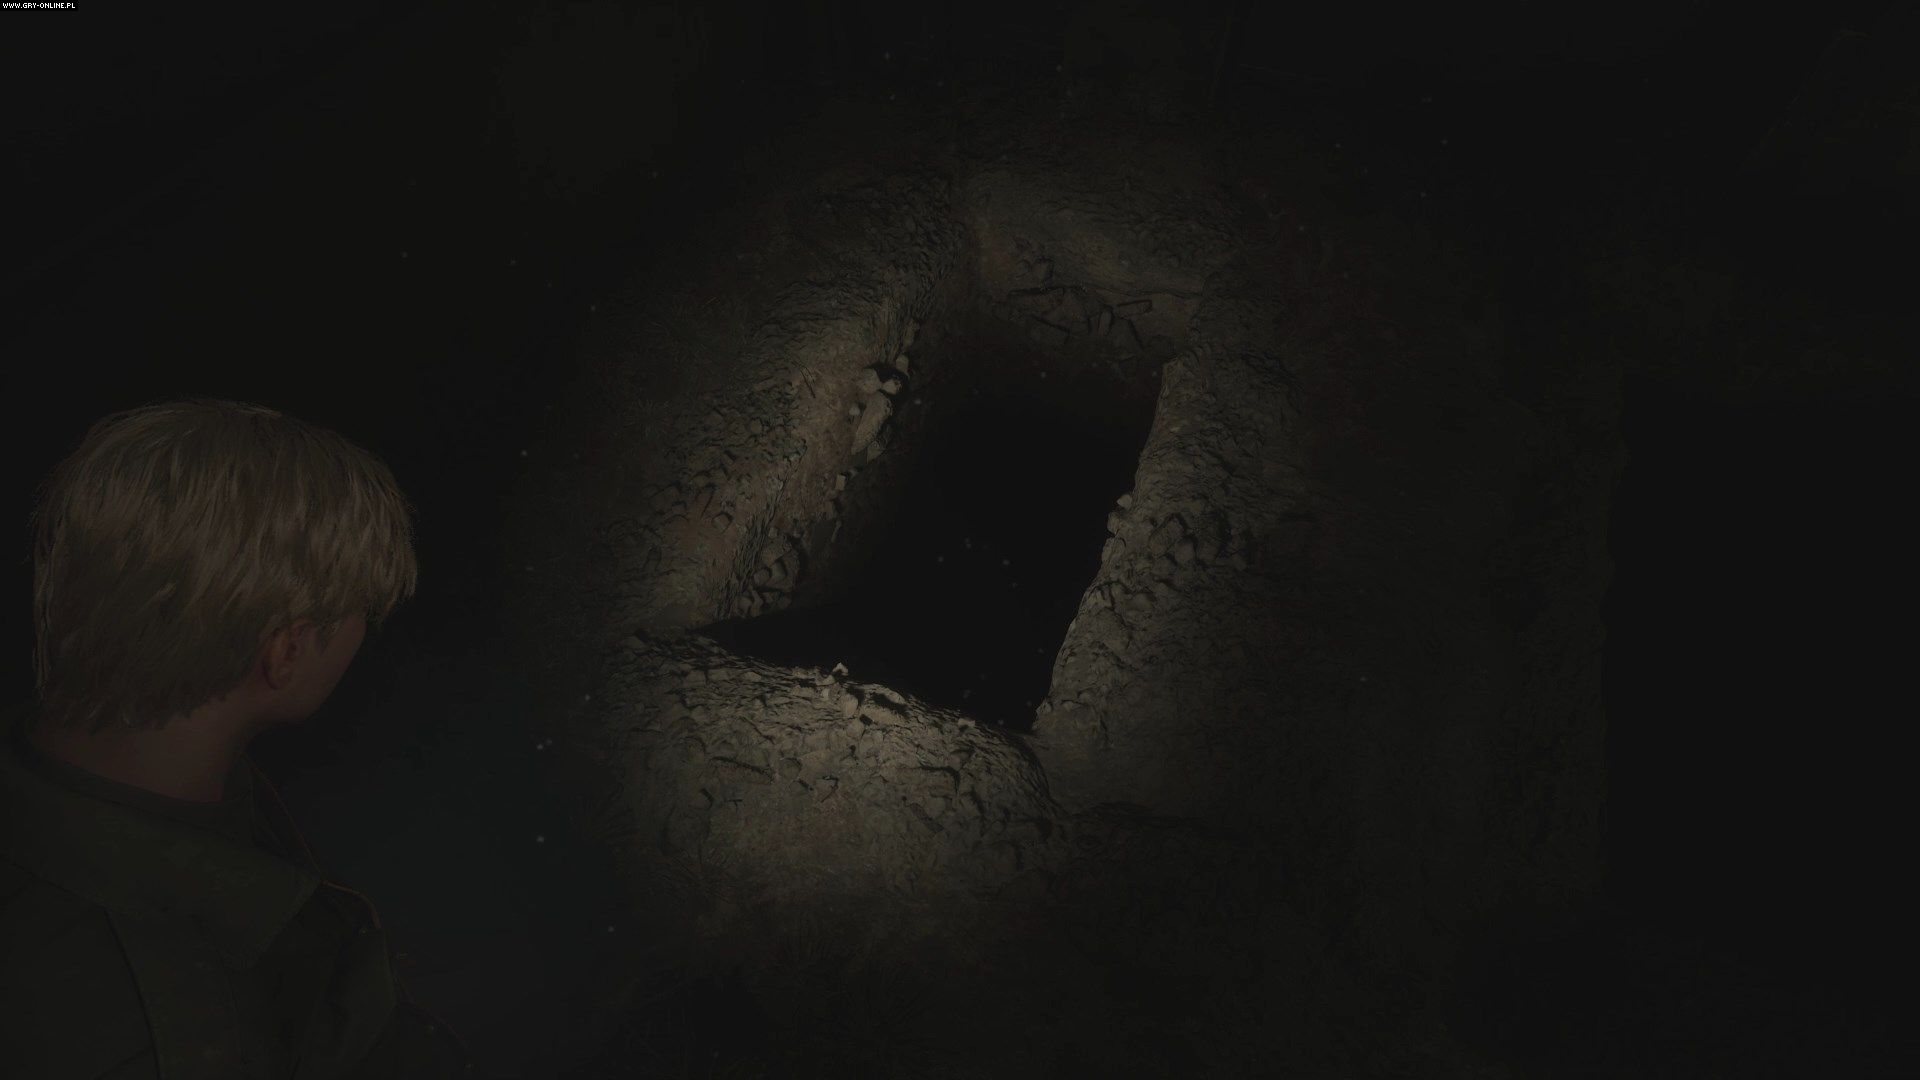
You can now return to the central room and assemble all parts of the lighter in your inventory. Burn the rope and the cage will fall from the ceiling and break through the floor. Drop down into the hole in the floor to complete the Rotten Area and return to the central section of the Labyrinth.
How to get through the Desolate Area of the Labyrinth?

To get to the next area, you must rotate the cube so that the double cross ending in an infinity symbol is in front of you. Once again, go up the stairs inside the cube and go through the long hall to the Desolate Area.
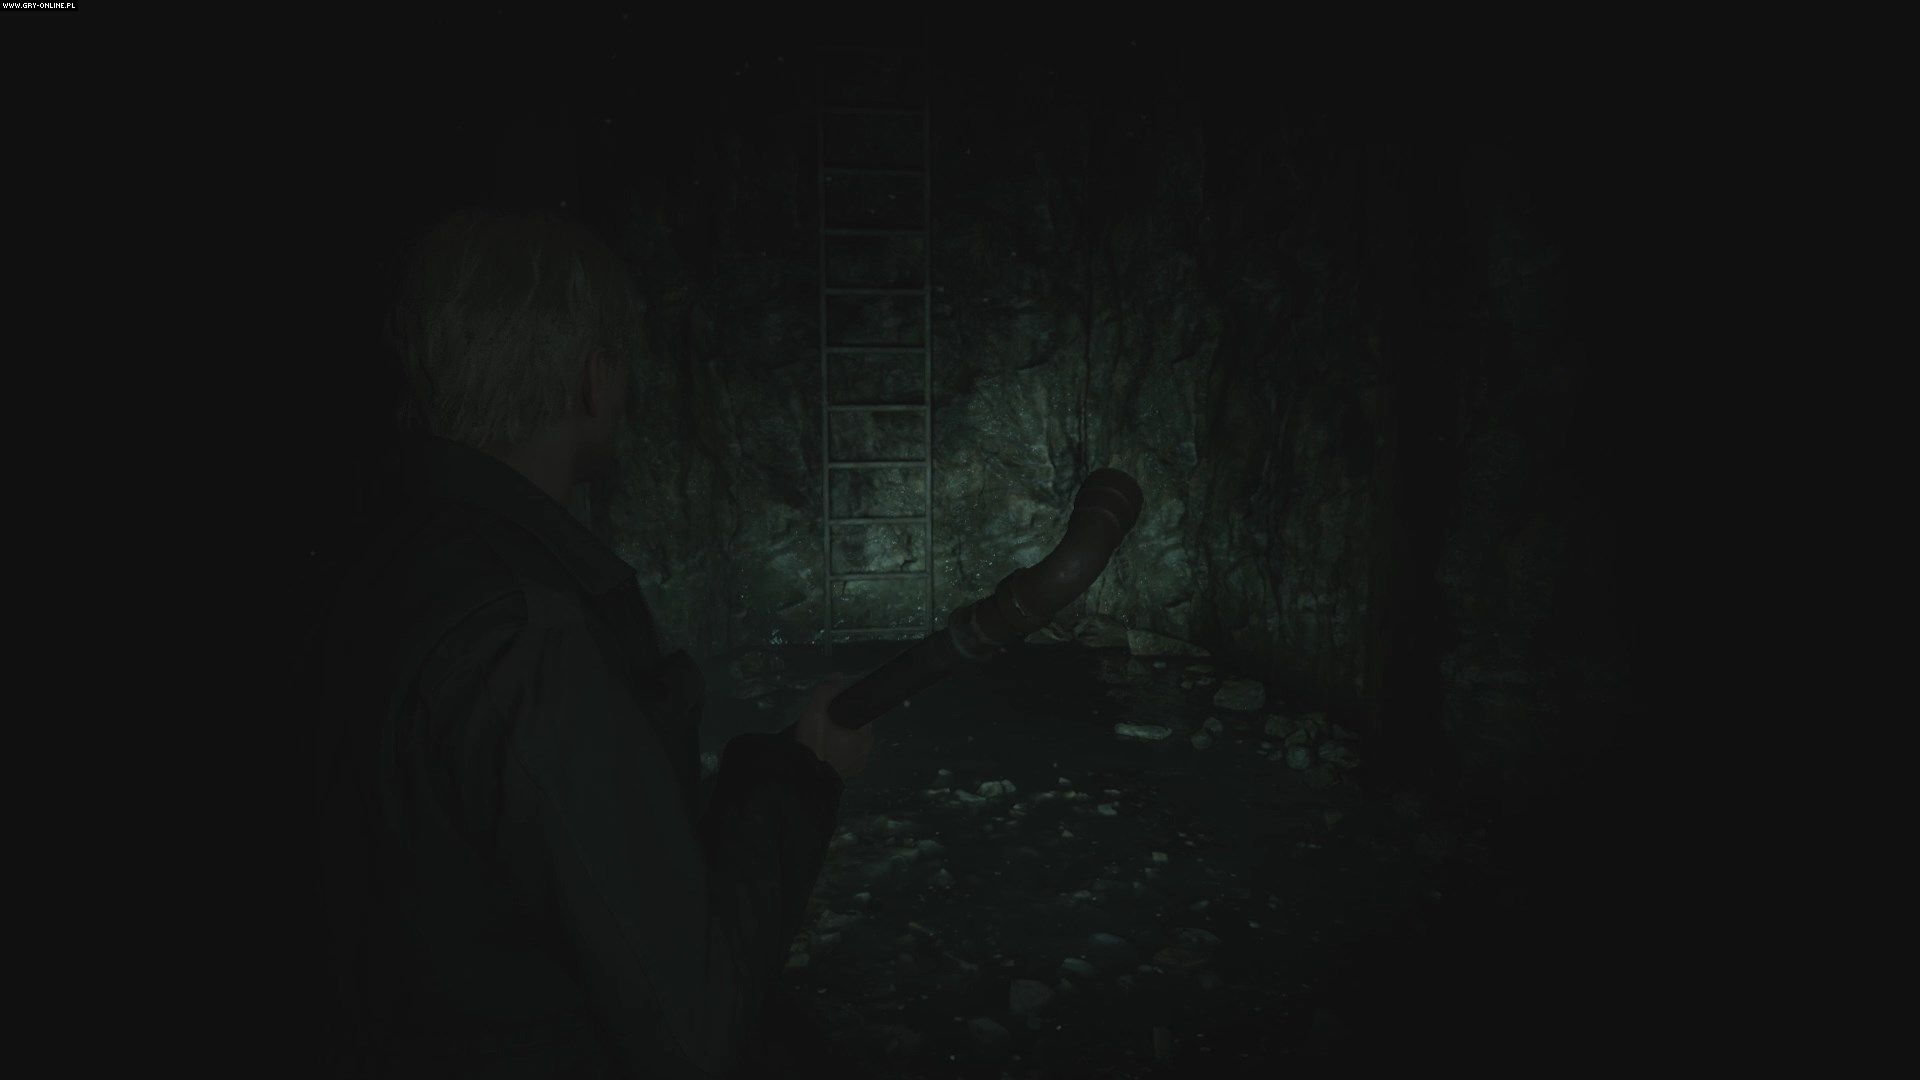
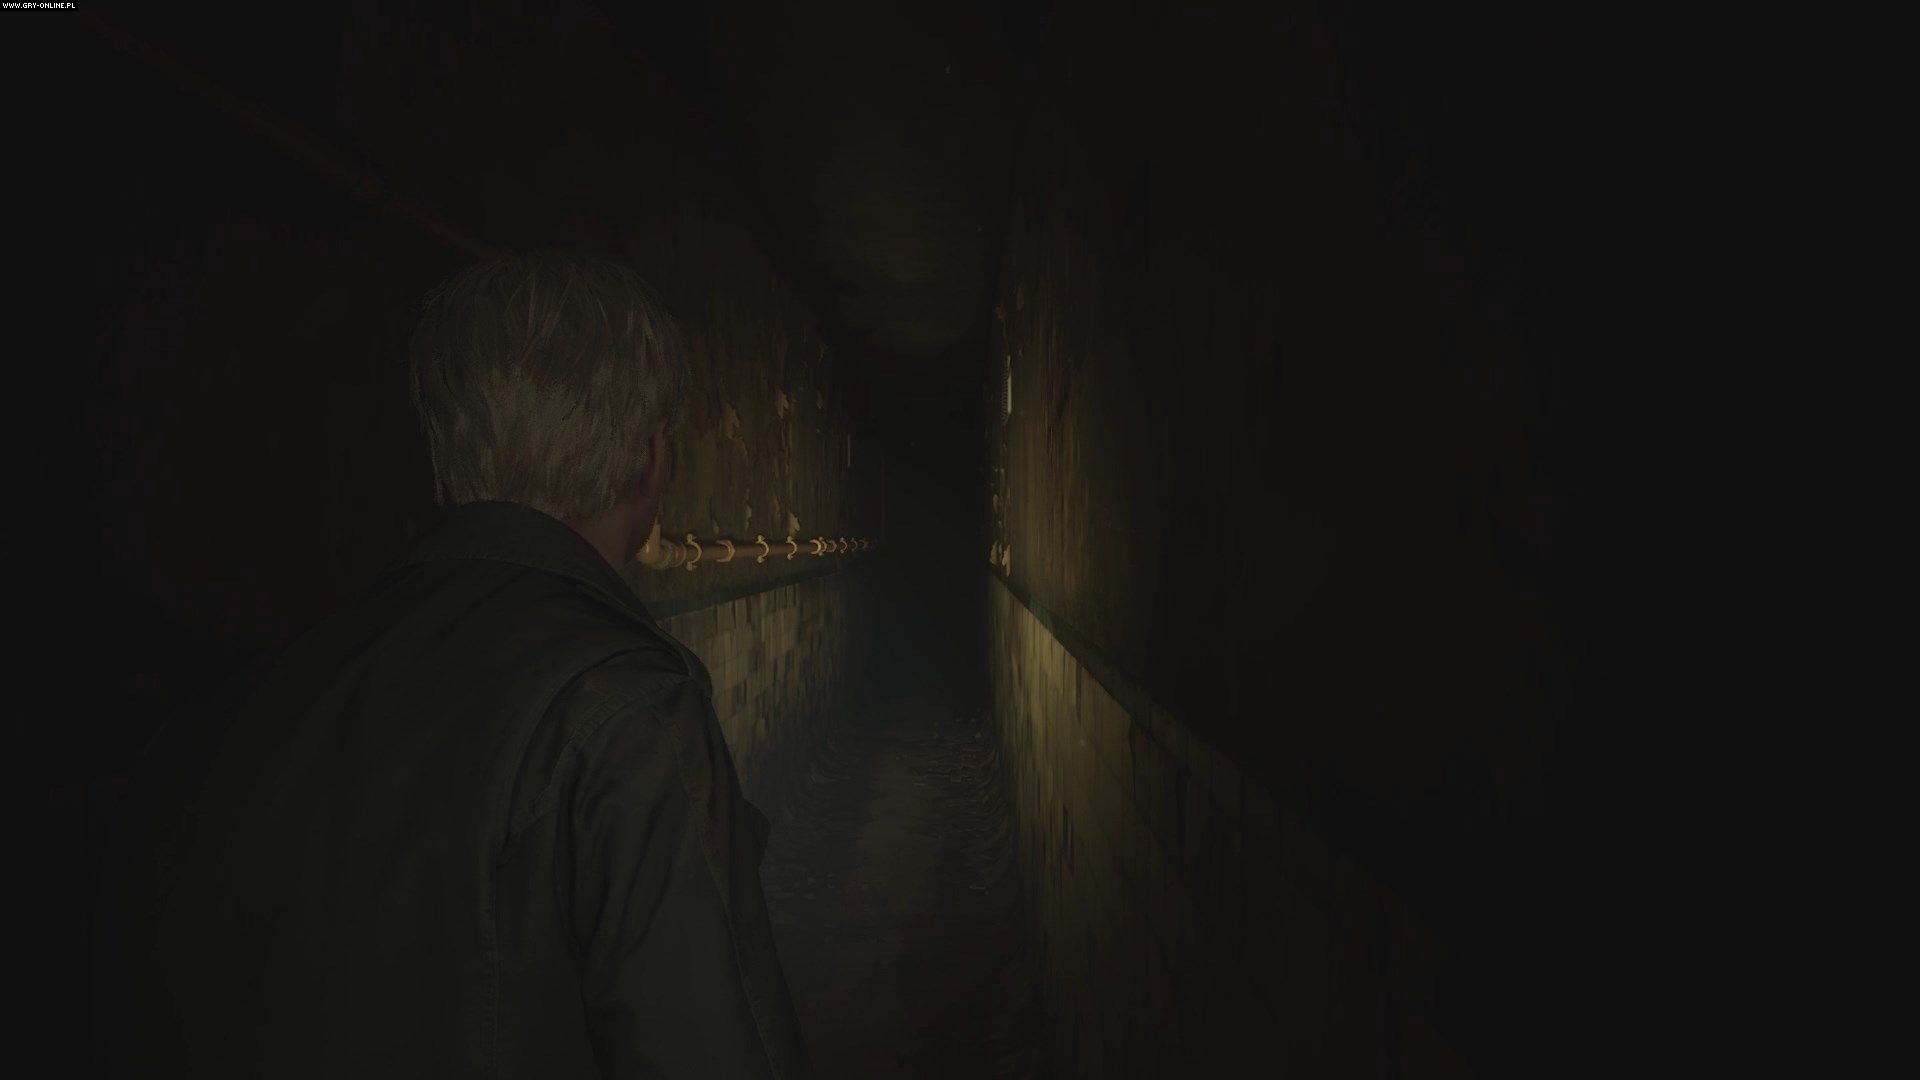
This section is full of numbered ladders. Head east to find ladder II and use it to get to the lower, flooded level. The linear hall will take you to ladder I.
In front of you, you will see a gate locked with handcuffs - you must find the key to open it. Go through the door next to you and head to the end of the linear hallway, until you reach ladder III. Another linear hall will take you straight to the handcuffs key, lying on an iron tray.
Open the door in this room to reach the previous hall, leading to ladder I. Go to it to return to the handcuffed gate. Open it with the key and turn the valve to open the grates.
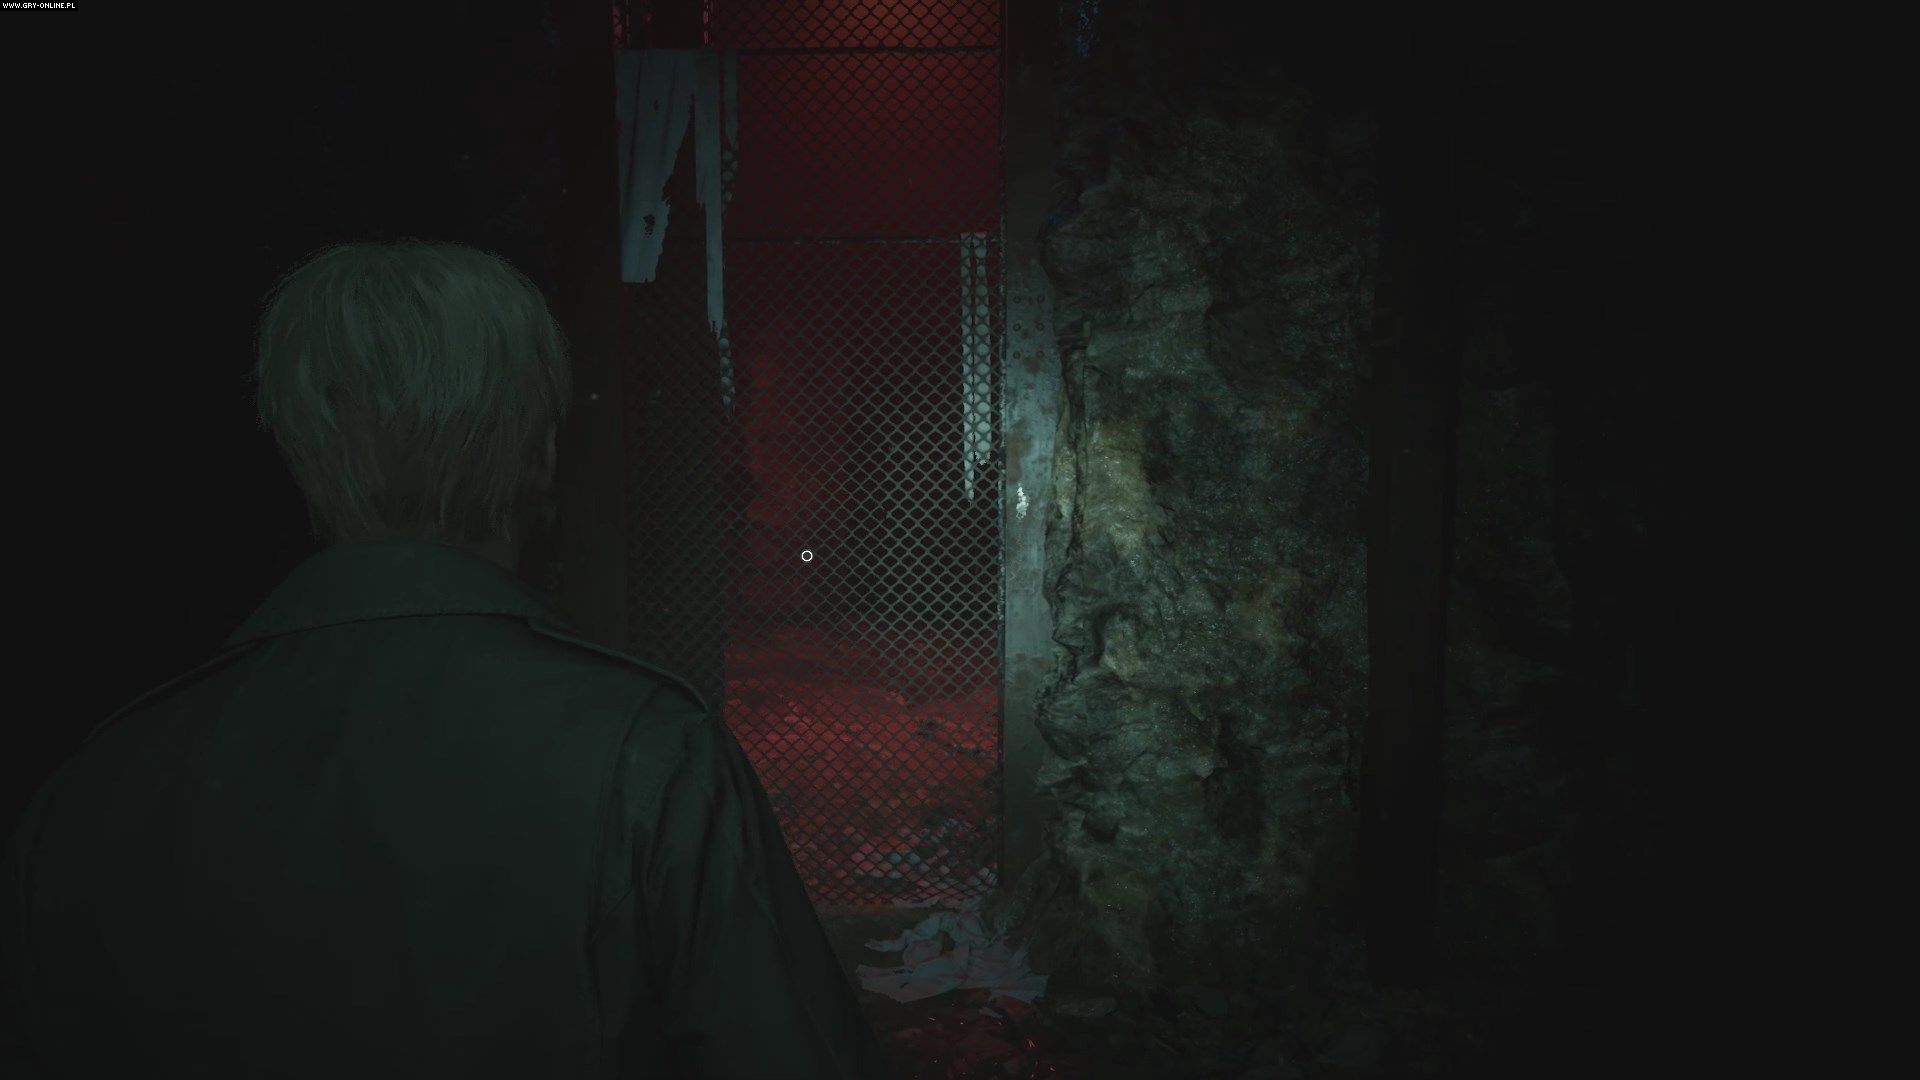
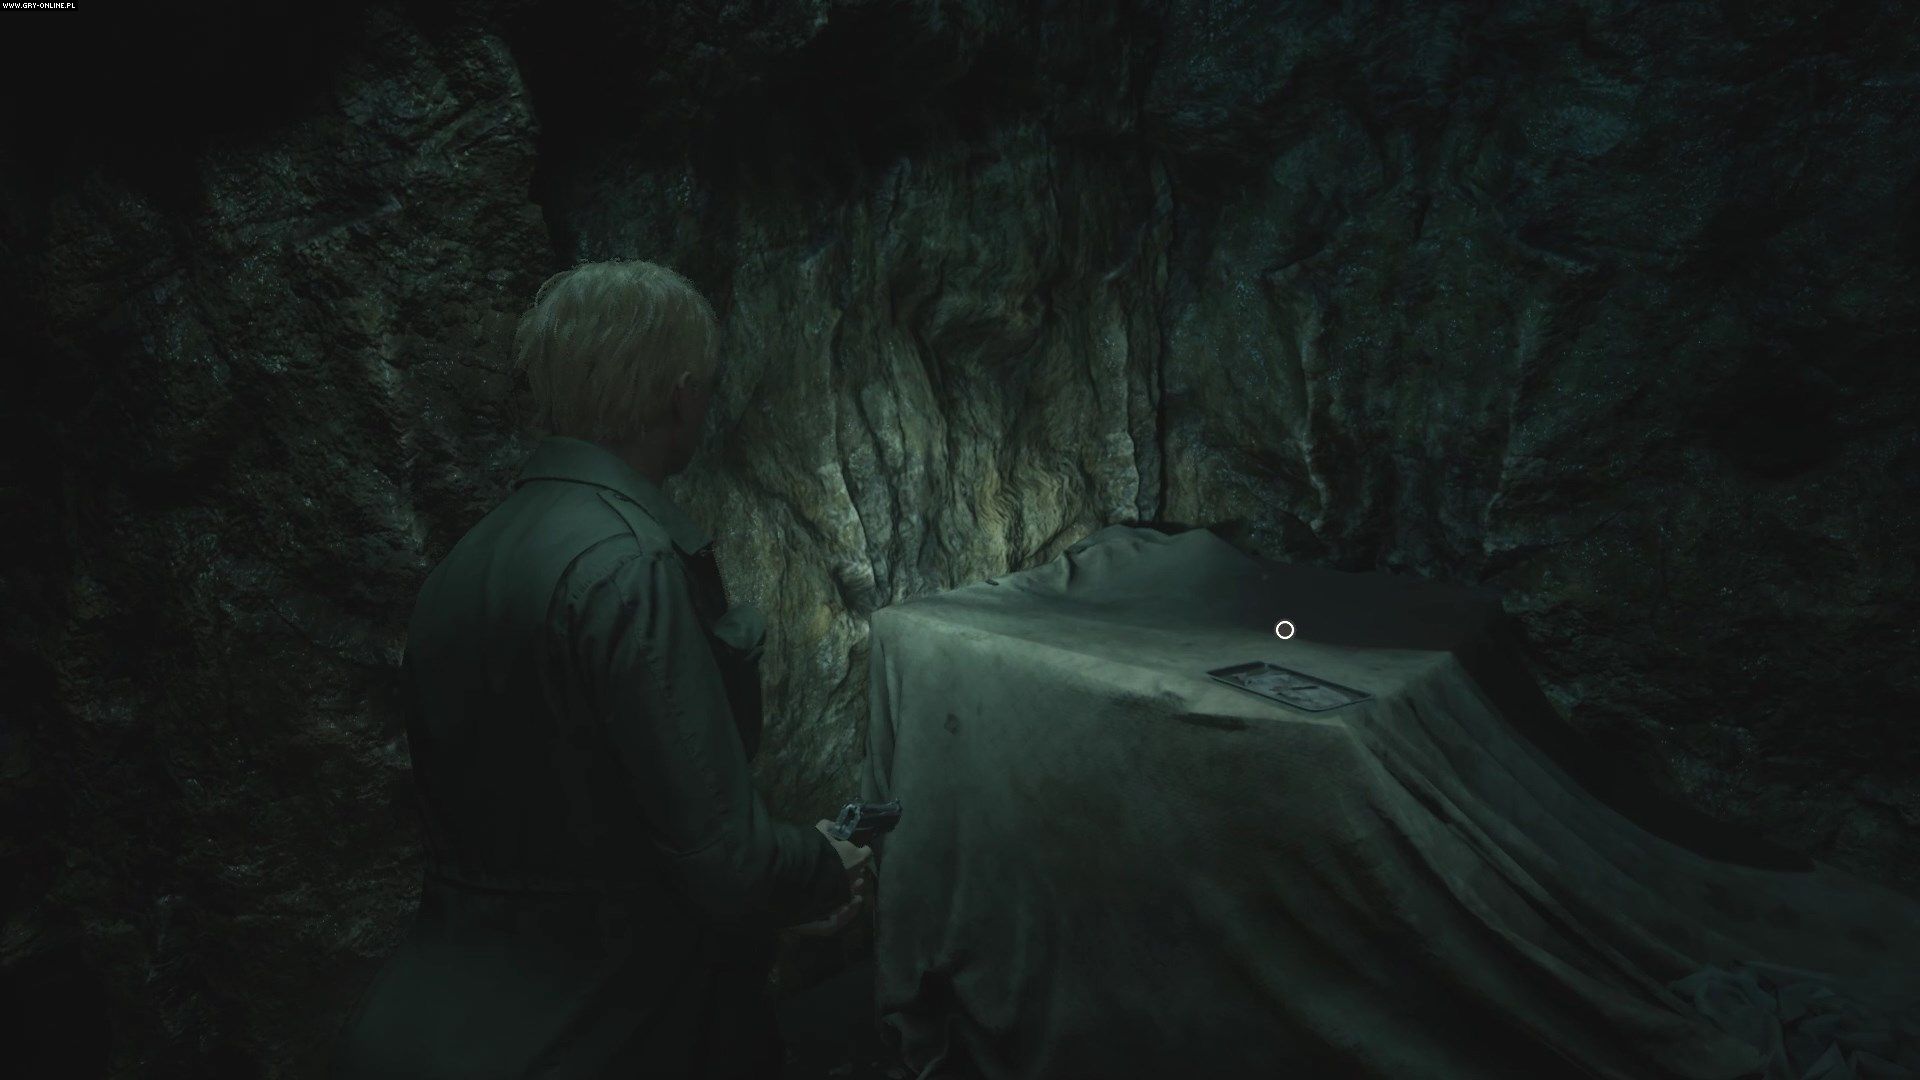
At the end of another linear hall, you will reach a room with a cart. You need to put it under a hole in the adjacent wall. You can use the gap the cart was covering to return to the nearby save point, but to proceed further you must go through the aforementioned hole. On the other side, you'll find ladder IV, which will lead you to the passage blocked by a barbed wire. To open it, you will need wire cutters.
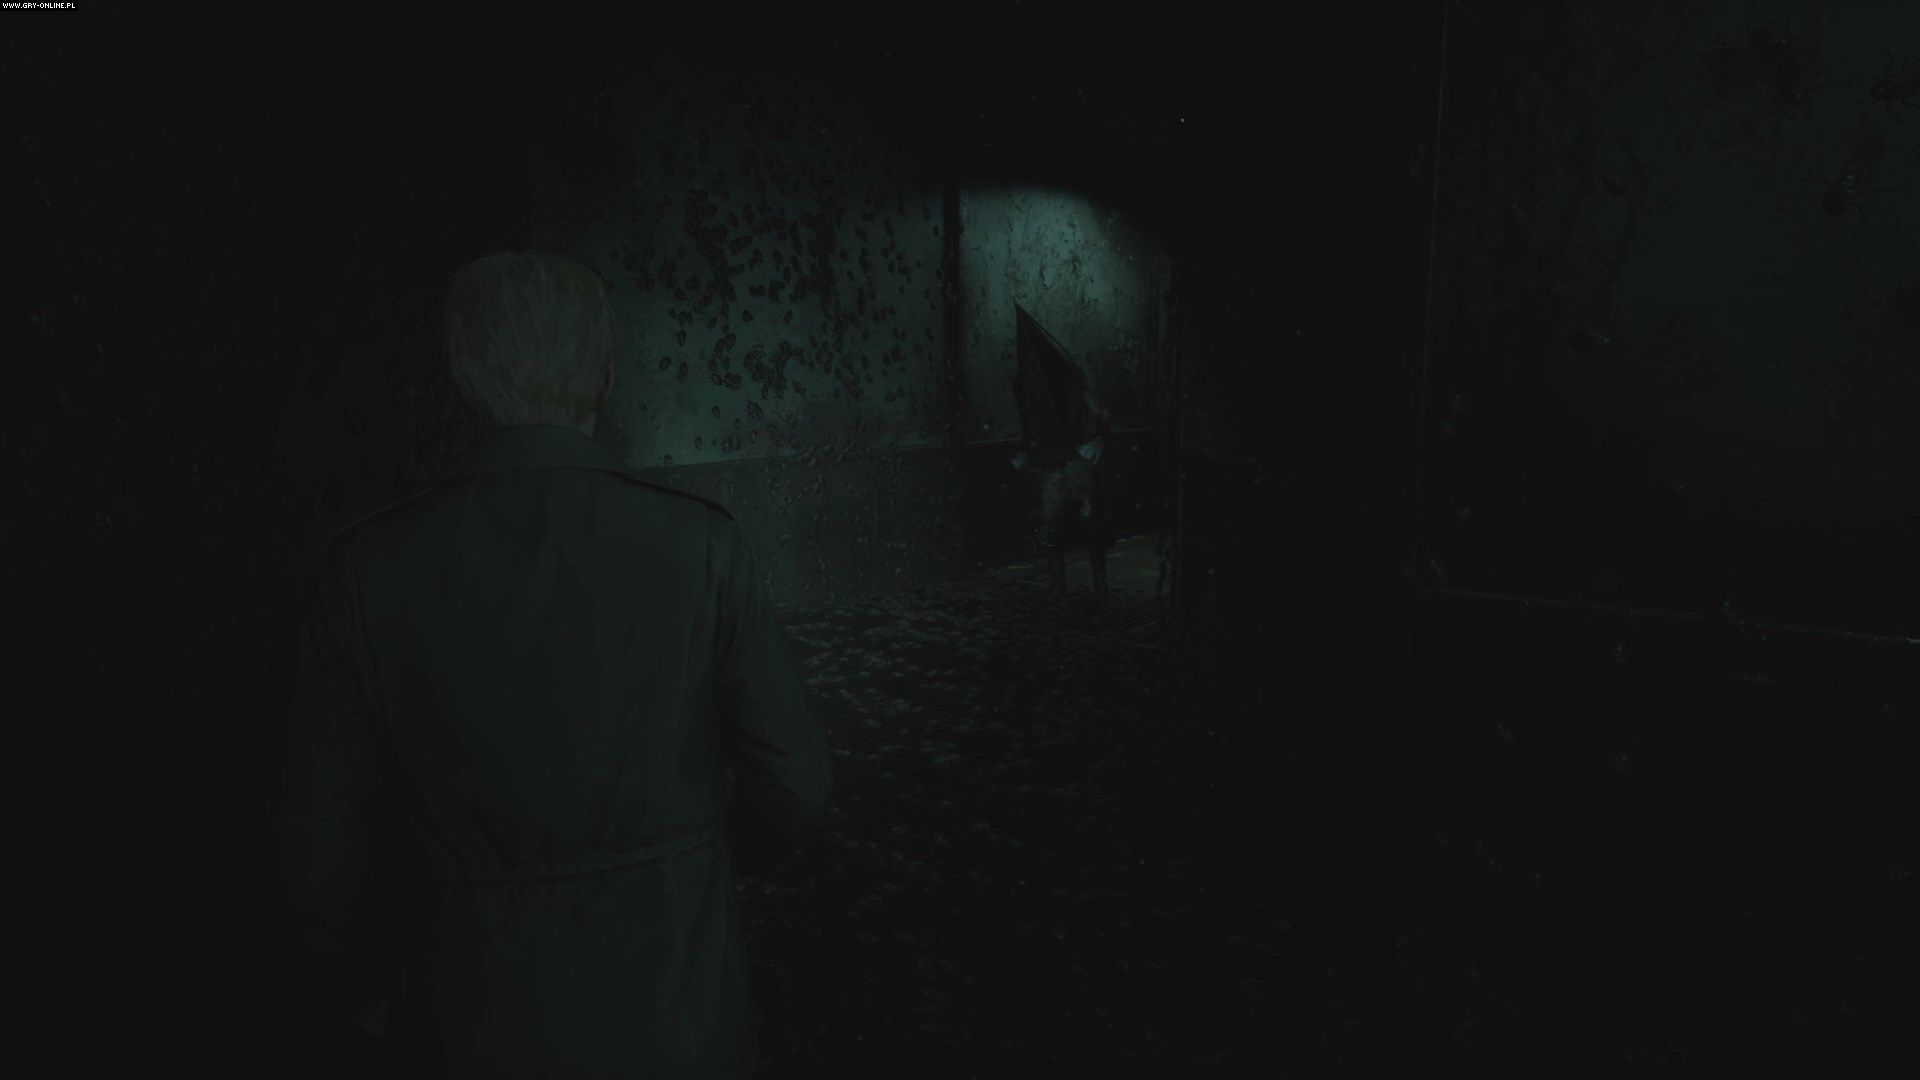

Keep going through the tunnel until you reach the ring-shaped hall. Turn left, towards the insects, to encounter an unpleasant surprise - Pyramid Head. Immediately run away from him in the other direction, without looking back, until you reach the double doors. Behind them is a cracked wall - quickly destroy it and squeeze through to the other side, then climb up the ladder. You will be safe there - at least for now.

Go through the next linear hall, at the end of which you will find wire cutters. You must now return to the barbed wire - straight through the ring corridor where Pyramid Head is still waiting. Climb down the ladder again to the Pyramid Head's hideout, from where you have to run to the tunnel and the barbed wire. Sprint, always assuming that the enemy is right behind you. If the enemy stand in your way, turn around and keep going. Upon reaching the tunnel, keep running until you reach the barbed wire, quickly cut it using the cutters and jump into the hole in the floor on the other side to complete the Desolate Area. Once again you will return to the central section of the Labyrinth.
How to get through the Ruined Area of the Labyrinth?
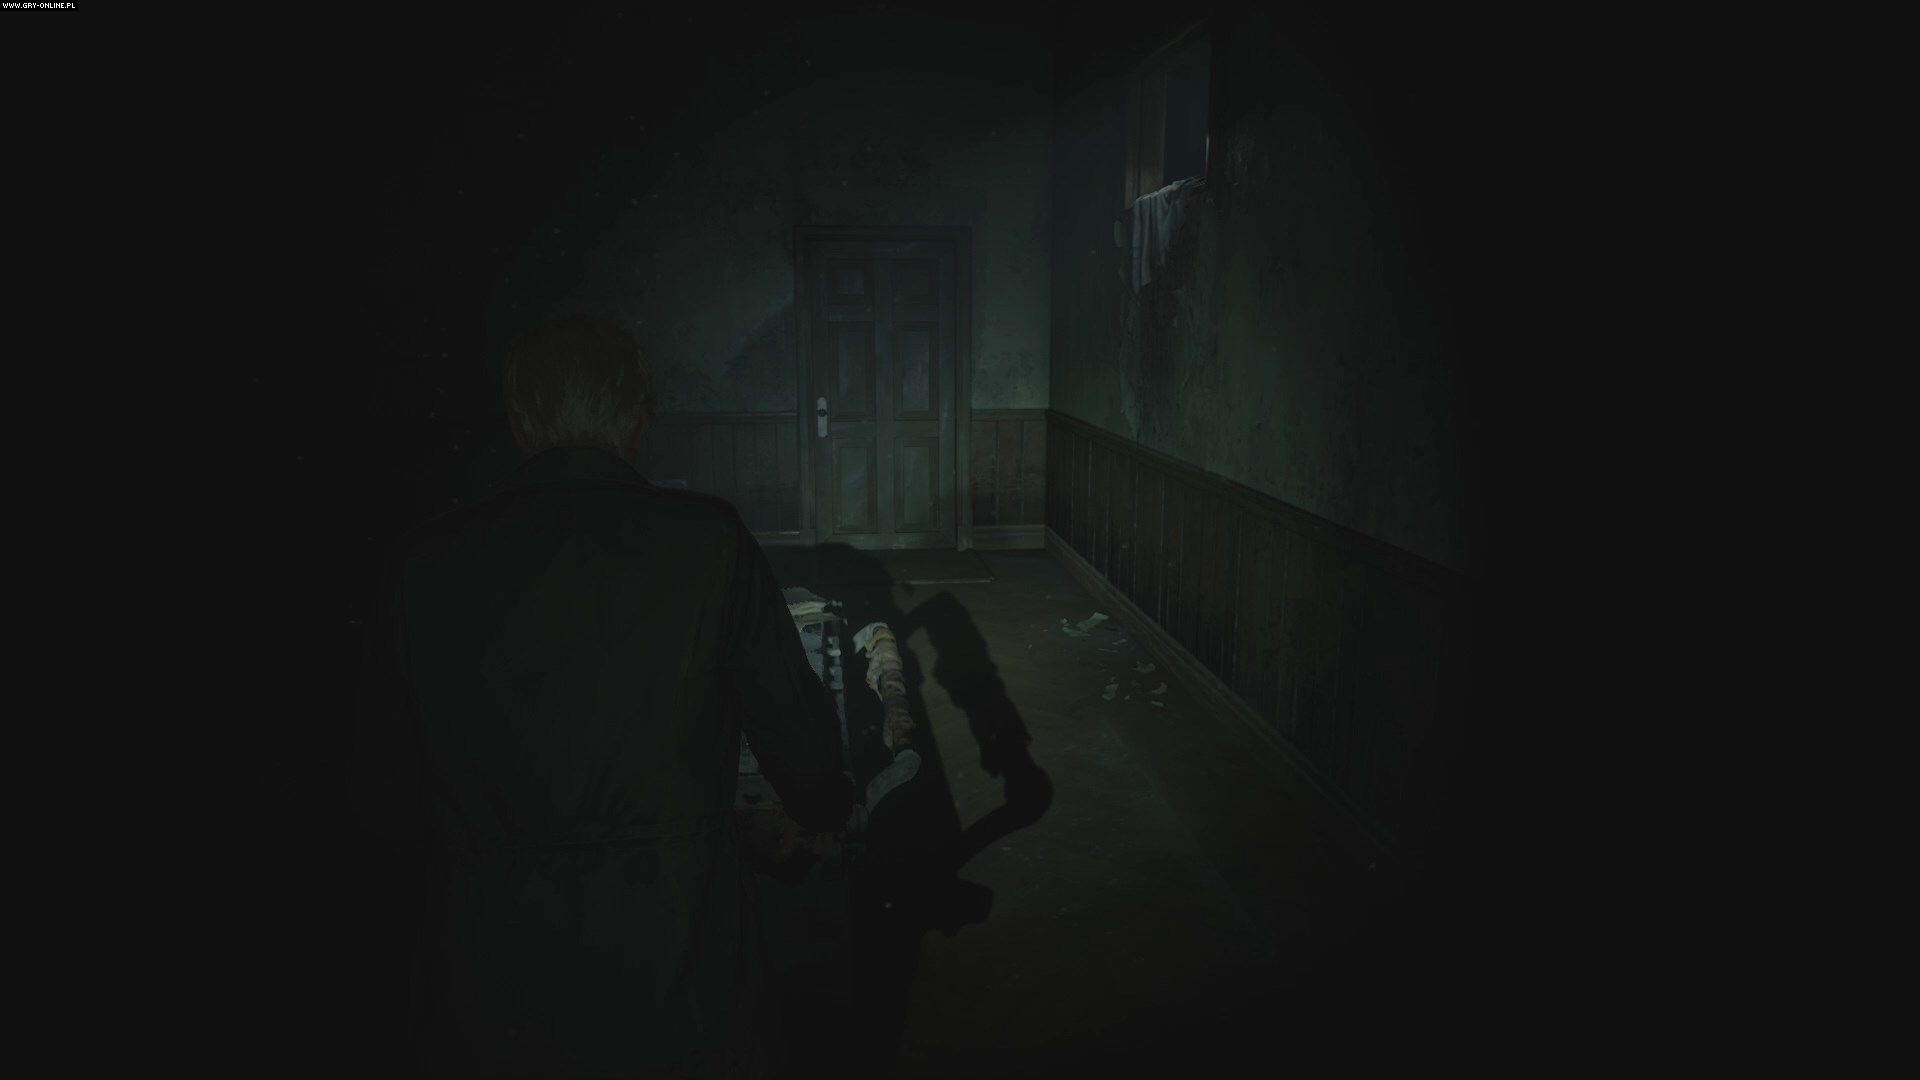
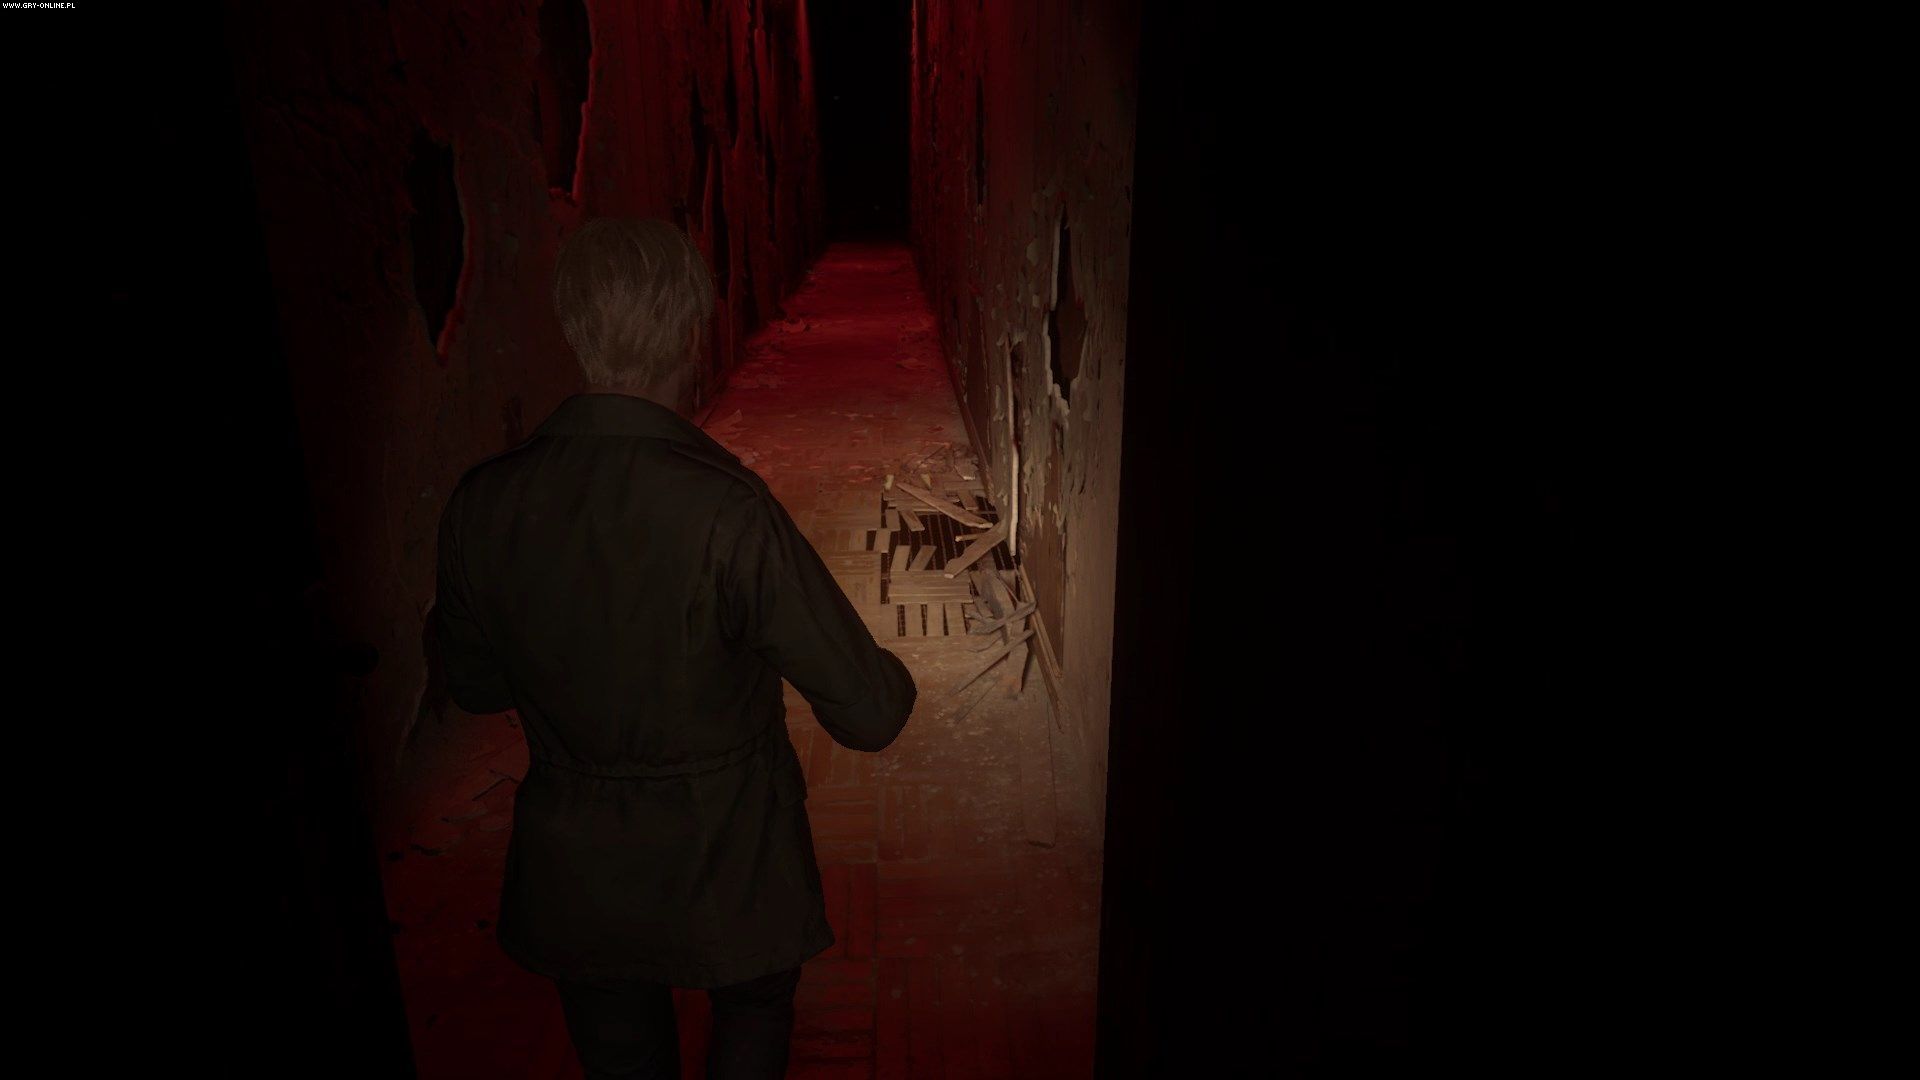
To get to the next section you must rotate the cube to show the symbol resembling an inverted triangle connected to an inverted cross. Go inside the big cube and go down the stairs, then go down the hall to the Ruined Area. The last area of the Labyrinth is the most linear of all, consisting of three apartments connected by long halls. In the first apartment, first collect the scattered resources, then touch the door with the wooden grate.
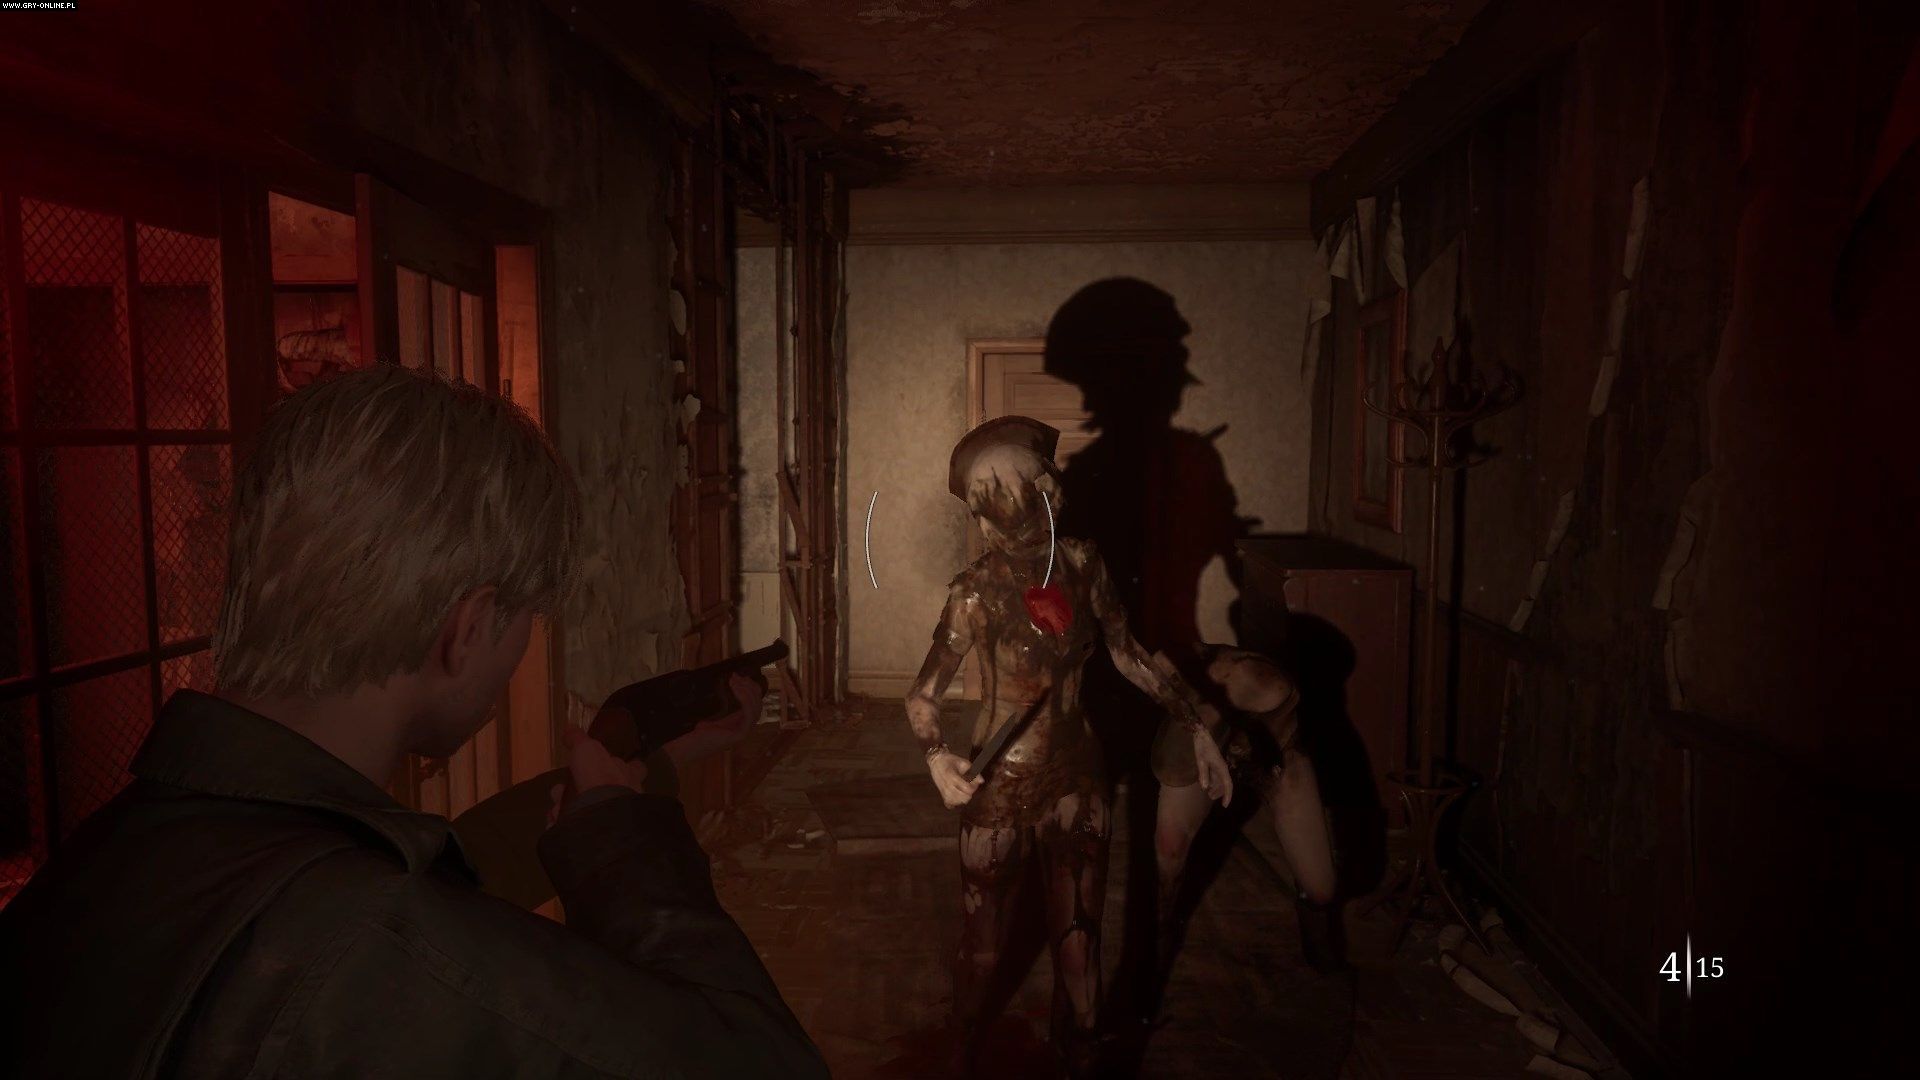
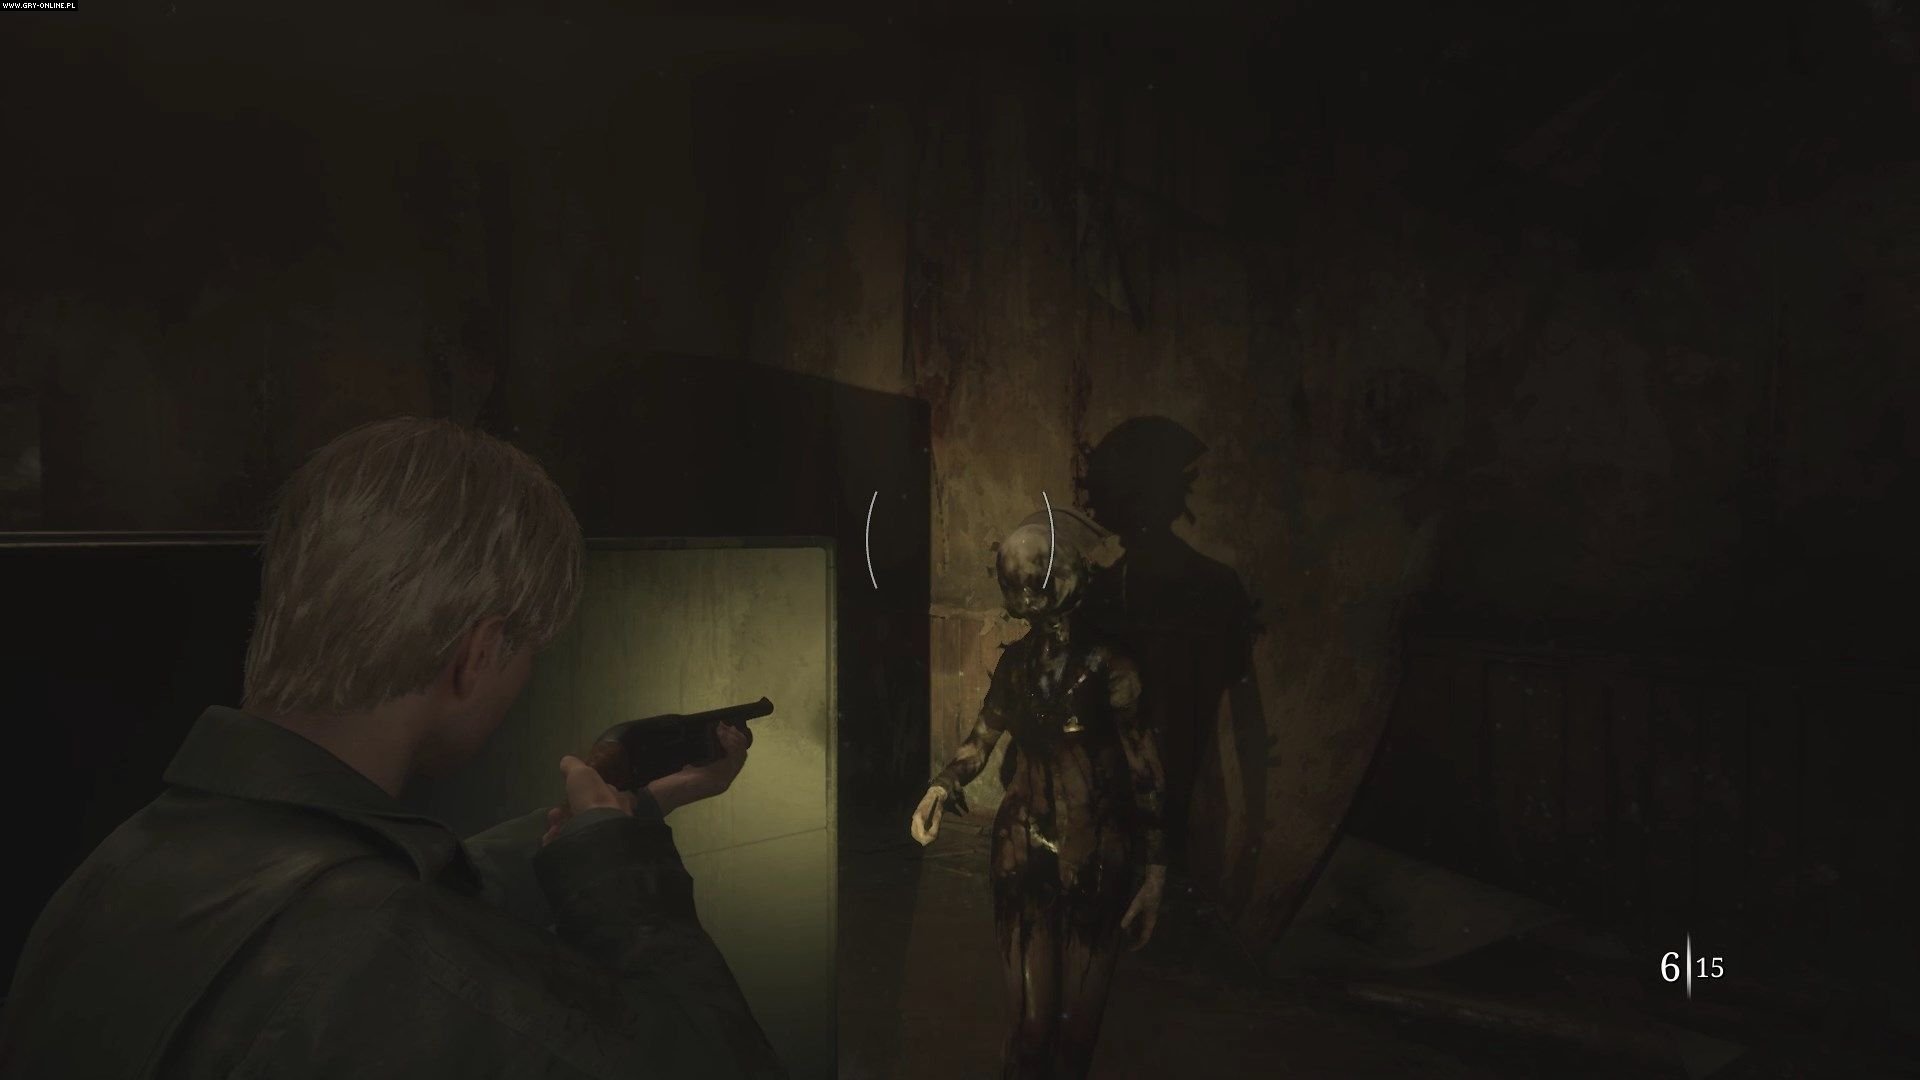
The moment you touch the door, an alarm will sound, which will awaken all the dead monsters in the apartment. You must survive until the alarm stops. Enemies will get up when you kill them, but each kill shortens the alarm duration. A shotgun will come in handy here, thanks to the small size of the room. Focus especially on killing the nurse with accurate headshots at close range, as she is the most dangerous enemy here. Keep moving, don't get surrounded and the alarm will eventually stop, instantly and permanently killing all enemies. Go through the door to the next room.
In the second room the alarm will go off immediately. Once again, the biggest threat is the nurse - use the shotgun again. Use the same strategy as before , staying on the move and watching out for the two remaining enemies until the alarm stops. Then collect the resources in the apartment and go down the corridor to the next room.
In the third room, the alarm will also go off immediately with a Mandarin hiding underneath the bars on the floor. It is the biggest threat here - use a handgun or a shotgun to wound its hands while it's holding onto the grate. Keep moving and you should survive. Gather resources and exit the room into the next hall.
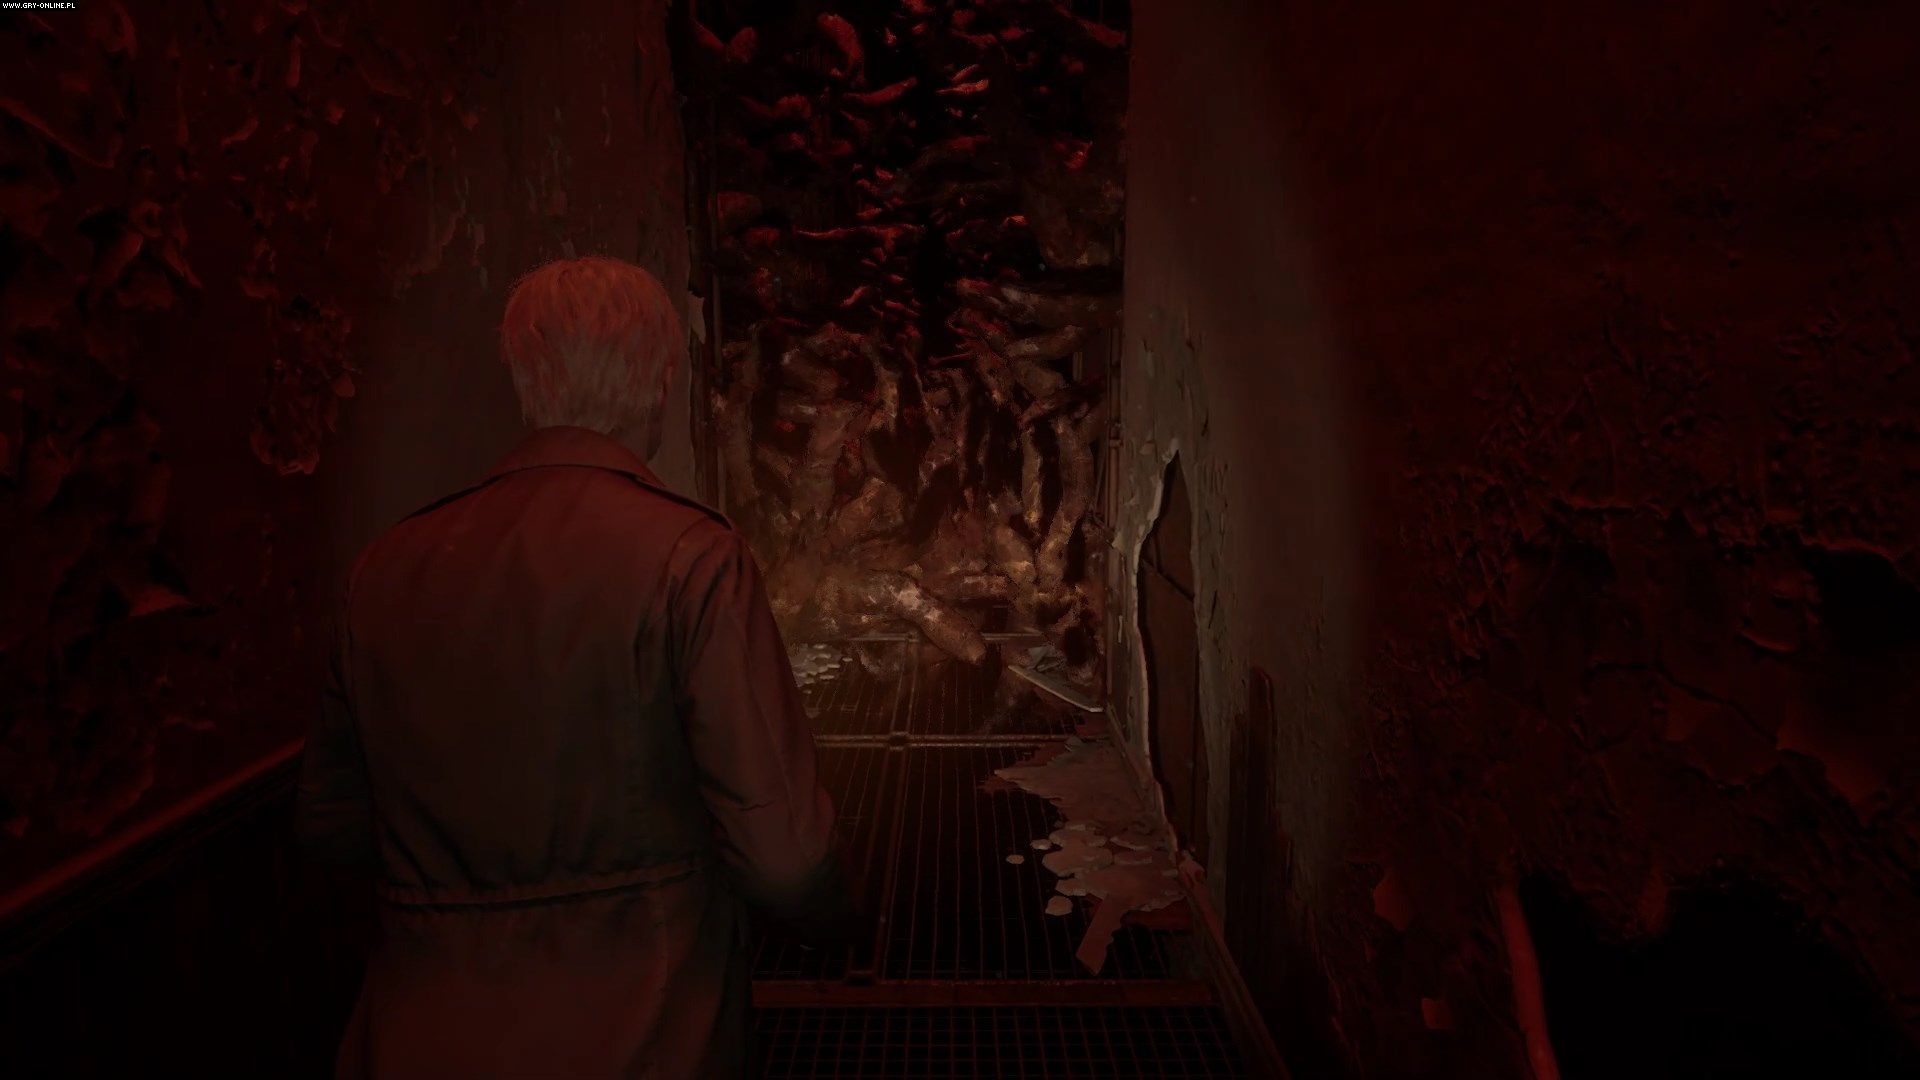
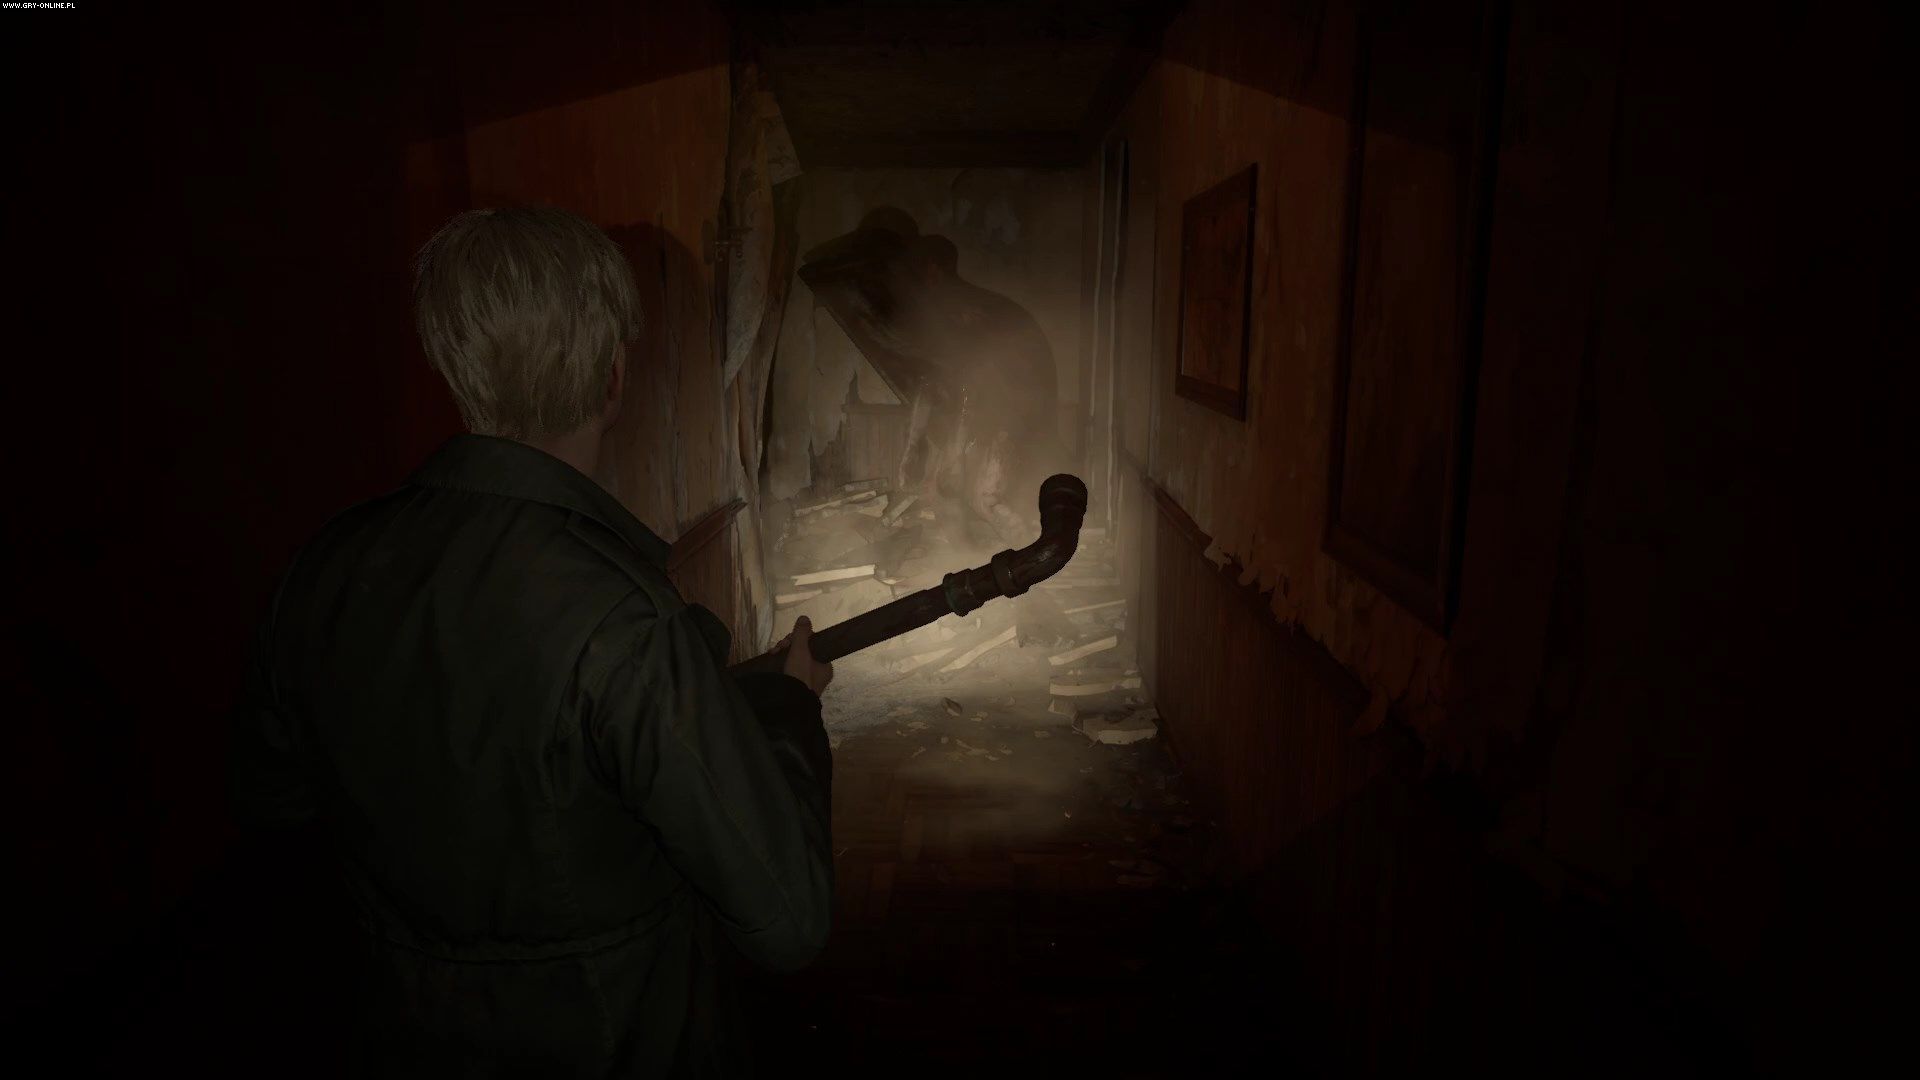
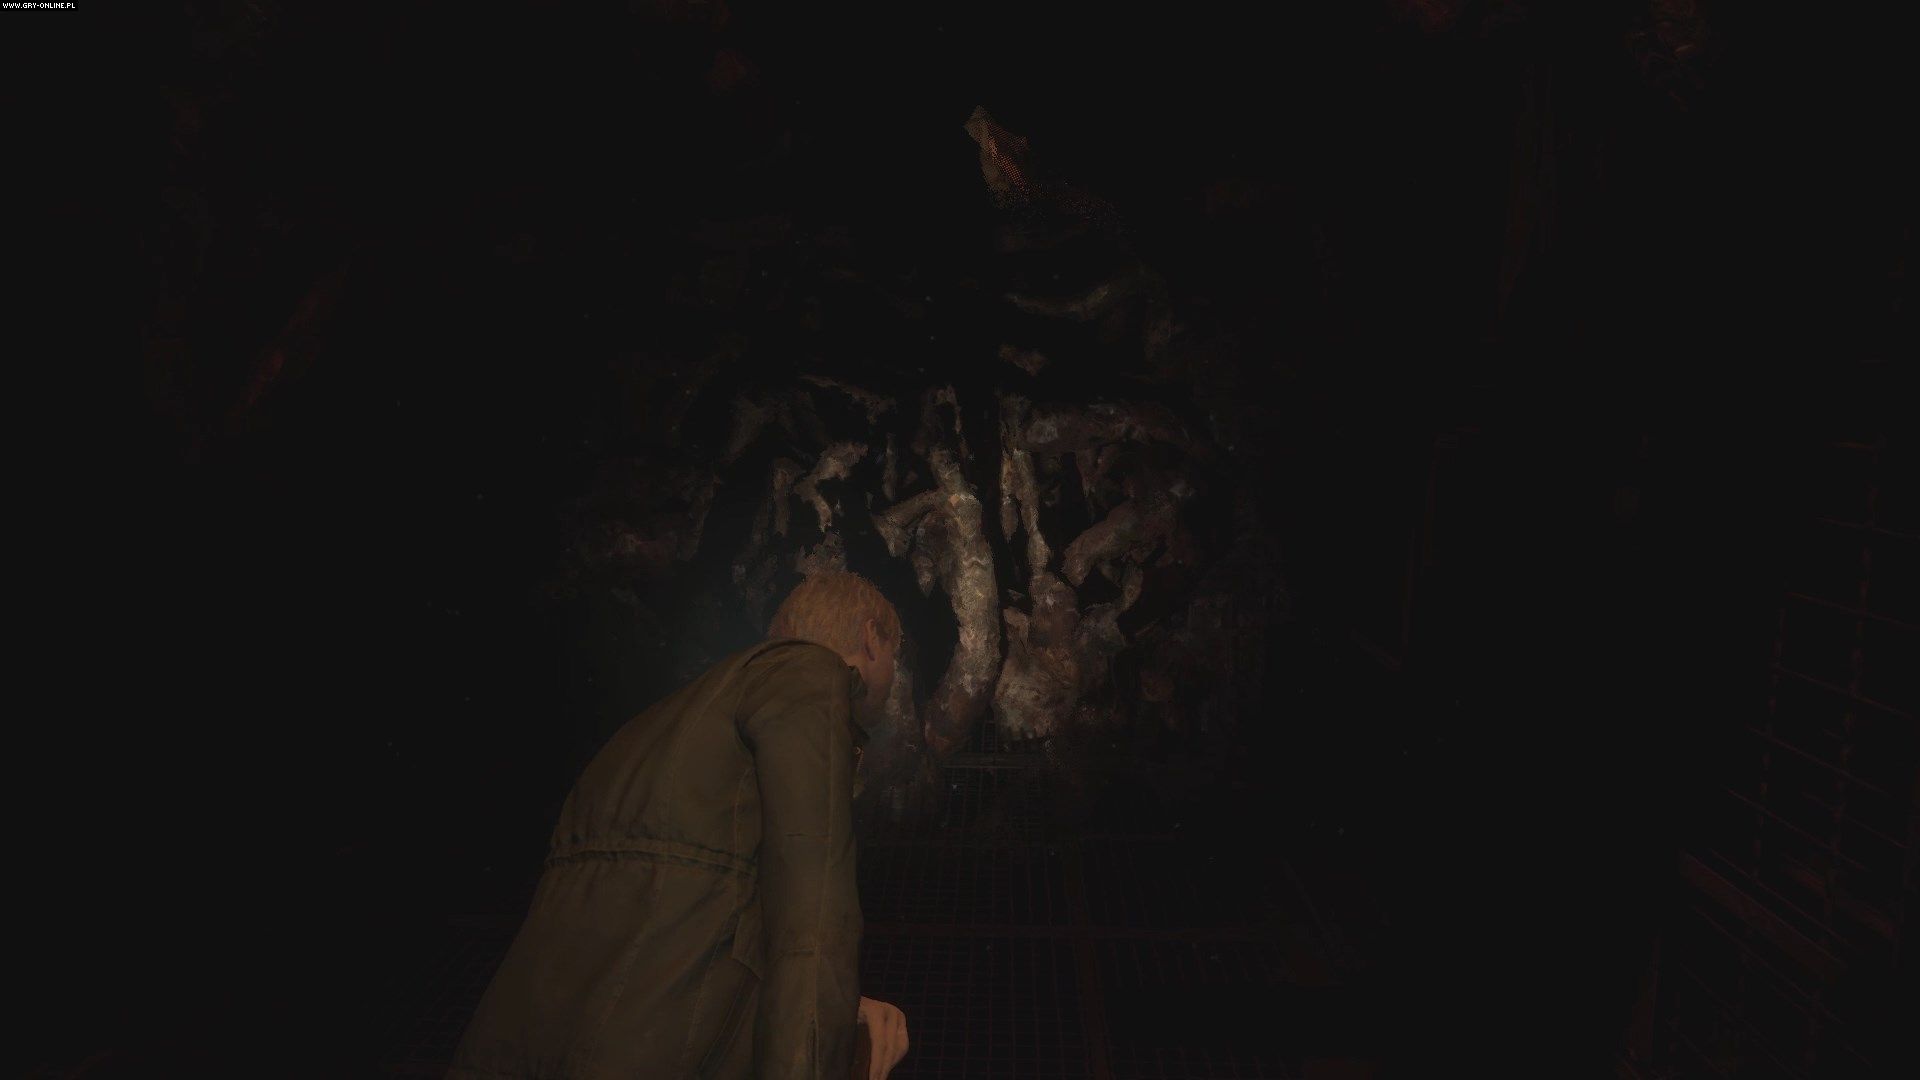
The last corridor is blocked by familiar tentacles. Try to go to the other end of the corridor to encounter Pyramid Head again. The tentacles will retract as the monster approaches, allowing you to pass through - stand with your back to the tentacles and constantly dodge backwards to squeeze deeper into the corridor and away from the Pyramid Head. Eventually you will reach the end of the corridor where the scenery will suddenly change and Pyramid Head will disappear.
How to leave the Labyrinth?
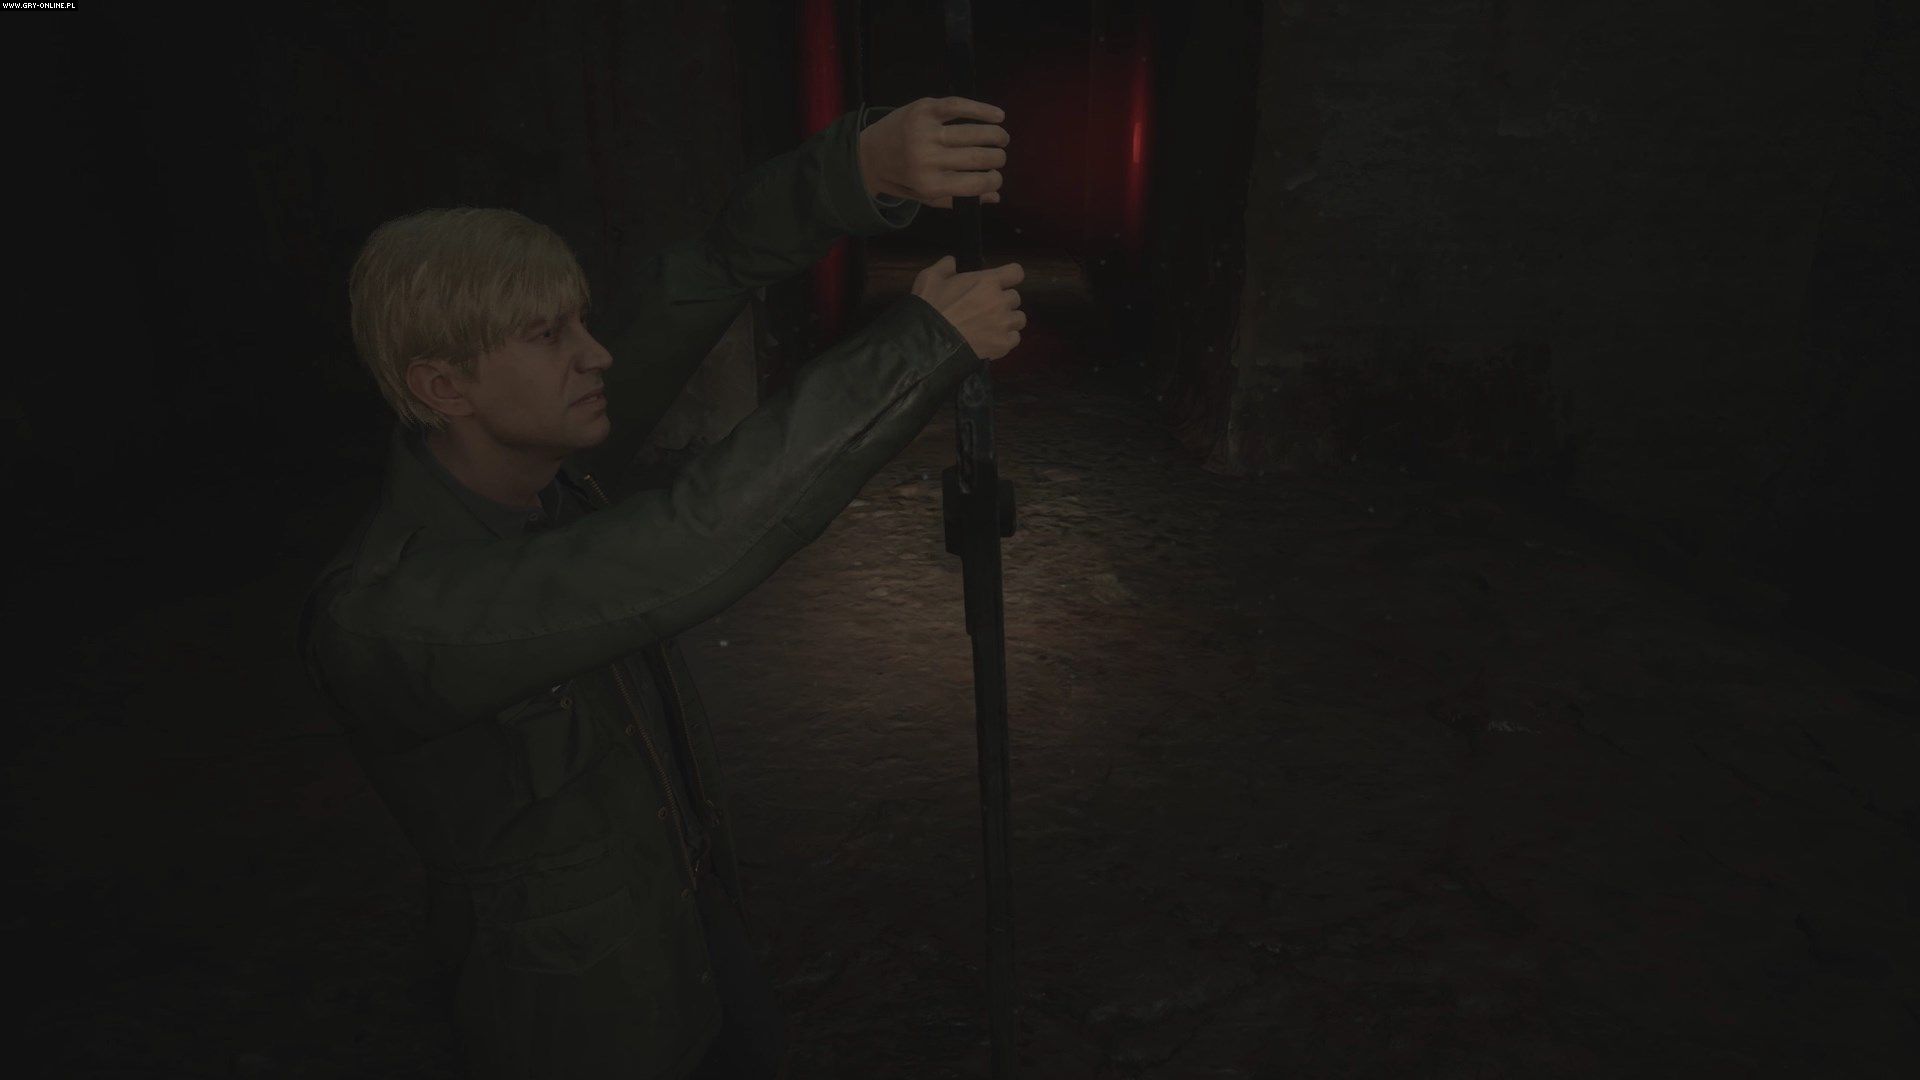
You will return to the Labyrinth Center, to the room with Maria. Watch the cutscene and head to the middle room, where instead of the cube, you will now see the Pyramid Head's sword. Pick it up.
The Pyramid Head's sword drastically slows you down with its weight, but you won't be using it in combat. Drag it to the wall of tentacles that will retract at the sight of the weapon. Go through the tentacles to the very end of the corridor, until you reach the ladder. James will leave the sword behind and continue on to the graveyard. Reload, fully heal and jump into James Sunderland's open grave.
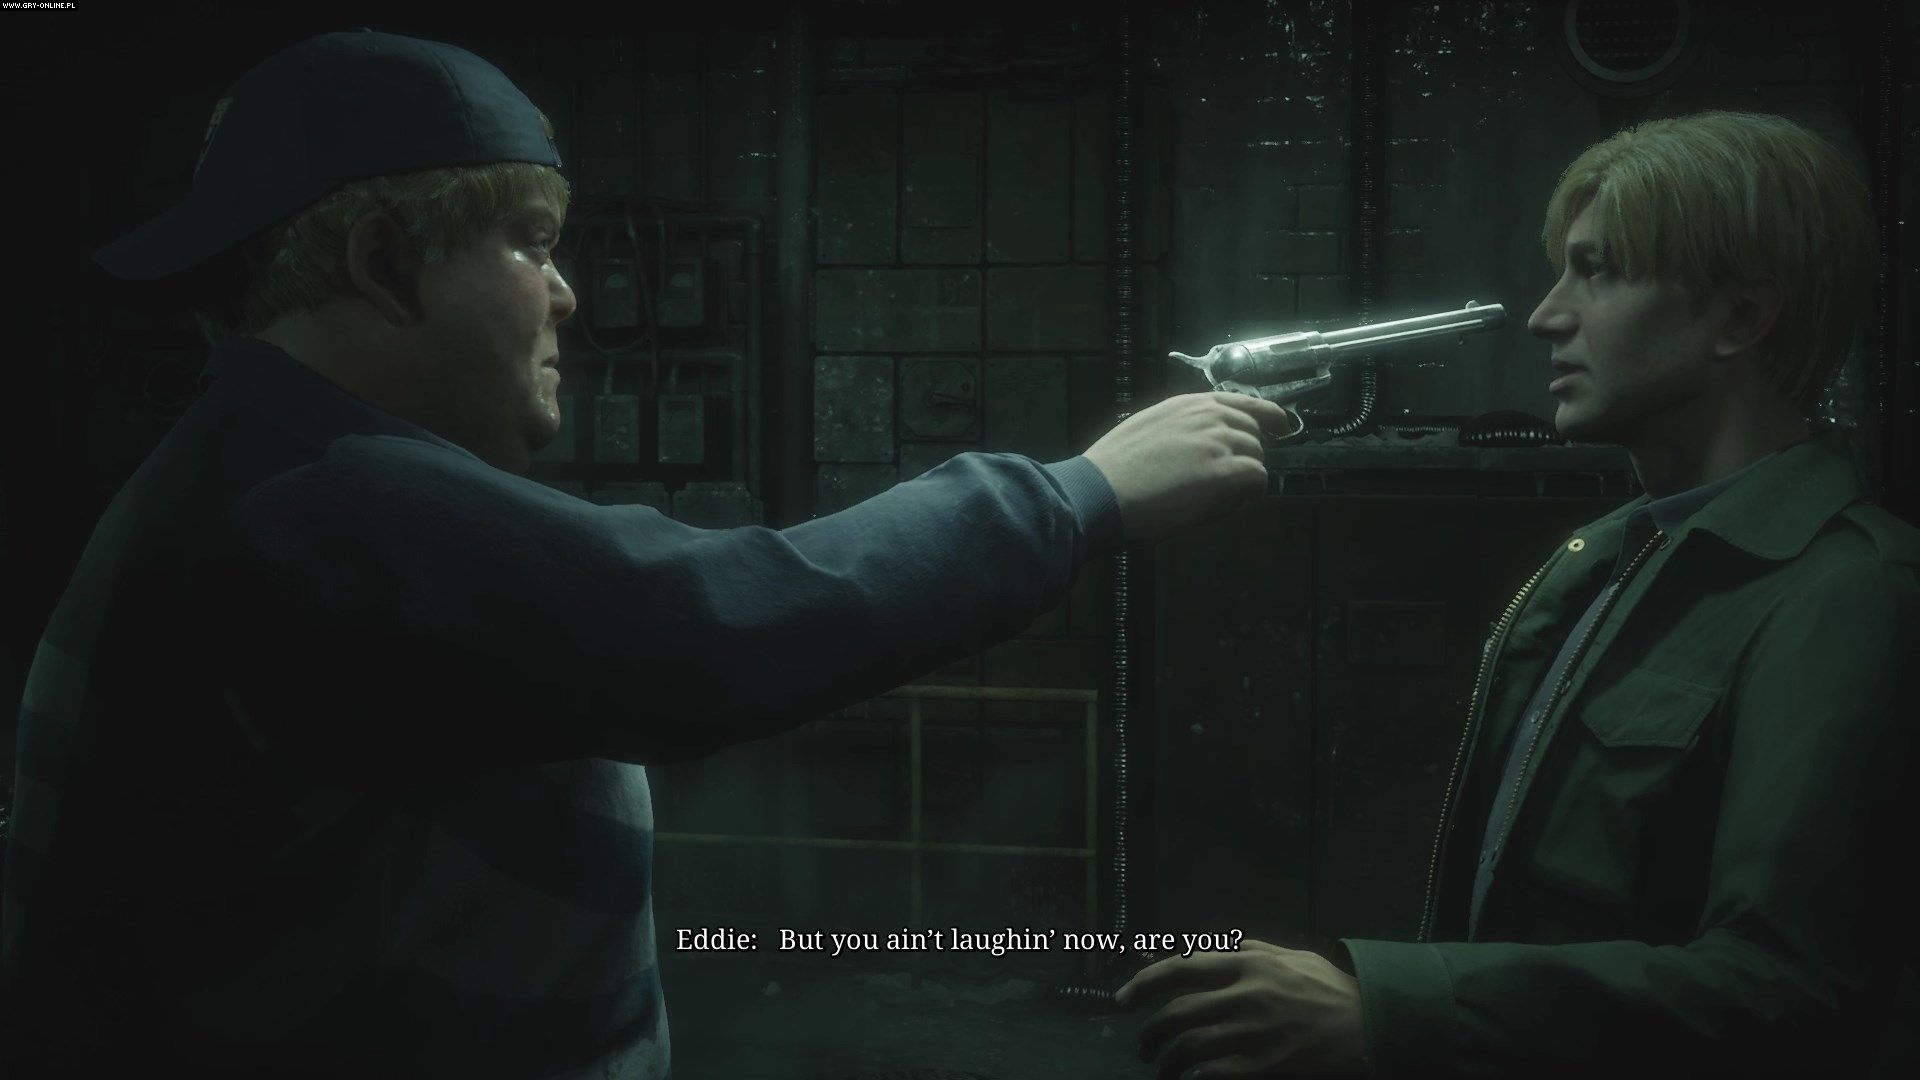
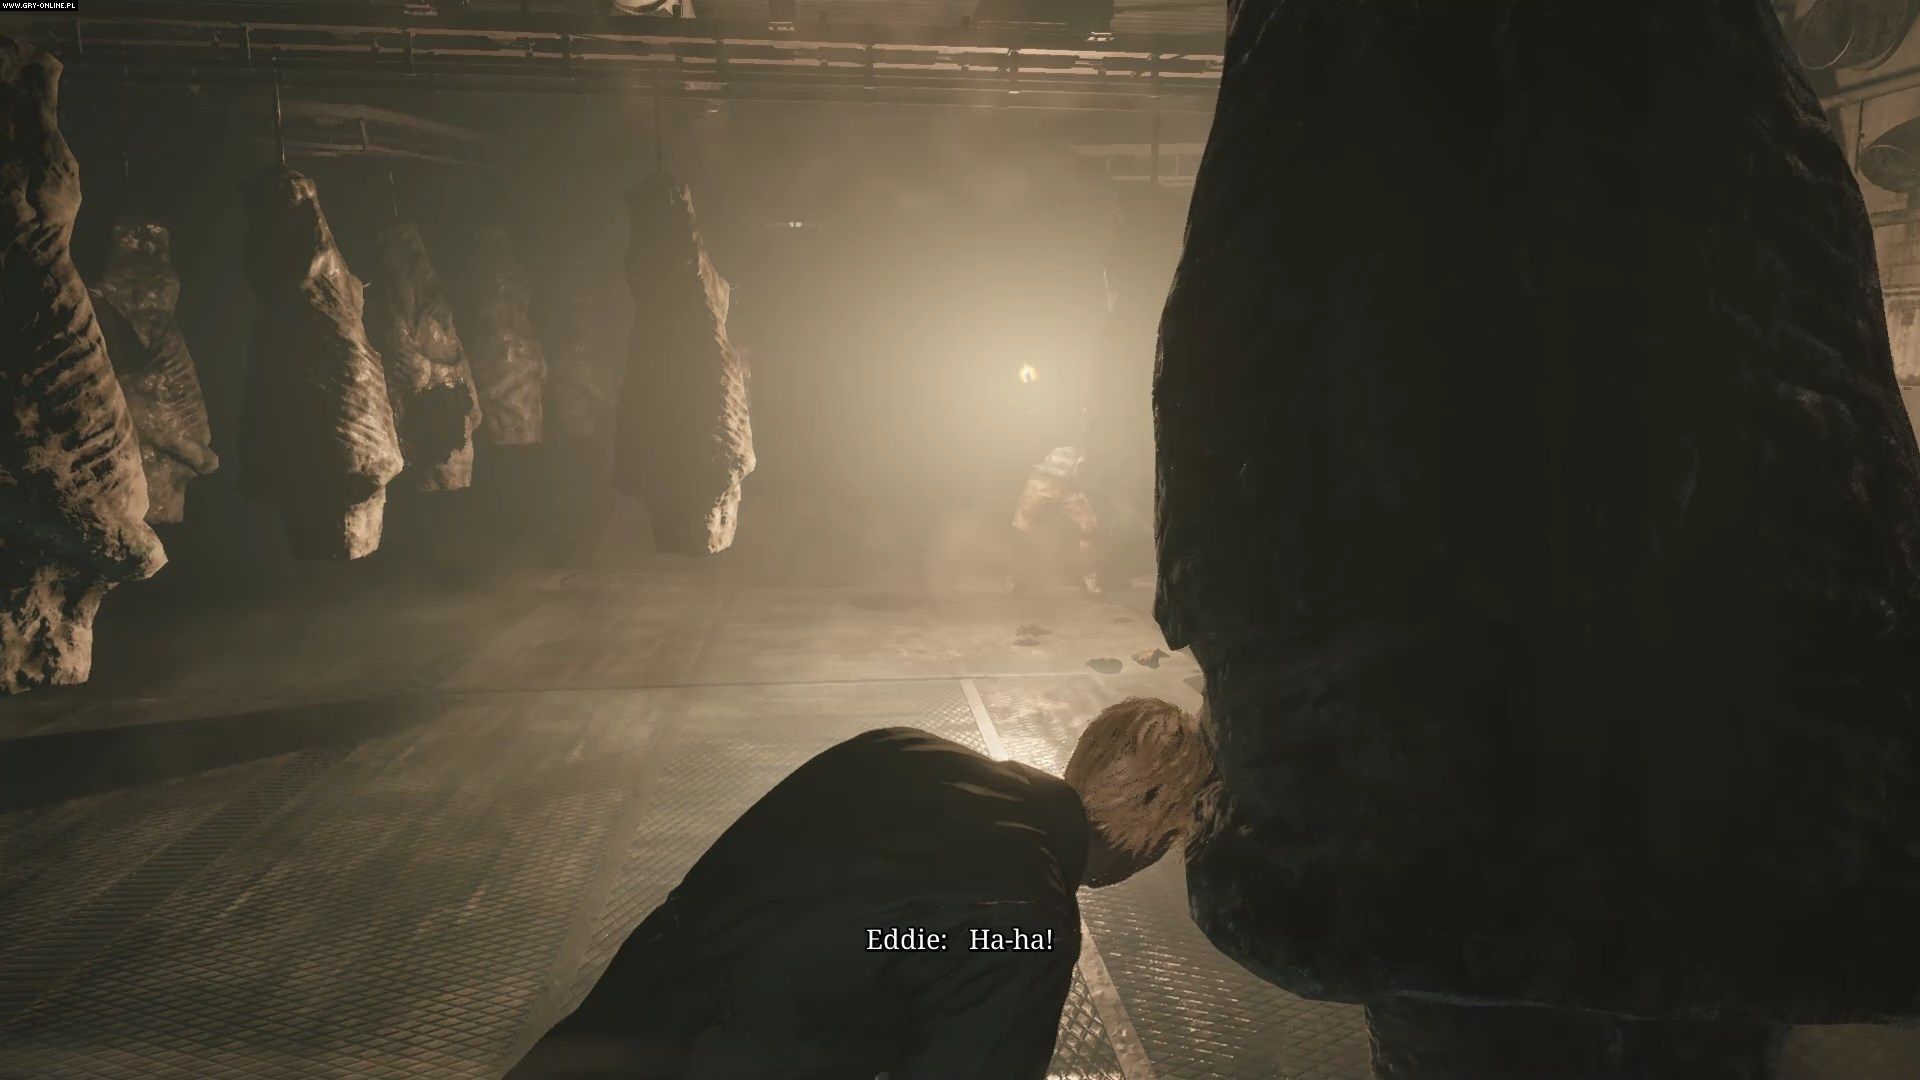
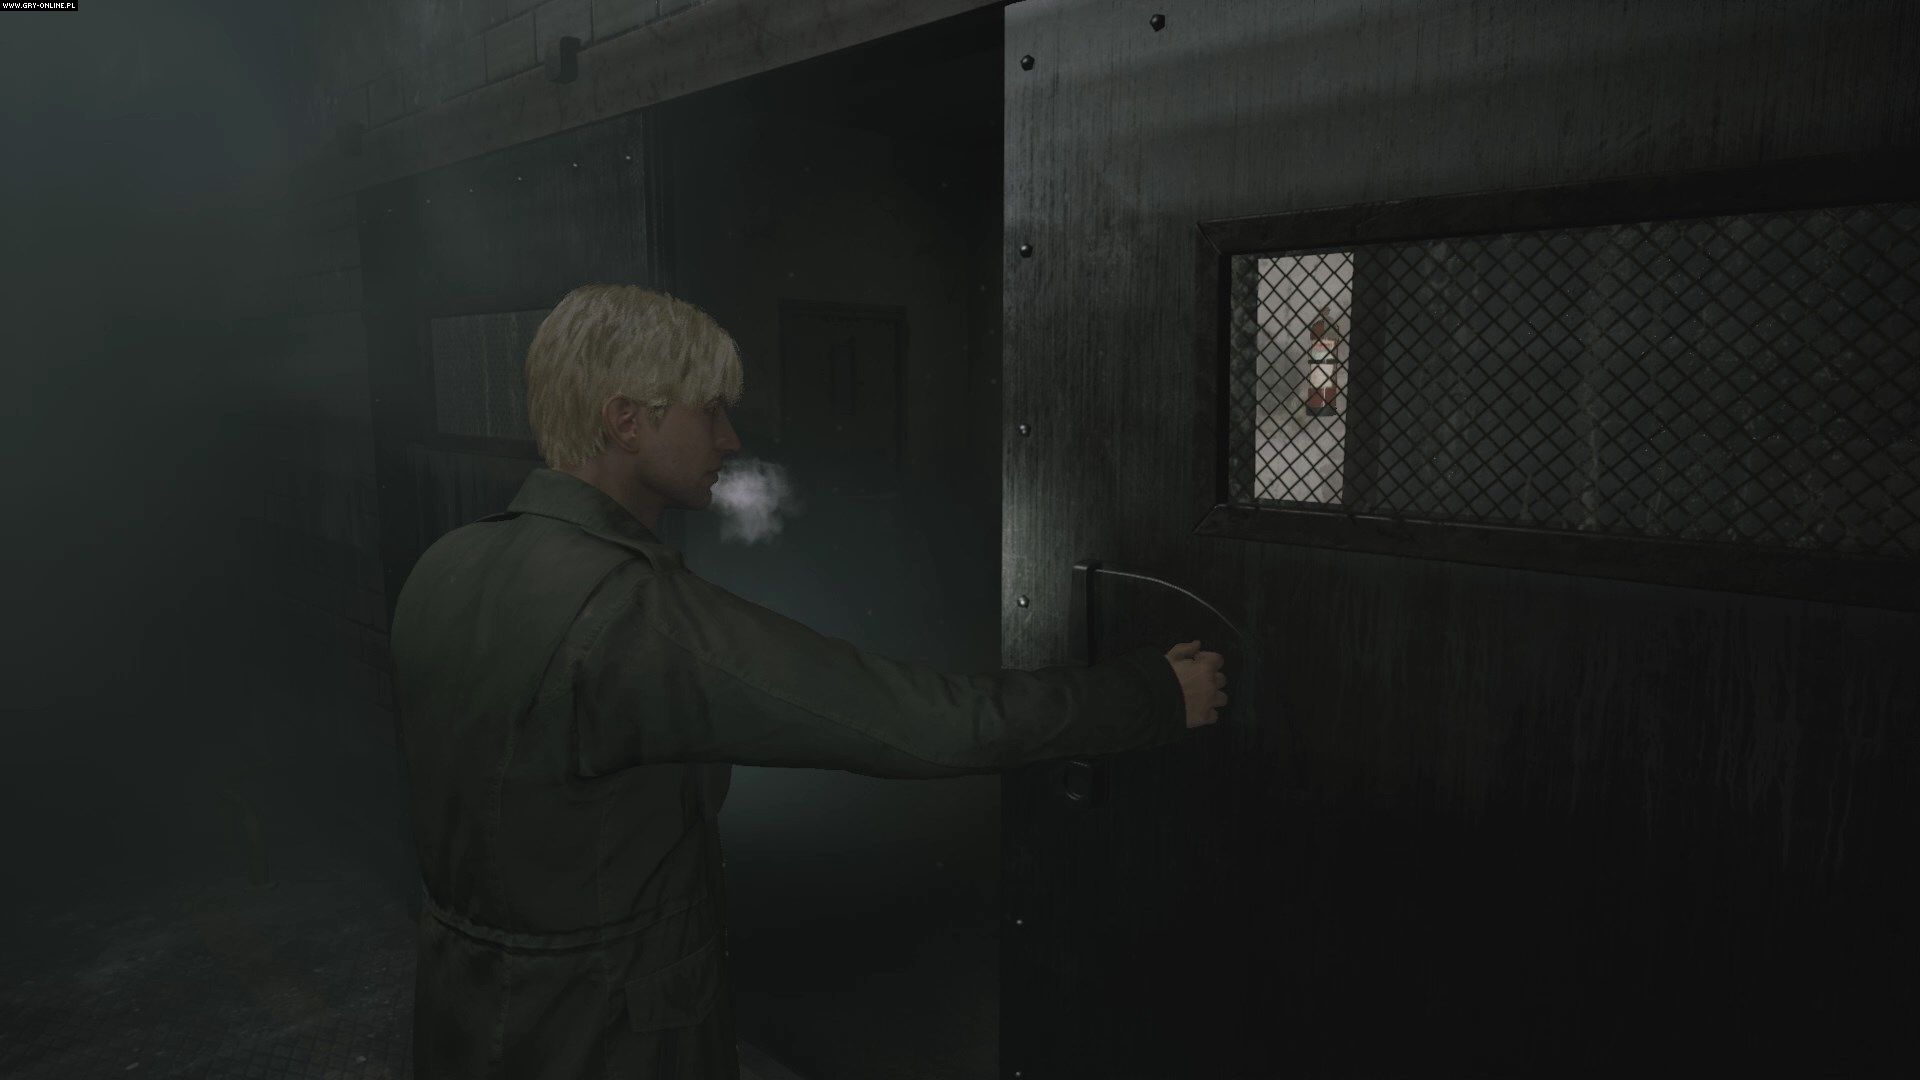
Watch the cutscene during which you will meet Eddie again. The escalating tension between James and Eddie will reach its conclusion here. When you're ready, enter the freezer to fight Eddie.
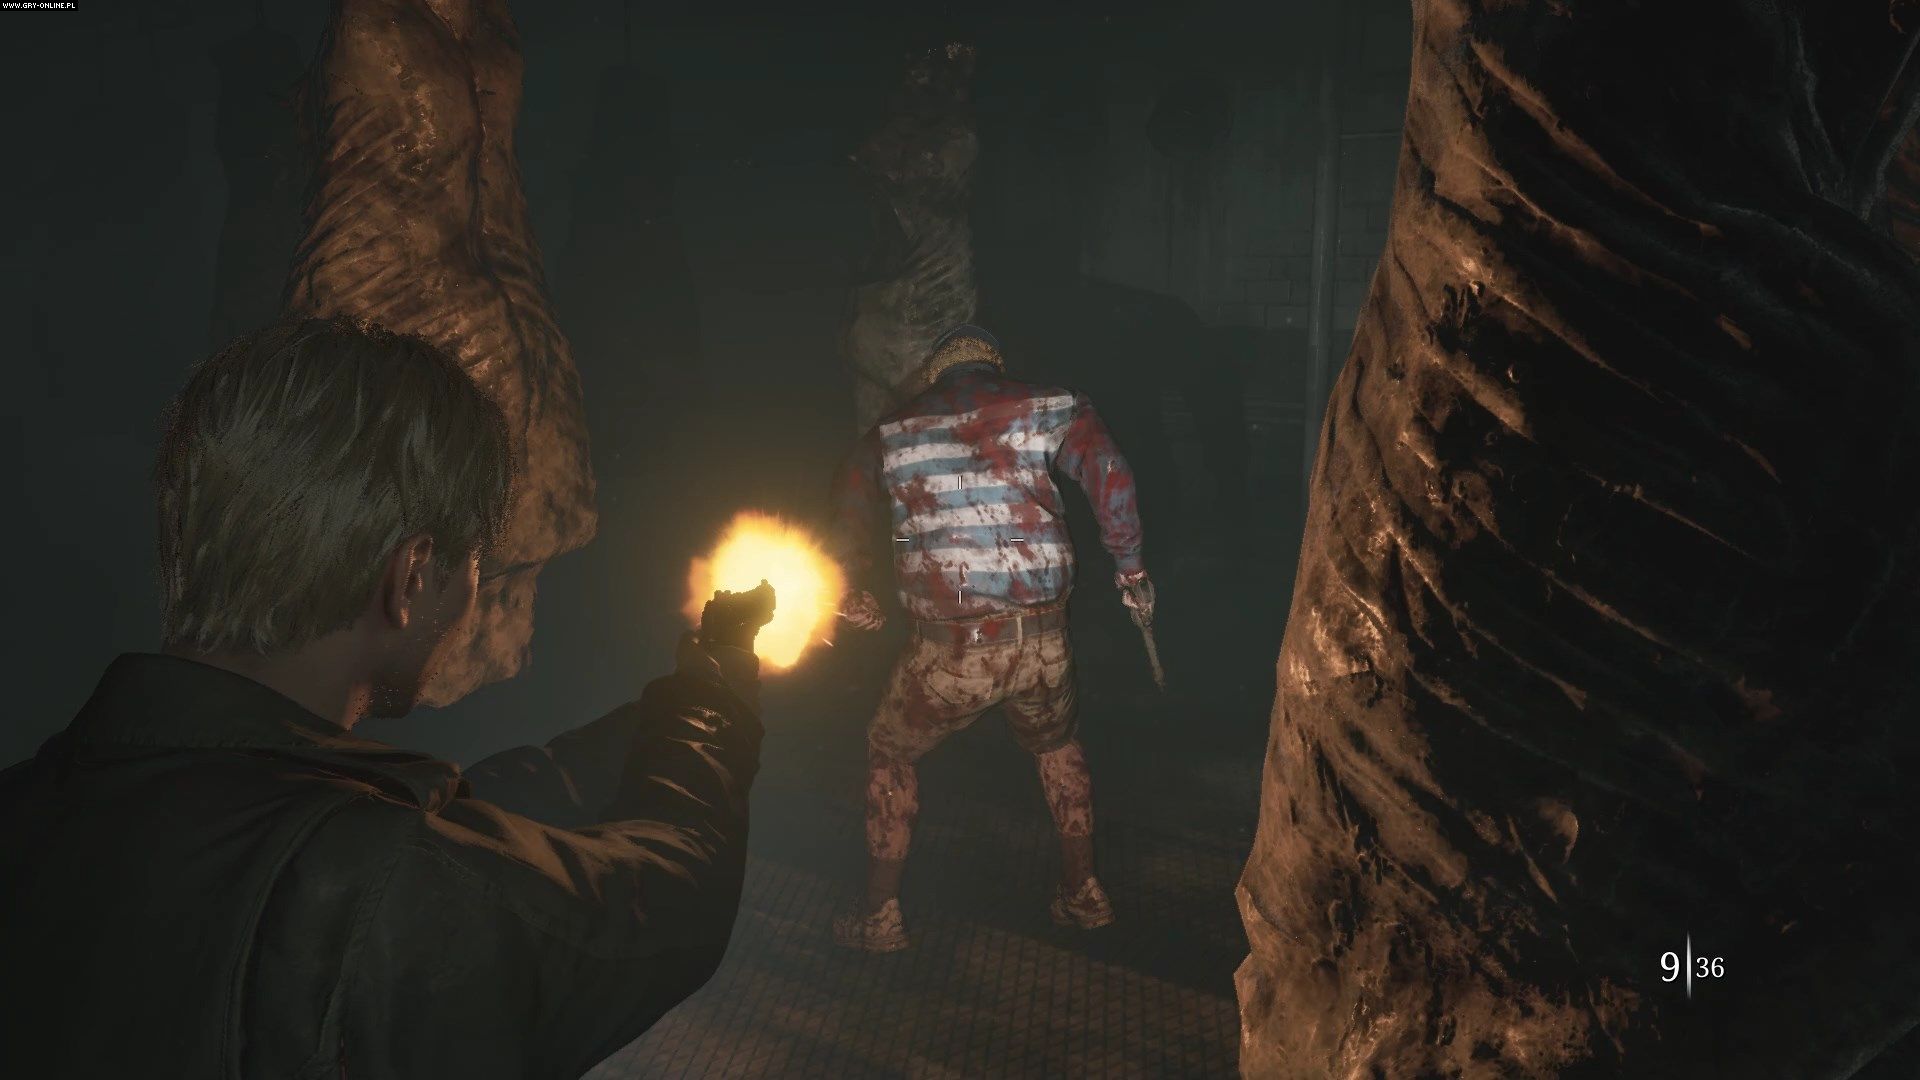
How to defeat Eddie?
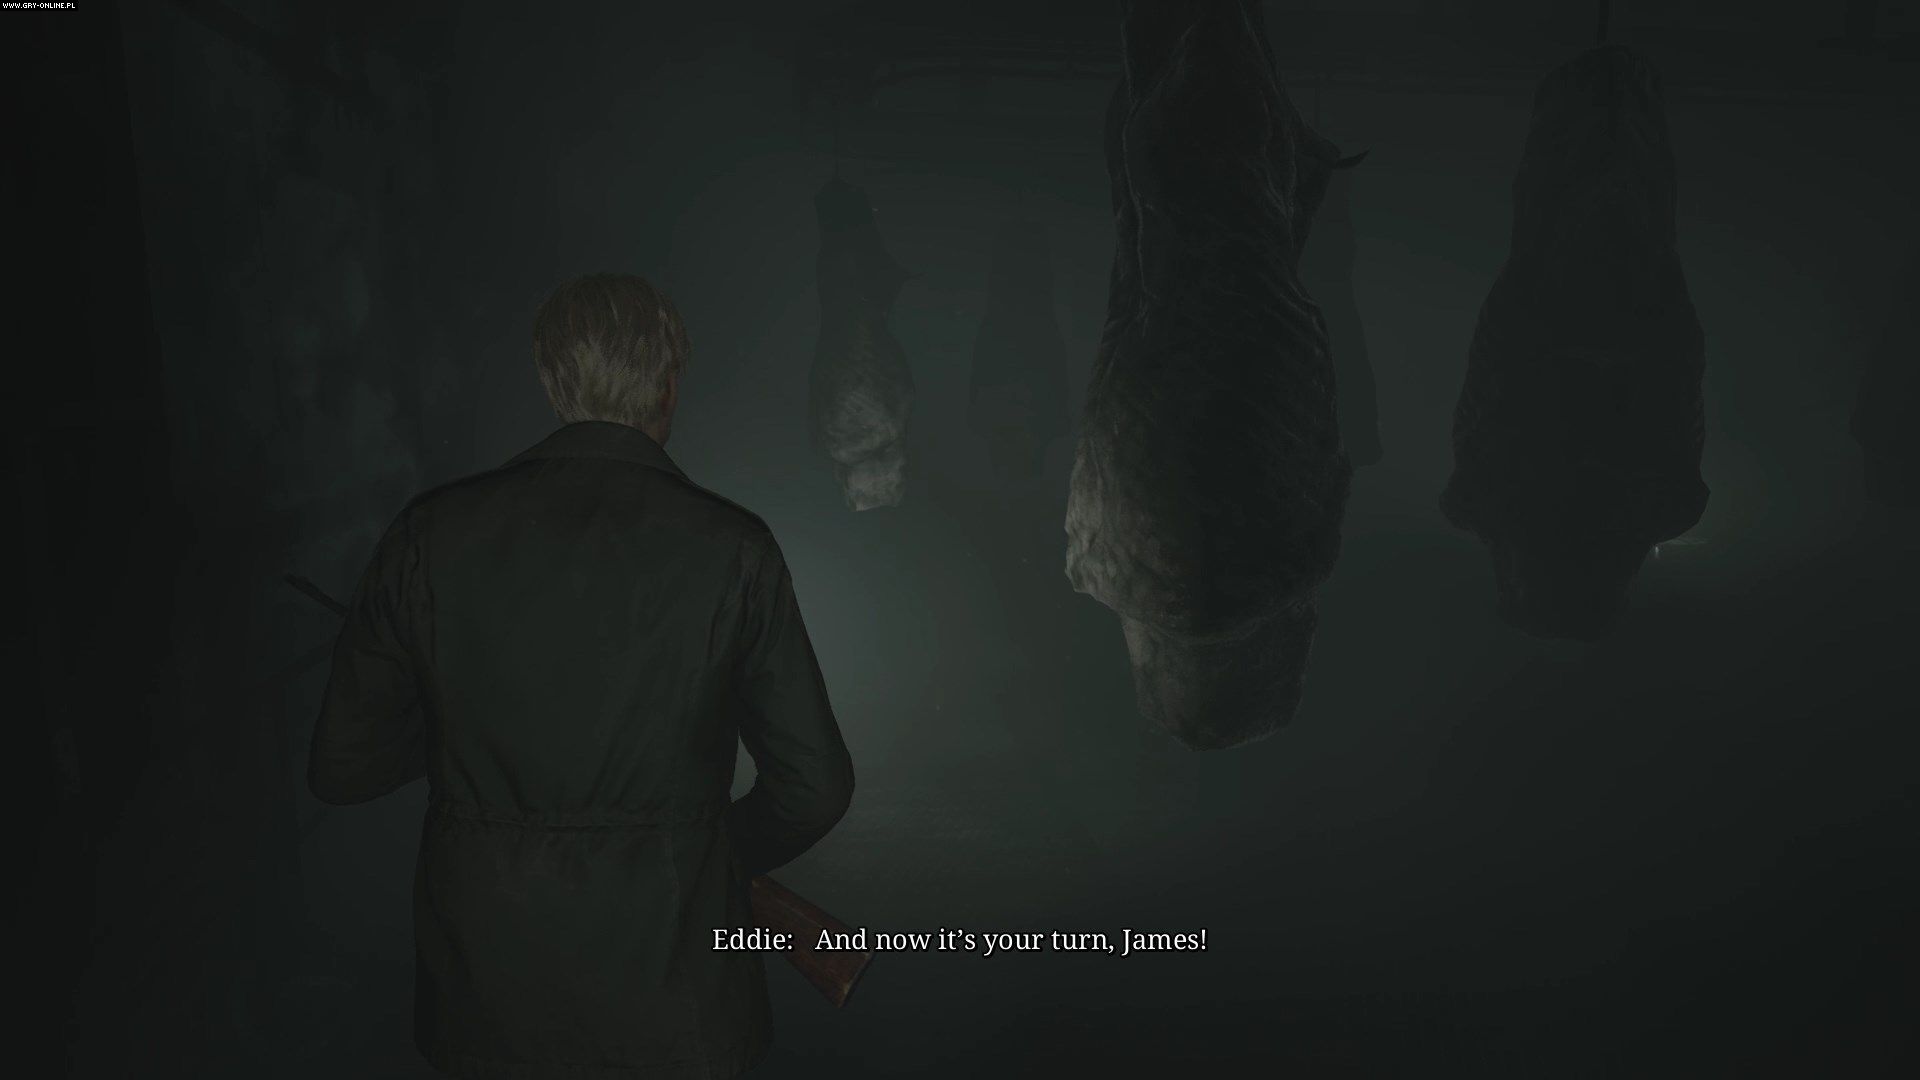
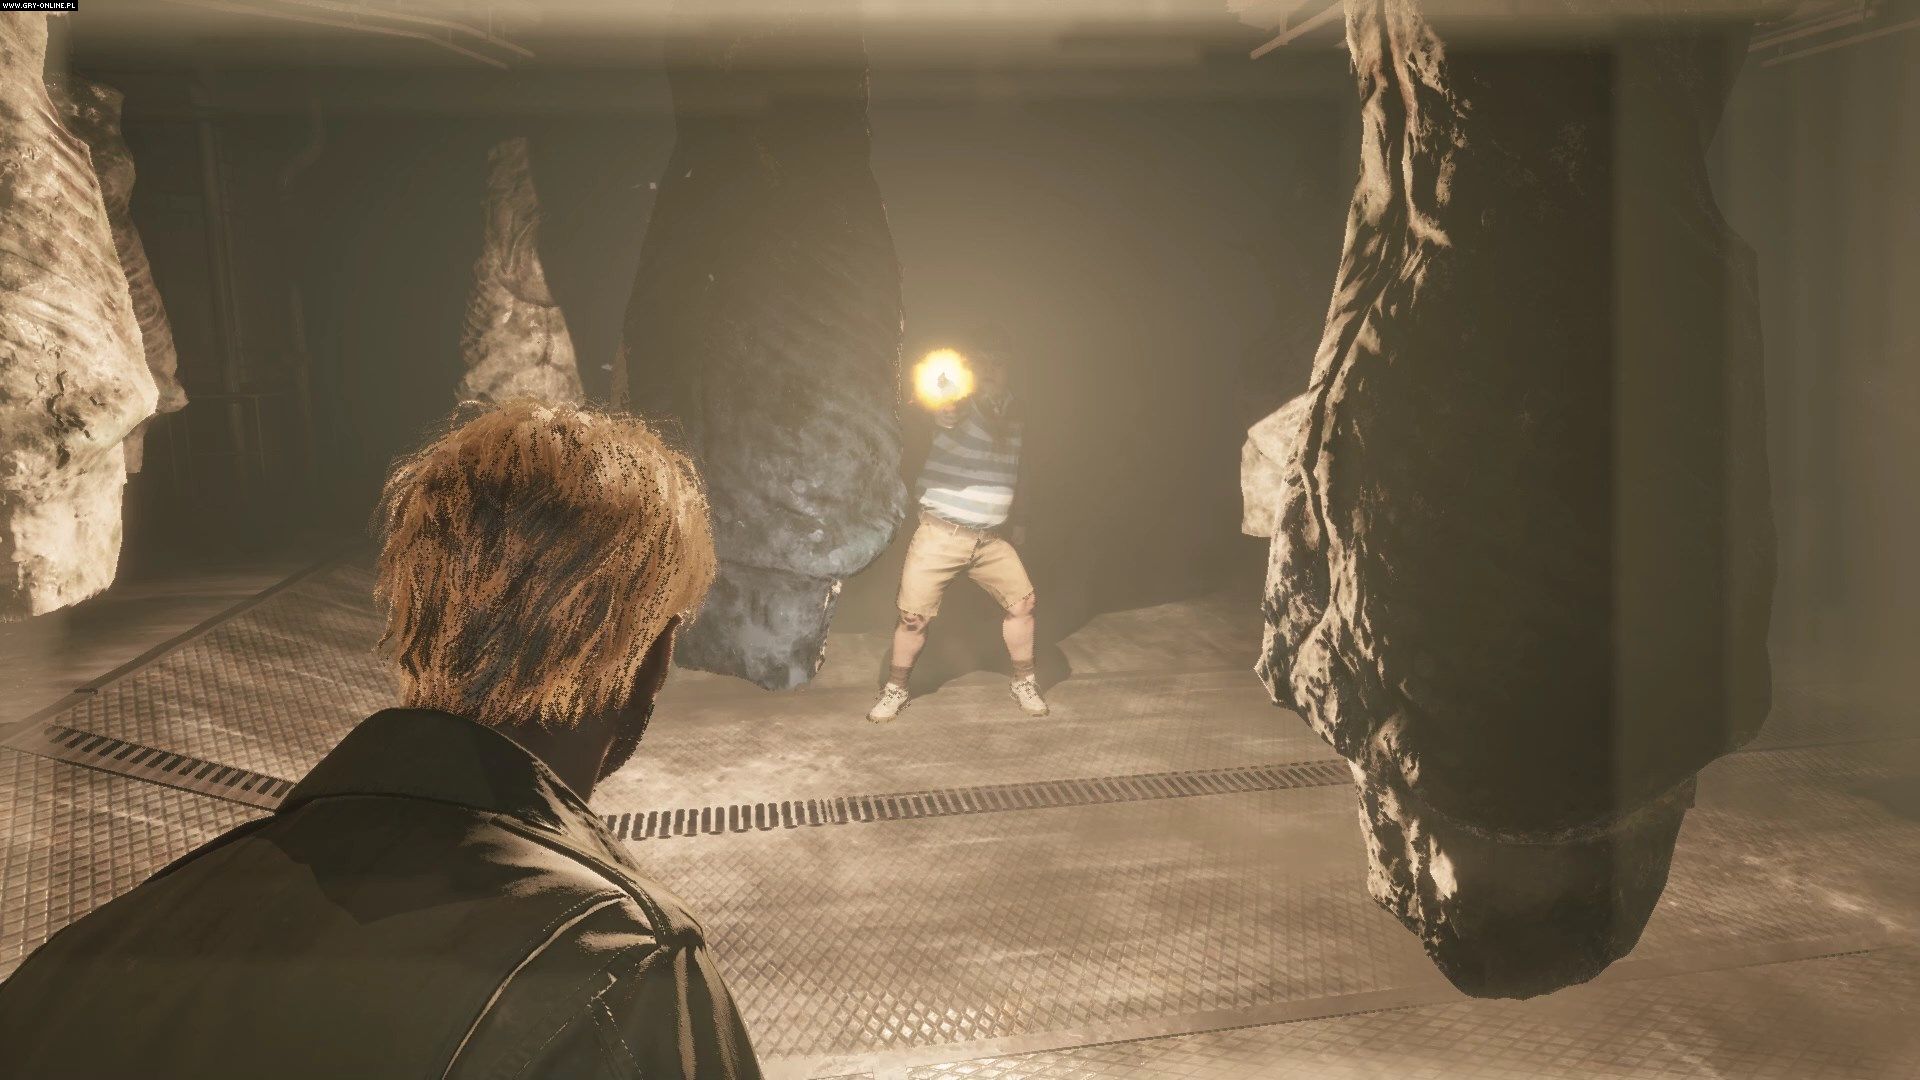
The fight with Eddie drastically differs from other fights in the game. You are not fighting a monster, but a human using a firearm. At the beginning of the clash, Eddie spends half a minute monologuing, after which he starts attacking. Eddie has two attacks - he can shoot at you or run up to you to hit James with a melee attack. The freezer is dark and filled with hanging corpses, so the flash of gunfire will help you locate the enemy.
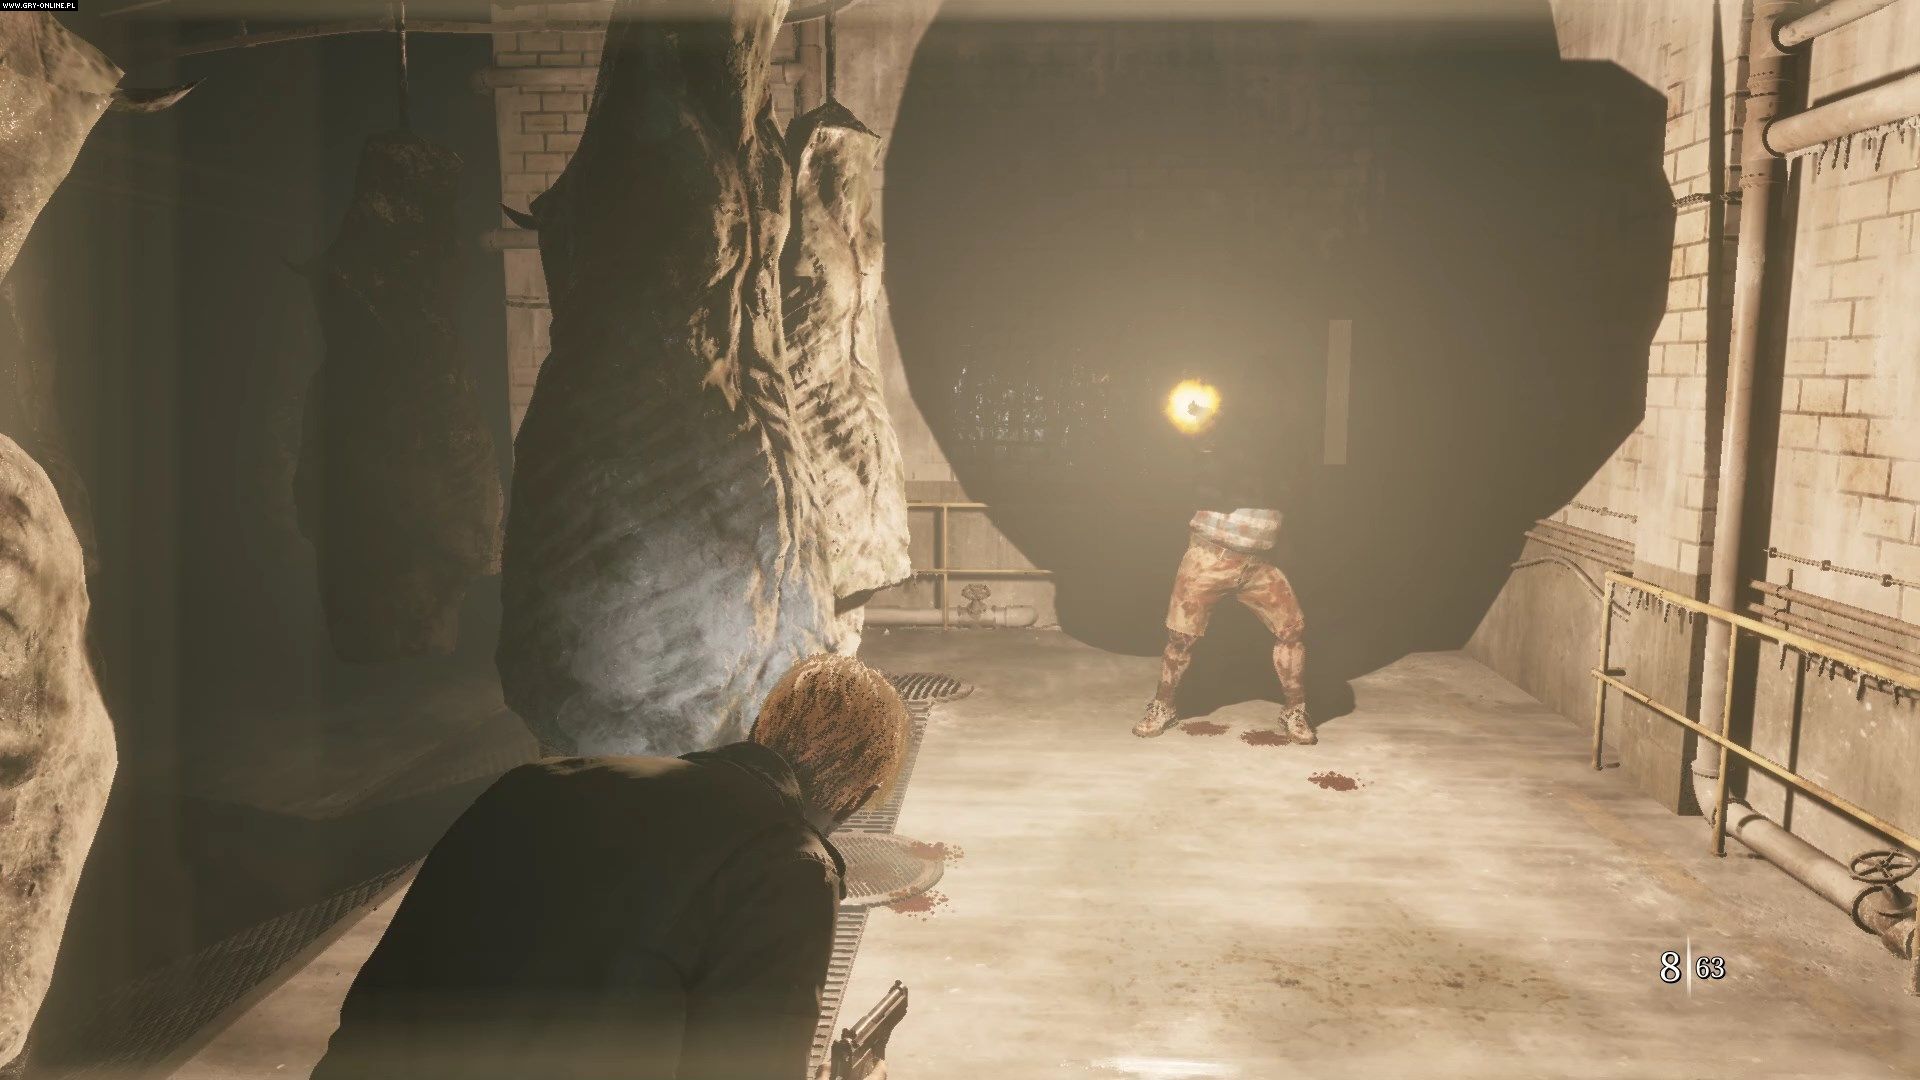
In this fight, your sense of hearing will prove to be the most important factor. Eddie uses a revolver, so each shot is preceded by a distinctive clicking sound. If you hear such a thing, it means that Eddie sees you - immediately dodge behind the nearest corpse and shoot towards the flash, provided you have a good opportunity to do so. The shots deal a lot of damage, so don't take unnecessary risks - focus on defense and attack only when you have a good opportunity to shoot.
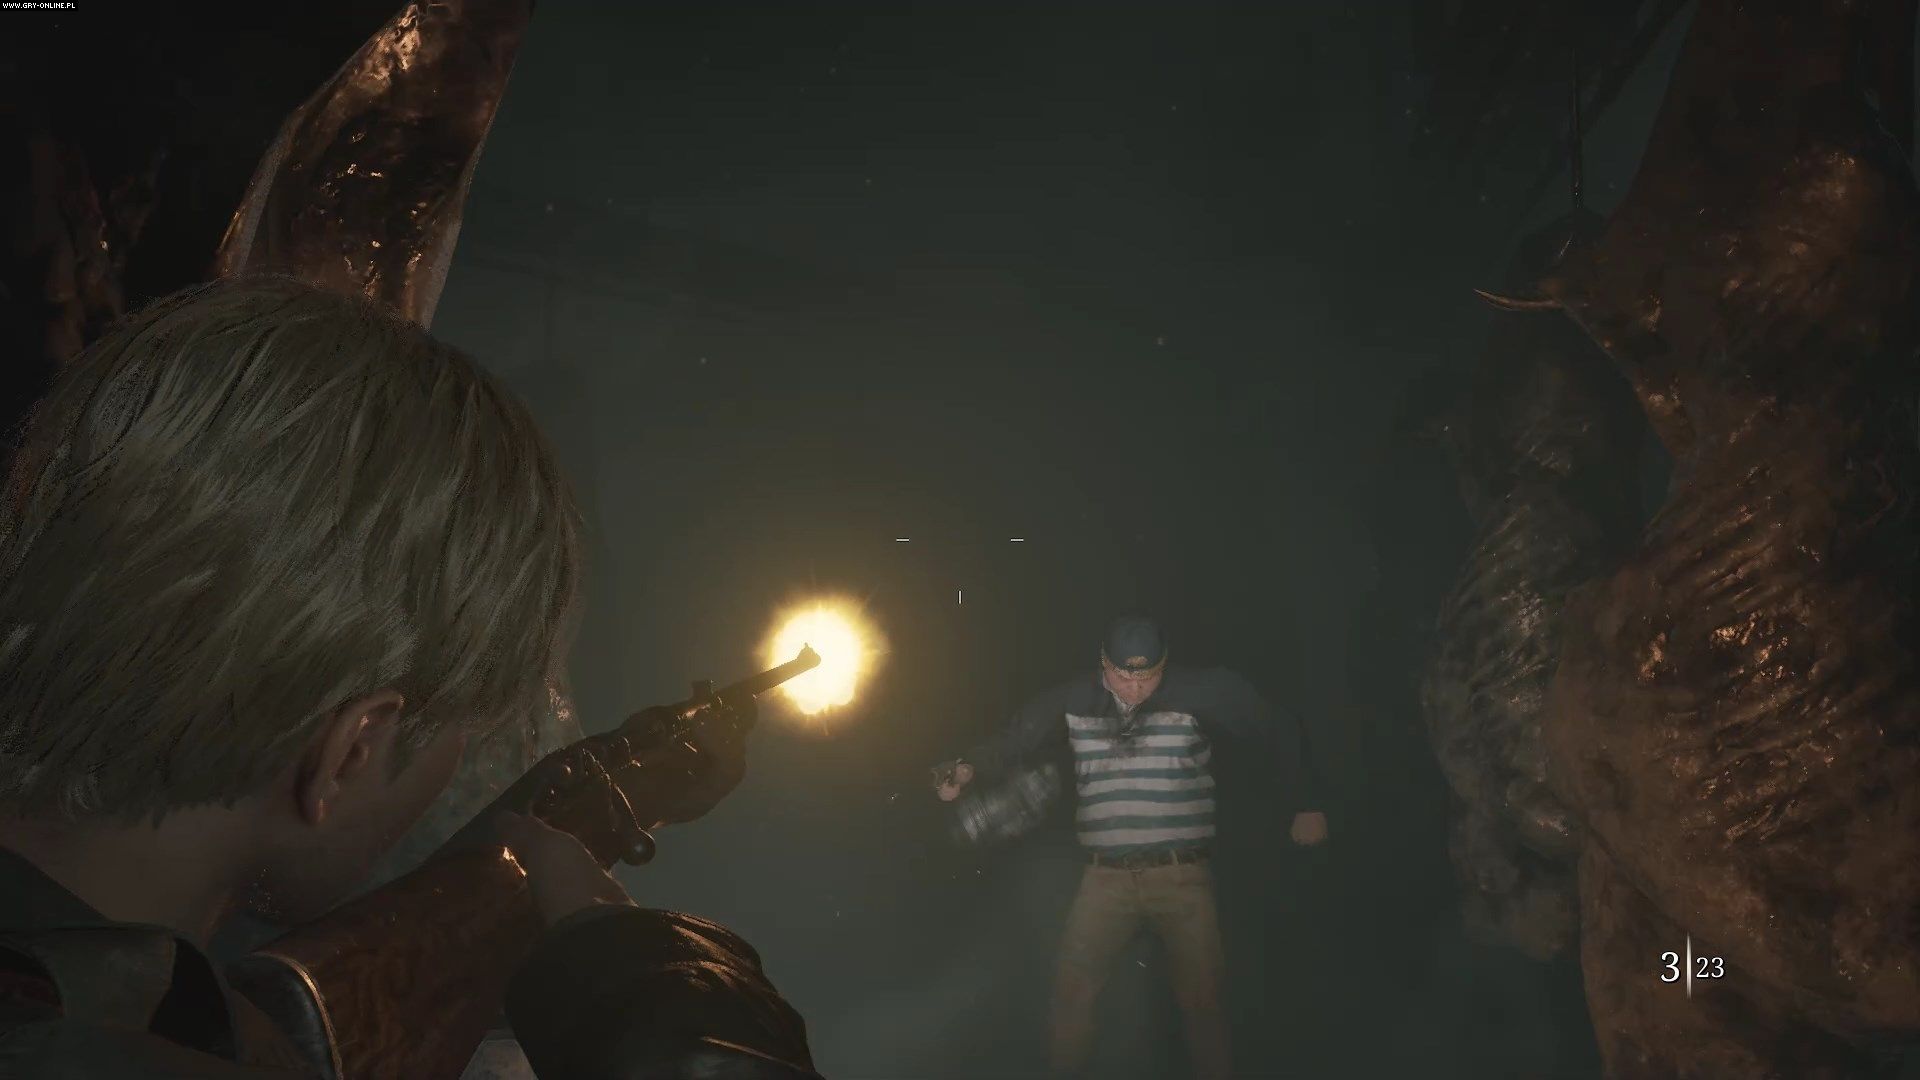
Which weapon works best in this fight depends on your preferences. The handgun deals the least damage, but has the most ammo as well as the fastest rate of fire and reload time, so it's perfect for blind shooting. The shotgun is great if you're playing aggressively, chasing Eddie through the freezer. The rifle deals high damage, but fires and reloads slowly, and has the rarest ammo - use it if you feel confident about your skills.
In the second phase of the fight, the freezer will fill with steam, further reducing visibility. Rely on your hearing, keep moving and be ready to dodge. Eddie will also start running towards you much more often to hit you with his melee attacks - a successful dodge will allow you to land a few blows with the pipe before he runs away. Don't try to attack him before dodging, because Eddie's blows are faster than yours.
In the third phase of the fight, the corpses will start moving, making it much more difficult to avoid Eddie's bullets. Stick to the largest groups of corpses and continue the fight - Eddie once again favors ranged combat here. Look out for the flash of the revolver, dodge after hearing the click and shoot when you spot the enemy. This way you should be able to effectively end the fight.
How to cross the Toluca Lake?
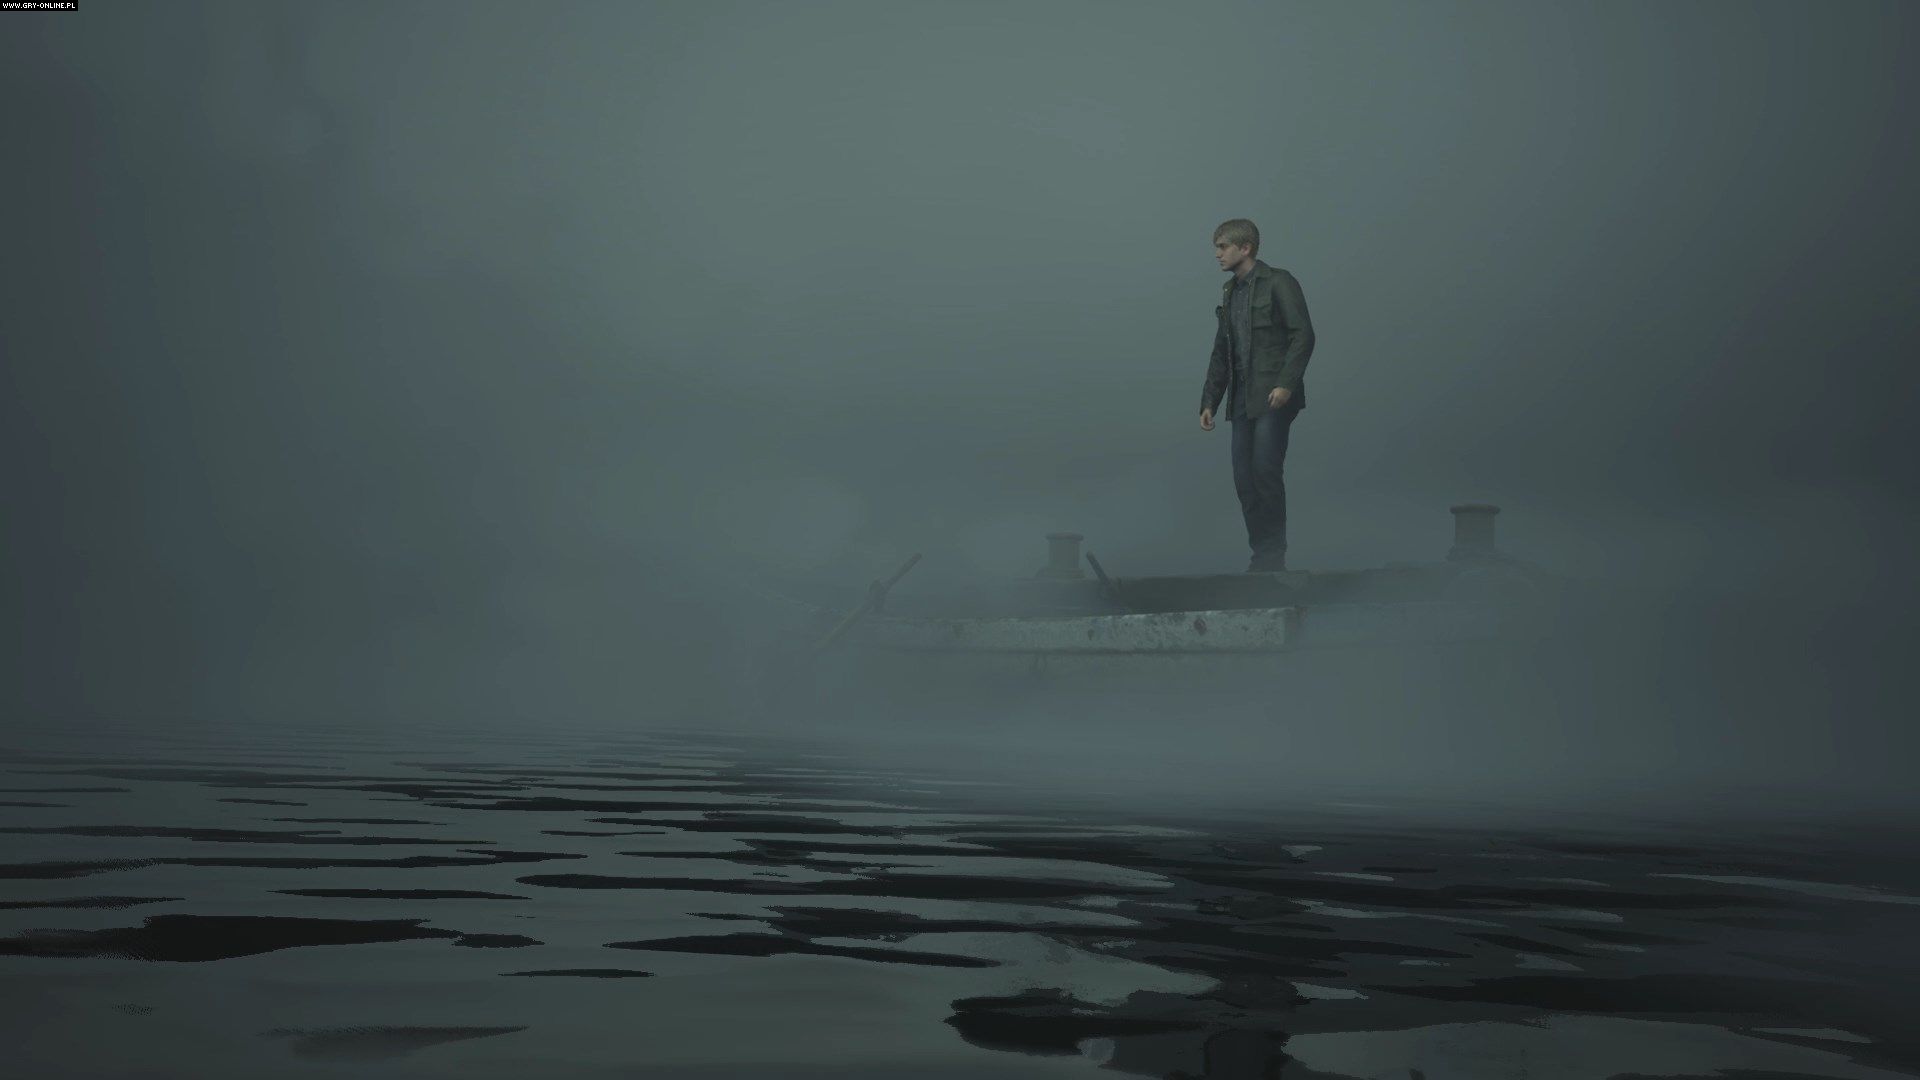
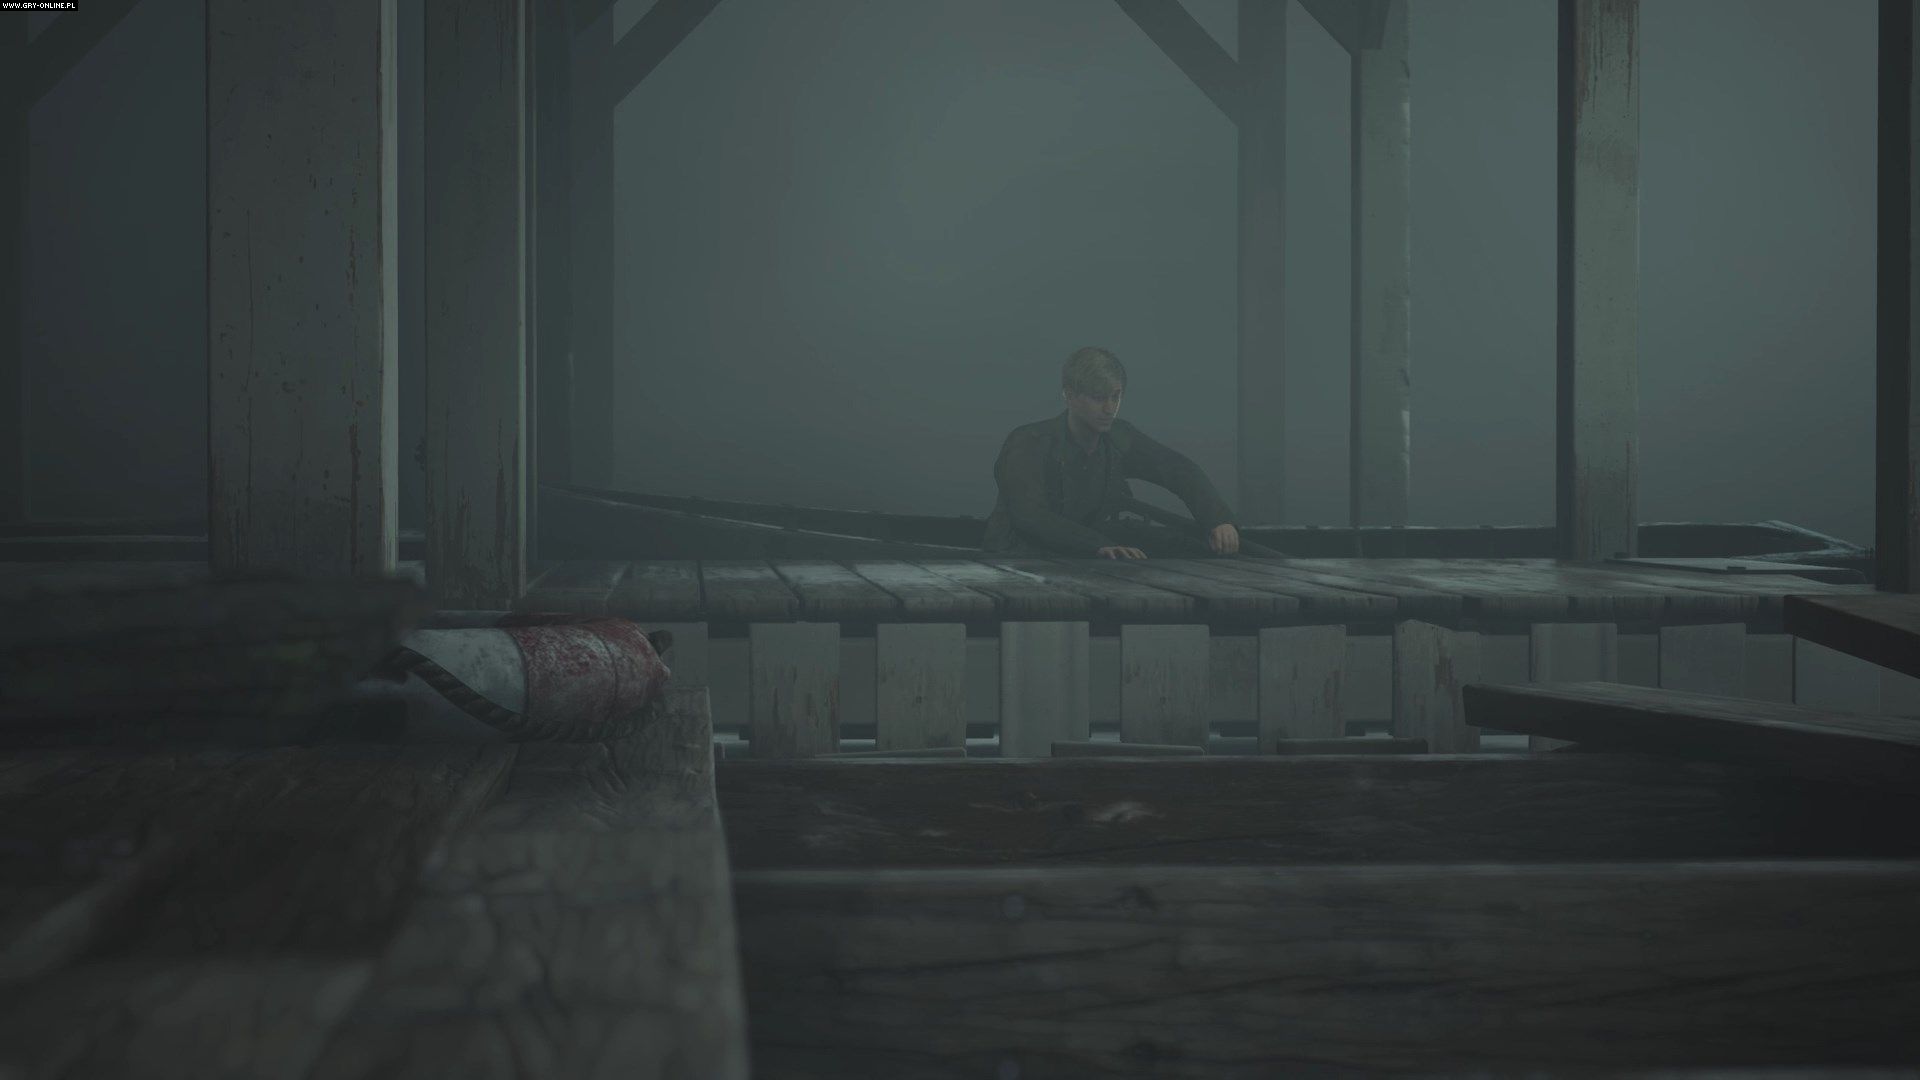
After killing Eddie, exit the freezer through the large door. You will reach a pier with a boat at its end. Head inside.
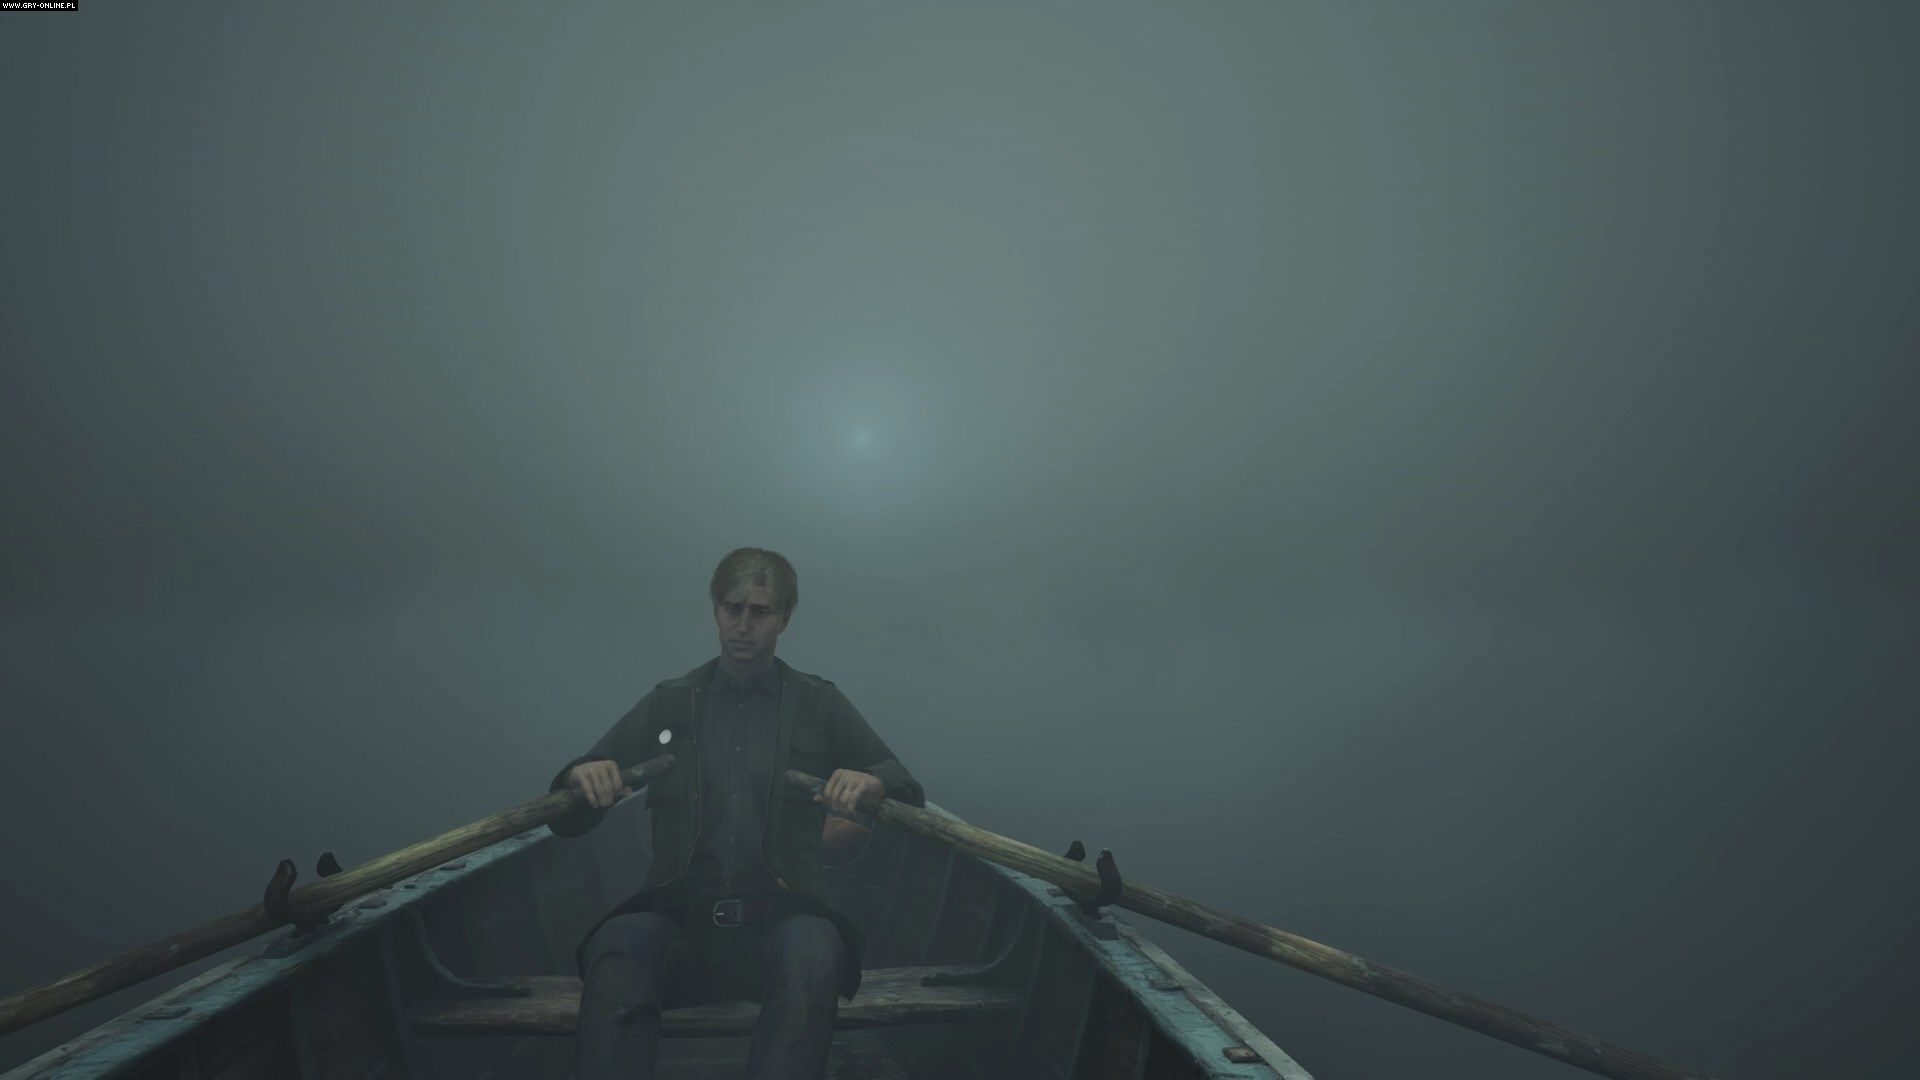
Now you must cross the Toluca Lake. It is very simple and you will not encounter any enemies here. Sail towards the light in the distance and after some time you will reach the Lakeview Hotel, the beginning of the end.

- Silent Hill 2 Remake Guide
- Silent Hill 2 Remake: Game Guide
- Silent Hill 2 Remake: Walkthrough
- Silent Hill 2 Remake: All chapters
- Silent Hill 2 Remake: East South Vale
- Silent Hill 2 Remake: Wood Side Apartments
- Silent Hill 2 Remake: Blue Creek Apartments
- Silent Hill 2 Remake: Western South Vale
- Silent Hill 2 Remake: Brookhaven Hospital
- Silent Hill 2 Remake: Otherworld Hospital
- Silent Hill 2 Remake: Otherworld South Vale
- Silent Hill 2 Remake: Toluca prison
- Silent Hill 2 Remake: Labyrinth
- Silent Hill 2 Remake: Lakeview Hotel
- Silent Hill 2 Remake: Otherworld Hotel
- Silent Hill 2 Remake: Walkthrough
- Silent Hill 2 Remake: Game Guide
You are not permitted to copy any image, text or info from this page. This site is not associated with and/or endorsed by the developers and the publishers. All logos and images are copyrighted by their respective owners.
Copyright © 2000 - 2025 Webedia Polska SA for gamepressure.com, unofficial game guides, walkthroughs, secrets, game tips, maps & strategies for top games.