Silent Hill 2 Remake: Brookhaven Hospital
Brookhaven Hospital is the fifth and longest area in Silent Hill 2 Remake, full of challenging enemies and various ciphers. On this page of the guide, we've covered how to restore power in the hospital, where to find the three bracelets, and how to defeat the second boss, the Warg Shot.
Brookhaven Hospital is the fifth area in Silent Hill 2 Remake, which you will get to after leaving western South Vale. This is the largest and longest location in the game, full of code-locked doors and challenging enemies. On this page of the guide we have described how to start the generator in the basement to restore power in the hospital, where to find the three bracelets and how to defeat the second boss, Flesh Lip.
- How to get to the basement?
- How to restore power in the hospital?
- Where to find the first bracelet?
- Where to find the second bracelet?
- Where to find the third bracelet?
- How to open the safe in the director's office?
- How to find Laura?
- How to defeat Flesh Lip?
How to get to the basement?
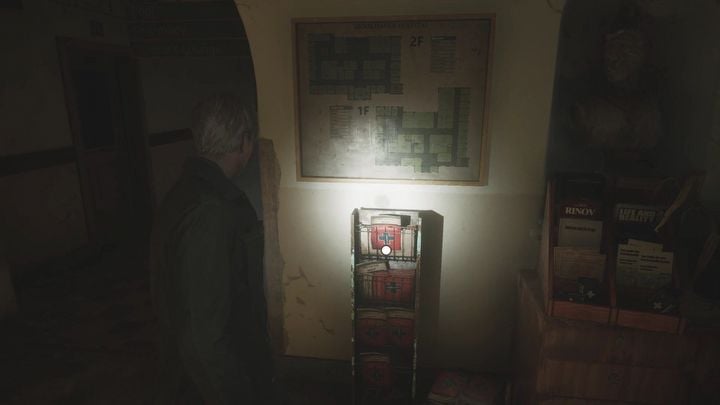
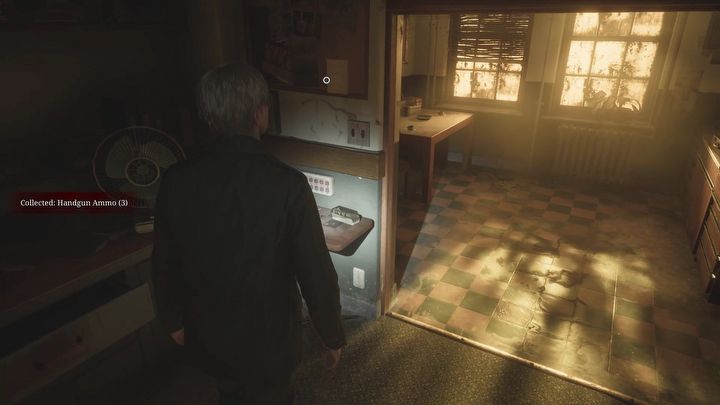
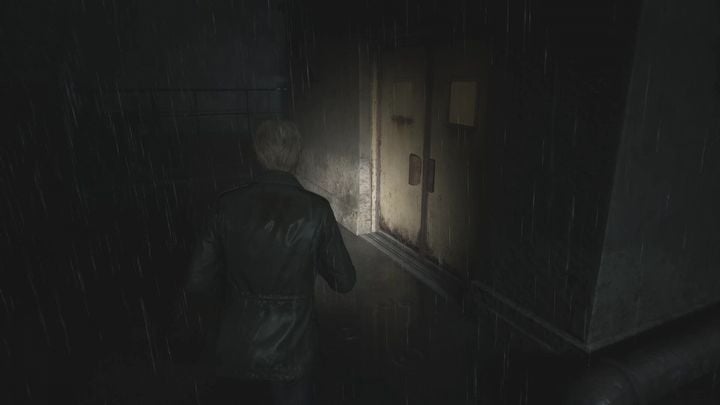
Upon entering the hospital, approach the stand opposite the main entrance and pick up the map. Then head to the reception office right next door, where you can save the game. Take a look at the locker in the reception office and the note on the board that will point you to Examination Room 3.
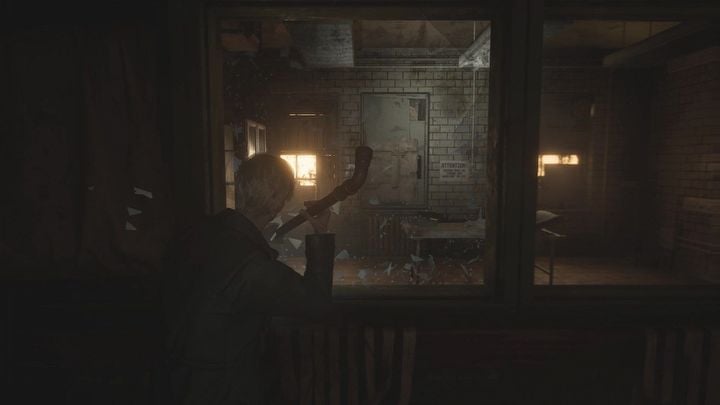
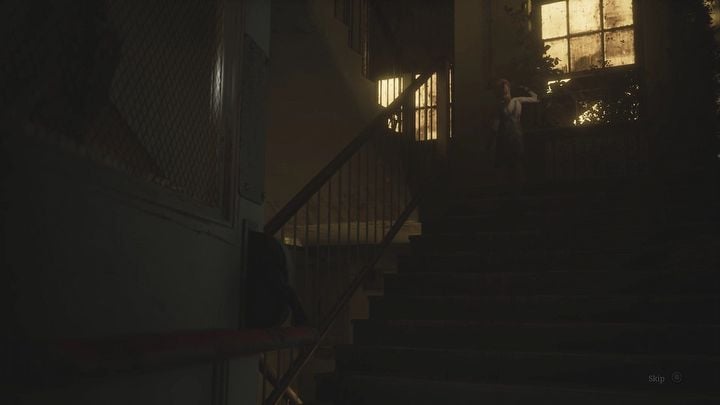
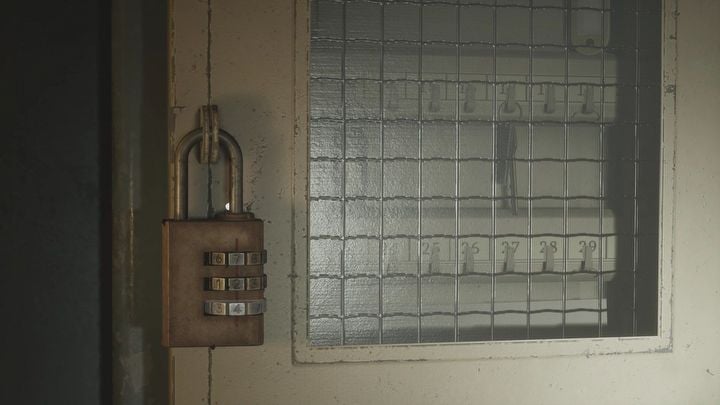
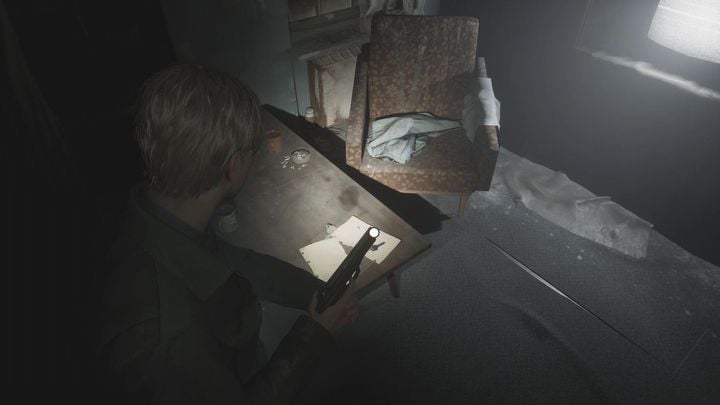
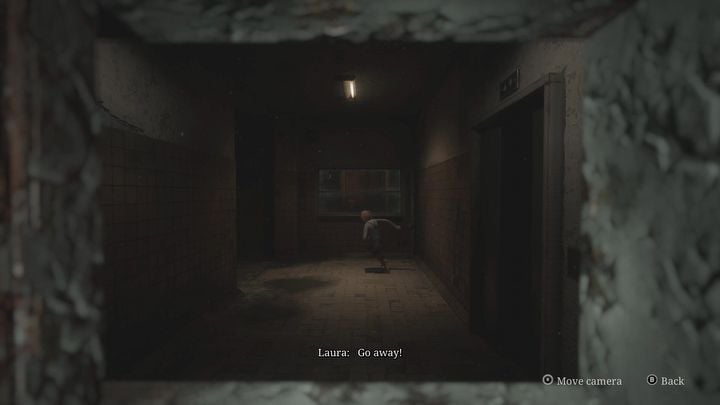
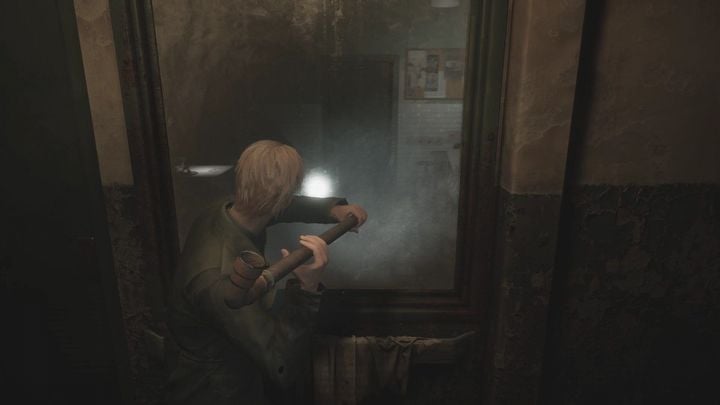
This room is located nearby, but to enter it you have to break the glass in the hall. In the desk drawer you will find a memo that will point you to the code to the key locker at the reception. Along the way, you can head to the staircase and watch a cut-scene - Laura will have escaped to the second floor and closed the door behind her. You will have to find another way.
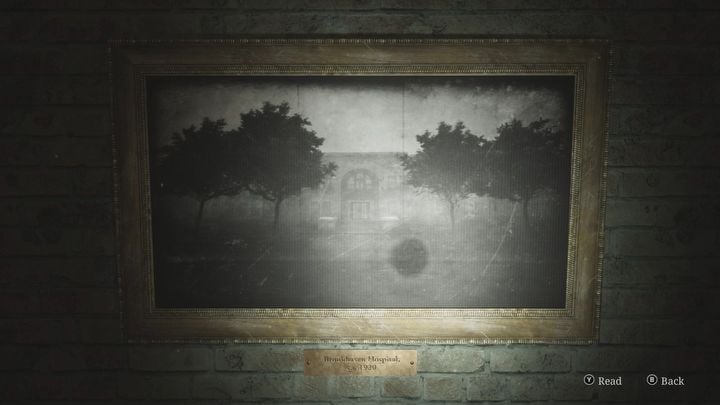
The memo mentions nurses, doctors, and trees, as well as looking around the lobby. There are three paintings in the hospital lobby that you can examine. In the first painting, there are seven nurses, two doctors in the second one and four trees in the third one. The correct code is therefore 724. Take the basement key from the locker and go to the staircase again. Go down the stairs and open the door to the basement.
How to restore power in the hospital?
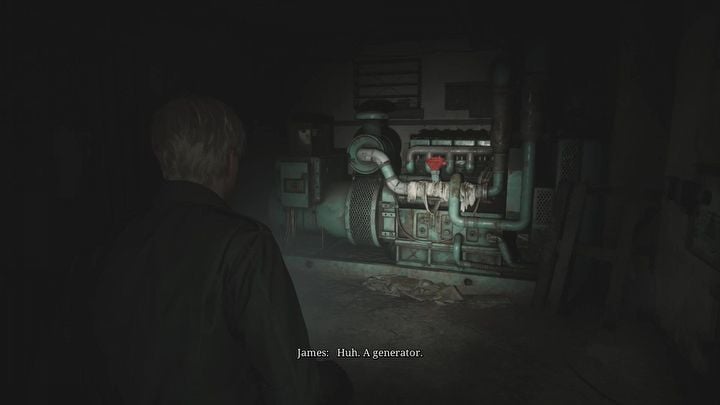
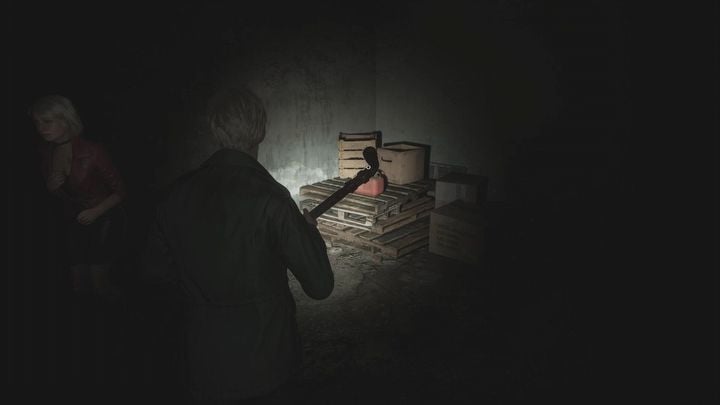
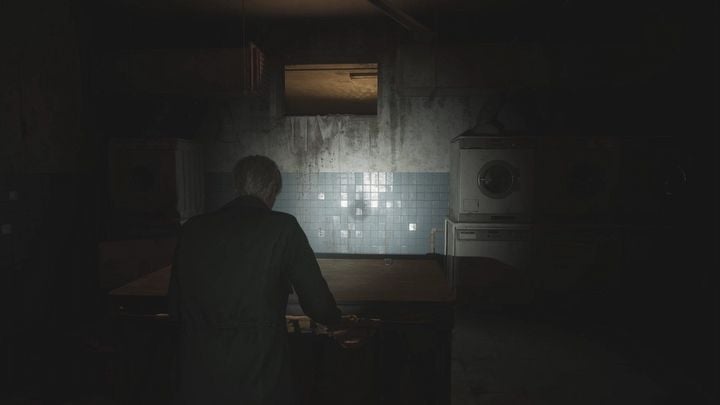
Pick up the basement map hanging directly in front of you and go to room 04, and from there proceed to room 03. There is a generator, which you need to start to restore power and thus unlock the elevator leading to the upper floor. Head to the nearby room 06, fighting enemies along the way, and proceed to room 10. There you will find an empty canister.
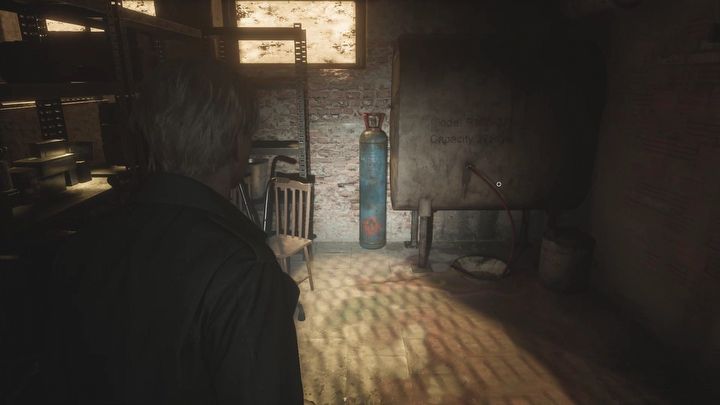
Now go to room 05. You will find a wheelchair here. Push it through the open door to room 08, towards the wall with a small window. Go through the window to room 09, where you will find the fuel tank. Fill the canister.
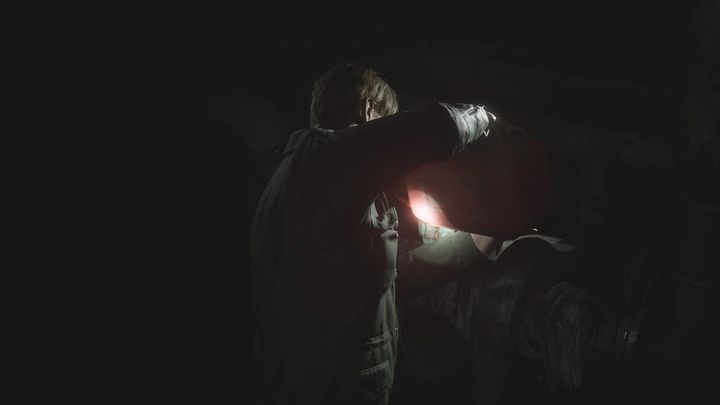
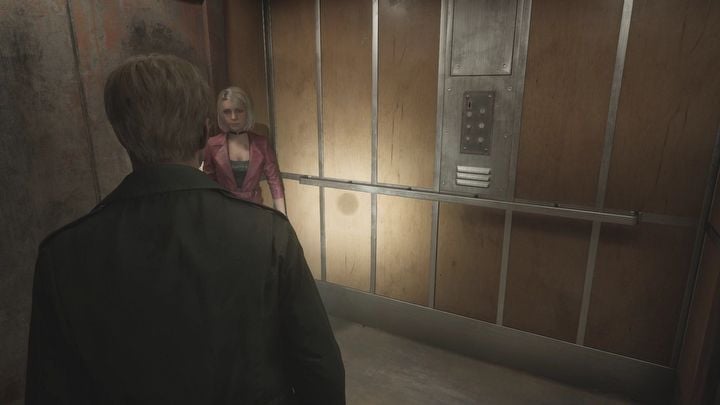
Go back to the generator and pour fuel into it, then pull the lever on the generator. This will restore the power. Go to the elevator and go to the second floor.
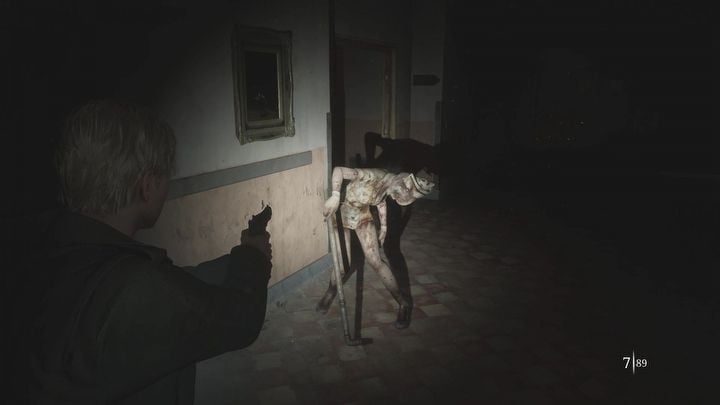
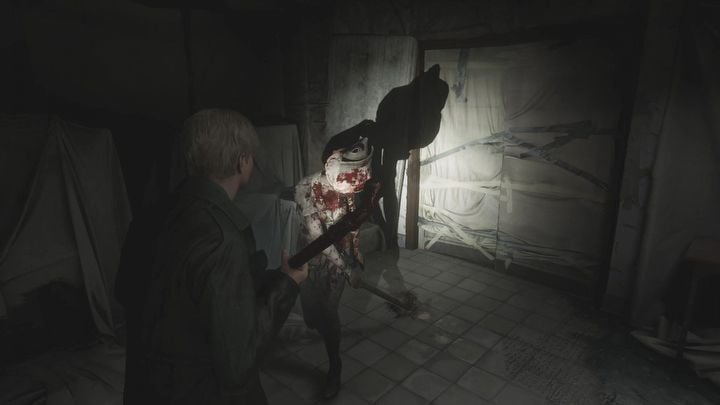
Watch the cut-scene. Maria will leave you for now - you will explore the rest of the hospital on your own. Head down the hall, where you will encounter a new enemy - nurses. They are the most dangerous enemies so far, as they have a lot of health, can block your attacks and can attack you several times in a row. Don't be afraid to use the handgun against them.
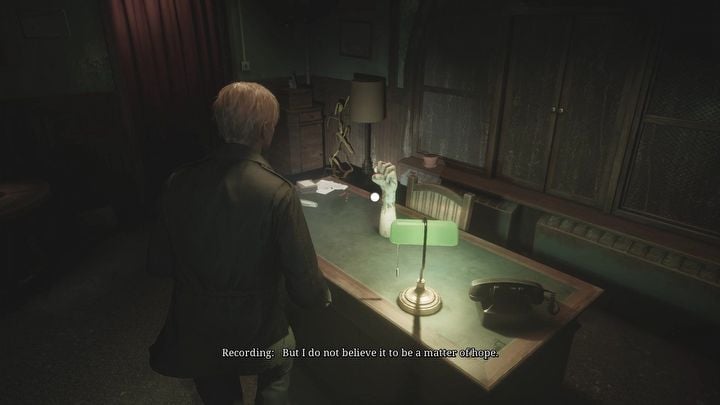
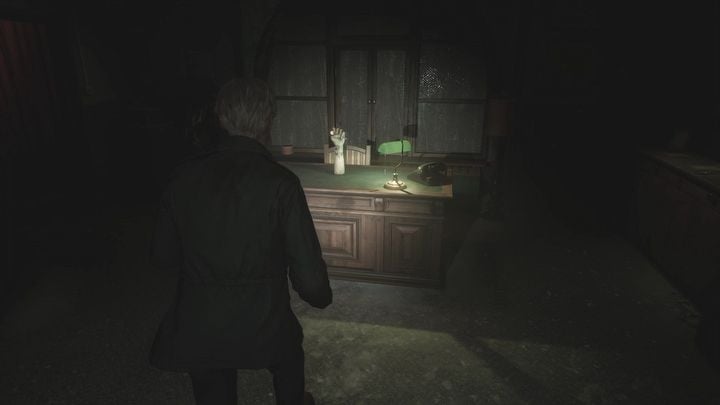
You need to go to the director's office. Inside you will find a save point and you will learn the main objective of the location - you will need to find three bracelets and use them to open the safe behind the red curtain. On the table in the corner you will find three memos that will direct you to all the bracelets.
Where to find the first bracelet?
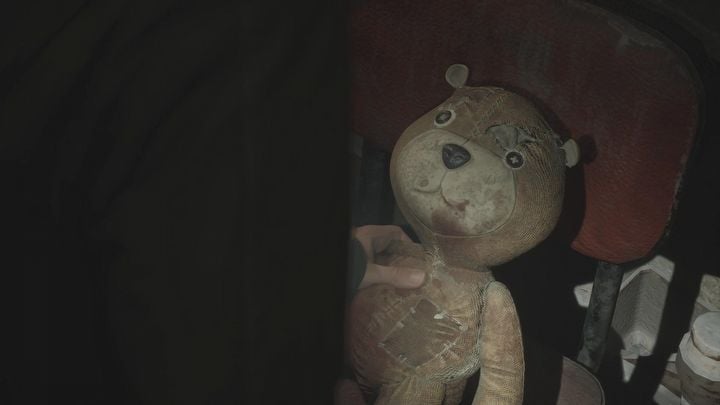
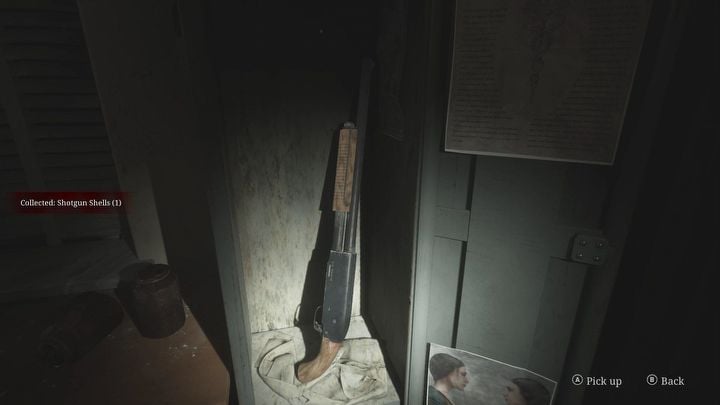
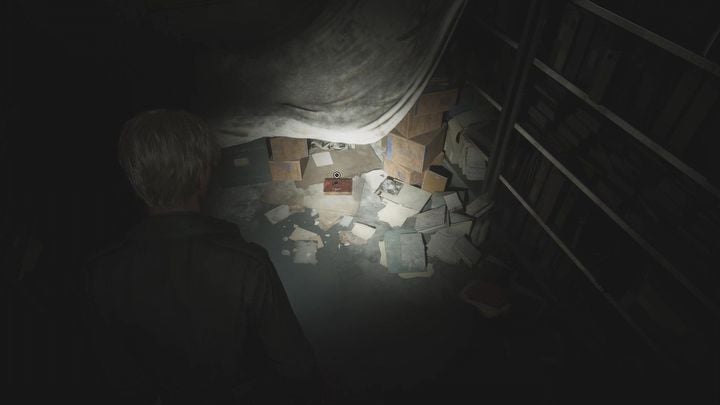
Firstly, go to the Women's Locker Room on the second floor. The room is open and you'll be able to pick up two key items there. The first one is a bent needle, which you can take out of the teddy bear. It'll come in handy later on. The second item is a shotgun in the cabinet. It will prove extremely useful in tight corners and boss fights.
Now head to the nearby Nurses' Lounge. Watch out for the nurse in the bathroom. Approach the table and pick up the key to the nearby room L1. Go there and once you're inside, move another trolley towards the wall gap by the ceiling and go through it.
You will get to the utility room, where you will have to squeeze through a hole in the wall. After a cut-scene, you will return to the first floor. Squeeze through the gap in the floor and go to the next room, where you'll notice the bracelet you're looking for lying on the floor. Once you pick it up, an enemy will enter the room, so be ready. After that, leave the room and go out into the hallway.
Where to find the second bracelet?
Go to the third floor through the second staircase. Right next to the stairs are huge iron doors; Laura is behind them. Forget about them though, as you won't be able to open them. Instead, make your way to Examination Room 5. The door is blocked, so you have to break the window.
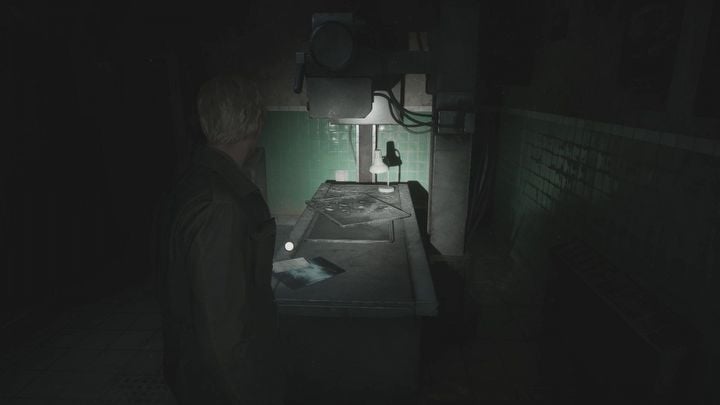
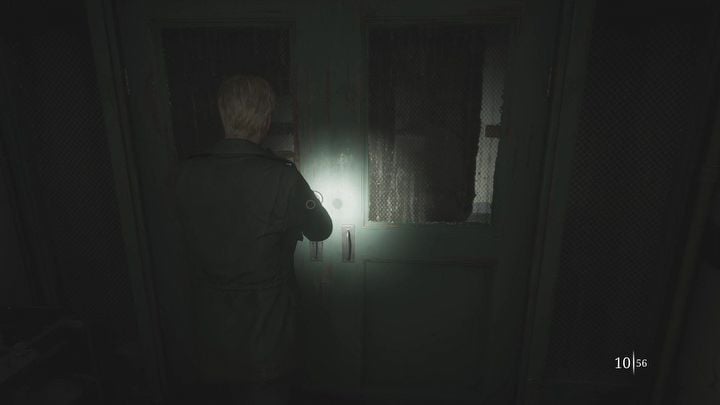
Pick up the key to the inner wing on the first floor from the desk and proceed to the X-ray room. Pick up the X-ray picture from the table. Remember this room - you will return here after obtaining another X-ray picture. For now, go back to the first floor and open the large doors in the main hallway using the key to the inner wing.
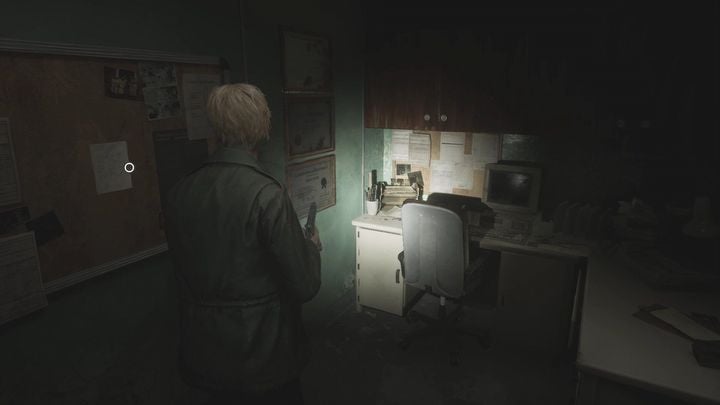
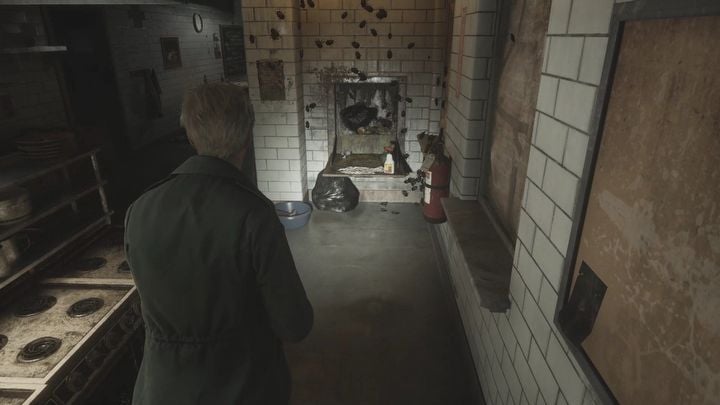
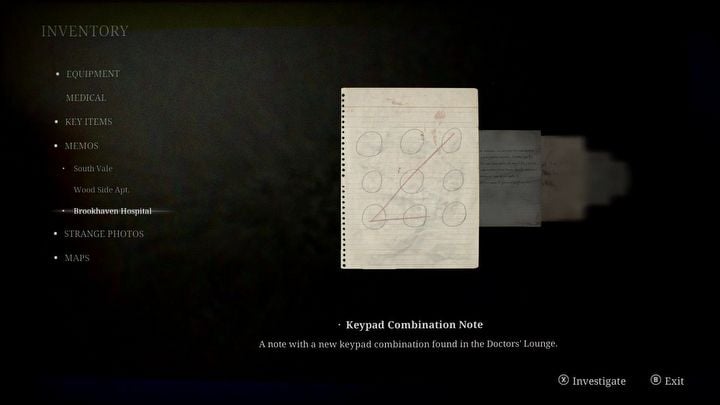
First, go to the right, to the Doctors' Lounge. On the cork board you will find a memo with a code that will allow you to open the Nurses Station on the second floor. You will go there a bit later. For now, go to the pantry on the first floor, where you will find the mold remover. You should notice it right away because it's surrounded by a huge amount of insects.
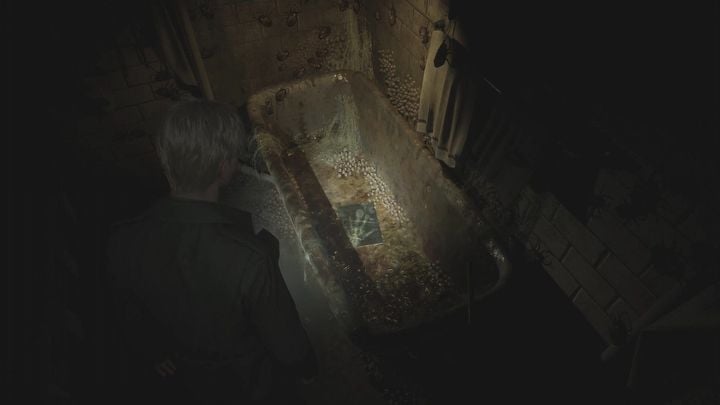
Return to the second floor via the nearby staircase and go to the Nurses Station. The memo you've already collected will provide you with the code, which is 3578. Inside the station, retrieve the moldy x-ray photo from the insect-infested bathtub. In your inventory, combine the moldy photo with the mold remover to get rid of the mold.
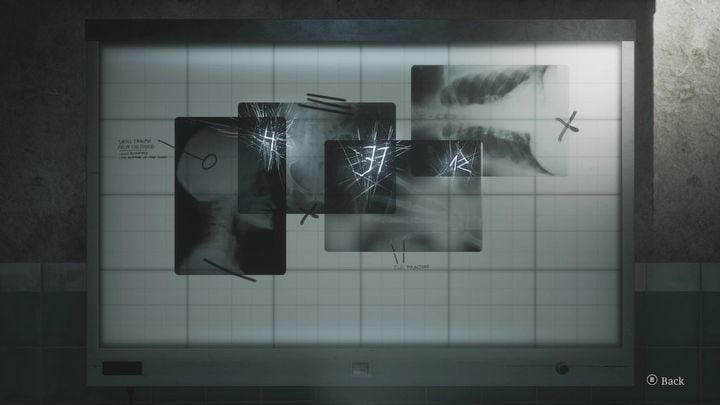
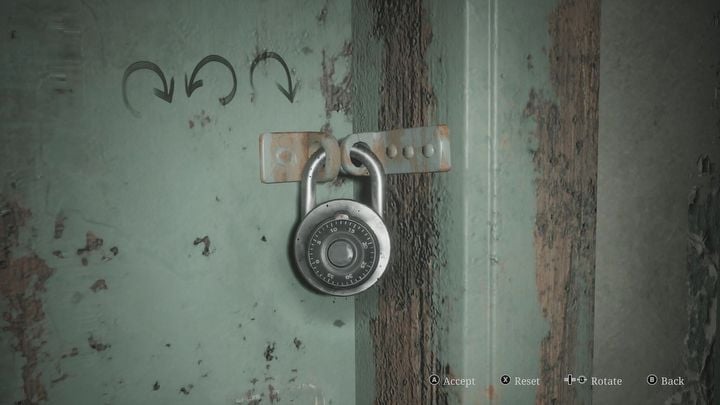
Return to the x-ray room on the third floor. You must place four X-ray photos correctly on the board. You will recognize the position of the photos thanks to the marker traces on the board and in the photos - arrange them so that the marker traces match each other. The photos will overlap and some of them will have to be rotated. See the correct arrangement in the screenshot above. Solving the viewer puzzle will reveal the combination to room D1 right next door - 4 right, 37 left, 12 right. Open the room and remove the sheet from the bed to get the second bracelet.
Where to find the third bracelet?
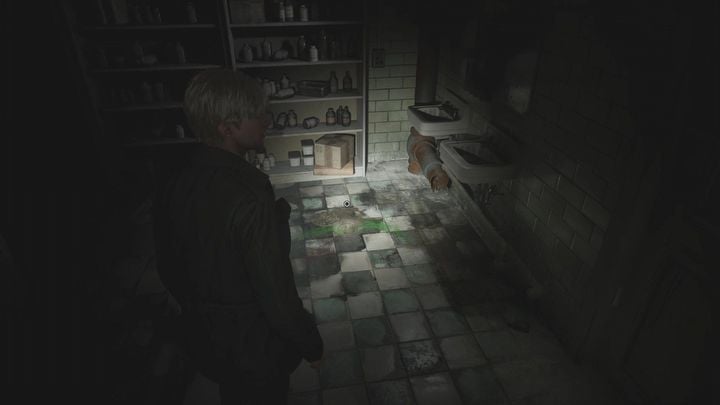
Go back to the first floor, to the inner wing, and enter the day room. After defeating the nurse inside, squeeze through the gap in the wall into the pharmacy. Note the drain in the floor - you'll come back here later.
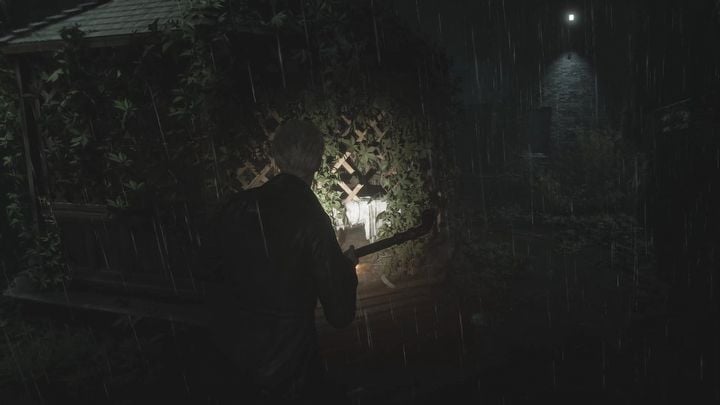
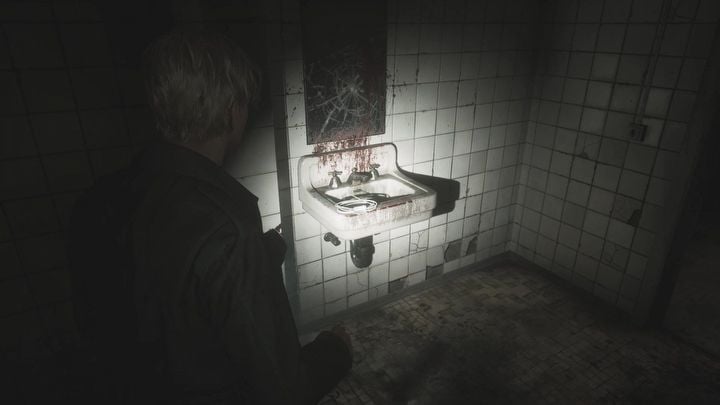
Go out into the garden and get rid of the enemies there. Head to the pool and then to the showers. You'll find a medical tube on the sink there. In your inventory, combine it with the bent needle you obtained in the Women's Locker Room. You'll create a makeshift fishing rod.
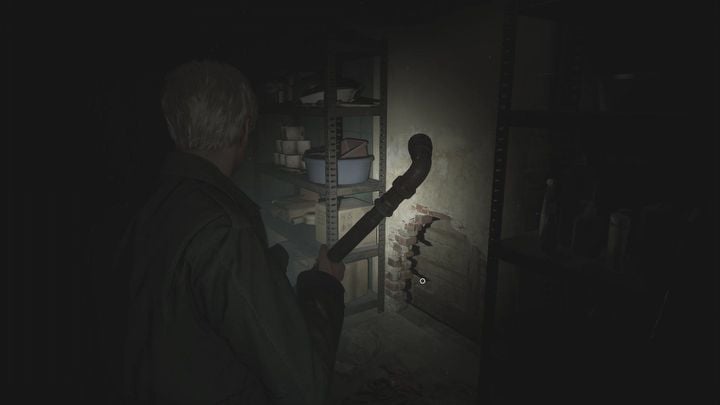
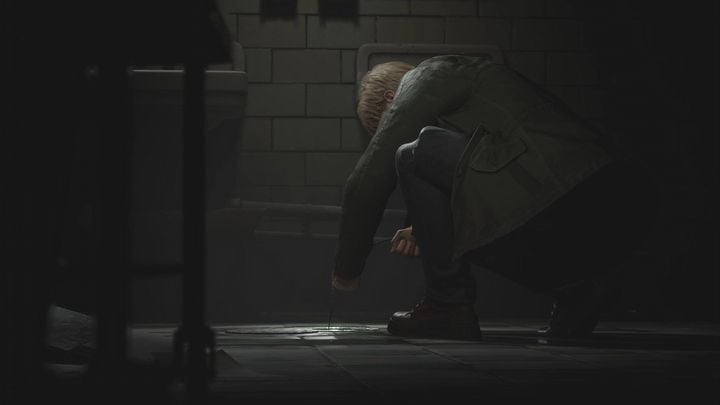
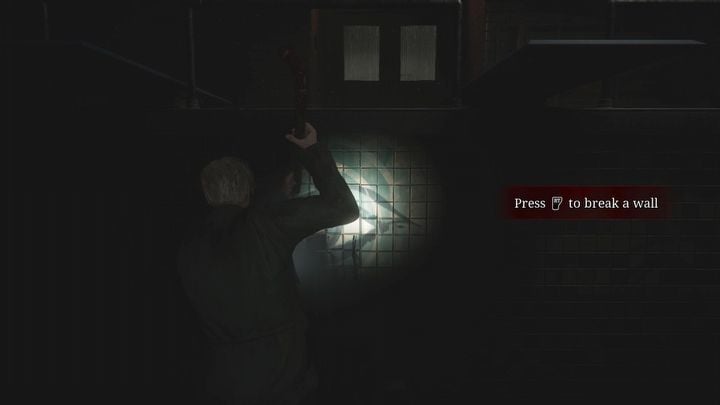
Go back to the pharmacy and use the tube to fish the key out of the drain. You can use it to open the hatch in the floor by the pool. Pull the lever under the hatch to drain the pool and go inside. Destroy the eye painting on the pool wall with a melee blow. The third bracelet lies behind the wall. You can now return to the director's office to solve the puzzle.
How to open the safe in the director's office?
Once you have all three bracelets, you can open the safe in the director's office. The solution to the puzzle can be found on a separate page of the guide. Inside the safe you will find the key to the roof.
How to find Laura?
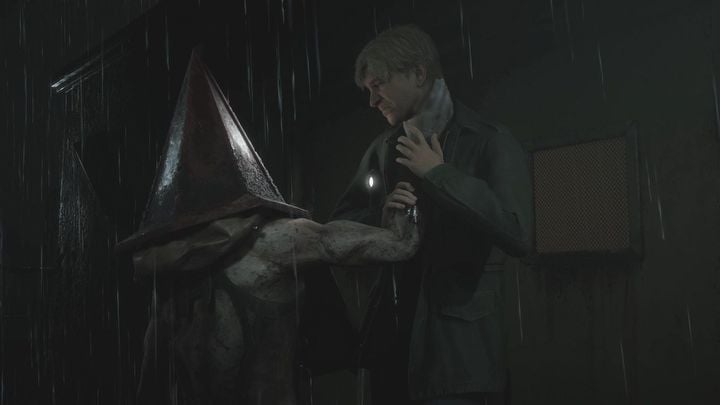
Go back to the third floor and open the door to the roof. On the roof, enter the small room and read the memo on the floor. Exit the room and watch out for the jumpscare - you'll encounter Pyramid Head, who will throw James through the floor back to the third floor. You will find yourself on the other side of the iron door behind which Laura was.
Follow the linear hallway towards Laura. On the way, stop by the hydrotherapy room for some supplies and a shortcut to the rest of the hospital. Save the game at the save point behind the hydrotherapy room, heal yourself and reload your weapon. Once you're ready, go to the large door at the end of the hallway. Watch the cut-scene, after which the second boss fight, with Flesh Lip, will begin.
How to defeat Flesh Lip?
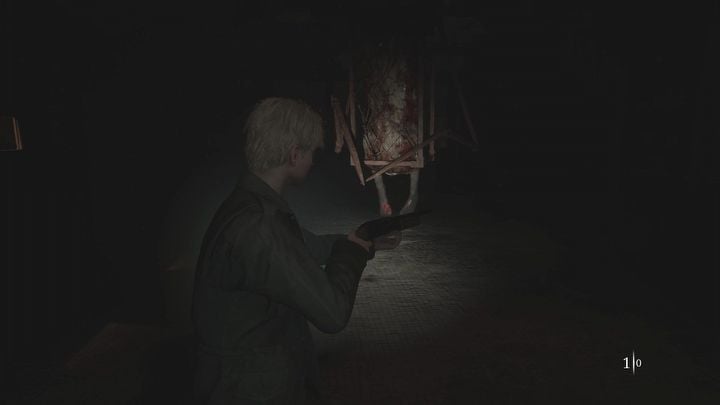
The first phase of the fight is quite simple. The enemy is surrounded by a metal frame, which makes them immune to damage. You can deal damage only by melee attacks or by shooting at the boss's protruding feet.
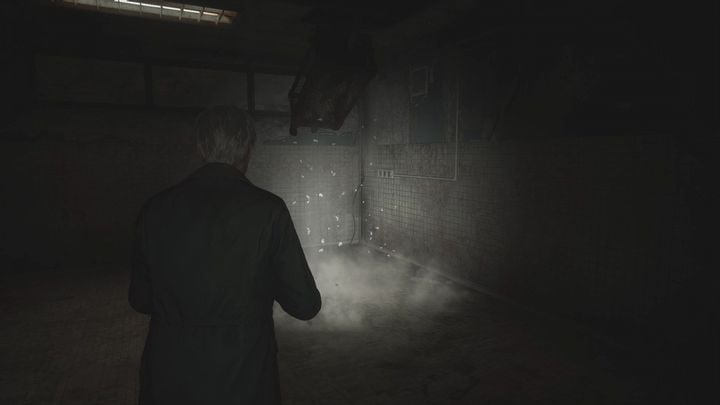
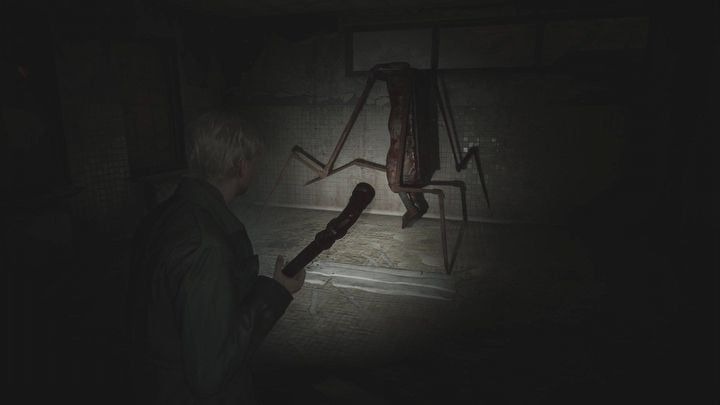
The boss spends most of the first phase above the ceiling, outside the arena. Occasionally, Flesh Lip will fall from the ceiling and dangle from there for a while, only to return to the ceiling again. Run around the room and listen for the sound of something breaking through the ceiling, while staying on the move - otherwise you might get kicked. Once Flesh Lip shows up, pay attention to how the boss behaves. If the boss is swaying in all directions, stay away. If the boss is hanging still, start attacking the monster with the pipe - there's no point in wasting ammo here, as the boss isn't dangerous at this stage of the fight, and its feet are a very small target.
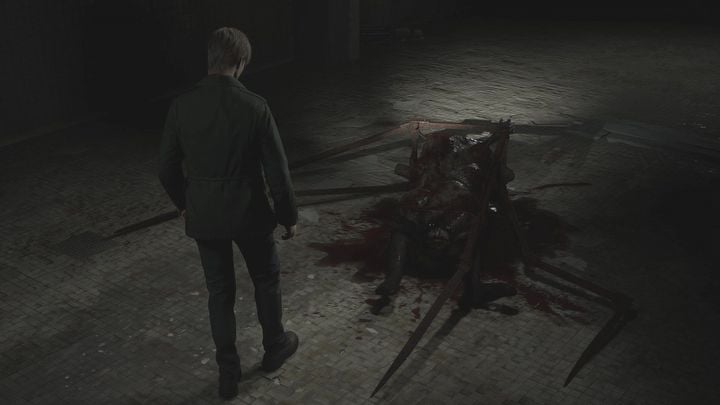
In the second phase of the fight, the boss will fall from the ceiling, transforming the bed frame into sharp metal legs. Its body is now vulnerable to damage, but the boss itself is much more dangerous - instead of hanging from the ceiling, the monster will run up to you and try to stab you. At this stage, the boss fights like a regular enemy, just a bigger and faster one. Dodge if the boss gets closer to you and shoot with your handgun and shotgun.
Without a frame protecting it, the boss has quite low health, so the fight should be over quickly. After defeating Flesh Lip, James will end up in a nightmarish version of Brookhaven Hospital, from which you will now have to escape.
- Silent Hill 2 Remake Guide
- Silent Hill 2 Remake: Game Guide
- Silent Hill 2 Remake: Walkthrough
- Silent Hill 2 Remake: All chapters
- Silent Hill 2 Remake: East South Vale
- Silent Hill 2 Remake: Wood Side Apartments
- Silent Hill 2 Remake: Blue Creek Apartments
- Silent Hill 2 Remake: Western South Vale
- Silent Hill 2 Remake: Brookhaven Hospital
- Silent Hill 2 Remake: Otherworld Hospital
- Silent Hill 2 Remake: Otherworld South Vale
- Silent Hill 2 Remake: Toluca prison
- Silent Hill 2 Remake: Labyrinth
- Silent Hill 2 Remake: Lakeview Hotel
- Silent Hill 2 Remake: Otherworld Hotel
- Silent Hill 2 Remake: Walkthrough
- Silent Hill 2 Remake: Game Guide
You are not permitted to copy any image, text or info from this page. This site is not associated with and/or endorsed by the developers and the publishers. All logos and images are copyrighted by their respective owners.
Copyright © 2000 - 2026 Webedia Polska SA for gamepressure.com, unofficial game guides, walkthroughs, secrets, game tips, maps & strategies for top games.
