Silent Hill 2 Remake: Blue Creek Apartments
Blue Creek Apartments is the third area in Silent Hill 2 Remake. On this page of the guide we described how to fix the clock, where to find all the clock hands and survive the first clash with the Pyramidhead.
Blue Creek Apartments is the third area in Silent Hill 2 Remake. They are similar to Wood Side Apartments, consisting of dark, cramped rooms. On this guide page we describe how to repair the clock, where to find all the clock arms and survive the first fight with the Pyramid Head.
- How to get to the room with the clock?
- How to get an hour clock hand?
- How to get a minute clock hand?
- How to get a second clock hand?
- How to defeat the Pyramid Head?
How to get to the room with the clock?
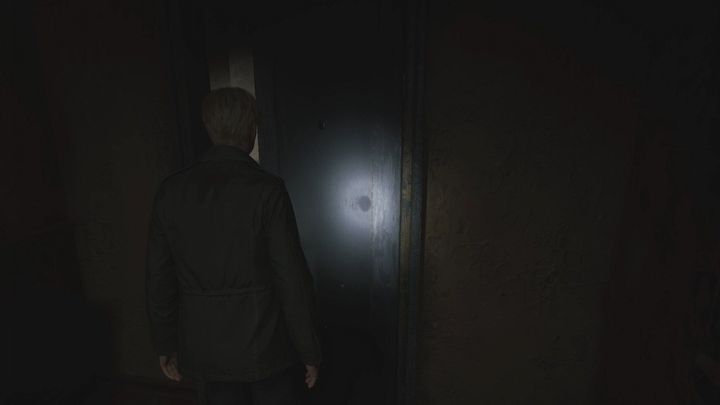
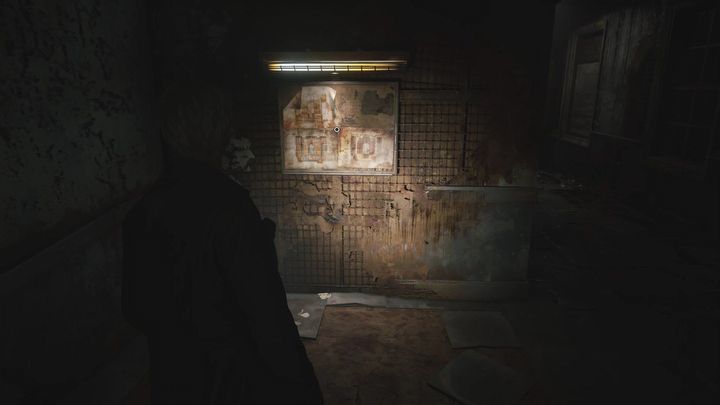
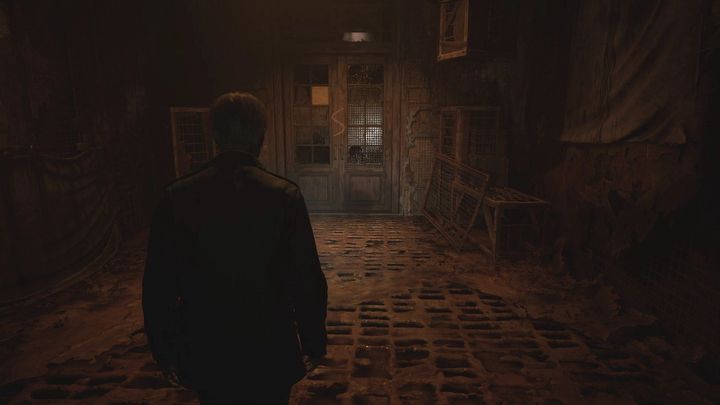
Unlike previous locations, you do not start Blue Creek Apartments in a safe area. Before you reach the save point you must get through several rooms and enemies. Exit the starting apartment and follow the linear corridor. On the way, pick up the map from the cork board.
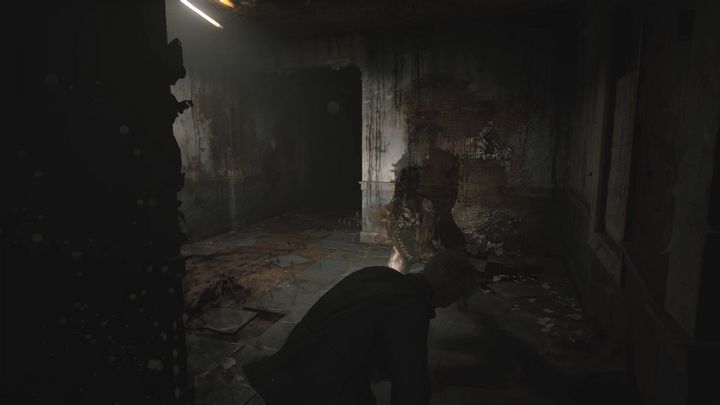
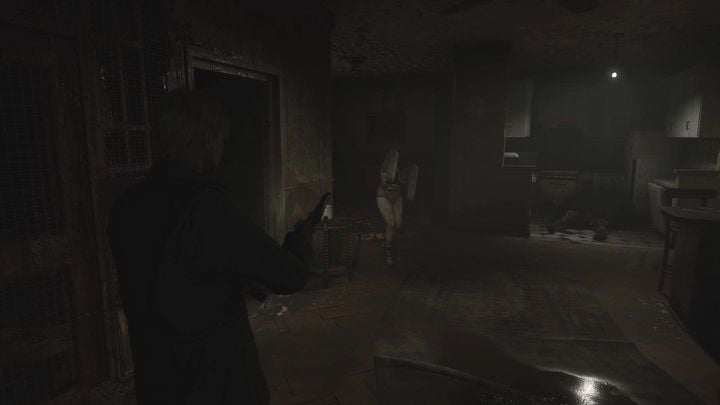
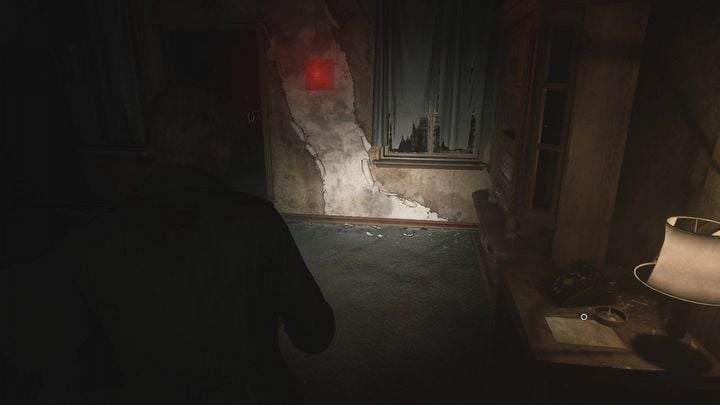
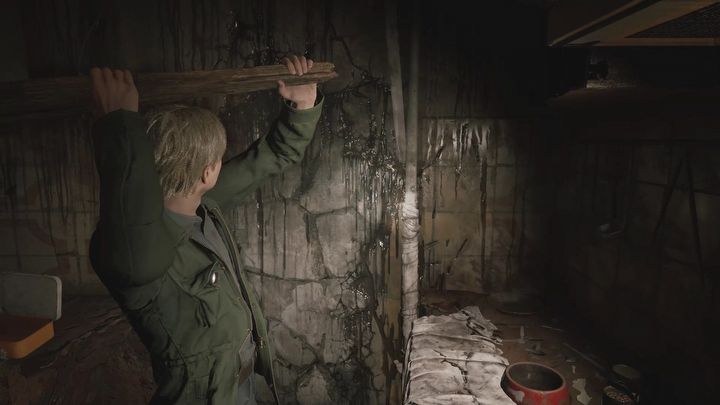
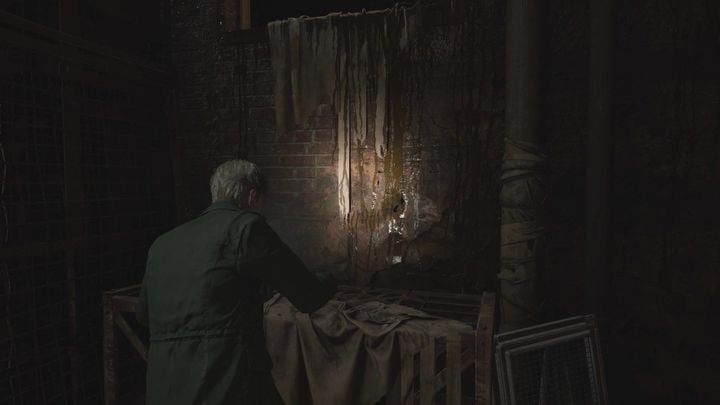
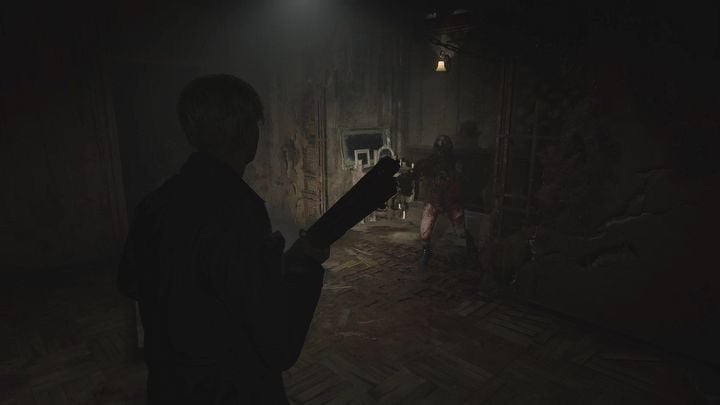
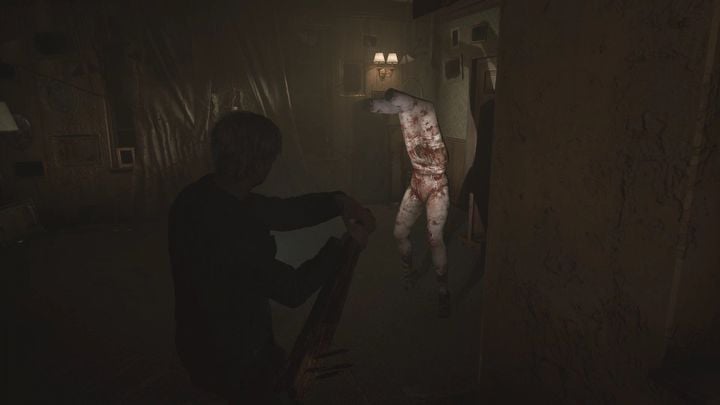
A bit further you will encounter a new type of basic enemy, Lying Figure. There are iron studs driven into its body. Your opponents fight identically to their normal versions, but upon death, they spew out a cloud of acid, which will hurt you if you are too close. Kill them with the pistol or dodge immediately after finishing them off with a melee attack. A bit further, you will also encounter cracked walls - you have to hit them three times with a melee weapon to create a crack leading further.
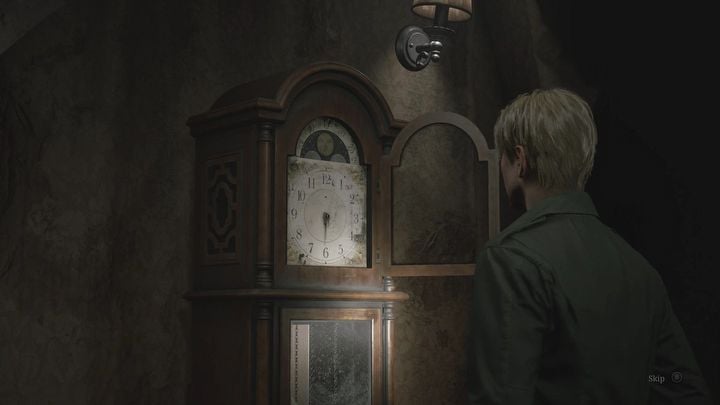
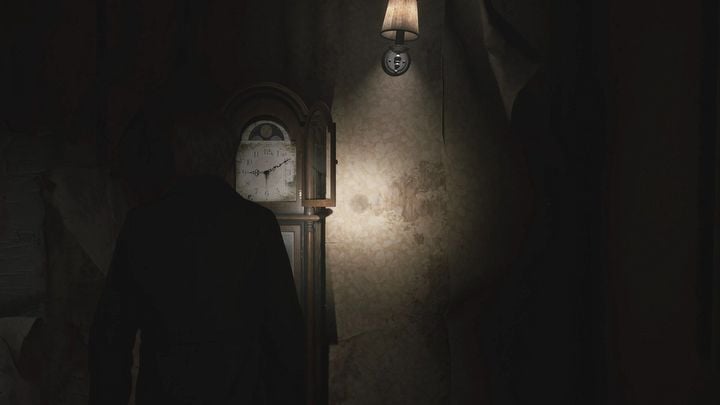
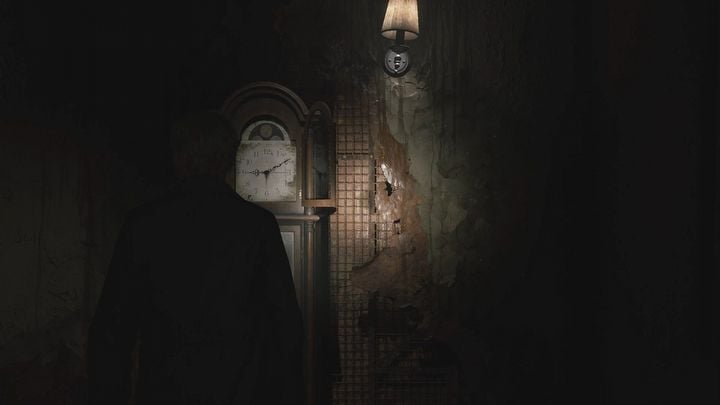
Deal with the enemies in the large room and proceed to the end of the next corridor. Beyond the open doors awaits a clock room, to which you will return many times. Save your game here.
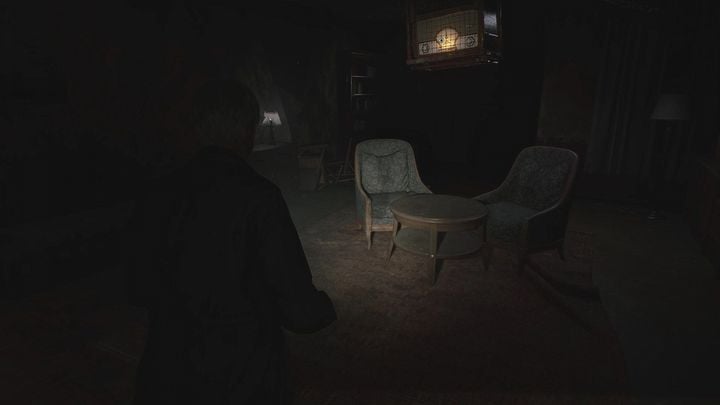
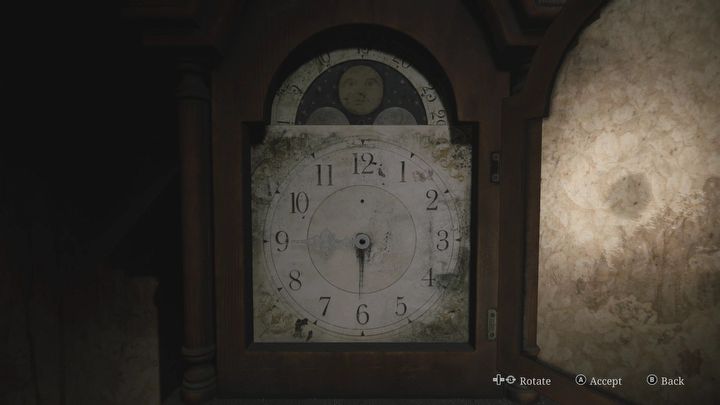
Remove the cloth from the clock on the wall. The clock has no hands - to unlock the exit from the apartment building you must find three hands, attach them to the clock and set them to point the correct time. There are several clues in the room as to the correct positions of the clock hands.
How to get an hour clock hand?
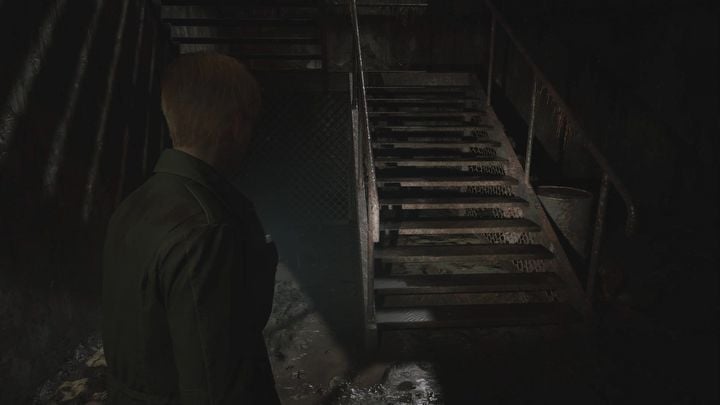
Go to apartment 203. Be careful, because there are many enemies in the location, with whom you will fight in claustrophobic rooms. In apartment 203, destroy the cracked wall, then exit through the open window and go up to the higher floor using the staircase outside.
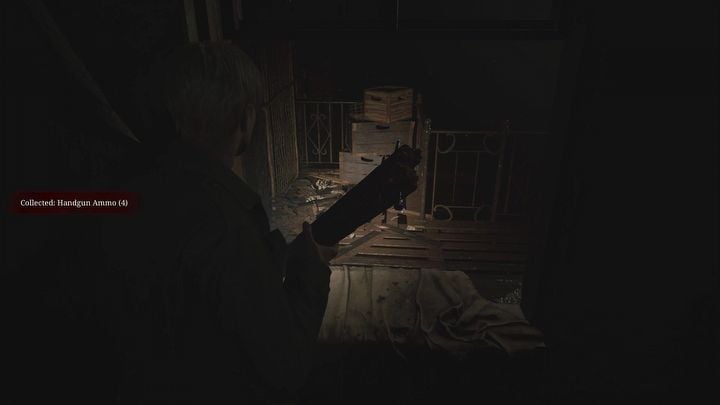
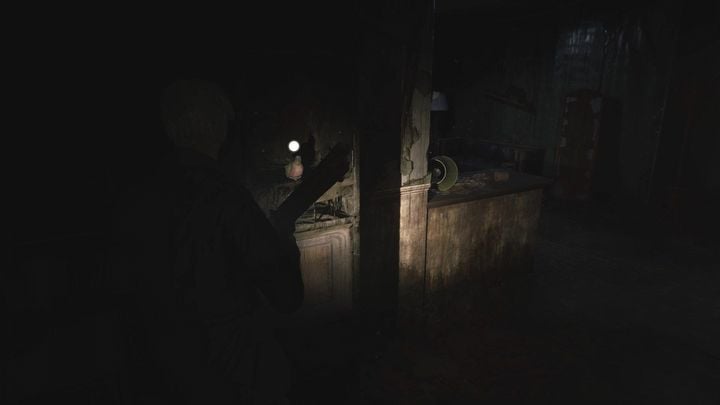
At the top of the staircase, climb up the crates and enter the room through the small window. You can destroy the cracked wall to get to apartment 305, where you will find five bullets for the handgun, but to go further you need to go to apartment 307. There's a radio hanging on the ceiling - you have to throw it down, which we've described below.
Go to the external staircase and go through the window into the next room. Take the key to apartment 306 from the table, then turn the crank on the wall. On the way to the next room, you will encounter many enemies. First, get rid of those who will enter the room.
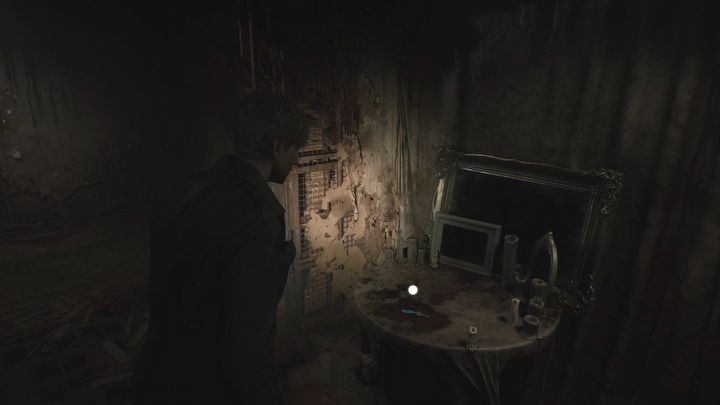
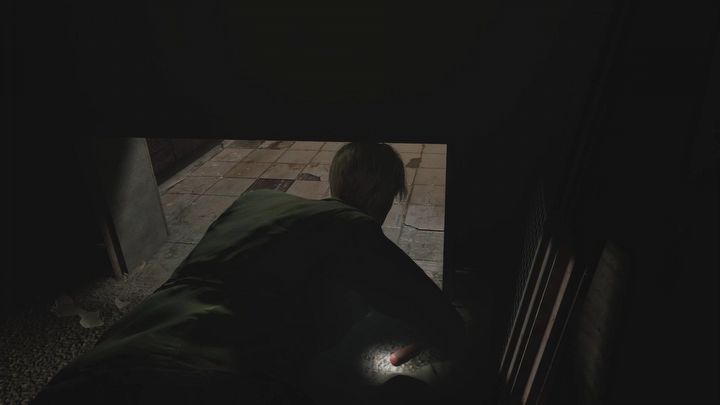
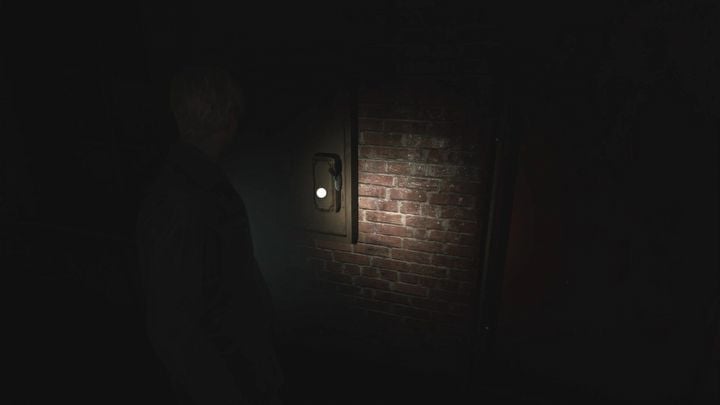
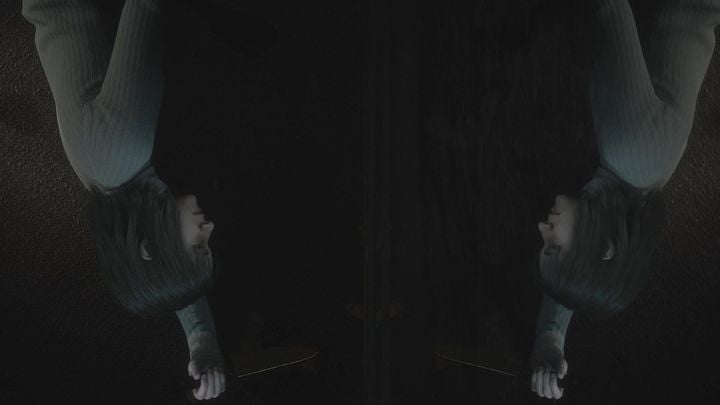
Exit into the corridor and go to apartment 306. Crawl through the crack in the floor in the middle and enter the room full of mirrors. Turn the crank on the wall and the pressure will knock it off the wall so you can take it.
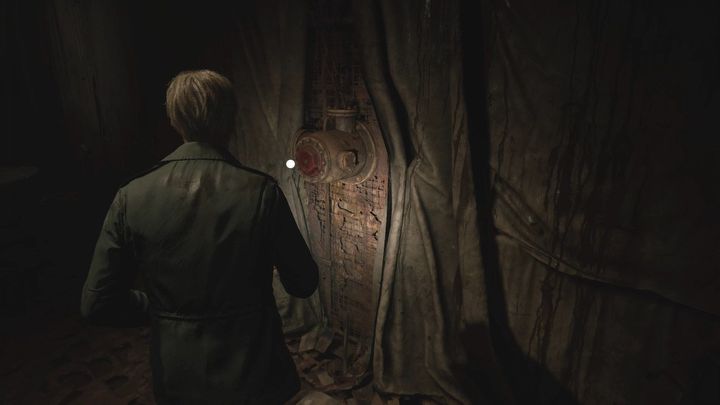
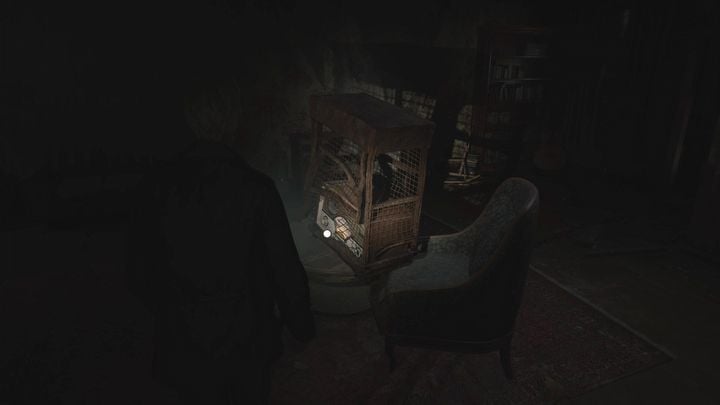
Go back through the hallway to apartment 307 and place the crank on the empty pipe on the wall. Turn it to drop the radio. Take the hour hand from the smashed radio.
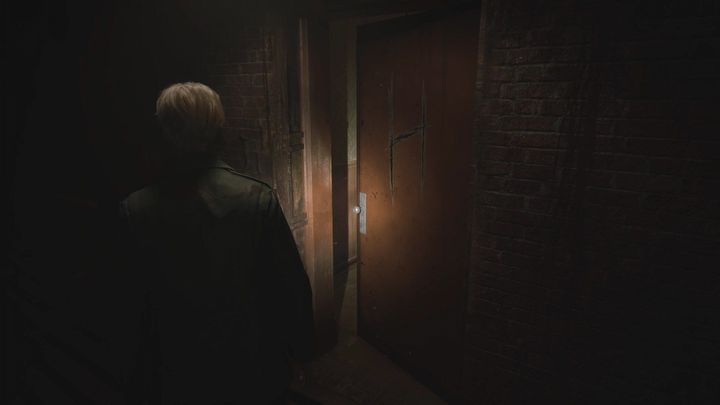
Go to the outer railing and pull the lever to lower the stairs to the floor below. Go back to the room with the clock. One of the two hints in the room (rhyme) will suggest what to do next - place the hour clock hand in the clock, set it to the number 9 and confirm your choice. This will open the door marked with the letter H - that's where you need to go now.
How to get a minute clock hand?
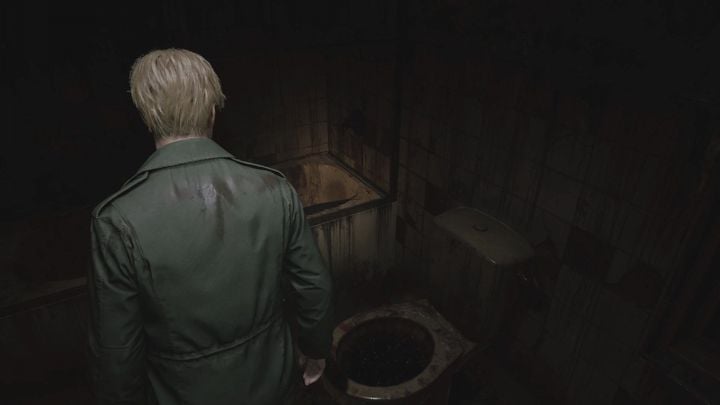
Exit to the outside railing and go to apartment 210. The door with the letter H is now open, so you can enter the apartment. Destroy the cracked wall to enter the bathroom and pull out the minute clock hand from the toilet. The exit from the apartment will unfortunately be locked - you have to find another way back.
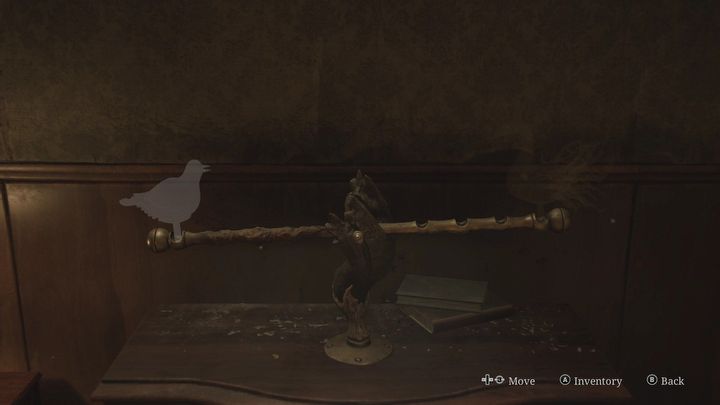
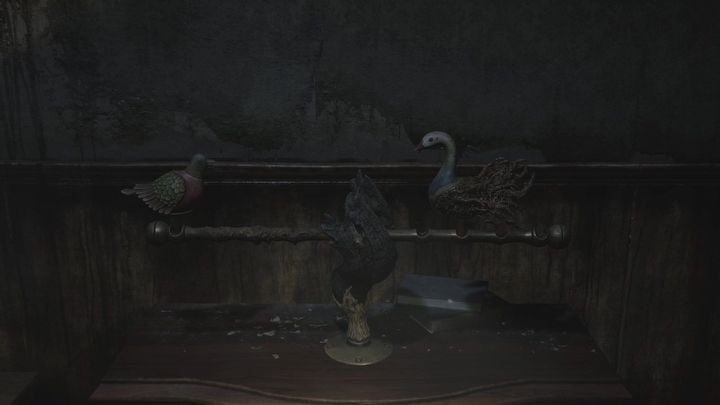
Notice the device resembling a small swing in apartment 210. To proceed further, you must obtain two figurines and place them on the swing. The first one is located on the shelf in the same apartment - take the pigeon figurine.
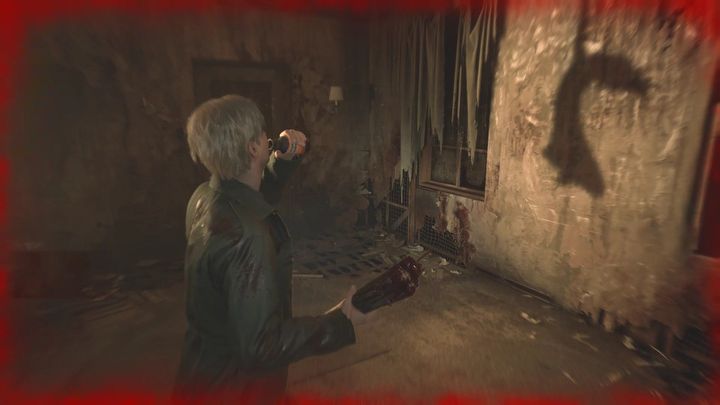
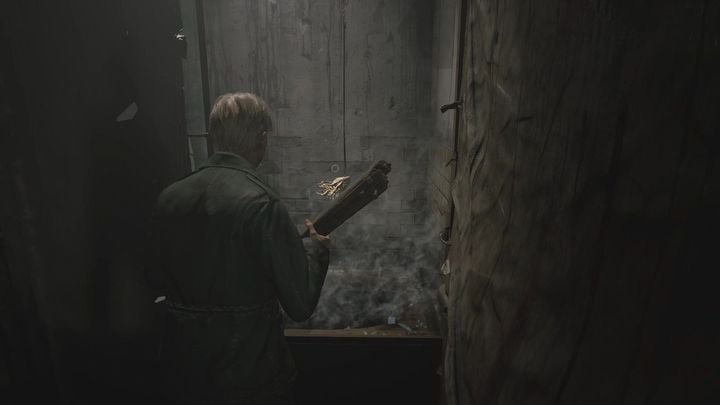
Exit to the corridor through the blue door and destroy the cracked wall to enter apartment 211. In the room with a huge shadow on the wall, pick up the wooden swan's head.
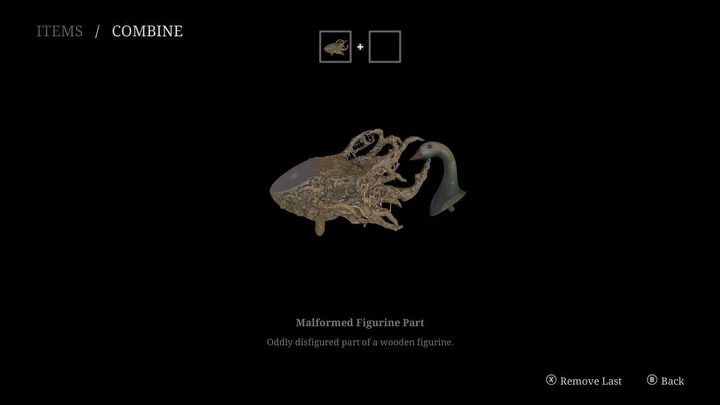
Then go to apartment 209. Break the glass shower doors in the bathroom and take the destroyed figurine. In the inventory connect it with the swan's head to get the swan figurine.
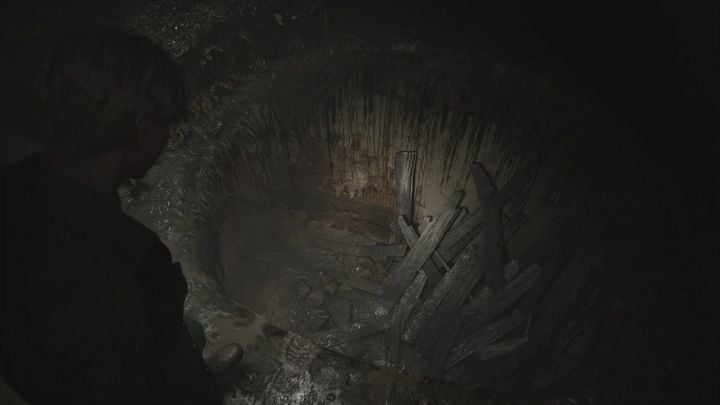
Go back to apartment 210 and place both figurines on the swing. Place the pigeon on the left side, and the swan on the right, in the third hole from the right edge. You will get the key to the locked door. Behind the door there is a hole in the floor. Jump inside.
On the ground floor, go to apartment 109. Watch the cut-scene. After that, take the key and Angela's knife. Go to the other end of the corridor and open the door using the key.
Climb the small staircase to the upper floor and return to the room with the clock. The correct position of the hand is suggested by the drawing on the wall next to the clock. Place the minute hand in the clock, position it to number 2 and confirm your selection. This will open the door marked with the letter M - that's where you need to go now.
How to get a second clock hand?
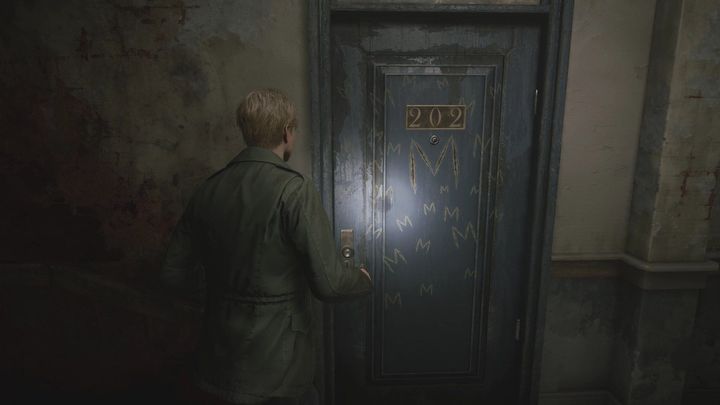
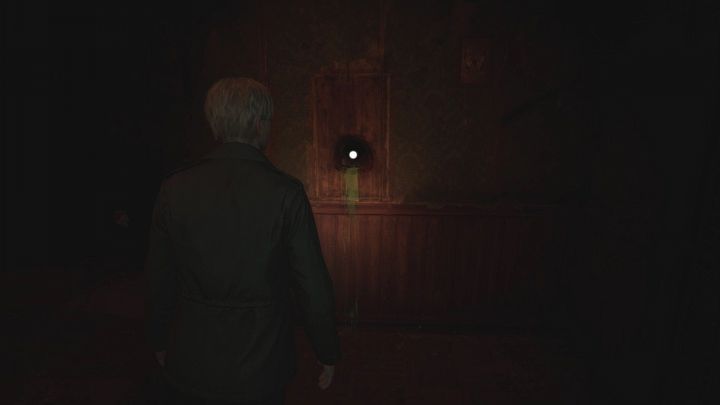
Go to apartment 202. Inside you must solve a puzzle in a room full of moths. We described it on a separate guide page. After solving the puzzle and opening the door, examine the hole in the wall and remove the second clock hand.
Go back to the room with the clock. The correct position of the clock hand is suggested by the poem on the table nearby. Place the second clock hand in the clock, position it at number 3 and confirm your selection. This will open the door marked with the letter S - this is the exit from the building.
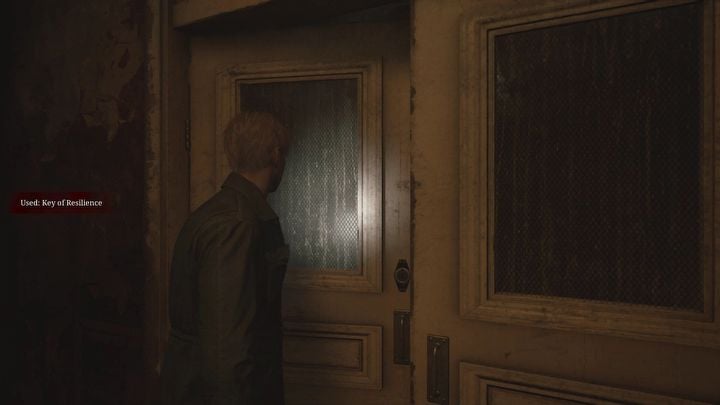
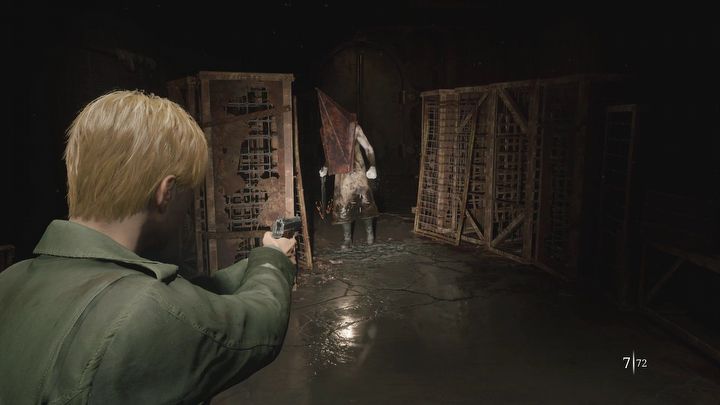
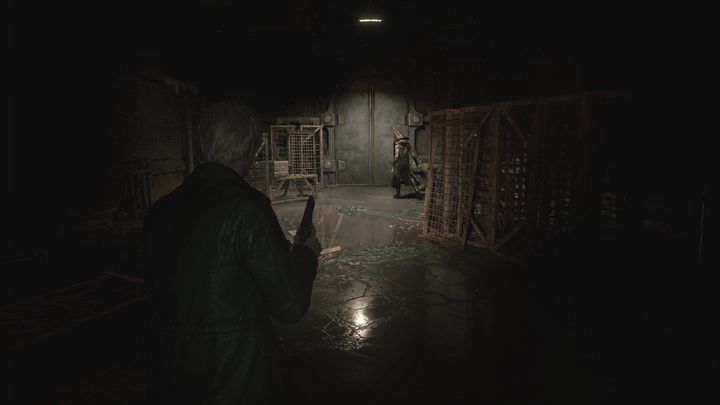
Go down the nearby staircase to the ground floor and approach the large door marked S. Before going through it, reload your pistol and make sure you have full health. When you're ready, open the door to fight the Pyramid Head.
How to defeat the Pyramid Head?
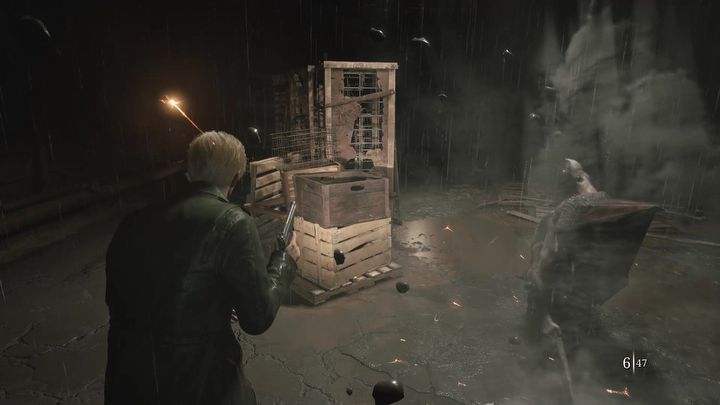
The first fight with the Pyramid Head is mechanically very simple. The boss slowly walks towards you, dragging his huge sword behind him. When he gets close to you, he will strike. The upper half of Pyramid Head's body is covered with a huge metal mask that deflects bullets. To hurt him, shoot at his stomach and legs.
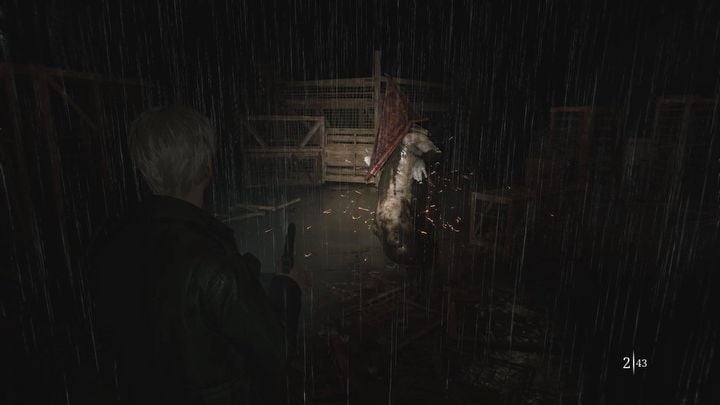
The strategy during this fight is not too complicated. Keep your distance from the Pyramid Head while shooting him. When the enemy gets close, be ready to dodge. Pyramid Head's blows are always preceded by sparks appearing on the ground as he tries to raise his sword.
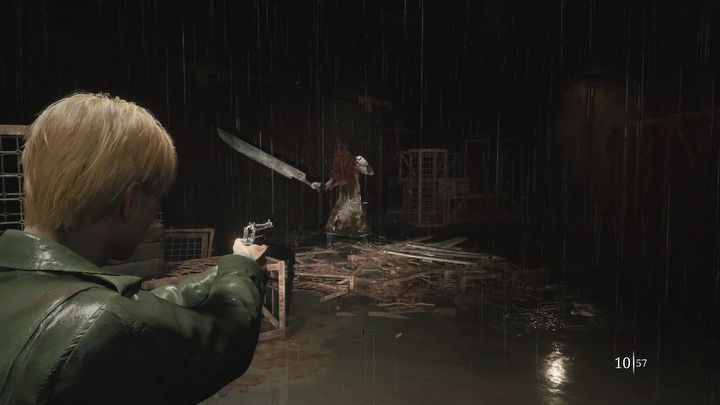
When an enemy gets too close, dodge and run to the other side of the room, then resume firing. Usually, you should be able to hit him seven or eight times before he gets too close. Reload the pistol while running away from the boss. Obstacles scattered around the room can help you separate from the enemy, although the boss can destroy them with his sword.
Halfway through the fight, steam will shoot out of the pipes, rain will fall from the ceiling, and the Pyramid Head will become furious. The boss is now twice as fast. The combat strategy remains the same, however, you need to act more efficiently and shoot in shorter bursts.
Pyramid Head cannot be killed. Damaging him only shortens the time until he leaves. After a few minutes or about forty hits, you will hear an alarm siren, which will end the fight. Pyramid Head will leave the apartment building through the main entrance. Exit through the same door as he did - you're safe from him for now. This will take you out of the Blue Creek Apartments and into western South Vale.
- Silent Hill 2 Remake Guide
- Silent Hill 2 Remake: Game Guide
- Silent Hill 2 Remake: Walkthrough
- Silent Hill 2 Remake: All chapters
- Silent Hill 2 Remake: East South Vale
- Silent Hill 2 Remake: Wood Side Apartments
- Silent Hill 2 Remake: Blue Creek Apartments
- Silent Hill 2 Remake: Western South Vale
- Silent Hill 2 Remake: Brookhaven Hospital
- Silent Hill 2 Remake: Otherworld Hospital
- Silent Hill 2 Remake: Otherworld South Vale
- Silent Hill 2 Remake: Toluca prison
- Silent Hill 2 Remake: Labyrinth
- Silent Hill 2 Remake: Lakeview Hotel
- Silent Hill 2 Remake: Otherworld Hotel
- Silent Hill 2 Remake: Walkthrough
- Silent Hill 2 Remake: Game Guide
You are not permitted to copy any image, text or info from this page. This site is not associated with and/or endorsed by the developers and the publishers. All logos and images are copyrighted by their respective owners.
Copyright © 2000 - 2025 Webedia Polska SA for gamepressure.com, unofficial game guides, walkthroughs, secrets, game tips, maps & strategies for top games.
