CoD Black Ops 2: CELERIUM
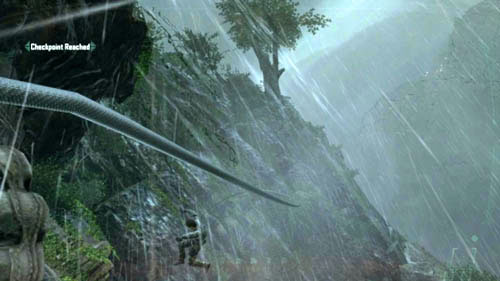
Objective: Rendezvous with Salazar and Crosby
The first task is to press the buttons that appear on the screen in the objective (in turn): giving Harper the signal, casting the rope (picture above), breaking away from the rock and attaching yourself to the next one. Repeat these actions until you meet with two team-mates who will help you get out of trouble. If you don't do any of these actions on time, you will lose in the mission.
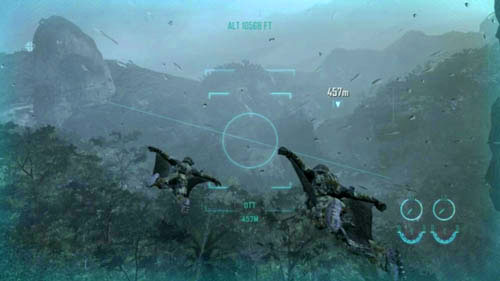
Objective: Jump from the cliff to start your descent
Objective: Reach the LZ
Walk up to your team-mates and press the appropriate buttons to pull out the swingsuit - a suit that will allow you to gain speed and slow the descent. You control it similarly to controlling looking around (picture above). Jump from the cliff and fly together with your team-mates towards the places shown on the screen. When you fly in the gap between the rocks and when you receive a message, press the use button to open the parachute. If you deviate from the course, or if you don't open the parachute on time, you'll die.
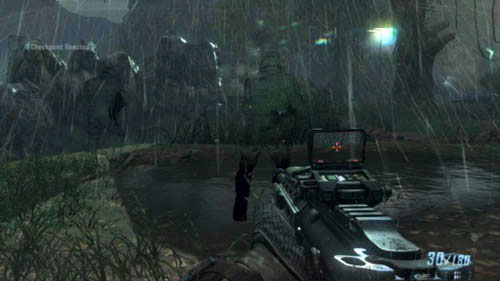
Objective: Investigate the base
After you've landed, steal up to the base with your team-mates. In spite of the given advice, do not use EMP grenades. Wait until the two disguised guards pass to the left. Follow them (picture above) and kill one in melee, Harper will take out the second one.
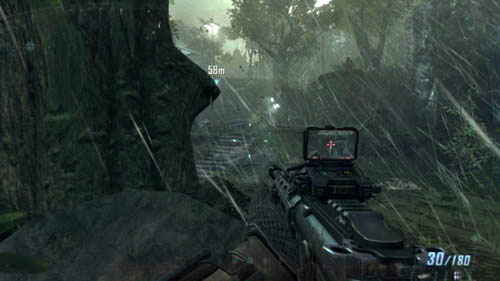
Make a 180-degree turn and you'll notice two trees growing close to one another. You went past them earlier. Hide behind the one on the right and lean out (picture above). From now, start using the scanner to locate the enemies - even those hidden behind covers. Start with two opponents standing on the top of the rock on the right. Then, finish off some opponents that are in front of you (one will run down the stairs, the others will be hiding under the rocks and among the crates). A few may be in the elevator on the left side of the place, but most likely they will be killed by your team-mates. Even though the scanner has a limited range, each time you aim and hit accurately a green cross appears on the crosshair - you can locate your enemies in the same way.
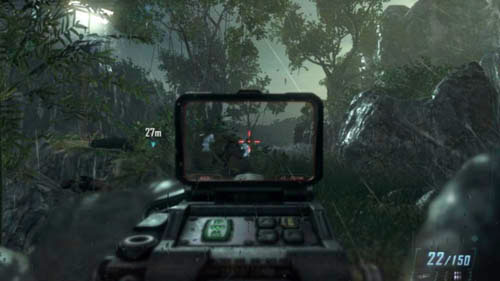
When your team-mates run up the stairs, do the same. Instantly hide behind the two boxes on the left, on which there are blue sheets tied with a yellow string. Start leaning out to the right and eliminate the enemies on the top of the rocks from right to left. Watch out! Here and in the remaining part of the mission, some enemies can have optical camouflage, which can make it harder to locate them. Once again, follow your team-mates when they run up the stone and then steel stairs on the right. Look to the left and crouch, take out the enemies in the distance (picture above) and then follow your team-mates. If you prefer, instead of running up the stairs you can use the elevator that your enemies used to come down.
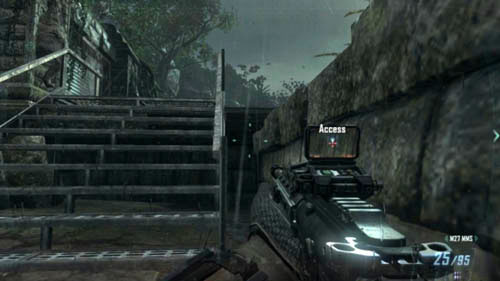
Run ahead, but do not turn right as your team-mates did. Instead, jump on the low ledge opposite you (be careful - there can be an opponent hiding behind the rock). Only after that can you turn right and run up to the opposite stairs. You will receive a message about a helicopter that is about to take off. You can try to destroy it (there is a challenge for doing that) or leave it to Salazar. Anyway, jump down on the stairs and crouch to hide behind the wall next to them (picture above).
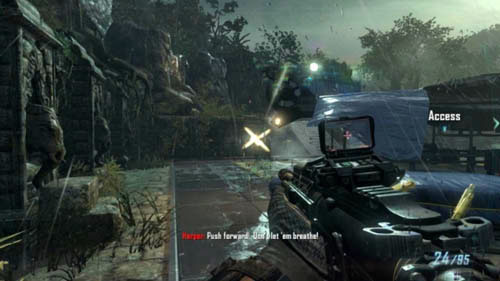
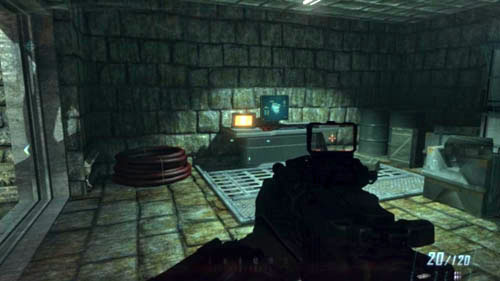
Run between the helicopter wreck on the right and the wall on the left. An opponent will run out of the room on the left (first picture above) - be ready to hide behind the boxes on the left and take him out or try to give him a blow when you're running, or don't stop and simply try to shoot at him. When you finish him off, quickly hide in the place from where he ran out - stand on the left side of the door and look around the room. At one of the tables you will find intel (1/3) (second picture above) that you should take.
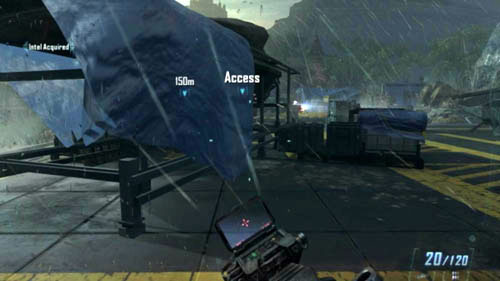
Hold down the sprint button and run up to the second helicopter, covered with a blue sheet (picture above). Behind it, on the left, at the bottom of the helicopter there is a place you need to look at and press the use button to hack into the machine computer. In this way you will be able to use the turret to eliminate enemies.
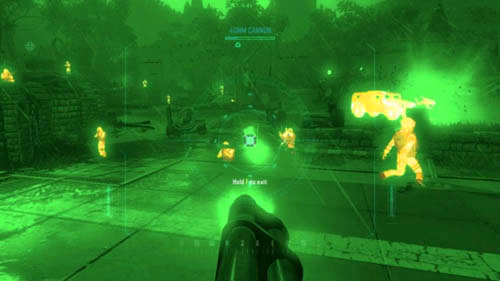
Get the turret going and begin the extermination (picture above), but do not shoot all the time, because it will get overheated. On the other hand, do not wait too long and not shoot at all, as you'll have to get it going again, which will mean losing precious time you don't really have. That is why, the best you can do is to find the golden mean. Take half-second and one-second breaks and kill those enemies who are nearest to you in the first place. Keep looking around the battlefield vigorously to locate them. When the time is up and when you regain control over the character, hide in the room where you found the intel.
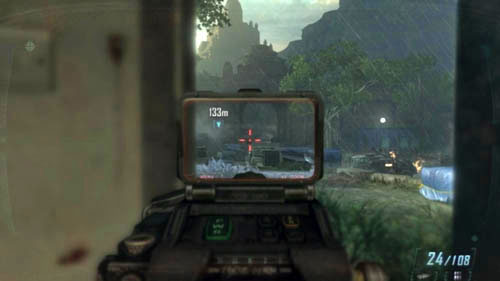
Run to the left, up the ramp to get to the blue house. Be careful - there might be an opponent hiding here. Hide by the second door, lean out (picture above) and take out the enemies hiding in front of the remaining part of the temple. The scope will be of little help, so locate the enemies by the flashes of their rifle shots.
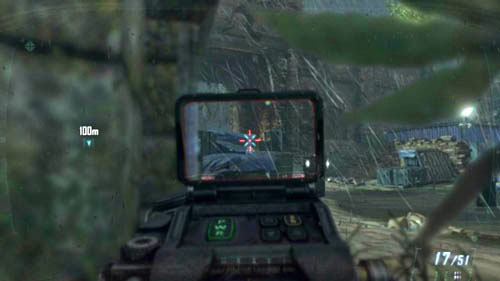
After you have killed several enemies, jump down, flatten yourself against the wall on the left, hide in the corner and lean out. Slowly keep getting closer to the gate and eliminating enemies detected by the scope - first hide around the corner of the wall (picture above), then behind the boxes that are a little closer to the gate. Finally, get up on your feet and run up to the big gate, but do not go through. Instead, quickly hide among the boxes on the left.
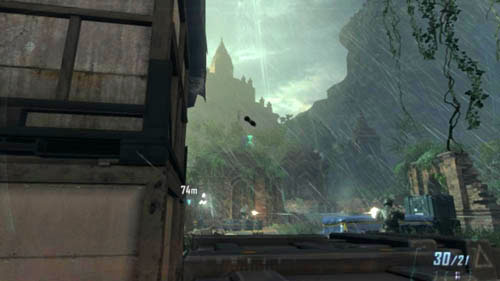
Hide in the gate, on the right. Lean out and prepare EMP grenades. Throw one at the right turret (picture above), and then shoot at it with Titus (one accurate round will do). Do the same with the second turret on the left (it is covered by the wall), but first hide by the pile of ammo crates also on the left.
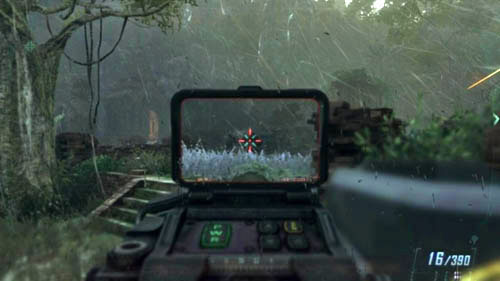
The area is very vast, there are plenty of hiding places, so be careful and do not let the enemy take you by surprise. Use the scope and carefully look at the whole area. This way, you will know where to find the next enemies. Do it to make sure that no enemy hiding behind some ruins or low walls takes you by surprise. Hide by the second, damaged turret and look to your left. You should see the third turret (picture above). You can also get rid of it by using EMP grenades and Titus. "Only" enemy soldiers will remain.
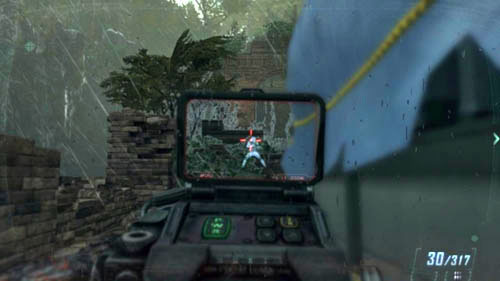
First, clear the area around the third turret. Some opponents will be hiding around it and also near the crate with blue sheet. Hide behind the abovementioned crate and eliminate those exactly opposite you, who are among the ruins - use the scope to locate your enemies (picture above). When you get rid of all those who are in front of you, sprint to the place and jump to a higher level and then quickly hide on the right.
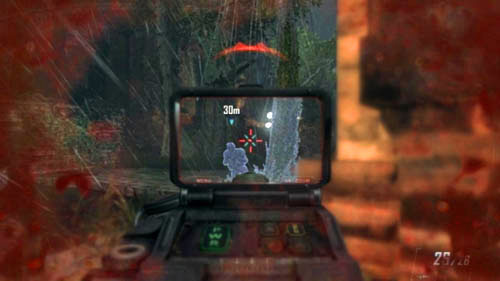
It's almost the end of the battle. All that remains is to keep leaning out more and more to the left (there should be about 30 meters to the target) and eliminating the enemies one by one. Of course, you should locate them first using the scanner (picture above).
Objective: Destroy the temple door
Objective: Infiltrate the research facility
When the music dies away, stand about 10 meters from the temple gate and wait till your team-mates destroy it or do it yourself. Go inside and follow the only possible path. Wait until the next door stands open. You should notice a box on the right in the first room of the facility (picture above). Open it to put on optical camo, and from now on, make sure that you have it turned on all the time (remember the button you use to turn it on). The camouflage can rarely turn off by itself, but it will if there is a powerful explosion near you. It will also happen each time you press a button (e.g. when you want to open the door or use the elevator). In such cases, do not forget to turn it back on. The camouflage makes it more difficult for your enemies to aim and it will greatly facilitate carrying out the mission.
Keep going in the main corridor until there is an explosion. Back off, get up on your feet and then hide behind the box on the right. In the opposite hall there will be two ADS (small, dangerous tracked robots) and enemies who will start running down the stairs on the right and left. Remember to turn the camouflage on! You can also hide in the rooms on the right. First, take Titus out and use it to get rid of the two ADS (picture above). Then, change the weapon to the rifle and kill all the enemies that will appear on the stairs, and also those who will run out of the two doors in front of you (on the left and right).
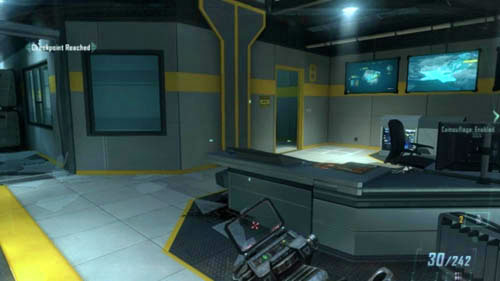
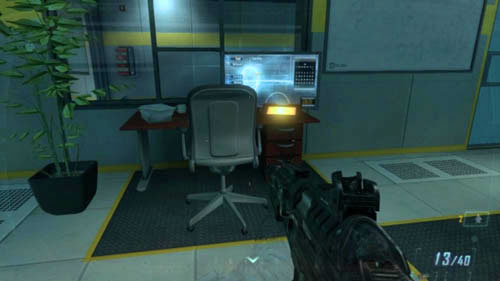
When the hall is empty, get to the stairs and then make a 180-degree turn. On the right side you will notice an entrance to a small room (first picture above). Go there and look for intel (2/3) on one of the desks on the left (second picture above).
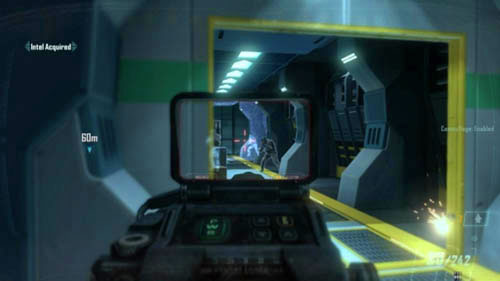
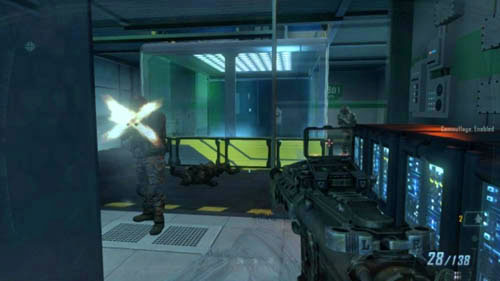
The further way leads to the left, but you can choose whether you want to follow the downstairs or upstairs path. It is better to choose the first option, because it is much easier to get killed upstairs. There is a vast room with several adjoining rooms. It's better to head for the door on the left side of the staircase in the hall, hide around the corner and start to exterminate the enemies in the hallway (first picture above). Remember about the camouflage! The rest of this level is a maze of corridors and rooms, but there are many more places to hide. Simply go in the direction of the next enemies, scanning the area until you reach the elevator (second picture above).
Objective: Infiltrate the lower labs
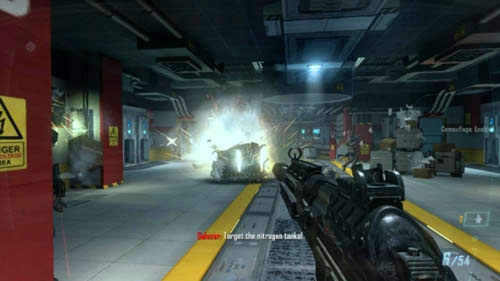
When it's over, go to the elevator and press the button. Note that this will turn off the camouflage, so turn it back on. One ASD (a small tracked robot) and several soldiers are waiting for you on the lower level. Immediately after you've found yourself on the lower level start shooting at the nitrogen tank (there are four vertical tanks slightly to the left, in front of you and there's a red horizontal bar on the upper part of each tank) (picture above). This will instantly neutralize the ASD (it should be near the tanks) and a few enemies. Use the scanner to locate the rest and kill them. In the next few places you will come across some nitrogen tanks - never stand close to them! If they blow up near you, they will freeze you, which means you'll die, of course. In case of any problems, hide next to the ammo crates on the right (as soon as you exit the elevator).
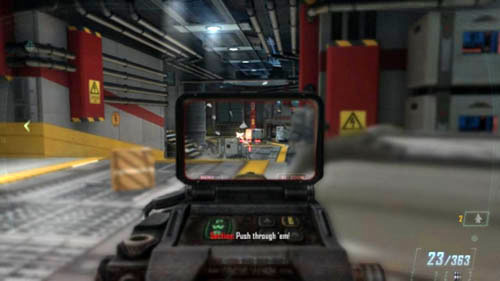
On the left there is an entrance to the room, and in front of you there is a ramp leading down. First, hide behind the boxes on the right and take out the enemy that appears in the abovementioned room entrance. Afterwards, start to lean out and take out the opponents in the remaining part of the corridor until there is no one left (picture above). Next, run into the big corridor and hide behind the first box. Exactly on the left there is an entrance to the abovementioned room. Climb the short staircase and shoot two Titus rounds at the opposite door. Thanks to that you will kill many enemies and get rid of the turret attached to the ceiling.
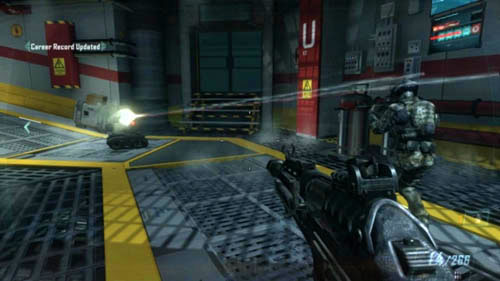
But it's not over yet! An ASD will come out of the remaining part of the corridor. You can use the nitrogen tank if the enemy robot is near it (picture above), or simply use Titus. After destroying the robot hide against the wall and lean out to the right to see the enemies in the further part of the corridor. Keep going further and eliminating the enemies who are hiding until everyone in this place is dead.
Objective: Open container
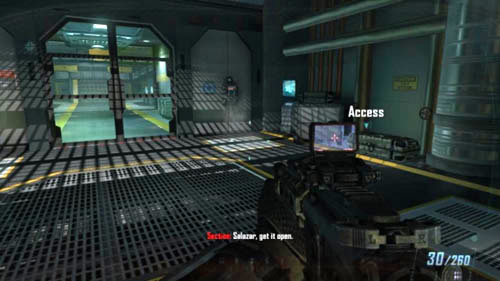
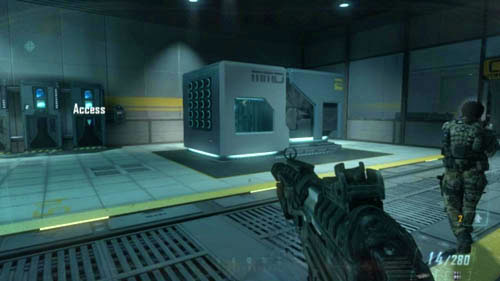
Follow the team-mates to the great warehouse. Note the word Access in front of you (picture above). Walk up to the container and press the use button to run the ASD, which will now be on your side. Any additional help will prove useful in the upcoming battles. Follow the team-mates and look at the boxes on the right, you can refill your ammo there. Only after that can you open the container, near which your team-mates are standing. Be prepared to hide immediately as soon as you get a new mission objective.
Objective: Defend the Area
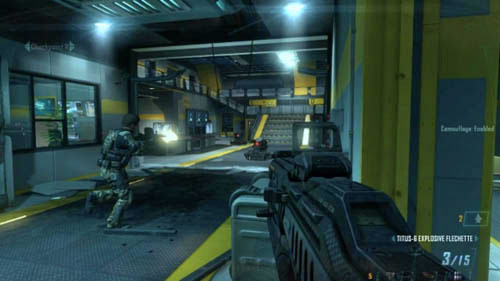
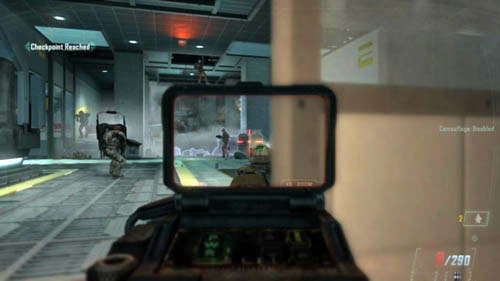
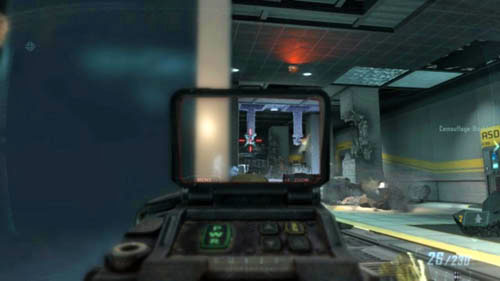
Hide next to the container, out of which the scientist has crawled, and be prepared to quickly kill three enemies, who will repel down the ropes. After a while, two enemy ASDs will join the battle. More soldiers will also run out (first picture above). This is the best moment to destroy the nitrogen tanks. Two turrets that repelled down form the ceiling will be an additional impediment (second picture above). Throw an EMP grenade and then shoot a few rounds using the Titus.
Objective: Open the Vault
Objective: Obtain the Celerium Drive
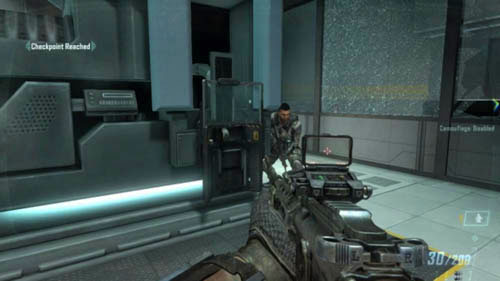
If you want, you can take the shield from the machine on the right, however, it will not be necessary in this fight. Yet, make sure that you do it after the battle is over (picture above), but do not put it in the ground - keep it with you at all time. Go to the big door and press the button on the left. Follow the scientist and enter. Listen to his monologue. After a while you will have to defend yourself again.
Objective: Rendezvous with extraction team
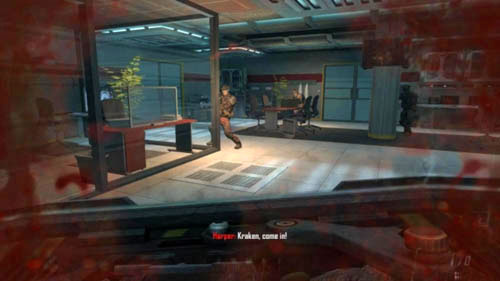
While the shield prevents you from shooting, thanks to it you're almost totally immune to enemy fire (unless you turn your back to any of the opponents). Keeping this in mind, just stay away from the enemies and kill them by pressing the melee button (you have to do it twice). Kill the enemies in the room you already know. Keep going straight ahead and go past the four large columns. Kill a few more enemies in the next room in the same way (picture above).
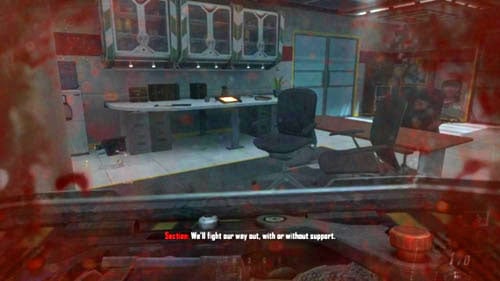
By the wall opposite the entrance, through which you got here, a little to the right there is a table. You will find the last intel (3/3) (picture above) on it. Be sure to take it with you and keep going further using the exit on the left. Run up the stairs.
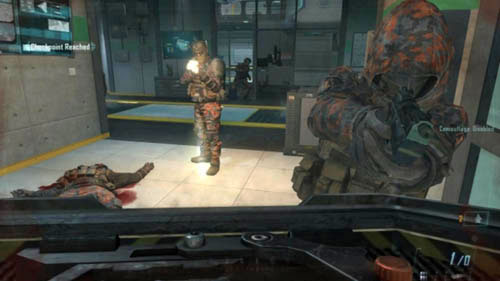
The last opponents are standing in a row - in the room that you will get to, in the corridor on the left and in the room in front of you (picture above). Simply walk up to them and kill them with your shield. Run further, after a while you will hear a message from Admiral Briggs. Go to him to complete the mission.
- Call of Duty: Black Ops II Game Guide & Walkthrough
- CoD Black Ops 2: Game Guide
- CoD Black Ops 2: Missions Walkthrough
- CoD Black Ops 2: PYRRHIC VICTORY
- CoD Black Ops 2: CELERIUM
- CoD Black Ops 2: OLD WOUNDS
- CoD Black Ops 2: TIME AND FATE
- CoD Black Ops 2: FALLEN ANGEL
- CoD Black Ops 2: KARMA
- CoD Black Ops 2: SUFFER WITH ME
- CoD Black Ops 2: ACHILLES' VEIL
- CoD Black Ops 2: ODYSSEUS
- CoD Black Ops 2: CORDIS DIE
- CoD Black Ops 2: JUDGMENT DAY
- CoD Black Ops 2: Missions Walkthrough
- CoD Black Ops 2: Game Guide
You are not permitted to copy any image, text or info from this page. This site is not associated with and/or endorsed by the developers and the publishers. All logos and images are copyrighted by their respective owners.
Copyright © 2000 - 2025 Webedia Polska SA for gamepressure.com, unofficial game guides, walkthroughs, secrets, game tips, maps & strategies for top games.
