Torment Tides of Numenera: The Sanctuary of Miel Avest - main quest walkthrough
How to begin: Begins automatically after you've reached the Miel Avest Sanctuary and spoken to Paj Rakken (M14.1).
The task is divided into two parts. During the first part, you'll be able to freely take care of any business you may have in the refuge of the castoffs. During the second part, the Sanctuary will be assaulted by the Sorrow, and your task will be to safely lead your party out of the location.
Sanctuary before the attack
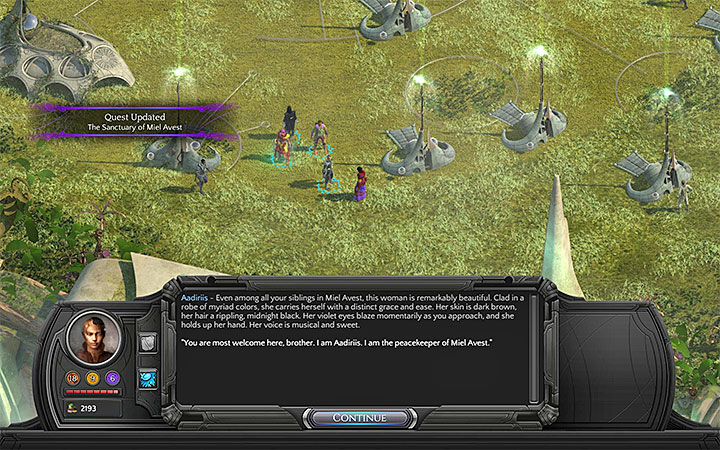
Once you reach the Miel Avest Sanctuary, a dialogue with Paj Rakken will begin. Ask him all the questions you can. Then, head to the southern part of the sanctuary to meet with Aadiriis (M14.5), so you can learn Mazzof's whereabouts. During the conversation, allow Aadiriis to look into the main character's mind. Continue the conversation until you learn that you'll have to speak to Melmoth concerning the tides.
Melmoth Leviarm can be found in the central area of the sanctuary (M14.4). Exhaust all available conversation topics.
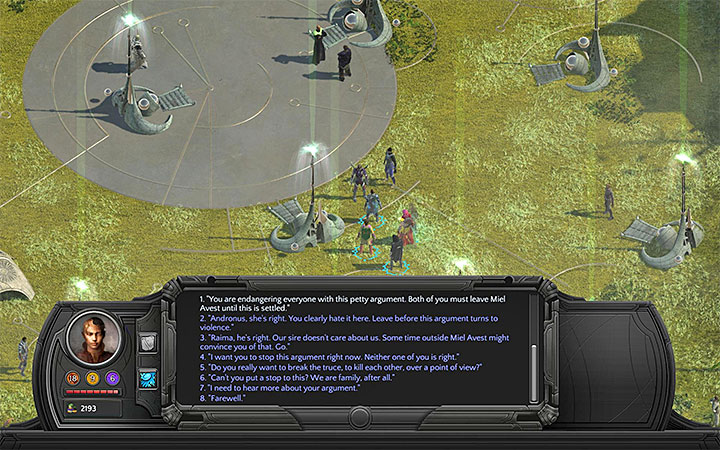
Return to Aadiriis and listen to a new dialogue. Your next task will be to solve the quarrel between Andronus Sandhand and Raima Cyro. You'll find both of them nearby; begin by finding the reason of the quarrel and listening to their standpoints. The conflict can be resolved in one of the following ways:
- Order both Andronus and Raima to leave Miel Avest;
- Take Raima's side and order Andronus to leave Miel Avest;
- Take Andronus' side and order Reima to leave Miel Avest;
- Convince them to reconcile, on the basis that none of them is right (both Andronus and Raima will stay in Miel Avest);
- Persuade Andronus and Raima to leave their quarrel aside by reminding them of the threat posed by Sorrow.
After you're done, meet up with Aadiriis and tell her of the solution you've chosen. It's time for a new conversation, this time concerning the Endless Battle. You can begin immediately or leave it for later, and first talk to two other sanctuary residents - Melmoth Leviarm (M14.4) and Elkeshai (M14.7). The conversation with Aadiriis has no effect on the following events in the game, providing only an occasion to voice your opinion.
Aadiriis will show you Zerian's merecaster, but save your game before you decide to use it. If your party is not in top condition, it would also be a good moment to rest.
Choose the right dialogue option to to interact with the merecaster. This will trigger a familiar paragraph scene. During the scene you can of course pick additional options concerning exploration and skills but focus on contacting Mazzof as fast as possible.
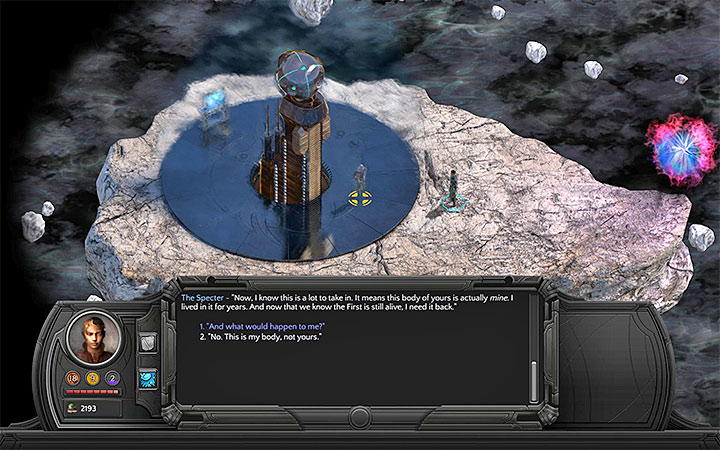
No matter the options you choose, you'll be given 100 XPat the conclusion of the scene, after which you'll be moved to the inside of your mind, where you'll meet Spectre. Spectre will claim to be the Changing God and order you to give up your body. Do not agree to this, as your character will die permanently, and you'll have to load an earlier save file! There are two ways to escape Spectre's clutches. The first one requires you to free your feet and then use a tide-related skill. You'll be able to escape, but at the price of some damage. The other method requires one of the unique actions you can take:
- If you've convinced Theboros to tell the protagonist the Words of Qra in Fifth Eye Tavern when in Sagus Cliff, you can use them to weaken Spectre;
- If you've completed the side quest Ashen imitation in Fifth Eye Tavern when in Sagus Cliff, you can call the woman's spirit to help you, weakening Spectre;
If you've chosen the second way (one of the unique actions), convince the weakened Spectre to release your character.
Using any of the above options will yield you 100 XP and enable you to return to the Labyrinth. Reach the portal to return to the world of the living.
Sanctuary after Sorrow's attack
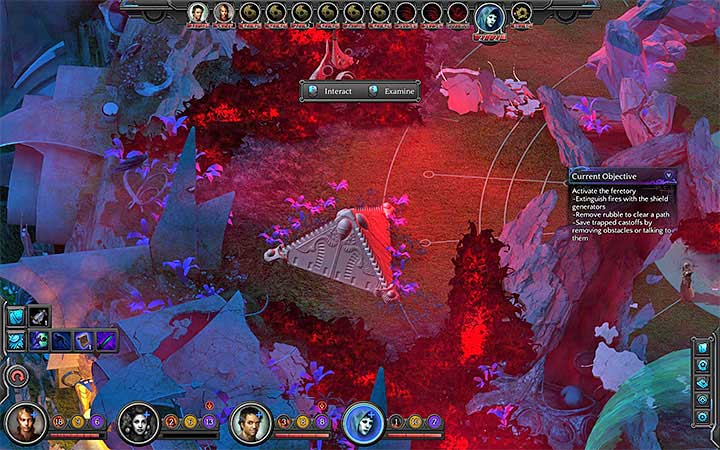
Right after you return to Miel Avest Sanctuary (M14.9), you'll be faced with a dreadful discovery - during your absence the sanctuary was attacked by Sorrow. Once you finish a short conversation with Aadiriis, you'll be free to act.
Now, BEFORE you focus on completing this section, you need to note some VERY IMPORTANT points:
- Don't even think of playing this section like a battle scene, even if your party is all about combat. It is impossible to win this fight by conventional means, and the only way to survive is to run. This becomes a necessity once Sorrow appears on the map. She'll be able to easily dispatch any character stupid enough to stand in her way; she'll also be immune to attacks.
- First it may look like you'll need to reach the teleporter platform, but it's a trap, as the platform is soon destroyed. Your final destination is the feretory (M14.15), which will provide you with a means of escape.
- The road leading to feretory is, obviously, long and convoluted. On the way do everything you can to avoid Sorrow's flames, as they will damage your characters. Secure a route by moving from one shield generator to another, activating them as you go, and breaking through interactive barricades.
- Do not try to rescue "nameless" castoffs, as you'll run out of time. You may optionally focus on saving some more important, named, NPCs (you'll find the description later on), but only if your party members are in good condition.
- Do not try to dispatch the creatures summoned by Sorrow, as you'll be unable to defeat them all, only wasting your precious time. Engage them only if they're blocking your way and focus on skills that will distract them or slow them down.
- If your party is not that good in a fight, try to use some skills that will boost their defenses before you make a run for it. You can also try to sneak your way out, using the other castoffs as a decoy for the monsters.
- Make sure that your party reaches the feretory without any losses, as you'll have to disable some of the pyramid's protections. What's more, to complete the task, your main character needs to interact with the feretory (details on that later on).
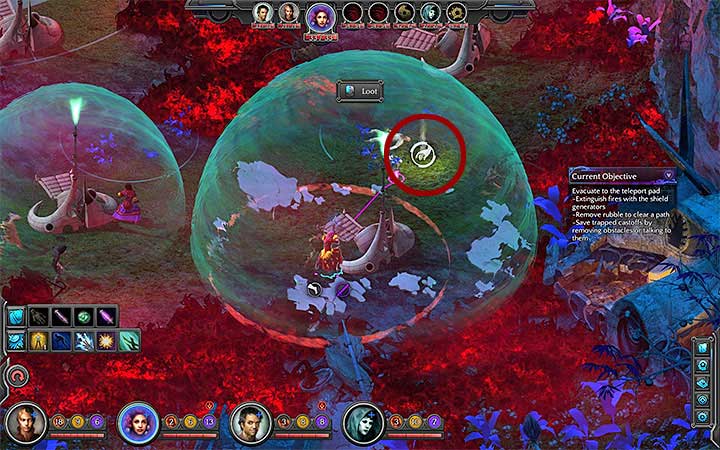
After the scene begins, you can start moving your whole party north, or dispatch a single person to the corpse of a castoff, east of your starting point (M4.12). Having removed the rubble and searched the corpse, you'll find the Kaleidoscopic Merecaster. Do this only if you're aiming for the achievement requiring you to find all the merecasters, or simply if you wish to play through a relevant paragraph scene later on. Otherwise, it's best to ignore this point.
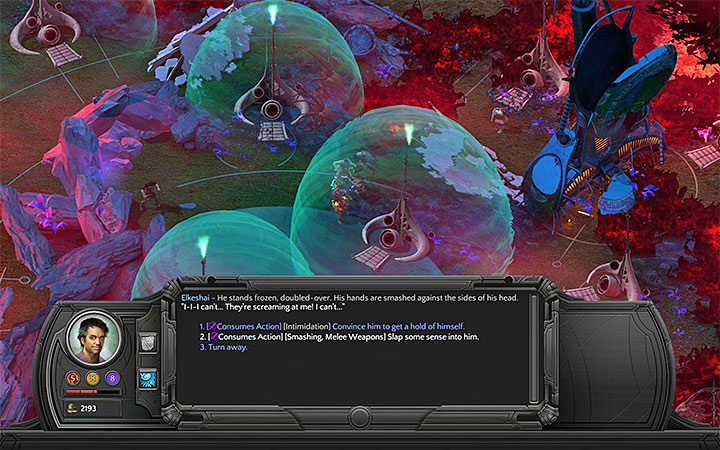
If you wish, you can help other castoffs during your escape. Not all of them, though. Ignore the nameless ones, but consider helping the characters you've talked to before the attack, such as Melmoth Leviarm (M4.10) and Elkeshai (M4.11). Once you reach them, a short dialogue will be triggered, and you'll be forced to use one your skills (such as intimidation or using brute force) to make them listen to you. As soon as you convince Melmoth, he will head for the feretory on his own. Elkeshai may be asked to help other castoffs, but it's almost certain that he'll die in the process. It's better to tell him to focus on escaping sanctuary.
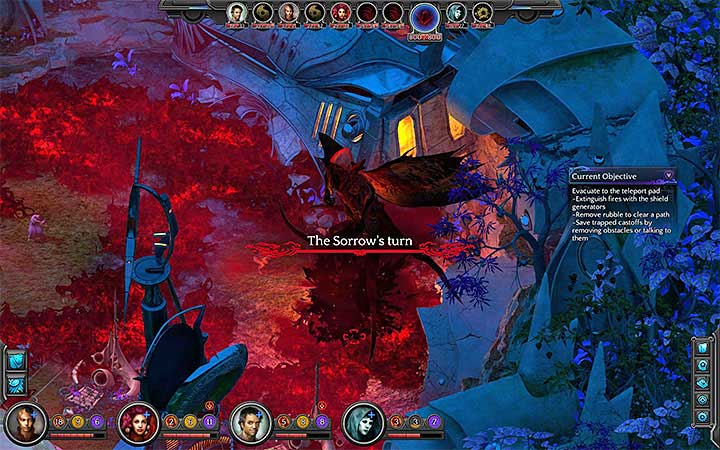
When escaping sanctuary, keep away from the eastern portion of the map, as that's where Sorrow (M4.13) will appear after a few turns. Do not try to fight her, as all attempts to do so will be futile. What's more, Sorrow is able to automatically kill all characters in her vicinity.
A glimpse of hope will come as Aadiriis decides to sacrifice her life to distract Sorrow and enable you to escape (no matter what dialogue option you choose, you'll be unable to change her mind). Don't think you're safe now, though. It will take Sorrow about three turns to kill Aadiriis; you need to use the time her sacrifice bought you to reach the feretory.
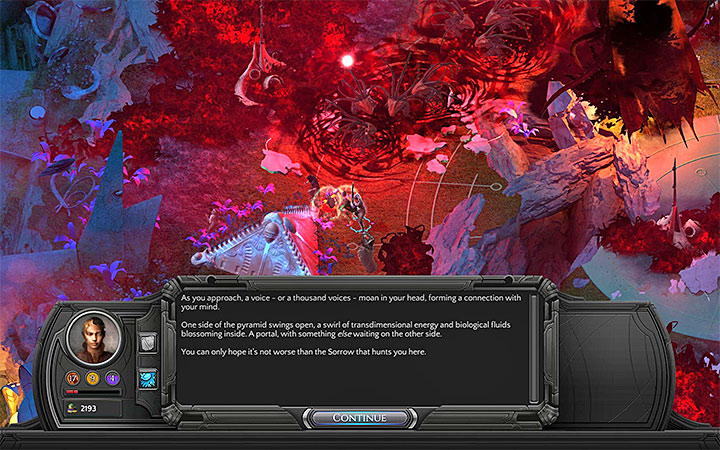
As it's been already said, you cannot reach your destination traveling in a straight line. Instead, first head for the barricade located west of Sorrow's spawn point (M4.14). Use skills to get rid of the rubble and then head for the feretory (M4.15).
There is some critical information you need to know about the feretory - it cannot be used outright to escape the location. First, it needs to be disarmed. You can do it by either have your party members execute THREE different actions, or have your main character use the Tidal Affinity skill. What's more, your main character needs to be the last character to touch the pyramid. Only then will the encounter end, and you'll be given 100 XP.
You'll find yourself in the dark and you can choose any of the options you are given, except for surrendering (if your characters has the Concentration ability, now would be a good time to use it). Once you return to the world of living, you'll find yourself on Memovira's Courtyard in Bloom (M15.1). What awaits you here is a conversation with Dracogen, during which you should exhaust all available topic. This will begin a new main quest - The Hidden Price.
You are not permitted to copy any image, text or info from this page. This site is not associated with and/or endorsed by the developers and the publishers. All logos and images are copyrighted by their respective owners.
Copyright © 2000 - 2026 Webedia Polska SA for gamepressure.com, unofficial game guides, walkthroughs, secrets, game tips, maps & strategies for top games.
