NieR Automata: City Ruins - walkthrough, side quests
NieR Automata: On this page you will find walkthrough for the side quests of City Ruins
This page of the guide to NieR Automata contains a walkthrough of the side quests in City Ruins. You will find out when you can start the optional quests in the City Ruins, what are their course and possible important choices, as well as what rewards are provided for completing missions in the City Ruins.
- Unlocking the City Ruins
- The Weapon Dealer's Request
- The Supply Trader's Request
- The Manager's Request
- Resistance Disappearance
- Robo Dojo - a set of quests
- Retrieve the Confidential Intel
- Machine Examination 1
- Machine Examination 2
- Speed Star
- Photographs
- Sorting Trouble
- Sorting Trouble 2
- Sorting Trouble 3
- Parade Escort
- Investigating Communications
- Terminal Repairs
- Camp Development
- Anemone's Past
- Emil's Item Shop
- Amnesia
- Wise Machine
- Devola's Request
- Popola's Errand
- The Twins' Request
- Gathering Keepsakes
Unlocking the City Ruins
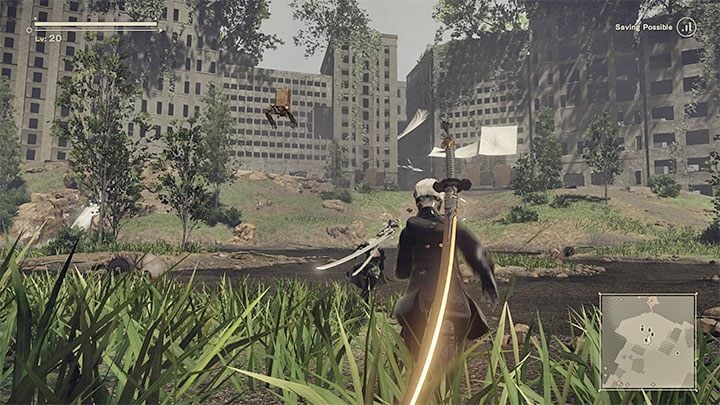
The City Ruins will unlock for the first time after you complete the Abandoned Factory prologue and visit the The Bunker for the first time - this is Chapter 2 of the campaign.
Note - Not all quests described below are available right away. Some become available later in the game or once you meet specific requirements.
The Weapon Dealer's Request
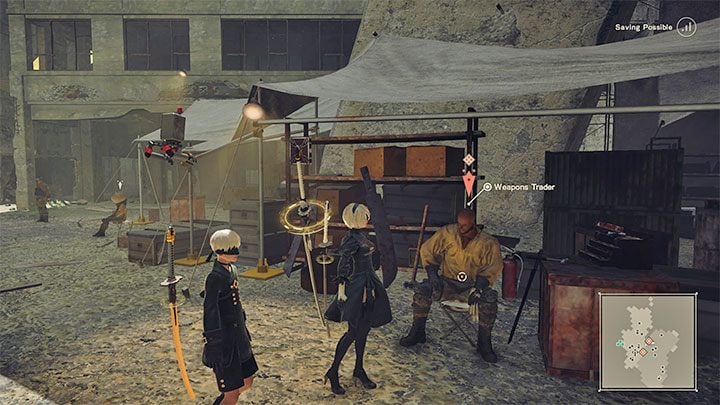
Quest giver: Weapons Trader (Resistance Camp)
This quest is a part of Chapter 2 of the campaign. One of the people you need to meet at the Resistance Camp is the Weapons Trader.
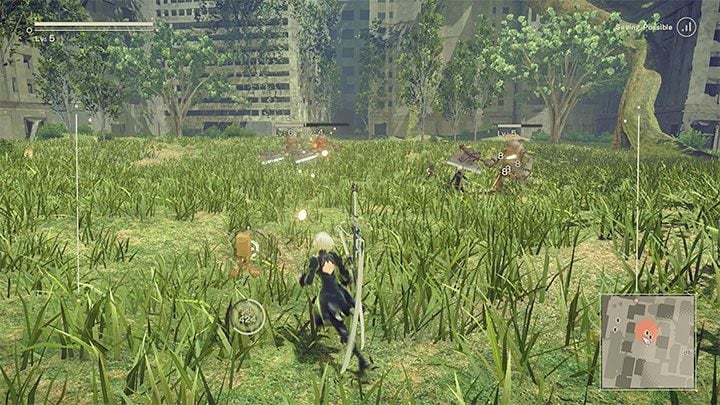
Quest description: After talking to the NPC, examine the interactive objects next to him and offer your help. Your task is to acquire 4 Complex Gadgets. You must go to the area in City Ruins marked in red and attack the machines there - you are absolutely free to choose the method of attack. Defeated machines will leave behind the loot you're looking for.
When you return to the Weapons Trader, you will unlock access to his shop. You can also return to him after doing the main tasks in the camp in Chapter 2 to complete the quest and receive the appropriate rewards.
Rewards for completing the quest:
- Unlocking the shop - Weapons Trader
- Beast Hide x5
- Crystal x5
- Rusted Clump x5
- 5000G
- 50XP
The Supply Trader's Request

Quest giver: Supply Trader (Resistance Camp)
This quest is a part of Chapter 2 of the campaign. One of the people you need to meet at the Resistance Camp is the Supply Trader.

Quest description: After looking through the Supply Trader's offer, a conversation that begins the described quest will start, during which you can offer your help. The Supply Trader is interested in crafting ingredients: Broken Key, Small Gear and Broken Circuit. You can go to a marked place on the world map or immediately hand over the items if you managed to get them earlier as random loot. Fight the machines in City Ruins and collect loot once you've defeated them.
As a reward for providing the desired ingredients, the Supply Trader's offer will be expanded with various varieties of Plug-in Chips, which we described on the page Chips - how to install?.
Rewards for completing the quest:
- Expansion of the shop offer - Supply Trader
- Amber x2
- Warped Wire x3
- Medium Recovery x2
- 3,000G
- 50XP
The Manager's Request

Quest giver: Manager (Resistance Camp)
The earliest you can start this quest is when you advance to Chapter 5. In the Resistance Camp, you need to find a ladder that will allow you to reach the upper balconies. This will also change the position of the camera, which will shift its perspective to the side view. Go as far to the right as you can. The Manager sits in a chair next to the closed gate, and when you talk to him, agree to go and search for the lost item.
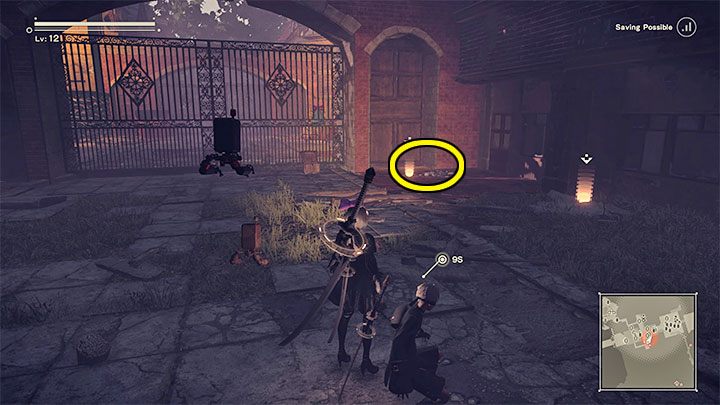
Quest description: You have to find the Rusty Music Box, and you have to search for it in the Amusement Park (if you haven't unlocked fast travel yet, then go through the sewers again).
In order to find the item, you need to explore one of the side alleys in the Amusement Park. Look at the glowing loot next to the body. Once you have the music box, return to the quest giver at the Resistance Camp. In addition to the prizes described below the gate behind the Manager will open. You'll be able to e.g. complete the Resistance Disappearance quest described below.
Rewards for completing the quest:
- Anti Chain Damage 3 Chip
- Medium Recovery x2
- Animal Bait x5
- Tree Seed x5
- 3,000G
- 250XP
Resistance Disappearance
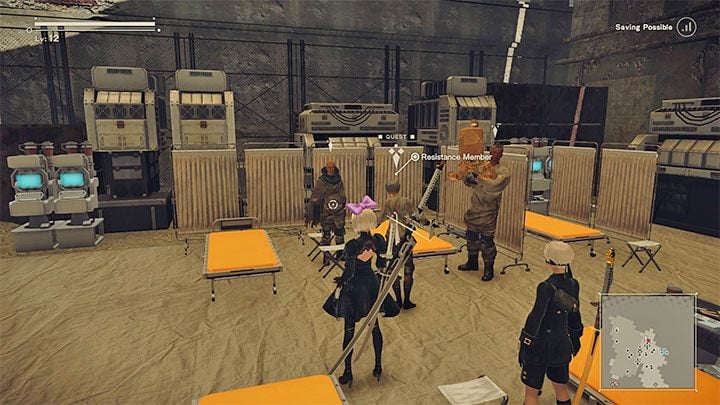
Quest giver: Resistance Member (Resistance Camp)
The earliest you can start this quest is when you advance to Chapter 5. In the Resistance Camp, you need to talk to a woman who will ask you to find her missing friend.

Quest description: Remain in the Resistance Camp and go to the back part of it - the camera will again shift its perspective to a side view. Use the ladder to reach the upper balconies. You need to use the path shown in the picture, but the gate will open only after you complete the side quest The Manager's Request - we described it above.
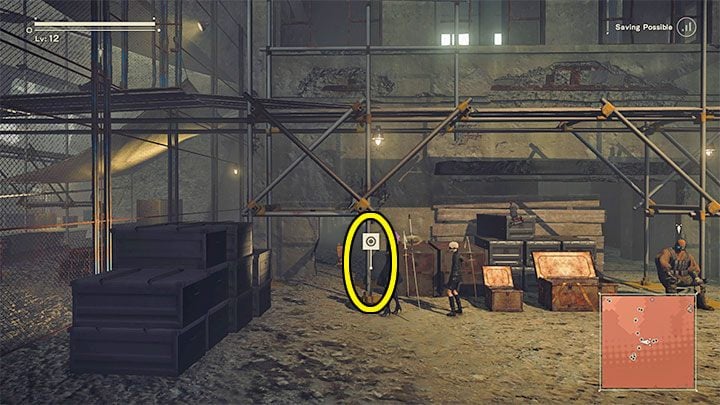
After passing through the gate, start exploring the next area of the Resistance Camp. Get to the next ladder and this time go down to the lower level. A new place to explore (press the interaction button) is shown in the above image.
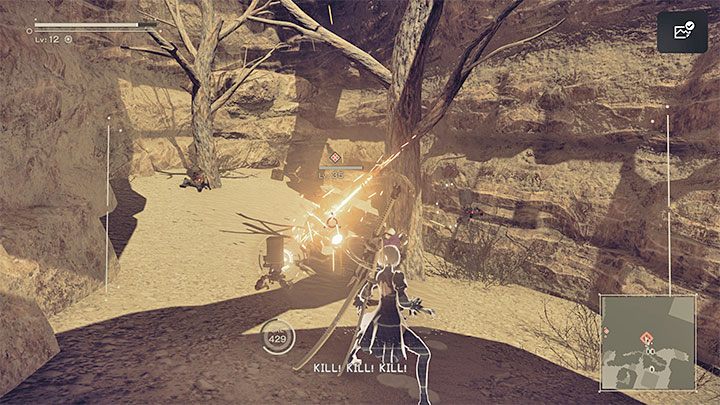
The heroes have found the coordinates which lead to a small area in the first part of the Desert Zone. Go there and once you reach your destination, locate the passage between the rocks. Deal with a group of machines (they will be at the 30-35 experience level - if necessary, return to this quest a little later).
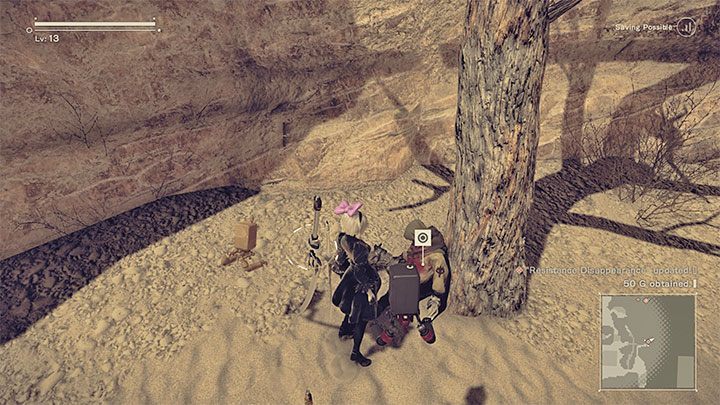
After the fight, listen to the conversation about analyzing one of the machines and examine the corpse propped against a withered tree. You will find the Memory Chip and a Man's Journal. With the recovered journal, return to the resistance member in the Resistance Camp.
Leave the Resistance Camp for a moment. The quest should update - go back to the Resistance Camp again and this time talk to the Resistance Member to find out about the woman's disappearance and complete the quest.
Rewards for completing the quest:
- Medium Recovery x2
- Pearl x3
- Pyrite x5
- Max HP Up 3 Chip - this is a great chip, thanks to which you will be able to extend the health bar of your character
- 5000G
- 1200XP
Robo Dojo - a set of quests
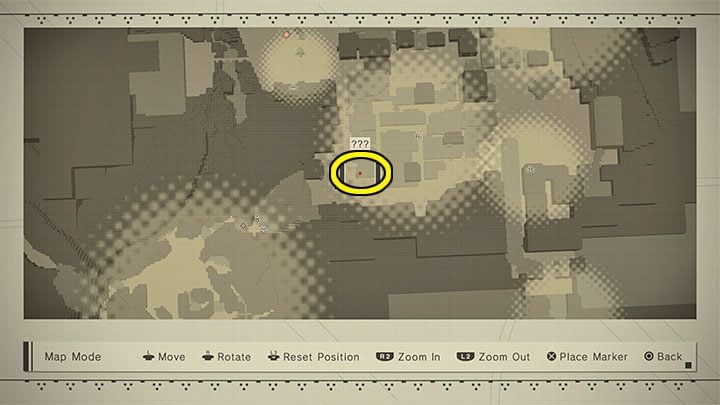
Quest giver: Father Servo (City Ruins)
The icon of the first meeting with Father Servo should appear in the City Ruins during Chapter 5 - the quest marker is shown in the attached picture. It is a building located near the passage to the Desert Zone.
Getting to Father Servo is not easy, because this machine is on the roof, to which there are no ladders or stairs. You will have to be clever in your jumps from the adjacent building. We described this process in detail on the page Robo Dojo - how to reach the roof? page in the FAQ section of the guide.
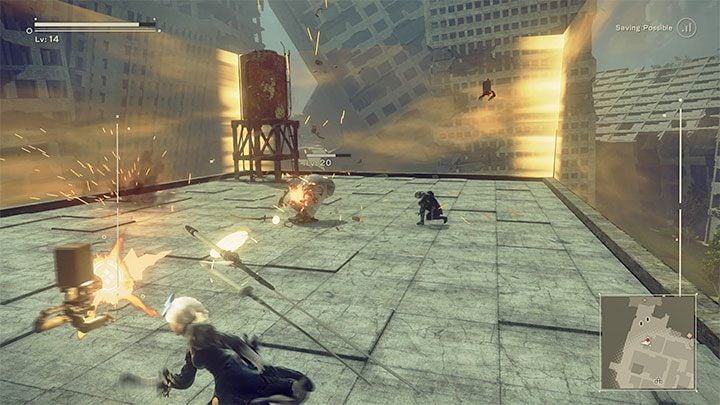
Robo Dojo White Belt quest description: After you get close to Father Servo for the first time, he will attack you. Father Servo is on 20 experience level and it's best to wait until you reach a similar level before you start this quest. During combat, you can use ranged attacks and melee weapon attacks combined with evades.
After you win the fight, you can talk to Father Servo and agree to another sparring session. Defeating the machine shouldn't be too hard.

As "payment" for the sparring, Father Servo will request a Warped Wire. There is a chance that you already have this item - it is left behind e.g. by selected machines encountered in the Desert Zone. If you don't have it yet, go to the marked area on the map and win the fight to get the ingredient.
Rewards for completing the Robo Dojo White Belt quest:
- Melee Attack Up (L) x1
- Small Gear x3
- Small Recovery x1
- Weapon Attack Up Chip
- 3,000G
- 600XP
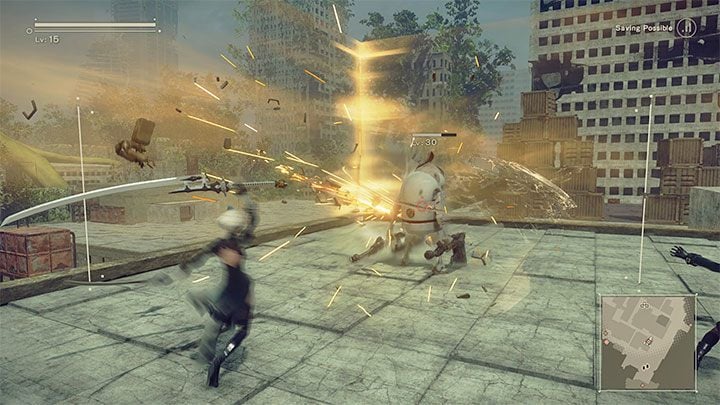
Robo Dojo Brown Belt quest description: You have to keep playing until a question mark icon appears in the same location. Father Servo has become bigger and is now on 30 experience level. Again, we advise you not to rush to start the quest too early. Fortunately, the enemy does not have any problematic attacks.
After winning the fight, you will be asked for a Memory Alloy and a Broken Circuit. Just like before, you may already have them, or you may need to visit the marked areas on the map to defeat machines that will drop the ingredients.
Rewards for completing Robo Dojo Brown Belt quest:
- Severed Cable x3
- Melee Defense Up (L) x1
- Melee Defense 1 Chip
- Medium Recovery x1
- 3,000G
- 1,150XP
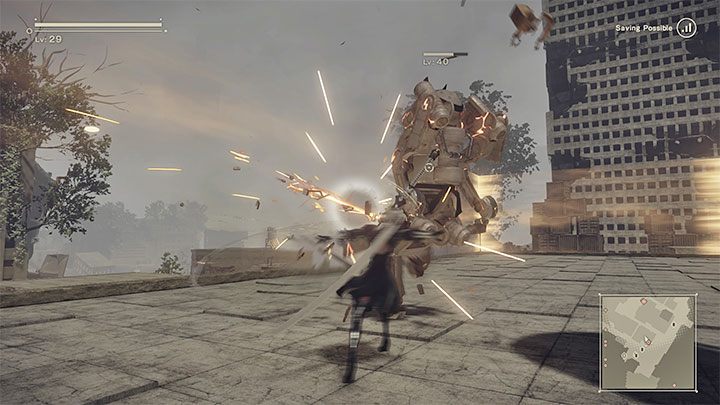
Robo Dojo Black Belt quest description: You have to keep playing until a question mark icon appears in the same location. Father Servo has become bigger and is on 40 experience level. You can start the fight during your first playthrough, but it is better to wait for the final part of Route A (being at about 30 experience level). Otherwise, lowering the enemy's HP can be very slow.
Father Servo's hardest attack is the one where he rotates very fast while moving around the roof. It is best to avoid him completely and wait until he finishes this attack. After you defeat Father Servo, he will ask you for Silver Ore, Pristine Screw and Broken Batteries. Just like before, you may already have them, or you may need to visit the marked areas on the map to defeat machines that will drop the ingredients.
Rewards for completing Robo Dojo Black Belt quest:
- Broken Battery x3
- Ranged Attack Up (L) x1
- Ranged Attack Up 2 Chip
- Large Recovery x1
- 5000G
- 1280XP
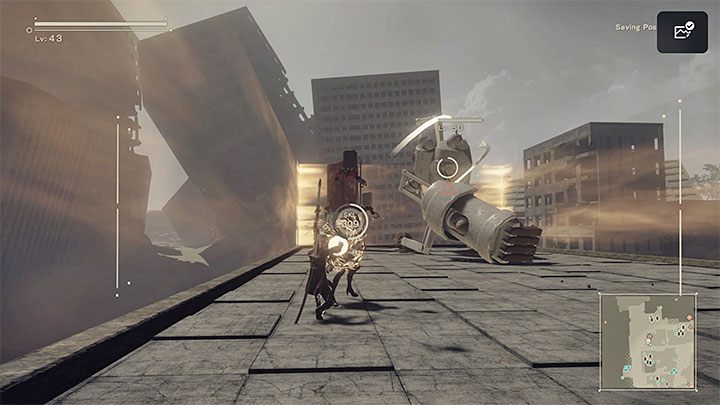
Robo Dojo Red and White Belt quest description: This is another quest that becomes available after a while. In this case, however, we advise that you do it only after you start Route B (9S campaign), because Father Servo will turn into a Goliath and will be on 50 experience level. Starting the fight as 2B from a much lower level, you would have to fight the boss for a very long time. What's more, 9S has hacking skills that can be useful in weakening the powerful machine.
The defeated coach will ask for Gold Ore, Filler Metal, Pristine Cable and Large Battery. Just like before, you may already have them, or you may need to visit the marked areas on the map to defeat machines that will drop the ingredients.
Rewards for completing Robo Dojo Red and White Belt quest:
- Full Recovery x1
- Ranged Defense Up (L) x1
- Stripped Screw x3
- Ranged Defense 3 Chip
- 5000G
- 1500XP
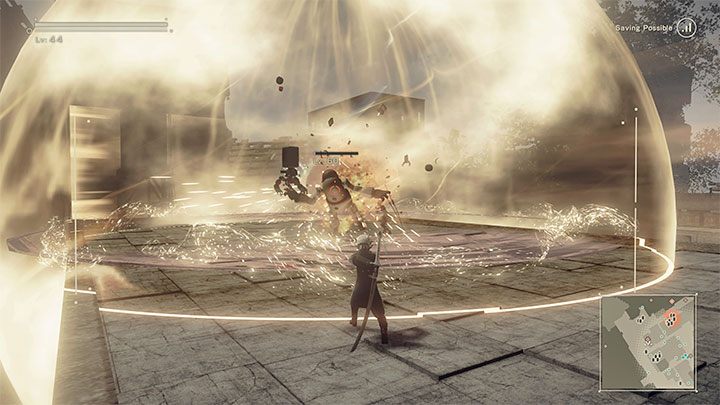
Robo Dojo Red Belt quest description: This is the last and most difficult quest, among those related to fighting Father Servo. The enemy's experience level will be as high as 60. Similarly to the previous fights, we advise you to hold off until you start 9S's chapters as part of Route B. This will allow you to hack Father Servo and is the most effective method of weakening him, even if your character's level is significantly lower than the boss's. Despite his smaller frame, the boss will be able to perform very powerful attacks, and you will need to focus on using flawless evasions and healing whenever necessary.
After defeating the final "variety" of Father Servo, he will attack you again, and will be even stronger in the second match will. The easy part is that you won't have to supply him with any ingredients afterwards.
Rewards for completing Robo Dojo Red Belt quest:
- Memory Alloy x5
- Powerup Part S x1
- 10,000G
- 2000XP
Retrieve the Confidential Intel

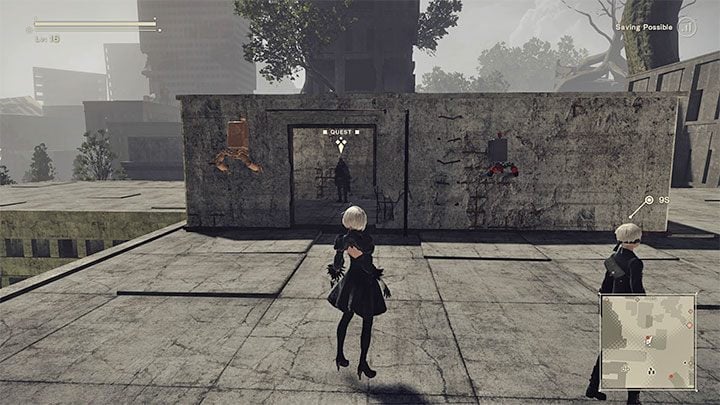
Quest giver: Resistance Member (City Ruins)
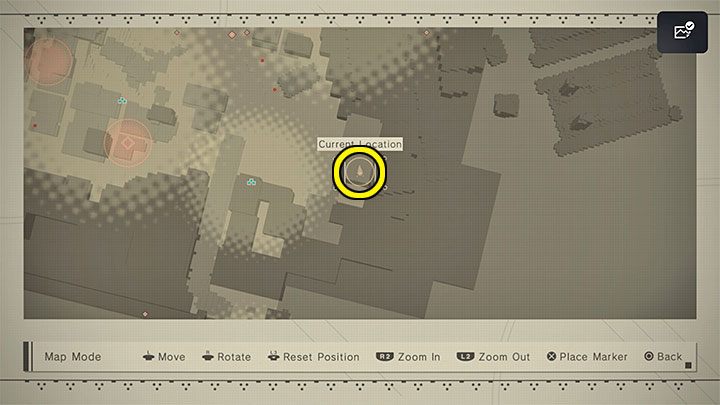
The first opportunity to start this quest occurs during Chapter 5. You have to wait for the moment when a marker with question mark will appear on the map of the City Ruins. The quest giver is in a small room on the roof of a low building - the location is shown in picture 2.
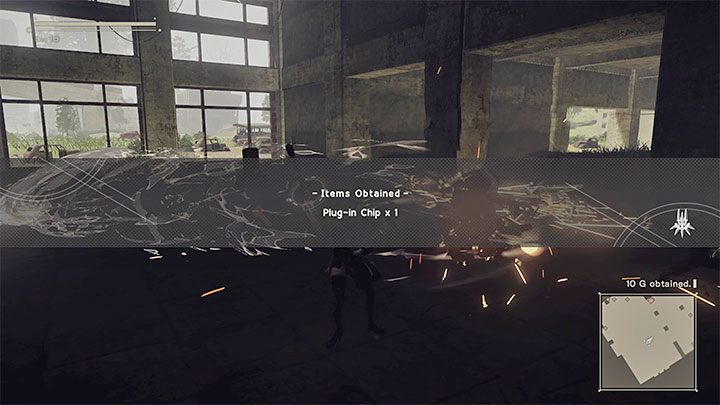
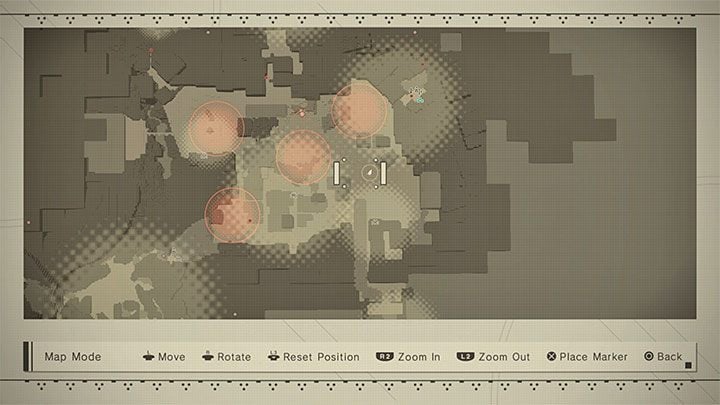
Quest description: The task itself is not complicated or overly difficult. You will be asked to recover 3 missing Plug-in chips. All of them can be found in the city and marked with red circles on the map. Each time you have to fight a group of enemies, and after eliminating the last machine from the group you will automatically get the chip.
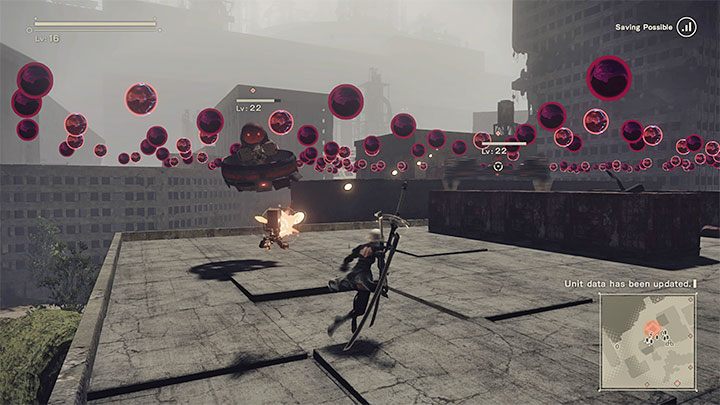
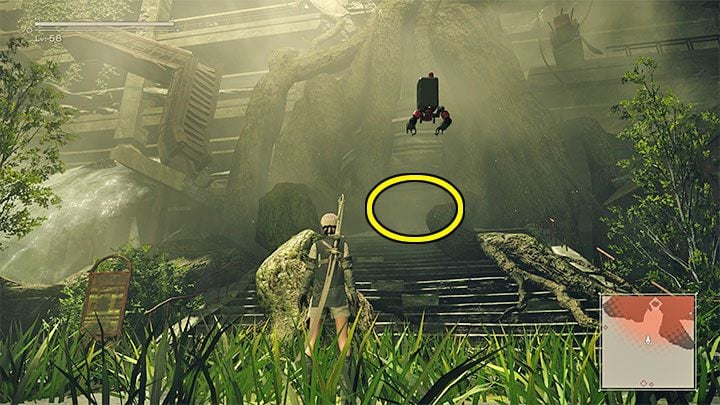
The only more problematic group is the one in the picture. These are high-flying machines. You can try to shoot them from a distance or use double jumps to reach the roof of the building. In both cases, watch out for heavy enemy fire.
Go back with all chips to the quest giver and hand them over. The task will not be completed immediately, because after some time you must additionally find the quest giver in the Desert Zone in the Desert Housing section, which is the one with the buried apartment buildings. Over the course of this conversation, you will meet a new NPC and officially complete the quest, but you will not receive any additional gifts.
Rewards for completing the quest:
- Crushed Nut x3
- Large Recovery x1
- Dented Plate x4
- Skill Salve (L) x1
- Large G Luck x1
- A140: Gravity - this is one of the Pod programs
- 5000G
- 800XP
Machine Examination 1

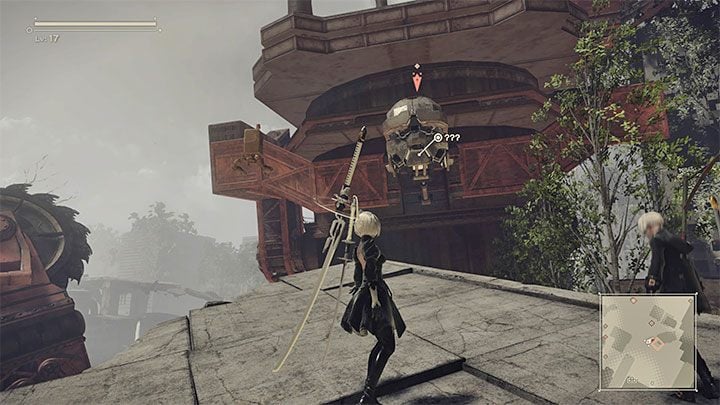
Quest giver: Wrecked Goliath (City Ruins)
The opportunity to start this mission appears in Chapter 5, but only after the attack of the machines on the city and the defeat of Goliath. In the place marked on the map you will find a wrecked Goliath, and interacting with him (by getting close to its head) will add the quest to the log.
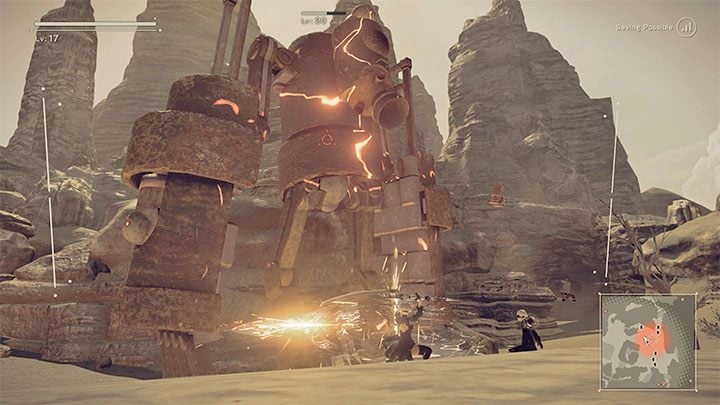
Quest description: You will learn that you will need a Pristine Screw to perform safe repairs. If you already have this item, then you can proceed immediately. Otherwise you have to reach the red circle in the Desert Zone and get the object as a loot after defeating a smaller Goliath. Fix Goliath to complete the mission.
Rewards for completing the quest:
- 3,000G
- 500XP
- Engels 110-B Record 0005 (this is one of the entries in the Intel - > Archives)
Machine Examination 2
Quest giver: Wrecked Goliath (City Ruins)
Quest description: You will receive this quest immediately after completing the mission described above Machine Examination 1.
This time you need to deliver the following ingredients:
- 4 Pristine Screw - 4 new red circles will appear on the map of the City Ruins. Defeat the smaller goliaths there to retrieve the screws.
- 1 Large Gear - getting this ingredient is more tedious, since it's very rare. You can wait until you unlock the trader Emil and get an opportunity to buy an object from her, or wait with the quest until you get to Route B, and find a locked chest with a Large Gear in the City Ruins when playing as 9S (2B can't open locked chests). An example of a locked chest location with the Large Gear is shown in the picture above - you have to enter the ruins of the skyscraper and jump into the inoperative elevator shaft to explore the underground part of the building.
Once the ingredients are delivered, you must return to the wrecked Goliath a few times in the future to finally complete the quest. Just check the map of the City Ruins regularly and go to the marker as soon as it is added to the map.
Rewards for completing the quest:
- 5000G
- 750XP
- Max HP Up 6 Chip
- Fast Cooldown 6 Chip
- Engels 110-B Record 0010, Engels 110-B Record 0020
Speed Star

Quest giver: High-speed Machine (City Ruins)
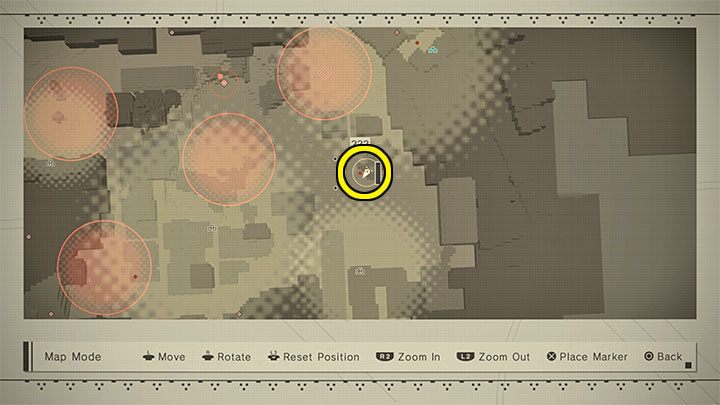
The opportunity to start this mission appears in Chapter 5, but only after the attack of the machines on the city and the defeat of Goliath. In the place marked on the map, you will find a flying machine. Wait until it gets close enough to the destroyed bridge fragment and quickly press the interaction button to start a conversation.

You can take part in 3 races against the machine in total and each time your task will be to reach the finish line first. Fortunately, even if you lose the race, you can talk to the machine next to the finish line and retry the race.
Here are some tips on how to win all races with High-speed Machine:
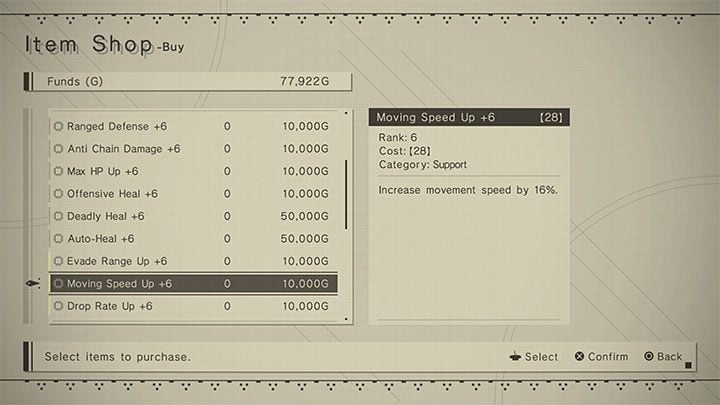
- Install as many Moving Speed Up chips as possible (example in the attached picture), thanks to which you will be able to move faster. A good chip from this group is sold by the trader Emil, but you can also get them as loot or quest rewards.
- Sprint as often as possible using the R2 button.
- In places where you need to reach a higher shelf, use double jumps, but try to limit your time in flight and instead run as often as possible.
Rewards for completing the quest:
- Dented Plate x4
- Rusty Bold x3
- New Bolt x1
- Speed Salve (L) x3
- Moving Speed Up 3 Chip
- 10,000G
- 750XP
Photographs
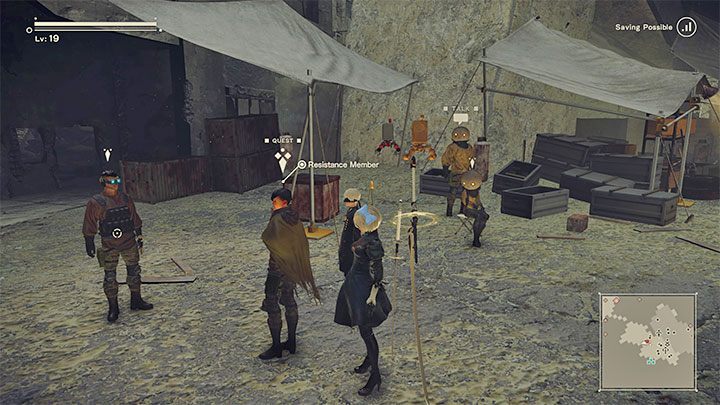
Quest giver: Resistance Member (Resistance Camp)
You can start this quest at the earliest after advancing to Chapter 5, and it should only become available after the great machine attack on the city. At the Resistance Camp, meet the Resistance Member who is looking for help identifying the locations from the photos.
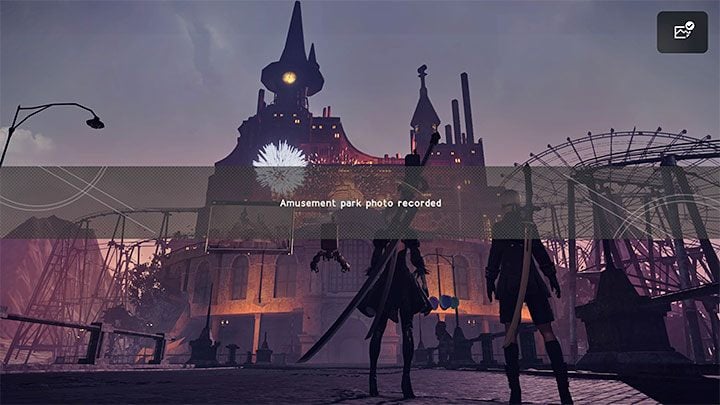
Quest description: This task is very simple, because the locations from the photos will be marked on the map one by one. You have to visit:
1) Amusement Park - It's the easiest place to visit. You simply have to reach the central part of the Amusement Park, namely the square in front of its largest building. Once you're inside the red circle, wait until the character makes a comment and confirms that the photo has been saved.
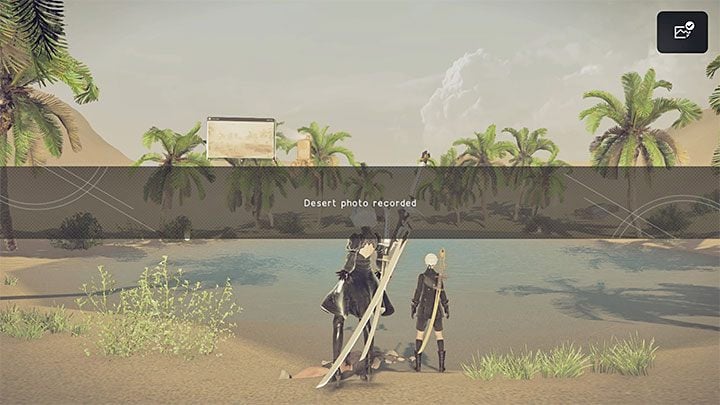
2) Desert Zone - This photo can be problematic, because by default the road to it is blocked by a sandstorm, which can prevent you from going further. You can solve this problem by running along the "invisible wall" and looking for a place to reach the red circle from the other side. The goal of the trip is the oasis shown in picture 2.
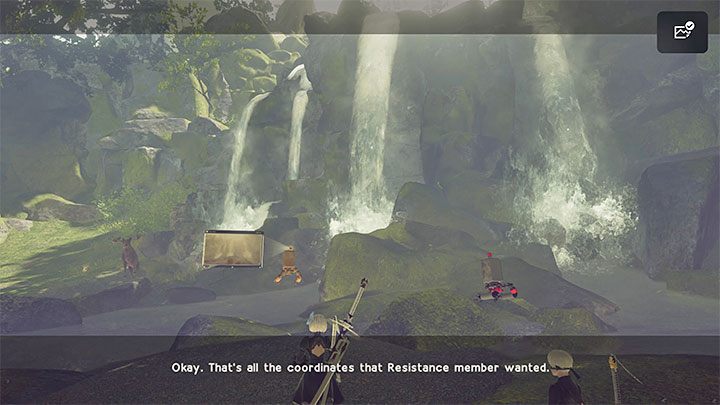
3) Forest Zone - In this case, the only difficulty is that you have to wait until at least Chapter 6 to unlock the access to the forest. The area to explore is around the waterfall in the central part of the forest.
After finding all 3 locations, return to the Resistance Camp to complete the quest.
Rewards for completing the quest:
- Pyrite x3
- Speed Salve (L) x1
- Charge Attack 3 Chip
- Amber x2
- Medium Recovery x1
- 5000G
- 500XP
Sorting Trouble
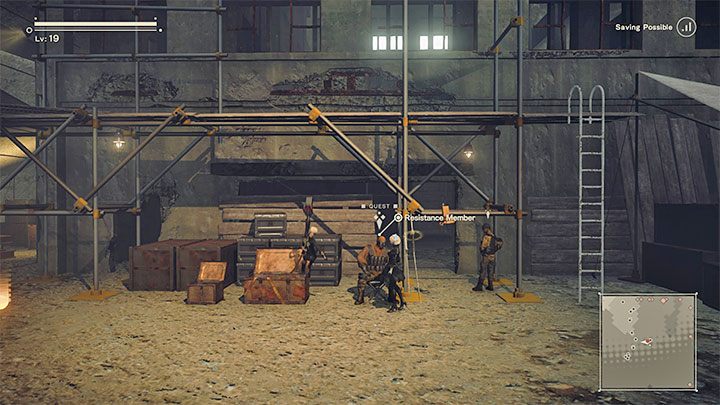
Quest giver: Resistance Member (Resistance Camp)
You can start this quest at the earliest after advancing to Chapter 5, and it should only become available after the great machine attack on the city. In the Resistance Camp, you must reach the back area, i.e. the one behind the closed gate opened by completing the side quest The Manager's Request. Go down the ladder and talk to the man in the picture.
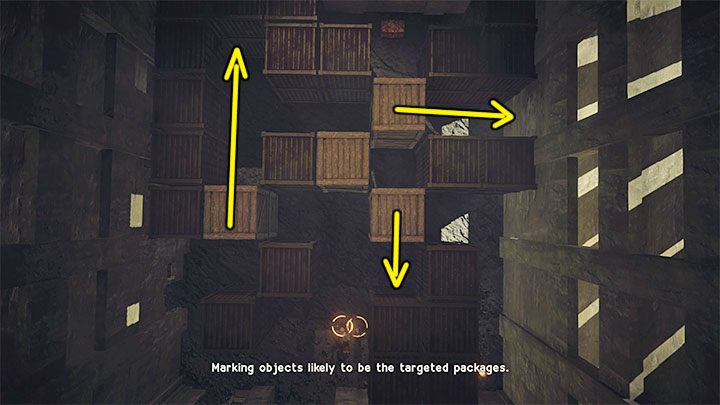
You'll find out about the problem with getting a package out of the warehouse, and you can offer your help. This is a simple logic puzzle where you need to move large chests. Its solution is shown in the image above:
- move the left chest up,
- move the top chest to the right,
- move the middle chest down.
You can now reach the Package and in addition, you can also take the loot from the lower right corner of the warehouse. Return to the quest giver to complete the mission.
Rewards for completing the quest:
- Evade Range Up 3 Chip
- Rusted Clump x5
- Skill Salve (L) x1
- Medium Recovery x1
- 3,000G
- 350XP
Sorting Trouble 2
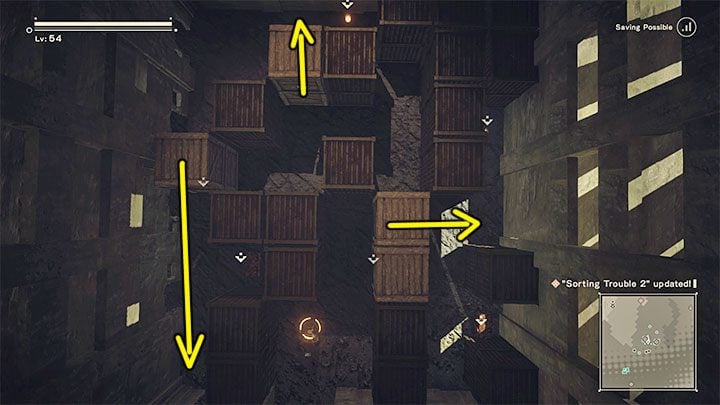
Quest giver: Resistance Member (Resistance Camp)
You can start this quest at the earliest after advancing to Chapter 12 (Routes C and D), where you control A2. You need to return to the same place, namely to the back of the Resistance Camp where the camera's perspective shifts to the side view. Talk to the Resistance Member and agree to help him.
There are two Packages in the warehouse this time. The solution of this puzzle is shown in the picture:
- move the right chest to the right
- move the top chest up
- move the left chest all the way down.
Rewards for completing the quest:
- Elaborate Gadget x5
- Full Recovery x1
- Drop Rate Up 3 Chip
- 5000G
- 1600XP
Sorting Trouble 3

Quest giver: Resistance Member (Resistance Camp)
You can start this quest at the earliest when you advance to Chapter 14 (Routes C and D), where you control A2. You must once again go to the back of the Resistance Camp. This time you will not find the giver of the previous 2 quests from this set there. From a conversation with another Resistance Member, you will learn that the NPC is on an expedition in the Desert Zone, and you will be asked to check if everything is all right with him.
First, go to Desert: Camp which is a camp on the border between the City Ruins and the Desert Zone. Talk with Jackass here. You will be sent to a warehouse in the City Ruins and after reaching the marked location, you have to climb to the roof of the building - you will recognize this place by the large number of containers located on the roof (picture above). Simply use double jumps.
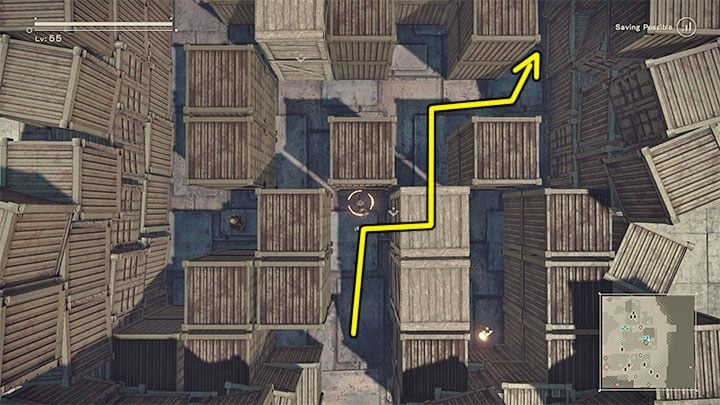
You will discover that a man is stuck in a maze and you must reach him.
At the bottom of the maze, move one of the chests to the right and head towards the top right corner.

At the top of the maze, move the first chest to the left and then the second one down. This will allow you to reach the Resistance Member. You must return with him the same way to the exit of the maze (if he stops somewhere along the way, then make sure that you moved the chest as much as possible). After exiting the maze, listen to the conversations with the man and Jackass and collect the rewards.
Rewards for completing the quest:
- Machine Oil x3
- Complex Gadget x3
- A120: Repair - it's one of the Pod programs.
- 10,000G
- 1,900XP
- Archive entry - Jackass's Bomb Recipe
Parade Escort
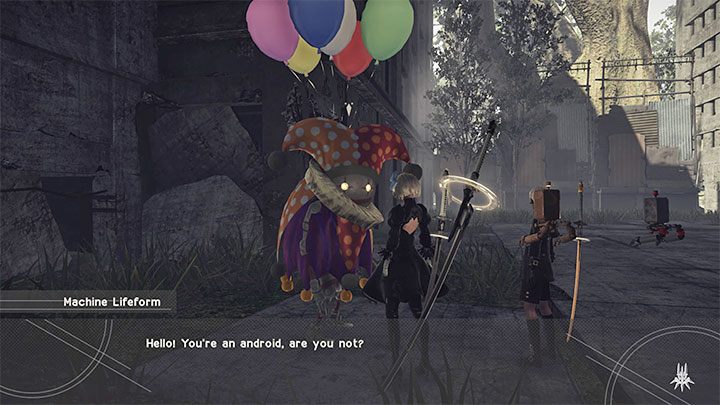
Quest giver: Machine Lifeform (City Ruins)
You can start this quest at the earliest after advancing to Chapter 5, and it should only become available after the great machine attack on the city. Near the passage to the Amusement Park (sewer entrance) you will meet a machine disguised as a clown with balloons. You can select the top dialogue options and ultimately offer your help in protecting the parade members.
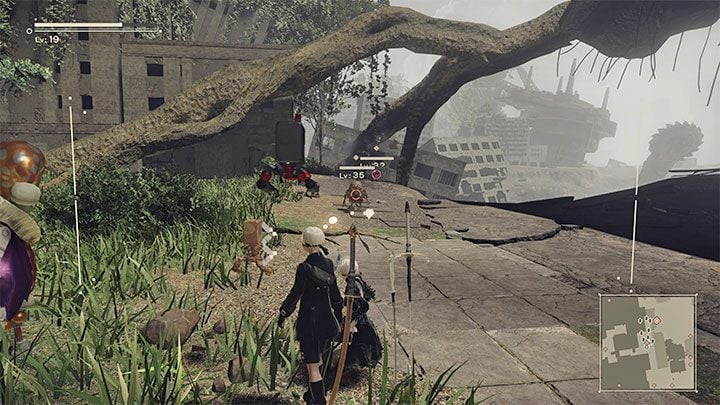
It's a difficult quest because it forces you to fight enemies on levels 32-35. Consider doing it at the end of Route A or only after starting Route B (i.e. as 9S) in order to be able to defeat the enemies faster by playing a high-level character. If necessary, you can also lower the difficulty level to be able to attack the enemies more aggresively. You can also increase your chances by reviving another player (additional helper) and using powerful programs of several Pods.
Try not to wait until the parade members reach the subsequent enemy groups, but rather stay a bit ahead of them and attack the enemies before they engage with the protected machines. Even if all the protected machines died, you will still be able to complete this mission. You can go back to the quest giver and try again.
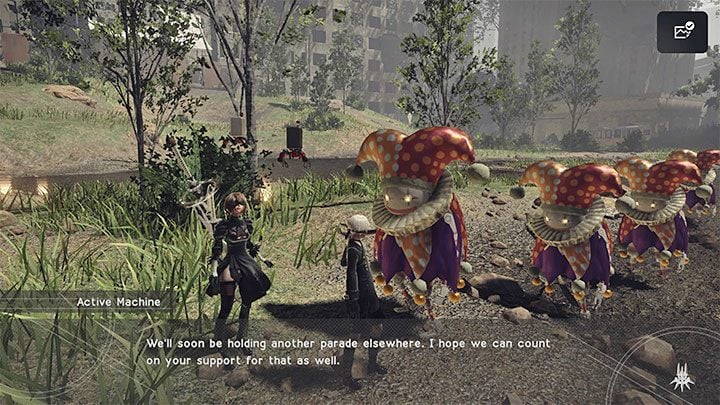
If you have completed the defense mission correctly, then the quest giver will tell you that another parade is planned. However, you don't have to worry that you'll have to defend the machines again. The mission marker will appear after a while in the same spot where you started the quest. Talk to the machine again to learn about the change of plans and to finally complete the quest.
Rewards for completing the quest:
- Dented Socket x3
- Reset 3 Chip
- Dented Plate x4
- Impact Bracer (L) x1
- Large Recovery x1
- 10,000G
- 750XP
Investigating Communications
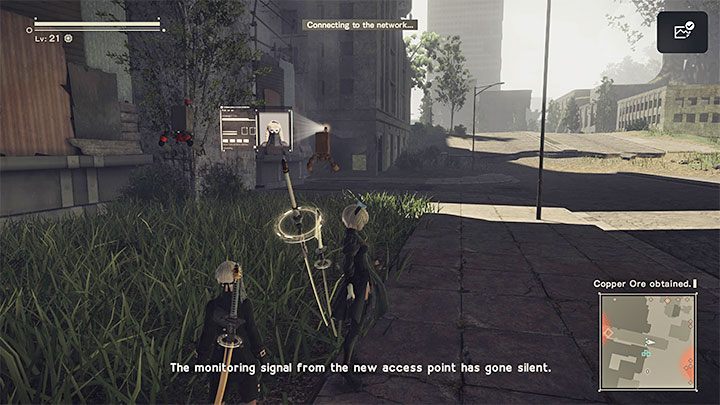
Quest giver: Operator 6O (City Ruins)
This quest should unlock when you roam around the City Ruins in Chapter 6. The operator will contact you and ask you to check why the contact with one of the Access Points was lost.
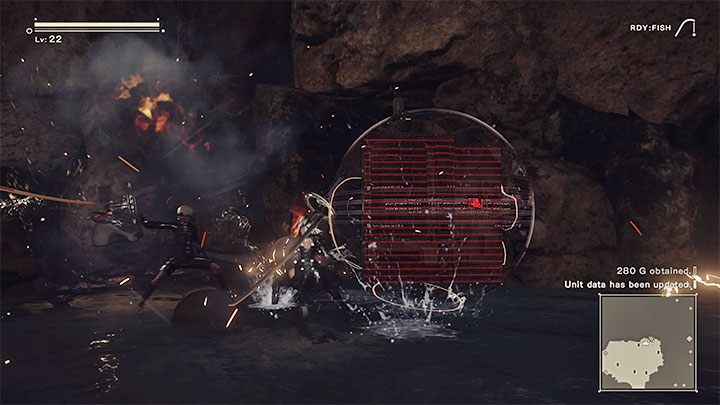
Quest description: You need to head towards the crater and jump back down to the cave you explored earlier at the end of Chapter 5. When you get there, you will notice some machines scattered around the Access Point, which you have to defeat. Once you're done, listen to another conversation with the command. This will finish this very short and simple quest.
Reward for completing the quest:
- 320XP
Terminal Repairs
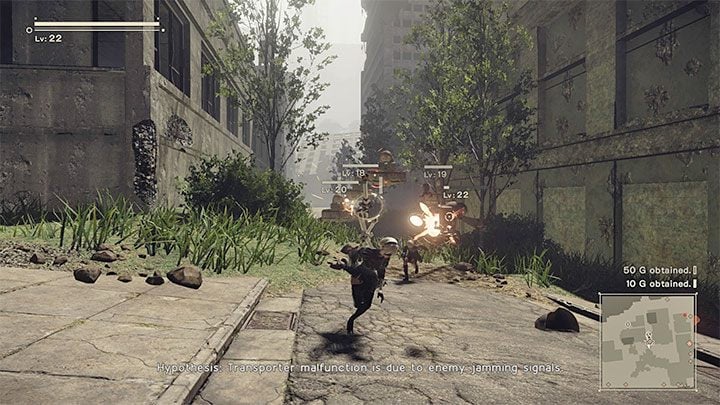
Quest giver: Operator 6O (City Ruins)
This quest should unlock when you roam around the City Ruins in Chapter 6. You'll be contacted by Operator 6O.
Quest description: Reach the designated Access Point in the City Ruins and, as in the previous quest, defeat a group of machines. After the fight, interact with the Access Point to repair it automatically. Listen to the new conversation and read the email titled Operator 6O: Rewards! to collect rewards for completing the quest.
Rewards for completing the quest:
- Simple Gadget x3
- Medium Recovery x2
- 3,000G
- 600XP
Camp Development
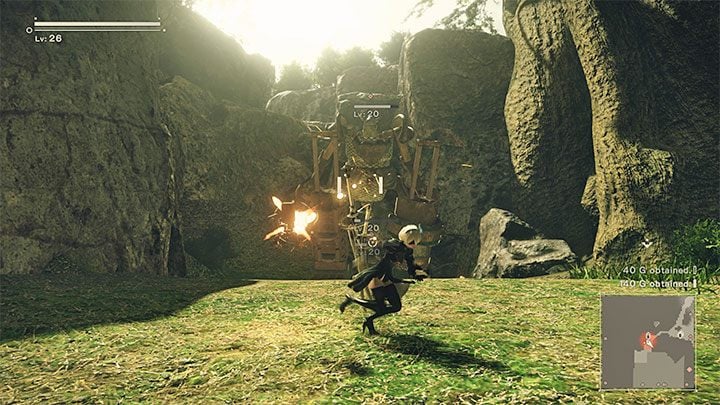
Quest giver: Anemone (Resistance Camp)
This quest should become available at the earliest after advancing to Chapter 7, after visiting the castle. You can meet Anemone at the Resistance Camp.
Quest description: This is a short and simple quest where you have to support the Resistance in regaining control of the forest so that they can set up a camp there.
Just go to the Forest Zone (you can use fast travel) and reach the area marked with a red circle. It is surrounded by an overgrown shopping center. You have to defeat a group of machines (level 20), among which is a Goliath. This fight doesn't come with any surprises. Once you win the fight, report to Anemone.
Rewards for completing the quest:
- Torn Book x5
- Large G Luck x1
- Medium Recovery x1
- Natural Rubber x5
- Down-Attack Up 3 Chip
- 5000G
- 320XP
Anemone's Past
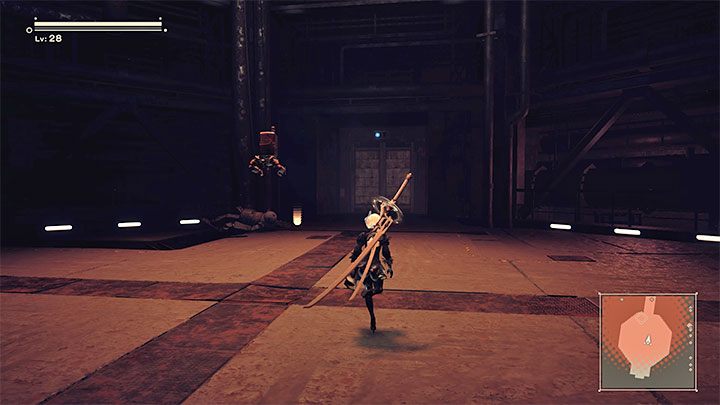
Quest giver: Anemone (Resistance Camp)
You can start this quest right after completing the mission Camp Development described above. The new task is to obtain additional information about the android A2 encountered in the castle.
Quest description: Soon after leaving the Resistance Camp, a quest-related conversation will occur, as a result of which you will need to explore Abandoned Factory in order to find traces of A2. We described how to get to the factory on the page Factory - how to return? and if you have already unlocked the Access Point there, then you can use the fast travel.
Get to the place where you fought the Buzzsaw blades in the prologue, and then head towards the entrance to the factory to find the first signature in the round room. Examine the glowing object next to the eliminated machine, and you will find Data Chip A.
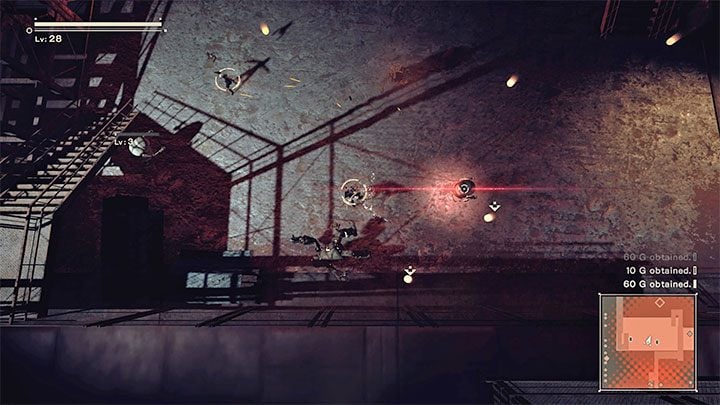
You must now begin a rather long exploration of the factory to find more chips. Their approximate locations are indicated by red circles on the map of the area.
You will find Data Chip B while examining a glowing object in the location where you fight against the machines with a fixed bird's-eye view.
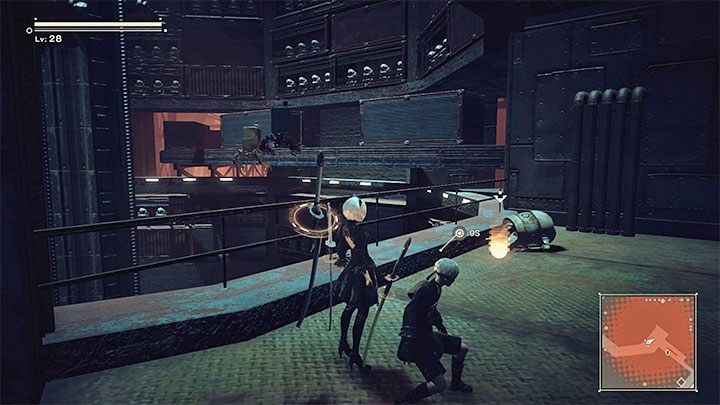
Data Chip C is in a large shaft, in which the camera briefly returns to the view from behind the character's back. Check the glowing object again.
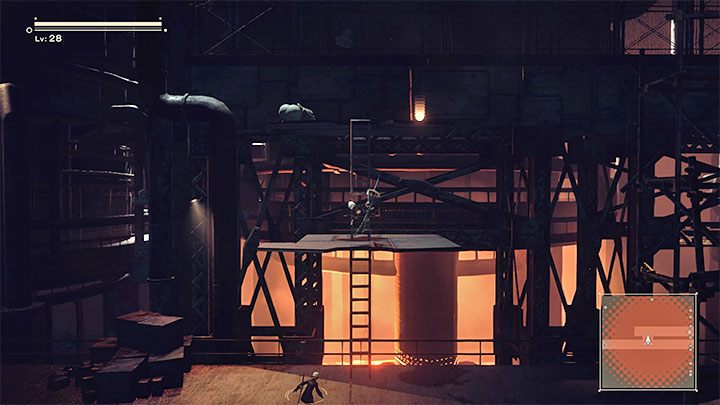
Data Chip D is on one of the balconies next to the "dead" machine. Get there up a ladder and check the glowing object.
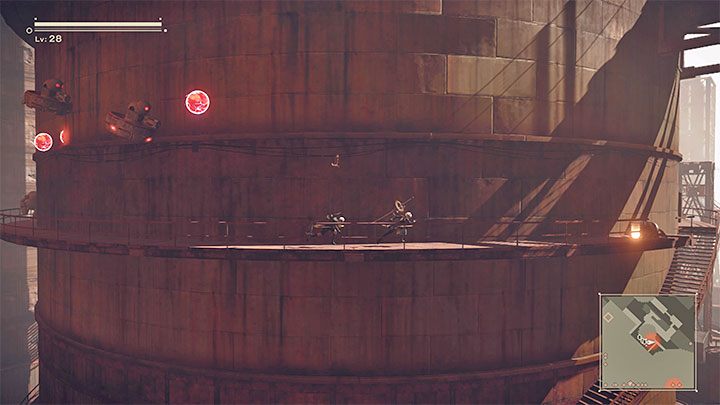
Data Chip E is at the end of one of the metal balconies surrounding the huge silo. As always, examine the glowing object.
With all five chips, you must return to Anemone at the Resistance Camp. You will hear a conversation on A2 and the quest will end.
Rewards for completing the quest:
- Simple Gadget x5
- Powerup Part S x1
- 10,000G
- 430XP
Emil's Item Shop
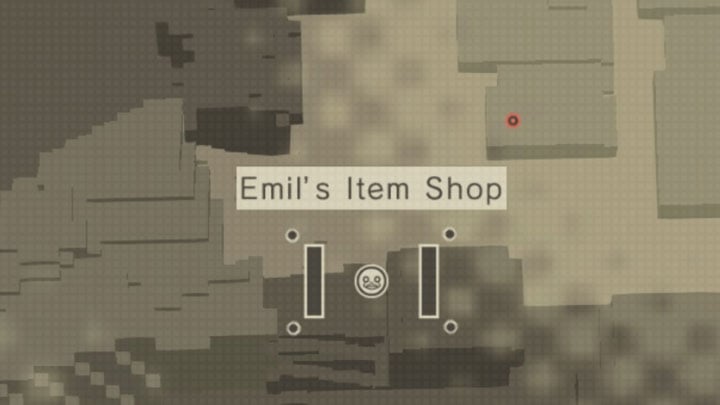
Quest giver: Emil (City Ruins)
This is not an official quest from the log and it does not have its own unique name, but you have to meet trader Emil to be able to play the Emil's Memories quest in the next phase of the game - we described it in the chapter on side quests in the Forest and Castle.
After you advance to Chapter 7, Emil will appear on the map. The trader will travel to different parts of the City Ruins.
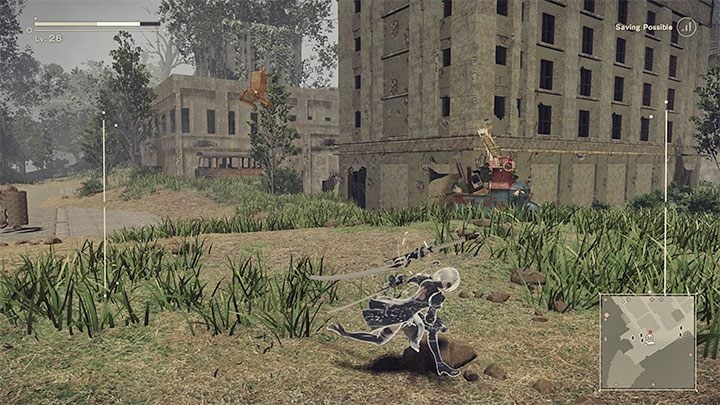
Your task is to stop Emil by firing at her using a Pod. After you get close to Emil, it's best to start sprinting and lock the camera on the trader. Then fire at her quickly (R1). By stopping Emil, you'll be able to talk to her for the first time and view her offer. It is worth noting that Emil's offer may change during subsequent meetings (you have to stop her in the same way each time). In addition to the "regular" loot, Emil can also sell high-quality chips, unique crafting components or new weapons.
Amnesia

Quest giver: Resistance Member (City Ruins). The quest is only available in Route B.
The quest marker will appear in the City Ruins at the earliest after advancing to Chapter 6 in Route B. You must explore the ruined skyscraper. On one of building floors you will meet a Resistance Member who stands at the window and you need to talk to her.
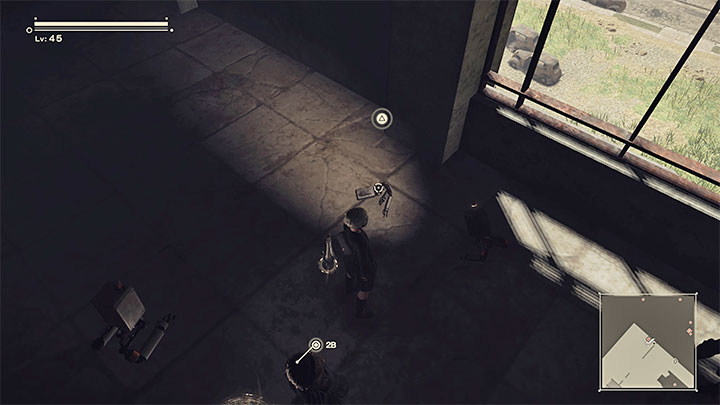
Quest description: Remain at the starting location of the quest and examine the damaged Pod lying on the floor. You need to hack into it using 9S's hacking skills. You will probably have to pass a more difficult version of the mini-game - remember that you can hide behind the white obstacles and destroy the incoming orange balls. Completing the mini-game will allow you to get the photo and start a new conversation with the woman.
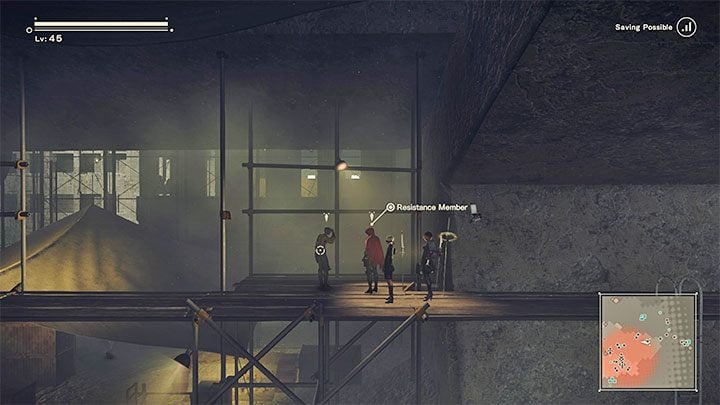
You will now begin an investigation to find the person in the red hood responsible for the murder. Get to the Resistance Camp. A person dressed in red is at the back of the camp, in the area where the camera shifts to the side. You will find the NPC in the place shown in the picture, i.e. on the upper balcony.
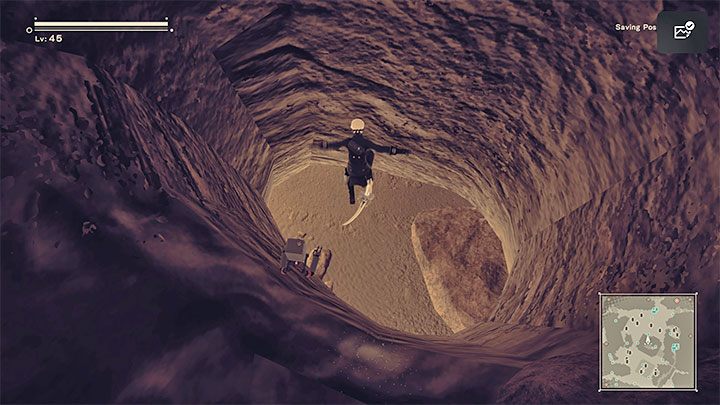
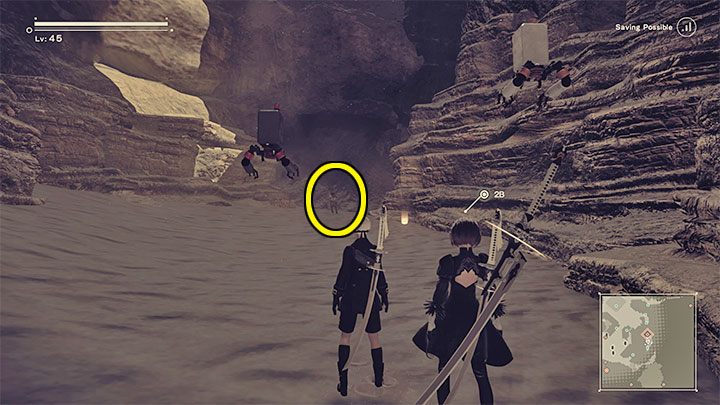
After questioning the NPC, you must reach the Desert Camp, which is the one on the border of the City Ruins and Desert Zone. Talk to the Supply Trader to find out about Jackass.
Go to the first area of the desert (the smallest one) and on its outskirts find a place where you can jump into the caves under the desert. Look around this whole underground area until you find the place shown in picture 2, where Jackass is. Listen to the conversation with her.
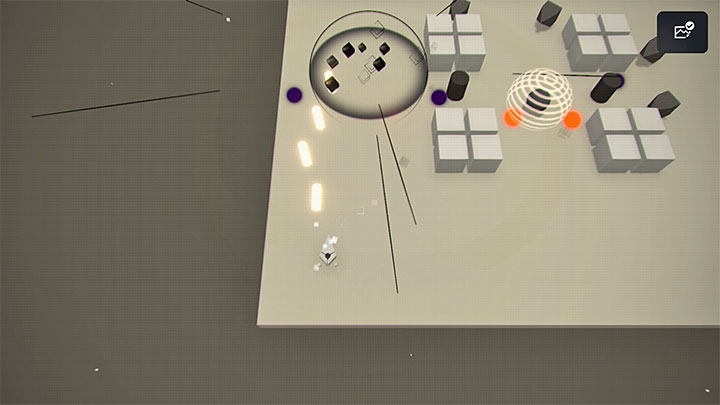
You must return to the place where you began this quest in order to re-question the Resistance Woman. Again, you need to hack the pod and complete a new mini-game to get the second photo.
You'll find out who the quest giver really is and what her motive for the murder was. The quest will end after a while.
Rewards for completing the quest:
- Tanning Agent x5
- Melee Attack Up (L) x1
- Offensive Heal 3 Chip
- Ranged Attack Up (L) x1
- A090: Wire - it's one of the Pod programs.
- 5000G
- 1300XP
Wise Machine
Quest giver: Wise Machine (City Ruins). The machine can only appear during Route B.
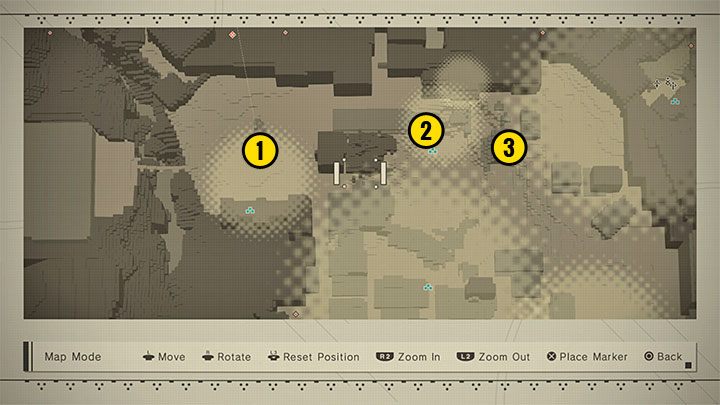
This is not an official quest from the journal and it has no name, although it will have 3 unique markers on the map (you can explore these places in any order) and will allow you to play a few short scenes.
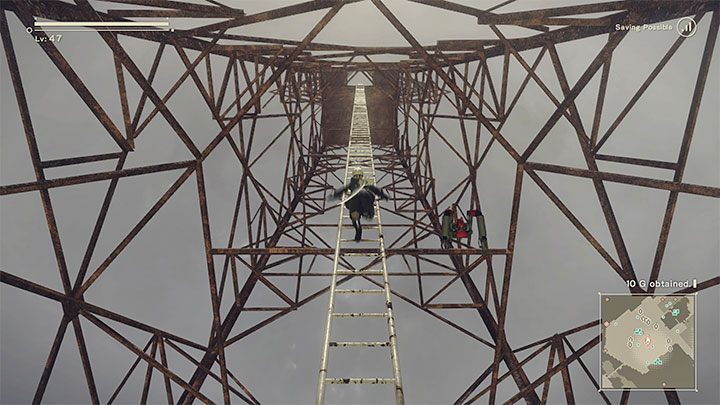
The location from point 1 on our map is the radio tower. You have to climb the ladder to the very top.
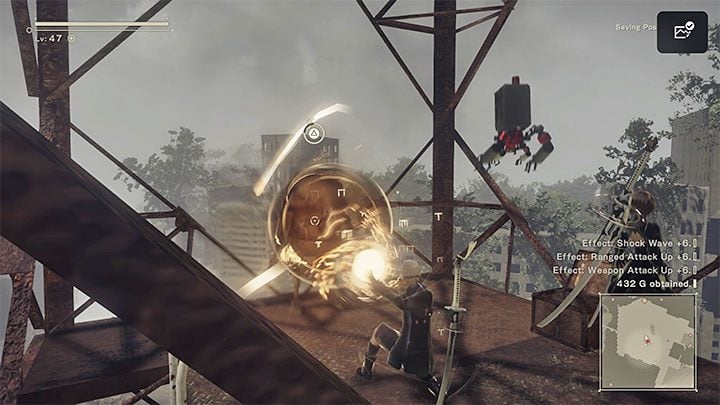
You will encounter the same Wise Machine here and in the next two locations. Any attempt to engage in dialogue with it will always fail. You must hack the machine and complete a simple mini-game to learn her thoughts.
Note - if you accidentally kill the machine, you will not fail this quest. Restart the game and the machine should reappear in all 3 locations.
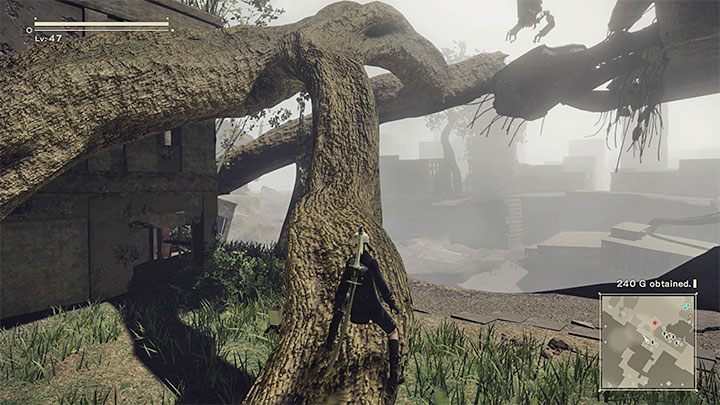
The location from point 2 on our map is a high fragment of the damaged bridge. You can get there by walking along the protruding large roots from the picture above.
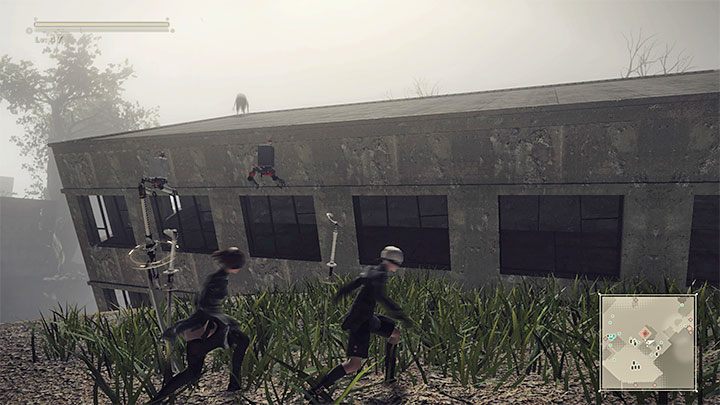
The location from point 3 on our map is the roof of a heavily slanted building.
Once you complete 3 mini-games and hack the Wise Machine, it will decide to commit suicide by jumping from a great height. This will end this side quest.
Devola's Request
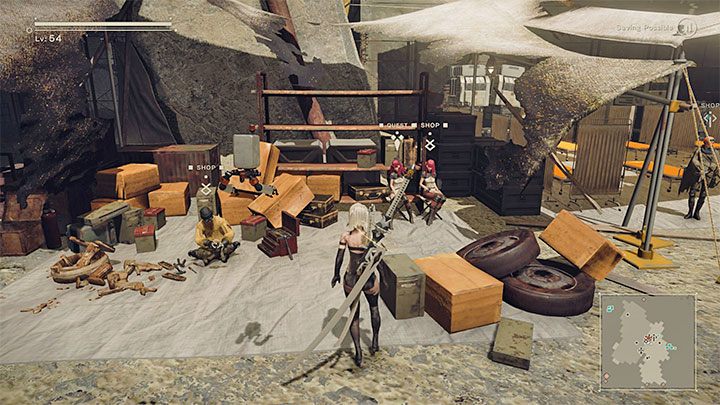
Quest giver: Devola (Resistance Camp)
You can start this quest at the earliest when you advance to Chapter 14 (Routes C and D), where you control A2. Devola and Popola are in the Resistance Camp (you'll recognize them by their red hair.) You can trade and speak with them.
Quest description: You will be asked to deliver the Stripped Screw x5, Small Gear x5 and Machine Oil x1. You can go to the locations indicated by the twins to start defeating the machines there and collecting the loot they drop, or immediately hand over the ingredients if you have acquired them before starting this quest.
Rewards for completing the quest:
- Mushroom x5
- Pure water x5
- Ranged Defense Up (L) x1
- Large Recovery x1
- Melee Defense Up (L) x1
- 3,000G
- 1670XP
Popola's Errand
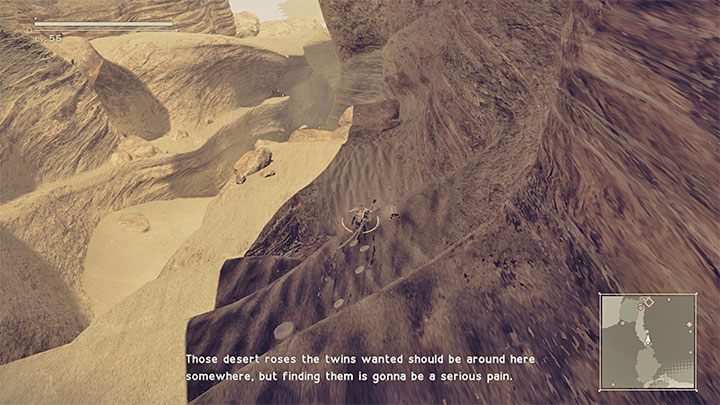
Quest giver: Popola (Resistance Camp)
You can start this quest immediately after completing the side mission Devola's Request described above. Talk to the twins at the camp again.
Quest description: The course of the quest is very similar. Popola will ask you for Desert Rose x5. Just as before, you can go and search for the ingredients or, if you already have them in the inventory, hand them immediately to Popola. You can easily find the Desert Rose in the marked area in the Desert Zone. Investigate the glowing loot in this area.
The quest will not end immediately after you give the ingredients to Popola, although you will receive rewards. You have to wait until the quest marker will appear above Anemone and talk to her about the twins.
Rewards for completing the quest:
- Meteorite x2
- Gold Ore x2
- Meteorite Shard x2
- Full Recovery x1
- 5000G
- 2000XP
The Twins' Request
Quest giver: Devola and Popola (Resistance Camp)
You can start this quest immediately after completing the side mission Popola's Errand described above. Talk to the twins at the camp again.
Quest description: This time, you will be asked for Tree Sap x5. Similarly to the previous two twin-related quests, you can go to the location they indicate to find the requested items, or complete the quest immediately if you have Tree Sap from your previous expeditions.
Rewards for completing the quest:
- Popola's Booze x1 - a unique consumable item that regenerates the health bar to 100% and increases damage from melee weapons by 50% (the bonus lasts for 30 seconds)
- Dye x3
- Black Pearl x2
- 10,000G
- 2050XP
Gathering Keepsakes
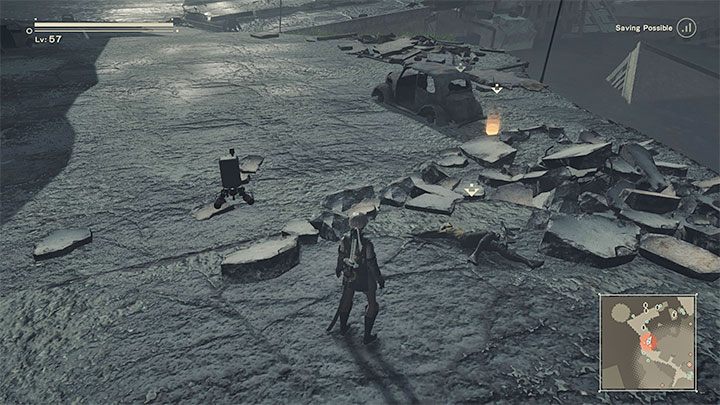
Quest giver: Resistance Member (Resistance Camp)
The earliest you can start this quest is when you advance to Chapter 13 (Routes C and D), where you play as 9S. A new quest marker will appear above one of the Resistance Members in the Resistance Camp. Talk to him and offer your help in the search to unlock the quest.
Quest description: You will first need to explore the Flooded City. In the area marked in red on the map, you must find the body of the Resistance Member shown in the picture. You can examine it right away or optionally get rid of the surrounding machines first. You'll get the Rusty Dog Tag.
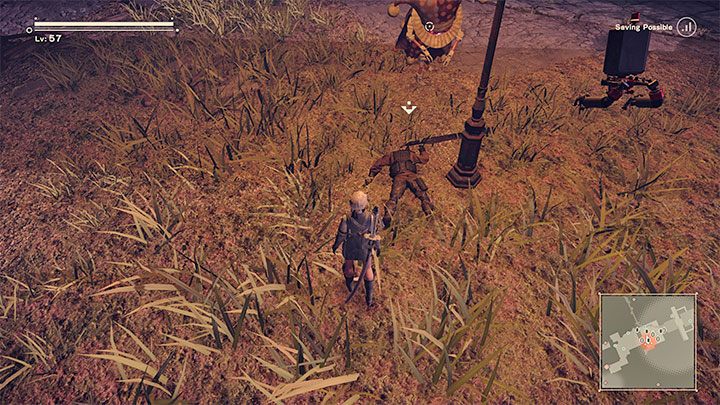
Now you have to go to two new locations. The Amusement Park is one of them. The body of another Resistance Member will be laying in the grass. Examine it to get the Damaged Dog Tag.
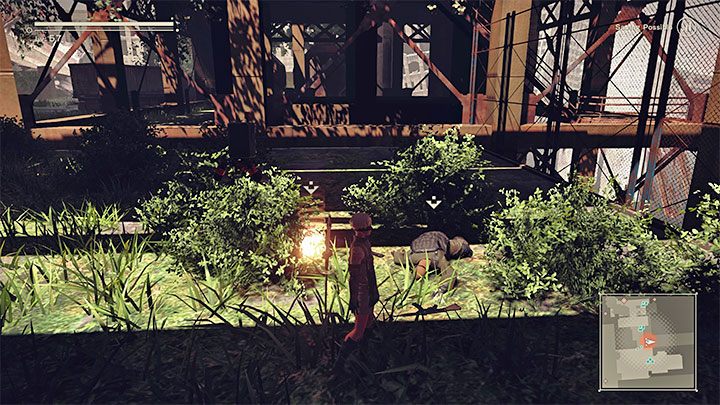
The second new location you need to explore is the Abandoned Factory but you don't have to go into the factory. Explore the area in front of the factory, i.e. next to the fast travel point Factory: Entrance. You will find the body in the place from the picture above and get another Dirty Dog Tag.
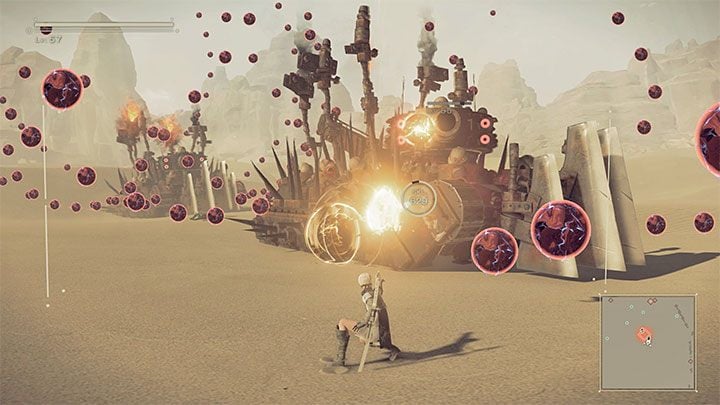
The last area you need to visit as part of this mission is the Desert Zone, and specifically its largest fragment. When you get there, you will find that you have to defeat two Goliath Tanks.
Try to attack the machines one by one. Try to destroy the gun of a chosen tank; you can also hack the tanks to weaken them faster, although this will force you to pass more difficult variants of the hacking mini-game. Between the attacks, run and jump a lot, avoiding the massive enemy fire.
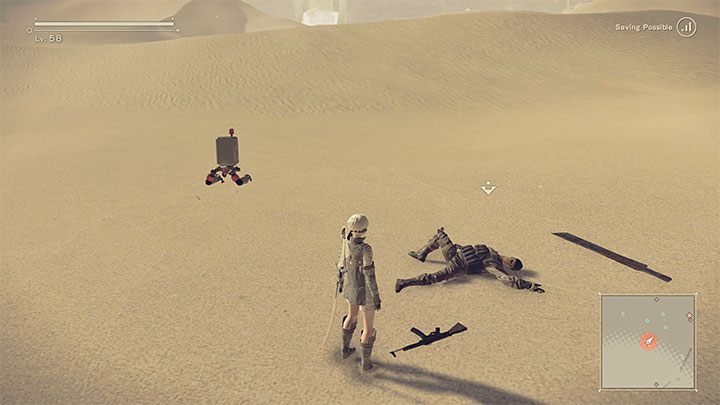
After the fight is over, find the body of the last Resistance Member lying on the sand. Examining it will allow you to obtain the Bloody Dog Tag.
Return with all the dog tags to the quest giver.
Although you will receive rewards, the quest won't end yet. If you have already completed a the Emil's Memories side quest, then you can visit Emil's hideout in an abandoned mall. As a reminder, you gain access to the hideout by using the elevator (picture above). After reaching the "cemetery," 9S will bid his recently lost companion farewell.
Rewards for completing the quest:
- Complex Gadget x2
- Max HP Up 6 Chip - this is a great chip to significantly expand the character's health bar
- Full Recovery x1
- Meteorite x2
- 10,000G
- 1800XP
You are not permitted to copy any image, text or info from this page. This site is not associated with and/or endorsed by the Square-Enix / Eidos or PlatinumGames. All logos and images are copyrighted by their respective owners.
Copyright © 2000 - 2025 Webedia Polska SA for gamepressure.com, unofficial game guides, walkthroughs, secrets, game tips, maps & strategies for top games.
