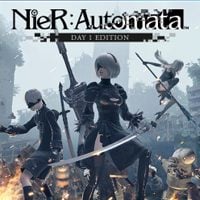
NieR Automata: Beginner's Guide
On this page of the guide, you will find starting tips for NieR Automata. These various tips and hints will help you with, e.g. combat, completing quests, developing characters, or exploring the world. Use the following tips to understand some of the unusual mechanics and avoid common mistakes in the early hours of the game.
- Start the game on the normal difficulty level
- There are no autosaves in the game!
- You dodge by pressing R2, not the Circle
- Ranged attacks are safer than melee
- Locking the camera on your opponent makes it easier to attack
- Collect as much loot as possible
- Bird's eye view helps in using the map
- Before you head out, be sure to stock up on medicines
- You can heal yourself in the pause menu or by using the shortcuts
- Use Pod's programs as often as possible
- Before you start a fight, check out the enemies' levels
- Spend gold on Chip Capacity Storage upgrades
Start the game on the normal difficulty level
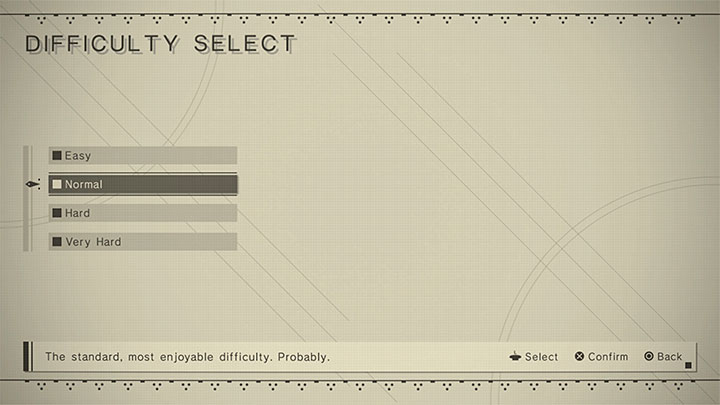
NieR Automata offers 4 main levels of difficulty. However, you must know that the difficulty levels vary visibly- the game can be very easy (or even perform some actions for the player) on the lowest difficulty or offer an extreme challenge on the highest one.
The normal level of difficulty is a good compromise between fund and challenge. You should select it at least for completing the first route (Route A). However, it is worth noting that you can change the difficulty level in the options menu. You can adjust it if the game gets too easy or hard. For more information, check out the Difficulty levels page.
There are no autosaves in the game!
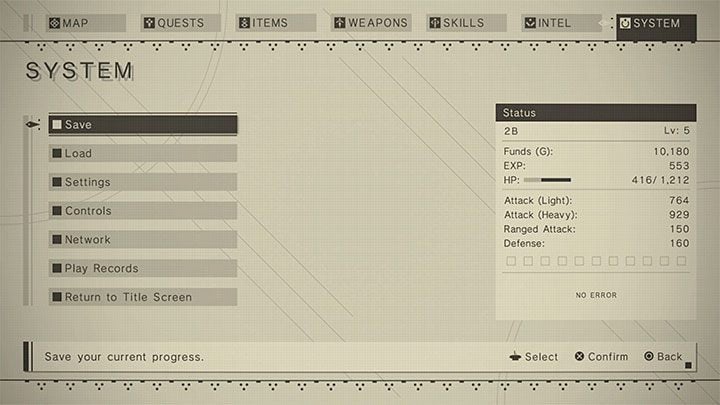
NieR Automata tries to communicate that to the player on many different occasions. The game is not automatically saved. If you forget about that and turn off the game without saving, you may lose even a few hours of progress. The same applies to situations in which the game can crash.
We advise you to save as often as possible, especially since you can use quick saves, which are done in a few seconds. Remember to save after every more difficult battle and after each larger quest. More about the saves (you can't always use this option) on the Saving - how to save? page in the FAQ section of the guide.
You dodge by pressing R2, not the Circle
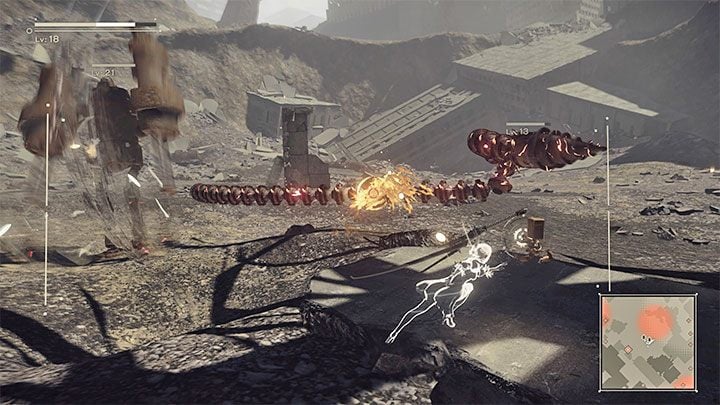
Console players are used to the fact that in the vast majority of action games, dodges are activated by pressing the Circle. NieR Automata differs from these titles because you evade by pressing R2. You can also combine this action with tilting the analog stick in the direction in which you want to dash. Hold R2 to start sprinting - this is useful for escaping from area attacks or during exploration.
It is also useful to know that a perfect evade can lead to a counter - you must dodge at the perfect time (i.e. just before taking damage from an enemy attack) and then press one of the attack buttons to counterattack. For more information on different moves, see the Controls in the appendix.
Ranged attacks are safer than melee
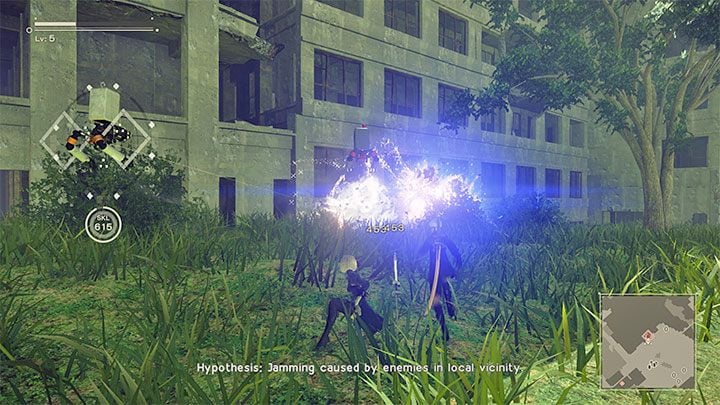
Your Pod does the ranged attacks - that's the flying robot that follows you from the very beginning of the game. You can use continuous fire and Pod's special attacks - both types of attacks have unlimited ammo.
Avoiding direct battles can be especially useful in the early hours of the game, i.e. when you are still learning the basics of combat like perfect evades and counterattacks. When engaging someone in close combat, you risk getting severly injured or even dying. However, don't focus on using only ranged attacks since some opponents have bulletproof armor or a lot of health. Here, regular bullets will be very inefficient. Check out the Combat page to learn more about using Pod and the combat mechanics.
Locking the camera on your opponent makes it easier to attack
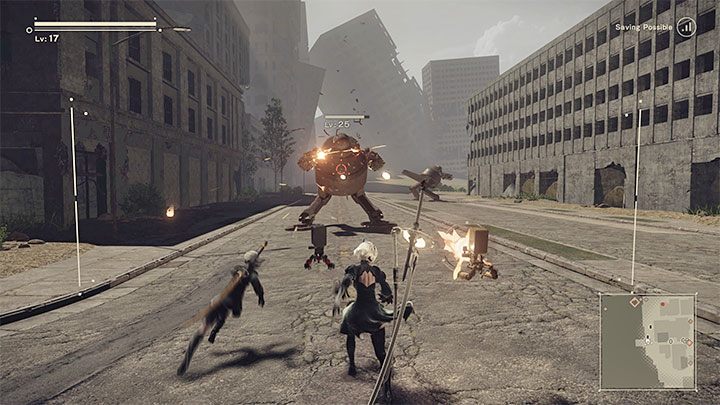
Locking the camera on the enemy (press L2) is possible only on easy and normal. If you play on one of these levels, you should definitely use this option. This feature has two main advantages:
- you can use Pod's ranged attacks more accurately without the risk of missing,
- you can more effectively respond to enemy attacks by counterattacking after a perfect evade.
However, the lock-on option may not be that useful when fighting with groups of opponents. Lock the camera on the enemy that you want to kill at a given moment (optimally one of the stronger opponents), and be aware that other opponents can also attack you.
Collect as much loot as possible
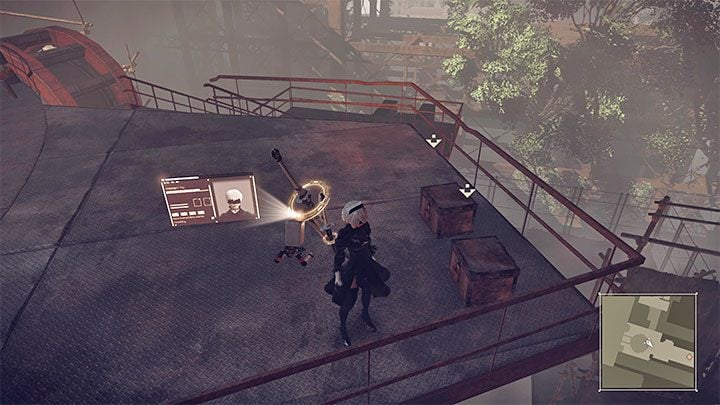
In NieR Automata, you can get a lot of loot. The main source is the opponents you defeat. You can also interact with glowing objects on the ground and open various kinds of containers.
Many of these items are very useful, like medkits, character statistics boosters, new chips, or crafting components. The characters can have up to 99 pieces of each item - you don't have to worry about the weight limit. Items that you do not intend to use at all can be sold to various merchants. This will also help you get rich. For more information on looting and traversing the game world, check out the Exploration page.
Bird's eye view helps in using the map
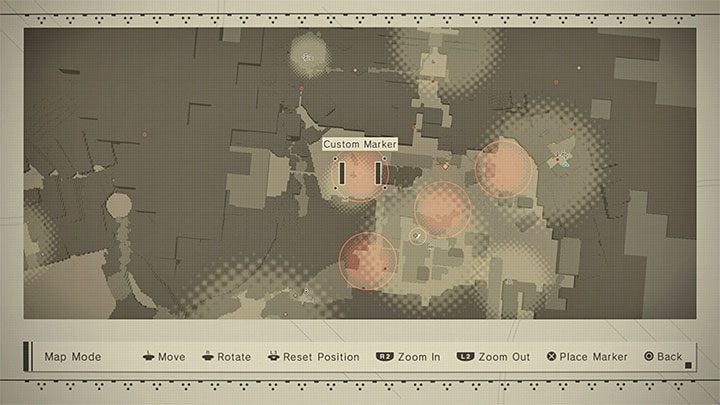
The map in NieR Automata is, unfortunately, not very clear. You may have some problems with determining your current position and where you need to go next. Change the camera's position to a bird's-eye view, i.e. perpendicular to the ground. You will be able to easily determine your position and various locations. However, it is worth remembering that some icons are for underground locations. Here, rotating the 3D map may help.
Check out the map legend and hover over icons, so you can see information about, for example, the type of merchant or quest marked by a specific icon on the map.
Before you head out, be sure to stock up on medicines
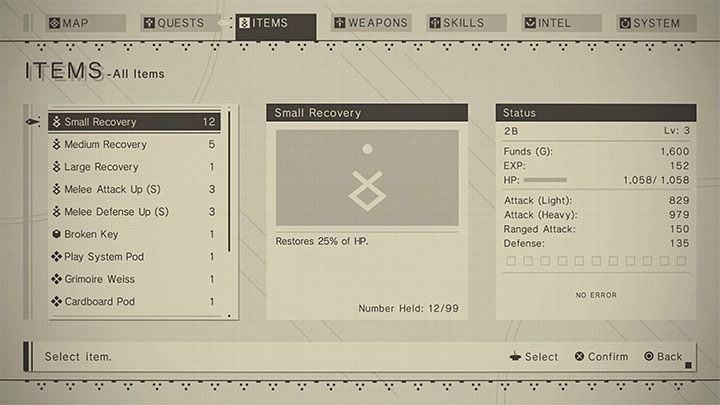
In NieR Automata, the character cannot self-heal by default (later, you can get chips for, e.g. automatic healing). You need to keep this in mind from the very beginning of the game, because even weaker opponents are able to inflict a lot of damage and take, e.g. half of the health bar.
Recovery consumables are used to restore health points - they come in different types. You can find them in the world, receive them as rewards or buy from merchants. It's a good idea to always have some in reserve, as more demanding fights (especially those with bosses) can force you to heal several times during a single fight. For more information and tips on hp recovery and increasing health bar, check out the Healing - how to improve health? page in the FAQ section.
You can heal yourself in the pause menu or by using the shortcuts

In NieR Automata, you can use medicines in two main ways. Each of the methods has its pros and cons:
- Select medicines from the pause menu - Open the inventory menu, go to the Restorative items and select the item you want to use from the list. The advantage of this method is that the game is paused while you are choosing a medicine. However, it takes some time to get a medicine.
- Select medicines from the shortcut menu - You activate them by pressing down on the d-pad. When the list of items is displayed, you can highlight the one you are interested in and confirm the choice with the Circle. The advantage of this method is quick access to medicines. The disadvantage is that the game does not pause - you can be attacked while selecting an item. Use shortcuts while you are away from enemies.
Use Pod's programs as often as possible
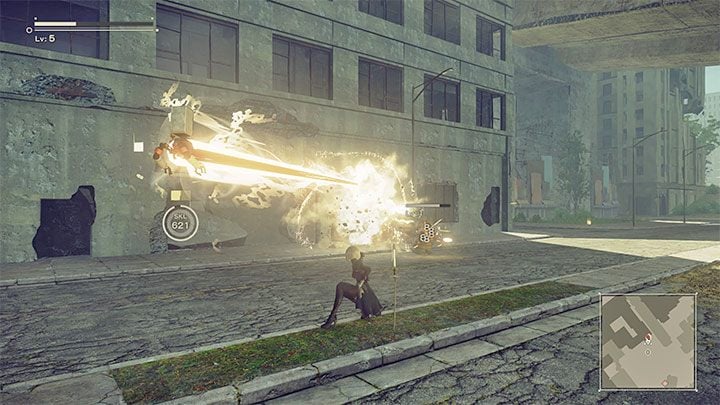
Programs are Pod's unique skills that are activated by pressing the L1 button. They have cooldowns meaning you will have to wait a moment before you will be able to use them again. Fortunately, the use of the program itself does not consume any resources, e.g. there are chips that can reduce an ability's cooldown.
The starting program is a strong laser attack - an excellent skill that will serve you for a long time. This attack should always be used on the strongest opponent from a given group. However, the laser can also hit, for example, several enemies standing in a row. In the later part of the game, you will be able to get other programs and other Pods - you will be able to quickly switch between different programs. This topic is described in more detail on a separate page Developing character and Pod.
In the later part of the game, you will unlock the next Pods - you will be able to activate a few programs in a row. For example, you can use Pod 1's program, switch immediately to the next Pod (left or right on the d-pad) and use Pod 2's program. You can also set up different programs for your Pods and choose the one with the program that is most useful at a given moment.
Before you start a fight, check out the enemies' levels
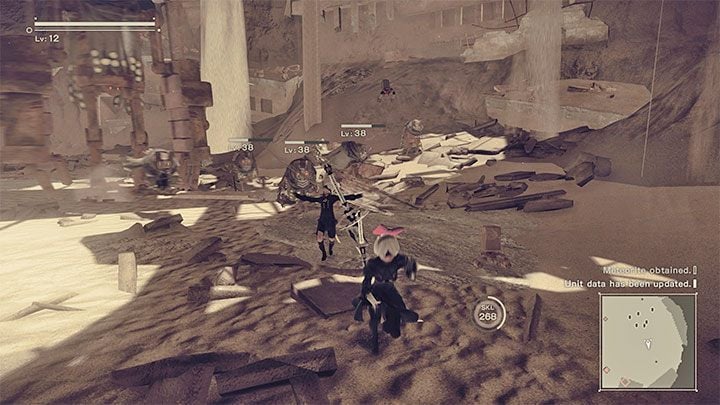
In NieR Automata, each has a certain level of experience. By default, it is displayed above the opponent's head, and the game may stop showing this information if you remove the chip associated with this particular HUD function (we don't recommend doing this).
Beware of enemies that significantly exceed the level of your character. For example, if your hero is at level 12 and your opponent is at level 38, then you may not win this fight. A high-level opponent can be very resistant to your attacks, making the fight much longer than it would normally be. Of course, you also have to remember that a given opponent can inflict more damage. Quests and locations with high-level opponents are best left for later, although you can also decide to grind to quickly gain XP and level up.
Spend gold on Chip Capacity Storage upgrades
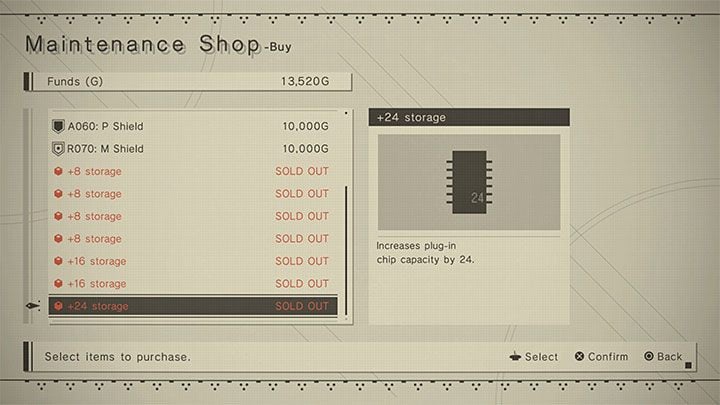
In the initial phase of the game, you may have problems with determining what you should buy in the first place. We do not recommend buying expensive weapons or common consumables early in the game because these are things that you will be able to get by exploring the game world and doing quests.
You should get Chip Storage upgrades - go to the Maintenance Shop Owner in the Resistance Camp. Each purchased item from this group allows you to increase the amount of memory for installing chips (plug-in chip capacity), thanks to which you can get more useful passive bonuses to statistics (e.g. inflict more damage, automatic healing, new HUD features). This topic is described in more detail on the page Chips - how to install? page in the FAQ section.
- NieR Automata Guide
- NieR Automata: Game Guide
- NieR Automata: Basics
- NieR Automata: Beginner's Guide
- NieR Automata: Cheats Guide
- NieR Automata: Combat Guide
- NieR Automata: Death and its consequences
- NieR Automata: Exploration Guide
- NieR Automata: Hacking Guide
- NieR Automata: Playable characters
- NieR Automata: Characters and Pods development
- NieR Automata: Difficulty levels
- NieR Automata: Basics
- NieR Automata: Game Guide
You are not permitted to copy any image, text or info from this page. This site is not associated with and/or endorsed by the developers and the publishers. All logos and images are copyrighted by their respective owners.
Copyright © 2000 - 2025 Webedia Polska SA for gamepressure.com, unofficial game guides, walkthroughs, secrets, game tips, maps & strategies for top games.
