NieR Automata: Chips - how to install?
This page of the NieR Automata game guide explains how to install Plug-in Chips from the Skills menu. You will learn the requirements and limitations of installing and using chips, how to increase your character's operating system's storage and what problems can arise while installing chips.
- Using chips - basic information
- Storage - what is it and how to increase it?
- Installing chips
- Removing chips
Using chips - basic information
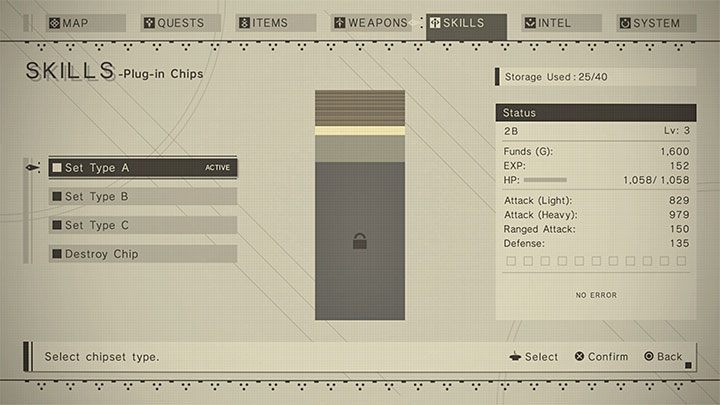
Chips in NieR Automata can most simply be defined as passive skills. They can increase some of your character's current stats (e.g. increase your melee weapon damage), as well as add new, automatic passive abilities (e.g. make you temporarily invincible after taking damage).
You can only benefit from the bonuses to statistics and new abilities from those chips that are currently installed. All other chips in the inventory remain inactive. Fortunately, the game allows you to freely install and remove your chips, so you can manage them on an ongoing basis.
The game has storage limits for the chips used. In short, you will be able to use a relatively small number of them, and it will be necessary to select the most useful chips and get rid of those that consume a lot of resources. Fortunately, this limit can be increased and we described how to do this later on this page.
Chips are managed in the Skills tab and you must additionally select the Plug-in Chips sub-menu. You can prepare up to three different sets of chips and switch between them depending on your preferences. If you do not want to complicate the gameplay, you can also, of course, use only one set (eg. Type A) and continuously upgrade it.
Storage - what is it and how to increase it?
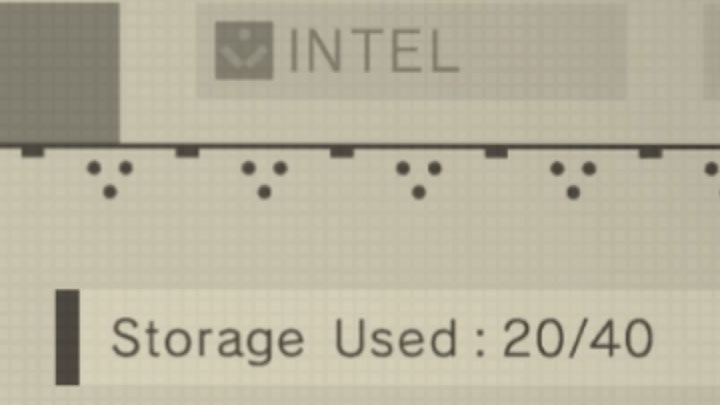
Using chips involves installing new programs in the operating system of the controlled android. The OS has limited storage which you cannot exceed.
Information about the storage currently in use and the maximum storage is displayed in the upper right corner of the screen - it starts at 40.
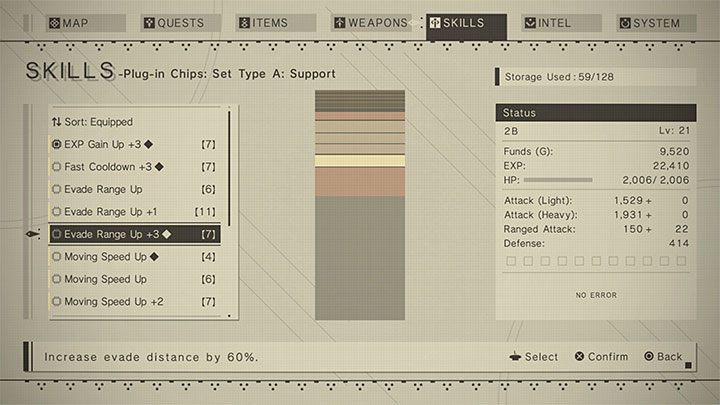
Installing each new chip will take up some storage space. The better the chip quality, the higher its requirements will be - in the screenshot above, the chip consumes 7 units and has a quality of 3.
Look for chips marked with a black rhombus icon (like the one in the attached screenshot). They offer the best ratio of storage requirements to effectiveness.
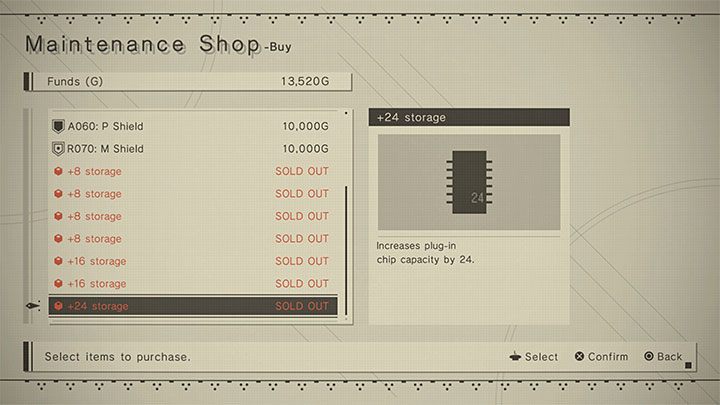
You can buy upgrades to increase the default storage limit and add new slots. To do this, you must visit the Maintenance Shop Owner that resides in the Resistance Camp.
They will continuously stock items from the Storage group and each of these will permanently increase your operating system storage. Whenever possible, you should try spending all the gold gathered in the initial hours of the game on these upgrades. This will allow you to start using more chips and/or higher-quality chips with higher requirements faster.
Installing chips
Once you enter the Plug-in Chips menu, you can choose to browse all of your acquired chips or browse them by categories (system, attack, defense, support). You can select any of them. You can prioritize certain categories and at the same time ignore particular chips or whole categories that you are not interested in.
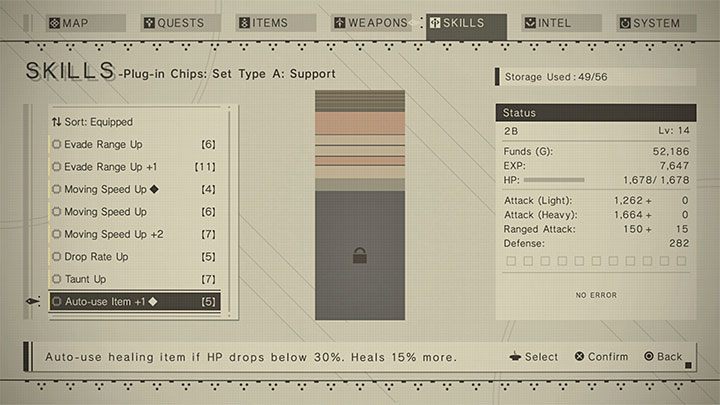
When you highlight a chip, you can select it. You must then place it on the right "tower" symbolizing the available space in the operating system. Each chip is symbolized by a bar and the larger the chip requirements, the larger the bar will be.
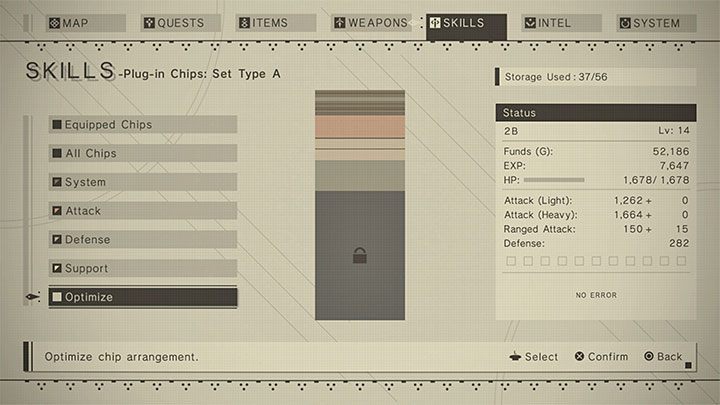
If you have problems placing the bar in an empty space, use the Optimize option to sort the installed chips and make it easier for you to install more.
If you still can not install the chip, then compare its requirements with the current available storage. In the example from the screenshot, having occupied 37 of the 56 slots, only a chip that consumes no more than 19 units can be installed.
Removing chips
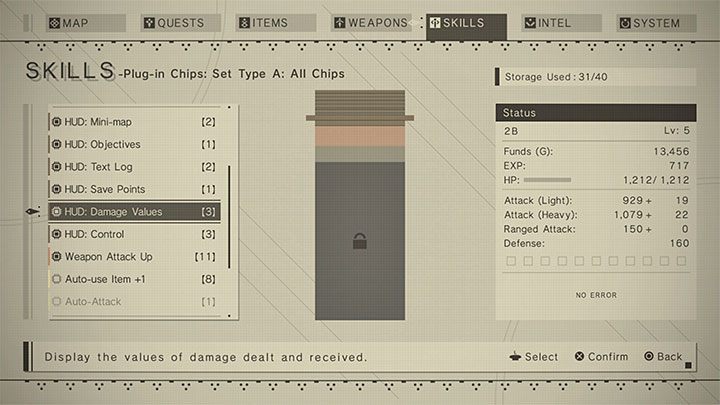
Of course, the process described above works both ways - you can take out chips you don't need to free up space. Installed chips are indicated by an icon to the left of their name. You need to highlight such a chip, then choose to uninstall it from the options menu.
Additional hint - It might be a good idea to remove some of the HUD-related chips (those that affect the user interface) in the early game. After removing each chip from this category, the game will display less information on the screen (in the example from the screenshot, it will stop informing you about the damage you inflict), but this will free up valuable space for chips, which can really help in winning battles.
You are not permitted to copy any image, text or info from this page. This site is not associated with and/or endorsed by the Square-Enix / Eidos or PlatinumGames. All logos and images are copyrighted by their respective owners.
Copyright © 2000 - 2025 Webedia Polska SA for gamepressure.com, unofficial game guides, walkthroughs, secrets, game tips, maps & strategies for top games.
