Dishonored 2: Paolo's body
Last update:
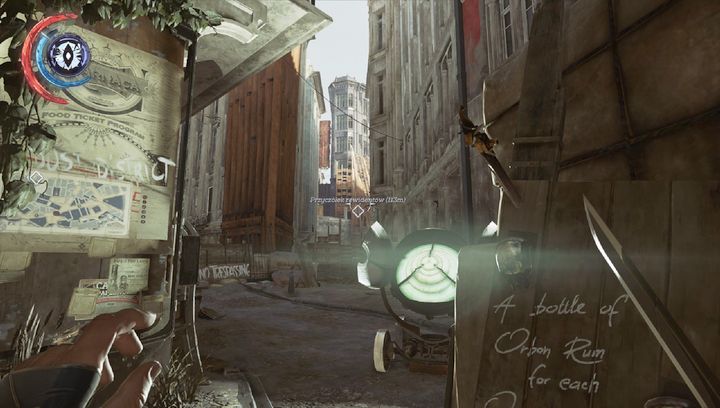
Another way of gaining access to Stilton's mansion is knocking down one of the faction leaders, and taking his body to the head of the opposite faction. You can also choose a peaceful way of eliminating both leaders - you'll need to stun them both, and carry them to Mindy's secret room (more on this in the next part of the mission). The tips below can be used to complete the mission either through a bloodshed, or by peaceful means. First, reach the area shown on the screenshot - you'll be standing before a crossroads. Turn left to reach Paolo and Howlers, while turning right allows you to visit vice overseer Byrne, and Overseer territory.
Warning! Choosing Howlers is not the only viable solution, as there is nothing stopping you from visiting the Overseers, and taking care of Paolo later. It seems that visiting Overseers at the beginning is the right choice, considering that the key to Durante's office (in which the combination to Jindosh Lock is hidden) is located in Byrne's room. At the same time, kidnapping one of the leaders is also a viable solution - when carrying Byrne's body, Howlers located in the west part of Dust District won't attack you, and vice versa. This way you'll be able to move between enemies without resorting to combat, or just stun them without having to sneak through. The guide, and the walkthrough for this task assumes that you aren't carrying a body of one of the leaders. This way will allow you to gather clues that will help you defeat the enemies of both factions.
Proceed to the upstairs balcony that will allow you to omit the main entrance leading to Howlers' territory. Eliminate bloodflies infesting the building, which contains numerous valuables and a rune hidden in the cupboard, located on the same floor.
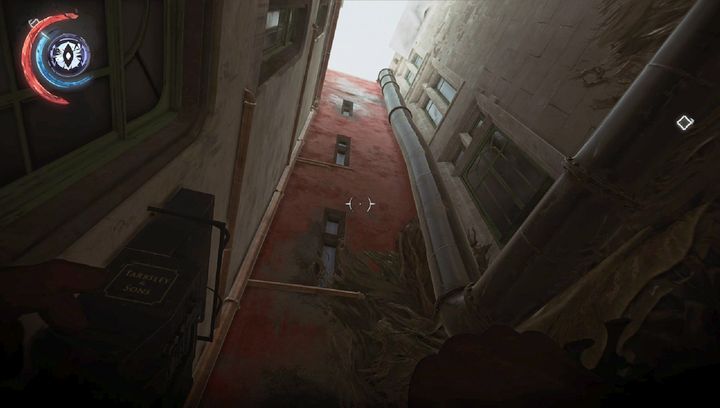
Once you clear the whole building, proceed to the top floor, where an open window can be found. You should find yourself in the location shown on the screenshot. The pipe opposite to your location will lead you to a second window. The next apartment contains two Nest Keepers - have sleeping darts on standby.
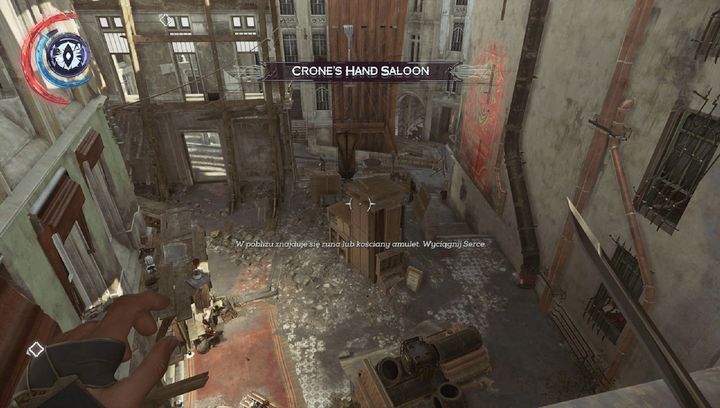
Once you've picked up the necessary items (including sleeping darts from the bathroom), enter the small balcony. You should be in the location shown on the screenshot. As a result, you've bypassed the main entrance to Howlers territory - Paolo's bar is in the building on the left. There is a small awning on the top left which can be accessed, and used to enter the building. After entering the building, crouch and eliminate the Howler who stands by the wall on the right side. Wait until he turns his back, and knock him down.
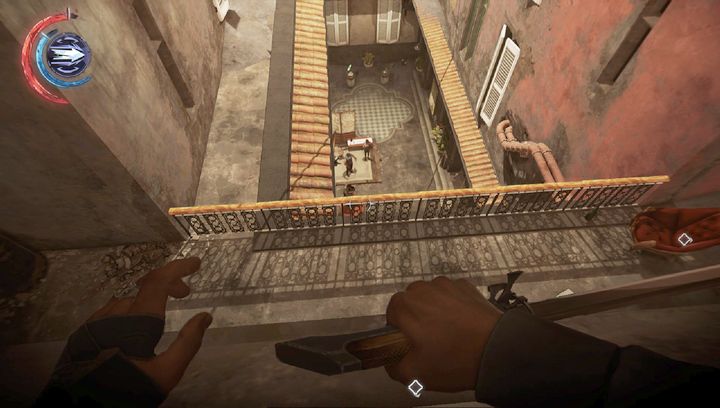
Once you've eliminated the guard, leave through the window on the opposite wall. You should find yourself in the area shown on the screenshot. It is recommended to clear out the whole building before you visit Paolo's bar, which is on the bottom floor. This way, you'll avoid unnecessary alarm when attempting to resurrect Paolo at Outsider Shrine, once you've stunned him for the first time. Jump to the balcony below, and go inside.
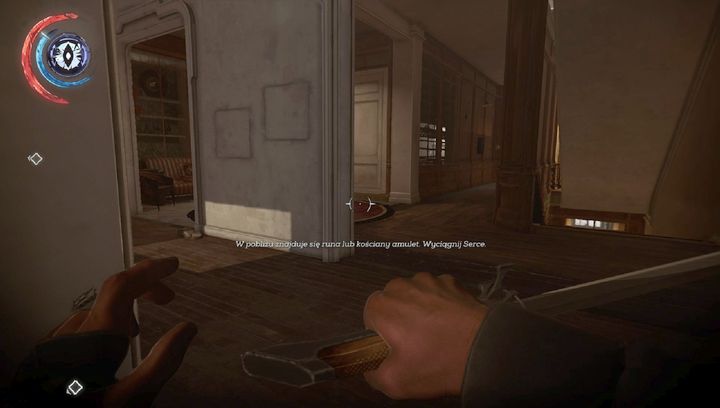
Paolo's office is on the same floor, at the end. Here, you'll find two paintings (one hangs in his office, while the other one can be found in the bathroom) and an Outsider Shrine with two runes.
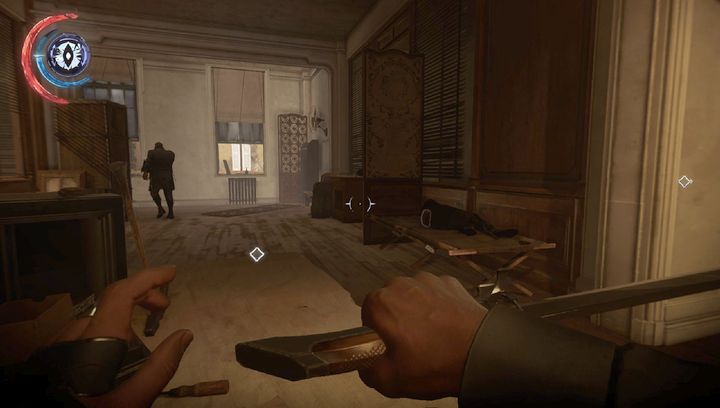
Once you gather up the valuables, proceed to the floor below. The area is guarded by two guards. One is sleeping, while the other one patrols the room. When the patrolling guard faces the other way, sneak up to him and strangle him. The important thing is to catch the body immediately after the guard loses consciousness, or the sleeping guard will wake up, alerted by the sound of the falling body. This floor also contains Paolo's bedroom. Visit it to find another chest with valuables. The main room contains another chest, containing a blueprint for Spiked Grenade Housing.
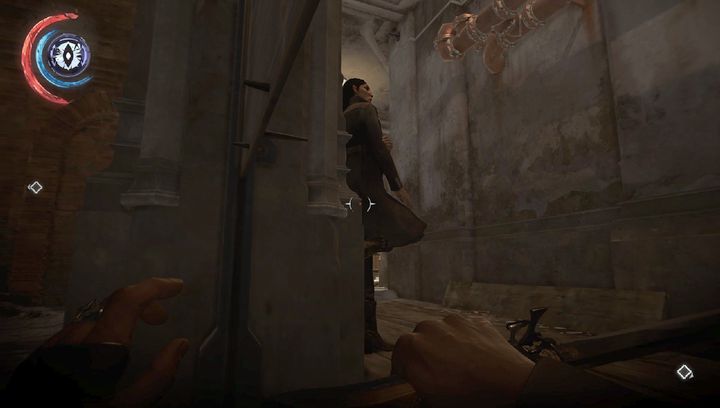
Now go to the basement, which contains a Howler guarding a captured Overseer. The room contains the first bone charm and the second blueprint - Secondary Coiling. Leave the basement through a small hole and cross underneath the gate, and you'll find yourself in the location shown on the screenshot. It's a part of the main courtyard, which can be cleared out from enemies and coins. Begin with knocking out three women who are leaning against the walls. Once they are eliminated, jump on the landing in the middle and engage the howler patrolling the area. The bodies of all howlers can be hidden in the cleared-out building to the right. You can take care of the howlers patrolling the street before you return to Paolo's bar, but this is not a must.
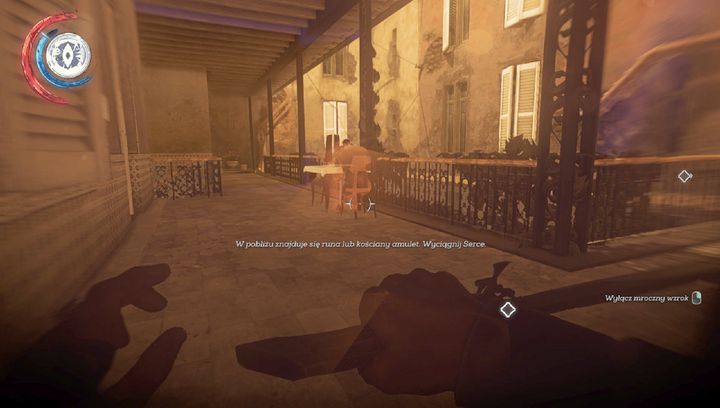
Return to the first floor, and exit the apartment from the side of the courtyard - you'll find yourself in the area shown on the screenshot. Eliminate the howler sitting by the table, and hide his body inside. The entrance to Durante's office is on the left. The room contains a bone charm, the Silvergraph Studio Key, and the combination to the Jindosh Lock. Unfortunately, the key to the office is carried by Byrne himself, so you'll need to visit his office later to steal the item.
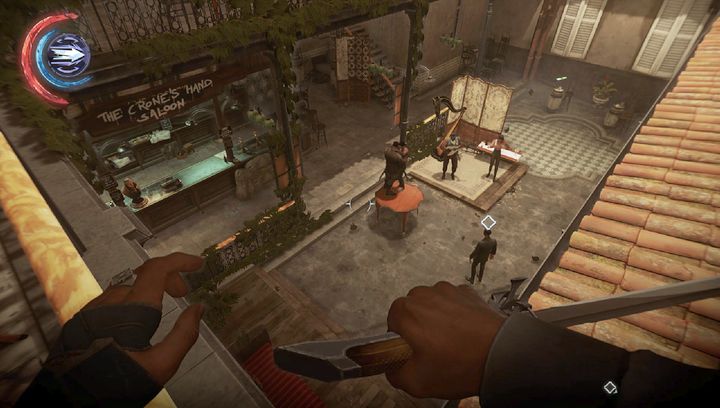
Take the bottle from the table, and focus on the awning seen on the screenshot. You need to throw the bottle to interrupt the musicians, and force the guards to disperse, along with Paolo, who is standing in the middle. There isn't a one, proper method of making them disperse, but when the opportunity arises, jump on Paolo and knock him out, eliminate all the rats which will begin to attack you, and proceed to Paolo's office, in which he'll be reborn. When the second opportunity arises, stun him again to be able to carry his body. By carrying Paolo's body, you can safely cross through the Overseers territory, and start taking care of the other side of the conflict.
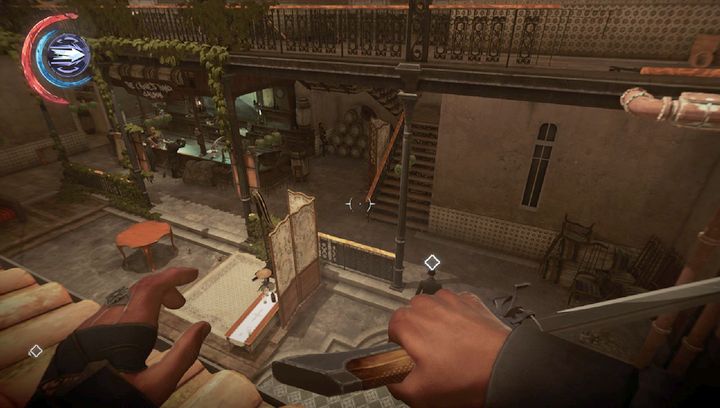
One of the possible ways of dealing with the crowd is shown on the screenshot above. One of the musicians is below, the next two(one of them is a guard) are sitting by the bar, the second guard is standing by the wall, while Paolo is in the middle. Begin with knocking out the civilian before you, then use a sleeping dart on the woman standing by the wall, and finally, reach Paolo and stun him before he figures out what is going on.
Warning! After the second takedown, deprive Paolo of his "magic hand" which allows him to be resurrected each time at the shrine. Search his body to receive three bone charms.
You are not permitted to copy any image, text or info from this page. This site is not associated with and/or endorsed by the developers and the publishers. All logos and images are copyrighted by their respective owners.
Copyright © 2000 - 2026 Webedia Polska SA for gamepressure.com, unofficial game guides, walkthroughs, secrets, game tips, maps & strategies for top games.
