Find Dr. Hypatia's office | Mission 3
Last update:

Overtaking the lobby was an important achievement. Thanks to that you will have access to the main part of the building, including the elevator and the stairs, which will allow you to head directly to Dr. Hypatia's office, located on the penultimate floor. Before you go there, however, complete a side task - Get a Map of the Addermire Institute. The map can be seen on the above screenshot. Be careful while trying to collect the map, as there's a guard coming down the stairs. The foe will head towards the door located on the right side - get rid of him before he reaches it, as it will be useful during the further exploration of the location.
If you want to head directly into the office, you can use the elevator (by selecting the fourth floor), or the staircase. If you've selected the latter, however, you have to watch out for the guards patrolling that area. If you, on the other hand, want to explore the bottom section of the Institute, read the following tips.
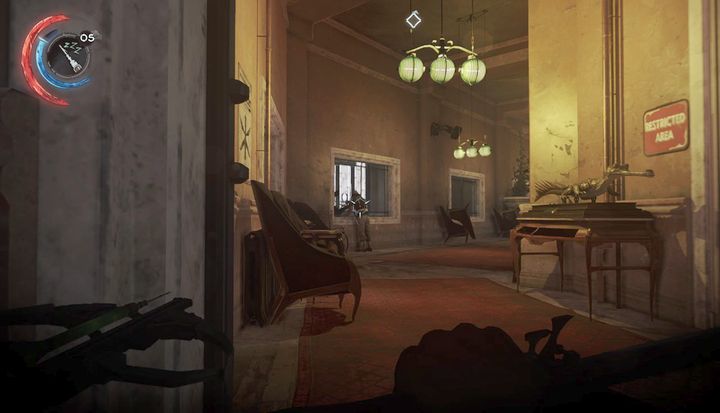
Caution! The following step should be taken only if you have at least 4-5 Sleep Darts at your disposal. This will allow you to get rid of the wolfhounds without losing the Ghost status (and remaining hidden).
If you want to explore subsequent sections of the Institute you should head towards the door located on the right side. You should soon be at the moment shown on the above screenshot, with a guard torturing a group of dogs. Get closer to the foe (while still remaining hidden near the wall on the left side) and fire a Sleep Dart at the enemy. If the dog breaks through the window and enters the hall, you need to use another Sleep Dart to put it down. Afterwards, head towards the door leading to the room with the dogs. Open it and put them to sleep with the Sleep Darts as well. Doing all that will not only allow you to maintain your Ghost status, but will also complete a special action.
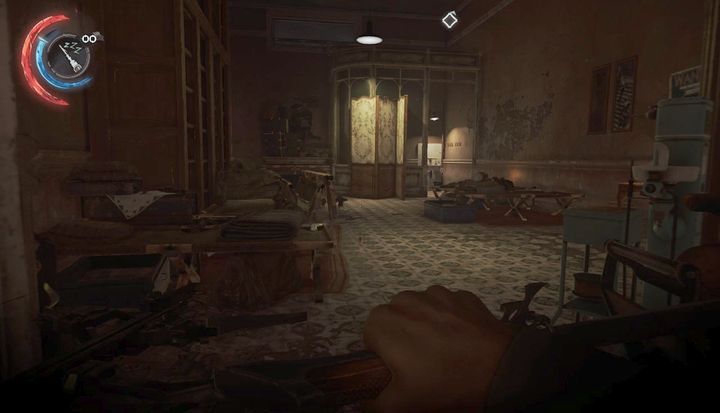
Afterwards, get back to the main passageway and use the door located on the right side of the room. There's a last guard inside, sleeping on a bed. Get rid of him before you start exploring the area. You can find a number of useful items in the area, such as coins and ammunition. Additionally, there are Sleep Darts lying on top of the table near the bed.
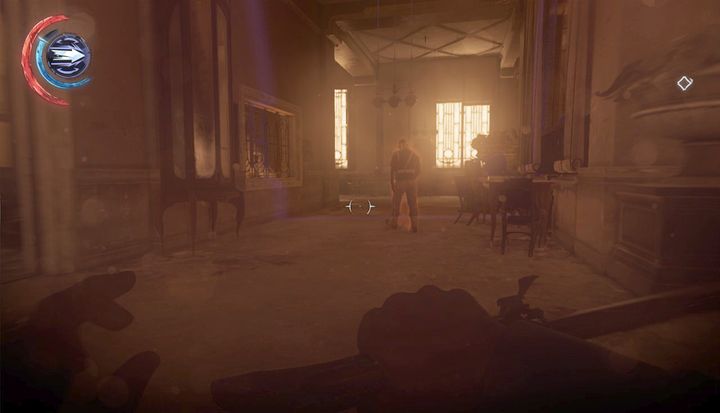
The next parts of the Institute that you can clear is the dining room and the kitchen. There are two routes leading to those rooms - one leading from the elevator and the second from the lobby. The best choice is the latter one, as it will allow you to get into the kitchen immediately. Get back to the lobby and stand in the place shown on the above screenshot. Wait for the guard patrolling the area to either leave, or until he turns his back towards you and head towards the kitchen. There are three civilians located there - knock them unconscious so they won't notice you wandering through the dining room. After you're done with the cooks, head back to the place shown on the above screenshot and get rid of the guard patrolling the hall. There's no one in the kitchen that can notice you, giving you a perfect place to stock unconscious bodies. The guard patrolling the hall does that slowly - patience is advised.
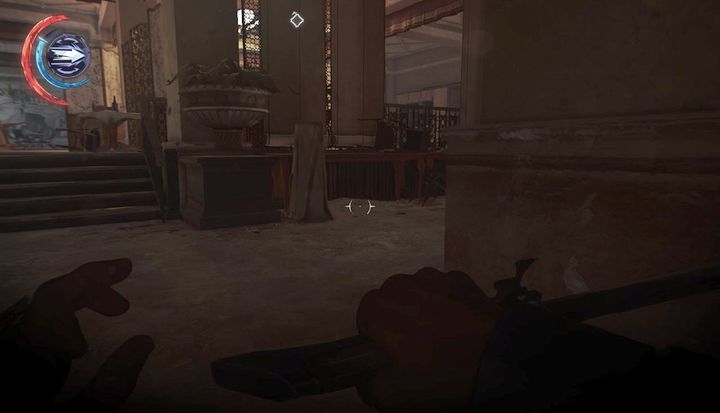
There are four guards located in the dining room. The best approach is to use the glasses found in the kitchen and throw them at the place shown on the above screenshot. This will allow you to lure them one by one. Use this method to eliminate three guards and then head towards the last one. Afterwards, get back to the kitchen and collect the Raw Whalebone from the sink and a number of other valuables. Explore the dining room before venturing forth - there's a rune handing on top of a pillar, in the central part of the room.
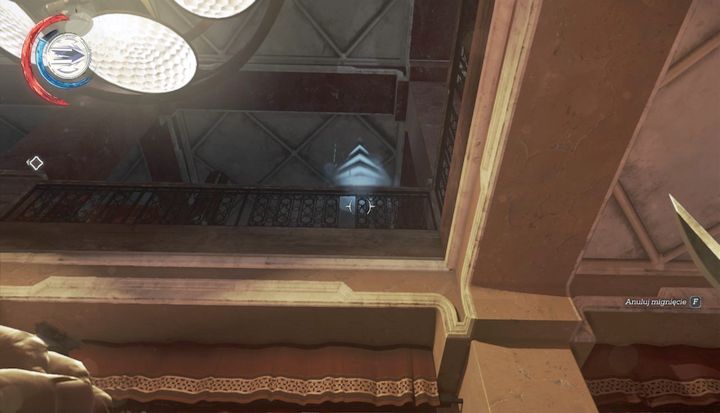
The next section can be accessed from the central part of the dining room. Use Blink or Far Reach to get on top of the balcony shown on the above screenshot. On the right side you will notice a guard - eliminate him. Afterwards, head towards a small desk located to the left from the balcony - there's a Blood Amber Cigar Box (100 coins) located on top of it.
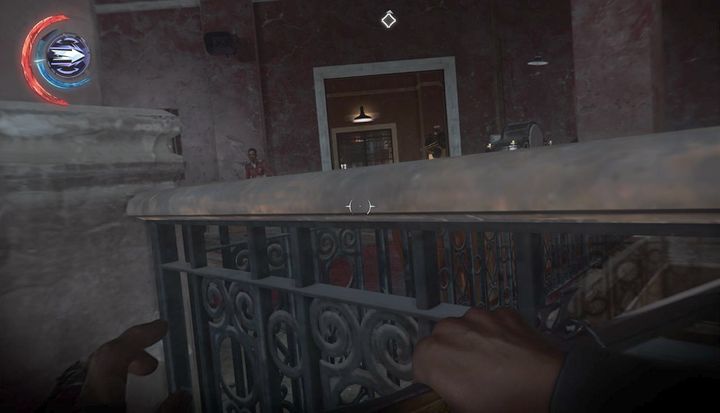
Before entering the staircase you need to crouch, as the guard patrolling the area can easily hear you. Additionally, there's a pair of guards playing cards at the staircase as well. You should take them out before deciding to explore this place. You can make use of the glasses and bottles lying on the tables. After you've eliminated the enemies, head to the upper floor. You will end up in a small room with Bloodflies, which is why you must be careful while exploring it. When you're done, you can head to the roof and eliminate the enemies located there, or simply ignore them and head towards the fourth floor. You can also start exploring the roof and jump on top of the dome. This route will lead you to an alternative entrance leading to Dr. Hypatia's office. Unfortunately, there will be an elite guard patrolling the area of the roof.
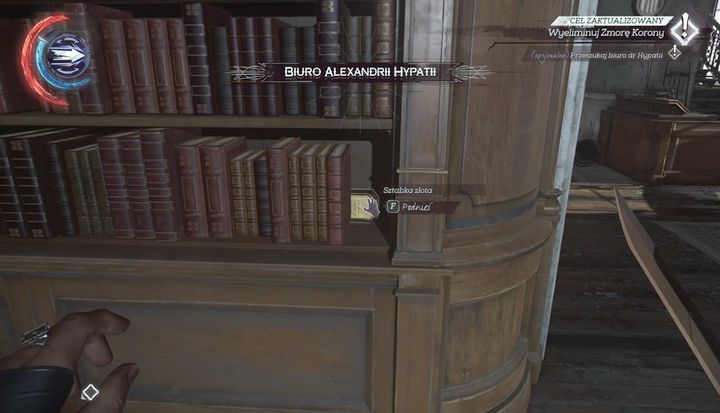
As soon as you enter the office, explore the bookcase located to the right of the doors. There will be a gold bar (150 coins) on the right side of it, hidden behind one of the books. Dr. Hipatia's key will by lying on top of her desk. Afterwards, you should explore the rest of the office, as there's a number of valuable items hidden here - mana potion, hand fan (40 coins), prism (100 coins), bath salts (15 coins) and an audiograph.
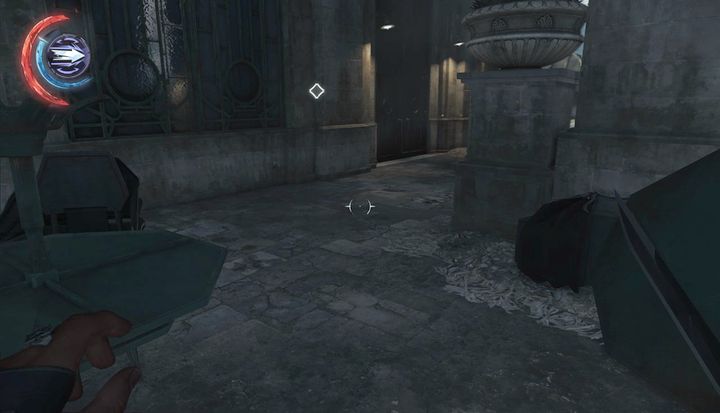
After leaving the office turn to the left and head through the main exit leading to the roof. There's a roof located right above you, with a bone charm hidden there. Use Blink or Far Reach to get to it. Additionally, there's a secret room located below it, where another rune can be found. You can also summon the elevator and destroy its clinches to unlock access to the basement (check special actions to learn more about this topic).
You are not permitted to copy any image, text or info from this page. This site is not associated with and/or endorsed by the Bethesda Softworks or Arkane Studios. All logos and images are copyrighted by their respective owners.
Copyright © 2000 - 2025 Webedia Polska SA for gamepressure.com, unofficial game guides, walkthroughs, secrets, game tips, maps & strategies for top games.
