Dishonored 2: Find the entrance to the Grand Palace
Last update:

First, listen to the two audiographs found aboard the ship. They are in Sokolov's quarters and on the ship's bridge respectively. After a moment to explore, head to the deck and talk to Sokolov regarding your next move. Assuming you've saved Aramis Stilton in the previous mission (non-lethal elimination), you'll be given a nice little gift - a map of the Grand Palace. Having talked to your allies, meet with Meagan, who will deliver you to your destination. After you land, climb the stairs and you will have a small stall in front of you, where you'll find some whalebone. Pick it up and go to the upper level, through the corridor and to the next area.

Climb the railing and look down. You'll see a pair of dockers waiting for a delivery. Their conversation will inform you of a smuggler that's currently busy negotiating prices in the black market shop. The dockers have nothing more to offer, so you can knock them out, go through their pockets and search the area. The door to the boat will be locked at the moment, and the key is in the hands of said smuggler, meaning the boat will have to wait.
Note! As in the previous mission (situation with the witches), the game has a bug here, which may prevent you from gaining the Merciful achievement. If you knock out the two dockers, they will turn out dead when you steal the key from the smuggler. To avoid this bug, use the sleep darts on both men or ignore them altogether and be on your way (the bug was confirmed to be present on 1.0, 1.1, and 1.2 beta PC versions of the game).

Follow the alley to the main area of Ravina Boulevard. On the right, there will be a boarded up gate, you can smash the boards and search the place for some coin. Also on the right, you'll find a map hanging on the wall - collect it and proceed. Turn right, instead of left, on the crossroads and give a coin to the beggar sitting in the alley. He will tell you the location of a hidden treasure (Outsider shrine, in fact).

Head upstairs after the conversation and you will reach the place shown on the screenshot. The road on the left will lead to the main entrance, the one on the right to the black market shop. In front of you, there will be Winslow's Safes.
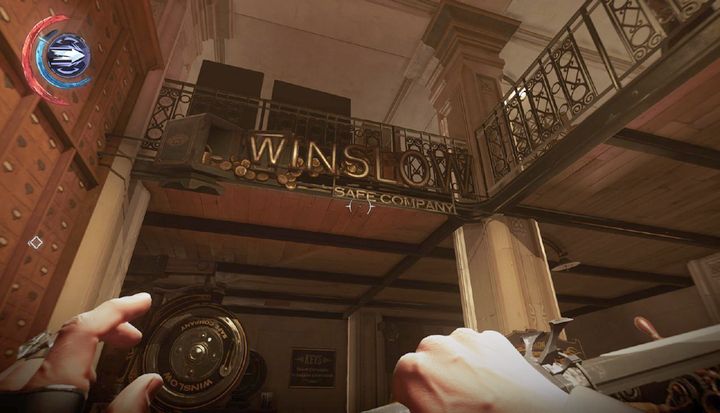
Enter the shop and climb on the counter. You'll hear the shopkeeper talking to a guard; when they're done climb the balcony as soon as the civilian passes you and knock him out. Use Blink to quickly knock out the guard and hide both bodies under the stairs. With those two out of the way, break glass in one of the displays to draw the attention of the guard near the entrance and dispose of him as you did with the other two. Inside the cash register, you'll find a key to shopkeeper's house, located north from here. You'll need it to use the second entrance to the Grand Palace and get past the wall of light. One more thing you'll find will be a note containing the code to the gate leading to the black market shop.
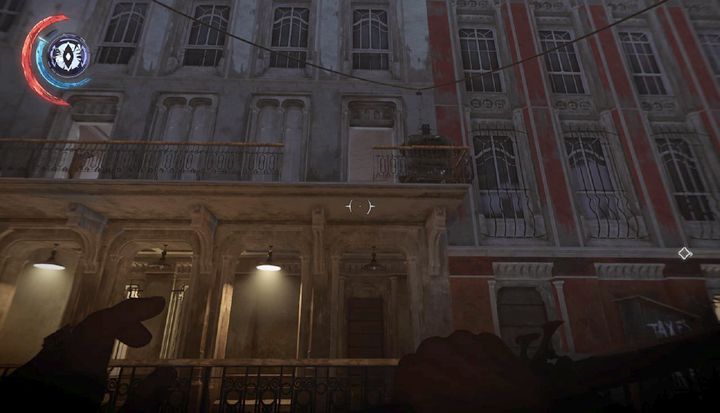
Once you exit the shop, use Blink or Far Reach to access the balcony shown on the screenshot. Inside the apartment you'll find some valuables and a bonecharm. Having cleared out the place, return to the streets and head to the alley right of Winslow's. The code to the gate is in your journal if you've picked up the note in the shop.
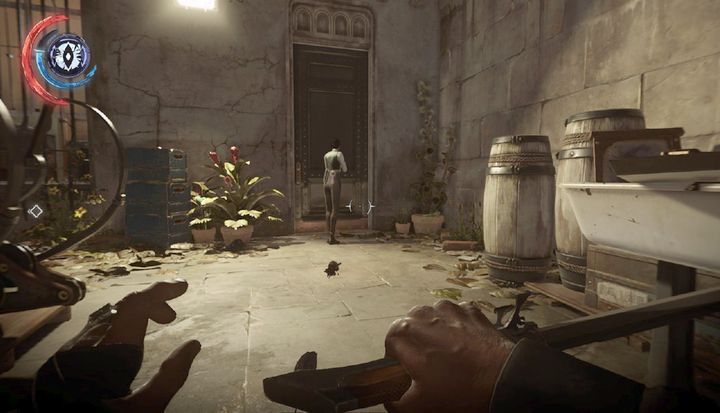
Go upstairs and wait for the smuggler to finish talking to the clerk. Once she's done, you can knock her out and hide the body in the bushes or leave her be, only stealing the boat key, the same boat you've passed earlier. Whatever your decision, get the key and get back to the said boat to relieve it of valuables. On the boat, you'll also find an audiograph, from which you can learn the correct password to the black market shop's back entrance.
Note! If you wait for too long before visiting the boat, you will find only a sacked cabin and a note informing you that the possessions that were found on the boat were confiscated and moved to an apartment in the northern part of the location. If you want to get them back, you'll have to visit the place in person (for details refer to subsequent sections of the guide).
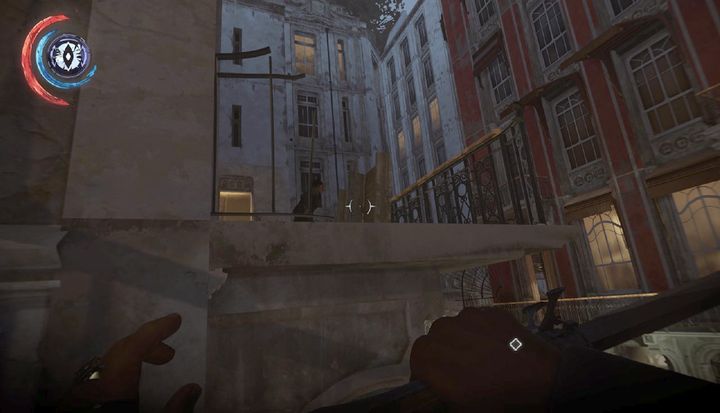
Having searched the boat, return to where you've found the smuggler and jump on the ledge on the right. Once you reach the end of the ledge, lean out to see two Howlers waiting to ambush you. Before you deal with them, look right - there's a boarded up entrance to a basement. Inside, you'll find an Outsider shrine along with two runes, some whalebone, a few dozen coins, and a journal.

Take out the two gentlemen on the balcony by strangling them, during which you may notice a third one, hidden in the apartment across the street. Use a sleep dart to get him out of your way without any problems. Right underneath him, there's a fourth Howler. This time, however, you can simply pick up one of the empty bottles scattered on the balcony and smash it somewhere in the courtyard, giving the man something to do while you sneak up on him. Once he's down, hide his body on the balcony and search his pockets (he's got the key to Petronilla's house). The last opponent will be inside the black market shop. He's observing the entrance, making it impossible to get past him unnoticed. To lure him out, knock the door frame and hide behind the corner. Take him out as soon as he shows his back to you.
Before you rob and / or exit the shop, consider using some of the upgrades you've found throughout previous mission, as well as buying ammo, especially sleep darts and stun mines, which will be useful later on in the mission.
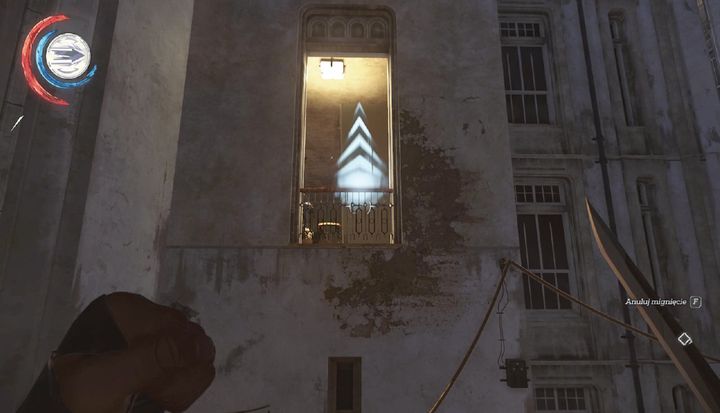
Access the window shown on the screenshot, you will reach it from the end of the balcony, and enter the apartment on the left. The apartment will be locked, the key being in possession of the leader of Howlers on the courtyard. Inside, you'll find a decent amount of coin in various valuables, so search the place thoroughly. As soon as you're done, jump across to the apartment where one of the Howlers was hiding to pick up some more coin.
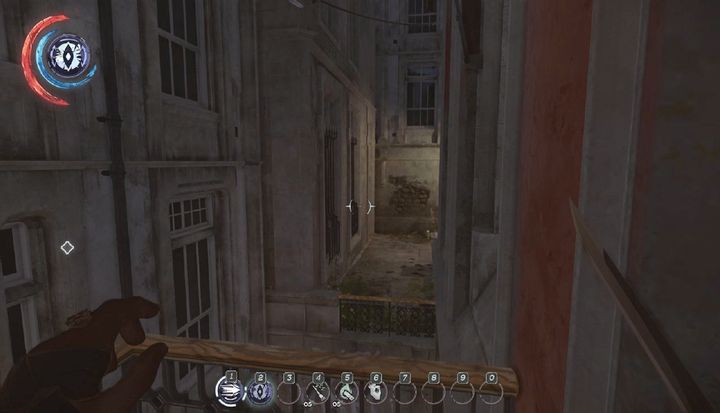
Having left the apartment (to the balcony), look right - you'll find yourself in the same spot where the screenshot was taken. By the wall, there's a blocked entrance to the building on the left, the boards can be smashed with your sword. At the end of the corridor, you'll find the apartment where the guards have moved the confiscated items from the boat, if you'd leave them laying around for too long. There's a guard inside, who can be lured out by knocking in the door frame - in the meantime you can hide on the second floor. This will allow you to sneak up on him without loosing the Ghost achievement.

Having ransacked the first apartment, head to the second floor, up to the place where the screenshot was taken. The second apartment is crawling with bloodflies, and with a nest keeper to boot. To get to the apartment, you'll have to smash the boards and crouch to get past. Unfortunately, the nest keeper is bound to hear the noise, and he'll most probably be waiting by the entrance. You can try shooting him with a sleep dart from the other end of the corridor or return to the first apartment and find your way through a balcony.
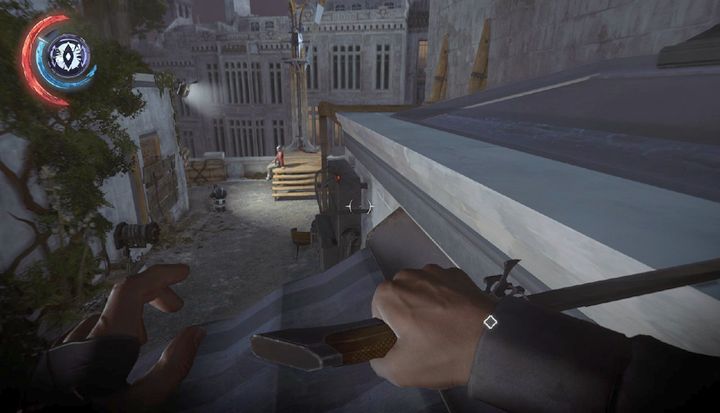
If you're unable to get to the apartment due to the blockade, head for the rooftop, where you'll find two guards. The one in the blue uniform, on the left, will be busy playing dice, but if you enable you Dark Vision, you'll notice that the other guard on the right is beyond his line of sight. Choke the latter while dragging his body to the left, behind the first guard. One more thing on the rooftop is the windmill generator that powers the wall of light.

Climb down the ledge under the windmill and look down - you'll see a balcony leading to the apartment with the bloodflies. You can jump down on it from here, and take out the nest keeper before he, or anyone else, hears a thing. Inside the apartment, under the sink, lies the third rune, and on the main room's wall there's a painting.
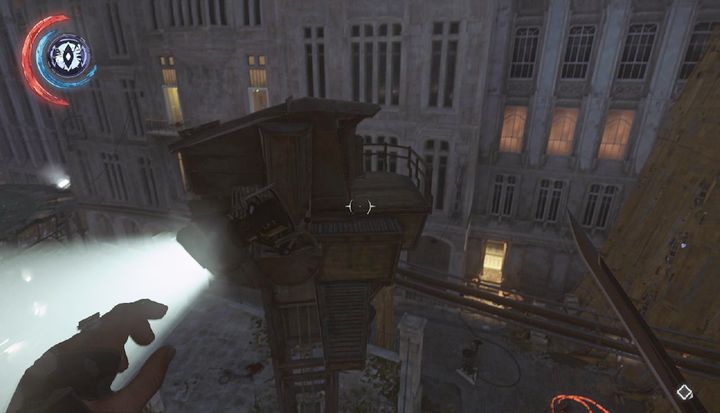
Get on the balcony and jump on the watchtower standing on the street, don't forget to remove the whale oil "battery". This will enable you to explore the next part of Ravina Boulevard freely.
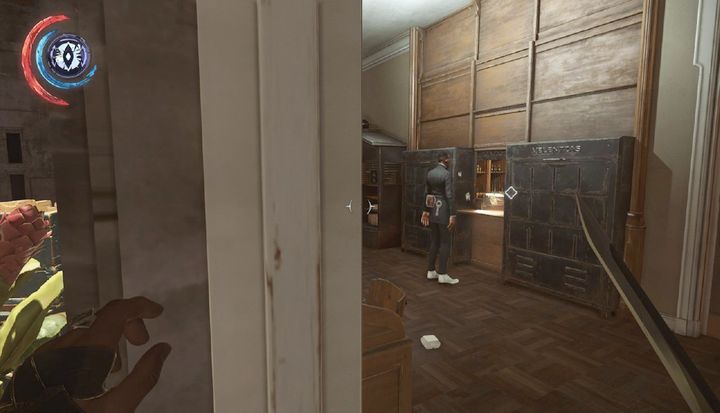
After you've searched the whole building, you can return behind the black market shop (assuming you've listened to the audiograph located either on the boat or in the apartment with confiscated goods). Now, when you try to interact with the door, a new dialogue option will appear - that's right, the correct password to access the door. Unfortunately, the shop lacks in supplies, containing not much except note - blackout. The note will cut the power supply to the railway, making it easier for you to slip in to the Grand Palace.

Stand in the center of the location now. Climb onto the metal support of the large tree and you will get into the location shown in the above screenshot. Down below, there are patrolling guards whereas above, there is an open window of the flat that you have to enter. Use Blink or Far Reach to get up above and avoid the guards below. In the flat, under the sink, there is another bone charm. After you have explored the rooms thoroughly, head onto the stairs and climb to the lower level. You can now enter the flat on the right, which is swarming with guards. In the flat, there are no valuables to loot, so you can ignore searching it completely.
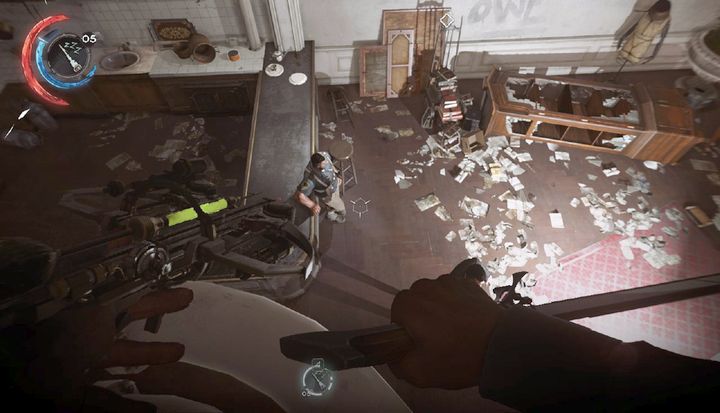
Yet, if you want to loot the people in the room for their money, jump onto the pipes under the ceiling on the right and prepare your sleep darts. At the moment when the guard is searching the shelf on the right, and the civilian is turned away from the guard leaning against the counter, use sleep dart on the guard on the left, jump and eliminate the civilian, If you are fast enough, you will be able to eliminate the other guard before he turns back. Unfortunately, apart from two pouches from the guards, bathing salts from the bathroom and mana potion, you won't find anything here.
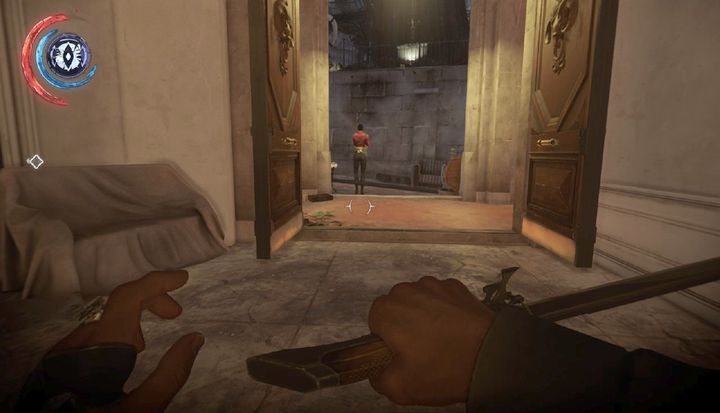
Climb down to the ground floor now where you spot a guard whom you could have seen before jumping into the flat. Wait for the moment at which the patrolling guard in blue uniform turns away and choke the one that is standing at the door. It is necessary that you conceal the body (preferably, at the first floor), because the other one will come looking for her, as soon as he returns. This your opportunity to eliminate him.
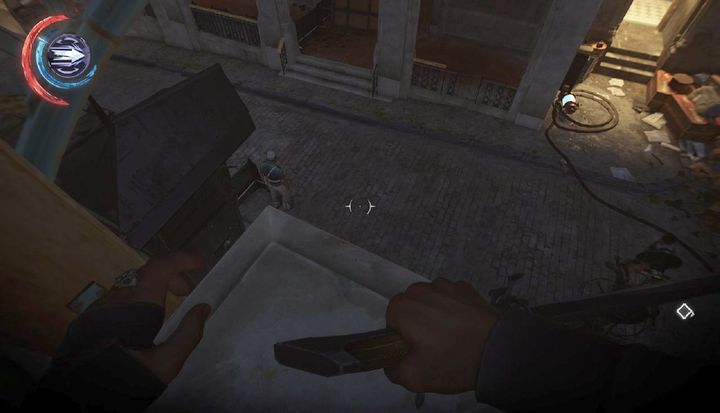
Now, go to the elevation, where there is the large tree in the center and jump onto the pole on the left. Here, you will spot two guards. One of them is patrolling the streets, whereas the other one is guarding. As soon as the patrolman turns away, deal with the one that is still. Do the same for the other guard at the door into the building across. There is one more left, but he is standing still and he is being watched by two civilians, which is why you can ignore him completely.

Instead, head into the building discussed before and reach the flat at the top floor. The door is locked and you open it with the key that you have found in the cash register at Winslow's Safes. Inside, there is a safe with a combination lock. Inside the safe, there are ingots. The safe combination is on the painting above the desk. Use the scope if you cannot see the combination (123). Apart from that, you will also find a blueprint - Small-scale Combustion Refinement, a bone charm under the pillow on the bed and lots of valuables. In the flat, there also is a passage that leads to the Grand Palace. If you have collected all of the items at this stage, you can go to the next location.
You are not permitted to copy any image, text or info from this page. This site is not associated with and/or endorsed by the developers and the publishers. All logos and images are copyrighted by their respective owners.
Copyright © 2000 - 2026 Webedia Polska SA for gamepressure.com, unofficial game guides, walkthroughs, secrets, game tips, maps & strategies for top games.
