The World's Grave | Moon - Main Story
Last update:
Recommended level: 7 lvl (Normal)/8 lvl (Hard)
Team: 1-3 players
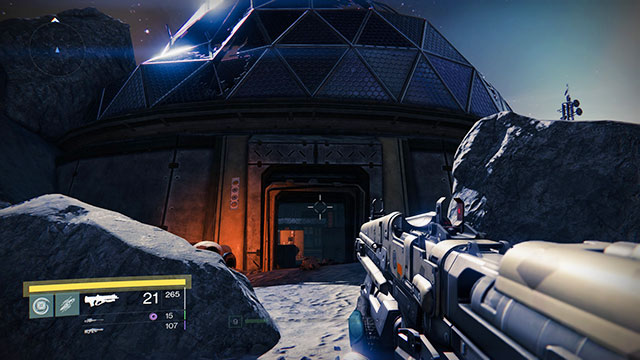
In the next mission on the moon, you visit a huge underground necropolis of the Hive. You are deployed in Archer's Line, and your first objective is inside a destroyed building near the starting point. Jump onto your speeder and head towards the mission marker.
Enter the Hive Fortress
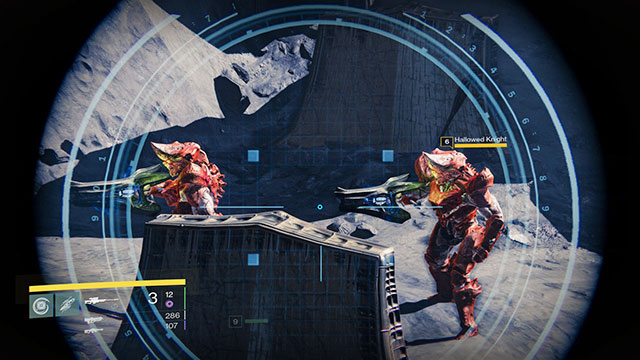
Before you enter the building, you will have to eliminate several pesky Dregs and Vandals. Then, cross through the big hole at the other side of the room and follow the path towards the ruins. You will find 2 Hallowed Knights with grenade launchers there. You can either fight with them or dash by and jump into the ruins entrance, which will allow you to avoid the fight. Climb down from the bridge and follow the small rocky corridor to reach the hidden fortress.
In the first big chamber, there is a quite big group of opponents: Acolytes, a Knight and a Wizard, who is deeper into the room. First of all, clear the antechamber of the Acolytes and the Knight, and run up towards the oval elevation above which the Wizard, accompanied by Acolytes levitates. Deal with them, reload and walk into the second chamber past the oval elevation.

Do not cross the bridge and attack the Knighta roaming about. this will summon the ship of the Hive, which deploys more opponents: Thralls, Acolytes and a Wizard. Start by eliminating the charging Thralls, while remaining on the safe side of the bridge. Once you deal with the last wave, deal with the Acolytes and the Wizard. The best way to deal with the latter is to use the Heavy Weapon. After you have cleared the other side, walk over the bridge and jump onto the nearby rock immediately, to avoid the projectiles fired by the last opponent- Shrieker. This is a stationary turret that looms above the battlefield and fires a salvo of 6 self-guided projectiles and, if not in the combat mode, it hides in its armor and regenerates slowly. Try to deal with it from as far as possible, because it falls apart after it dies and forms larger projectiles that track you and deal heavy damage on impact.
After you have dealt with the turret, walk over to the corridor at the back. After a while, you will walk into another part of the fortress and into a Darkness Zone.
Conquer the Knight
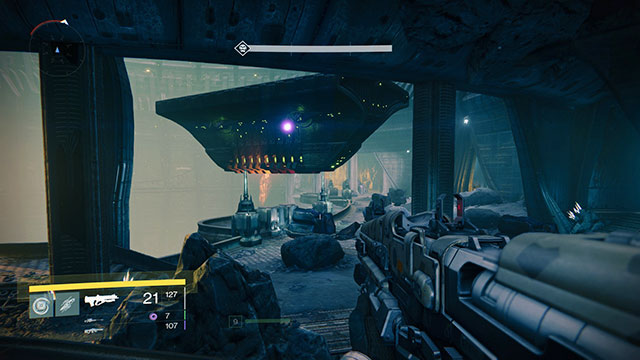
Once you exit the corridor, you will see a large chamber with an open space and the approaching Hive ship. Jump back into the corridor to hide from the projectile fired by the ship. After it disappear, start eliminating the approaching Acolytes and Knight or Wizard (only either of them appears). After you have dealt with the first group, there will appear another ship here, which will deploy another group. Deal with them and head towards the marker, across a small passage through the wall.
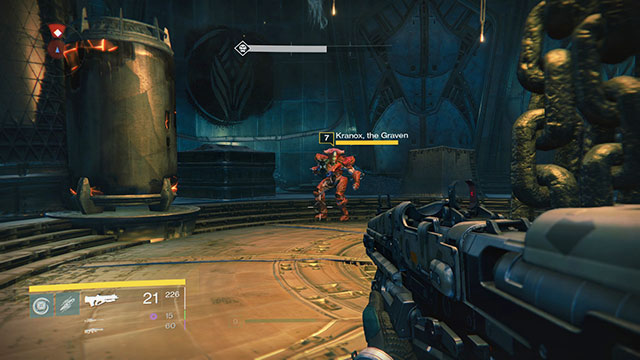
Inside, there is a huge arena with several Acolytes, a Wizard and a mini-boss in it - Krannox, The Graven. Krannox is a typical Knight with a grenade launcher, only a bit tougher. Start clearing the arena by eliminating the Acolytes and the Wizard, who is the greatest pain in the neck. Once you have dealt with them, focus on the miniboss. Make use of the surrounding covers and keep running all around the arena to avoid the opponent's projectiles, while firing your weapon at the appropriate moments. After you defeat the opponent, you will receive a key and another objective. Exit from the main hall, turn left and head towards the marker. Keep on the left side, if you want to avoid fighting the random opponents. Cross the door into the corridor and follow towards the next part of the location.
Find the World's Grave
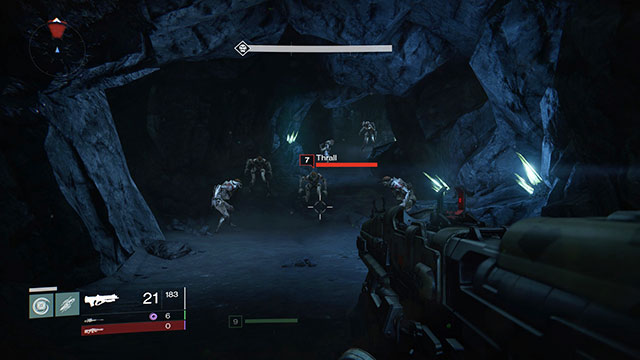
from the corridor, you will walk immediately into a Darkness Zone. Jump down from the platform and enter the tunnel to the left of the huge gate. Halfway through the tunnel, you will run into a quite big group of Thralls. Kill them and continue along your path. After a while, you will walk into another hall with a new group of opponents in it. Clear the room of the hostile Thralls, Acolytes and the Knight with a grenade launcher. Then, climb up the stairs ad walk into the next room. Inside, you will see a group of praying (?) Acolytes and 2 Knights with grenade launchers. Clear the room and approach the machine on the elevation. Reload the weapon and regenerate powers, because you will be jumped by a horde of opponents, after you activate the console.
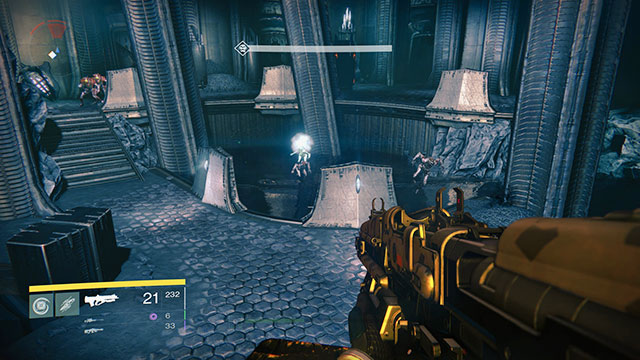
The opponents come in two waves and they will emerge from both the main entrance, as well as from the water in the middle of the hall. The first wave is the most difficult, because it consists of large numbers of Thralls, Acolytes, a Knight with a grenade launcher and a Wizard. Focus on the Thralls crawling out of the water and then, hide behind the machine that is being scanned by Ghost and start eliminating the rest of the opponents. You should especially keep an eye on the Wizard, who tends to fly onto your platform and release clouds of toxic fumes. As soon as you get rid of the first wave, there will appear the second one. Again, Thralls will be crawling out of the water and a new type of enemy will appear - Cursed Thrall. They are slower than the regular ones but, if they manage to approach you, they may jump at you and explode, which deals massive damage. They also explode after they die and they wound the nearby players and enemies. Once all Thralls are dead, a Knight with a grenade launcher emerges from the water. Also, two more will enter through the side entrances. Deal with them to defeat the second wave and to start the countdown until the end of the mission.
Reward: +2000 XP (Normal)/+2400 XP (Hard)
You are not permitted to copy any image, text or info from this page. This site is not associated with and/or endorsed by the Activision Blizzard or Bungie Software. All logos and images are copyrighted by their respective owners.
Copyright © 2000 - 2025 Webedia Polska SA for gamepressure.com, unofficial game guides, walkthroughs, secrets, game tips, maps & strategies for top games.
