Chamber of Night | Moon - Main Story
Last update:
Recommended level: 8 lvl (Normal)/12 lvl (Hard)
Team: 1-3 players
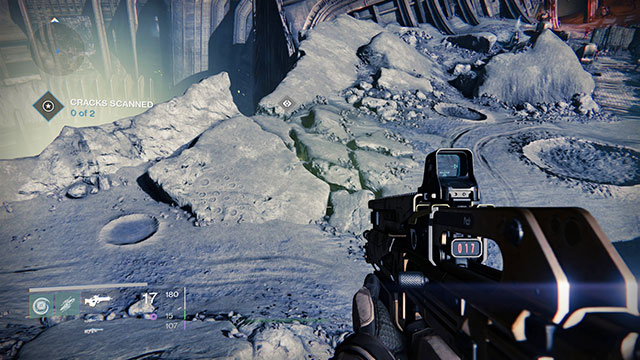
You will be deployed in the Hellmouth, where there also is the first objective of your mission. You need to scan the two cracks in the ground, which will allow the Ghost to create a map of the underground Hive fortress. This first one is right next to the deployment site. Scan the crack and follow the marker to the next one, at the opposite side of the hole. Deal with the group of random opponents (Vandals, Shanks and Dregs) and scan the second crack to progress to the next part of the mission.
Return to the temple
Your next destination is the temple that you have visited in the first mission. Jump onto your speeder and follow the marker into the Anchor of Light, and take the path to the very gate of the Temple of Crota.
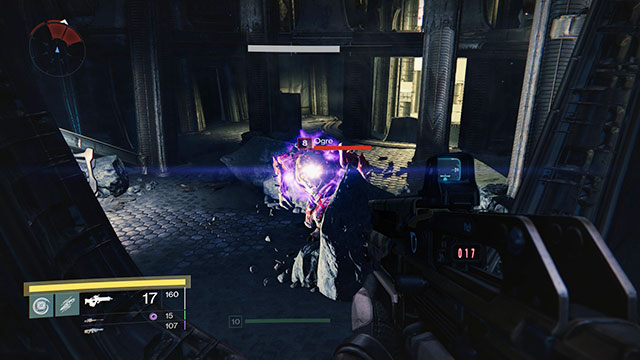
As soon as you approach the gate, you will see a short cutscene. As soon as you regain control, head across the gate into the temple, where you run into a quite big group of opponents. Apart from the regular Acolytes and a single Knight with a grenade launcher, you encounter a new opponent here - the Ogre. It is a huge monstrosity that attacks you with a beam of projectiles fired from the front of its head. Additionally, as soon as the monster is sufficiently damaged, he can reinforce himself and go into the rage mode, in which he charges at you. Fortunately, it is limited only to the lower level of the hall, which is why you can easily hide at the upper level and bring his health down. The only thing you need to be careful of are his projectiles, because they deal tremendous damage and the opponent fires them at an incredible rate.
Find the chamber
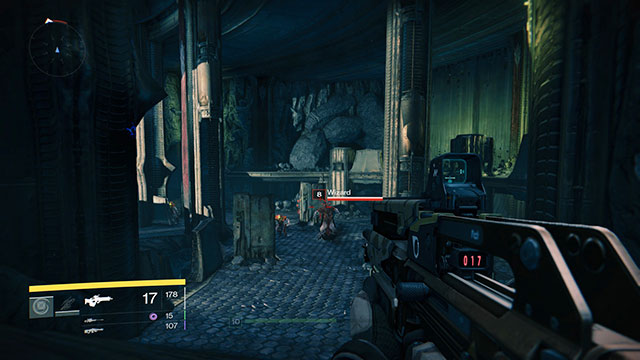
After you have cleared the antechamber, climb down the stairs into the lower part of the temple. You will walk, here, into a big oval hall with strange ship in the center. Clear the exposed parts of the ship, of the Acolytes there and run alongside the wall, while eliminating the incoming Thralls. At the other end of the hall, there is a another group of the Acolytes with a Knight and a Wizard. Kill them and walk into the next room with a ship, along the corridor. Along your path, deal with the 3 Thralls and a Cursed Thrall. As soon as you see the ship, turn right and head towards the opened gate. From behind it, there will emerge 3 Knights with swords and a Cursed Thrall. Eliminate them, while keeping a safe distance, walk through the gate and follow the path until you walk into another room and a Darkness Zone.
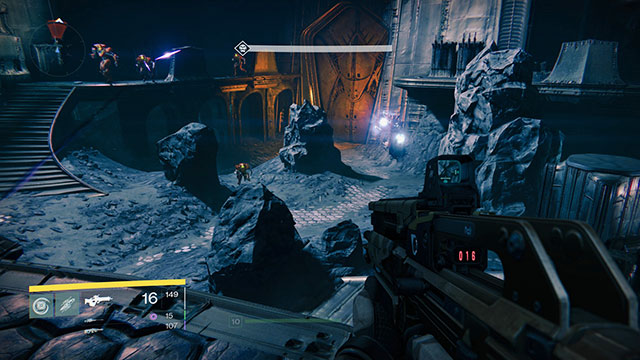
As soon as you walk into the room, a Hive ship will emerge from the portal and it will drop more opponents. Clear the room of the Acolytes, Wizard and the Knight with a grenade launcher, and look at the massive gate across the room. From behind, there will appear another group of Acolytes and 3 Knights with swords. Kill them and cross the gate into the next room. Clear it of the several Thralls, Acolytes and a Knight with a grenade launcher, and approach the locked gate marked as the mission's objective.
Destroy the Hive
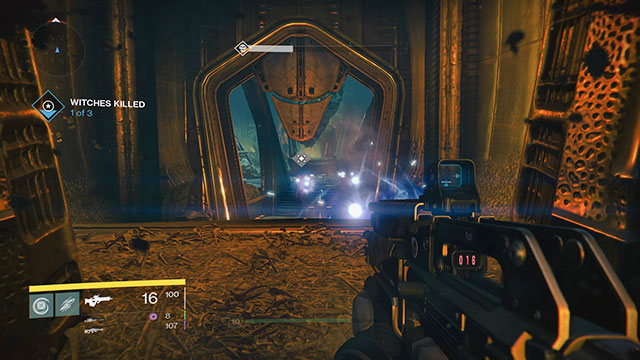
The gate opens as soon as you approach it and, after a while, you will see 3 Siphon Witches that levitate around a strange obelisk. Your next objective is to kill them but, this fight may be troublesome. All three of them behave like Wizards, which means that they levitate above the battlefield, fire magic projectiles and discharge poison fumes onto the ground. The best method of defeating them is fight from the corridor into the ceremonial chamber. Stand behind the door to the corridor and deplete the health of each one of the witches. If they hide behind the corner, approach the opened gate, fire at them several times and return to your positions at the beginning of the corridor.
After you defeat the levitating witches, enter the room. The gate behind you will slams hut but, the gate across the ceremonial hall will open. You will have to fight more waves of opponents. The first one consists of Thralls, 2 Cursed Thralls, Acolytes and 2 Knights with grenade launchers. After you have eliminated them, the main gate opens again and another wave of Acolytes, Thralls, 2 Cursed Thralls and 3 Knights with swords runs out. If you have any problems with them, fight in the corridor, just like you did with the three Siphon Witches. Thanks to this, you will be able to deal with the second and the third wave.
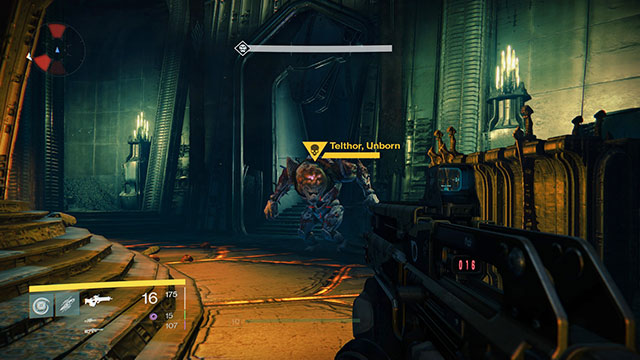
After you deal with all three waves, you will hear a loud roar and, from behind the gate to the right of the entrance, there will appear a group of Thralls, Acolytes and the main boss of the mission - Telthor, Unborn. It is a massive monster that fights in the same way as the Ogre at the beginning of the mission. The key issue here is to avoid his projectiles and retain as long distance of the monster as possible. Use the nearby columns and covers to your advantage, thanks to which you will be able to avoid his powerful attacks. Then, launch your attacks in between the opponent's individual attacks. Also, watch out for the rage mode, which you are informed about by the red halo around the boss. While in this mode, the boss charges at you and attacks with powerful ground slams, which deal considerable AoE damage.
With The boss defeated, head towards the console on the elevation, to the right of the hall. Use the Ghost to scan the levitating object and listen to what he has to say. After a while, the mission will be over and you return to the ship on the orbit.
Reward: +2000 XP (Normal)/+2400 XP (Hard)
You are not permitted to copy any image, text or info from this page. This site is not associated with and/or endorsed by the Activision Blizzard or Bungie Software. All logos and images are copyrighted by their respective owners.
Copyright © 2000 - 2025 Webedia Polska SA for gamepressure.com, unofficial game guides, walkthroughs, secrets, game tips, maps & strategies for top games.
