How to install mods in The Division 2?
Last update:
This chapter is dedicated to the ability to install mods in The Division 2. The page will help you get through the process which opens up new possibilities in game. The Division 2 guide will help you make your character more powerful.

The game offers the ability to modify your equipment. You can modify weapons, armor, backpack, and your abilities. The screenshot above shows the weapon modding screen. Most mods are created through crafting - the blueprints can be received as a reward for completing a mission or a project. Some mods can be found, e.g. 12x scope can be taken from a found sniper rifle and attached to your own - it will stay with you indefinitely. If you found a new weapon, you can move the mods from the old weapon to the new one by pressing Tab at the weapon modding screen.

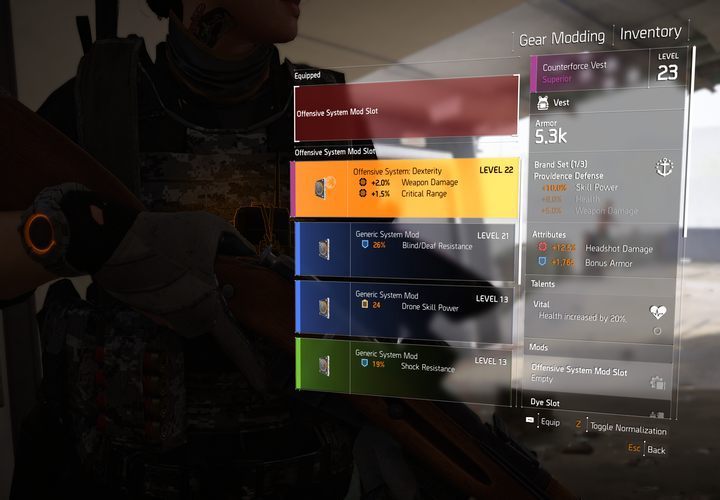
Armor, ability and backpack mods work somewhat different than in the case of weapons, where mods change the statistics only. These mods can increase the shock resistance, increase damage, chance of critical hit, lower the cooldown of abilities, or even add additional uses to your active abilities (e.g. an additional search mine). The screenshot above shows the mod selection screen for armor - you can notice that some mods can even increase the power of your abilities. To visit the gear modding screen, enter the menu, switch to equipment, choose the item you want to upgrade (click on it with the left mouse button) and press F - the modding window should appear. Now you can choose the socket, and install the modifications from the list of the available mods.
You are not permitted to copy any image, text or info from this page. This site is not associated with and/or endorsed by the Ubisoft or Massive Entertainment / Ubisoft Massive. All logos and images are copyrighted by their respective owners.
Copyright © 2000 - 2025 Webedia Polska SA for gamepressure.com, unofficial game guides, walkthroughs, secrets, game tips, maps & strategies for top games.
