Starlink Battle for Atlas: Ruins on Vylus planet
Last update:
In Starlink there are dozen or so ruins on each planet that you can take control of in the name of the Initiative. In addition, you will find many additional modules for your ship while doing so. Below you can find a list of all of the ruins that you can find on the Vylus planet.
- Pathos Village
- Medulla Depot
- Harelle Fuels
- Amino City
- Bakker Drylock
- Bion Ruins
- Pastur Silos
- Clonefield Sensors
- Ganglion Prison
- Catalog Prison
- Cytosine Array
- Chromate Sensors
- Macrophage Prison
- Panacea Silos
- Neuron Silos
Pathos Village
Capturing Pathos Village will require you to take out all of the enemies located in the area of it. The enemies you will be facing here are Outlaws, Outlaw Leader and Elite Outlaws. Use the elements of the environment, as well as shields, to protect yourself against enemy fire. The Outlaw Leader also uses shields - you need to choose the right moment to attack him.
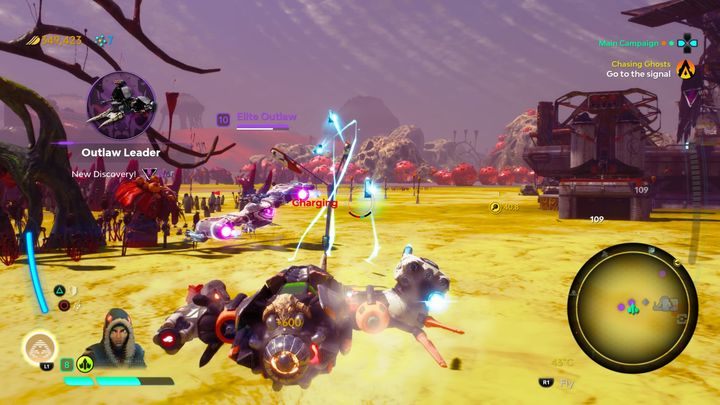
A shelter can be found here. Getting inside will require destroying the nova with cold and blasting through the doors. Inside you can find a chest containing Warrior Core III.
Medulla Depot
Taking control of Medulla Depot requires you to take out all of the enemies located in the area. In this case you will be dealing with Outlaws and Elite Outlaws. Keep the ship in motion and use both the elements of the environment and ship's shields to protect yourself from enemy fire.
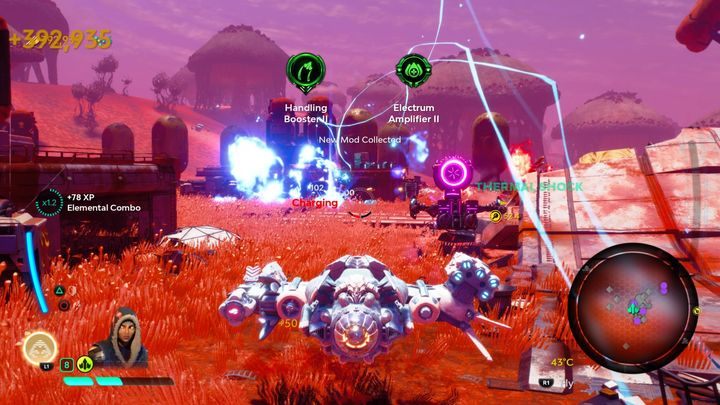
In the chest located in the area you can find Heat Armor II.
Harelle Fuels
Taking control over Harelle Fuels will require you to take out all of the enemies located in the area of it. In this case you will be facing Outlaws and Elite Outlaws. Keep the ship in motion to keep as many attacks of the enemies off you as possible.
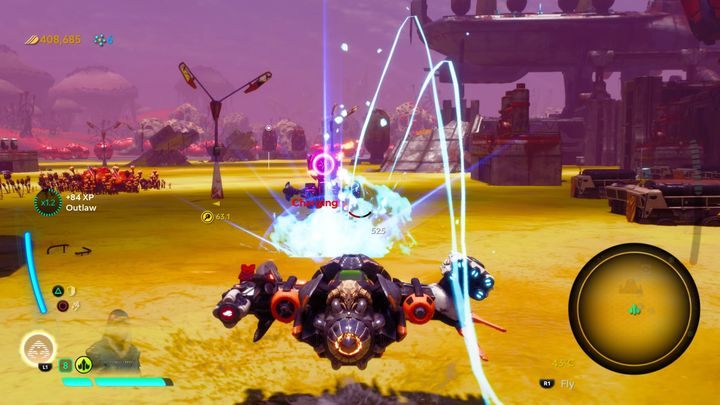
Once the encounter is over, you will be able to open a chest containing Tank Core II.
Amino City
Taking control over Amino City will require you to take out all of the enemies in the area. Here you will be facing Outlaws, Outlaw Leader and Elite Outlaws. Keep in mind that the Outlaws Leader uses shields - you need to choose the right moment to attack him.
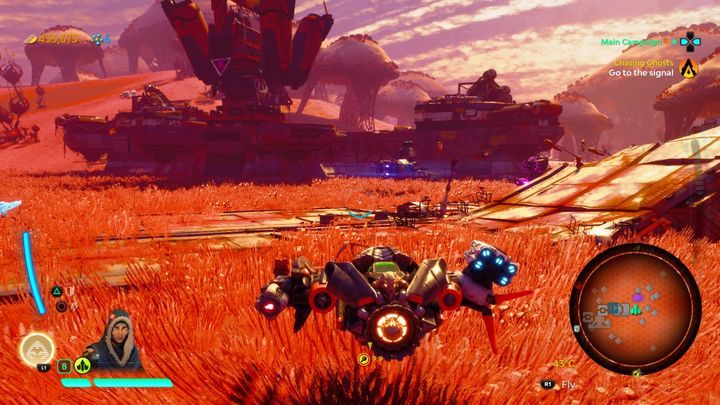
Two shelters can be found here. Getting inside will require destroying the nova with heat and blasting through the doors. Inside you can find chests containing Commander Ammo III and Explosive Ammo III.
Bakker Drylock
Recapturing Bakker Drylock will require you to take out all of the enemies located in the area of the facility. In this case you will be fighting against Outlaws and Elite Outlaws. Keep the ship in motion and use both the elements of the environment and ship's shields to protect yourself from enemy fire.
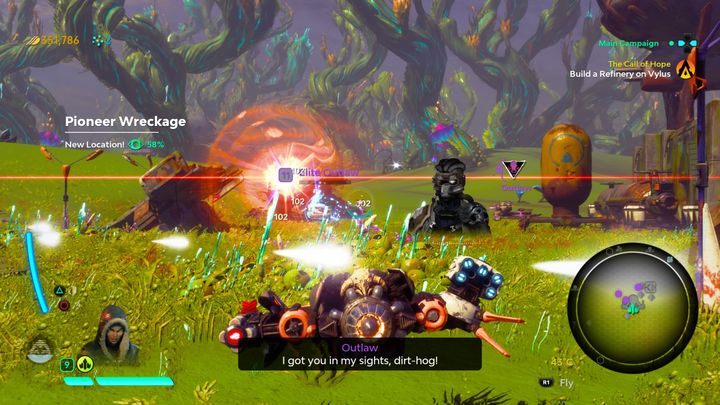
In the chest located in this area you will find Heat Armor II.
Bion Ruins
Capturing Bion Ruins will require you to take out all of the enemies located in the area of it. The enemies you will be facing here are Outlaws, Outlaw Leader and Elite Outlaws. Outlaw Leader uses shields, which is why you must attack him when his protection is deactivated.
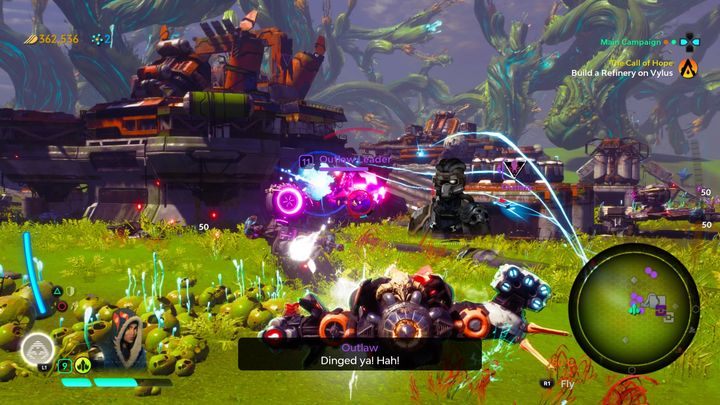
A shelter can be found here. Getting inside will require destroying the nova with stasis and blasting through the doors. Inside you can find chest containing Gravity Armor III.
Pastur Silos
Recapturing Pastur Silos will require you to take out all of the enemies in the area of the facility. In this case you will be fighting against Outlaws and Elite Outlaws. This is a fairly easy encounter - keep your ship in constant motion and the enemies should not be a problem.
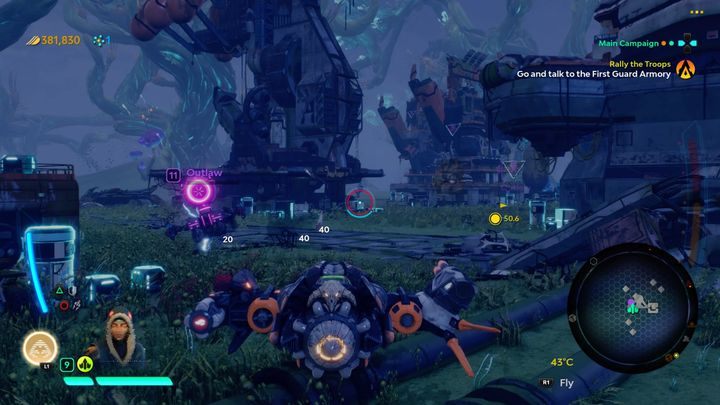
Once the encounter is over, you will be able to open a chest containing Tank Core II.
Clonefield Sensors
At the Clonefield Sensors you need to carry out a hacking process. As soon as the process starts, you will be attacked by Outlaws, Outlaw Leader and Elite Outlaws. They will appear in large groups - use the environment and the shields of your ship to protect yourself against their attacks.
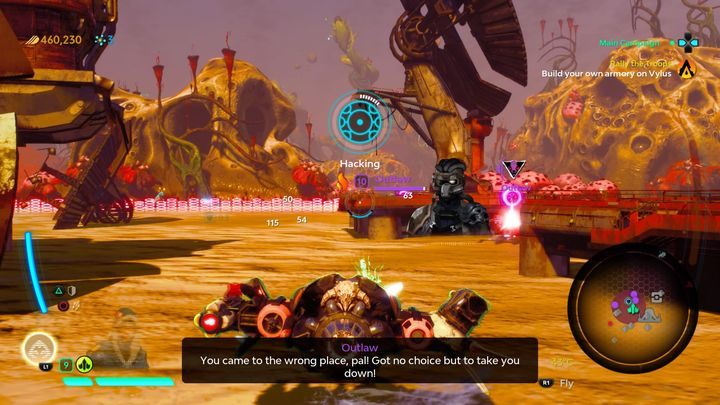
Once the hacking process is over, you will receive Regen Booster II.
Ganglion Prison
Taking control over Ganglion Prison requires you to carry out a hacking process. As soon as the process starts, you will be attacked by Outlaws, Outlaw Leader and Elite Outlaws. They will appear very often - use the environment and the shields of your ship to protect yourself against their attacks.
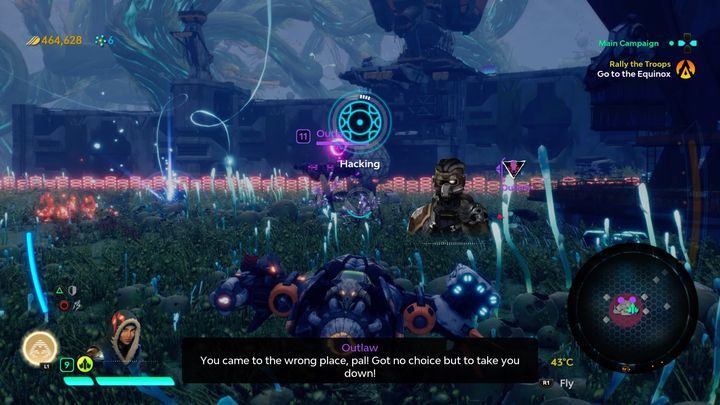
Once the hacking process is over, you will receive Range Booster II.
Catalog Prison
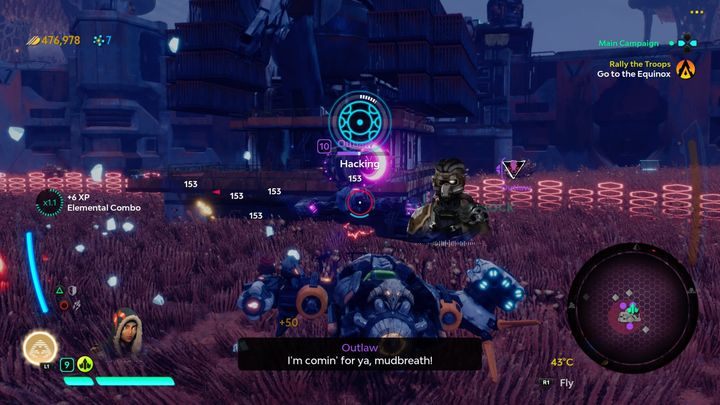
Taking control over Catalog Prison requires you to carry out a hacking process. As soon as the process starts, you will be attacked by Outlaws, Outlaw Leader and Elite Outlaws. They will appear in large groups - use the environment and the shields of your ship to protect yourself against their attacks.
Cytosine Array
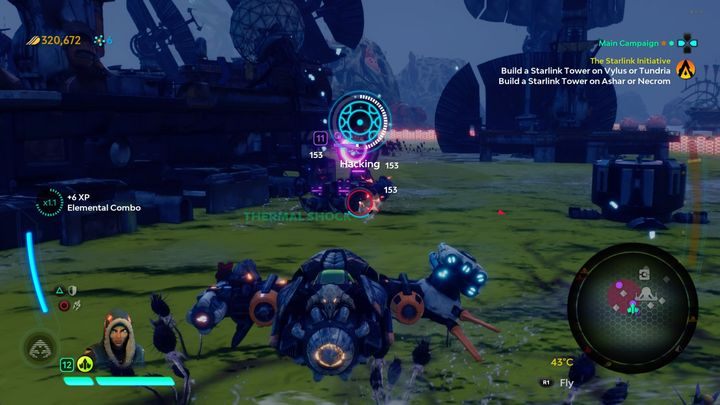
Taking control over Cytosine Array requires you to carry out a hacking process. As soon as the process starts, you will be attacked by Outlaws, Outlaw Leader and Elite Outlaws. They will appear very often - use the environment and the shields of your ship to protect yourself against their attacks.
Chromate Sensors
At the Chromate Sensors you need to carry out a hacking process. As soon as the process starts, you will be attacked by Outlaws, Outlaw Leader and Elite Outlaws. They will appear very often - use the environment and the shields of your ship to protect yourself against their attacks.
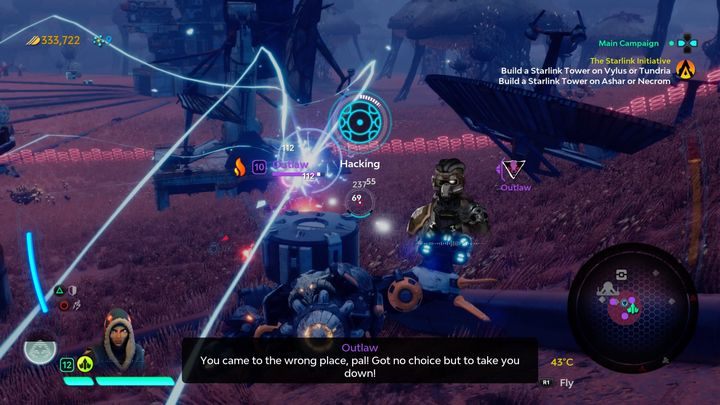
Once the encounter is over, you will be able to open a chest containing Regen Booster II.
Macrophage Prison
Taking control over Macrophage Prison requires you to carry out a hacking process. As soon as the process starts, you will be attacked by Outlaws, Outlaw Leader and Elite Outlaws. They will appear very often - use the environment and the shields of your ship to protect yourself against their attacks.
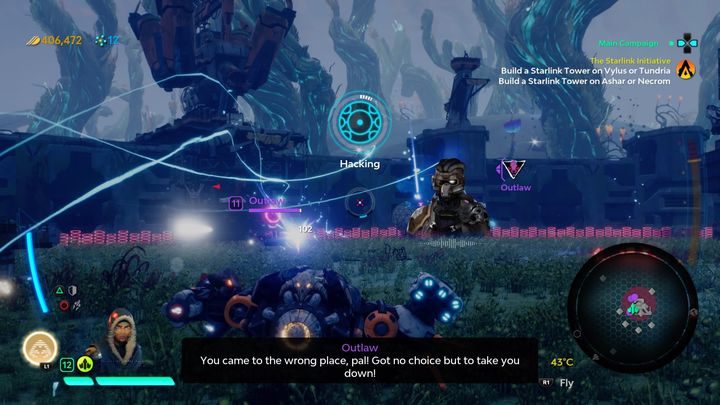
Once the process is over, you will receive Impact Amplifier III.
Panacea Silos
Taking control over Panacea Silos requires you to take out all of the enemies located in the area. In this case you will be fighting against Outlaws and Elite Outlaws. Keep your ship in constant motion and use both the environment and your shield to protect yourself from the enemy fire.
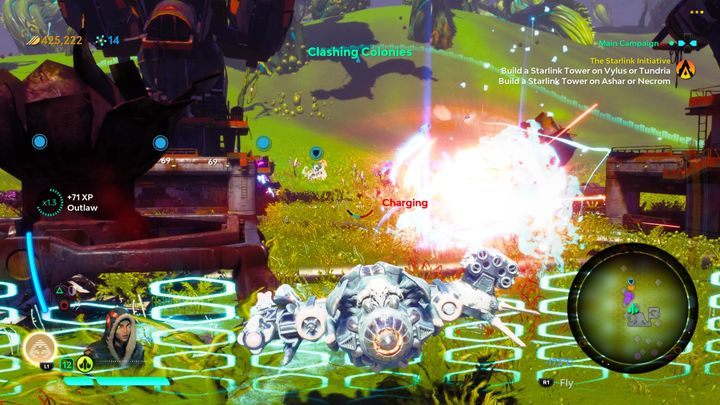
Once the encounter is over, you will be able to open a chest containing Cold Armor II.
Neuron Silos
Recapturing Neuron Silos requires you to take out all of the enemies located in the area of the facility. In this case you will be fighting against Outlaws and Elite Outlaws. Use the environment, as well as the shields of your ship to protect yourself from the enemy fire.
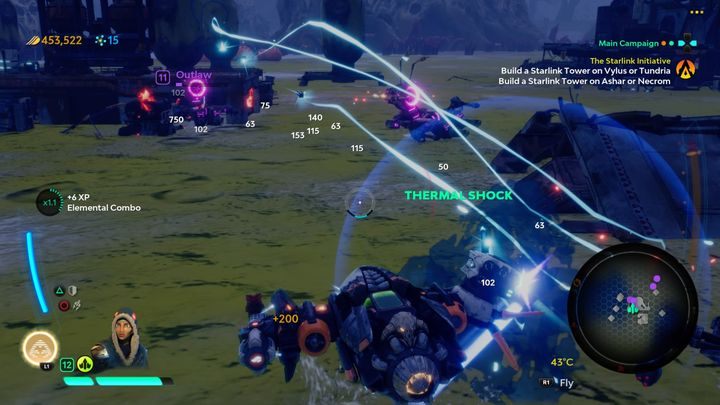
Once the encounter is over, you will be able to open a chest containing Experience Amplifier II.
You are not permitted to copy any image, text or info from this page. This site is not associated with and/or endorsed by the developers and the publishers. All logos and images are copyrighted by their respective owners.
Copyright © 2000 - 2025 Webedia Polska SA for gamepressure.com, unofficial game guides, walkthroughs, secrets, game tips, maps & strategies for top games.
