Mass Effect 2: Dossier: The Warlord - walkthrough
Received from: The Illusive Man [Lazarus research station]
 |  |
Description: This quest will automatically appear in your journal after completing the prologue and getting on board of the new Normandy. I wouldn't recommend starting it right away, because it'll be easier to find the Professor and the Archangel first. Once you feel you're ready for the mission use a mass relay to travel to the Eagle Nebula. Choose a planet named Korlus from the map of the Imir system. You won't be allowed to scan the planet, so instead you'll have to confirm that you want to land on its surface.
 | ![Wait to be transported to a map called [Korlus - Blue Suns facility] - Mass Effect 2: Dossier: The Warlord - walkthrough - Main quests - Mass Effect 2 Guide & Walkthrough](/masseffect2/gfx/word/1129305046.jpg) |
Wait to be transported to a map called [Korlus - Blue Suns facility]. You may proceed forward without any additional delays, because it'll take a few seconds until you encounter the first group of enemy units (second screenshot). Don't forget that it's crucial to use cover while going against Blue Suns troopers and this applies to an entire team. It would also be wise to rely on biotic and technological powers of you and your teammates.
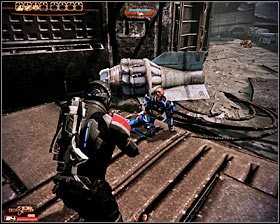 | 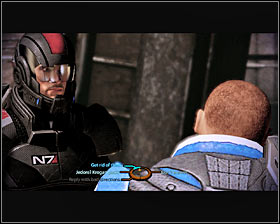 |
It shouldn't take long for you to defeat all enemy units and you'll be allowed to proceed forward once they're gone. You will encounter a wounded mercenary soon and you should talk to him. If you have a sufficient number of paragon or renegade points you can successfully convince him to send false data to his colleagues. Otherwise he would warn them and that would make your mission slightly more difficult. If you don't convince him and he alarms his colleagues you can punish him by killing him (renegade interrupt) or you can let him go.
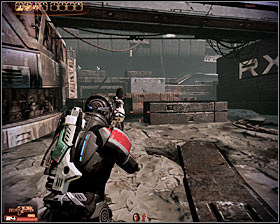 | 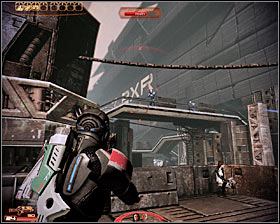 |
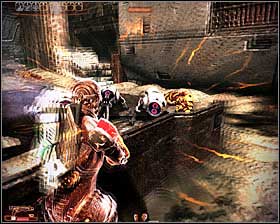
A large group of mercenaries is stationed in the area and you have to acknowledge the fact that some of them will be using rocket launchers. Make sure to kill them as soon as possible and don't forget to find good cover for an entire team. You won't secure this area by defeating the first group, because once you try using the ramp a new group will appear on a nearby bridge (second screenshot). It's best to be prepared for their attack, because they can cover almost an entire battlefield.
 | 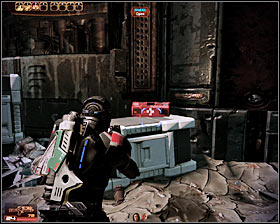 |
Leave your teammates behind for the second time. The last group to attack you in this area will consist of FENRIS mechs and it would be a good idea to use a shotgun or a similar weapon to destroy them (along with the help from the rest of the team). Order your colleagues to follow you and look around to find a med kit.
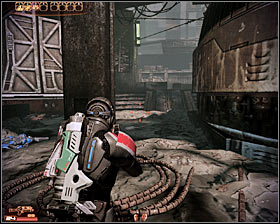 | 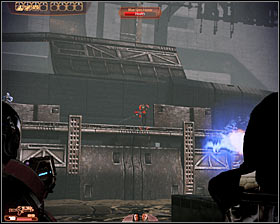 |
Start going forward .Order your subordinates to take cover behind a large pillar when you get to the next area (first screenshot), because otherwise you would risk their lives. New enemies will reveal themselves when you get closer to large structures seen in the distance and a lot of them will be using rocket launchers. Try eliminating most of them yourself, without risking the exposure of the rest of your team. Your colleagues should join you once it's safer and you can deal with the remaining enemy forces together.
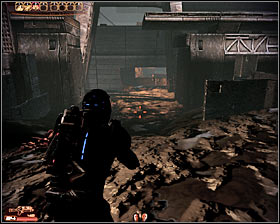 | 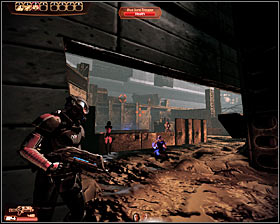 |
Don't forget to remain hidden behind large objects until all enemies have been eliminated. You may proceed to a small passageway leading to the next location (first screenshot). You'll encounter a friendly krogan here and you must assist him in dealing with the Blue Suns troopers. Thankfully enemies will be more interested in attacking the krogan than your team, so it should be fairly easy to eliminate them.
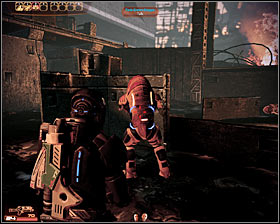 | 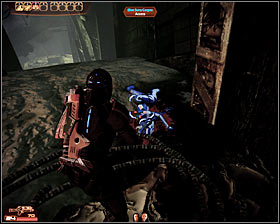 |
I think it's fairly obvious that you must talk to the krogan after defeating all the hostiles. Ask him a few questions and wait for him to create a new passageway for you. Start off by heading forward. Be on a look out for a dead Blue Suns trooper along the way, because you'll have a chance to collect 2000 credits.
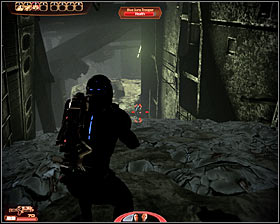 | 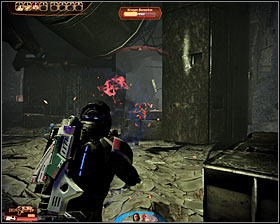 |
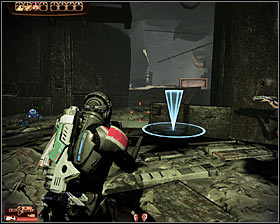
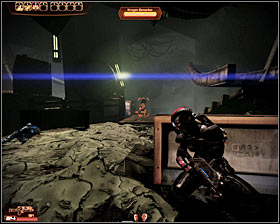
Be careful, because you are soon going to be attacked by a small group of enemy soldiers. You'll have to defeat them in direct combat, because you won't have enough time to find a cover. Once they're gone proceed to a lower level and order your followers to remain here. A krogan berserker is hiding behind the corner and you'll have to kill him before he has a chance to surprise you.
 |  |
You can now enter a much larger cave where you'll have to defeat about a dozen of berserkers. Thankfully the krogans won't travel in groups, so you'll have plenty of time to kill each berserker before the next one shows up. Your teammates should be using a cover located close to the entrance (first screenshot) and you can move forward alone. All you have to do right now is to lure the krogans to come to you so they'll find themselves in the line of fire. Don't risk too much, because they'll be using shotguns and this means they're going to be deadly at close range.
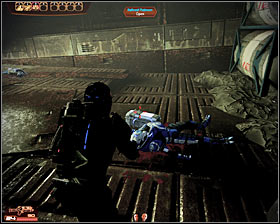 | 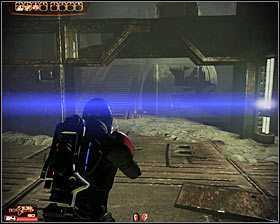 |
Keep fighting until you've successfully defeated all the krogans. You should now spend some exploring the surrounding area, collecting ammunition and a single med kit. You will also come across a container with 2000 units of platinum. Proceed with the rest of your team to a large ramp (second screenshot).
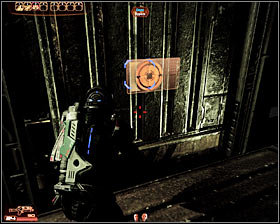 | 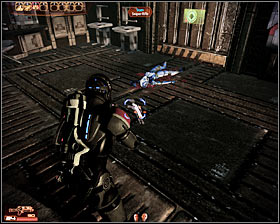 |
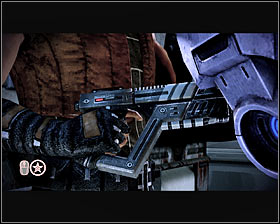
You will soon come across a closed door and you'll be forced to open it by solving a well-known mini-game (there's no other way, but the mini-game is slightly easier than usual). Once you've got that problem out of the way continue heading upwards. Look around after making your way to the next room, because you're going to have an opportunity to scan a sniper rifle (second screenshot) to acquire a plan for a new research project. There's a medical station here and you can also take power cells from a container.
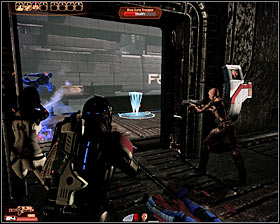 | 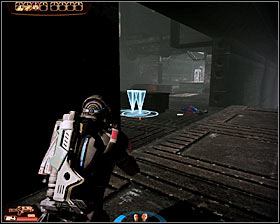 |
SAVE your current progress before opening a nearby door. Start off by eliminating a single guard standing close to your position. Once he's gone find a good cover and begin firing at more distant targets. Once again you have to be careful, because some of the enemies will be using rocket launchers. Head to your left once they're gone and you'll soon encounter a new group of enemy soldiers. Order you men to take cover behind the pillars before engaging enemies in combat. Focus mostly on killing much stronger centurions, because they'll be protected by good shields.
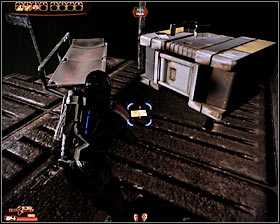 | 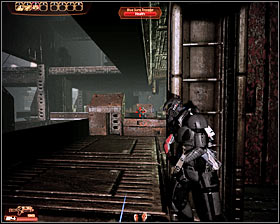 |
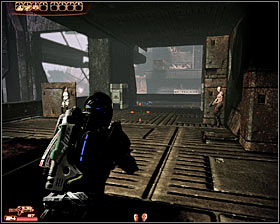
Keep heading forward and make sure to explore the area where you first saw the centurions. There's a PDA lying on the ground (first screenshot) and hacking into it will result in earning 4000 credits. Head on to the upper level and place your team members behind objects located in front of the entrance. You should move alone to the left (second screenshot) for a better opportunity of scoring good hits.
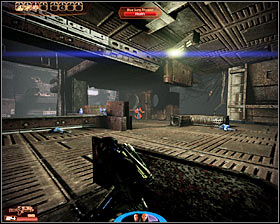 |  |
You have to remain on the main path here so instead of trying to find alternative routes focus only on pushing forward and eliminating enemies encountered along the way. Centurions and legionnaires are the ones you should be worried about. Be on a look out for a single med kit, especially if you're low on medi gel.
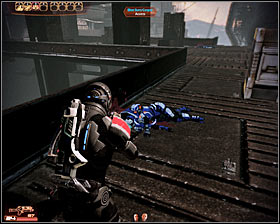 | 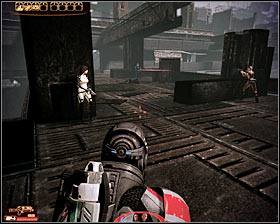 |
Continue moving forward, taking 2000 credits from one of the dead soldiers found along the way. The next group of opponents is waiting for you just around the corner. I would recommend that you order your team members to take cover behind larger objects, because otherwise they may find themselves under heavy fire. Prevent enemies from getting too close and watch out for troopers armed with rocket launchers.
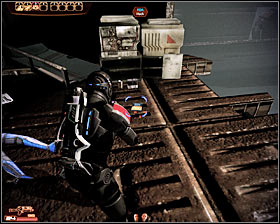 | 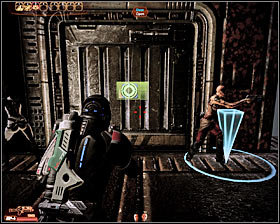 |
Keep heading towards your current destination. Once you're inside a new room locate power cells, a safe with 4000 credits and a PDA (first screenshot) with another 4000 credits. You can now open a nearby door and use the stairs to get to an upper level of the metal structure.
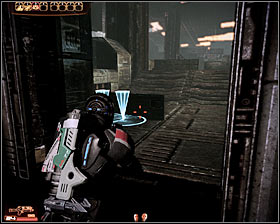 |  |
I would recommend saving your game here, because you're about to take part in an another series of fights. You'll end up in a large area after using the staircase and you should order your team members to take cover somewhere to your left (first screenshot). There are two passageways leading to the next area - your colleagues may cover the left path and you should inspect the right path.
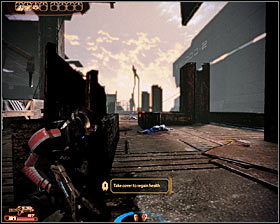 | 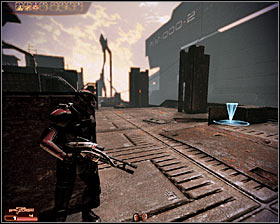 |
Obviously it won't be easy to eliminate all hostiles units without anyone's help, however you will be allowed to call your team after you've disposed of the closest targets. Keep pushing forward, using various objects for cover along the way. Once again you must pay special attention to armored foes, because they won't go down easily. Don't send your squad mates too far ahead, because they may end under heavy fire.
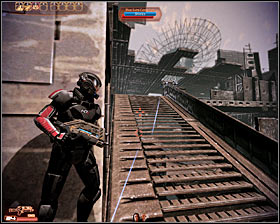 | 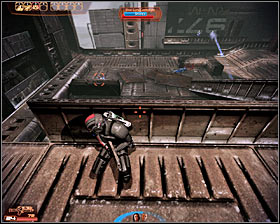 |
You'll be moving in a straight line at first, but soon you're going to have to turn left to continue your approach. I would recommend taking cover next to a large ramp (first screenshot) and eliminating enemy soldiers standing on a nearby balcony. Go to that area when they're gone, because the balcony is an excellent shooting spot and you won't have any problems locating remaining enemy units. Watch out for snipers stationed on a far balcony - use a sniper rifle or biotic powers to kill them.
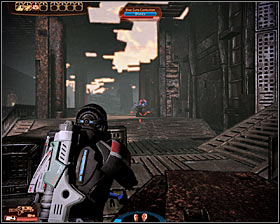 | 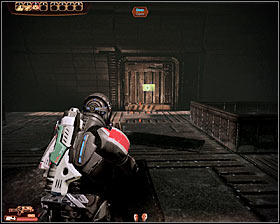 |
Only one more group separates you from the main target (first screenshot). Due to the fact that there aren't too many cover spots here you should rely on your guns and on receiving help from the rest of the team. Consider using heavy weapons to take down armored targets, but make sure to leave some ammo for later. Proceed towards the only available door (second screenshot) after the battle has ended.
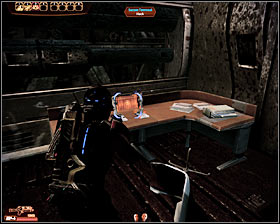 | 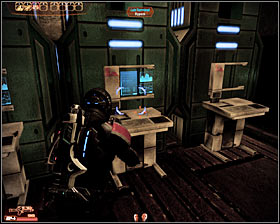 |
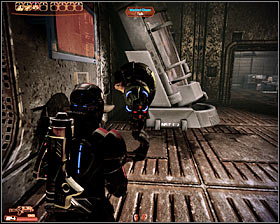
Once you're inside a new room you should interact with a medical station and hack into one of the computer terminals (first screenshot) to earn 4000 credits. If you've imported a character from Mass Effect 1 you may have an encounter with Rana here and it would be a good idea to initiate a conversation. Head on to the next room, but take your time looking around before you talk to Okeer. There's a lab terminal here (second screenshot) and interacting with it will reward you with a new plan for a research project.
 | 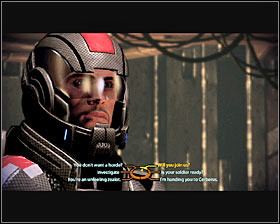 |
You may return to Okeer and talk to him. This conversation can start in two different ways - if you've killed Wrex in the first game Okeer will be mad at you, but you don't have to worry about being punished for that decision. The rest of the conversation is very linear, because even if you choose an extreme solution by ordering Okeer to surrender himself to Cerberus he will still ask for your help. Your next objective will be to kill Jedora - leader of the mercenaries.
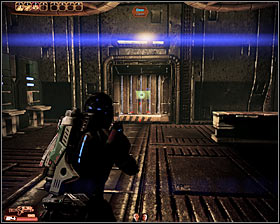 | 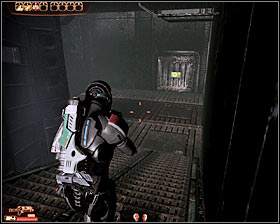 |
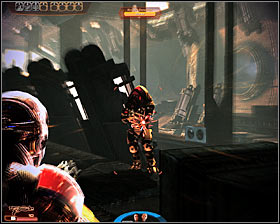
Proceed towards a newly unlocked door (it's located to the right of the interactive lab terminal - first screenshot). Save your game along the way, because you're about to start a boss fight. Use the stairs to get to the lower level and order your followers to stop to the LEFT of a new door.
 |  |
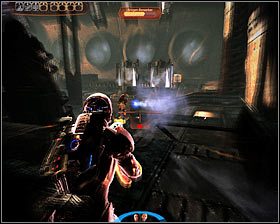
Open the door, BUT don't go inside. Instead remain here and eliminate as many opponents as possible. Be careful, because several krogan berserkers may appear near your position and you'll have to get rid of them quickly. You may also use a heavy weapon to fire a few shots at an YMIR mech seen in the distance.
 | 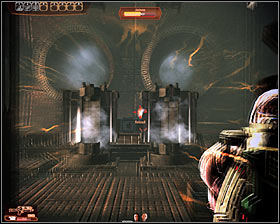 |
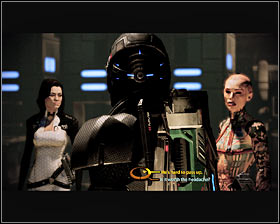
You can enter this new room alone or with the rest of the team. If you decide to go in as a group then you must decide to send your team ahead, because otherwise the door would close and your colleagues would remain on the other side. Start off by attacking a large mech and once it's been destroyed focus on killing Jedora. Eliminating her won't be easy, because you'll have to destroy her shields and armor. Make sure to use cover for protection against her attacks.
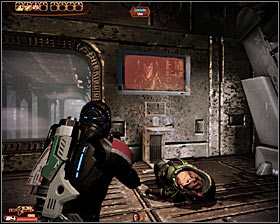 |  |
Look around after you've killed Jedora, however you'll only find ammunition here. Return to the room where you've talked to Okeer and upon your arrival you'll discover that the krogan has died. All that's left to be done is to listen to a recording he's made for you by interacting with a nearby terminal. You'll find out about the tank and the super krogan.
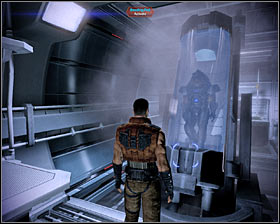 | 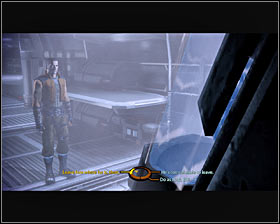 |
You'll soon return to the Normandy and assuming this was your last dossier mission you'll advance to a new phase of the main quest called Stop the Collectors. I would recommend that you examine the tank you took from Okeer's laboratory. This object can be found in the southern warehouse on the fourth deck of the ship. Approaching the pod and interacting with it will present with two choices - you can open the tank to release the super krogan or follow Cerberus protocol and leave it alone.
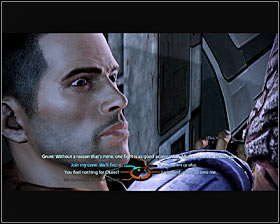 |  |
Releasing the krogan is a much better choice and he is going to call himself Grunt. You now have two options. If you've gathered enough paragon or renegade points you'll have a chance to resolve the situation with a special dialogue options. Otherwise the "negotiations" will take more time. Notice that you'll be given a chance to use a renegade interrupt (second screenshot) in order to fire a single shot at Grunt without giving any warnings. Don't worry about the krogan, because one bullet won't kill him. Either way, opening the pod will result in your crew gaining one new member and this quest officially disappearing from the list of active assignments.
- Mass Effect 2 Guide & Walkthrough
- Mass Effect 2: Game Guide
- Mass Effect 2: Main quests
- Mass Effect 2: Save Joker - Prologue walkthrough
- Mass Effect 2: Lazarus Research Station - Prologue walkthrough
- Mass Effect 2: Awakening - Prologue walkthrough
- Mass Effect 2: Freedom's Progress - Prologue walkthrough
- Mass Effect 2: Introduction - Prologue walkthrough
- Mass Effect 2: Omega: Aria T''Loak - walkthrough
- Mass Effect 2: Dossier: The Professor - walkthrough
- Mass Effect 2: Dossier: Archangel - walkthrough
- Mass Effect 2: Dossier: The Convict - walkthrough
- Mass Effect 2: Citadel: The Council - walkthrough
- Mass Effect 2: Citadel: Captain Bailey - walkthrough
- Mass Effect 2: Dossier: The Warlord - walkthrough
- Mass Effect 2: Stop the Collectors - walkthrough
- Mass Effect 2: Horizon - walkthrough
- Mass Effect 2: Dossier: Tali - walkthrough
- Mass Effect 2: Collector Ship - walkthrough
- Mass Effect 2: Illium: Liara T'Soni - walkthrough
- Mass Effect 2: Dossier: The Justicar - walkthrough
- Mass Effect 2: Dossier: The Assassin - walkthrough
- Mass Effect 2: The Reaper IFF - walkthrough
- Mass Effect 2: Preparations for the final battle - walkthrough
- Mass Effect 2: Stop the Collectors - Finale Part 1 - walkthrough
- Mass Effect 2: Collector Base: Infiltration - walkthrough
- Mass Effect 2: Collector Base: Long Walk - walkthrough
- Mass Effect 2: Stop the Collectors - Finale Part 2 - walkthrough
- Mass Effect 2: Endings Guide
- Mass Effect 2: Main quests
- Mass Effect 2: Game Guide
You are not permitted to copy any image, text or info from this page. This site is not associated with and/or endorsed by the developers and the publishers. All logos and images are copyrighted by their respective owners.
Copyright © 2000 - 2025 Webedia Polska SA for gamepressure.com, unofficial game guides, walkthroughs, secrets, game tips, maps & strategies for top games.
