Mass Effect 2: Collector Base: Infiltration - walkthrough
 | ![Description: SAVE your current game before you begin exploring the [Collector base] - Mass Effect 2: Collector Base: Infiltration - walkthrough - Main quests - Mass Effect 2 Guide & Walkthrough](/masseffect2/gfx/word/1129859484.jpg) |
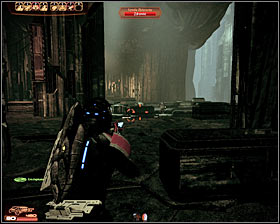
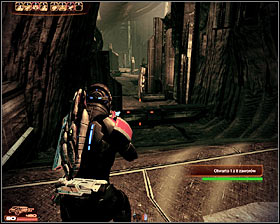
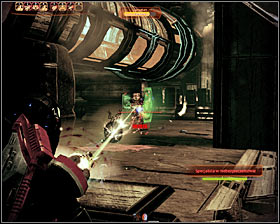
Description: SAVE your current game before you begin exploring the [Collector base]. Keep heading forward and get ready to fight the first group of aliens after you've reached a much larger area (first screenshot). You won't have to be in a lot of hurry for the time being, so take your time and make sure to find a good cover. Watch out for the Harbinger and keep attacking standard units so it won't respawn too many times.
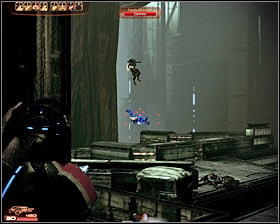 | 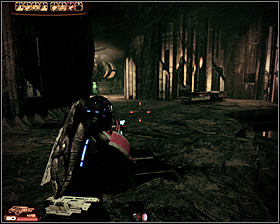 |
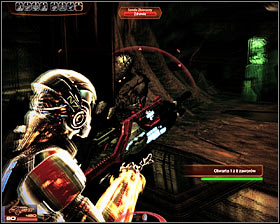
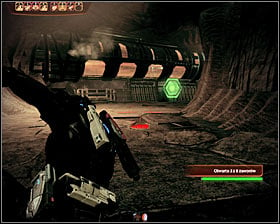
I would strongly recommend that you rely on your biotics during this battle, especially since some of your enemies will surprise you from the air. After you've won proceed towards a new corridor (second screenshot), saving your game along the way. You'll soon receive updated mission objectives.
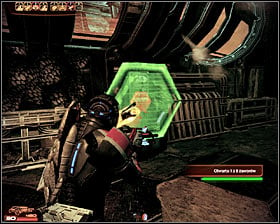 |  |
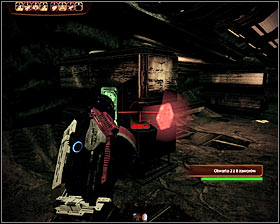
The most important thing for you to know about is that you'll be racing against time from now on. Your job will be to start locating heat exchangers and to interact with each of them in order to prevent your tech specialist from dying. Thankfully you can see a life bar of your specialist on the screen so you'll always whether you've still got some time or maybe need to speed up. The first exchanger is located here (first screenshot). Interact with this object and go to your right.
 | 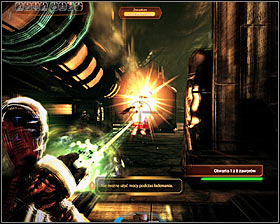 |
Watch out for one of the Collectors hiding behind a wall to your left (first screenshot). Once this alien is gone start attacking the rest of the targets. Don't forget that you shouldn't remain in one spot for more than a few seconds. You should also consider using a heavy weapon to quickly destroy new reincarnations of the Harbinger. Don't worry about ammunition, because all of your guns will receive ammunition after you've ended this part of the main quest.
 |  |
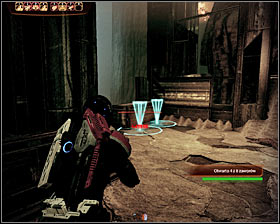
Keep pushing forward and use cover only if you need to wait for your shields to regain full power. The second exchanger can be found to your left (first screenshot). Interact with it and continue going straight. Don't forget about eliminating standard Collector units so you won't have to fight the Harbinger too many times. It shouldn't take long until you get to the third heat exchanger (second screenshot).
 |  |
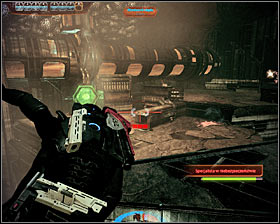
You may proceed to the next section. I would recommend that you start moving faster here, because you won't encounter any new enemies. The fourth exchanger (first screenshot) won't be guarded by anyone. Head on to your right and order your followers to take cover behind a nearby object (second screenshot).
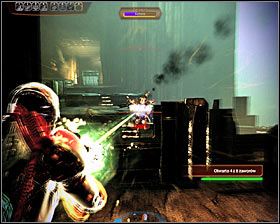 |  |
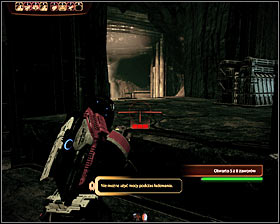
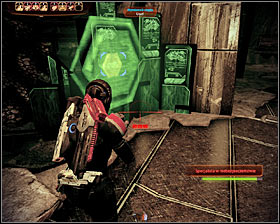
Once again, you should consider using biotic powers on some of the flying enemies noticed in the area. As for the fifth heat exchanger, you can find it to your left (second screenshot) and if the fights are taking too long you should consider making a run towards it before your specialist runs out of time.
 |  |
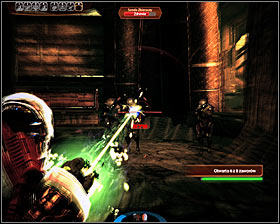
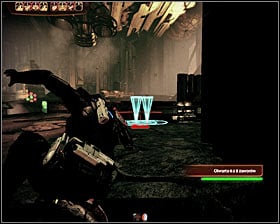
Get rid of the remaining enemy units, assuming you haven't already done that (watch out for a new Harbinger which may appear in the meantime). Make sure that you've secured this area and head towards the only exit (first screenshot). Thankfully you won't have to plan a long and dangerous trip, because the sixth exchanger is located nearby (second screenshot) and it won't be guarded by anyone.
 |  |
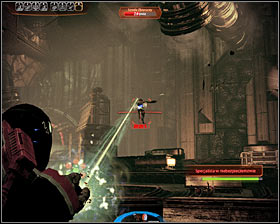
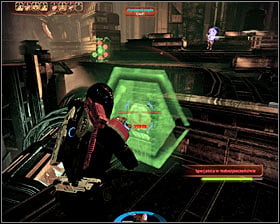
Watch out for a large group of Collectors which can be found just around the corner (first screenshot). You shouldn't worry too much about the Harbinger showing up here, so if you're low on power cells you may consider using standard weapons to kill them. Head to the next section and take cover behind an upper wall (second screenshot). If you find yourself under heavy fire remain behind the lower wall, but it'll be harder to kill enemies from there.
 |  |
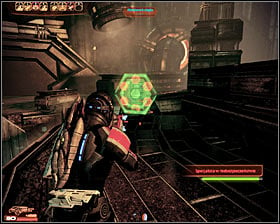
You should now spend some time eliminating nearby Collectors, as well as new Harbinger forms. You won't have to be in a hurry, because if you notice that you're running out of time you'll be allowed to easily approach the seventh heat exchanger found to your left (second screenshot).
 |  |
Reaching the final eighth heat exchanger (first screenshot) will be a tougher challenge, because Harbinger will probably try to stop you. Thankfully you won't have to fight him, because as soon as you've used the exchanger you'll be rewarded with a cut-scene featuring the Normandy crew. Depending on how fast you reacted to crew's abduction you may be able to rescue all crew members or only certain individuals. You can hope for the best outcome only if you've immediately started the final mission after ending The Reaper IFF quest (not counting Legion's personal mission).
 | 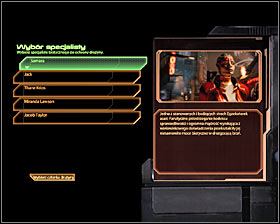 |
You can earn paragon or renegade points during your conversation with doctor Chakwas and once you're done talking you'll have to make new important decisions. The first decision will require you to choose a biotic responsible for creating a protective force field during the course of the next mission. It's extremely important that you choose a correct person for this job, because otherwise someone from your crew would die. The best candidates are:
- Samara (or Morinth)
- Jack
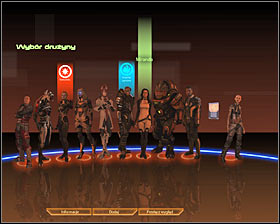
The second descision will require you to choose an assault team leader again. You can stick with your previous choice and the list of candidates hasn't changed:
- Garrus
- Jacob
- Miranda
 |  |
The third decision is to choose whether you want to escort the Normandy crew to safety of not. If you want to score a lot of paragon points you should choose someone from your team to help and if you want to score a lot of renegade points you'll have to focus only on the mission. An important thing to know about is that the follower you choose for this mission will LEAVE the team and it will stay that way until you've completed the main campaign. As a result you pick choose someone who is not too useful (don't forget to consider only loyal followers for this job!).
Finish off by choosing who to take with you - I would recommend choosing a soldier and a biotic. Next part of the final mission is described in Collector Base: Long Walk section.
- Mass Effect 2 Guide & Walkthrough
- Mass Effect 2: Game Guide
- Mass Effect 2: Main quests
- Mass Effect 2: Save Joker - Prologue walkthrough
- Mass Effect 2: Lazarus Research Station - Prologue walkthrough
- Mass Effect 2: Awakening - Prologue walkthrough
- Mass Effect 2: Freedom's Progress - Prologue walkthrough
- Mass Effect 2: Introduction - Prologue walkthrough
- Mass Effect 2: Omega: Aria T''Loak - walkthrough
- Mass Effect 2: Dossier: The Professor - walkthrough
- Mass Effect 2: Dossier: Archangel - walkthrough
- Mass Effect 2: Dossier: The Convict - walkthrough
- Mass Effect 2: Citadel: The Council - walkthrough
- Mass Effect 2: Citadel: Captain Bailey - walkthrough
- Mass Effect 2: Dossier: The Warlord - walkthrough
- Mass Effect 2: Stop the Collectors - walkthrough
- Mass Effect 2: Horizon - walkthrough
- Mass Effect 2: Dossier: Tali - walkthrough
- Mass Effect 2: Collector Ship - walkthrough
- Mass Effect 2: Illium: Liara T'Soni - walkthrough
- Mass Effect 2: Dossier: The Justicar - walkthrough
- Mass Effect 2: Dossier: The Assassin - walkthrough
- Mass Effect 2: The Reaper IFF - walkthrough
- Mass Effect 2: Preparations for the final battle - walkthrough
- Mass Effect 2: Stop the Collectors - Finale Part 1 - walkthrough
- Mass Effect 2: Collector Base: Infiltration - walkthrough
- Mass Effect 2: Collector Base: Long Walk - walkthrough
- Mass Effect 2: Stop the Collectors - Finale Part 2 - walkthrough
- Mass Effect 2: Endings Guide
- Mass Effect 2: Main quests
- Mass Effect 2: Game Guide
You are not permitted to copy any image, text or info from this page. This site is not associated with and/or endorsed by the developers and the publishers. All logos and images are copyrighted by their respective owners.
Copyright © 2000 - 2025 Webedia Polska SA for gamepressure.com, unofficial game guides, walkthroughs, secrets, game tips, maps & strategies for top games.
