Mass Effect 2: Dossier: Tali - walkthrough
Received from: The Illusive Man [Normandy SR-2]
 |  |
Description: This quest will appear in your journal automatically after completing the first Collector mission on the surface of the planet Horizon. In order to proceed with this mission you must use a mass relay and travel to the Far Rim. You will end up in a system called Dholen and you'll have to locate planet Haestrom. You don't have to scan its surface, so confirm right away that you wish to land. Important - make sure that at least one member of your team chosen for this mission (Shepard or someone else) has developed technological powers (especially Overload), because you're going to be fighting only the geth.
 | ![Start exploring [Haestrom - Quarian landing site] - Mass Effect 2: Dossier: Tali - walkthrough - Main quests - Mass Effect 2 Guide & Walkthrough](/masseffect2/gfx/word/1129452078.jpg) |
Start exploring [Haestrom - Quarian landing site]. You'll soon have a chance to witness the biggest problem of this mission - you won't be allowed to remain in the sun for more than a few seconds, because you'll immediately start losing armor points and eventually you could die. It won't play an important role in the early stages of this mission, however you will have to remember about it when things get tougher. Start off by moving forward and using a large ramp (second screenshot).
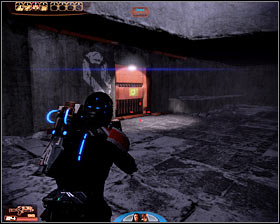 | 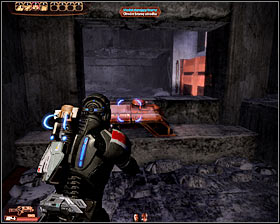 |
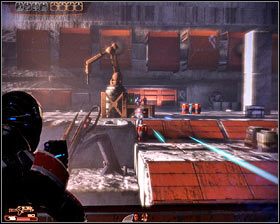
Keep going straight and don't forget to sprint whenever you're not in the shadows. It's not that important if it's only a short walk in the sun, but you'll develop a routine that will help you later on. Eventually you should be able to find a door (first screenshot). Enter the room and look around. You can take 3000 credits from an unactive geth, as well as pick up a med kit. Interact with a nearby panel (second screenshot) to open a passageway to the next area.
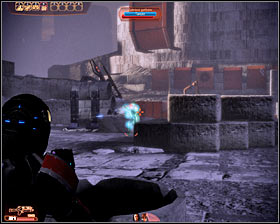 |  |
Save your current progress before moving to the next area of the map. You'll soon encounter first geth units and enemy machines will appear in two forms - with active shields and without them. Keep pushing forward and don't forget not to hide behind objects located too close to the sun, not to mention those directly in the sun.
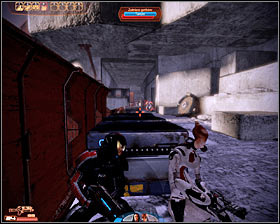 | 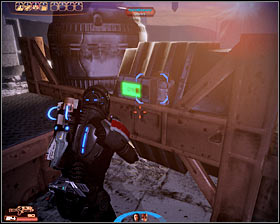 |
There are two passageways leading to the next area - you can remain on the main path or you can use a balcony section located to your right. If you choose the balcony it'll be easier to spot and kill most of the geth you encounter, but you'll have to pay more attention to staying in the shadows. Be on a look out for supplies, including a med kit, a container with 400 units of iridium (second screenshot) and a medical station.
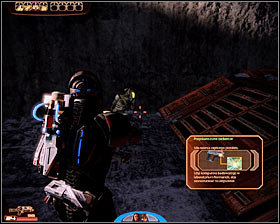 |  |
Don't leave this area just yet. Look around to find yet another dead geth. Scan a pistol found next to the machine to acquire a new plan for a research project. Eventually you'll have to get to a passageway located to the right of a large closed gate (second screenshot).
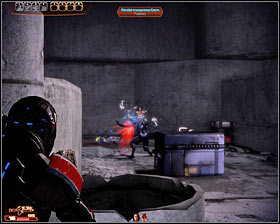 | 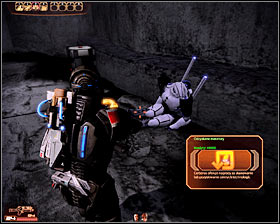 |
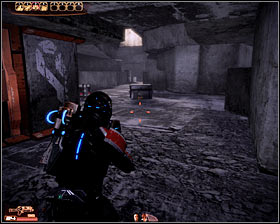
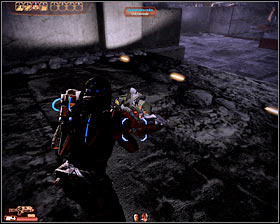
Keep heading to your right. You'll encounter two new geth just around the corner (first screenshot) and it should be fairly easy to surprise them. There's a new destroyed geth nearby - you may not notice it at first glance, because it has a damaged cloaking device. Wait for the geth to reappear, click on it and you'll earn 6000 credits. One of the enemy machines will also leave a M-9a Thunder pistol behind and it would be wise to pick it up.
 | 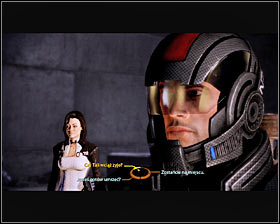 |
I would strongly recommend saving your current progress here, because you're about to take part in a long and challenging battle. Approach a dead quarian. You can click on the radio or move forward to automatically initiate a cut-scene. During the conversation with other quarians you'll be allowed to ask them a few questions or focus on the mission. The next cut-scene will inform you that you'll have to find explosives to clear a path to a small room.
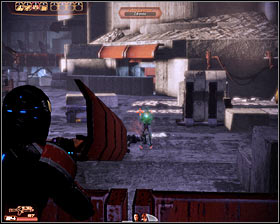 | 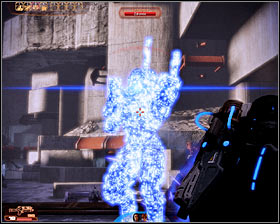 |
Get ready for a unique battle, because this time you won't be allowed to remain in one spot for an indefinite amount of time. The geth will continue respawning and this means you'll have to keep pushing forward. Eliminating most of the enemy units shouldn't be a big problem, HOWEVER some of the geth (hunters) will be using cloaking devices. I would strongly recommend eliminating them as soon as possible, because it's going to be much more difficult to spot an enemy with active camouflage.
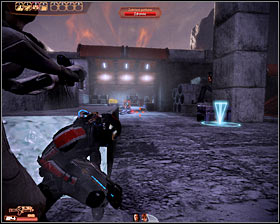 | 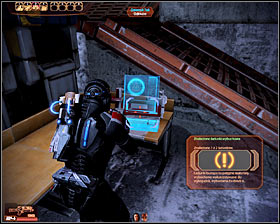 |
You should be heading towards a large warehouse located to your left (first screenshot). Eliminate most of the geth guarding the entrance before moving closer to the building. Enter the warehouse and spend some time exploring the area. You'll find a medical station if you use the stairs and you'll also locate a computer with some of the Tali's journal entries.
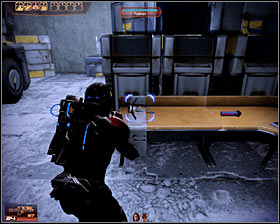 | 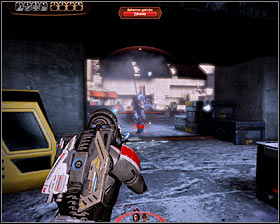 |
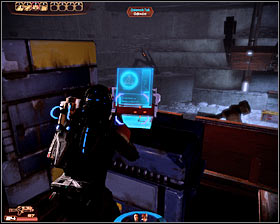
The most important thing to do here is to locate the first demolition charge (first screenshot). Be careful, because picking up this object will result in a large group of geth appearing outside the warehouse and a geth prime will be among them. It would be wise to use a heavy weapon against the mini-boss.
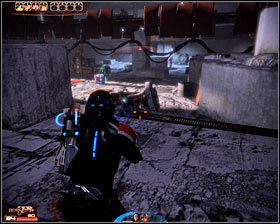 |  |
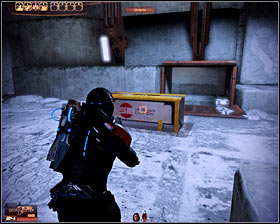
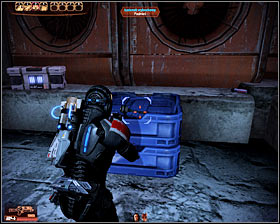
Make sure to destroy all the geth before exiting the warehouse. Proceed to your left and start off by eliminating all nearby enemy units. You can now remain on the ground floor or you can use a nearby balcony. Choosing the balcony would allow you to find a new terminal with Tali's notes (second screenshot), but you would have to pay more attention to avoiding sunlight.
 |  |
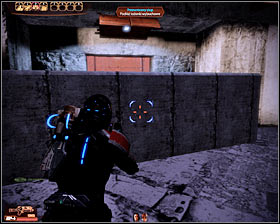
Eventually you should be able to locate a small passageway (first screenshot). Head inside and don't forget to save your current progress. Explore the area to find a medical station and power cells. The most important thing here to find is the second demolition charge. You shouldn't be surprised to hear that picking it up will result in new geth units arriving in the area. In this case you'll have to watch out for a geth destroyer and use your heavy gun on it. There are also snipers on a nearby balcony and it would be a good idea to use your own sniper rifle or certain powers to get rid of them.
 | 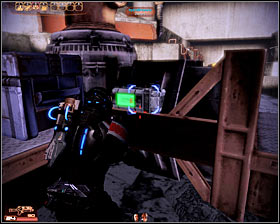 |
Since you have both demolition charges in your inventory you can return to a large pillar (first screenshot). Interact with the pillar to arm the explosives and make sure to move back to a safe distance. BEFORE you leave this area you should look around first to find a med kit and two containers with a total of 800 units of iridium. Proceed towards a passageway unlocked by the explosion.
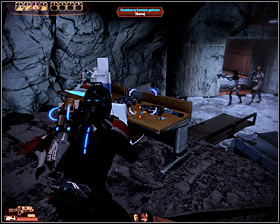 | 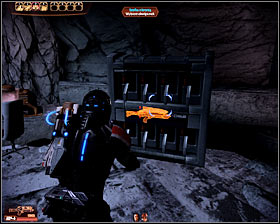 |
Finish off a crawling geth and then examine this small room. You'll have a chance to collect 9000 credits from two damaged geth, read a new entry from Tali's journal, open a safe (6000 credits) and scan a geth weapon in order to acquire a plan for a new research project. An important thing to know about is that if you're playing on a higher difficulty setting you'll find a geth rifle here and you'll be allowed to pick it up. There's also an weapons locker here if you need to change guns.
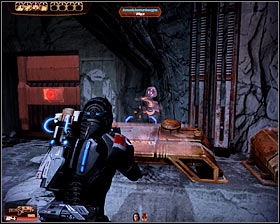 |  |
You may now approach a large communications console (first screenshot) in order to talk to Tali. Before you decide to leave this area you should definitely consider saving your game, because you'll soon take part in a challenging battle. Use a medical station, head down and choose a good weapon from your arsenal.
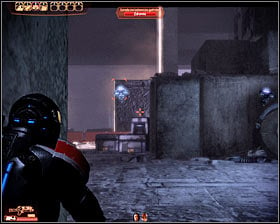 | 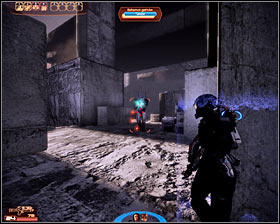 |
You'll encounter geth recon drones for the first time in this new area of the map and you should allow your followers to start destroying them. They should be fine as long as you remember about finding a good cover for them. You should focus on destroying two geth primes at the same time (heavy weapons can be effective here). There are three parallel corridors leading to the next area and I wouldn't recommend choosing the left one, because you would be exposed to sunlight. Two remaining corridors are much better and you can use either one of them.
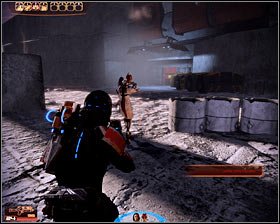 | 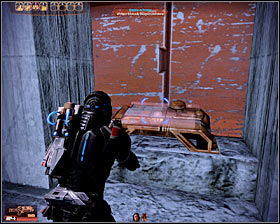 |
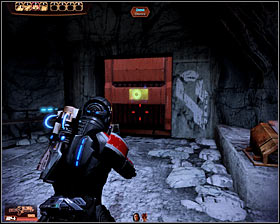
Eventually you should be able to make your way to a new door (first screenshot). Open it to enter a small room. Here you should take some to find a safe containing 6000 credits. SAVE your game and then use a security console (second screenshot). This will initiate a fight with the final boss of this mission - a geth Colossus.
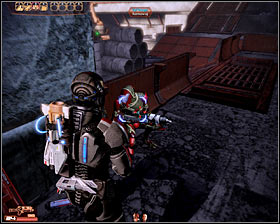 |  |
Thankfully you won't have to start attacking the boss from here. Instead proceed to your left and head down the ramp. Pick up a med kit along the way and then talk to Kal'Reegar. If you want to score paragon points you should order to him to remain behind this cover and you can even stop him by using a paragon interrupt (second screenshot). If you want to score renegade points you can allow him to assist you, but you have to acknowledge the fact that he may die during the course of the upcoming battle.
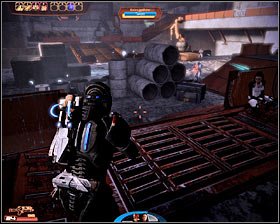 | 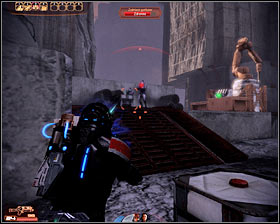 |
Either way you should use the ramp to enter the battlefield. You'll now have to make an important choice based your observations and hints provided by Kal'Reegar. There are three passageways leading to the colossus and you must choose one of them. I would recommend choosing the left path (first screenshot). It will be occupied by geth, however the colossus won't be too interested in what you're doing. Instead you will have to watch out for parts of the bridge where there is sunlight by sprinting to other dark areas.
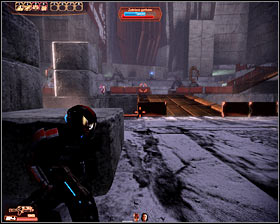 | 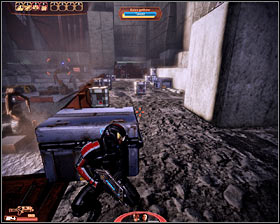 |
Choosing the passageway in the middle (first screenshot) is not a good idea, because you would find yourself under heavy fire from the colossus and you would also be surrounded by the geth. As for the path located to your right (second screenshot), you should consider choosing it only if your character can carry a sniper rifle, because you would have to use this weapon to eliminate the geth from a large distance before sprinting to the next cover.
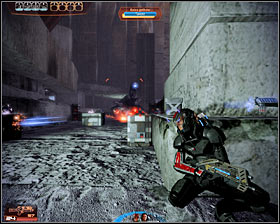 | 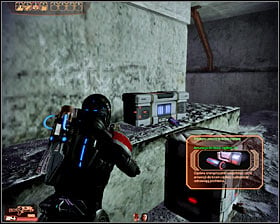 |
It doesn't really matter which passageway you'll choose, because ultimately your main concern will be to get closer to the colossus. Take cover behind a corner and start firing at the boss, preferably with a heavy weapon. There are containers with power cells on both sides of the colossus, so it shouldn't be any problems with that.
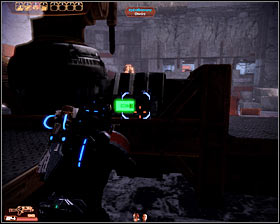 | 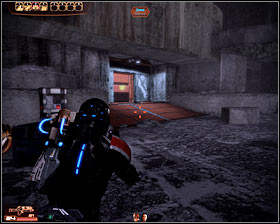 |
After you've destroyed the colossus you're also have to deal with the remaining geth. Keep fighting until it's safe here and then take some time to look around. There are four containers in the area and finding all of them will result in receiving 800 units of iridium. Finish off by heading towards a small door located behind the colossus (second screenshot).
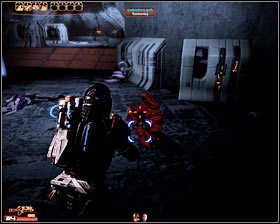 | 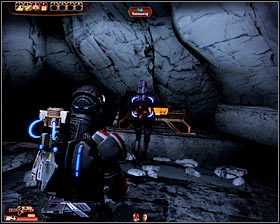 |
Once you're inside a small room make sure to examine a destroyed geth to acquire 9000 credits. You may now approach Tali and talk to her. Kal'Reegar may join the conversation, assuming of course he wasn't killed during the last battle. This quest will officially end after you're on board of the Normandy.
- Mass Effect 2 Guide & Walkthrough
- Mass Effect 2: Game Guide
- Mass Effect 2: Main quests
- Mass Effect 2: Save Joker - Prologue walkthrough
- Mass Effect 2: Lazarus Research Station - Prologue walkthrough
- Mass Effect 2: Awakening - Prologue walkthrough
- Mass Effect 2: Freedom's Progress - Prologue walkthrough
- Mass Effect 2: Introduction - Prologue walkthrough
- Mass Effect 2: Omega: Aria T''Loak - walkthrough
- Mass Effect 2: Dossier: The Professor - walkthrough
- Mass Effect 2: Dossier: Archangel - walkthrough
- Mass Effect 2: Dossier: The Convict - walkthrough
- Mass Effect 2: Citadel: The Council - walkthrough
- Mass Effect 2: Citadel: Captain Bailey - walkthrough
- Mass Effect 2: Dossier: The Warlord - walkthrough
- Mass Effect 2: Stop the Collectors - walkthrough
- Mass Effect 2: Horizon - walkthrough
- Mass Effect 2: Dossier: Tali - walkthrough
- Mass Effect 2: Collector Ship - walkthrough
- Mass Effect 2: Illium: Liara T'Soni - walkthrough
- Mass Effect 2: Dossier: The Justicar - walkthrough
- Mass Effect 2: Dossier: The Assassin - walkthrough
- Mass Effect 2: The Reaper IFF - walkthrough
- Mass Effect 2: Preparations for the final battle - walkthrough
- Mass Effect 2: Stop the Collectors - Finale Part 1 - walkthrough
- Mass Effect 2: Collector Base: Infiltration - walkthrough
- Mass Effect 2: Collector Base: Long Walk - walkthrough
- Mass Effect 2: Stop the Collectors - Finale Part 2 - walkthrough
- Mass Effect 2: Endings Guide
- Mass Effect 2: Main quests
- Mass Effect 2: Game Guide
You are not permitted to copy any image, text or info from this page. This site is not associated with and/or endorsed by the developers and the publishers. All logos and images are copyrighted by their respective owners.
Copyright © 2000 - 2025 Webedia Polska SA for gamepressure.com, unofficial game guides, walkthroughs, secrets, game tips, maps & strategies for top games.
