Mass Effect 2: Dossier: The Justicar - walkthrough
Received from: The Illusive Man [Normandy SR-2]
 |  |
Description: This quest will appear in your journal automatically after completing the first Collector mission on the surface of the planet Horizon. In order to proceed with this mission you must use a mass relay and travel to the Crescent Nebula. Land on a planet Illium located in the Tasale system to find yourself in [Illium - Nos Astra]. Start off by talking to the Concierge and you'll find out that Liara T'Soni wishes to speak to you.
 | 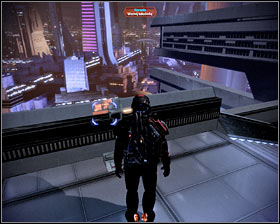 |
During your conversation with Liara you must ask her if she knows where to find Samara (the justicar) and you'll find out that you're going to have to talk about that to migration officer Dara (first screenshot). Once you've discovered current location of Samara you can either confirm that you want to automatically travel to that area or you can end the conversation with Dara and use a rapid transport terminal located in the southern area of the map (second screenshot). Don't forget that you WON'T be allowed to return to this main area until you've completed the mission to find Samara. I would also recommend taking someone with biotic abilities with you, because there are some bonuses in store for biotics.
 | ![Youll soon arrive in a new area called [Illium - Spaceport] and youll start off by watching a cut-scene of a conversation between several characters involved in a murder that took place in this area - Mass Effect 2: Dossier: The Justicar - walkthrough - Main quests - Mass Effect 2 Guide & Walkthrough](/masseffect2/gfx/word/1129627843.jpg) |
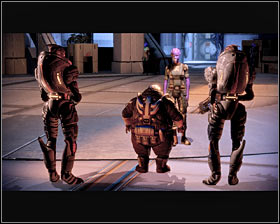
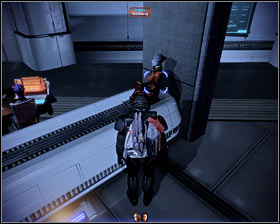
You'll soon arrive in a new area called [Illium - Spaceport] and you'll start off by watching a cut-scene of a conversation between several characters involved in a murder that took place in this area. Talk to the volus from the cut-scene (Pitne For) and ask him about the location of Samara, about the murder, about Eclipse and about himself.
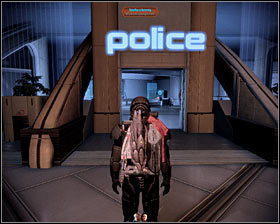 | 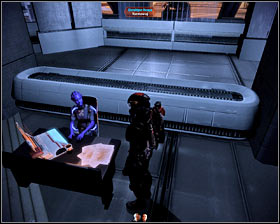 |
You can't examine the crime scene without someone's approval, so instead of going to a nearby alley choose a police station (first screenshot). You can look around the station if you want to (there's a medical station here). When you're ready to move on with the mission you must talk to detective Anaya. I would recommend that you convince her that stopping the justicar by force is not a good idea - you should offer your help in finding her in order to resolve this problem peacefully.
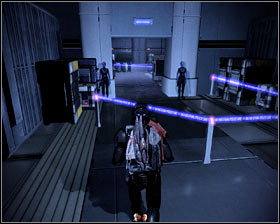 | 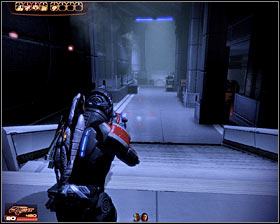 |
Notice that you may now proceed towards a crime scene which is going to be a small alleyway located to the right of the police station (first screenshot). Make sure to examine a terminal along the way to trigger a subquest - Illium: The Justicar: Stolen Goods Found. Proceed to the next section of the spaceport.
 | 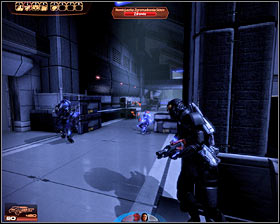 |
Keep following the corridor until you come across the stairs. Head down and examine the circuits to collect 3000 credits. Be careful, because soon you'll encounter the first group of the sisterhood initiates. Be careful and use cover to stay alive. There are also going to be several LOKI mechs in the area, but destroying them should be much easier.
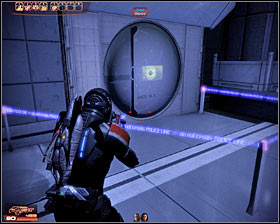 |  |
You may keep heading forward until you reach a new door surrounded by a laser barrier (first screenshot). Enter this room and you'll meet Samara. During your initial conversation with the justicar you'll have to convince her to surrender herself and allow you to complete the mission for her. You'll then return to the first area of the spaceport.
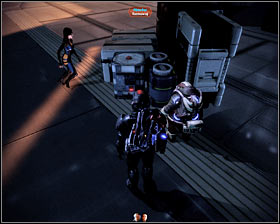 |  |
You must start your new investigation by talking to Pitne For again. The volus can be found next to the crates this time (first screenshot). There are several ways of getting the information about the sisterhood hideout from him - you can ask him politely or you can force him to give you the answer by choosing a renegade interrupt (second screenshot).
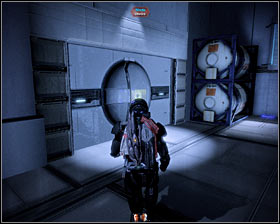 | 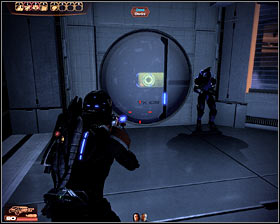 |
You may now proceed towards a newly unlocked elevator located to the right of the police station building (first screenshot). Use this opportunity to save your current game, because you'll take part in new challenging battles really soon. Wait for the elevator to transport you to a new area and order your team members to take cover near the left door (second screenshot).
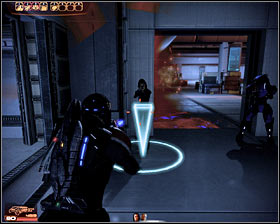 | 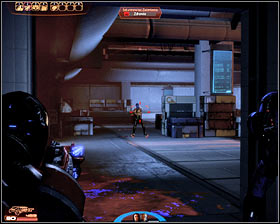 |
The most important thing to know about this part of the mission is that you'll be encountering gas canisters. Blowing up a gas canister will have a positive influence on your biotics and on some of your enemies (the ones with biotic skills). Each time a biotic finds himself next to the gas his powers become stronger, however he can't stay too long or he'll "overdose". As for non-biotic characters, staying within the range of the gas will injure them even if this is a few seconds, so you'll have to avoid it. Generally you must remember about placing your biotics near the released gas and avoid blowing up canisters located close to enemy troops, so they won't receive any bonuses. Start off by attacking your enemies while standing near the door (second screenshot).
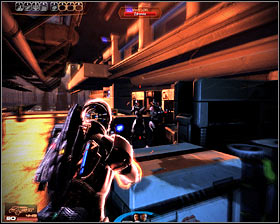 | 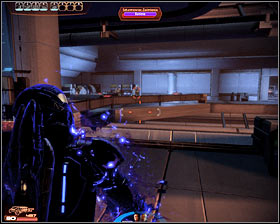 |
Make sure that you've eliminated at least some of your opponents before moving forward. Go inside alone or with one of your followers and deal with a group of LOKI mechs found to the right (first screenshot). You may now begin attacking more distant targets. Don't forget to avoid shooting the gas canisters and focus on eliminating enemies protected by additional barriers.
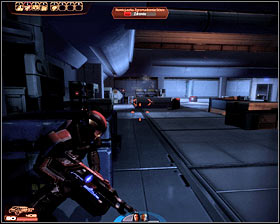 | 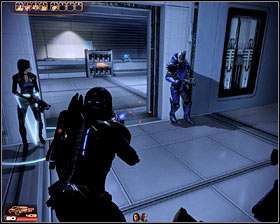 |
Keep pushing towards the passageway which was being used by enemy units to get here. Don't forget to always use cover when you're about to attack a new group of opponents. Watch out for nearby canisters, because enemies may hit them during the fight. Head on to a new room (second screenshot) after eliminating all enemy units.
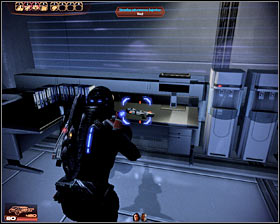 |  |
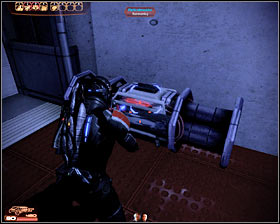
Look around to collect a M-27a Scimitar shotgun. You can use a nearby weapons terminal to hand it over to someone from your team. Before you decide to use the stairs make sure to explore a small room found to your right. You'll meet Elnora there and you can either shoot her before she draws her gun (renegade interrupt) or you can play it cool by interrogating her and letting her go (paragon points).
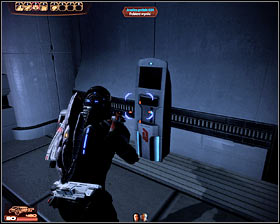 | 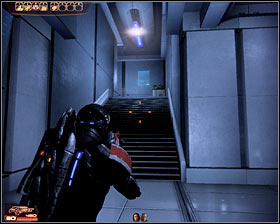 |
Don't leave the room where you've talked to Elnora. Instead inspect your surroundings to find power cells for your heavy weapons and a computer terminal (first screenshot) with a plan for a new research project. You may now proceed towards the stairs (second screenshot) - don't forget to save your current progress here.
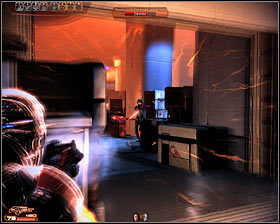 | 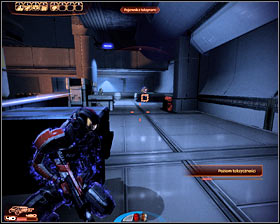 |
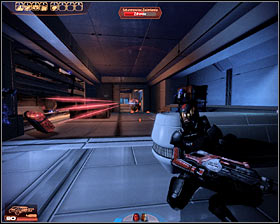
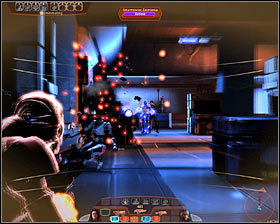
You'll encounter new sisterhood initiates and mechs as soon as you've opened a door leading to the next room. The first group is going to be reasonably small so it should be easy to succeed. Don't get too comfortable, though, because the next groups will be much larger (second screenshot). Focus your on attacks on enemies with biotic abilities, preventing them from using their powers on your team. Just as before, avoid shooting at the gas canisters so they won't gain any additional bonuses.
 | 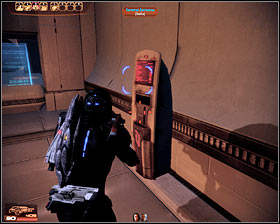 |
Keep heading towards the next room of the complex (first screenshot) and take special attention to what your followers are doing (hiding behind good cover, not in the vicinity of the gas canisters). Eventually you'll get to a new room where you'll find a medical station. You can also hack a nearby terminal (second screenshot) to collect 3000 credits.
 | 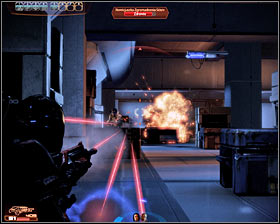 |
You may proceed now to an upper floor where you're going to be greeted by a new group of sisters and LOKI mechs. I would recommend that you remain somewhere near the entrance to this room and eliminate your targets from a larger distance. Be careful here, because elite enemy units will be using biotic powers and rocket launchers. This time you can destroy the canisters seen in the area, because they'll explode instead of releasing toxins.
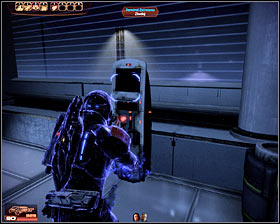 | 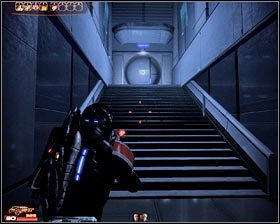 |
Keep heading forward. Don't move too fast, because it could be risky. Get to the stairs, but before you decide to leave this floor look around to find a medical station and a terminal (6000 credits). Head on to an upper floor and save your current game before opening a new door (second screenshot).
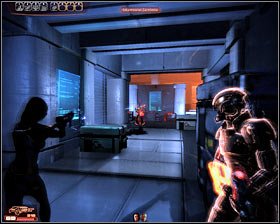 | 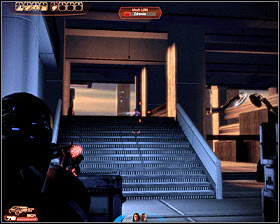 |
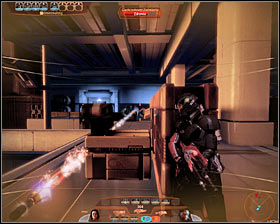
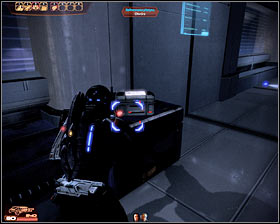
Get ready for a series of challenging fights with Eclipse units, sisterhood initiates and mechs. Enter the first room and start moving forward, eliminating enemies you encounter. Make a stop after you've reached a corner, because an enemy with a rocket launcher will be stationed on a nearby balcony (second screenshot). Kill him before moving on.
 |  |
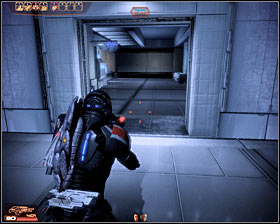
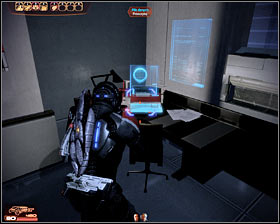
As for other enemies, there are two ways of attacking them - you may use an upper balcony for a good vantage point or you can use one of the side passageways to get closer to them. The left passageway is a better choice (first screenshot). Remember that you don't have to be in a lot of hurry here. Look around after you've won to find a container with 2000 units of platinum (second screenshot).
 |  |
You may proceed towards the only available passageway (first screenshot). It won't take long to get to a new area where you'll find a medical station and a crate filled with power cells. You may now use a nearby computer terminal (second screenshot) and you'll find out that Elnora (one of the sisters you've talked to in a small room) was the killer. Continue moving forward, opening two other hatches along the way.
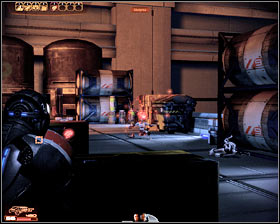 | 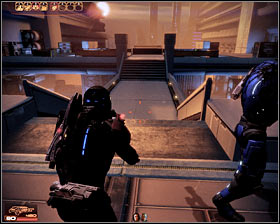 |
You'll soon encounter a group of LOKI mechs (first screenshot) and it shouldn't be too difficult to get rid of all of them. Look around after the battle to collect new power cells. There's a bridge nearby and BEFORE you cross it make sure to SAVE your current game!
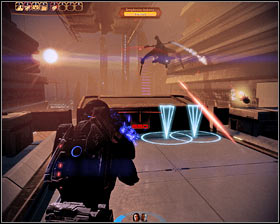 | 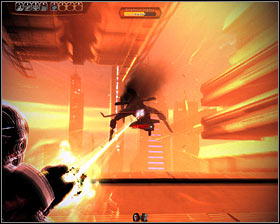 |
Get ready for a battle with an enemy gunship and you should begin by ordering your team to take cover behind a solid object. You will be safe for the next 10-20 seconds, but eventually the gunship will change its position and that will force you to adjust yours as well. Start attacking the gunship and naturally during the course of this duel you should be using a heavy weapon (a rocket launcher and a particle beam are going to be very effective here).
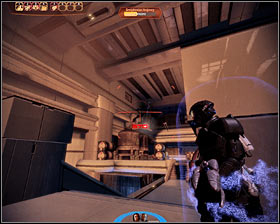 | 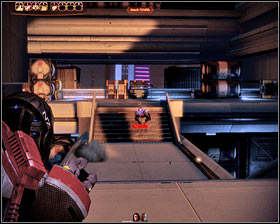 |
As soon as the gunship has moved order your followers to find a new cover so they won't be exposed to its attacks. Don't forget that you shouldn't be hiding behind wooden crates, because the gunship could destroy those easily. Keep attacking the flying machine until it explodes. Quickly move closer to the bridge and defeat a small group of FENRIS mechs (second screenshot) heading your way.
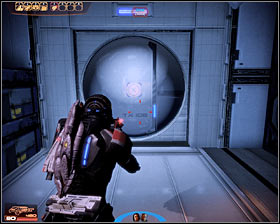 | 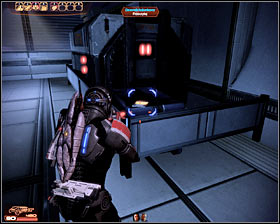 |
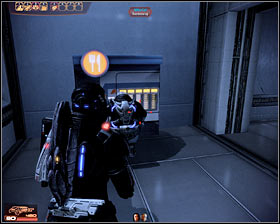
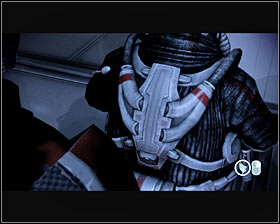
Look around to find a med kit (especially if you've had to use medi gel recently) and then hack a nearby door (first screenshot). The next room contains a PDA (second screenshot) and reading its contents will activate a new side mission - Illium: The Justicar: Smuggling Evidence.
 |  |
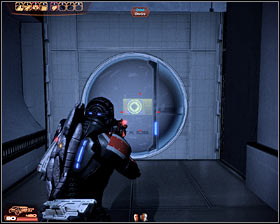
Don't forget to examine a new terminal found along the way (6000 credits) and then proceed to the next room. You'll meet Niftu Cal here who has obviously overdosed and is now suffering from the negative effects of the toxins. If you want to earn paragon points you should convince him not to join you and this can be achieved by activating a paragon interrupt (first screenshot). If you want to earn renegade points you can ignore him (he'll still want to join you) or encourage him to assist you (more points).
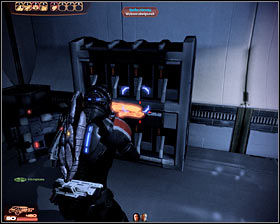 |  |
You may proceed towards a nearby corridor and it would be a good idea to save your game there, because you're about to take part in a boss battle. Take your time to examine your surroundings - use a medical station and a weapons locker if needed. Head on to the next room. If you've asked for Niftu Cal's help then he's going to be killed here. Otherwise you'll automatically start a boss fight with captain Wasea.
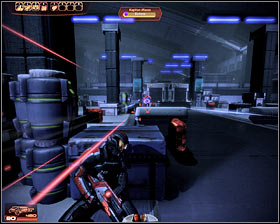 | 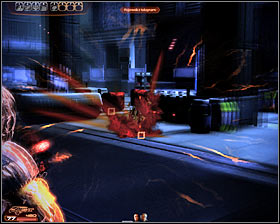 |
I wouldn't recommend acting defensively here, because you'll want to be more aggressive if you want to end this fight sooner rather than (much) later. Start off by finding a good cover for you and for the rest of the team - don't forget to place your biotics near gas containers and blow up at least some of them. The first phase of this fight will require you to focus on destroying other canisters, because otherwise Wasea would start throwing them at you.
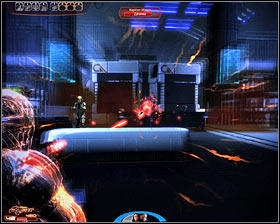 | 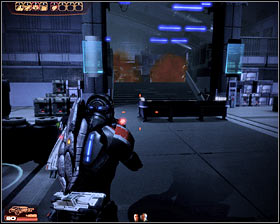 |
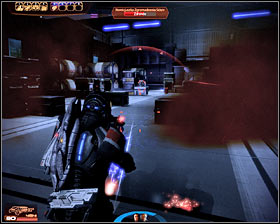
As soon as you've settled in and disposed of the most immediate threats you can start attacking Wasea in order to destroy her shields and armor. It would be better to kill her right now. If you're not quick enough she'll retreat to a new section of this area (second screenshot), making the entire battle more difficult.
 | 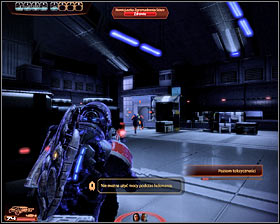 |
If Wasea has retreated you'll have to follow her and sadly this means going near the gas traps (first screenshot). Once you're close to her take cover near a solid object and wait for your followers to show up. Notice that Wasea will be protected by a new group of enemies here, but thankfully killing most of them will be easy.
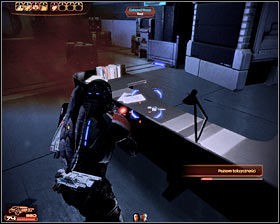 | 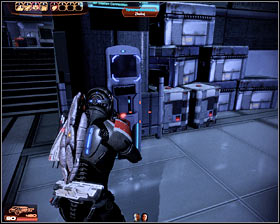 |
You must keep fighting until Wasea has been defeated (now or later). You may now approach Wasea's desk and examine a datapad. I wouldn't recommend leaving this area right away, because you should also find a locker containing 3000 credits.
 |  |
You may return to the police station building. Once you're inside locate Samara and talk to her to share what you've discovered. Don't leave this area just yet. Instead ask Samara to stay a little while longer. Talk to detective Anaya, informing her about the death or escape of Elnora. You can also (optionally) end one of the side missions here.
- Mass Effect 2 Guide & Walkthrough
- Mass Effect 2: Game Guide
- Mass Effect 2: Main quests
- Mass Effect 2: Save Joker - Prologue walkthrough
- Mass Effect 2: Lazarus Research Station - Prologue walkthrough
- Mass Effect 2: Awakening - Prologue walkthrough
- Mass Effect 2: Freedom's Progress - Prologue walkthrough
- Mass Effect 2: Introduction - Prologue walkthrough
- Mass Effect 2: Omega: Aria T''Loak - walkthrough
- Mass Effect 2: Dossier: The Professor - walkthrough
- Mass Effect 2: Dossier: Archangel - walkthrough
- Mass Effect 2: Dossier: The Convict - walkthrough
- Mass Effect 2: Citadel: The Council - walkthrough
- Mass Effect 2: Citadel: Captain Bailey - walkthrough
- Mass Effect 2: Dossier: The Warlord - walkthrough
- Mass Effect 2: Stop the Collectors - walkthrough
- Mass Effect 2: Horizon - walkthrough
- Mass Effect 2: Dossier: Tali - walkthrough
- Mass Effect 2: Collector Ship - walkthrough
- Mass Effect 2: Illium: Liara T'Soni - walkthrough
- Mass Effect 2: Dossier: The Justicar - walkthrough
- Mass Effect 2: Dossier: The Assassin - walkthrough
- Mass Effect 2: The Reaper IFF - walkthrough
- Mass Effect 2: Preparations for the final battle - walkthrough
- Mass Effect 2: Stop the Collectors - Finale Part 1 - walkthrough
- Mass Effect 2: Collector Base: Infiltration - walkthrough
- Mass Effect 2: Collector Base: Long Walk - walkthrough
- Mass Effect 2: Stop the Collectors - Finale Part 2 - walkthrough
- Mass Effect 2: Endings Guide
- Mass Effect 2: Main quests
- Mass Effect 2: Game Guide
You are not permitted to copy any image, text or info from this page. This site is not associated with and/or endorsed by the developers and the publishers. All logos and images are copyrighted by their respective owners.
Copyright © 2000 - 2025 Webedia Polska SA for gamepressure.com, unofficial game guides, walkthroughs, secrets, game tips, maps & strategies for top games.
