Guardians of the Galaxy: Chapter 12 - walkthrough
This page of the Guardians of the Galaxy game guide contains a walkthrough of Chapter 12 (Getting Your Wits On) from visiting the infested Knowhere.
On this page of Marvel's Guardians of the Galaxy guide, you can find a walkthrough for Chapter 12 (Knowhere to Run). Our walkthrough will help you with crossing the destroyed marketplace, reaching Cosmo's security tower, helping Cosmo free himself from the Promise, reaching Continuum Cortex, and unplugging cables in the Matriarch room.
To view the secret locations in Chapter 12, visit Secrets and findschapter. All collectibles are marked in green.
- Get to Cosmo's security tower
- Disable the faith shield
- Cross the rooftops
- Important choice: talking to Cosmo
- Find a way around the locked gate
- Reaching the Continuum Cortex
- Pull out the cables
Get to Cosmo's security tower
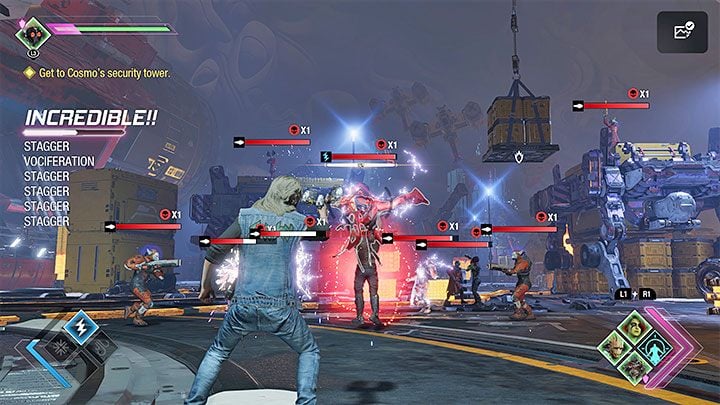
The chapter starts onboard Milano. You can use the opportunity and talk to the team members, e.g. about Guardian's collectibles from previous chapters. Once you talked to all crew members, go to the bridge and sit in the captain's chair. Travel to Knowhere. Once you're there, exit the ship.
Right after you leave the ship, the final Drax Guardian's Ability will be unlocked. The power allows you to quickly fill up the stagger bar of a single enemy (and other nearby opponents, albeit in their case the effect will be less powerful). Make use of it right away, as there is a big chance that Drax will attack the Unifier leading the first group of opponents. During later clashes, remember that you can pull snipers closer using the Wind Shot.
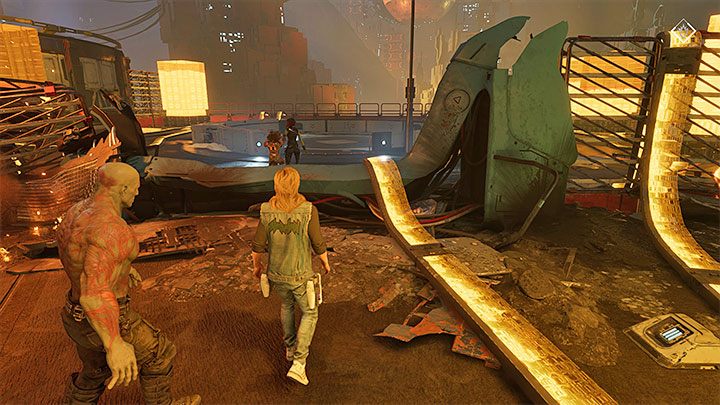
After you've defeated all enemies, you can ask Drax to move a large yellow block. Climb it to receive a collectible - Costume - Drax: Thanos Imperative.
Continue through Loading Area, as you cleared it of all opponents. Stick to the left side to locate Archive: Knowhere Safe collectible. Once you got the collectible, use the large round elevator which will lead you to the marketplace.
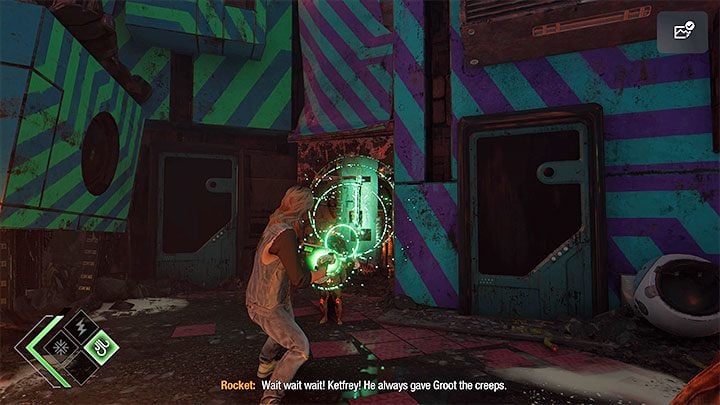
Once you enter the market, go straight to find Archive: A Prophetic Convergence collectible.
Proceeding through the market means encountering additional enemy groups. After eliminating the first group, locate the interactive hook on the right shown in the screenshot, on which you can use the Wind Shot. This move will reveal a chest containing Costume - Rocket: The Smuggler. Once you got the secret, follow the narrow passage.
You'll finally reach a barricaded pathway - attempting to use Wind Shot on it will fail. Take a look at the climbable wall on your left and ask Gamorra to help you climb to the top.
Once you're at the other side of the barricade, make a detour to pick up Archive: Egghead Revievs: That's More Like It collectible. You can now use the Wind Shot on the barrricade, unlocking the path ahead for the rest of the team.
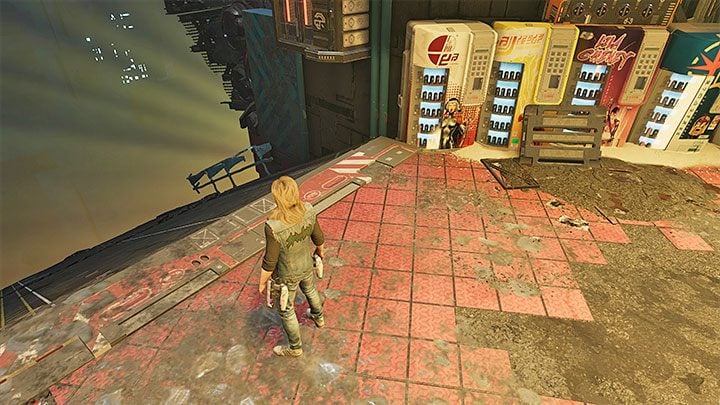
A heavy obstacle is ahead - the only way to move it is enlist Drax to help you. In the next area, stay on the left side of the market. The location with vending machines contains a collectible - Archive: Reply: Missing Persons Report.
In the area shown in the screenshot above (next to the vending machines), you can see a slope - use it to descend to the lower area. Once you're there, use Ice Shot to block the vents and stop the poison gas from emitting. Clearing the fumes will allow you to reach a new shelf containing Guardian Collectible - Glarnot Mask. You can return to the upper area by double jumping.
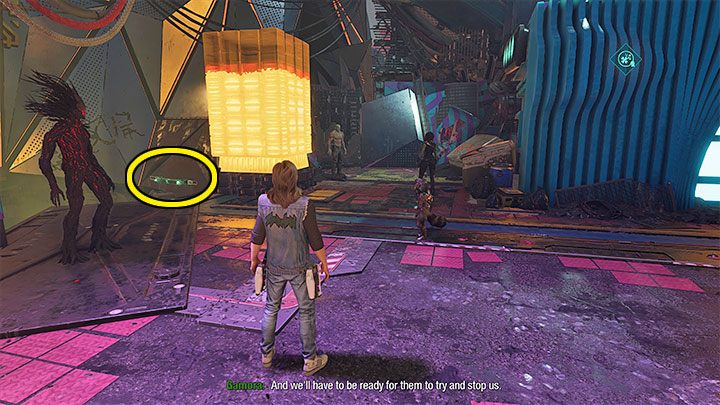
When you get back to the rest of the team, ask Gamora to cut the wires blocking the passage to the next location. Follow the linear path to reach the area from the screenshot. Before you order Drax to move the obstacle take a look at the left hook shown in the screenshot above. Use Wind Shot on it and then ask Groot to create a bridge. While in the sewers, use Lightning Shot on the switch and ask Rocket to get through the ventilation shaft. Inside, there is a collectible - Costume - Groot: Impaler
Go back upstairs and ask Drax to move the heavy object. to unlock a new passageway.
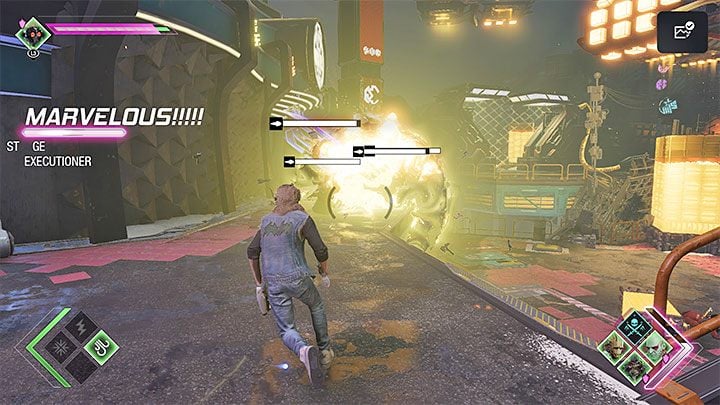
A cut-scene will start - get ready to fight more cultists. Win the battle to unlock Gamorra new Guardian ability. The skill can deal heavy damage to single opponents - you can try it out in the next battle where you'll face, among others, a new Inquisitior.
After the battle concludes, have Drax push over a large ad to create a bridge.
Disable the faith shield
You've reached a forcefield. Disabling it is rather easy - go to the right of it and locate the weak point from the above image, on which you need to use the Wind Shot.
You can now enter the bridge. A cut-scene will begin - get ready to fight additional enemies.
Cross the rooftops
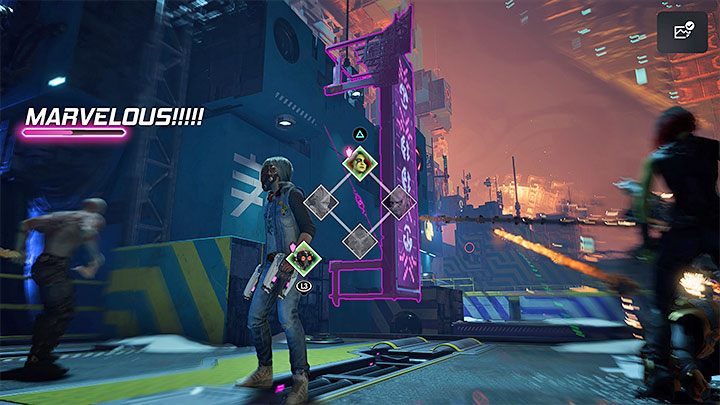
On the roofs, you'll face a few groups of opponents - consider using Wind Shot to pull far away targets. Look for the neon shown in the screenshot above, as you can remove it by asking Gamora to cut the wire.
During combat, make use of opponents' weaknesses and attack with Ice and Lightning Shots.
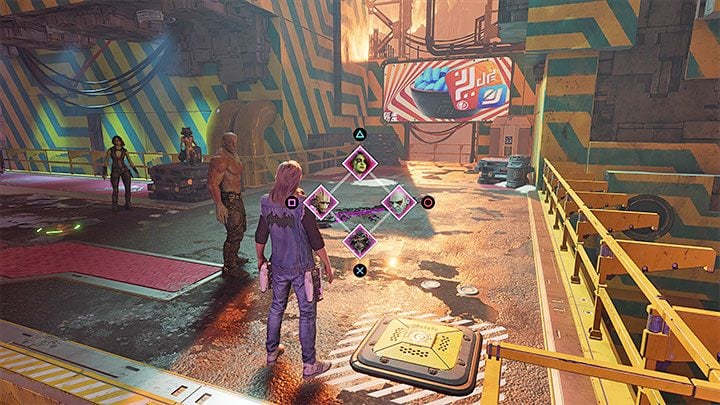
After clearing the area of opponents, you will reach the roof shown in the screenshot above. There is a weakened floor here, and you can ask Drax to destroy it and unlock access to the building interior.
After sliding down the slope, look behind you and enter a small tunnel, as it leads to a collectible - Costume - Gamora: Casual Kill.
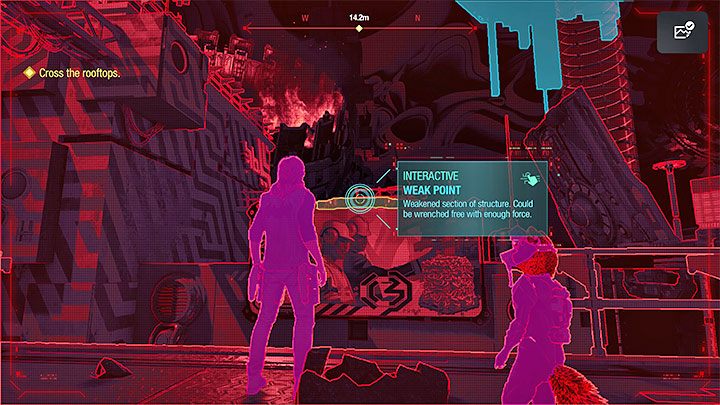
Return to the initial location and target the weak point next to the billboard (screenshot above) and use Wind Shot on it. You can now ask Groot to create a bridge.
In the next area, talk to Rocket and use the elevator leading to the security center. You'll reach Cosmo, who is defending himself from enemy attacks - you need to take care of the opponents, including additional Inquisitors - attack them one by one.
Important choice: talking to Cosmo
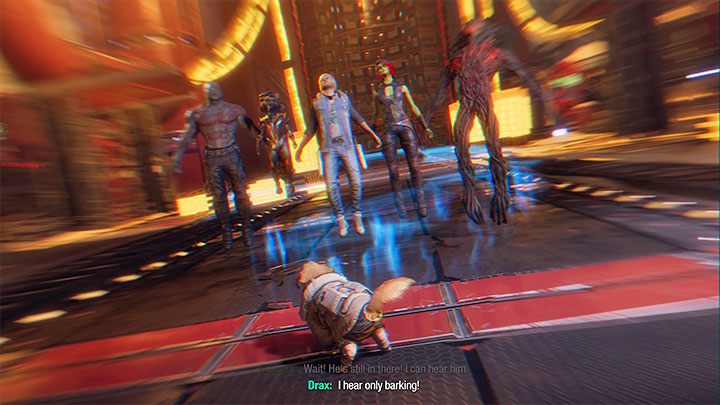
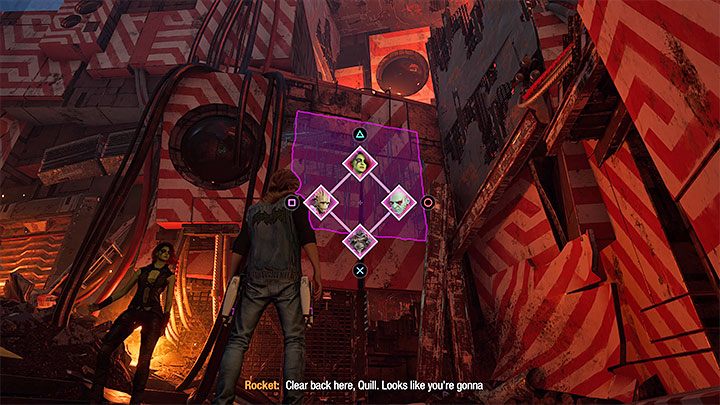
After the conversation begins, you'll learn that Cosmo is under the influence of his Promise - you can make an attempt to free him from it. To do this, you must choose the correct dialogue options. They are as follows:
- On the first selection, choose the right dialog option - Offer Hand.
- For the second option, choose the right dialog option - Focus on Present.
- For the third choice, choose the left dialog option - Remind About Puppies.
If you've chosen the right dialogue options and freed Cosmo, then in Chapter 14, Cosmo will arrive onboard Knowhere and help the Guardians deal with one of the opponent groups. Failing to free Cosmo doesn't mean that the game is over, but during Chapter 14 you'll have to face one more opponent group.
Find a way around the locked gate
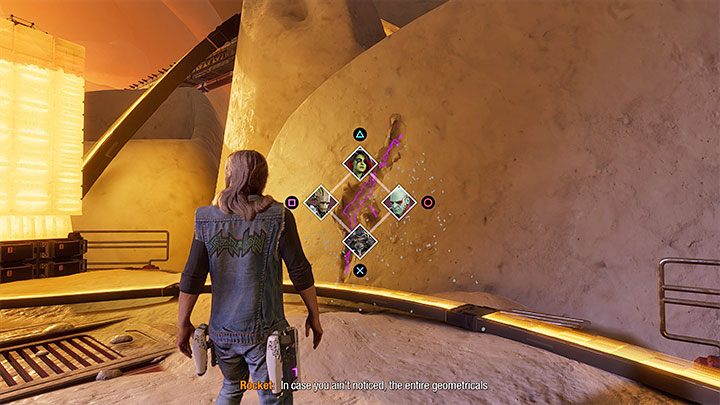
Ask Rocket to hack the control panel - unfortunately, the action won't be a success. There is a crack nearby that you can ask Drax to unlock the path forward. Squeeze through to the other side.
Reaching the Continuum Cortex
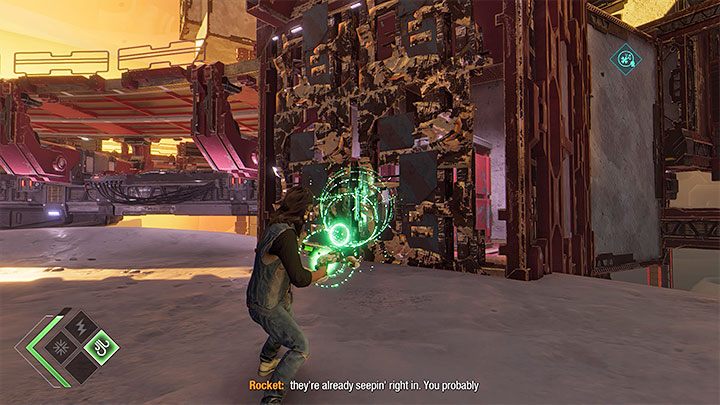
Keep moving forward. Expect new fights after you jump from the upper balconies to the lower levels. Depending on the opponent, use either Ice or Lightning shots..
After the area is cleared, you can use the Wind Shot to destroy the blockade. A big red block will be revealed - you can ask Drax to move it. You can now climb the block. Ask Gamorra to scale the climbable wall and reach even higher - there is a Costume - Star-Lord: Apocalypse-Lord.
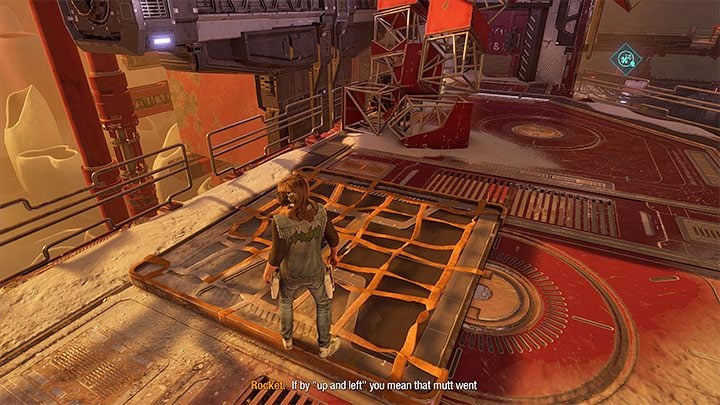
Return to where the team is and continue forward. Along the way, you'll encounter a Workbench and an interactive platform - ask Groot to lift it. Thanks to this move, you'll reach balconies containing another collectible - Archive: Investigating the Hand.
Return to the lower level and continue down the main path. Use the damaged staircase to continue. After descending to the lower level, you should see the final collectible in this level - Archive: Work-Related Death Report.
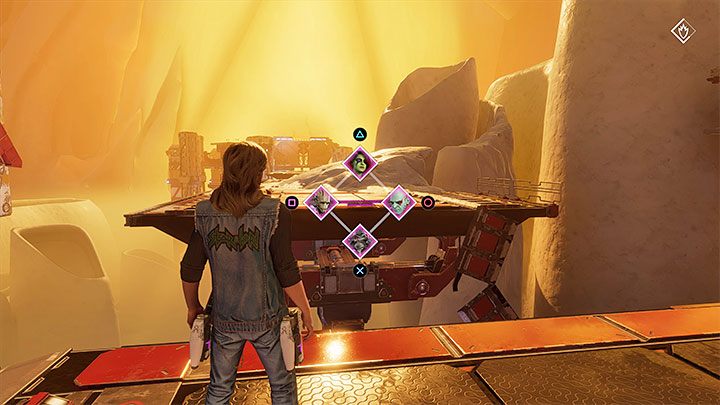
Now, you need to use a narrow passage where Drax will line up. In the next location there will be an explosion and new fights will begin. Same as in the previous cases, pull snipers using abilities, as they can be quite bothersome. After the battle concludes, ask Groot to make a bridge. Continue down the narrow pathway. At the end of the pathway, you'll slide down a slope - make a double jump in the right moment to reach the further balconies.
Another battle ensues where you need to defeat, among others, an Inquisitor. Once the area is cleared, make use of large stairs leading to the Cortex.
Pull out the cables
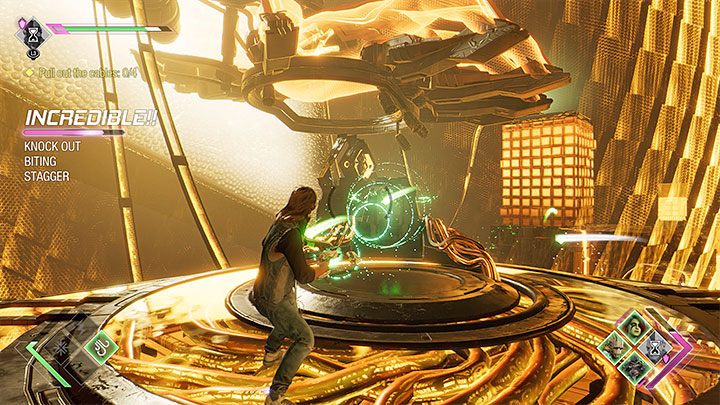
A new mission objective will be added once you reach the Matriach room. Don't engage opponents, as reinforcements will appear endlessly.
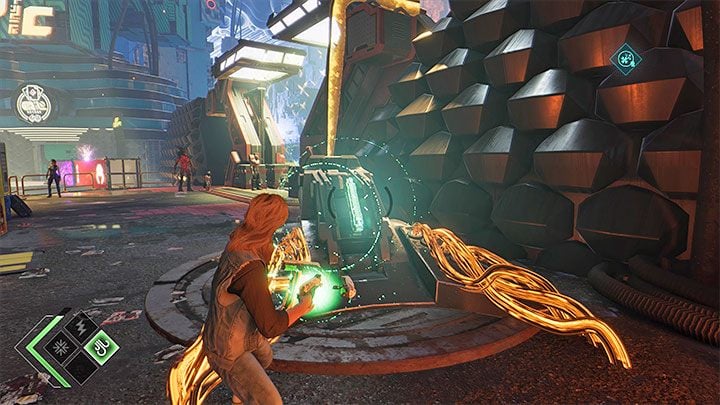
Focus on removing cables - an exemplary location of it can be shown in the screenshot above. Some of them are on higher ledges, so use double jumps. In each of these locations, you must use the Wind Shot to remove the cable.
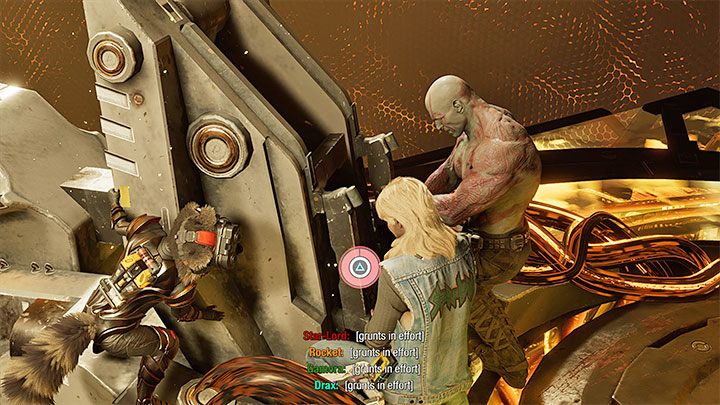
One of the cables will put up a fight - you'll have to get some support from the rest of the team. Press the button that appears on the screen to complete the action successfully.
When all 4 cables are pulled out, a cut-scene will begin. Once you return to Milano and have talked with the team members, Chapter 12 will end.
- Guardians of the Galaxy Guide
- Guardians of the Galaxy: Walkthrough
- Guardians of the Galaxy: All Quests and Important Choices
- Guardians of the Galaxy: All Missions
- Guardians of the Galaxy: Prologue and Chapter 1 - walkthrough
- Guardians of the Galaxy: Chapter 2 - walkthrough
- Guardians of the Galaxy: Chapter 3 - walkthrough
- Guardians of the Galaxy: Chapter 4 - walkthrough
- Guardians of the Galaxy: Chapter 5 - walkthrough
- Guardians of the Galaxy: Chapter 6 - walkthrough
- Guardians of the Galaxy: Chapter 7 - walkthrough
- Guardians of the Galaxy: Chapter 8 - walkthrough
- Guardians of the Galaxy: Chapter 9 - walkthrough
- Guardians of the Galaxy: Chapter 10 - walkthrough
- Guardians of the Galaxy: Chapter 11 - walkthrough, solution
- Guardians of the Galaxy: Chapter 12 - walkthrough
- Guardians of the Galaxy: Chapter 13 - walkthrough, solution
- Guardians of the Galaxy: Chapter 14 - walkthrough, solution
- Guardians of the Galaxy: Chapter 15 - walkthrough, solution
- Guardians of the Galaxy: Chapter 16 - walkthrough, solution
- Guardians of the Galaxy: All Quests and Important Choices
- Guardians of the Galaxy: Walkthrough
You are not permitted to copy any image, text or info from this page. This site is not associated with and/or endorsed by the developers and the publishers. All logos and images are copyrighted by their respective owners.
Copyright © 2000 - 2025 Webedia Polska SA for gamepressure.com, unofficial game guides, walkthroughs, secrets, game tips, maps & strategies for top games.
