Guardians of the Galaxy: Chapter 13 - walkthrough, solution
This page of the Guardians of the Galaxy game guide contains the walkthrough for Chapter 13 (Against All Odds) of visiting the planet Maklu IV and defeating the dragon.
On this page of Marvel's Guardians of the Galaxy guide, you will find a walkthrough for Chapter 13 of the story(Against All Odds). Our guide will help you with the emergency landing, getting through Maklu IV, reaching the source of the smoke and defeating the boss - ice dragon Fin Fang Foom.
For more information about the location of the secrets in Chapter 13, see our chapter Secrets and finds. All collectibles are marked in green.
- Land Milano in one piece
- Search for Fin Fang Foom's lair
- Get to the source of the smoke
- Explore the village
- Search for Fin Fang Foom's lair
- Boss fight - Fin Fang Foom
Land Milano in one piece
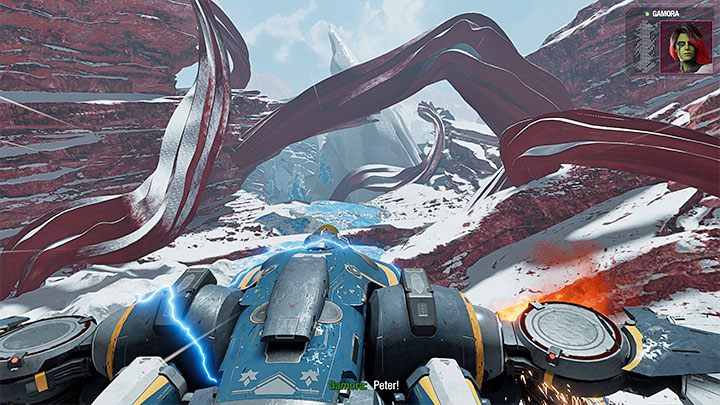
Once you reach Maklu IV, a cut-scene will start depicting an emergency landing. This one is rather easy. Steer the ship with gentle movements to avoid colliding with obstacles. No matter how well you avoid them, the ending is the same - the ship crashes on the surface of the planet.
You can engage in an optional chat on the ship or head straight to the cargo hold and disembark Milano.
Search for Fin Fang Foom's lair
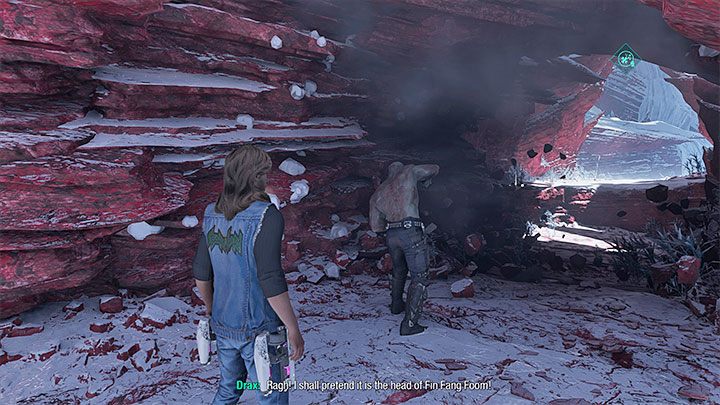
The initial stage of the journey is easy, but beware of falling rocks. You'll finally reach an interactive rock - ask Drax to destroy it.
Follow Drax and approach him once he stops. You can talk to him about the ritual, but the chosen dialogue option has no significance for the further course of the mission.
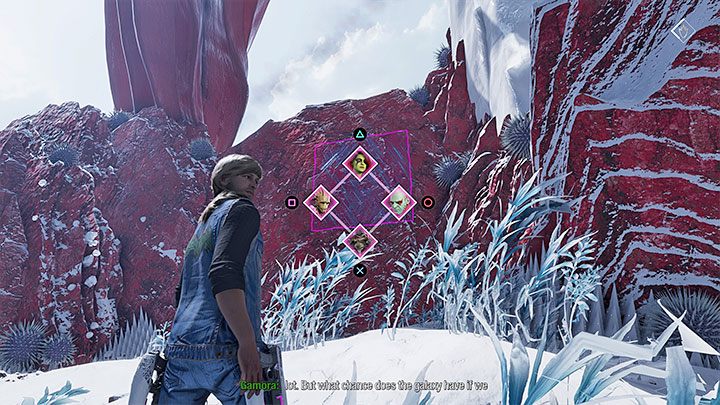
Soon you'll start to encounter green monsters. They are vulnerable to Lightning Shot, so use it as often as possible.
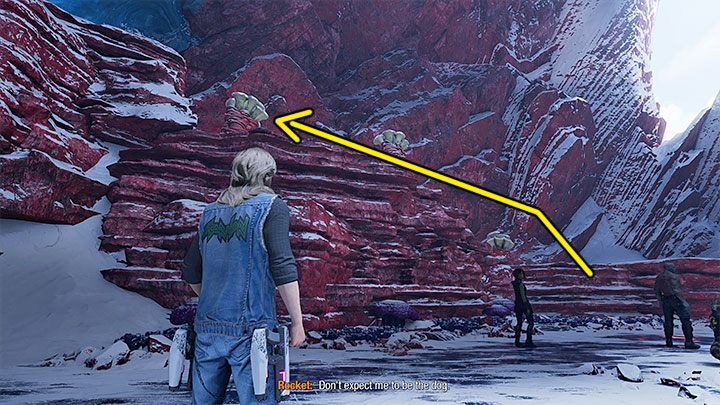
After defeating the monsters, find a climbable wall (shown in the screenshot) and ask Gamorra to stick to it. This will allow you to reach the higher snow-covered shelves and on one of them is a collectible: Costume - Black Vortex Outfit (Gamora).
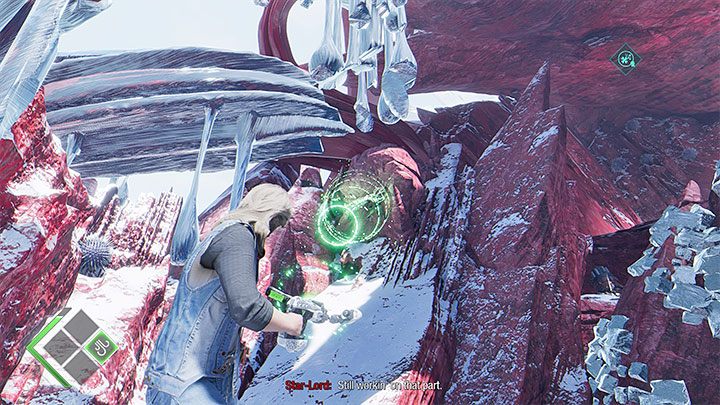
Resume your journey. You'll encounter popsicles - ask Gamora to slice through them and unlock the way forward.
In the next area, locate the hook (shown in the screenshot above) and use Wind Shot on it, then ask Drax to throw a large boulder at it.
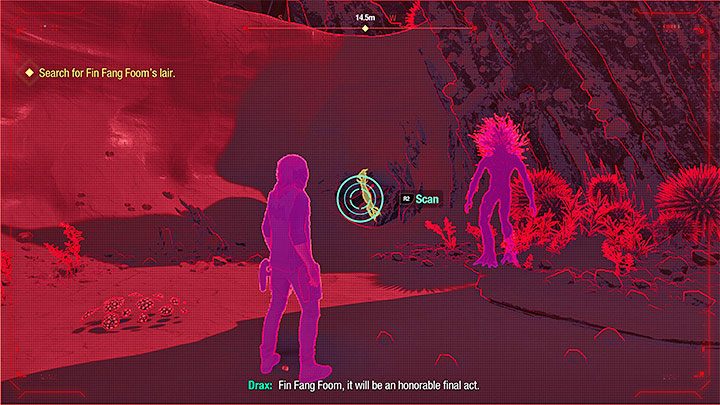
There be more combat in the next area. Once you win the battles, locate another weak point (screenshot above) on which you can use the Wind Shot. After squeezing through a small tunnel, ask Groot to create a bridge.
To proceed, you need to choose the narrow pathway next to abyss. As soon as you get through it, examine the right corridor closest to you. There is a secret inside: Costume - Five O’clock Sprouts (Groot).
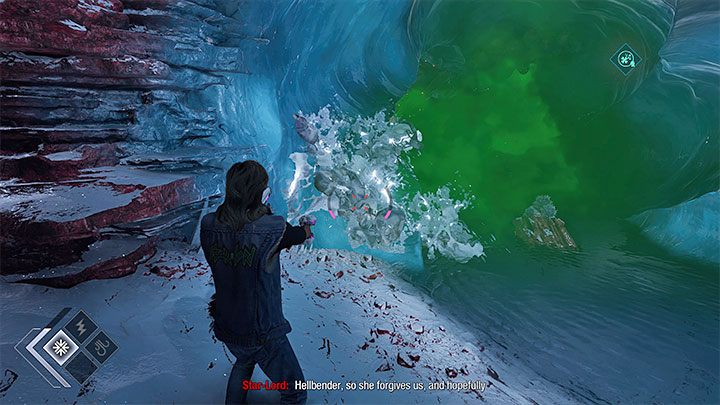
You'll find yourself in cave with poison gas. You have to plug the gaps, and you will be forced to additionally shoot goops with your ranged weapons.
After passing through the cave, find a new weakened wall which can be destroyed thanks to Drax. There is an easy battle ahead.
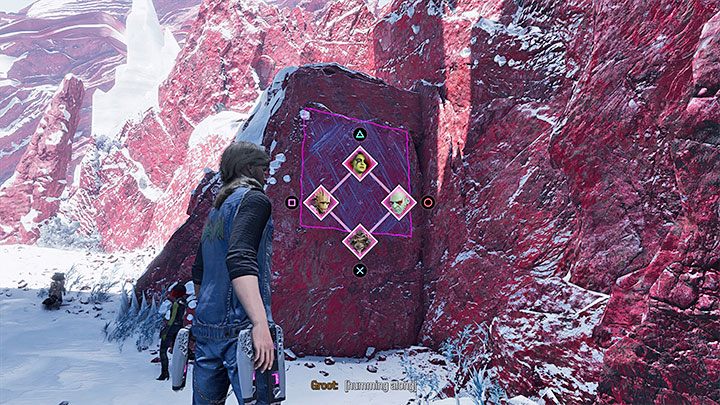
After defeating the opponents, Groot should automatically create a bridge. After crossing it, don't push forward, just examine the climbable wall from the screenshot. Climb to the shelf thanks to Gamora, as there is a collectible there - Xatar’s Blade Guardian.
Go back to the lower level and continue forward. Fire your blasters at a large cluster of parasites. This way, Drax will be able to push the obelisk.
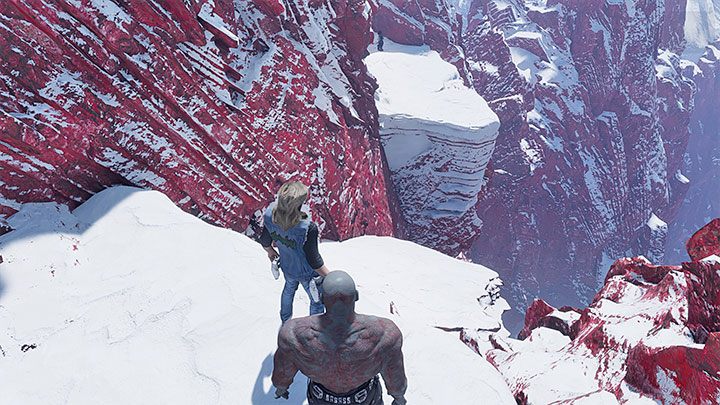
Don't rush the next area, as some fragments of the path may fall off and you may not have enough time to save yourself from falling down. In the area shown in the screenshot above, you need to slide down and perform a double jump at the end. You'll now proceed to small blue cave.
Get to the source of the smoke
Soon after you regain control of the characters, a slide will begin during which you need to avoid colldiing with large obstacles.
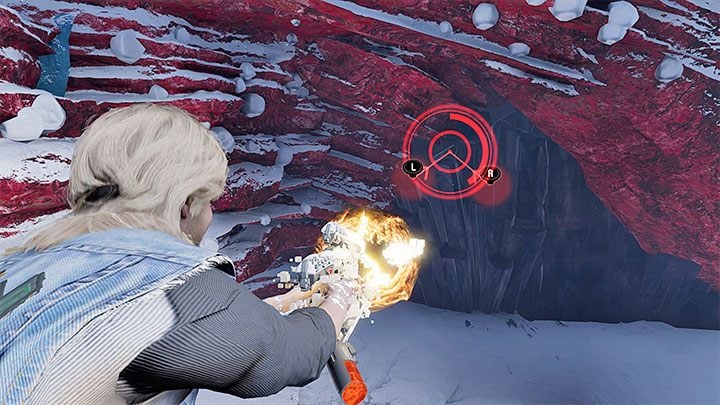
After the cut-scenes Star-Lord wilil unlock the Plasma Shot. You need to use it right away during a QTE - point the cursors to the central area (use both analog sticks) and press R1/RB as quickly as possible.
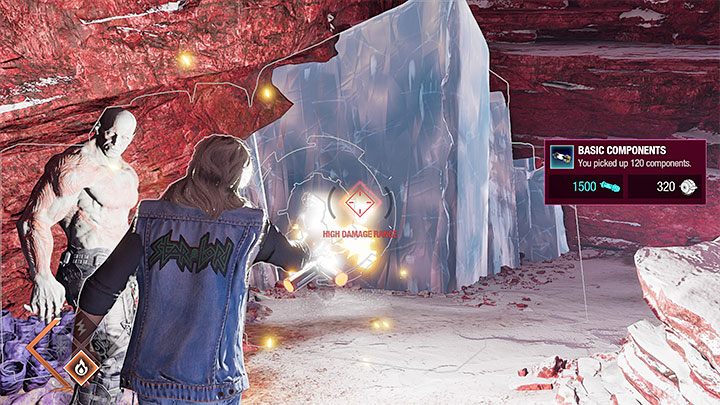
You now need to test the Plasma Shot on an ice barrier. Aside from choosing the right shot (d-pad) you must hold R1/RB. One shot will be not enough. Once you're successful, enter the ice cave.
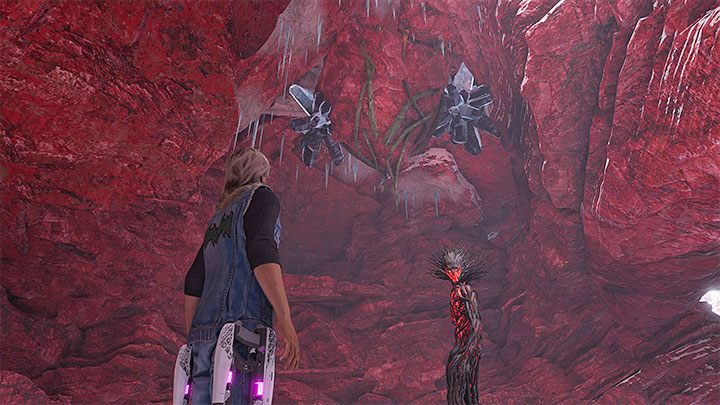
During your trek, you can use Plasma Shot on the crystals at the ceiling. Take special care of the crystals shown in the screenshot above - this is the final part of the cave, and destroying them will lower a large platform. You can jump on it and ask Groot to lift it up. Thanks to that, you'll reach an upper hiding place containing loot and a Costume - Star-Lord: War-Lord.
Go back down to the rest of the team and go to the cave exit.
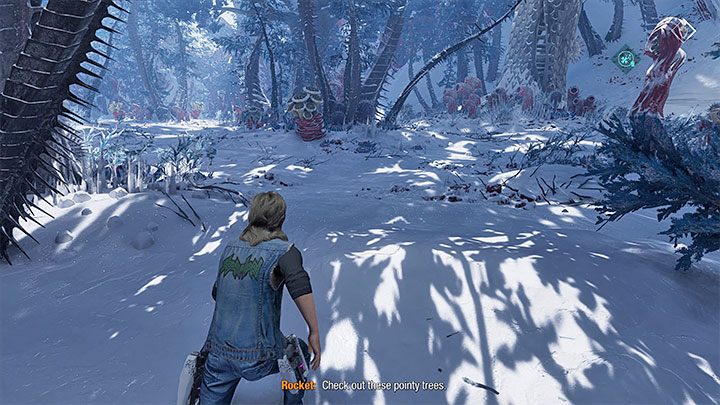
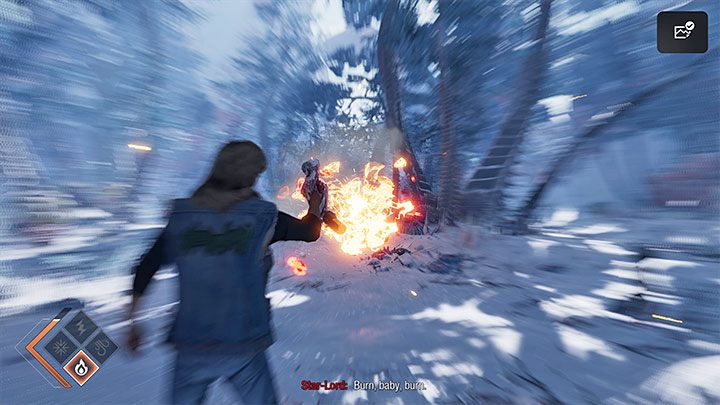
You'll see the first wendigo in the distance - the choice of the dialogue options is purely cosmetic, as it will only affect further cries of the monster. You'll reach a large forest (screenshot 1). Once inside, avoid exploding poisonous plants - destroy them with Plasma Shot from a safe distance.
Despite the dangers, it is worth exploring the forest carefully, because there are as many as 3 collectibles here:
- Archive: The End of My Hunt - vicinity of the starting location
- Guardian Collectible - Deeproot Plant - vicinity of the starting location
- Costume: The Stinger (Rocket) - further part of the forest, on the right
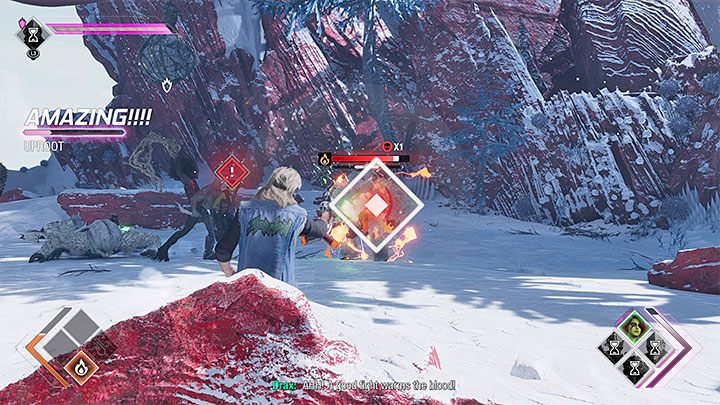
Keep going until wendigos attack your team. The monsters are vulnerable to Plasma Shot, but before it is charged, stay mobile and away from the opponents. You can also target these wendigos that fight with your team members.
Once the battle concludes, continue through a narrow pathway. You now need to complete a longer slide down the ice. As always, avoid all obstacles.
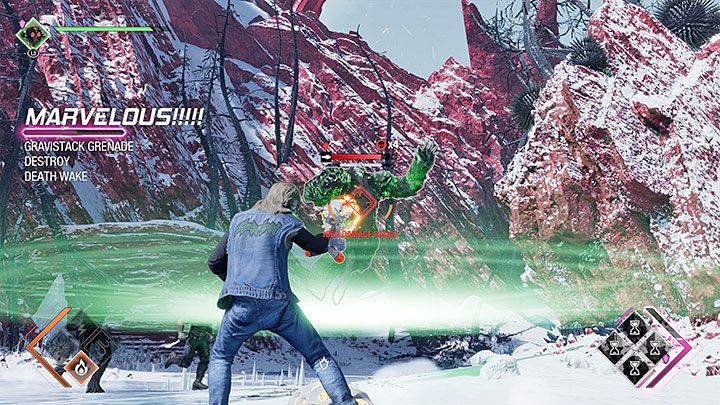
At the bottom, the second battle with wendigos will start. Soon, the battle will be joined by an alpha wendigo - it is a simply more powerful version of a normal wendigo. Plasma Shot works well on him, although "officially" it is not his weakness. Aim and fire at the largest wendigo, filling its stagger bar so you can easily fire the most powerful skills on him and weaken him easily.
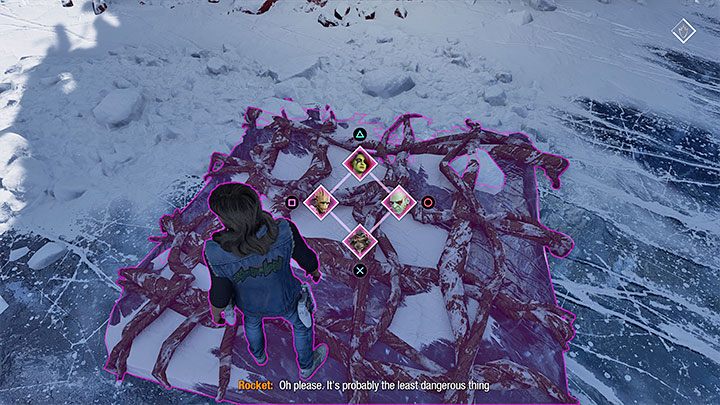
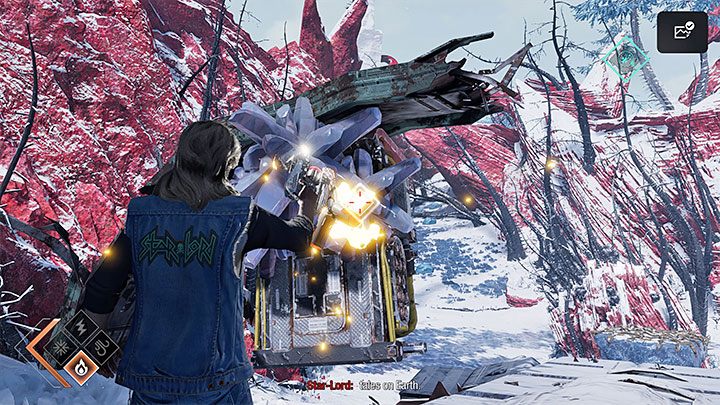
After combat, find an interactive platform (screenshot 1) and ask Groot to lift it up.
In the new upper area, you will find a collectible - Archive: Wendigone! Moreover, fire Plasma Shot at the crystals (screenshot 2) - doing that will unlock a large object. Thanks to it, the rest of the team can climb to the upper level. Ask Drax to move the heavy object.
Explore the village
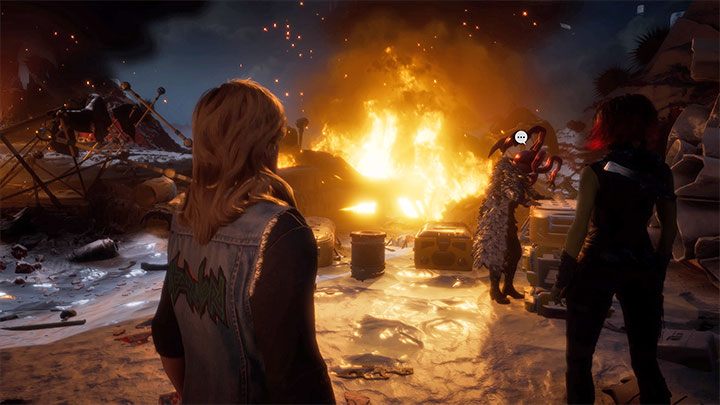
You'll get to a small burning village where you'll encounter Ruby Thursday - you can talk to this character, but it doesn't affect any events or course of the chapter.
In the village, there is a workshop table and a collectible -Archive: Unsent Major Setback. After exploring the area thoroughly, find a narrow pathway that leads forward.
Search for Fin Fang Foom's lair
You'll encounter a slide soon after leaving the village. After reaching the end, you'll be on an icy ground, but your heroes won't slip.
Continue through the leftmost path. You can climb up in the area shown in the screenshot, destroying further exploding plants along the way. The side path leads to the final collectible in this chapter, which is Costume - Katathian Monk (Drax).
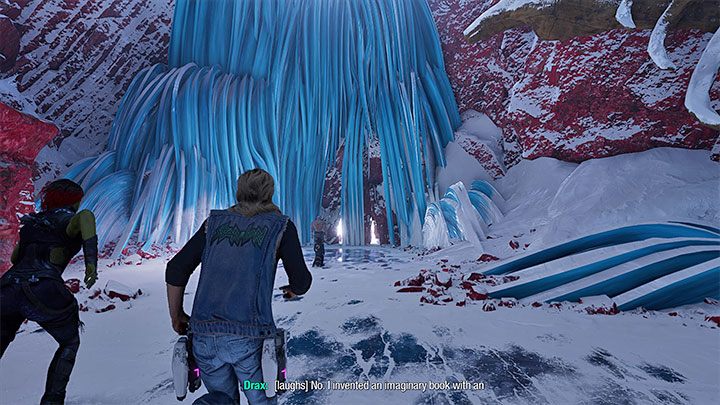
The path shown in the screenshot leads to Fin Fang Foom's lair. After entering a location with a large frozen lake Fin Fang Foom will appear and the battle with the boss will begin.
Boss fight - Fin Fang Foom
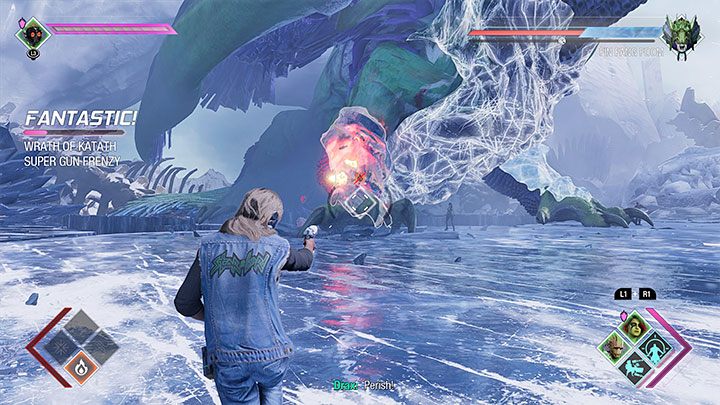
During the first phase of the encounter, your priority is to destroy ice armor fragments, located on his chest, claws, and head. It's worth holding down the left trigger so that the crosshair automatically locks on these types of weak points on the boss's body.
Use Plasma Shot to weaken the boss's armor, which was unlocked shortly before the confrontation with the boss. Your successful attacks will gradually weaken the blue " ice" energy bar - you won't be able to deplete the "proper" red heath bar for now.
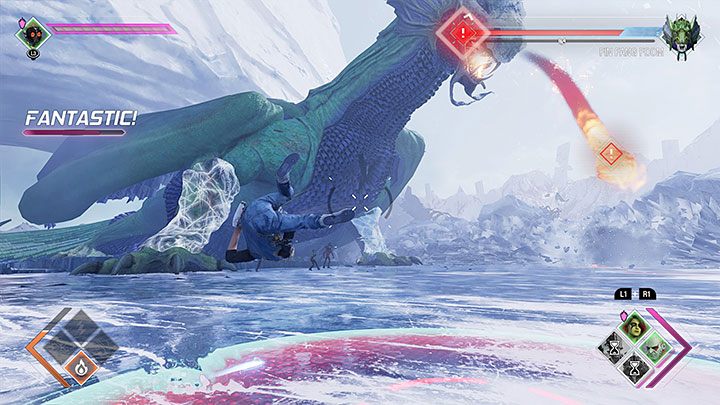
Of course, the boss won't remain idle waiting for your attacks. Fin Fang Foom uses several main types of attacks indicated by red exclamation marks, so you will have time to react:
1) Spitting fireballs - They can cause serious damage if they hit you. Stay in constant motion and dash sideways if you see a missile coming your way. The game indicates where the projectiles will land with red circles on the ground.
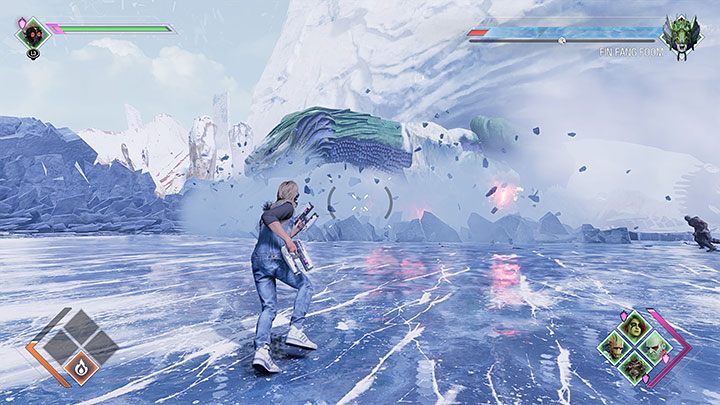
2) Massive attack with the whole body - If you're attacking the boss from a long distance, you shouldn't worry about it. Otherwise, quickly move away from the dragon to get out of the range of the attack.
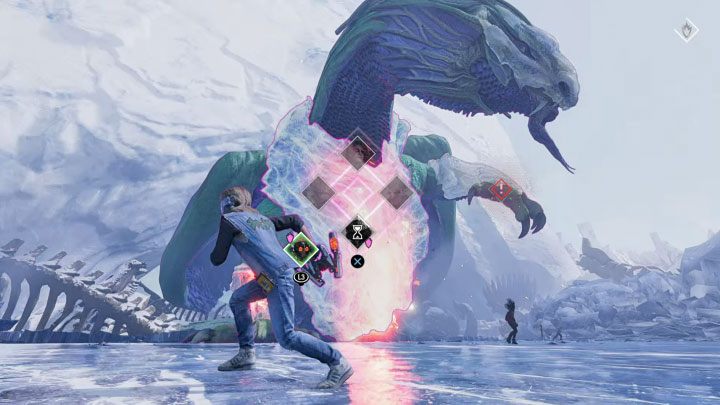
3) Strong attacks with claws - Avoid standing near the boss when he's going to hit you. Interestingly, there is a good chance that the claws will dig into the ice and become an easy target for your plasma attacks for some time.
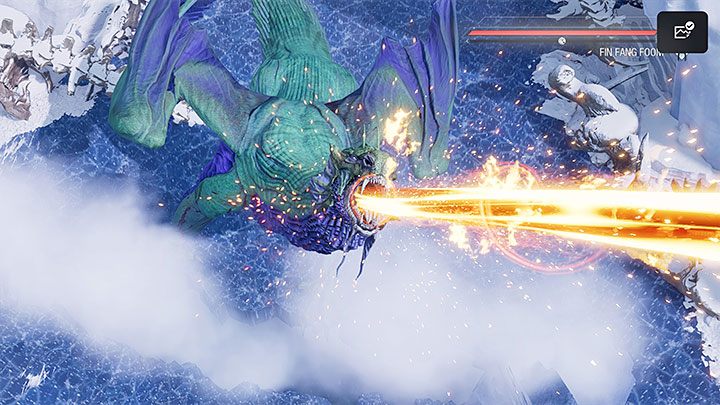
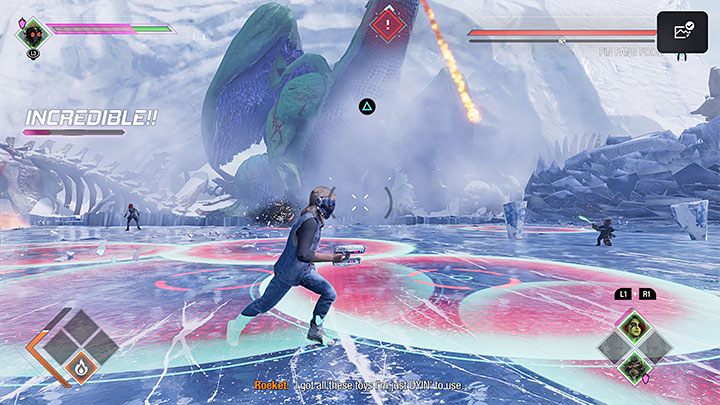
After you've made it to the second phase of the encounter the arena will be bombarded for the first time by ice blocks. Every time that happens, you have to look closely at red circles on the ice and try to stand somewhere in between. This will allow you to dodge falling ice blocks and small fire orbs, which will also hit the ground.
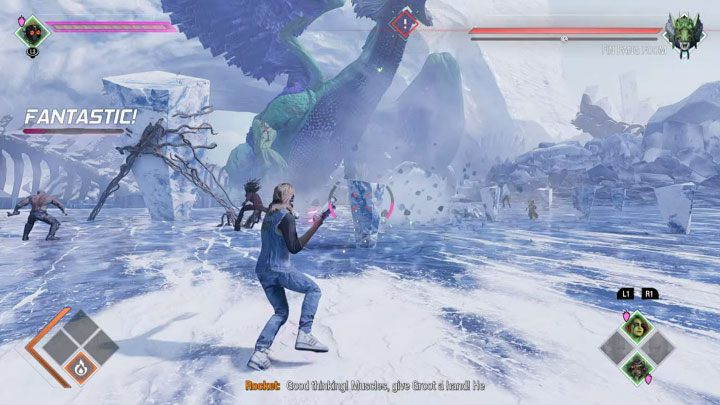
You should note that Drax and Groot will take care of the largest ice block (screenshot 1).
Wait for a signal from Drax - the interaction button icon will appear before the dragon (Triangle / Y - screenshot 2). Quickly press the button to activate a team attack and throw a huge ice block at the dragon.
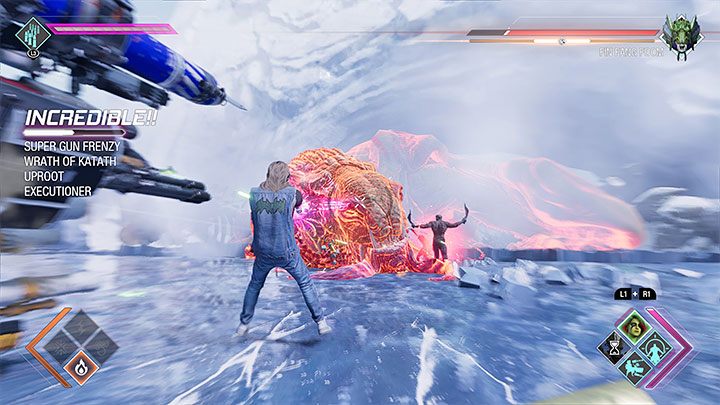
If the attack is successful, the boss will be stunned, and he will collapse on the arena. Take this opportunity to activate the strongest abilities of the team members. Your goal is to deal as much damage to the monster as you can before it gets off the ground and becomes more resistant to attacks.
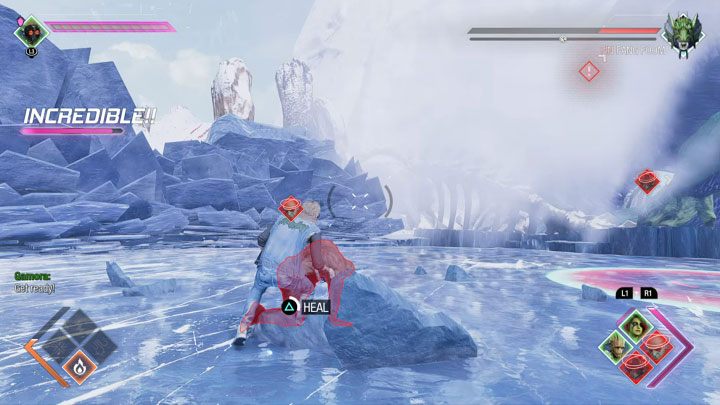
From now on, you can repeat the scheme we've described. You have to wait until the dragon shoots at "flying" blocks that fall on the ground and then until Drax is ready to throw the largest block. Then, attack the stunned dragon again.
Remember to keep helping fallen comrades - both those whose health dropped to 0 and those with the negative status of freezing imposed on them. This is especially important in the case of Drax because, without him, it will be impossible to stun Fin Fang Foom effectively.
As a reward for defeating the dragon, you will receive an achievement, Foom's doom. You now can begin Chapter 14.
- Guardians of the Galaxy Guide
- Guardians of the Galaxy: Walkthrough
- Guardians of the Galaxy: All Quests and Important Choices
- Guardians of the Galaxy: All Missions
- Guardians of the Galaxy: Prologue and Chapter 1 - walkthrough
- Guardians of the Galaxy: Chapter 2 - walkthrough
- Guardians of the Galaxy: Chapter 3 - walkthrough
- Guardians of the Galaxy: Chapter 4 - walkthrough
- Guardians of the Galaxy: Chapter 5 - walkthrough
- Guardians of the Galaxy: Chapter 6 - walkthrough
- Guardians of the Galaxy: Chapter 7 - walkthrough
- Guardians of the Galaxy: Chapter 8 - walkthrough
- Guardians of the Galaxy: Chapter 9 - walkthrough
- Guardians of the Galaxy: Chapter 10 - walkthrough
- Guardians of the Galaxy: Chapter 11 - walkthrough, solution
- Guardians of the Galaxy: Chapter 12 - walkthrough
- Guardians of the Galaxy: Chapter 13 - walkthrough, solution
- Guardians of the Galaxy: Chapter 14 - walkthrough, solution
- Guardians of the Galaxy: Chapter 15 - walkthrough, solution
- Guardians of the Galaxy: Chapter 16 - walkthrough, solution
- Guardians of the Galaxy: All Quests and Important Choices
- Guardians of the Galaxy: Walkthrough
You are not permitted to copy any image, text or info from this page. This site is not associated with and/or endorsed by the developers and the publishers. All logos and images are copyrighted by their respective owners.
Copyright © 2000 - 2025 Webedia Polska SA for gamepressure.com, unofficial game guides, walkthroughs, secrets, game tips, maps & strategies for top games.
