LEGO Skywalker Saga: Niima Outpost - list of all puzzles
This page of the LEGO Star Wars Skywalker Saga guide contains all the puzzles (Kyber blocks) from the Niima Outpost on the planet Jakku.
This page of the guide to LEGO Star Wars The Skywalker Saga contains a list of collectibles in Niima Outpost located on planet Jakku. The guide features detailed descriptions of the puzzles from the settlement, thanks to which you will be able to reach the hidden Kyber Bricks - a type of collectibles in the game.
- Steelpecker Rodeo
- Star Destroyed
- Cliff Hanger
- Wreckage Reward
- Desert Drum
- Silver Scavenger
- Energise !
- Cracking Up
- Salvage Sharpshooting
- Sandy Sprint
- Desert Dangle
- Welcome to Niima Outpost!
- Star Destroyer Scramble
- Engine Exploder
- Golden Dune
- Down At the AT-AT
- Gliding into the Sunset
- Tentative Treasure
- Down and Outpost
- Plutt's Hut
- Jugs of the Junkyard
- Trough Luck
- Highest Point in the Outpost
- Portion Control
- Unkar Plugged
- Kanjiclub Cache
Steelpecker Rodeo

Collectible: Puzzle - Kyber Brick
This secret has no fixed position, because the brick is held by a bird flying over the area. You should notice it immediately after landing in this location, i.e. in the central part of the map.

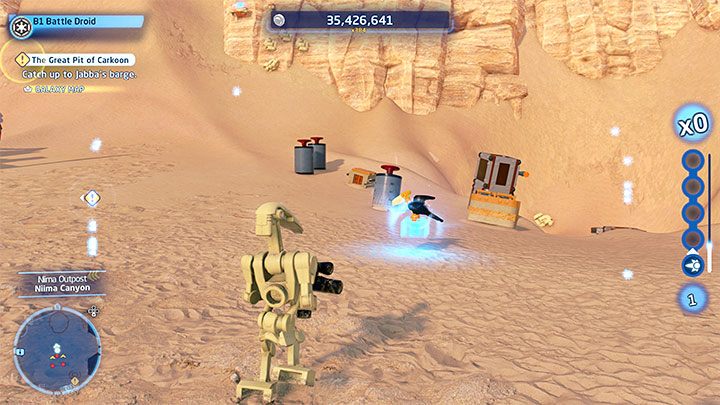
You have to take all the bird's health, which you can achieve with blasters, but make sure you aim before the bird, because the bullets move quite slowly. Once the bird's health bar runs out, the creature will land. Attack it one last time (a melee attack is also possible) to make it drop the brick.
Star Destroyed
Collectible: Puzzle - Kyber Brick
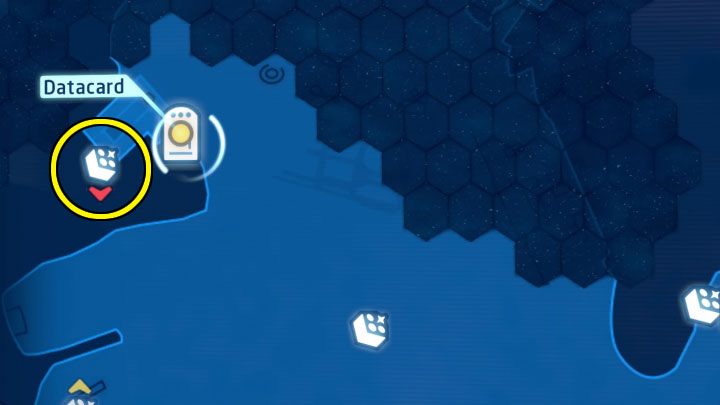
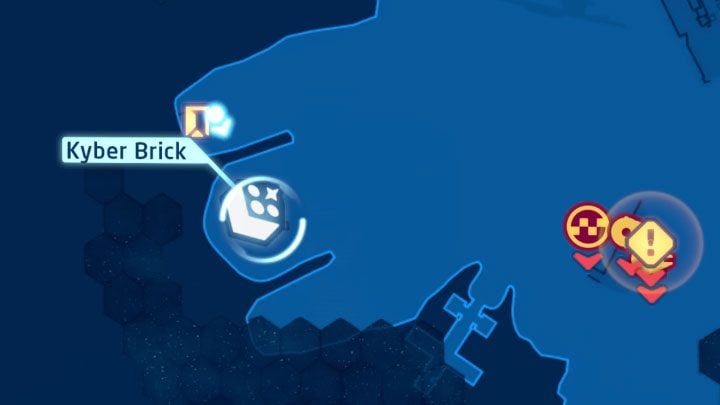
The brick is in the north-western part of the map, near one of the data cards.
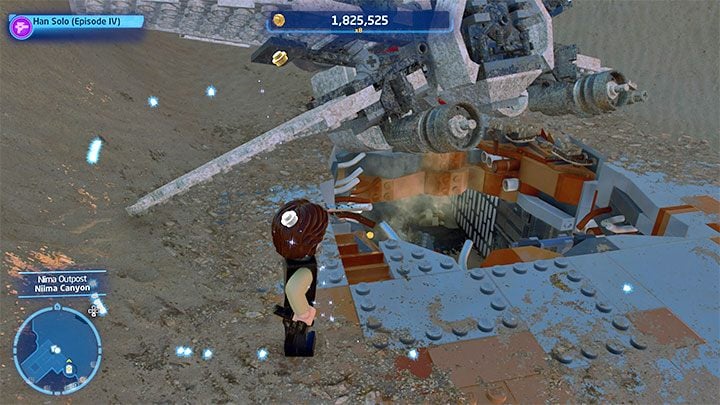

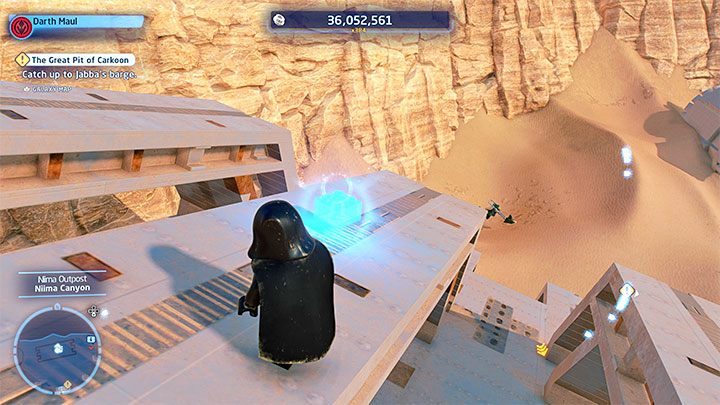
To reach the collectible, you have to use the opening next to the wreckage shown in picture 1. You will reach a wall that can be cut open by any character equipped with a lightsaber. After destroying the wall, you will find the secret and solve the puzzle.
Cliff Hanger

Collectible: Puzzle - Kyber Brick
The brick is in the northern part of the desert.


Use the climbing wall from picture 1 - shoot all its unique elements to reveal all hooks. Switch to any character that can pull up to the further hooks. Move along the hooks until you reach the collectible shown in picture 2.
Wreckage Reward


Collectible: Puzzle - Kyber Brick
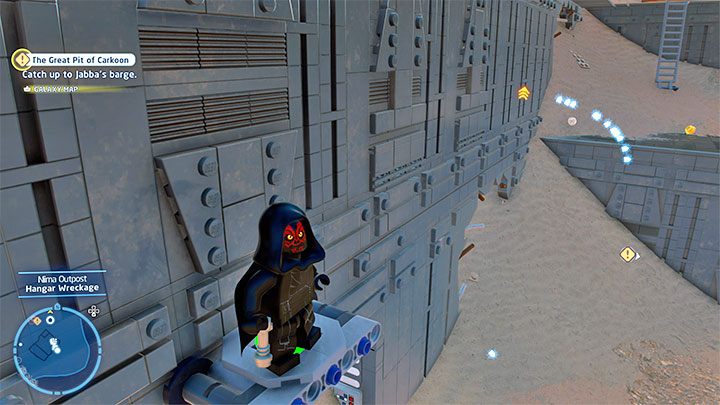
The puzzle is at the northern end of the map. You have to get to the top of the large wreck shown in the picture above.

You need to use a character that wields the Force to climb. Find interactive crates in the area and build towers using the Force - the process of creating such a tower is shown in picture 1. You have to build two towers (bigger and smaller), thanks to which you will get to the secret from picture 2.
Desert Drum

Collectible: Puzzle - Kyber Brick
The brick is in the northern part of the map.

Acquiring this brick does not require any skills. Climb the dunes and reach the partially buried circular structure.
Silver Scavenger

Collectible: Puzzle - Kyber Brick
The puzzle is in the northern part of the desert.

Switch to any character from the Villains class and locate the silver object shown in the picture. You can destroy it by throwing a grenade, which will reveal the Kyber Brick.
Energise !

Collectible: Puzzle - Kyber Brick
The brick is in the northern part of the map.

Choose any Scavenger, e.g. Rey. Locate the cracked wall shown in the picture above. Craft a Demolition Blaster and use it to destroy the wall.


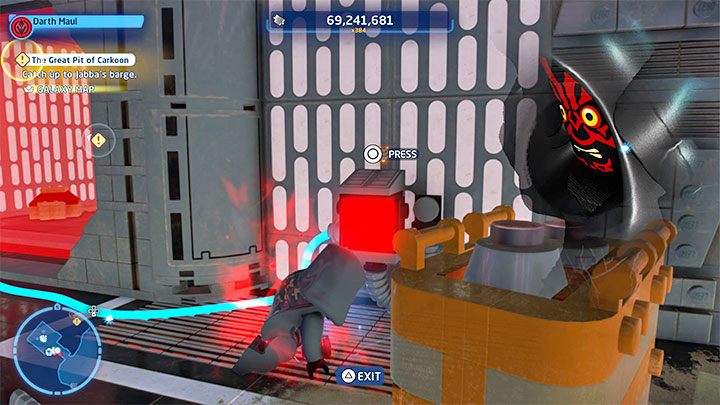
Jump down to the lower area. The main path is blocked by an active red force field. Place one of the heroes on the pressure plate shown in picture 1. Keep going until you reach the end of the corridor. Destroying the nearby objects will reveal the brick you're looking for.
Cracking Up

Collectible: Puzzle - Kyber Brick
The brick is hidden in the northern part of the map.
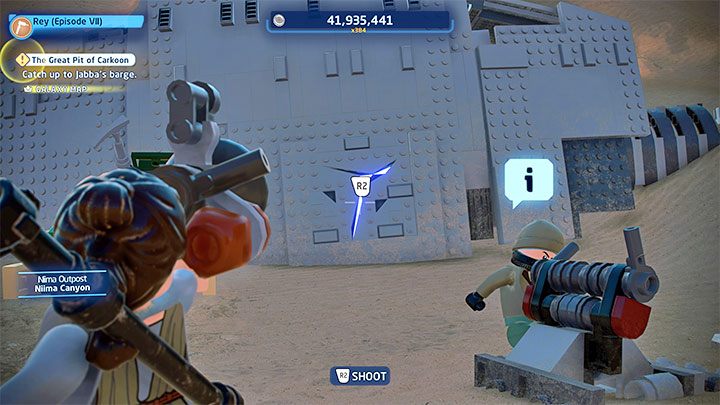
Choose any Scavenger (e.g. Rey) and craft a Demolition Blaster. You have to use it to blow up the cracked wall shown in the picture. You'll find the secret right after destroying the wall.
Salvage Sharpshooting
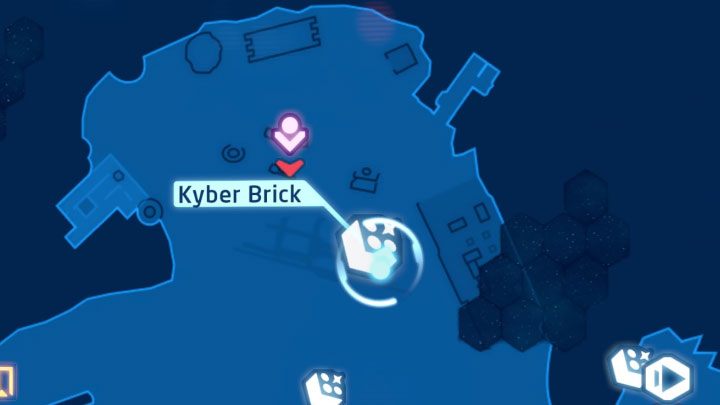

Collectible: Puzzle - Kyber Brick
The brick is in the northern area of the map. It is in a locked crate inside a large circular wreck.
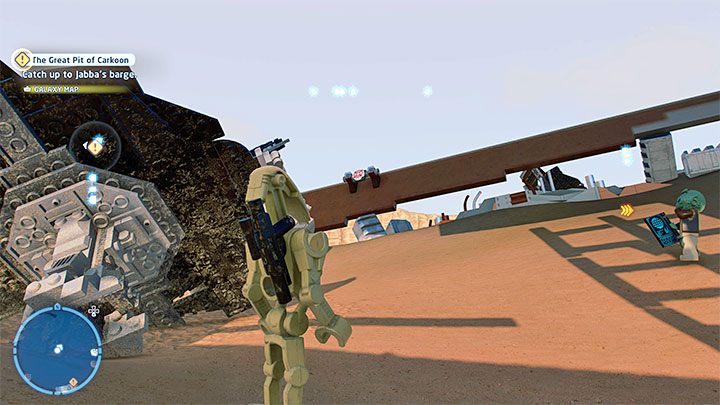
There are 4 targets in the area which you need to shoot with your blaster, but be aware that a countdown will start after hitting the first one. 3 shields are easy to find on the wreckage walls around the crate with the collectible. The last shield is in the open air (see picture). After hitting all 4 targets, return to the now open chest with the collectible.
Sandy Sprint


Collectible: Puzzle - Kyber Brick
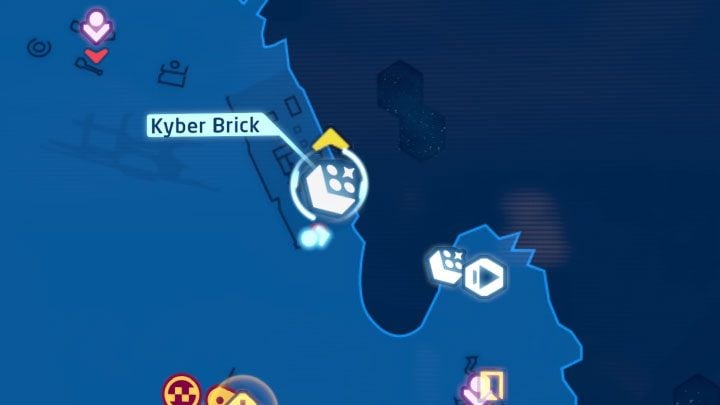
The brick is in the central part of the desert. You have to focus on the wreckage with a small red dome that hides the collectible.
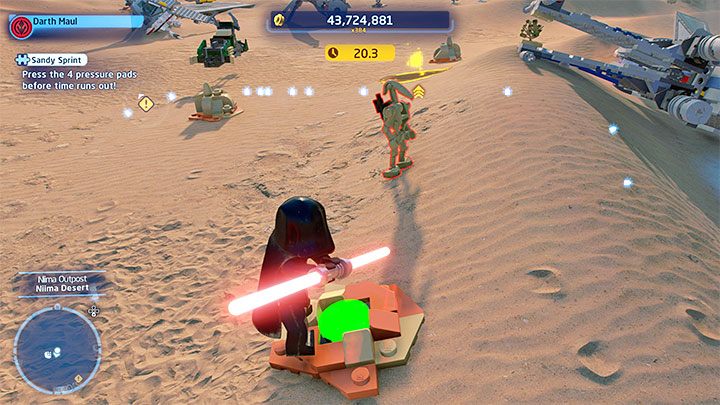
Destroy small objects in the area to reveal 4 pressure plates. Run over them one by one. You don't need to stop on each one, you'll have plenty of time to activate them all.
Desert Dangle

Collectible: Puzzle - Kyber Brick
This puzzle is in the north-eastern part of the map. It's the wreckage interior shown in picture 2. Your task will be to reach the upper right ledge (the one with double support).

Hanging platforms will help you reach the brick, but some of them are too far apart by default, and even a double jump won't help. The solution to this problem is hitting the shields attached to the platforms to make them swing, although even then you have to aim your jumps perfectly to avoid falling down.

Grab the rope and swing on it as you move towards the collectible. On your way, you can optionally drop the large crates you pass by to use them as springboards and return to the top faster in case you make a mistake. Ultimately, you have to reach the shelf shown in the picture above.
Welcome to Niima Outpost!

Collectible: Puzzle - Kyber Brick
The brick is in the central part of the map, next to the landing pad.

Destroy the bricks under the landing ramp and you will reveal the secret shown in the picture. Now you just need to squeeze in there.
Star Destroyer Scramble

Collectible: Puzzle - Kyber Brick
The brick is in a separate location with the Star Destroyer Wreckage, the same one that you visited while playing as Rey in episode 7. It was the Scrap for Scraps quest. The entrance to this location is at the western end of the main map (see picture above).
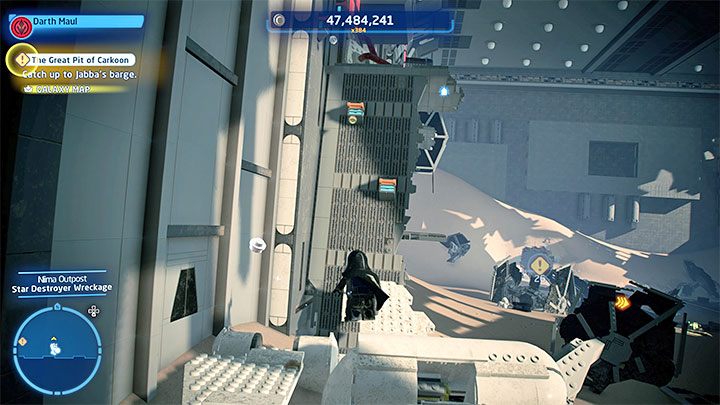
Your task will be to reach the high ledge on the right. Find the interactive edges at the bottom to climb up. Pull the lever on the new shelf.

The entire puzzle is based on jumping across the protruding platforms. The problem is that some of them will retract regularly. As a result, you have to wait for the right moments and, if possible, remember their movement pattern (as well as which ones remain stationary).

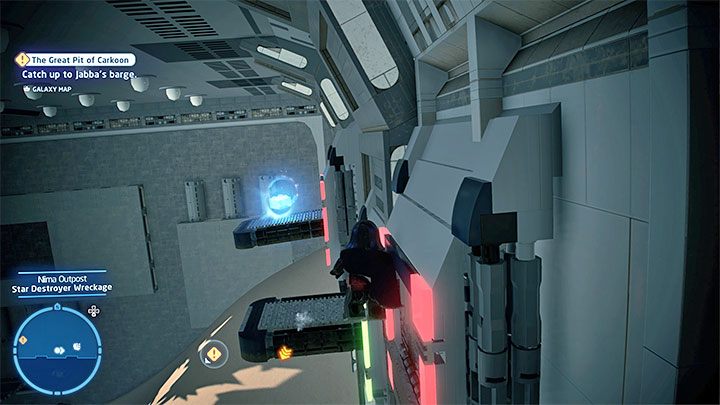
On your way, you will come across a small shipwreck, and you only need to repeatedly hit the target shown in picture 1 to unlock your way further. Then use the rope. Along the way, you can also optionally build a springboard to be able to return to the top faster.
In the upper section, you have to be even more careful and quickly jump across the retracting platforms when they are out. Your destination is the shelf with the brick shown in picture 2.
Engine Exploder
Collectible: Puzzle - Kyber Brick
The brick is in the western part of the desert map.

The collectible is very easy to obtain. Examine the rear of the huge engine from the destroyer wreckage. You can take the brick right away.
Golden Dune

Collectible: Puzzle - Kyber Brick
The brick is in the eastern part of the map.

Switch to any character in the Bounty Hunter class. You have to shoot the golden object on one of the dunes (shown in the picture). This way you will reveal the collectible.
Down At the AT-AT


Collectible: Puzzle - Kyber Brick
This puzzle's location is Rey's AT-AT wreck located a short distance east of the landing field. You can enter the wreck, but you will quickly discover that you can't do anything here at the moment. You have to go back outside and look at the 3 slots shown in picture 2. Your task will be to power them up.

You will find the first source of energy next to the wreck. You can place it in any of the 3 available slots.


The other two energy sources will be marked with purple icons on the map of this location. You will find them:
- in the desert in the northern part of the map (picture 1)
- in the settlement in the southern part of the map (picture 2)
Note - Don't pull up the map or do anything unnecessary when moving objects. Your character may "lose" the transported object. It will reappear in the place where you first found it, and you will waste your time going back for it.
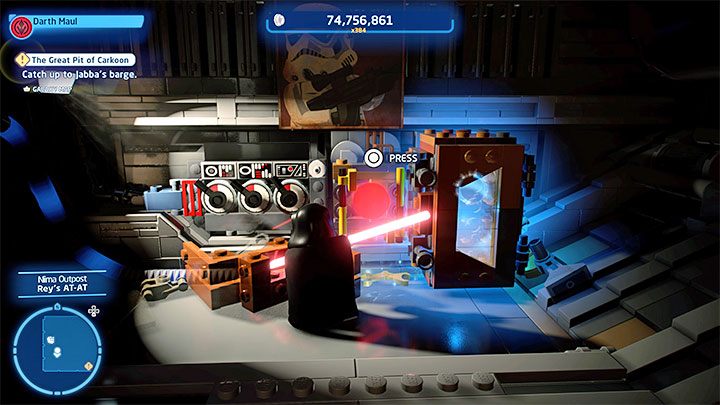
You can enter the AT-AT wreck once you've delivered all 3 objects. Destroy the nearby objects to reveal the button shown in the picture. You will now open the container that hides the brick.
Gliding into the Sunset

Collectible: Puzzle - Kyber Brick
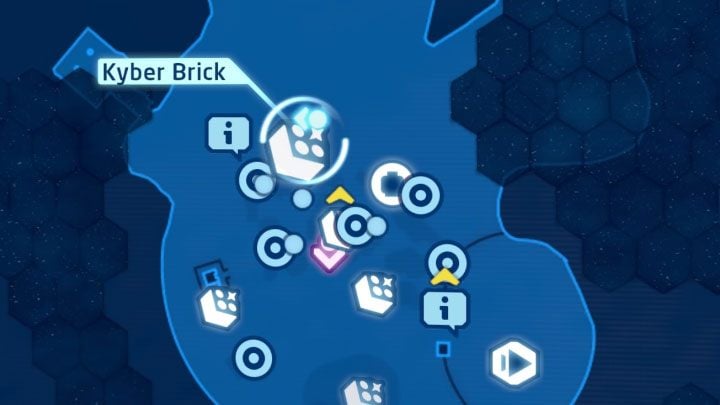
The brick is to the north of the settlement in the southern part of the map.

The secret levitates high above the dunes, and the game will suggest that you use a Glider. However, you can get the secret easier by using a character that wields the Force and a droid. Stand under the brick, use the Force to grab the droid and move it near the brick (picture above). Switch to the droid to grab the brick in the air.
Tentative Treasure
Collectible: Puzzle - Kyber Brick
The brick is in the settlement in the southern part of the map.

It is hidden behind the crates shown in the picture above. Just destroy them, and you will be able to pick up the brick right away.
Down and Outpost

Collectible: Puzzle - Kyber Brick
The puzzle is located to the north-east of the settlement in the southern part of the map. It will be one of the wrecks. The brick is inside a locked crate, and to unlock it, you have to activate 4 pressure plates at the same time.

As you only have two heroes available, you have to place heavy items on the remaining 2 pressure plates (see picture above). You can move them with the Force.
You can put your heroes on the 2 other pressure plates. The one shown in the picture above is more problematic - you have to build a crate tower under it and use the Force again. Eventually, the crate will open and you will obtain a brick.
Plutt's Hut

Collectible: Puzzle - Kyber Brick
The brick is in the settlement in the southern part of the desert.

You need to focus on Plutt's Hut, which is blocked by a red forcefield. Choose any character that can use the Force, go to the back of this building and stand by the window shown in the picture. You can use the Force to press the button from a distance and unlock access to the collectible.
Jugs of the Junkyard

Collectible: Puzzle - Kyber Brick
This is one of the simplest puzzles. You have to destroy the jugs marked with yellow icons on the map (example in the picture above). There are 10 of them in the settlement, and you will automatically receive the collectible after destroying all of them.
Trough Luck

Collectible: Puzzle - Kyber Brick
This puzzle is in the settlement in the southern part of the map.
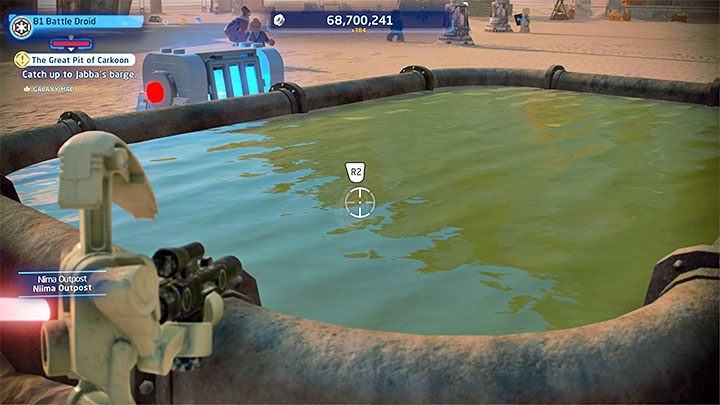
You will find a locked crate with the collectible next to a rectangular container. Choose any character with a blaster. Locate the target under the water - it is shown in the picture. Shooting it will unlock a container with the Kyber Brick.
Highest Point in the Outpost

Collectible: Puzzle - Kyber Brick
The brick is in the southern settlement.

Your task is to reach the top of the tower shown in the picture above. You need to choose a character that can pull themselves up to hooks. Move along the hooks until you reach the very top.
Portion Control

Collectible: Puzzle - Kyber Brick
The brick is to the north-west of the main part of the settlement in the southern part of the map.
Enter the wreckage and deal with a group of thugs. Access to the secret is blocked by a force field. Choose any character that can use the Force and use mind control on one of the characters on the other side of the force field. Order them to press the button shown in picture 1.
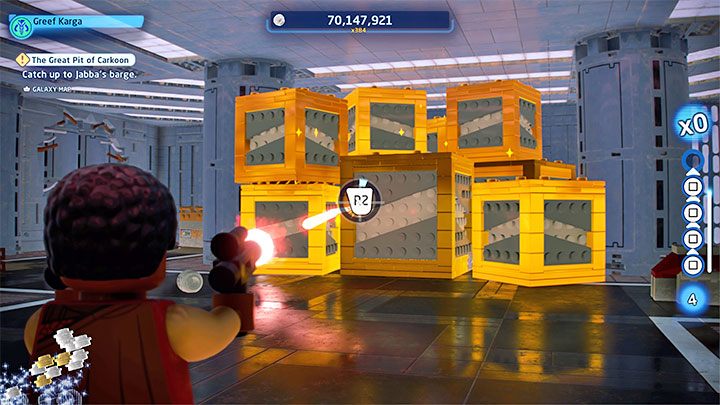
Now, choose any bounty hunter. You have to shoot the golden containers shown in picture 2, thus revealing the lair of a huge monster. After watching the cutscene, you will be able to approach the brick.
Unkar Plugged

Collectible: Puzzle - Kyber Brick
The brick is in a settlement in the southern part of the map. Focus on the larger area with a red force field guarded by mercenaries (consider getting rid of them).


Select C-3PO and interact with the golden terminal shown in picture 1. You can turn off the alarm and take control of another droid - use it to pull the lever shown in picture 2. You can now go inside and destroy the machine that hides the brick.
Kanjiclub Cache

Collectible: Puzzle - Kyber Brick
Getting this collectible may be blocked at first. The condition for gaining access to the collectible container is to complete The Jakku Job side mission. Its detailed walkthrough can be found in a separate section of the guide, which deals with the optional quests on the planet Jakku.
The questgiver for this mission - Bala-Tik - can be found in one of the eastern areas on the map (the picture above).
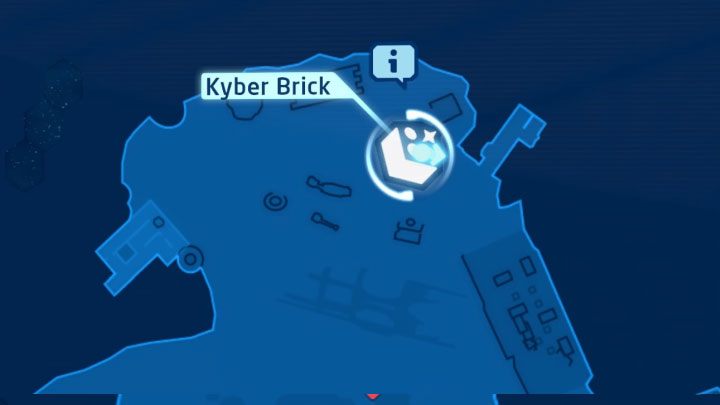
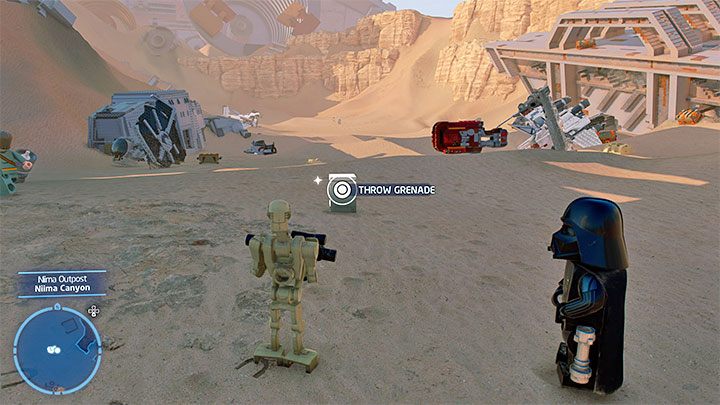
After completing the side mission and winning the battles, you will find yourself in the northern part of the map - this is where the Kyber Brick icon will appear. The secret is hidden in a small silver container that appears on the sand (previously it was impossible to find). You have to switch to any character from the Villain class and throw a grenade to break the chest and get the brick.
You are not permitted to copy any image, text or info from this page. This site is not associated with and/or endorsed by the developers and the publishers. All logos and images are copyrighted by their respective owners.
Copyright © 2000 - 2026 Webedia Polska SA for gamepressure.com, unofficial game guides, walkthroughs, secrets, game tips, maps & strategies for top games.
