LEGO Skywalker Saga: Master Codebreak-Out - walkthrough
This page of the LEGO Skywalker Saga walkthrough guide contains the walkthrough for the Master Codebreak-Out level from Episode 8 - The Master Codebreaker, Prison Break.
On this page of the LEGO Skywalker Saga guide, you will find the second part of the walkthrough for Episode 8 (The Last Jedi). It covers the Master Codebreak-Out level as well as the preceding meeting with the codebreaker. Our walkthrough explains where to find the master codebreaker, how to reach the guards' room (via trickery or by setting off an alarm), how to recover your gear and escape the prison after causing a riot.
- Finn... Leaking... Bag?
- The Master Codebreaker
- Master Codebreak-Out - challenges
- Walkthrough - reaching the guards' room
- Walkthrough - battling the guards and escaping the prison
Finn... Leaking... Bag?

After completing the first story mission you'll find yourself aboard the Resistance Cruiser, being tasked with finding an outfit for Finn. Reach the door marked by the game, use the orange terminal and finish the mini-game.
You must explore the area marked by the game. Specifically, you must destroy the object pictured above. After doing so, go to the new blue circle. Then, go to the bridge. After Rose Tico appears you'll be tasked with reporting a desertion. Head to the marked room.
The Master Codebreaker

After reaching the hangar select the planet Cantonica from the galaxy map. You must land in Canto Bight.
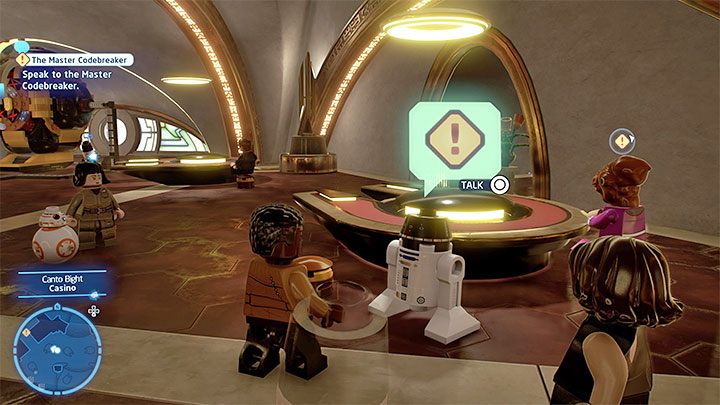
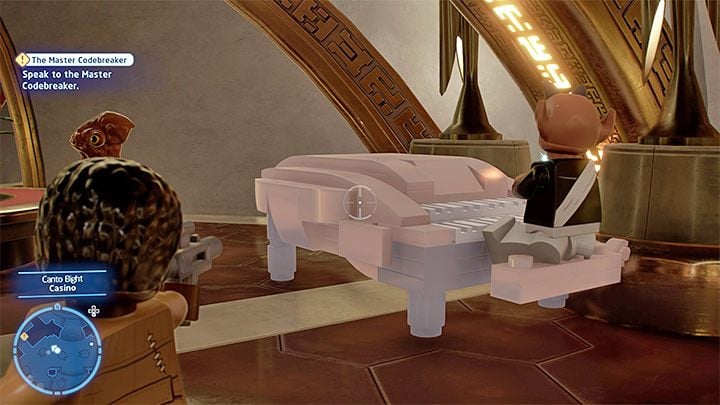
After landing, head to the northern part of the newly discovered location. Your destination is the casino. Once you're there, talk to the marked NPCs and you'll learn where to find the codebreaker.
Unfortunately you won't be able to enter the side area, as it's guarded by a Twi'Lek. Talk to the R5-M2 droid (picture 1). You'll learn that you can distract the guard by shooting or hitting the piano (picture 2). After unlocking the way forward, approach the blue circle to start the Master Codebreak-Out level.
Master Codebreak-Out - challenges
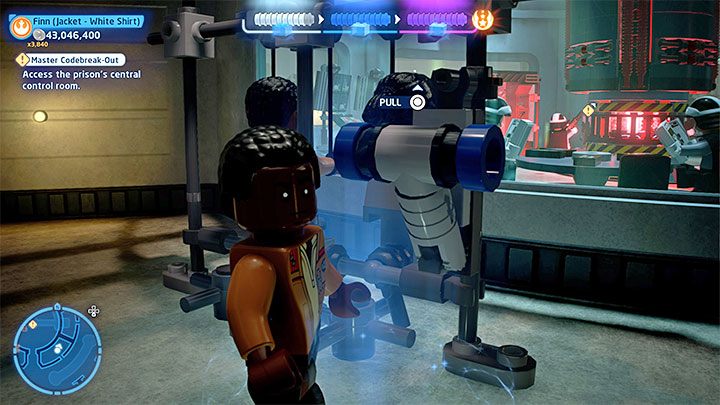
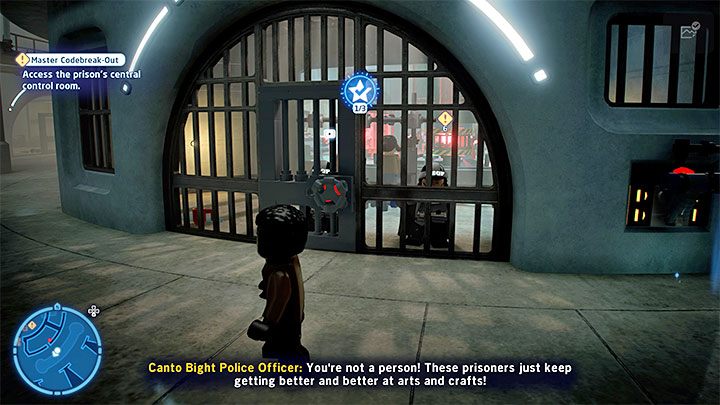
There are 3 challenges appearing in this level:
- Isn't it Ironic? - You must lock a guard in a cell. This challenge can be completed at the beginning of the mission. Open the inner cells. There are breakable items in one of them. Destroy them and build some guard dummies out of the fragments (picture 1). Pull the lever, leave the cell and wait for the real guards from the central room to arrive. Once they do, pulling the lever in the main corridor will let you lock the cell and trap them inside (picture 2).
- Prison Break - You must enter the guards' room without being detected. We've described how to trick the guards by unlocking and moving a statue later on.
- Guards Down - You must defeat 8 guards while escaping the prison. This is an easy challenge. Afte reaching the central room don't immediately open the hatch to escape the prison, eliminate the required eight guards first.
Walkthrough - reaching the guards' room


You start off this level in prison, with your objective being to escape. There are two main ways to reach the central room. The first one involves trickery and reaching the mission objective without raising an alarm.
Take a look around. You can pull the levers and open some cells. You'll find a small machine shown in picture 1 in one of them you can mount. Take it to the matching slot shown in picture 2.
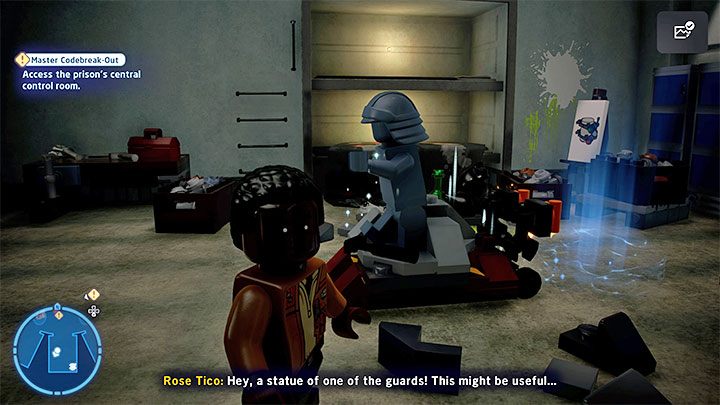
You'll unlock a cell where you can push a statue of a guard pictured above. Push it near the central room's entrance and press the button to trick the guards.

The second method is purposefully raising an alarm. If you want to do this, look for the pushable container pictured above.

Find two red pressure plates (you may have to rebuild one of them). Here's what you need to do:
- Push the container onto one of the plates.
- Stand on the second plate as your first character.
- Switch to the second character and pull the newly unlocked lever.
Walkthrough - battling the guards and escaping the prison

Regardless of the chosen method, you'll have to fight the guards from the central room.
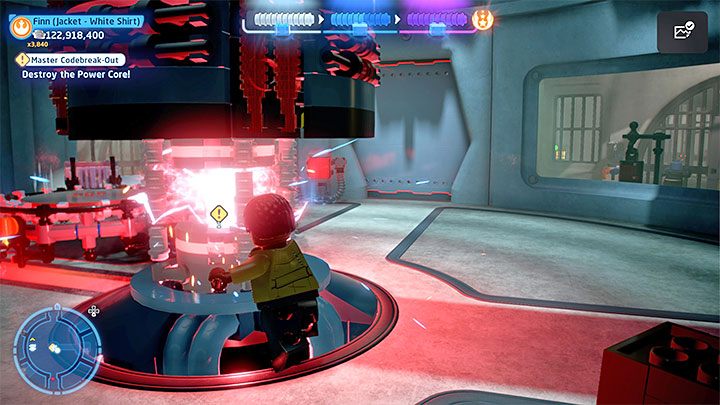
Your priority is recovering your gear which you can use the trampoline for. Use it to reach the higher floor and pull the lever (picture 1). You'll reveal an energy source at the bottom you must destroy (picture 2). This opens the cells and triggers a riot.

You'll retrieve your grapple hook you must use to pull open the hatch above - it's in the central corridor between the cells. Go down the hatch to escape the prison.
You are not permitted to copy any image, text or info from this page. This site is not associated with and/or endorsed by the developers and the publishers. All logos and images are copyrighted by their respective owners.
Copyright © 2000 - 2025 Webedia Polska SA for gamepressure.com, unofficial game guides, walkthroughs, secrets, game tips, maps & strategies for top games.
