Immortals Fenyx Rising: Nest Egg - walkthrough
Nest Egg - Ares' quests walkthrough
Last update:
On this page of the Immortals Fenyx Rising guide you will learn how to complete the Nest Egg story quest. This is the third quest related to Ares.
Start with going to a new marker on the map. That's where you'll find Ares, who you need to talk to.
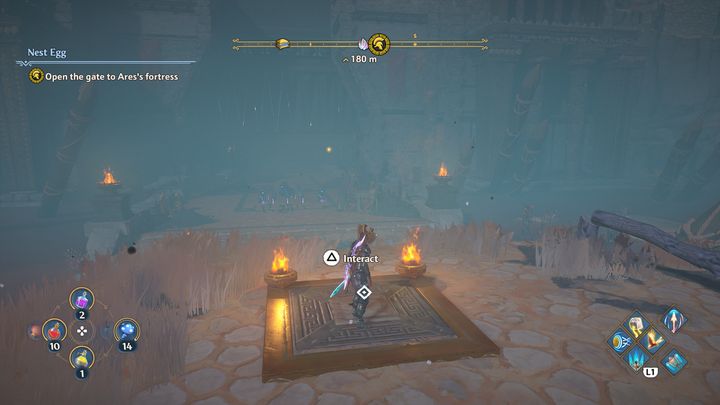
First, approach the new marker to open the gate to the Ares's fortress. After a short cutscene, you will need to get inside.
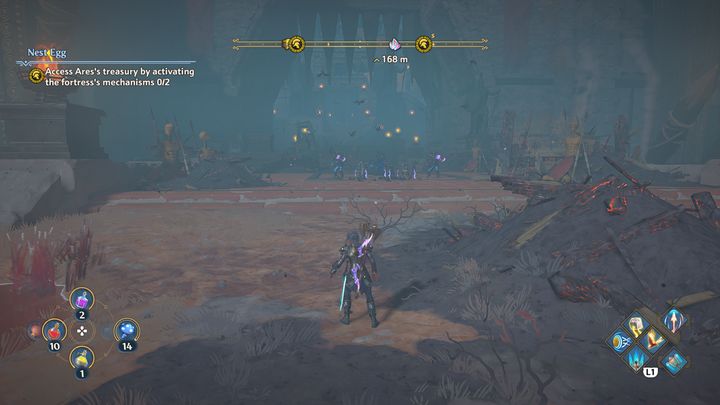
There will be a large group of enemies in front of you. You can fight them, but it will be a tough confrontation. If you don't feel up to it, you can sneak all the way to the back without alerting them.
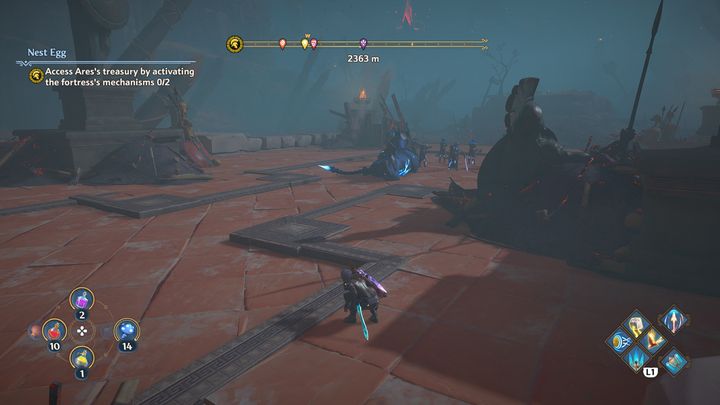
There is a body of water on your left side: dive into it so as not to get spotted and then go ahead quietly.
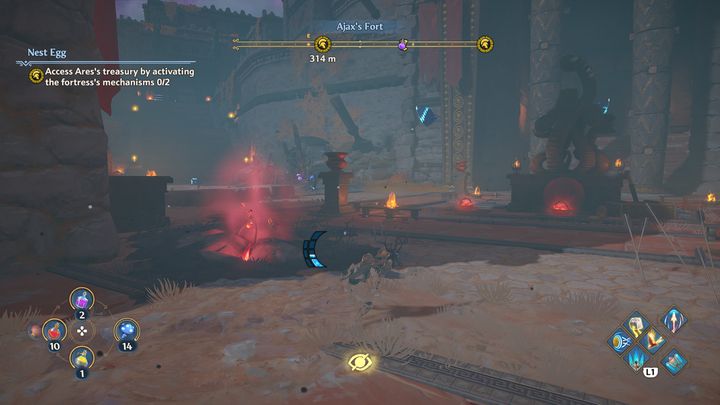
Now you will have to activate two mechanisms of the fortress. The fortress is full of enemies, so be careful not to draw too much attention. Go left first.
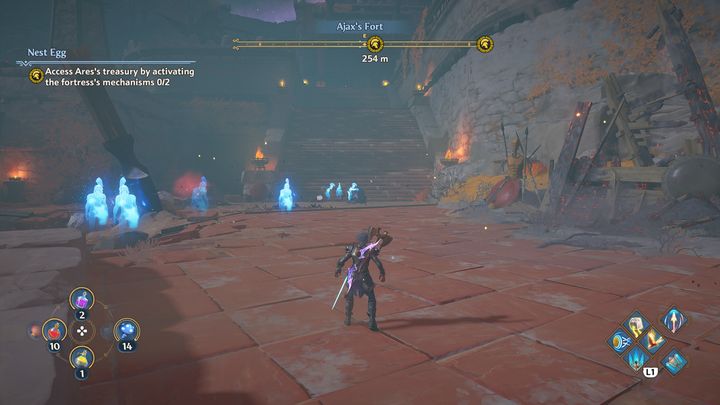
You'll find other enemies at the very top. Defeat them with forward shockwaves, then go inside.
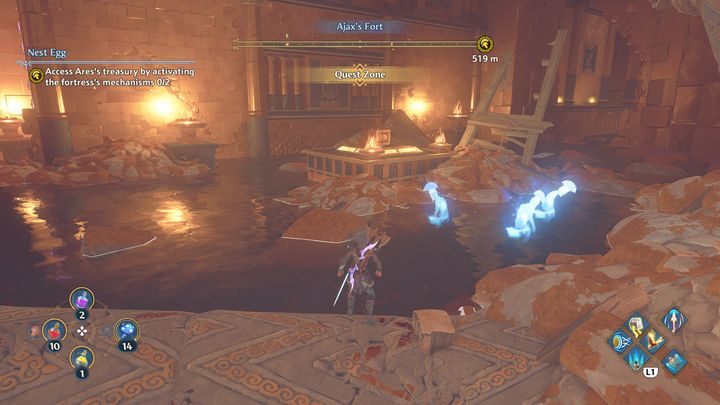
There are several ways to solve the puzzle. Take one of the stones and place it on the platform with a feather symbol.
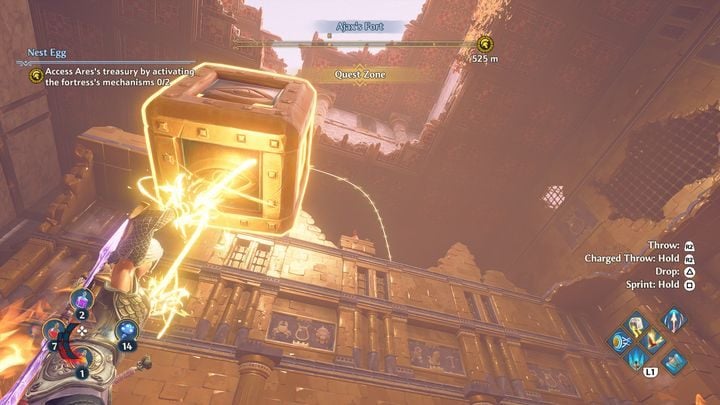
Throw a small block as high as you can (if you do not have a lot of stamina, use potions or throw the block gradually, to the left next to the lasers).
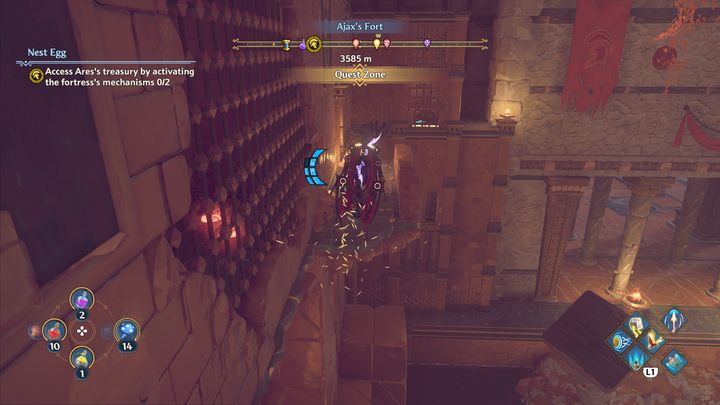
Head to the very top to find the second block. It is located near the bars. Go inside, the entrance is at the top on the left.
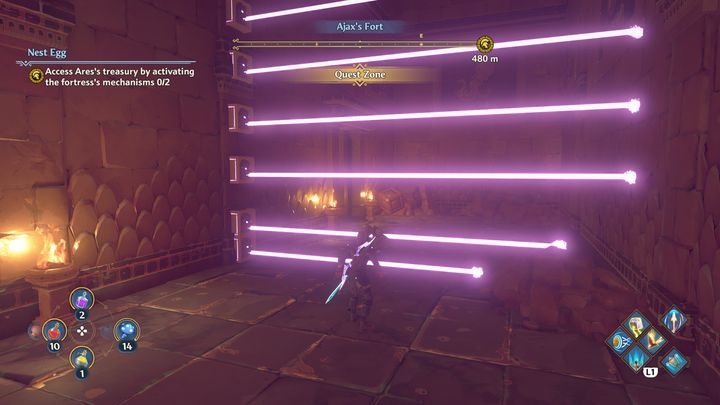
You will activate the lasers by taking the block out of the platform. Place the block close to the lasers to block them, then crouch and move to the other side. Then call the block to yourself and throw it back to the very top.
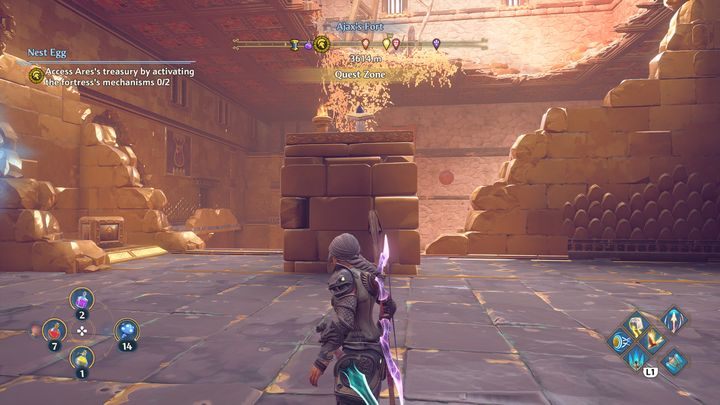
Place blocks on the platforms and then activate the button. Now go to the next room on the right. You can take along the blocks that you put here to solve the puzzle faster.
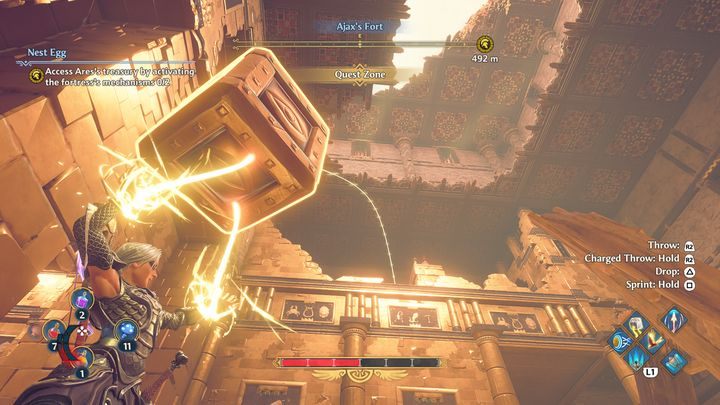
In the next room you can throw the previous blocks to the very top. This will be a faster solution than solving puzzles.
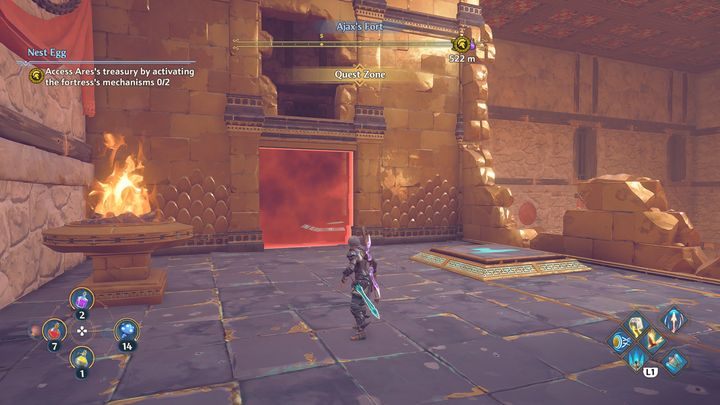
When you throw two blocks to the very top, go to the highest level. There is a red barrier, but there is an open passage at the top. Jump inside the room.
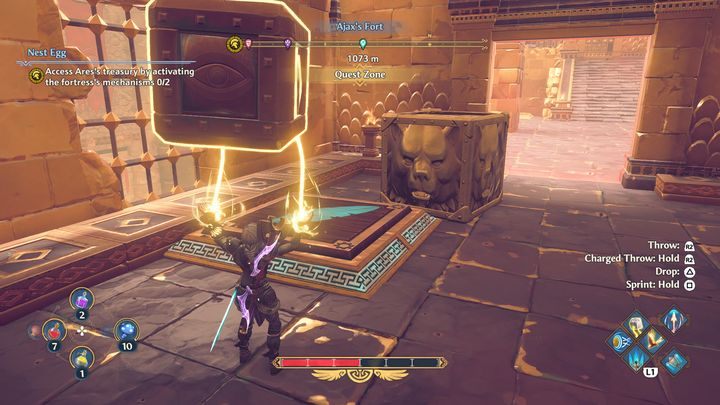
First, set a larger block on the platform, which is located inside. This will make the red barrier disappear. Once you've done that, go inside with a smaller block. Then place the small block on the platform and place the larger block outside on a platform with the anvil symbol.
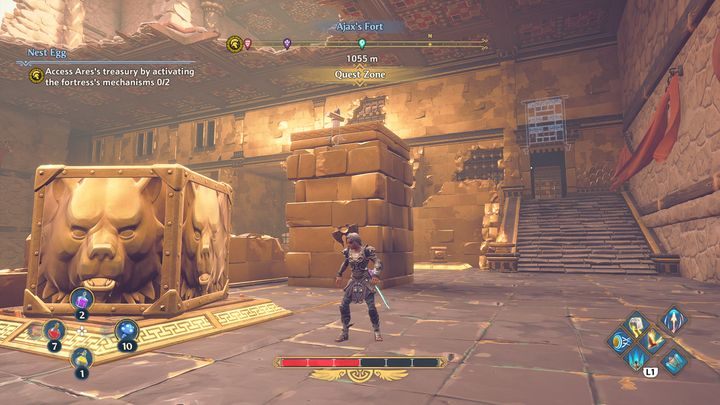
Once you have placed both blocks on top, the door will open. Head towards them.
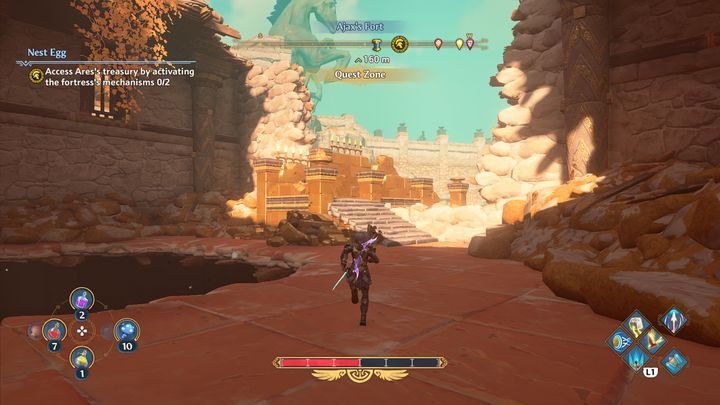
Head towards the exit, where you will find a button that will trigger one of the two mechanisms once activated.
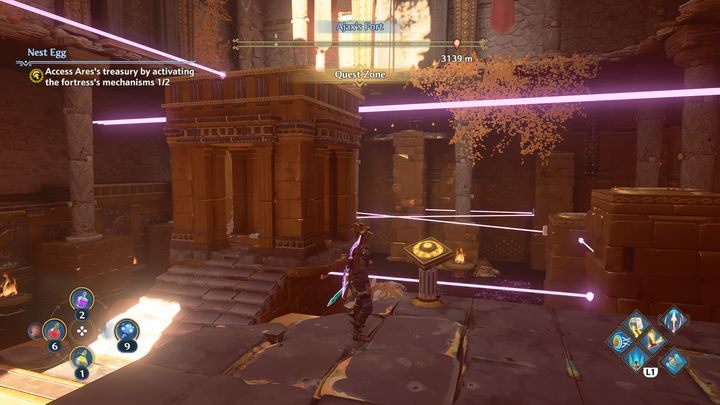
Go to the second marker, which is located to your right. There will be another riddle to solve. Activate the button on the right and then go inside the building where the red barrier has disappeared.
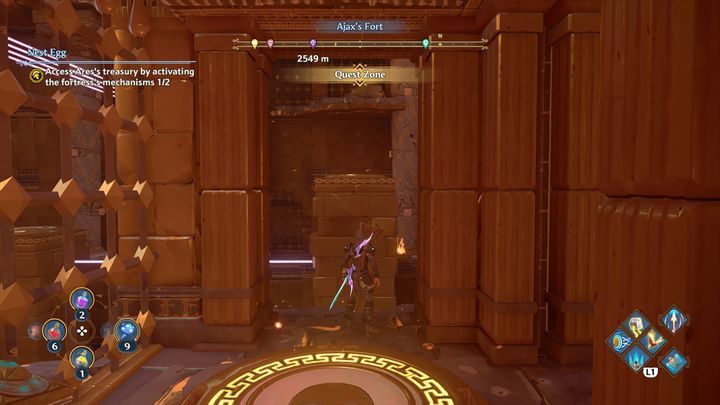
Your task will be to activate the platforms in the correct order (the order is indicated by the laser, or rather by how the laser connects with the two columns). At the very beginning, go onto the platform in the middle of the building.
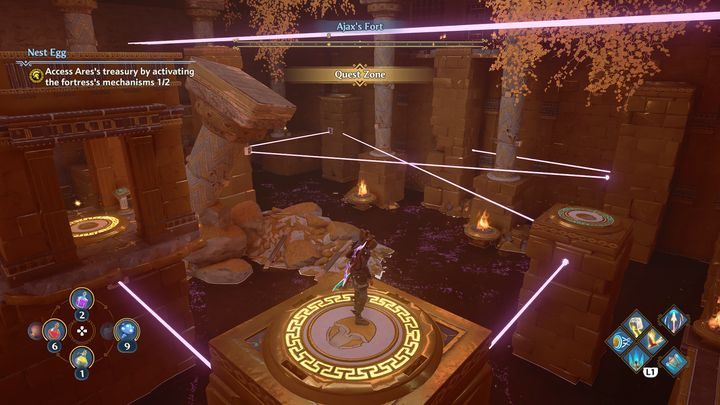
Then go to the right, jump to the nearest column with the switch. Then activate the one situated crosswise.
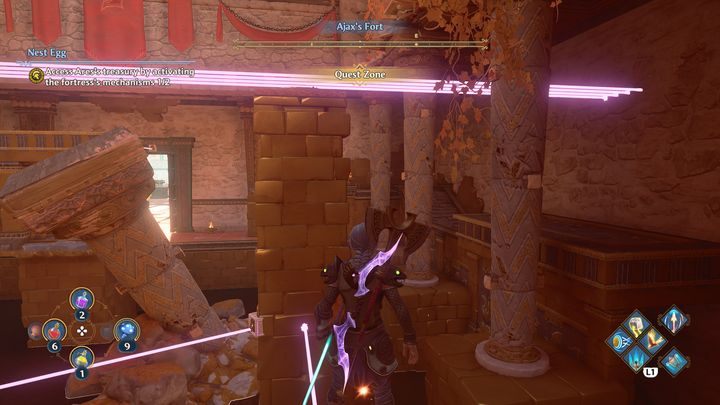
The problem begins with the fourth laser, because it is impossible to get onto it without receiving laser damage. To avoid this, go back to the start without getting onto other platforms.
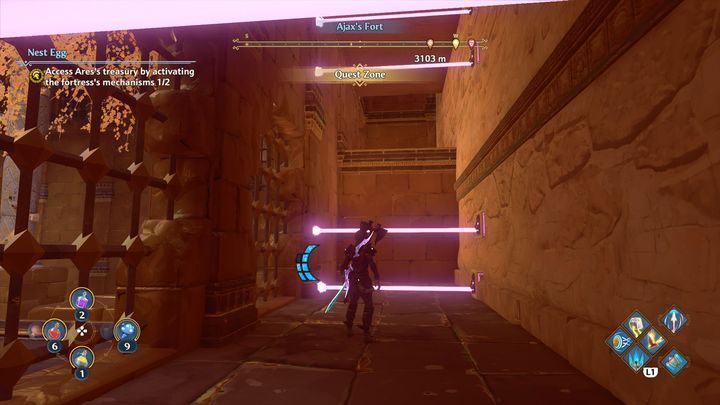
At the bottom on the right side, there is an entrance (right by the first switch). It's protected by lasers, of course. Jump over them and go to the higher level.
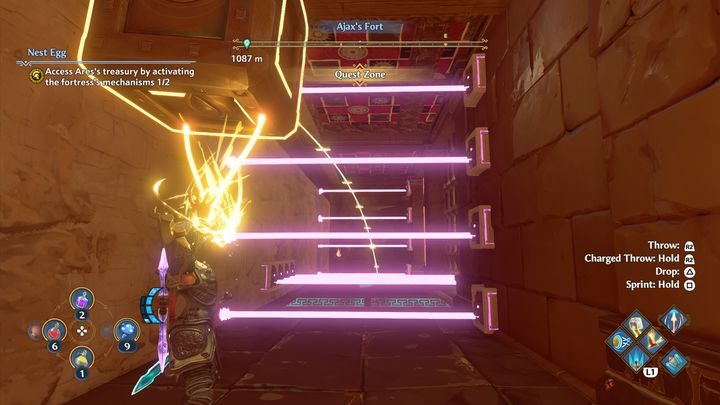
You will find a block there. Drag it using the Heracles's Strength, then throw it at the destroyed wall to access the second block behind it. Then place one of the blocks close to the laser on the right and crouch. Place two blocks on the platform that is located between the lasers to turn them off.
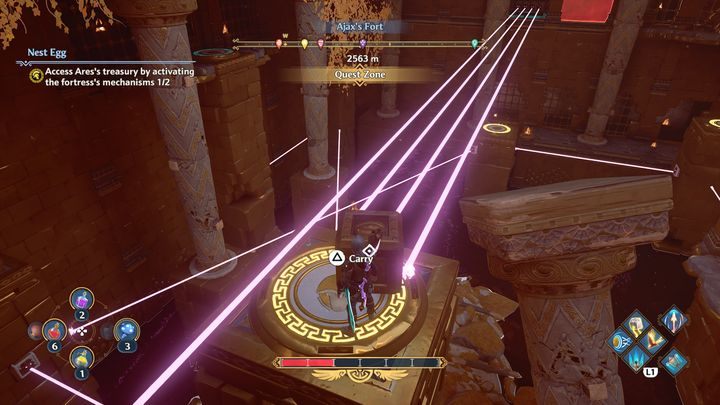
If you have a problem with this, instead of placing two blocks near the lasers, you can use one block to place it exactly where the lasers are. The block will stop them, and you will be able to go onto the platform.
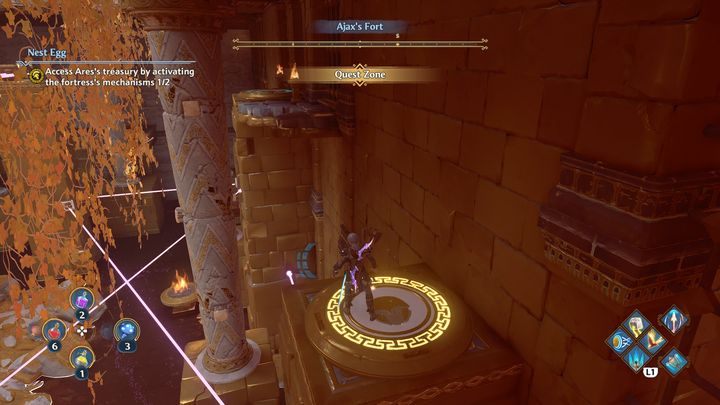
The subsequent platform is situated crosswise and is covered with leaves. The last one is in front of you. When you step onto it, you will activate the door. Go inside, walk forward until you find the button that unlocks the second mechanism.
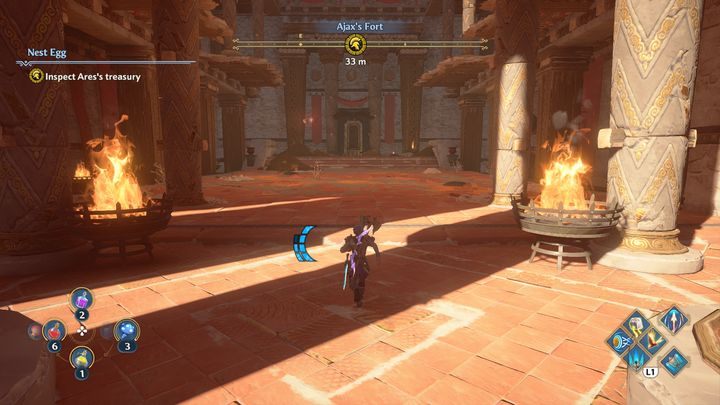
After activating the second mechanism, go to the new marker. The room will be very large, plus you will not see any enemies. Once inside, a cutscene will play, which will be followed by a boss battle with the Ghost Lieutenant of Tartaros. A walkthrough of the boss fight can be found on a separate page of the guide.
You are not permitted to copy any image, text or info from this page. This site is not associated with and/or endorsed by the Ubisoft or Ubisoft. All logos and images are copyrighted by their respective owners.
Copyright © 2000 - 2025 Webedia Polska SA for gamepressure.com, unofficial game guides, walkthroughs, secrets, game tips, maps & strategies for top games.
