Immortals Fenyx Rising: Dark Arts - walkthrough
Light My Fire Hephaestus' quests walkthrough
Last update:
On this page of our Immortals Fenyx Rising guide, you can view the walkthrough for Dark Arts story mission. This is the last task received from Hephaistos.
Your objective is to recover Hephaistos's Essence. The task involves entering the Vault of Hephaistos, a lengthy and extensive location that ends with a boss encounter. Consider upgrading your equipment and restock on potions.
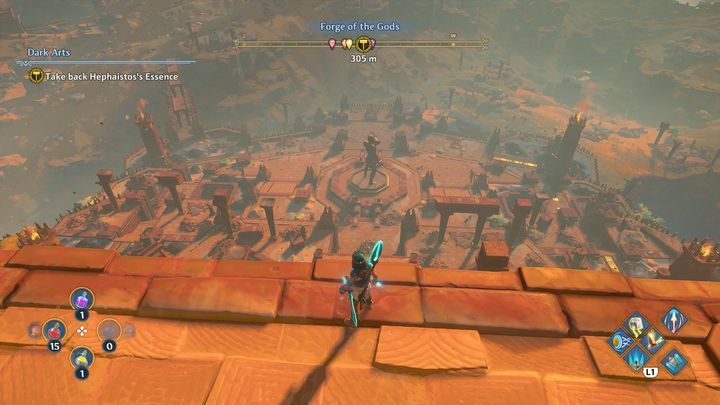
Head towards the statue, which is in the very center of the location. Destroy it to unlock access to the Vault.
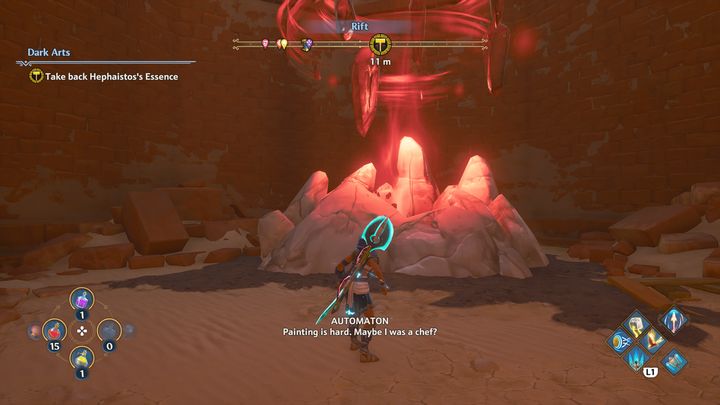
Get in there by jumping down. Before you go, remember to restock on supplies.
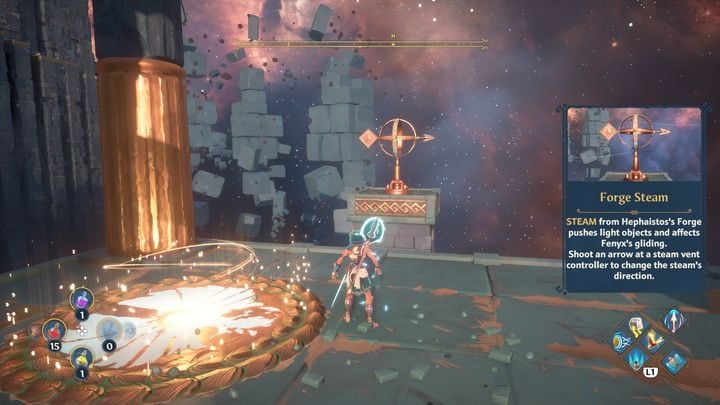
When you're inside, continue forward until you see a signpost. The arrow shows the direction from which the wind (or more likely, steam) is blowing from. To change the direction of the wind, shoot the target on the signpost.
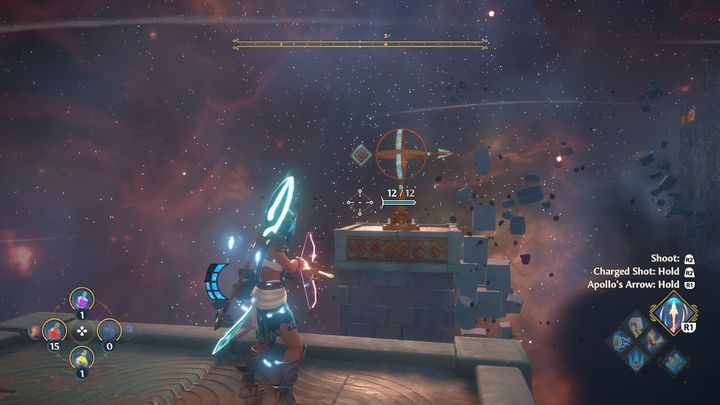
After you hit the target, start gliding further. The wind will carry you to the next area where you can rest.
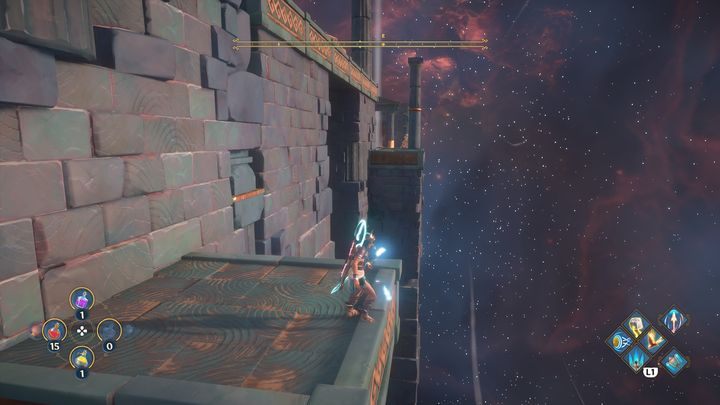
Jump into the chasm again and continue gliding.
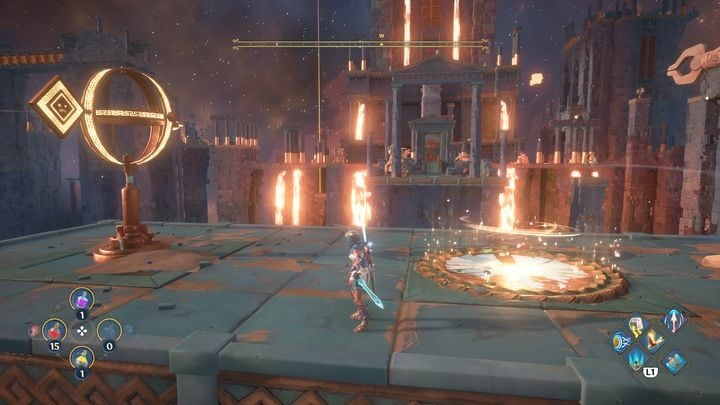
While at the very top of the building, shoot the next signpost and glide to the other end of the forge.
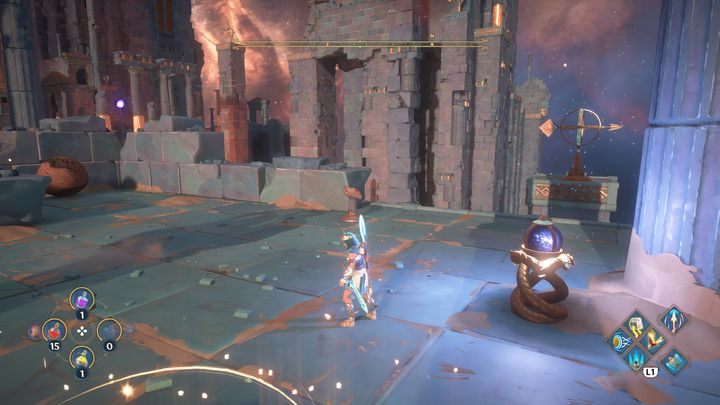
Once you reach the other side, shoot the signpost, because the wind will block you from moving a nearby wooden ball.
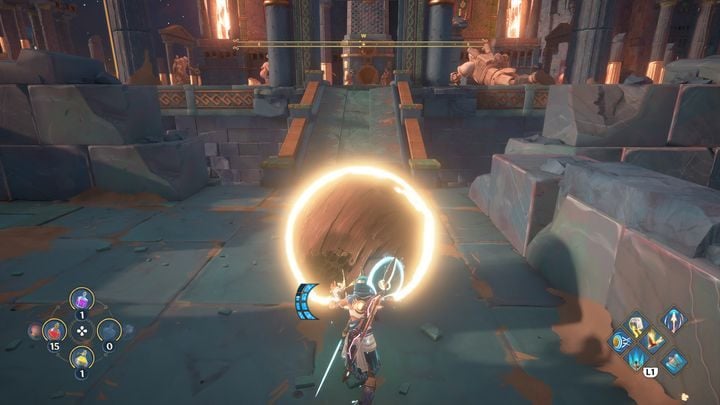
Start pushing the ball up to the upper floor.
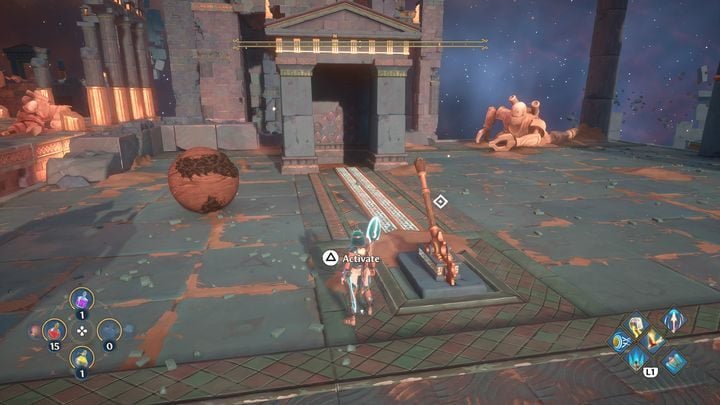
Now, place the ball in the elevator that leads to the furnace. Once it's inside, pull the lever. Wait for the coal burning process to end.
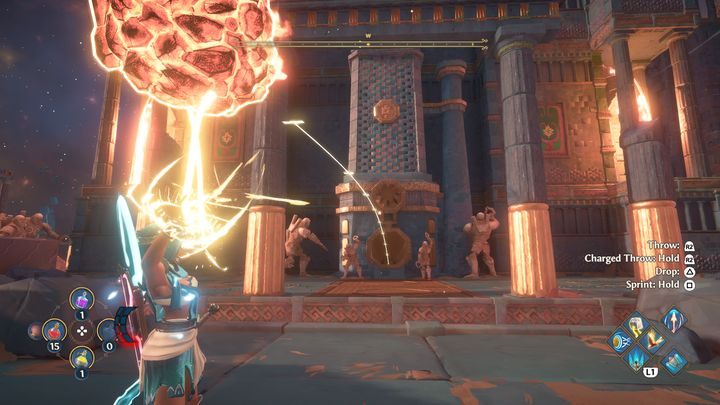
Pick up the newly created coal and throw it towards the first furnace. There are two furnaces on both sides - you need to light them both.
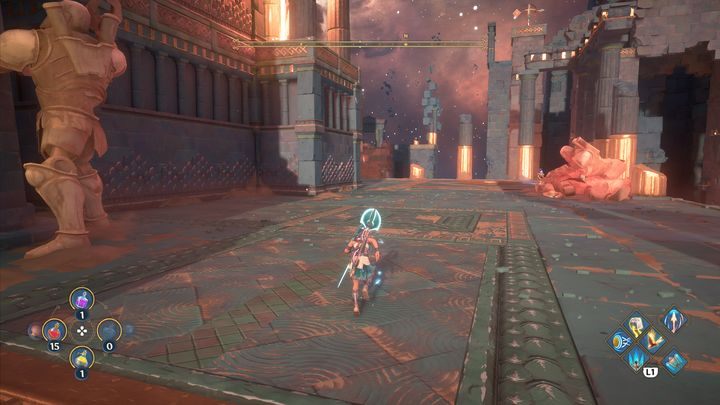
Once the first furnace is lit, go left and right to light the next two furnaces. The order doesn't matter.
Right Furnace
Taking the right side starts with jumping over the chasm to the other side.
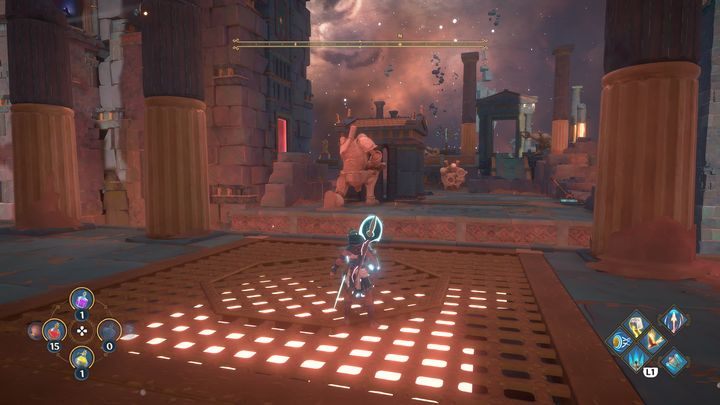
Continue travelling along the path. For now, ignore the little furnace on the left. You'll visit this location again once you get the ball.
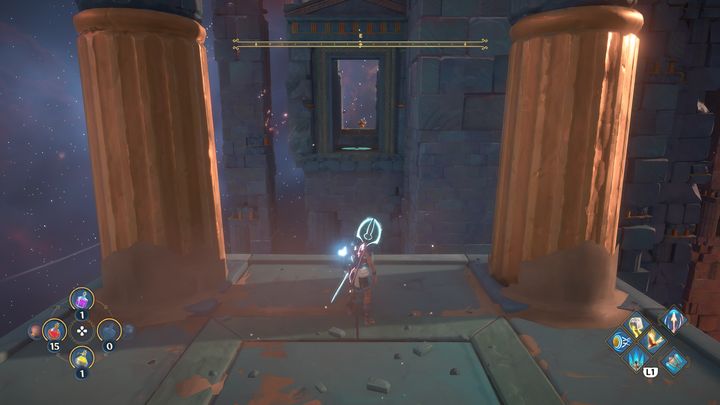
At the very end of the road there are several columns. Head towards them. Your goal is to get to the other side, but currently, wind makes that impossible. Shoot the nearby signpost to change the wind direction.
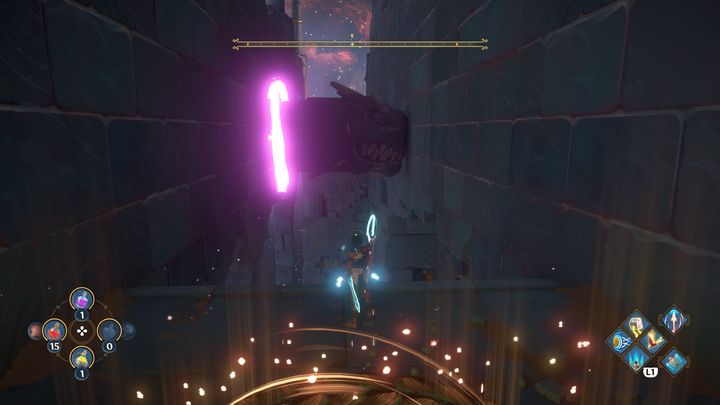
Once you're on the other side, you'll unlock the checkpoint. Be careful of obstacles that appear from time to time. When the front obstacle disappears, immediately jump to get to the other side.
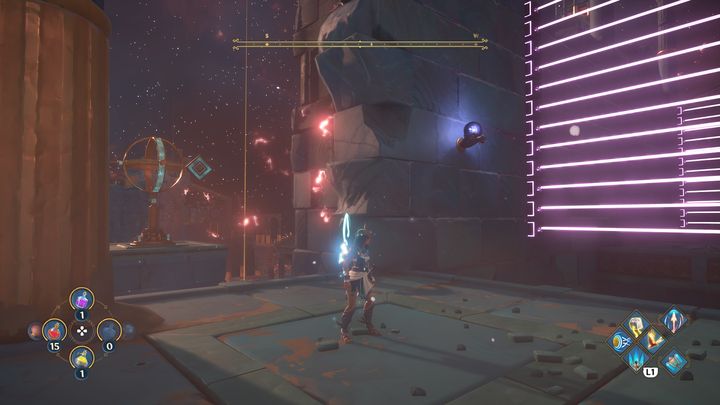
Further ahead, you will have to shoot the signpost to change the direction of the wind. Continue once the first laser beam dissapears. Wait until the second laser disappears and continue forward.
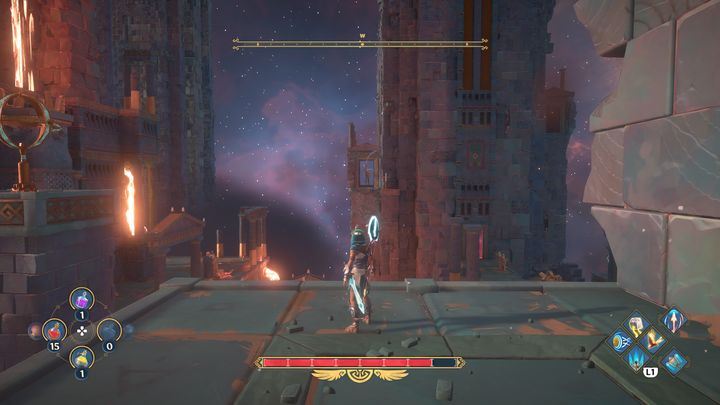
Glide all the way up forward. However, set the signpost on the left side so that the arrow is positioned directly at the location which you want to reach.
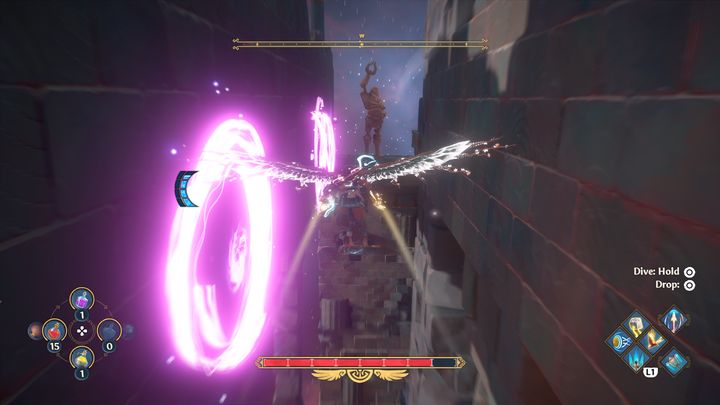
Reach the other end to unlock the checkpoint. Wait here. 3 obstacles will appear between the walls. The first and the last are linked and appear simultaneously, while the middle one appears once the previous ones disappear. Jump and glide when the middle obstacle is active. Control your speed so that you go past the obstacles successfully.
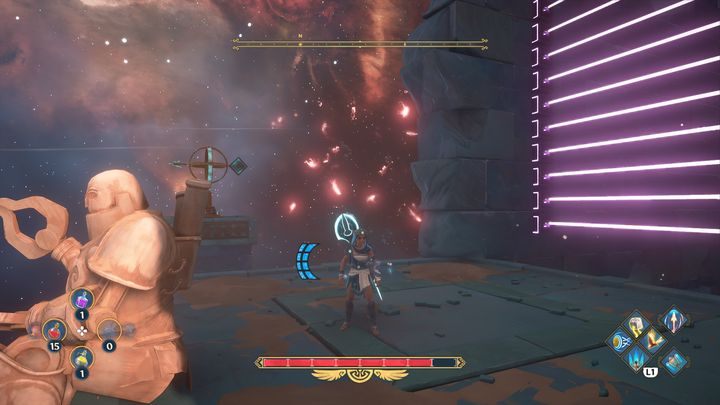
Shoot the target on the signpost while climbing. Start gliding when the obstacle has struck the wall. The lasers should disappear when you fly over the chasm.
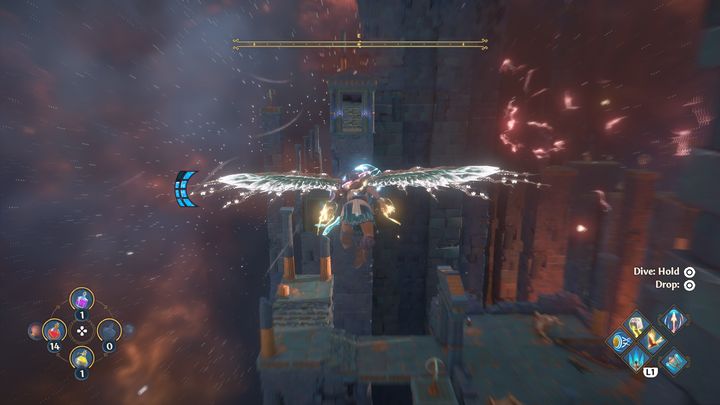
Continue gliding to reach the other end of the location.
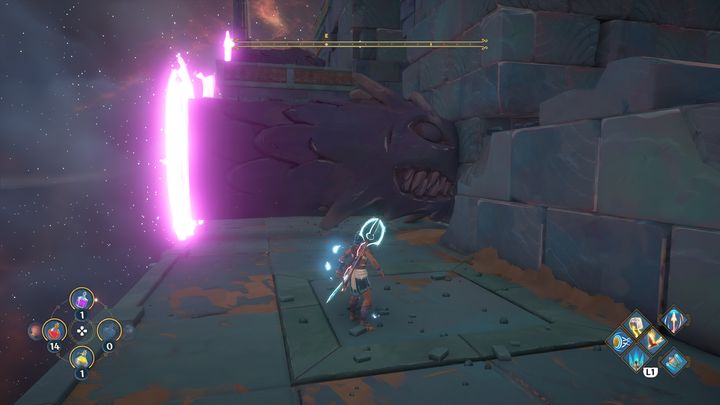
Now you have to climb the obstacles that hit the wall. Perform the jump at the moment when the left side starts to glow. Repeat this step until the very end.
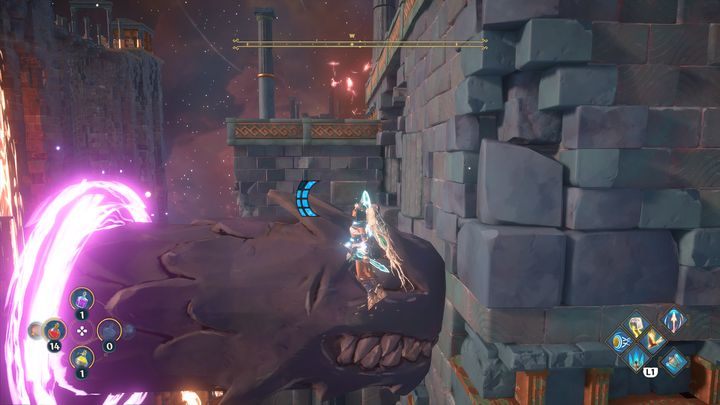
In the next area, first shoot at the target on the signpost, so that a gust of wind can take you further. Perform a double jump to reach the obstacle and continue gliding.
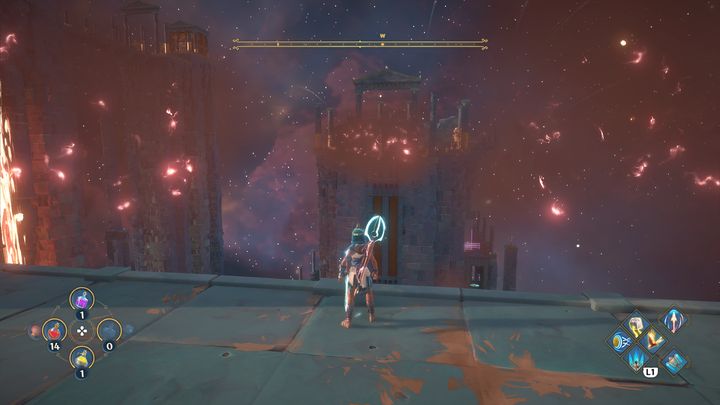
Fly to the other end of the location. Unfortunately, here you'll encounter red clouds that eat all your stamina quickly, ending the glide before you can reach further platforms. Avoid them by maneuvering clear of them.
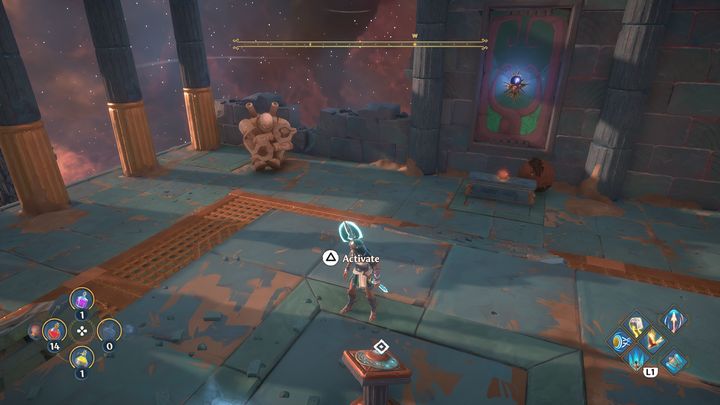
When you're on the other side, go into the next room. You'll encounter a button there. Activate it, then change the wind direction. The signpost is on the left.
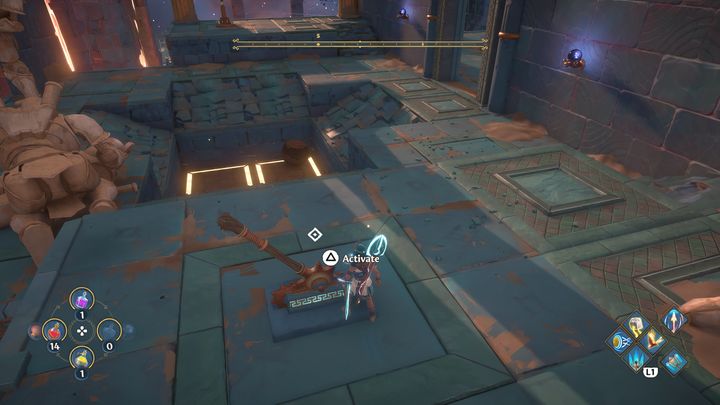
Place the ball on the brown platforms. Now pull the lever, and climb on the platforms. You will find yourself at the lowest level.
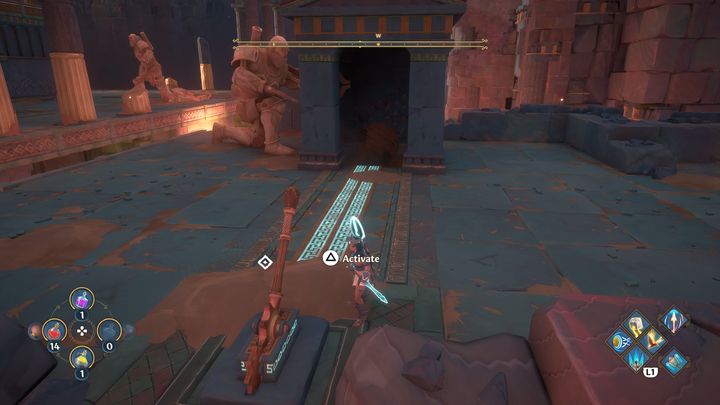
Place the ball in the small furnace to create burning coal. Once the coal is ready, place it in the main furnace.
Left Furnace
Now it's time to light the furnace on the left. Go right there. The left furnace section is characterized by many puzzles to solve.
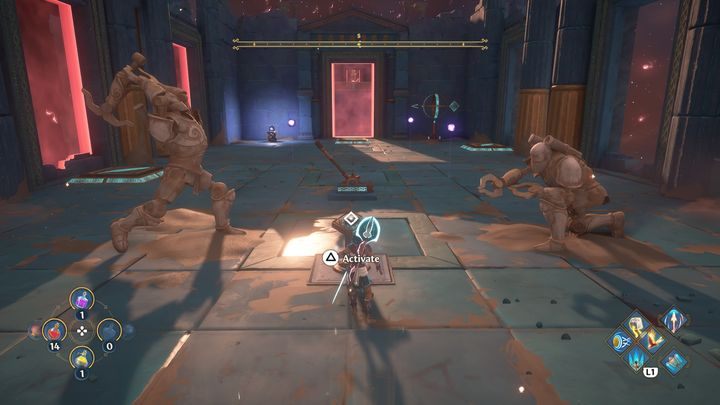
The first puzzle involves wind gusts. At the very beginning, activate the button - it will create crates, which have to be placed on platforms. First, use the lever to move the boxes to the left.
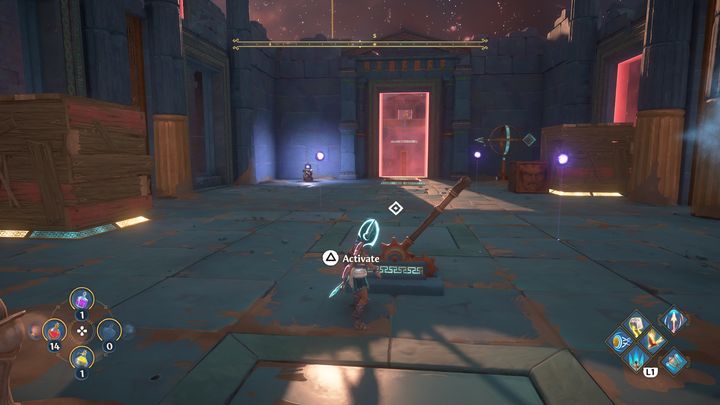
Then place the heavy block next to the first wooden box on the left. Then fire an arrow at the signpost on the right. When the next box reaches its place, activate the lever to change the position of the red barriers.
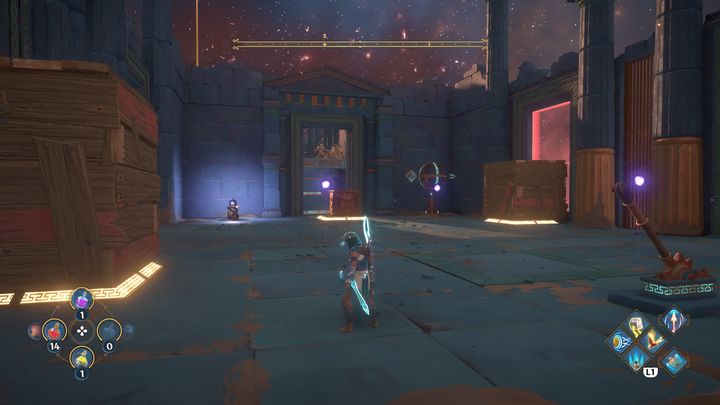
Now there is nothing left but to place the heavy block on the final platform, located near the red barrier. Now you can go to the next room.
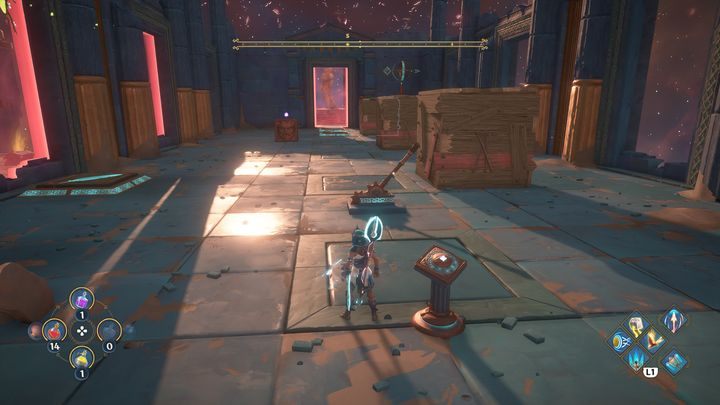
Again you will find a puzzle with boxes, this time there are 3 of them, along with a block that will help you in moving them.
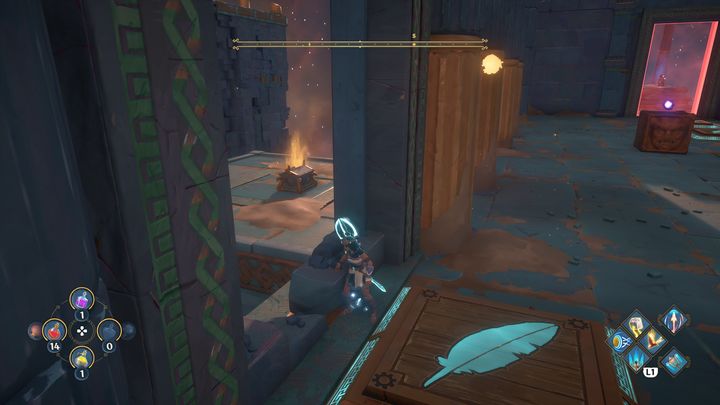
But before you start solving the puzzle, pick up the Ambrosia on the left.
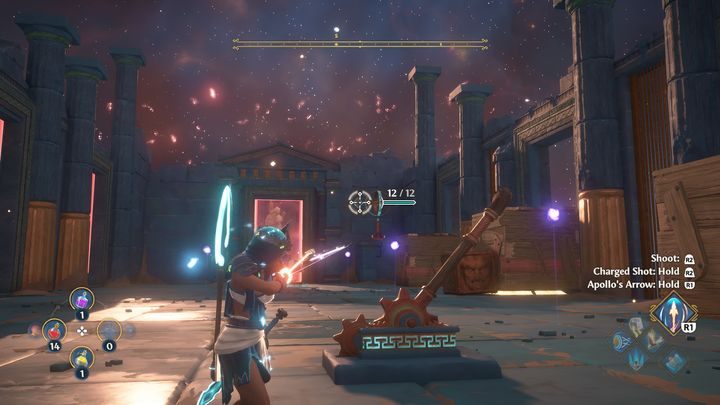
To begin, click the button, and then use the lever. Approach the heavy block and place it on the right side in the middle, close to the wooden box. Then shoot at the target on the signpost and activate the lever a second time.
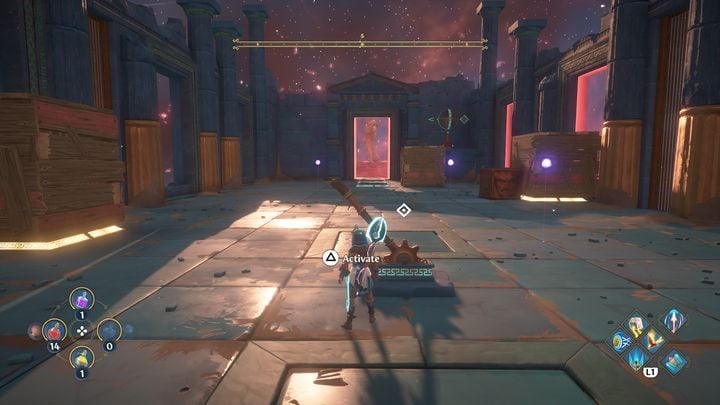
Wait until the crates are moved to the left side. When this happens, activate the lever and approach the heavy block that you placed in the middle on the right side. Place it on the left side, next to the first wooden box.
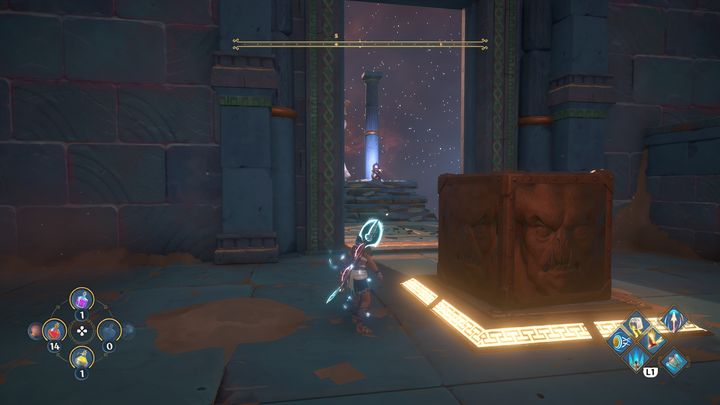
Shoot an arrow at the signpost. Wait until the crate is perfectly in the middle of the platform. To do this, you must again shoot at the signpost to stop the boxes from moving. Once that is ready, place a heavy block on the last platform, at the end of the room.
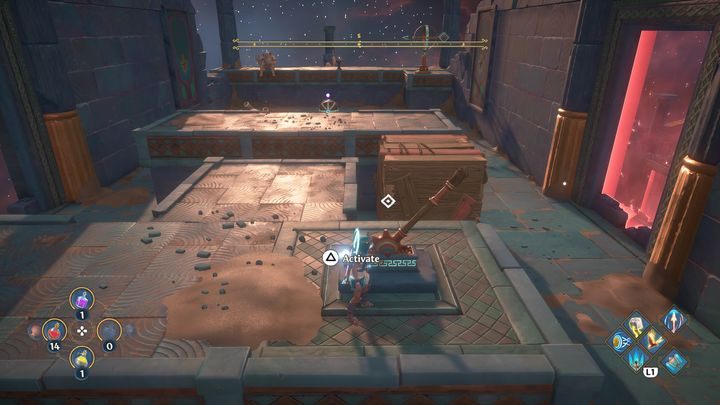
The next stage is slightly different because you have to guide the ball to the very end of the room. First activate the button, and then go to the lever. Activate it to change the position of the red barriers. When the box is close to the center, stop it by activating the lever a second time. This will create a connection between the platforms and you will be able to move the ball to the other side.
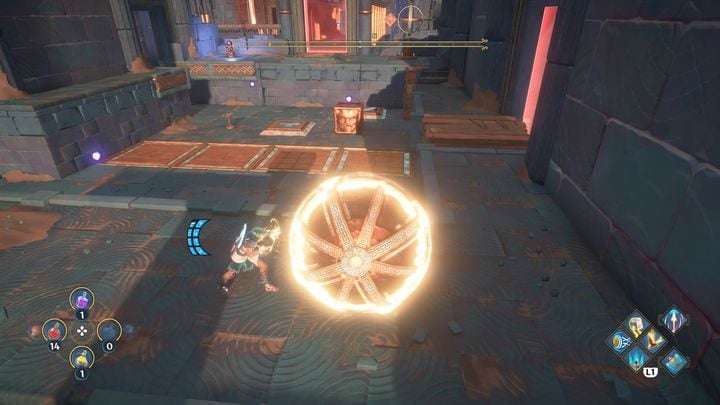
Leave the ball for a moment. Go down and place the heavy block on the right side (behind the platform with the feather symbol) to lock the chest in place. Activate the button and return to the first lever.
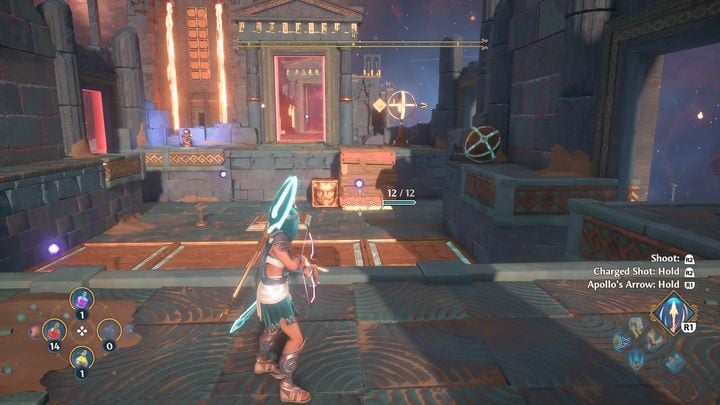
Activate the lever, wait until all the boxes are in place, then activate the lever again. Now put a heavy block on the platform, so you will create a path for the ball.
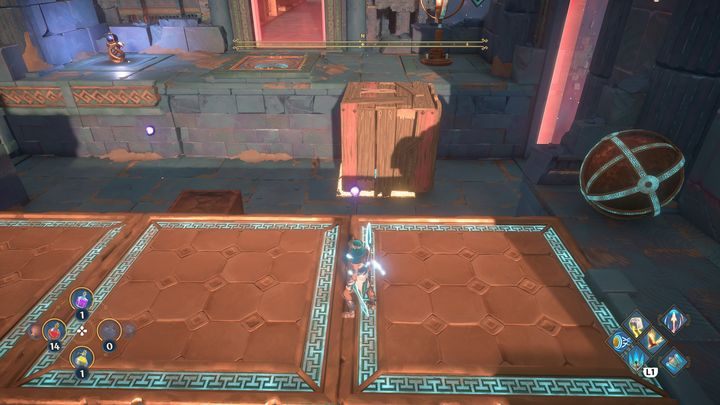
Take the ball to the other side. Then shoot the signpost and wait for the box to fill the gap. When that happens, put the ball in its place.
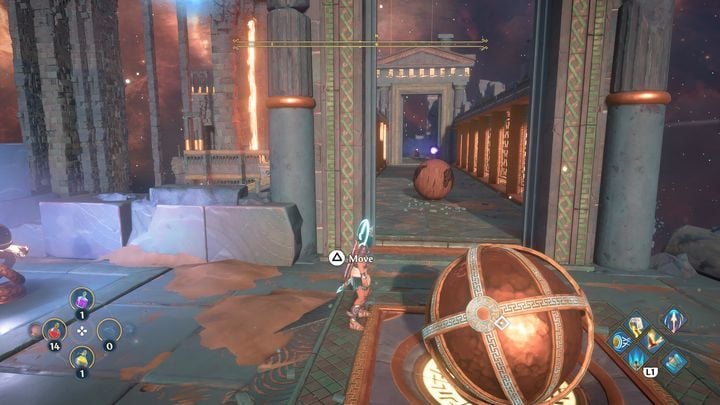
After placing the ball, take care of the other one. Push it forward, then drop it down below. Finally, put it in the furnace to create coal. Once again, place the coal in the furnace.
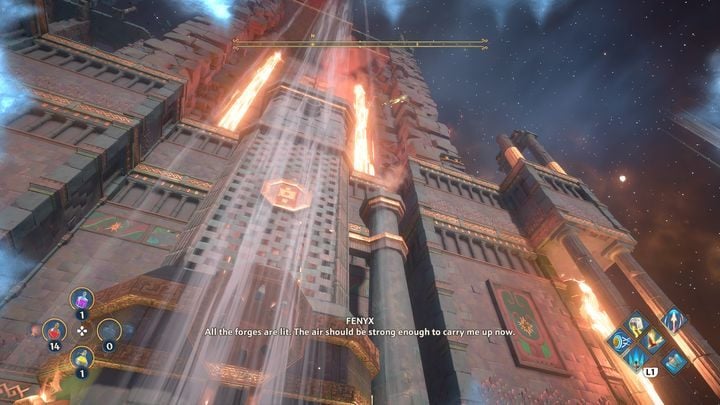
After lighting three fires, glide to the top.
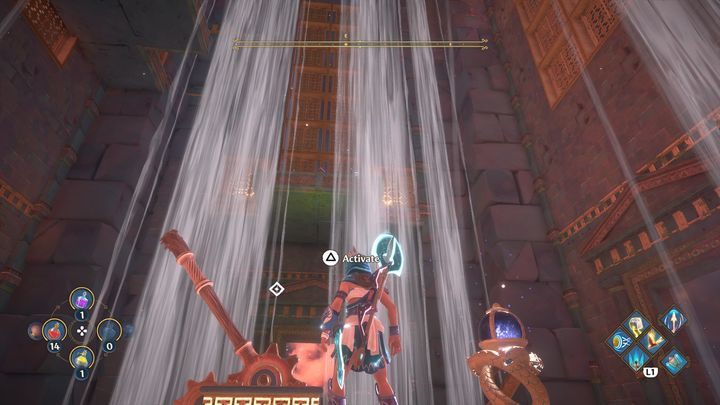
When you're upstairs, activate the lever. Your task will be to press the buttons that will appear. The first of them will appear on the upper floor opposite to the lever.
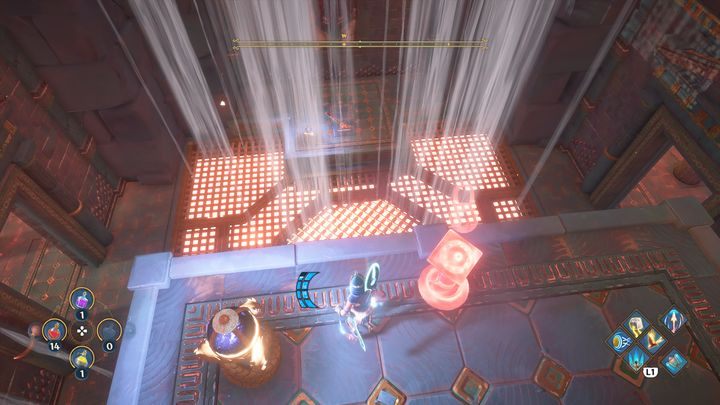
The next one is a little higher, also right in front of you. The next one will be a little lower, on the left.
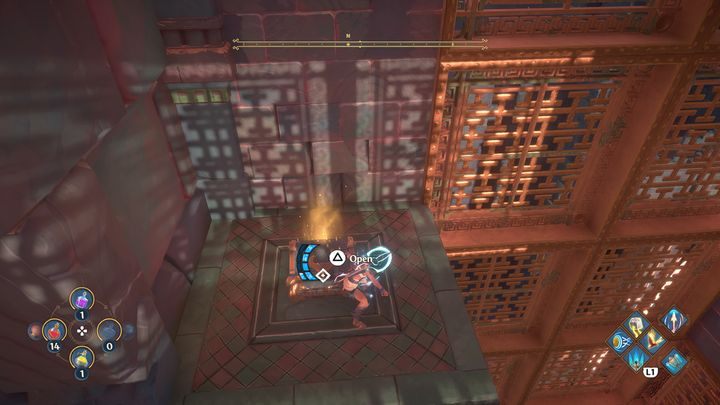
On the left side there is also a chest that is worth opening. You will have plenty of time to open it and complete the task.
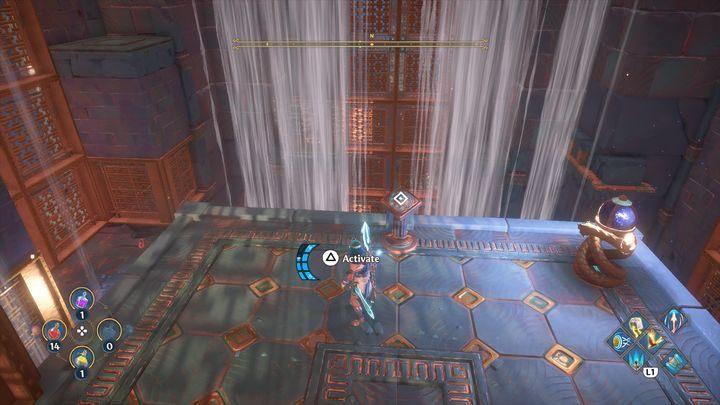
Further buttons are already on the upper floors, once from one side, once from the other. If you get lost, follow the blue light.
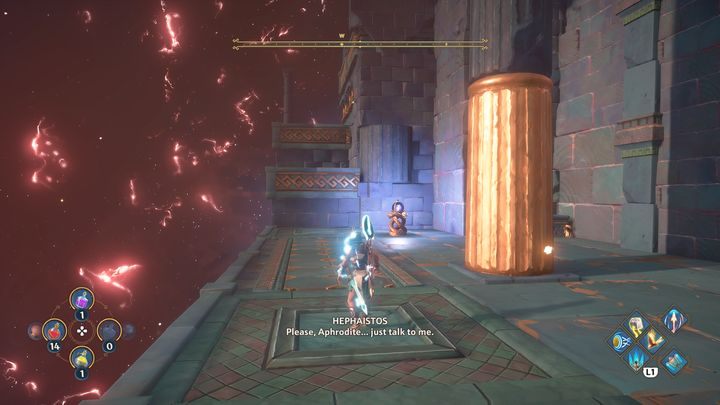
At the very top, you will fight with a boss - Polyphemos the Enraged. Tips on how to defeat him can be found in a separate page of the guide.
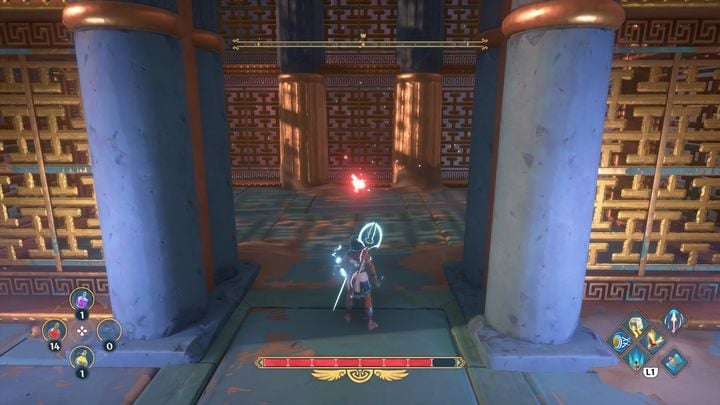
After defeating the boss, simply pick up Hephaistos's Essence. Once you have it, there is no choice but to return to the Hall of Gods and finish the task.
- Immortals Fenyx Rising Guide
- Immortals Fenyx Rising: Walkthrough
- Immortals Fenyx Rising: Hephaestus' quests
- Immortals Fenyx Rising: Who Art Thou? - walkthrough
- Immortals Fenyx Rising: Light My Fire - walkthrough
- Immortals Fenyx Rising: Fan Service - walkthrough
- Immortals Fenyx Rising: Churned On - walkthrough
- Immortals Fenyx Rising: Shaken to the Core - walkthrough
- Immortals Fenyx Rising: A Breakthrough - walkthrough
- Immortals Fenyx Rising: Dark Arts - walkthrough
- Immortals Fenyx Rising: Hephaestus' quests
- Immortals Fenyx Rising: Walkthrough
You are not permitted to copy any image, text or info from this page. This site is not associated with and/or endorsed by the developers and the publishers. All logos and images are copyrighted by their respective owners.
Copyright © 2000 - 2025 Webedia Polska SA for gamepressure.com, unofficial game guides, walkthroughs, secrets, game tips, maps & strategies for top games.
