Steadwick's Liberation | Campaign - Liberation
Key points of Heroes of Might & Magic III: HD Edition - Steadwick's Liberation mission - Liberation
Cities, which belong to the player from the very beginning of the mission.
An enemy garrison building - to get to the other side, you must first defeat the units garrisoned there.
Guard - "a" stands for the Guard Tent, while "b" indicates the Guard Tower, which can be passed after visiting the Guard Tent.
The entrance to the underground - "a" stands for the entrance itself, while "b" indicates the exit leading to the surface.
A mirror entrance - "a" stands for the entrance, while "b" indicates the exit.
Points of interest - visiting, or capturing it can make the mission a lot easier.
This icon represents the place, in which the player can complete the main goal of the mission - it can either be the task to seize an artifact, defeat a certain enemy, or simply capture a city.
This icon represents key mines, which should be captured in order to complete the mission.
Neutral cities, which can be captured.
Cities, which belong to the enemy player.

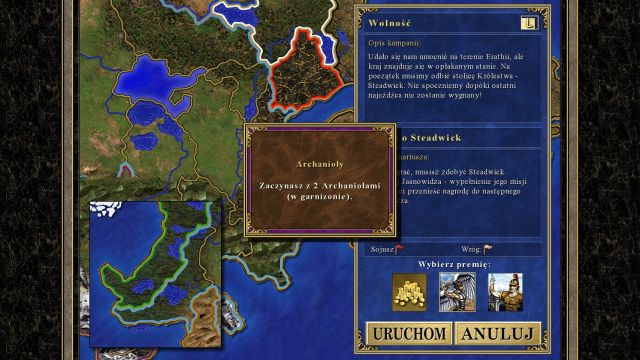
At the beginning of the mission you will have a choice between: 10,000 gold, 2 Archangels or 2 Titans. You should choose Archangels, as they are extremely effective at the beginning of the map, as well as during the latter parts.
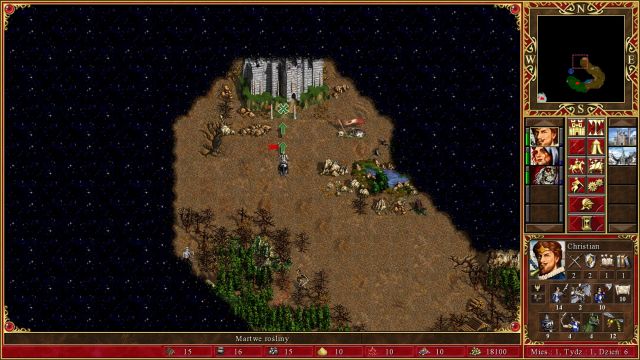
You begin the mission with two cities: Castle and Tower (points S1 and S2 on the map). The Tower should be treated mainly as a gold income, and later on as a resource (thanks to Resource Silo) source, because you won't need any troops from there. Focus on building up your Castle - during the first week you should construct:
- Day 1 - Mage Guild lv. 1
- Day 2 - Blacksmith
- Day 3 - Monastery
- Day 4 - Portal of Glory
- Day 5 - Citadel
- Day 6 - Castle
- Day 7 - Griffin Tower
The most important thing about the first week is to have a Portal of Glory and Castle constructed - from the beginning of the map you will have a neutral Portal of Glory at your disposal, located to the North of your Castle, but you won't have access to it, but it will still increase your weekly growth of Angels and Archangels by 1. Additionally, recruit two extra heroes - one at the Castle and the second one at the Tower - and use them to scan around the area to collect gold and flag mines.

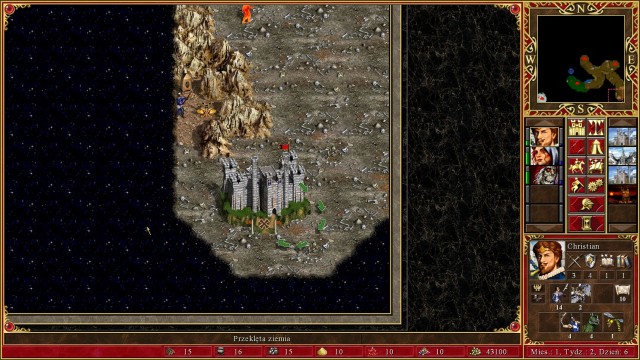
Recruit all your forces and give them, along with 2 Archangels, to Christian, and send him East. After he arrives at the Sulfur mine (point MINE1 on the map), go further East and as soon as you spot a lane of trees above him, order him to go North - after a couple of turns you should arrive at an enemy Castle city (point W1 on the map). Capture it, and head towards East, where you will find the second enemy city, this time of Inferno type (point W2 on the map). Afterwards, send Christian South - in the bottom right corner of the map (point W3) there will be the last enemy city on the surface.

It's important to keep an eye on two entrances to the underground, which will soon be flooded with enemy heroes. The first one is located near the city you've just captured (point P1a on the map), and the second can be found to the North from your Inferno city (point P2a). To prevent the enemies from storming the surface, all you have to do is to set your heroes, equipped with powerful units, at the entrances, and eliminate all enemy heroes trying to get through there. Send Christian to the entrance located to the North of the Inferno city, with the same army he used to capture enemy cities. The entrance in the bottom right corner of the map should be protected by a hero equipped with the army from your Castle, in which you've built Portal of Glory (that is why it's so important to construct this building before the end of first week) - 4 Angels, coupled with a small amount of other units of levels 1 to 5 will be enough to keep that way safe for a while.
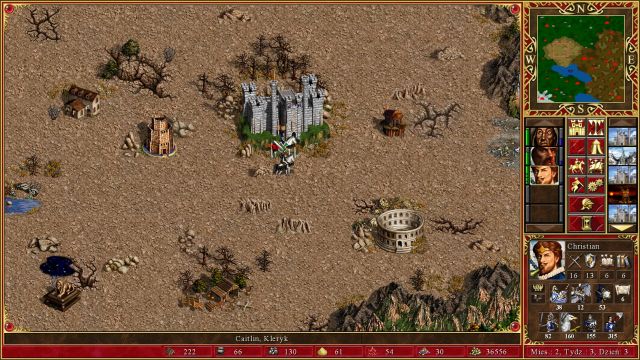
For now all you have to do is build up your cities - your "first" Castle should be build to the maximum, together with an upgrade to your Angels as soon as you are able to do so. The rest of the Castle-type cities are somehow limited - you can't build Portal of Glory there, and some of them can't have a Castle either (only Citadel). It's not a serious problem though, as you still have access to every other unit. If you have secured both underground entrances with your heroes, the enemy won't be able to harass you at all - don't forget to send some extra units (mainly Angels) to both of them from time to time to strengthen them up.

Before you depart into the underworld, you should first send a hero, together with a powerful army, in the upper left corner of the map (point POI1 on the map) - you will find a prison there, with General Kendall inside, the same you've defeated (or outsmarted) several missions back. The prison is protected by a group of Devils (about 10 to 12 units), which is the reason to bring a powerful army here, so that you won't sustain heavy casualties. General Kendall isn't powerful, or all that useful, but you need his artifact - Ladybird of Luck. Take it to the Seer (point POI2 on the map), and it will be exchanged for an item (Badge of Courage), which increases your heroes' stats, and it will be transferred into the next mission.
After a month or so has passed and the first week of the second month has begun, recruit all your troops and give it to Christian and use the bottom underground entrance (point P1a on the map) - there should be Black Dragons there (only 3 units, so do not falter), which must be defeated. Get into the underworld (don't forget to protect the second entrance with another hero to prevent the enemy from attacking the surface) and capture 3 enemy cities along the way (all of them are of Dungeon type - points W4, W5 and W6 on the map), until you reach a garrison (point G1 on the map). It's protected by quite an army (10 Black Dragons, 40 Chimaeras, 60 Minotaurs Kings and 80 Evil Eyes), so be prepared for a tough battle. Cast a Blind spell (if you have it) on one of the Chimaeras, or use Haste / Bless / Prayer to make the whole battle a lot easier.
After getting through the garrison all you have to do is to get back to the surface and capture Steadwick city (point Z1 on the map), to end the mission. No hero is transferred to the following mission, unfortunately.
You are not permitted to copy any image, text or info from this page. This site is not associated with and/or endorsed by the Ubisoft or DotEmu. All logos and images are copyrighted by their respective owners.
Copyright © 2000 - 2025 Webedia Polska SA for gamepressure.com, unofficial game guides, walkthroughs, secrets, game tips, maps & strategies for top games.

