
Heroes 3 HD Edition: Homecoming
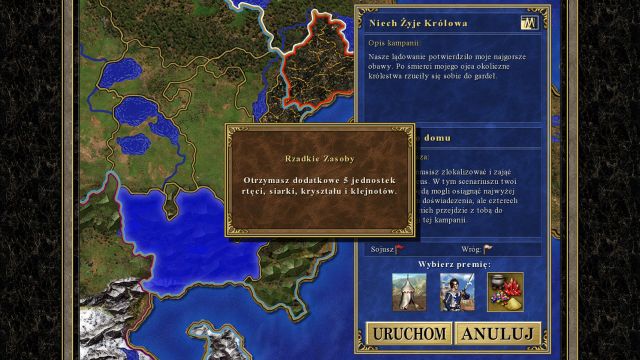
The first mission from the Long Live the Queen campaign is a typical tutorial - those missions are relatively easy and are there to introduce new players into the gameplay nuances. All three mission of this campaign will give a Castle city at your command. Before the mission starts, you will have an opportunity to select your starting bonus - the best to take are rare resources, as they will immediately come in handy.
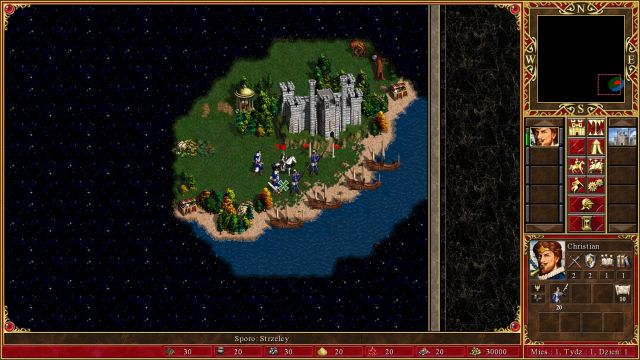
You begin the mission with a single hero (Christian), surrounded by groups of Pikeman and Archers - do not falter, as every unit around your hero will join your cause as soon as you try to attack them. Collect all your forces, enter the city (point S1 on the map) and build Upg. Archer's Tower. Recruit all the available forces and upgrade your Archers - you should now have a decent amount of Marksmen. Remember to buy a Spellbook - Christian does not have it from the beginning, but the ability to cast spells at the start of the map is very crucial and makes the first few fights a lot easier.
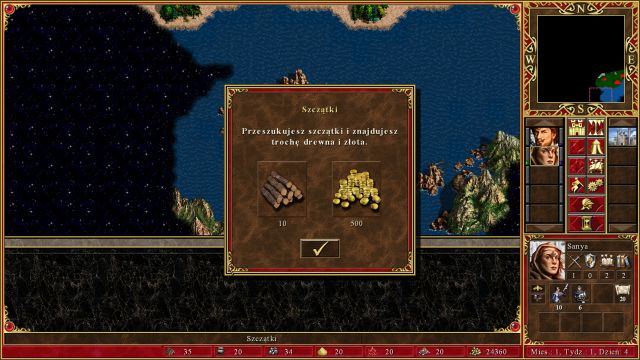
Leave the city and head West - just next to the Castle you will notice a Sawmill. Seize it and collect all of the nearby resources - further path to the West is blocked by a group of Cerberi, which you shouldn't bother yourself with at the moment. Head your hero to the North from your city - there are literally dozens of items to collect there, including a few artifacts. Don't forget to seize control over each and every mine you stumble upon. In the meantime, recruit a second hero at your Inn, have him enter one of the ships near your city and use him to clear out the water - there are tons of resources scattered around this area (mainly Wood and Ore). Continue scanning the sea area and order Christian to head North, until he reaches a portal (point M1a on the map) - you can (and you should) send him there to collect a couple of useful artifacts.
The first week's construction in your city should look like that:
- Upg. Archer's Tower (which you already built)
- City Hall
- Blacksmith
- Barracks
- Monastery
- Stables
- Training Grounds
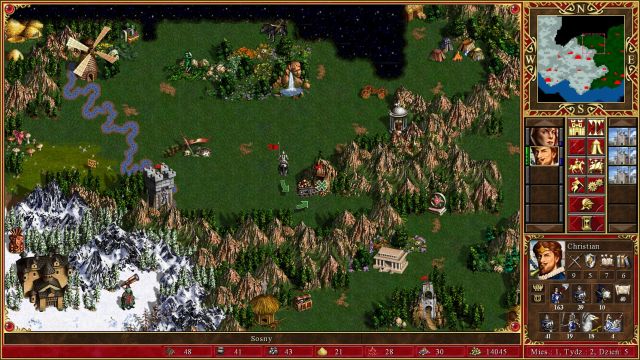
This way, at the start of the second week you will have access to all of your units (7th level one, Angels, are blocked during this mission). As soon as the first day of the second week start, recruit all of your troops, recruit additional Castle hero and have him take all of the troops - he/she should now have a sizeable army at his disposal, especially given the fact that it's only the beginning of the second week. Order him to head West, through the passageway blocked by a group of Cerberi - you should have no problem dealing with them (if the enemy wants to run away don't let them to that and fight them - additional experience is always wanted). There are three important mines here - Sulfur (point MINE1 on the map), Gems (MINE2) and gold (MINE3). You must seize them all (there will be some problems with the gold mine, as it's protected by a relatively powerful group of units).
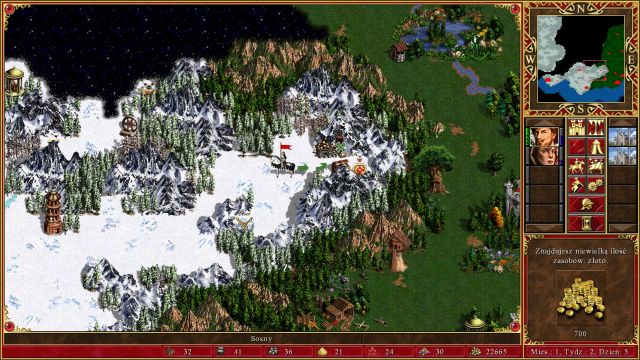
Your "Naval" hero should be nearing the end of his task of clearing the sea - as soon as it happens, dock the ship next to the enemy city (located near the left edge of the map - point W1 on the map). If you happen to land near the city at an appropriate moment, you should meet with no resistance at all - don't forget that you must wait a round before you can move your hero after he landed on the ground. As soon as you take control over the enemy city, build a Citadel and a Castle there, as there's a big chance that there's an enemy hero nearby. After constructing the latter defending the city will be a piece of cake - stand behind the walls, so that your Archers can get rid of enemy forces, while trying to protect all shooters you happened to have there. If you have access to the Slow spell, use it on an enemy who has the ability to fly. After you've defeated the enemy you should explore your new surroundings and seize every mine you stumble upon.
The next week (in your primary city) should look something like that:
- Marketplace
- Town Hall
- Citadel
- Castle
- Capitol
- Upg. Barracks
- Upg. Griffin Tower
The reason to upgrade Barracks and Griffin Tower first, instead of, for instance, Training Grounds or Monastery, is the fact, that those units benefit from the upgrade the most. Swordsmen, which are now Crusaders, are given better stats, but the most important factor is the Double Strike ability. The same applies to Royal Griffins - not only that they now have better stats, they can use their retaliate unlimited amount of times (the effectiveness of this maneuver should be obvious). In the following weeks you should focus on upgrading other unit-production buildings, as well as invest in 2nd, or even 3rd level Mage Guild.
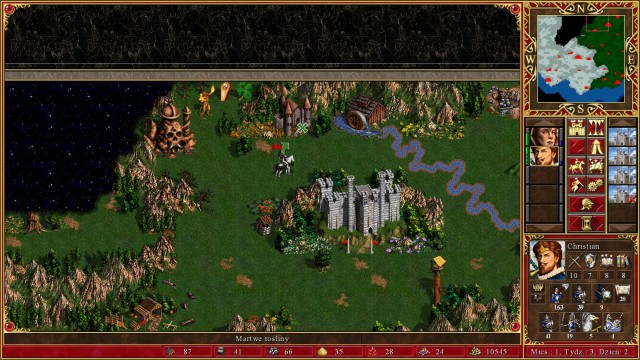
As soon as Christian is back from his artifact hunting adventure (if you wanted to collect them, of course - remember, that artifacts, unlike experience, aren't transferred to the next mission), get him back to your town, recruit all the troops you can and send him to the North again, but not where the artifacts were, but slightly to the West, onto the snowy terrains. There's another enemy Castle here (point W2 on the map). If you managed to recruit most of your troops (and if you upgraded some, or all of them), capturing the city will be a piece of cake. There's a high chance that there's going to be at least several heroes venturing near the city you've just captured - eliminate them as fast as you can, to prevent them from messing around with your mines. Additionally, don't leave the freshly taken Castle without any protection - hiring a new hero, even with his basic army, but coupled with Citadel (or better - Castle) will allow him to protect the city even against a lot stronger enemy assaults.
After you've captured the Castle, recruit (if there are any troops to recruit) all units and head North - after a short while you will be back on the grassy terrains. There's another enemy Castle here (point W3 on the map) to capture. The whole process should be almost identical to the previous one - capturing it should be extremely easy. North from the Castle you've just captured you should be able to see a Hill Fort (point POI1 on the map), which allows you to upgrade your units for a little fee - it will come in handy, especially if you didn't wait to upgrade your troops and attacked the enemy early on.
If you have done everything mentioned above, all you have to do now is to capture the last enemy city (point W4 on the map) - to get there, you will need to enter one of the underground entrances. The first one is located near the first Castle you've captured (South-Western section of the map - point P2a on the map), the second one right next to your last acquisition (North-East - point P1a on the map) - keep in mind that an enemy hero, with a rather large army, can arrive through those entrances, so it's generally a good idea to protect those entrances with equal, or preferably stronger army of your own.
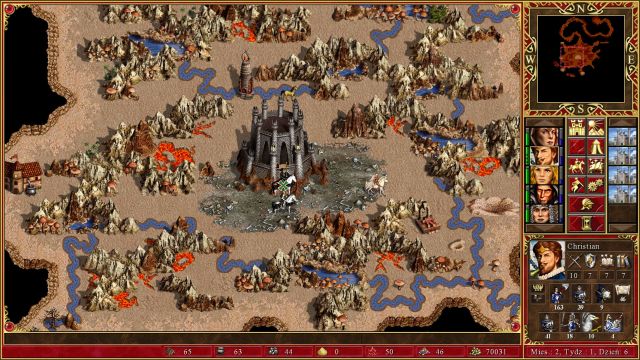
All you have to do is to capture the previously mentioned city. Take your two strongest heroes, divide your whole army between them and send them through different underground entrances - this way no enemy hero will slip by to surprise you. While you make your way throughout the underworld, you should ignore all the mines you stumble upon - in a few turns you will end the mission, therefore you won't need any extra resources. When you reach the enemy city, transfer all your troops to the strongest hero (probably Christian), but before you attack it, you can do some extra "activity" if you want to.
Heroes from this mission (and from most of the other ones as well) are transferred to the following ones (their experience, as artifacts and army are lost). You can use the time, when your enemy can't do anything anymore (because your hero blocks the entrance to his last city) to run around the map with your other 3 heroes (only 4 heroes are transferred to the next mission) to visit all the learning places. This way, during a short time, all your heroes will receive a massive experience and ability boost, which can (and will be, if you will follow this guide) in the next mission. You should also build Mage Guild in each of the captured cities and visit it with your heroes (together with Christian). By doing this they will learn literally dozens of powerful spells - thanks to that, they will be able to defeat troops several times stronger than their armies, which otherwise would be next to impossible to achieve.
Regardless of your decision, attack the enemy city, capture it and finish this mission of the campaign. You will have the opportunity to save the game (use it!) and you will be moved to the second mission screen.
You are not permitted to copy any image, text or info from this page. This site is not associated with and/or endorsed by the developers and the publishers. All logos and images are copyrighted by their respective owners.
Copyright © 2000 - 2026 Webedia Polska SA for gamepressure.com, unofficial game guides, walkthroughs, secrets, game tips, maps & strategies for top games.
