Heroes 3 HD Edition: Borderlands

Before you start the mission, you will have three options to select from - Korbac, who is a Beast Master (focusing on Attack and Defense), Verdish, a Witch, who specializes in magic (gaining Wisdom and Spellpower more frequently while leveling up) and an option to choose them randomly. More important that their "class" are their specializations - in case of Verdish it's First Aid, which is one of the least useful abilities in the game. Korbac, on the other hand, has a specialization in Serpent Flies, which is extremely effective, as it increases the effectiveness of those units (and their upgraded version, Dragonflies). The choice is simple - Korbac. The mission is fairly simple - your only task is to find and flag all the mines on the map, without any time limit. To make the task even easier, you should get rid of the enemy.
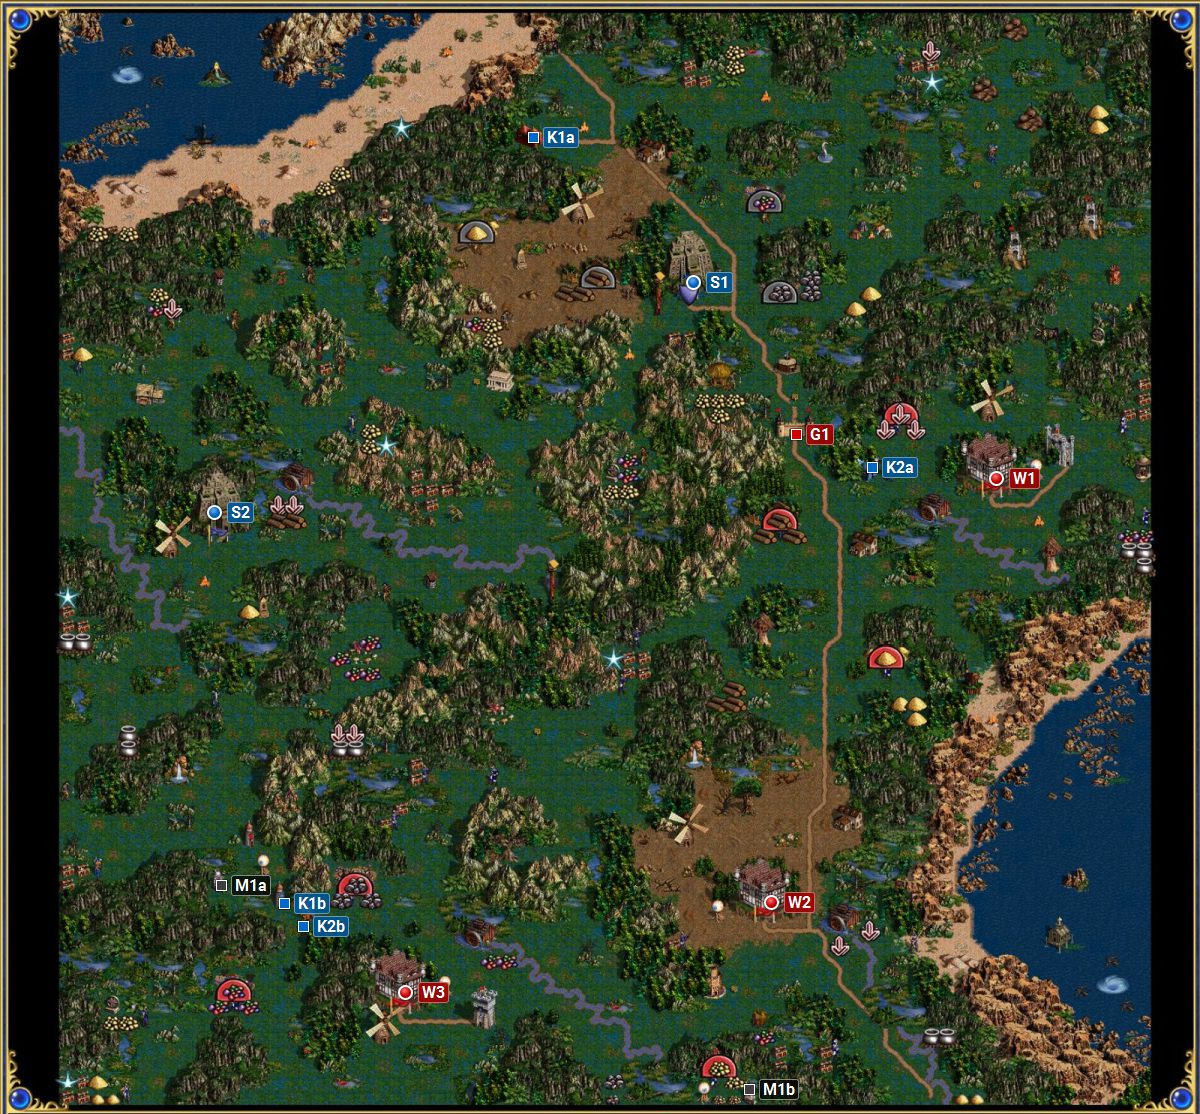
You start with two Fortress-type cities, as well as with the hero you've chosen. You should start developing the city where your hero starts at (point S1 on the map) and the first week should look like this:
- Day 1 - Serpent Fly Hive
- Day 2 - City Hall
- Day 3 - Upg. Serpent Fly Hive
- Day 4 - Upg. Lizard Den
- Day 5 - Citadel
- Day 6 - Castle
- Day 7 - Upg. Gnoll Hut
Development of the second Fortress (point S2 on the map) is almost the same, with a single difference:
- Day 1 - Lizard Den
- Day 2 - Serpent Fly Hive
- Day 3 - City Hall
- Day 4 - Upg. Serpent Fly Hive
- Day 5 - Upg. Lizard Den
- Day 6 - Citadel
- Day 7 - Castle

This way of developing your cities isn't accidental - the tactic implies getting rid of the enemy player during the first several turns. As you build up your cities, seize control over nearby mines and collect the treasures - some of the neutral monsters (especially those from the Fortress) will be willing to join you. Recruit a second hero - it's important that he/she is from the Fortress city, as he/she won't have a huge movement penalty while traveling through the swamps. During the next few days focus on building up your cities and capturing mines.

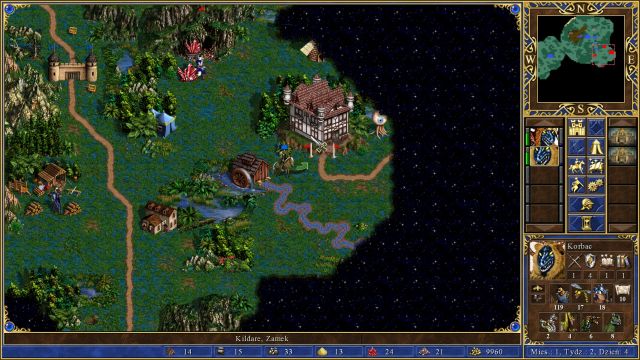
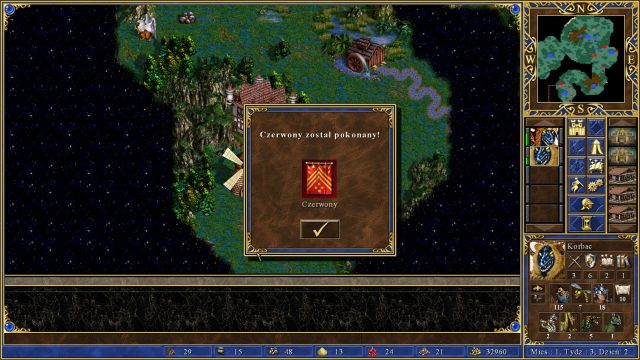
As soon as the second week starts, order your hero to get back to the "main" city (S1) and recruit all available troops - remember to upgrade those already present at his disposal. After you've done that, head towards the garrison located to the South of your city (point G1 on the map) - you should have no trouble breaking through it, because it's guarded by a little amount of enemy troops. After you're through, head East - there you will find the first enemy city (point W1 on the map), which, if it's still first, or second day of the second week, will have minimal defenses. After taking control over the city head South from the garrison gate you've just busted through and you should soon stumble upon the second enemy city (point W2 on the map) - the last enemy encampment is located to the West from your actual position (point W3 on the map). After getting rid of the enemy you can fully focus on your main objective - flagging all the mines on the map. If you have trouble getting to the Gold mine you must travel to either of the Guard Tents (blue, or red - points K1a or K2a), open up the path near the last enemy city (point K1b or K2b), and then go through the portal (point M1a on the map), to get to the Gold Mine (Point M1b on the map).
Remember, that the last, third mission of this campaign gives you the opportunity to use heroes from this, or the second, mission - if you want to transfer Korbac and c.o. there, spend some time leveling them up. You can transfer up to 8 heroes, with a maximum of 12th level to the final mission of this campaign.
You are not permitted to copy any image, text or info from this page. This site is not associated with and/or endorsed by the developers and the publishers. All logos and images are copyrighted by their respective owners.
Copyright © 2000 - 2026 Webedia Polska SA for gamepressure.com, unofficial game guides, walkthroughs, secrets, game tips, maps & strategies for top games.
