Deal with the Devil | Campaign - Liberation
Key points of Heroes of Might & Magic III: HD Edition - Deal with the Devil mission - Liberation
Cities, which belong to the player from the very beginning of the mission.
An enemy garrison building - to get to the other side, you must first defeat the units garrisoned there.
Guard - "a" stands for the Guard Tent, while "b" indicates the Guard Tower, which can be passed after visiting the Guard Tent.
The entrance to the underground - "a" stands for the entrance itself, while "b" indicates the exit leading to the surface.
A mirror entrance - "a" stands for the entrance, while "b" indicates the exit.
Points of interest - visiting, or capturing it can make the mission a lot easier.
This icon represents the place, in which the player can complete the main goal of the mission - it can either be the task to seize an artifact, defeat a certain enemy, or simply capture a city.
This icon represents key mines, which should be captured in order to complete the mission.
Neutral cities, which can be captured.
Cities, which belong to the enemy player.

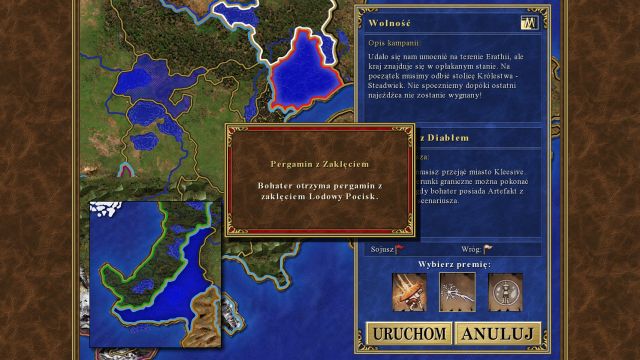
At the beginning you have the option to choose from three different spells - the best, but still the average one, is the Ice Bolt, as the other two aren't really useful for you, and the bolt will ease up some of your encounters in the early game.
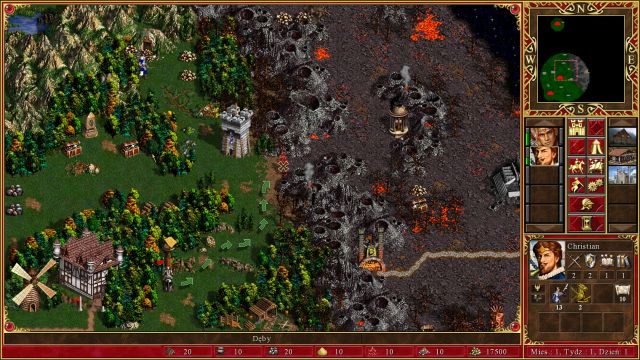
You begin with three cities - two of Castle type (one of them lacks the Fort - points S1 and S2 2 on the map, respectively) and a Rampart one (S3). Your hero starts at one of the Castle cities (S1), that is why you should focus on developing this very city - the remaining ones will be used for gold income. Five enemy cities, all of Inferno type, are located in the Eastern section of the map - you can sleep peacefully though, as the passageways from there are blocked by strong groups of Pit Lords, so you can expect at least a few weeks of no enemy in sight.
Use this precious time to build up both of your Castle cities - begin, of course, with the one where your hero started at. During the first week you should construct:
- Day 1 - Archer's Tower
- Day 2 - Blacksmith
- Day 3 - Barracks
- Day 4 - Stables
- Day 5 - Training Grounds
- Day 6 - Mage Guild lv. 1
- Day 7 - Monastery
Thanks to that, at the beginning of the second week you should be able to recruit quite a lot of units, which will allow you to clear the area around your city. In the other two cities try to construct:
- Day 1 - City Hall
- Day 2 - Marketplace
- Day 3 - Blacksmith
- Day 4 - Mage Guild lv. 1
- Day 5 - Town Hall
After constructing those 5 buildings, leave those cities, at least for now, because you will need every resources you can get to build Portal of Glory, Citadel, Castle and Capitol in your "main" city. During the second week, construct the following buildings:
- Day 1 - Marketplace
- Day 2 - Town Hall
- Day 3 - Citadel
- Day 4 - Castle
- Day 5 - Capitol
- Day 6/7 - Portal of Glory

Constructing the Portal of Glory during the second week is quite a task (especially if you decided to construct the Capitol first), but it's perfectly doable. If you, however, fail to do so, take it easy - construct it in the next few days. During the second week you can spend some of your resources on developing your Rampart city - in case the enemy tries to attack you. During the second week (if you have enough resources for the Castle city) construct:
- Dwarf Cottage
- Homestead
- Enchanted Spring
- Dendroid Arches
- Unicorn Glade
- Citadel
- Castle
The above list does not include days, in which you should construct those buildings for a simple reason - you can do that at whatever moment you want, but try to construct at least some of them during the second week. You don't have to recruit troops as soon as you do so - all you have to do is to keep about 15-20k gold at all times (which shouldn't be a problem, given that you have 2 Town Halls, a Capitol and there's a Gold mine, at point KOP1 on the map, which should put you at around 10k gold a turn) and recruit your troops whenever you see an enemy approaching your city (reveal the map around the closest Pit Lord, to the East from your Rampart, so that you can reach to the attack quicker). The enemy shouldn't bring a big army, but better safe than sorry.
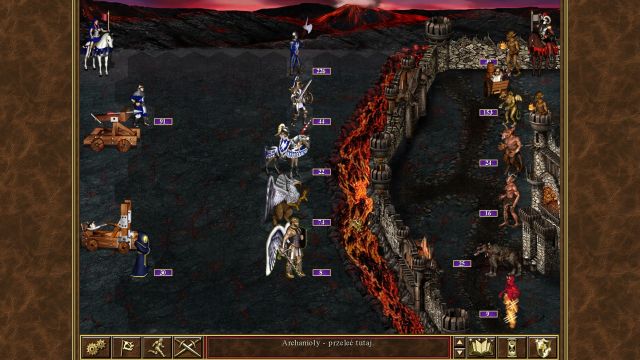
If you managed to construct the Portal of Glory during the second week, start your assault as soon as the fourth week of the first month starts - if not, delay everything by one week (first week of the second month). By that time your Castle should have every building constructed - recruit all your troops and go East, to break through the passageway blocked by a group of Pit Lords. Near your two Castles you have access to two different passageways - take the "upper" one.

As soon as you cross the passageway, to the East, you will find the first enemy city (point W1 on the map). After capturing it go further to the East, until you reach the crossroads, leading upwards and downwards - go along the bottom route. At the end of it there's the second enemy Inferno city (W2). Seize control over it and get back to the crossroads and take the Northern route now. Ignore the passageway on the right side, because it's protected by a large group of Archdevils. Instead, continue North, and at the end of the road a third Inferno city will await you (point W3). After capturing it go West, and after a turn of wandering you will arrive at the penultimate enemy encampment (W4).
Now, unless there's an enemy wandering around, you should have peace - the only city you need to capture is located behind the Archdevil blockade mentioned earlier (point W5 on the map), meaning that the enemy won't be able to do anything to you anymore. Gather an army, get rid of Archdevils and attack the last enemy city - there shouldn't be any resistance there. Afterwards the mission will end.
You are not permitted to copy any image, text or info from this page. This site is not associated with and/or endorsed by the Ubisoft or DotEmu. All logos and images are copyrighted by their respective owners.
Copyright © 2000 - 2025 Webedia Polska SA for gamepressure.com, unofficial game guides, walkthroughs, secrets, game tips, maps & strategies for top games.

