Heroes 3 HD Edition: Greed

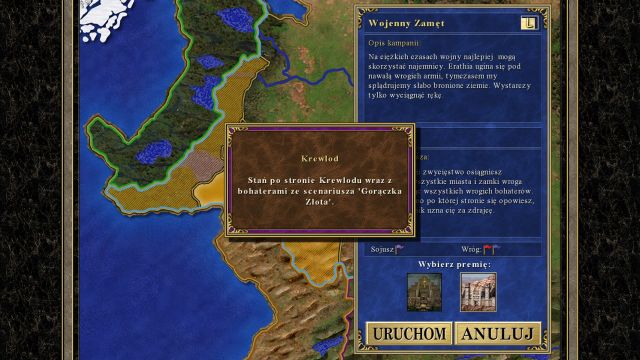
As with most of the "third missions" of the campaign, you must choose which heroes you want to start with - those from the first, or from the second map. The choice is yours to make, but the ones from the first mission have a slight advantage here, as most of the terrains here consist of swamps, which heroes from other cities than Fortress have difficulties moving through. The third mission gives you the classic goal - you must defeat your enemy.
This mission is rather simple - you must defeat two enemy players. The first one has access to units from Castle, as all of his cities are of that type, while the other can control either Fortress ones, or Stronghold, depending on the heroes you've chosen at the beginning. Yours, as well as your enemies' cities are scattered around the edges of the map and the red player is located directly in between both of you - to get there, you will have to get through a rather strong garrison. Because of that, during the first few weeks you should focus on building your army and exploring the small area around your cities.

Remember that the enemy will have heroes from the previous missions as well - you can weaken him considerably by using a little forte. If you decided to get heroes from the first mission to accompany you, remember to discharge all your heroes, except for one, during the second mission, so that the enemy will only have a single, high-leveled hero at the beginning, whereas you have several of them. If you've decided to take heroes from the second mission, do the same but delete heroes during the first mission.
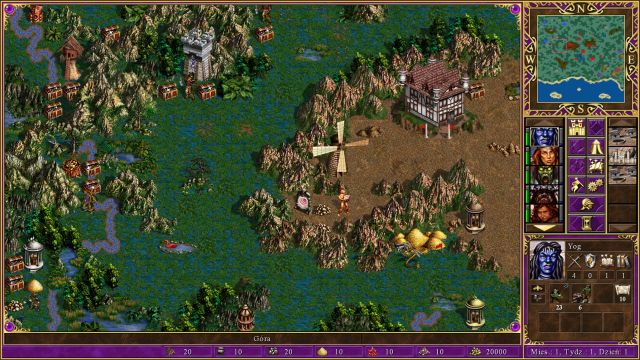
The mission takes place on swamps, so it's generally a good idea to have heroes with Pathfinding, or take this ability whenever you have the opportunity while leveling them up - each level of this ability decreases the movement penalty on harsh terrains, such as swamps.
Start off by building the City Hall in all three cities, which will provide you with a good amount of gold income. Afterwards, focus on developing a single city only (the one with the pre-built Fort - point S1 on the map) - building up three Stronghold cities at the same time requires immense amounts of resources, which you, at the moment, don't have. During the first week you should build:
- Day 1 - City Hall
- Day 2 - Wolf Pen
- Day 3 - Cliff Nest
- Day 4 - Behemoth Lair
- Day 5 - Citadel
- Day 6 - Castle
- Day 7 - Orc Tower

Additionally, you can build a Marketplace, and then a Resource Silo in your second and third city - it will give you 2 additional pieces of lumber and ore a day, which will come in handy. All you have to do now is to properly clear the area surrounding your cities, construct all unit-production buildings (as well as their upgraded versions) in your main city and then recruit them all. A good moment to start acting is the beginning of the 4th week - you now should have access to all of your units. Recruit them all and head towards the bottom Garrison (point G1 on the map).
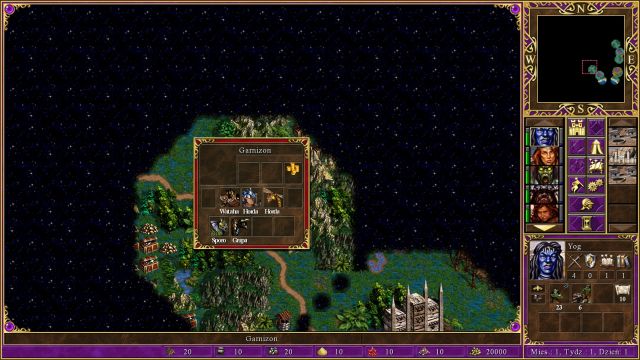
Garrison defenses are rather strong, but you should now have zero problems with them. After you break through it, immediately head North - here you should arrive at the first enemy city (point W1 on the map). After capturing it, go North-West, until you reach the second enemy city (point W2 on the map), and a little further in the same direction the last, third enemy city (point W3 on the map). At the same time, at the last Castle you've captured, you will find a Mirror Entrance (point M1a on the map) - by entering it you will be teleported right in the middle of enemy territory (point M1b on the map). This is precisely why you should take control over the map as soon as possible, so that the enemy won't be able to harass you this way.
If you have any units to recruit, or if you've built up the second city, recruit them all and deliver them to the hero you've just captured the enemy cities with and order him/her to go through the teleport. Three enemy cities are (from your current position) to the North-West (point W4 on the map), North-East (W5), as well as South-West (W6). You can capture them in any given order, but it's better to start with the one located to the North-West, then go East to capture the next one and then go for the last one.
You are not permitted to copy any image, text or info from this page. This site is not associated with and/or endorsed by the developers and the publishers. All logos and images are copyrighted by their respective owners.
Copyright © 2000 - 2026 Webedia Polska SA for gamepressure.com, unofficial game guides, walkthroughs, secrets, game tips, maps & strategies for top games.
