Jedi Survivor: Path of Conviction (Jedha) - puzzles
Path of Certainty is an optional ruin on Jedha in Jedi Survivor. From the description in our guide, you will learn how to correctly pass the attract and push bullets puzzles and how to reach the top of the Path of Certainty ruins.
Last update:
In the Path of Conviction location of Jedi Survivor you'll have to solve some sphere-moving puzzles. On this page of our guide, we show how to complete each puzzle and make the sphere reach the very top of Path of Conviction. Completing this site is one of the pre-requisites to unlocking access to Wayfinder's Tomb.
Location of the Path of Conviction on Jedha
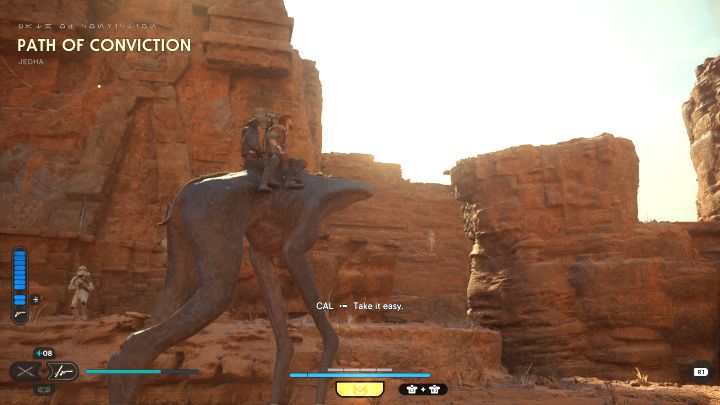
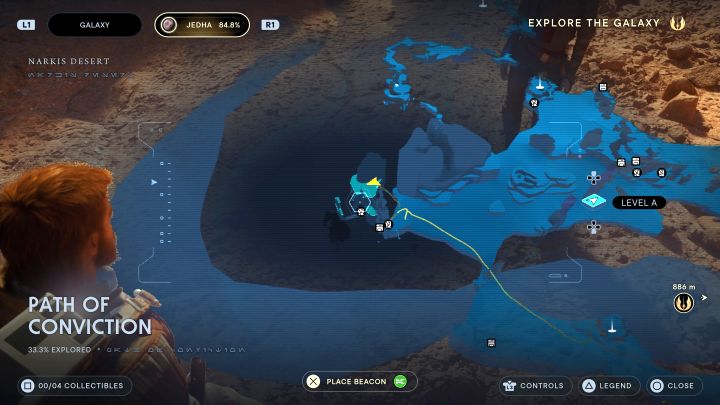
The Path of Conviction is one of the smaller zones of Jedha. These are ruins surrounded from three sides by chasms and neighboring larger Arid Flats region.
This is the site of one of 3 larger puzzle sections that completing is required to unlock access to Wayfinder's Tomb on Jedha. The other locations of this type are Path of Restoration, and Path of Persistence.
This zone requires improved Ascension Cable - some puzzles require following a path of levitating balloons. This is described in more detail in How to grab levitating balloons? page of the guide.
Completing sphere puzzles in Path of Conviction

Catch the first balloon. Propel yourself from it to reach the remote climbing wall.
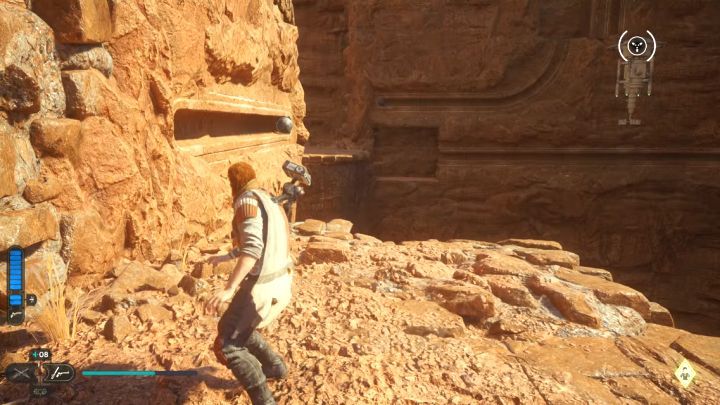
You will reach a central part of the ruins, where, aside from a balloon, there are 3 movable spheres.
Start by Force Pulling the first sphere (screenshot).
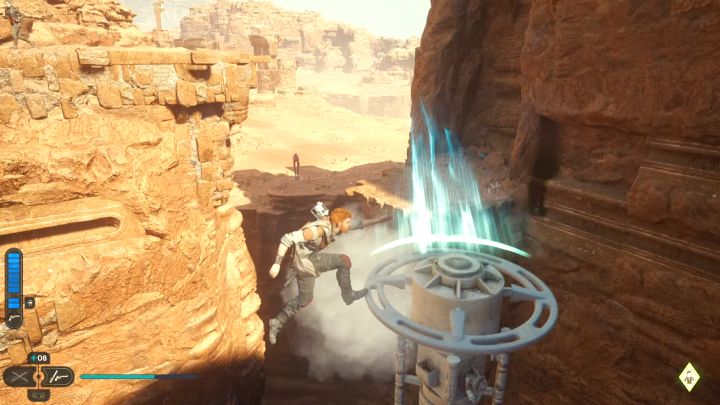
You now have a timed section, as the moved sphere will start to move slowly back to its initial position.
Grab onto the balloon and propel yourself in the direction of the remote shelf (screenshot).
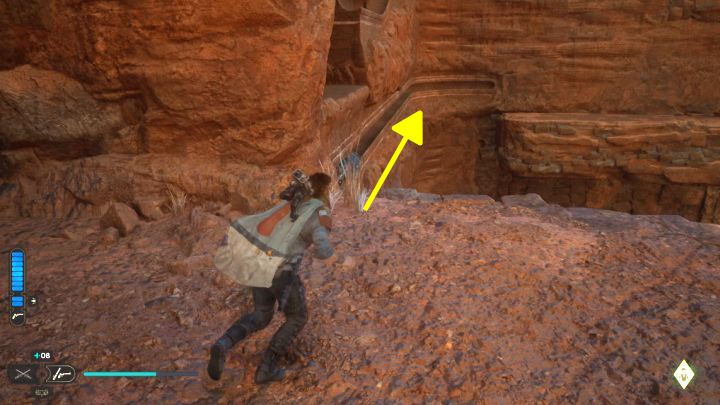
Right after safely landing, Force Push the second sphere - it has to follow the path shown in the screenshot. A successful action should make the rock shelf appear, but don't go for it yet.
If you don't complete the actions in time, and the path returns to its original position, you need to repeat the previous steps.
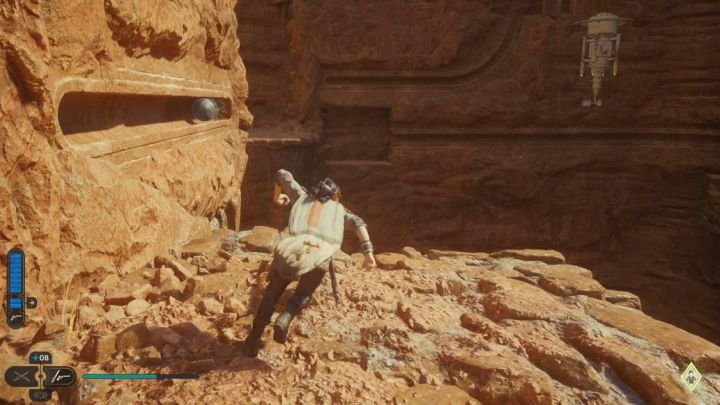
Return to the starting point and once again Force Pull the first sphere. Another timed section begins.
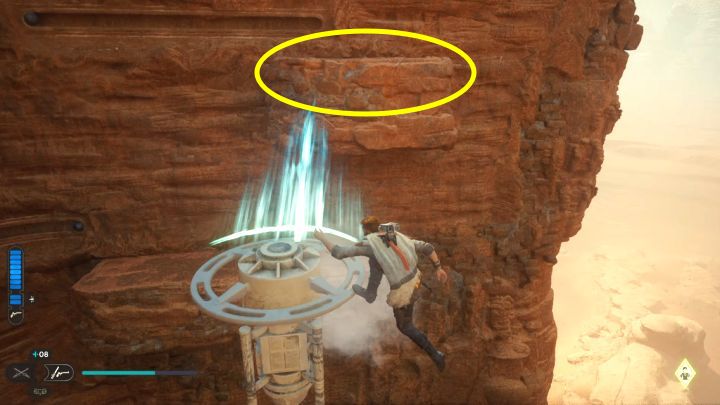
Grab the balloon and propel yourself towards the extended higher ledge (the one that appeared after moving the second sphere).
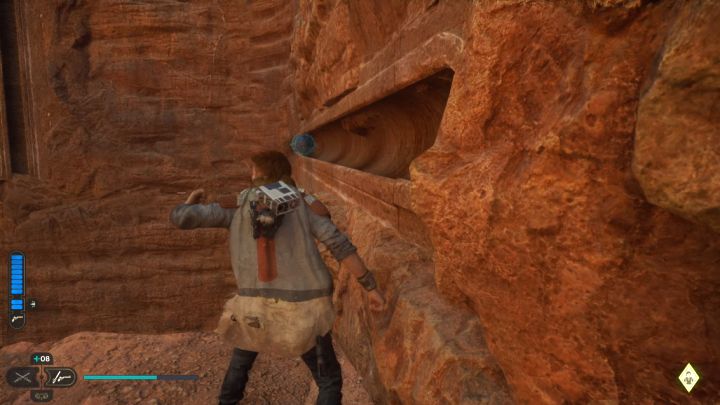
Just after landing, quickly use Force Pull on the third sphere (screenshot). This is another sphere that after sometime returns to its default position.
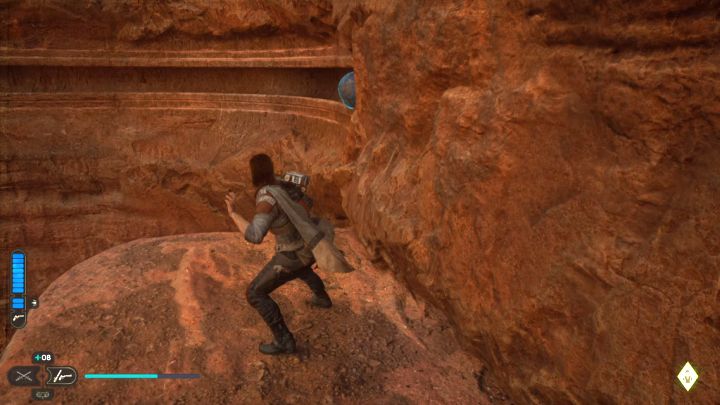
Jump down to a lower shelf (without grabbing the balloon). Now you can Force Push the second sphere to move it back to its default location.
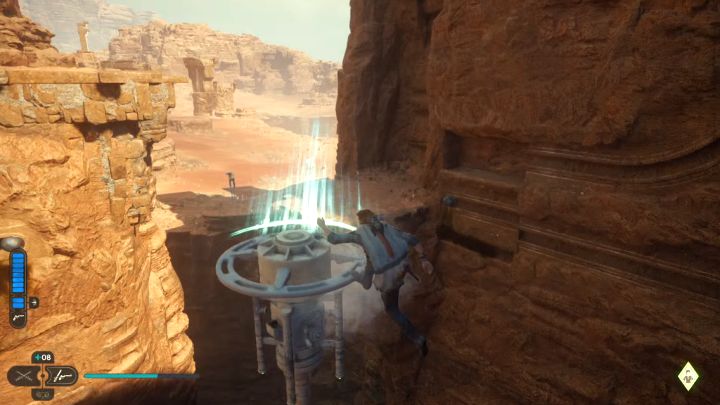
Quickly grab the balloon and propel yourself towards the ledge to which you've pushed the second sphere.
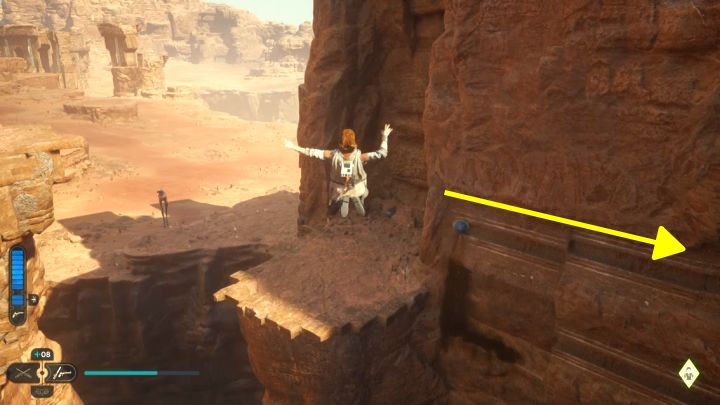
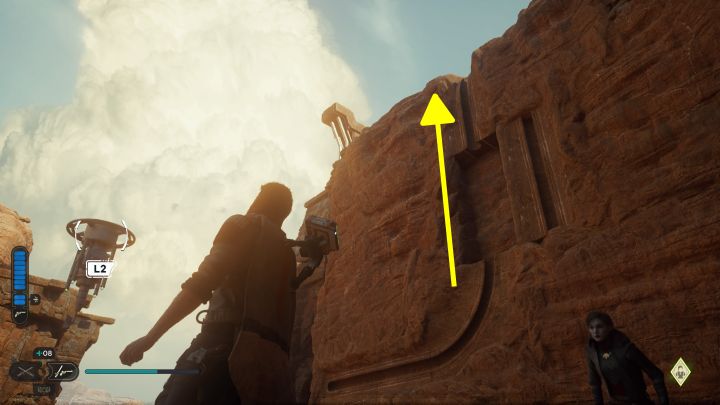
If you were fast enough, right after landing you can Force Push the second sphere which will travel to the very top of the ruins and "disappear" from this place.
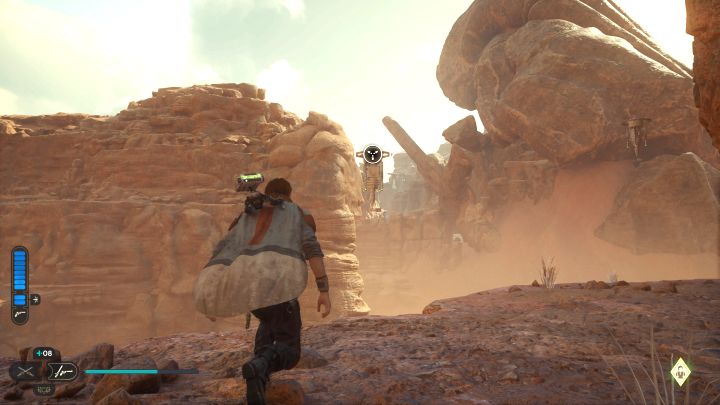
Now you must do the same as Cal. Approach the outskirts of the ruins. There are several balloons here - grab and propel yourself towards the next ones.
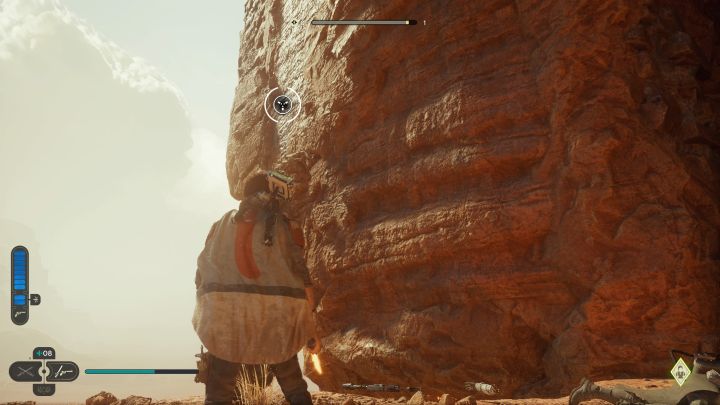
Defeat a group of stormtrooper and use the ascension cable on the hitch. Use the climbable wall to reach the top.
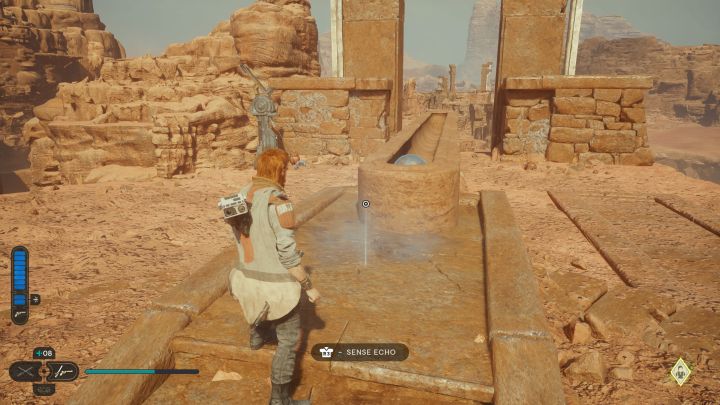
Defeat new stormtroopers. All that is left to do is to approach the central structure and push the final sphere (screenshot). The surrounding area will be transformed and you have completed 1/3 of the Wayfinder Tomb puzzle.
You can optionally explore the rest of the ruins (there is a perk essence nearby), unlock a shortcut, and use a relter to easily leave the ruins.
- Star Wars Jedi Survivor guide
- Star Wars Jedi Survivor: Game Guide
- Star Wars Jedi Survivor: Puzzles
- Jedi Survivor: All puzzles
- Jedi Survivor: Going through the Forest Array on Koboh
- Jedi Survivor: Ruins Landing Site on Jedha puzzle
- Jedi Survivor: Reaching Cere in the Veiled Hangar puzzle
- Jedi Survivor: Orb coupler puzzles in the Devastated Settlement
- Jedi Survivor: Opening Crypt of Uhrma on Jedha
- Jedi Survivor: Opening the Gate at the Buried Refuge
- Jedi Survivor: Orb Amplifier puzzle in the Republic Research Laboratory
- Jedi Survivor: Reaching the Caves of Phon'Qi on Koboh
- Jedi Survivor: Wayfinder's Tomb (Jedha) - puzzles
- Jedi Survivor: Path of Persistence (Jedha) - puzzles
- Jedi Survivor: Path of Restoration (Jedha) - puzzles
- Jedi Survivor: Path of Conviction (Jedha) - puzzles
- Jedi Survivor: Chamber of Duality on Koboh
- Jedi Survivor: Chamber of Reason on Koboh
- Jedi Survivor: Chamber of Fortitude (Koboh)
- Jedi Survivor: Jedi Chamber in the Devastated Settlement
- Jedi Survivor: The Chamber of Detachment on Koboh
- Jedi Survivor: The Chamber of Connection on Koboh
- Jedi Survivor: Chamber of Clarity on Koboh
- Star Wars Jedi Survivor: Puzzles
- Star Wars Jedi Survivor: Game Guide
You are not permitted to copy any image, text or info from this page. This site is not associated with and/or endorsed by the developers and the publishers. All logos and images are copyrighted by their respective owners.
Copyright © 2000 - 2025 Webedia Polska SA for gamepressure.com, unofficial game guides, walkthroughs, secrets, game tips, maps & strategies for top games.
