Jedi Survivor: Untamed Downs - list of secrets (part 1)
Untamed Downs is part of the vast Rambler's Reach region on the planet Koboh in the Star Wars Jedi Survivor game. Our guide will help you acquire the 38 collectibles that can be found there.
Last update:
When you visit the Rambler's Reach region on the planet Koboh in Star Wars Jedi Survivor, you will be passing through a large area called the Untamed Downs. You will get there by passing through the Rambler's Reach Outpost or Bygone Settlement. On subsequent visits, you can use fast travel to get there. Our guide will help you find the 38 secrets that are in this location - including chests, databanks, treasures and seed pods.
Some of the secrets can only be accessed after completing the final chapters of the game - the final skill needed for them is unlocked during the fifth chapter of the game.
- List of secrets in Untamed Downs
- Databank #1 - An Ecological Study
- Treasure #1 - Priorite Shard
- Databank #2 - Warning Signs
- Essence #1
- Databank #3 - The Feeding Grounds
- Databank #4 - A Small Mercy
- Treasure #2 - Priorite Shard
- Seed Pod #1 - Bluebell Squish
- Treasure #3 - Priorite Shard
- Seed Pods #2-4 - Bluebell Squish
- Seed Pods #5-8 - Bluebell Squish
- Databank #5 - The Ties That Bind
- Seed Pod #9 - Spine Fluff
- Treasure #4 - Priorite Shard
- Chest #1 - Material: Hunter
- Databank #6 - Breaking, Not Entering
- Seed Pod #10 - Palm Fruit Shell
- Chest #2 - Legs: Swooper
- Databank #7 - Bilemaw Burrow
- Databank #8 - Turgle Makes a Deal
- Chest #3 - Jacket: Mountaineer
- Chest #4 - Grip: Arakyd Heavy
- Treasure #5 - Priorite Shard
List of secrets in Untamed Downs
There are 38 collectibles to find here:
- Chests: 6
- Essences: 2
- Databanks: 14
- Treasures: 6
- Seed Pods: 10
For your convenience, we have divided the description of the collectibles into two parts. Other secrets from this area can be found on a separate page of the guide.
Databank #1 - An Ecological Study
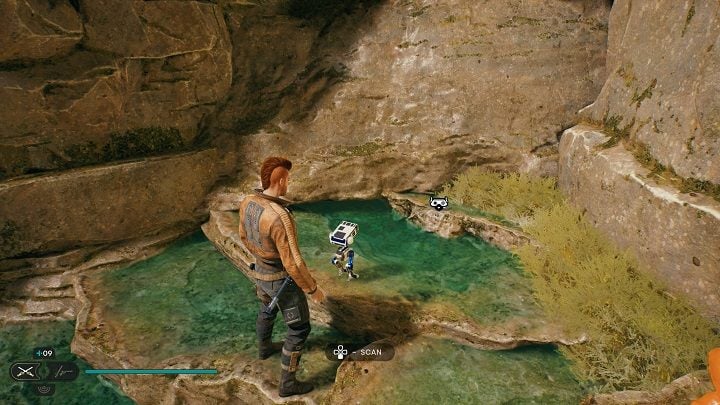
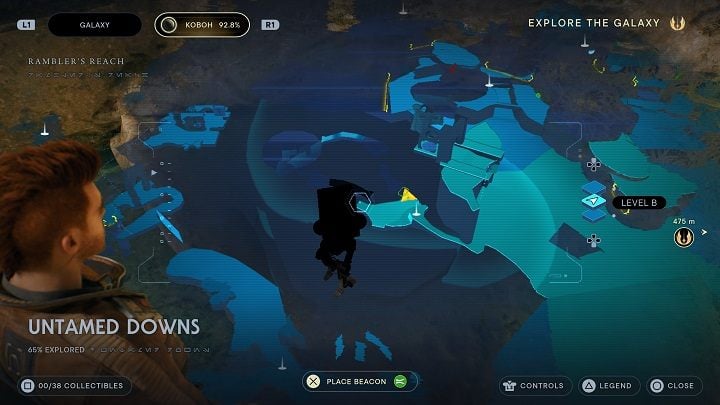
Starting from the meditation point, jump down and head to the right, towards the wall. You will find the databank entry.
Treasure #1 - Priorite Shard
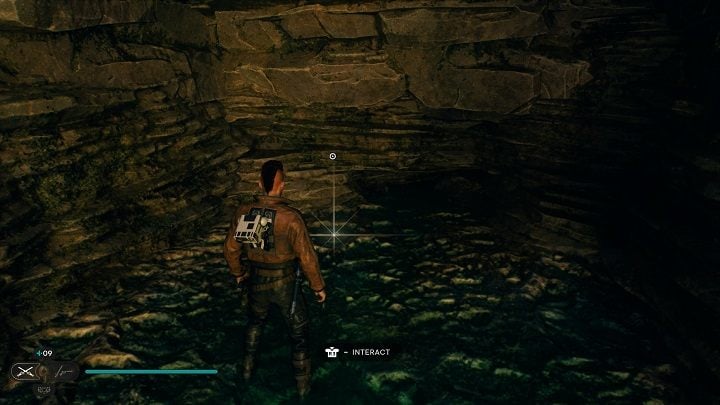
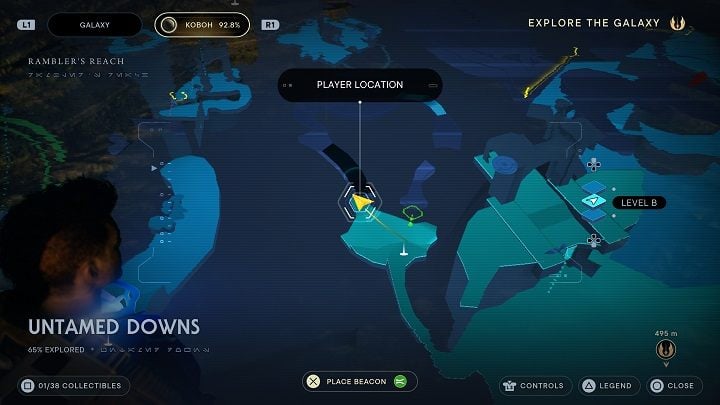
The treasure is behind the waterfall opposite the previous collectible.
Databank #2 - Warning Signs
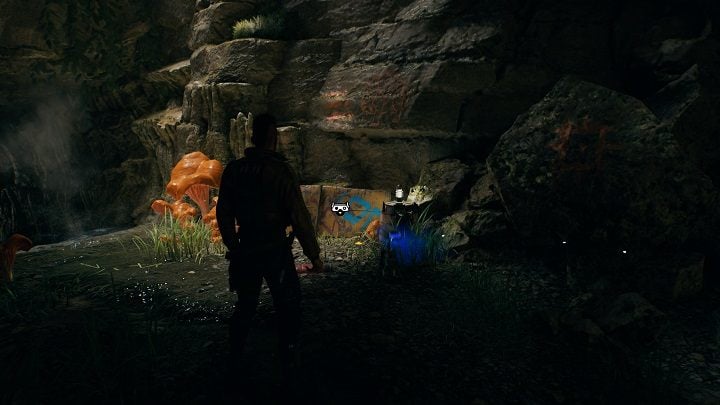
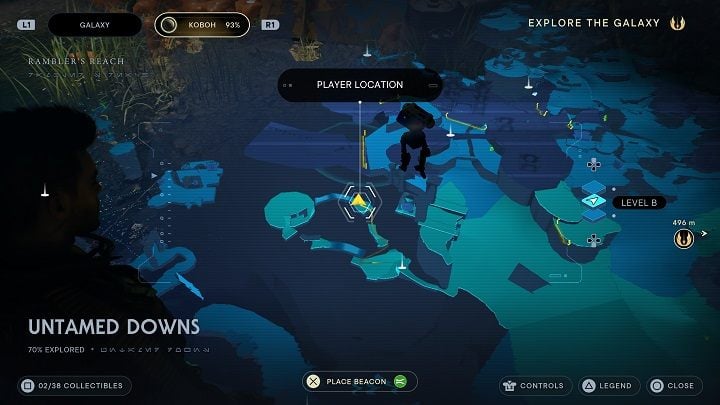
Return to the meditation point and jump to the shelf opposite. After a short walk, you will find the databank entry.
Essence #1
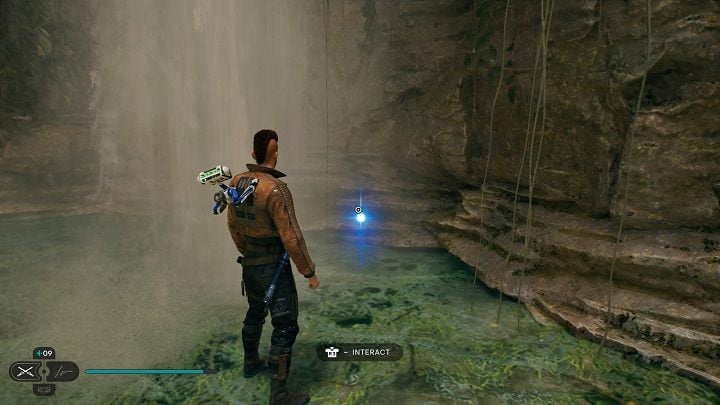
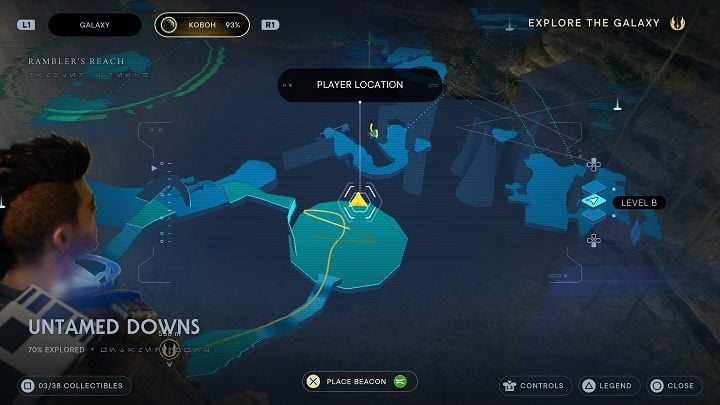
From the location of the previous collectible, head to the left and down. The essence is across from the place where you landed. Beware, however, of three large opponents.
Databank #3 - The Feeding Grounds
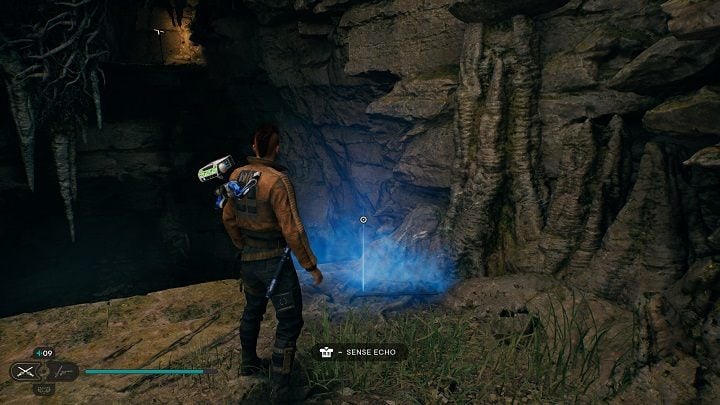
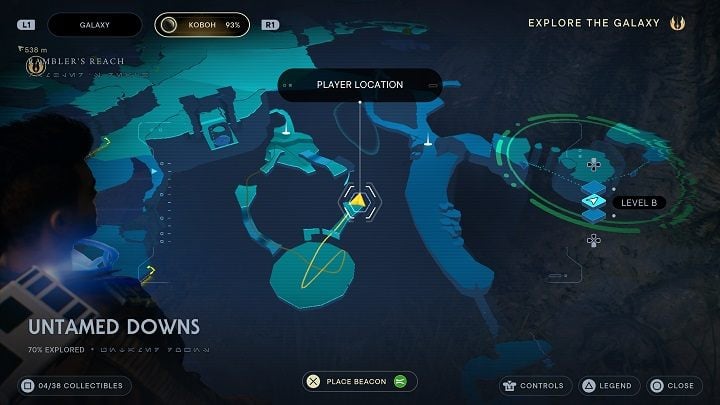
There are vines on the surrounding walls. Use them and go up. You will find an echo with a databank entry.
Databank #4 - A Small Mercy
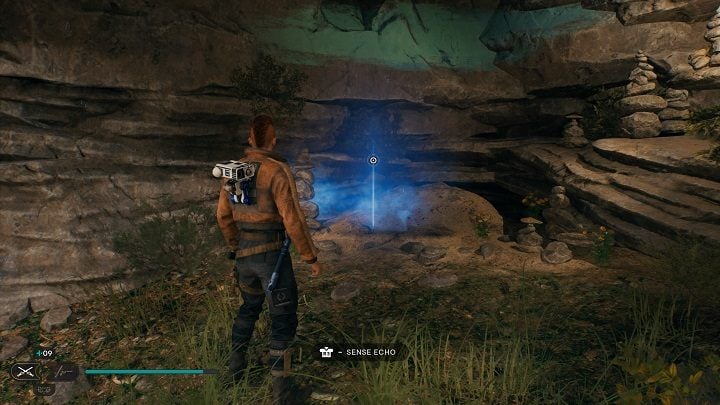
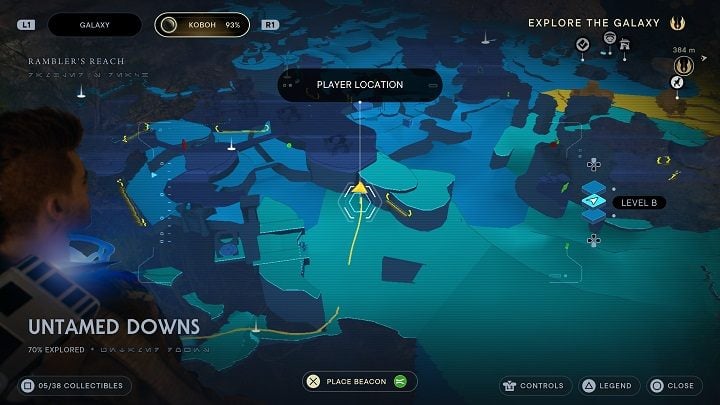
Return to the meditation point (using the nearby vines) and you will be able to go out to the main, central area. There is an echo with a databank entry.
Treasure #2 - Priorite Shard
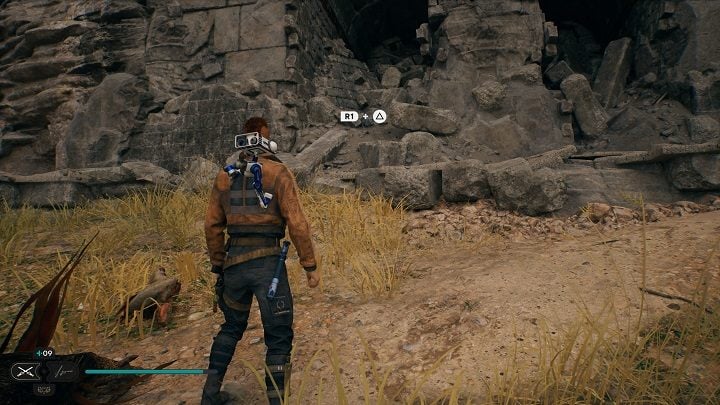
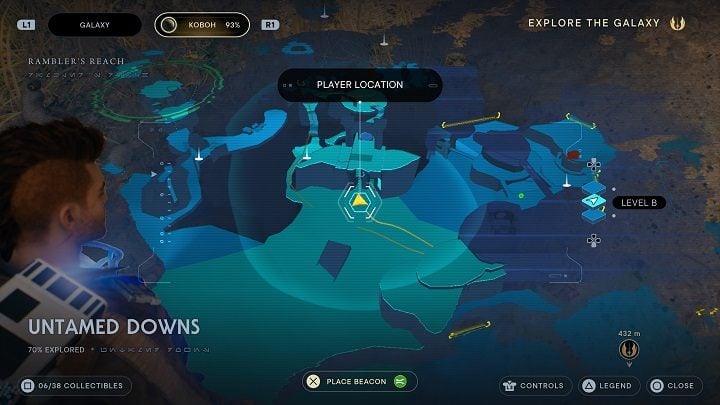
Opposite the previous collectible is a pile of stones obscuring a Priorite Shard.
Seed Pod #1 - Bluebell Squish
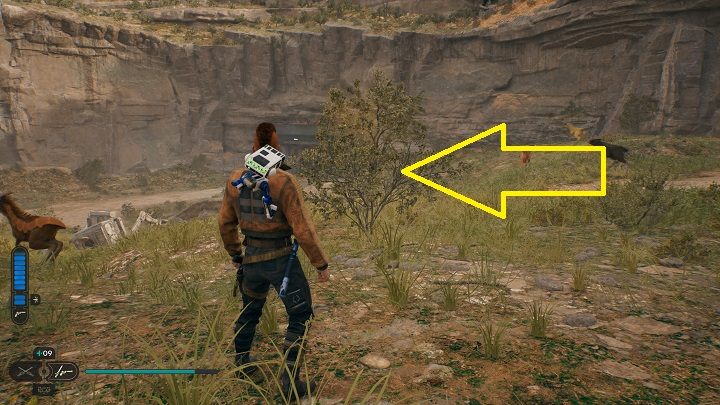
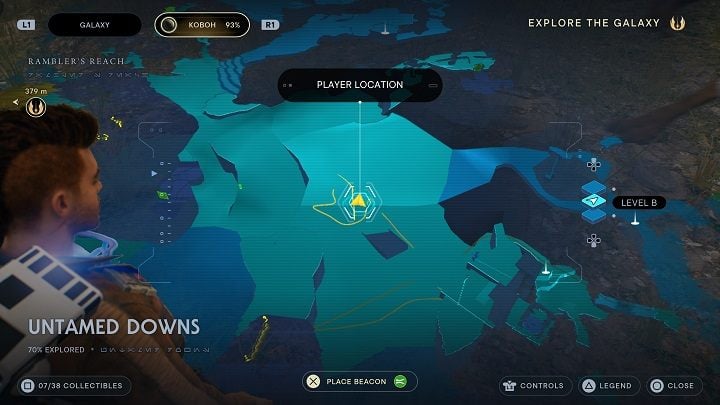
This Seed Pod is relatively close.
Treasure #3 - Priorite Shard
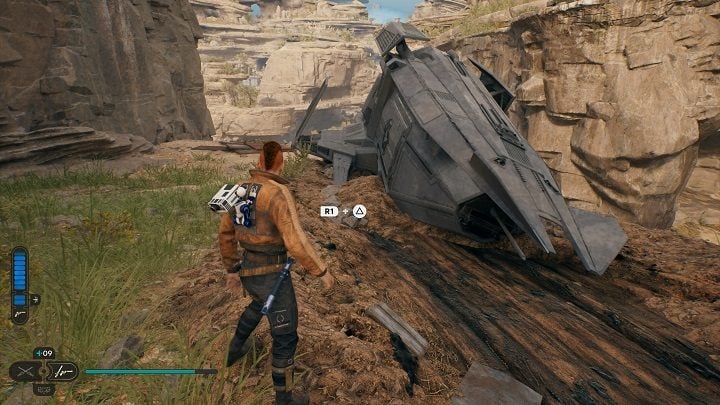
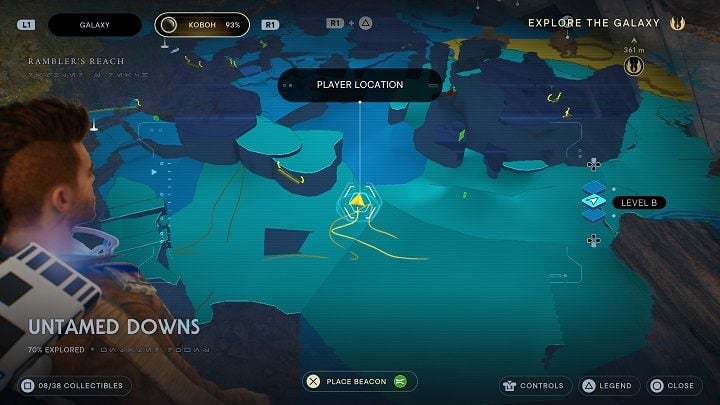
There is a wreck near the above-described plant. Next to it is a Priorite Shard.
Seed Pods #2-4 - Bluebell Squish
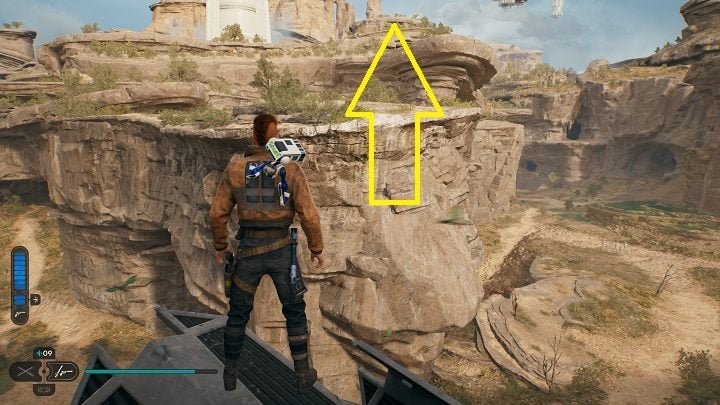
From the above-discussed wreck you can jump to the hill nearby.
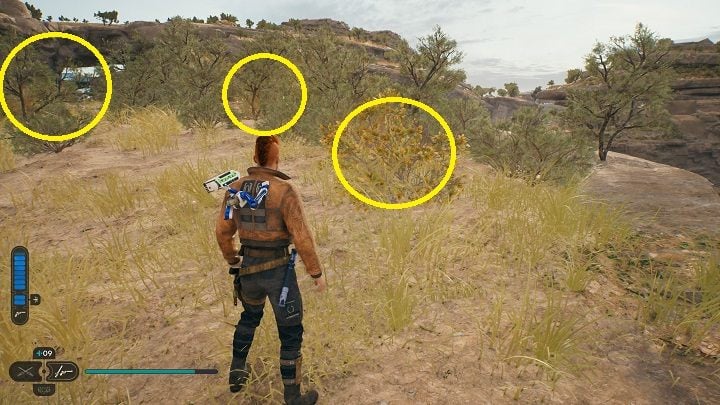
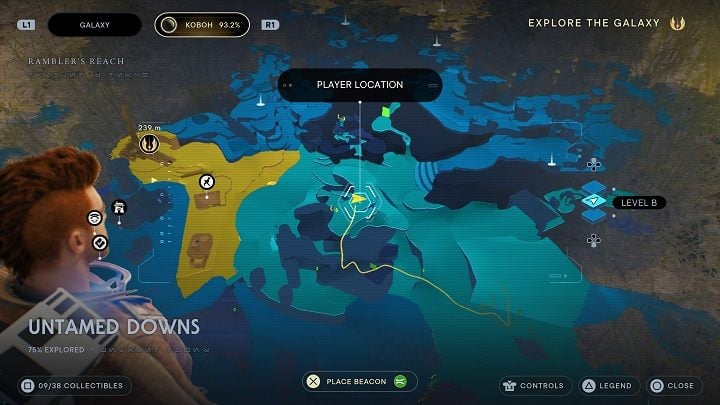
While on it, run ahead and climb as high as possible. Then turn right at the end and head up the slope. There you will find seven plants with seeds. The first group is located in the place shown in the images above.
Seed Pods #5-8 - Bluebell Squish
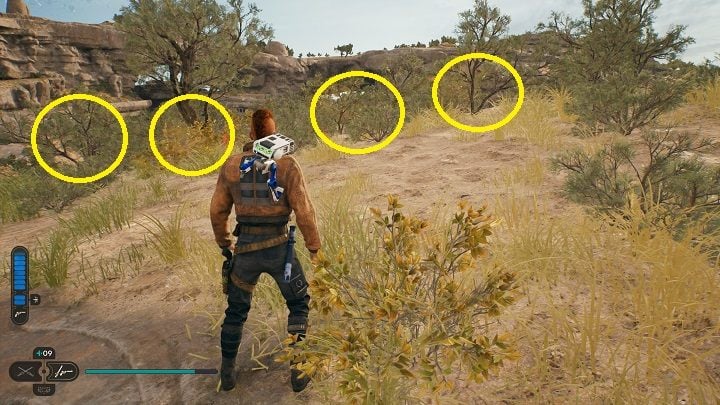
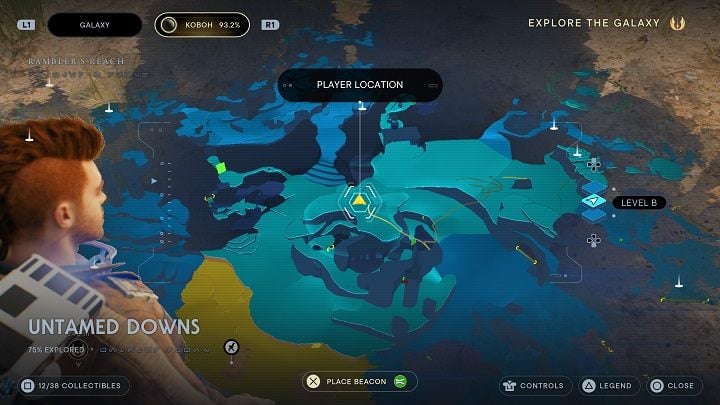
Another group is located to the left of the previous one, on the same hill.
Databank #5 - The Ties That Bind
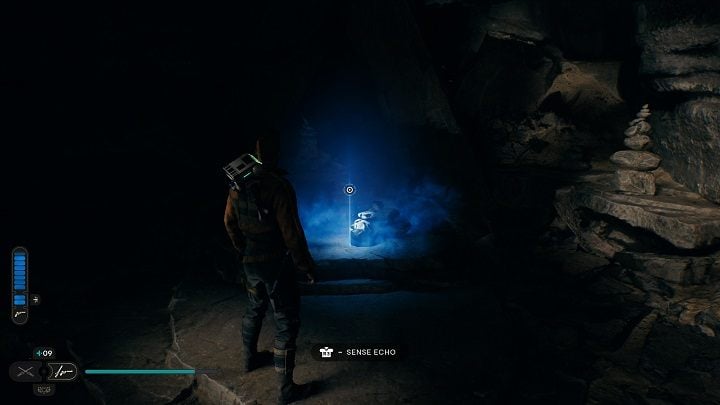
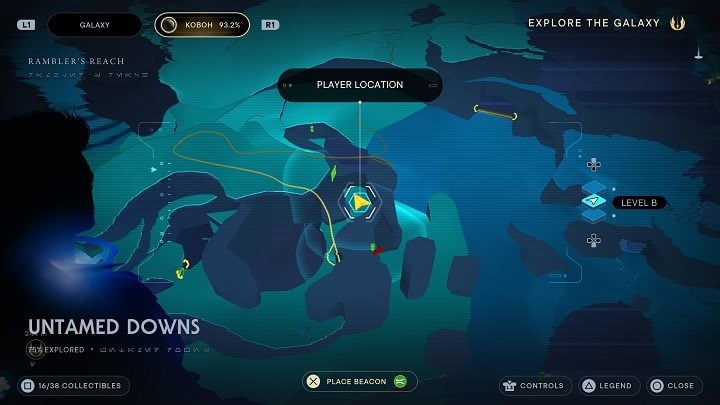
Run towards the white tower and jump down. There is an entrance to a dark cave nearby. In it you will find an echo with a databank entry.
Seed Pod #9 - Spine Fluff
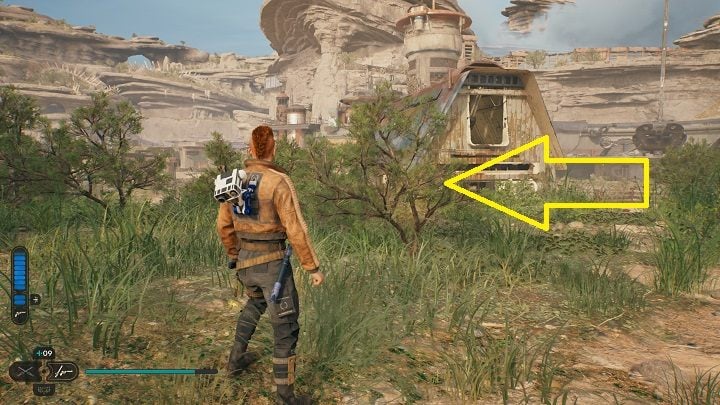
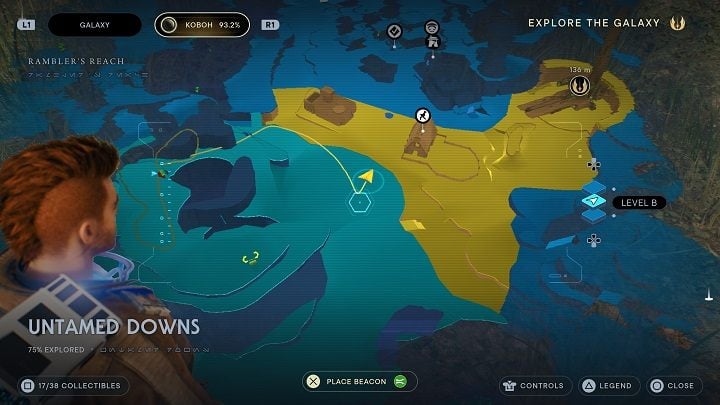
Exit the cave and head left toward the flying creature. Land near the broken bridge. Another plant with seeds is nearby.
Treasure #4 - Priorite Shard
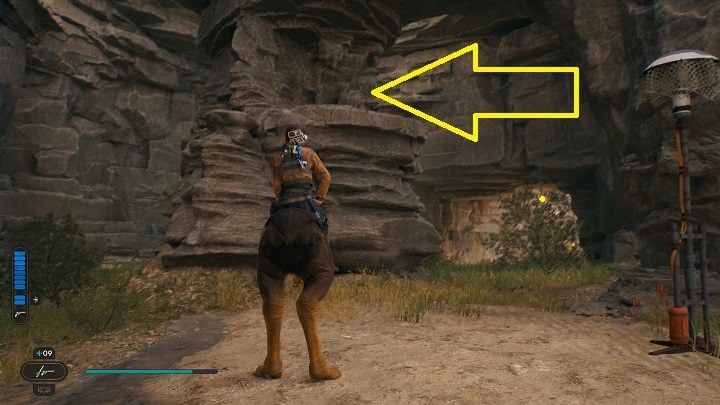
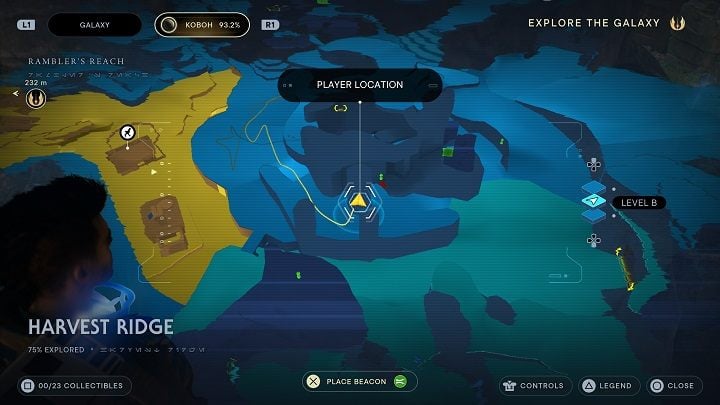
A path leading to the mountain is nearby. Grab and ride a Nekko by following said path. You will reach the rock on which there is a Priorite Shard. You will get to it by jumping off the back of your mount.
Chest #1 - Material: Hunter
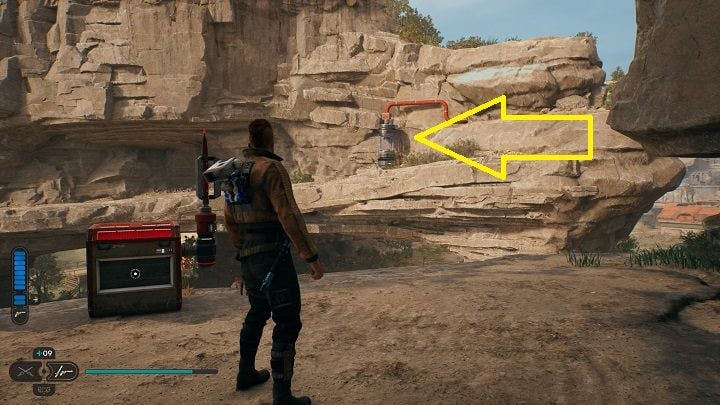
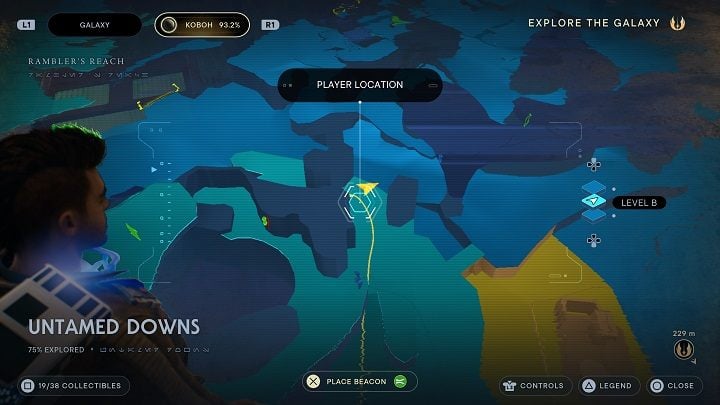
At the bottom is a chest, which you will open by shooting the fuse directly behind it.
Databank #6 - Breaking, Not Entering
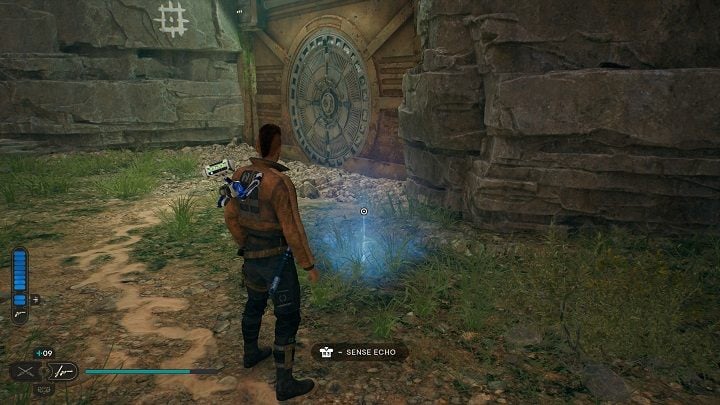
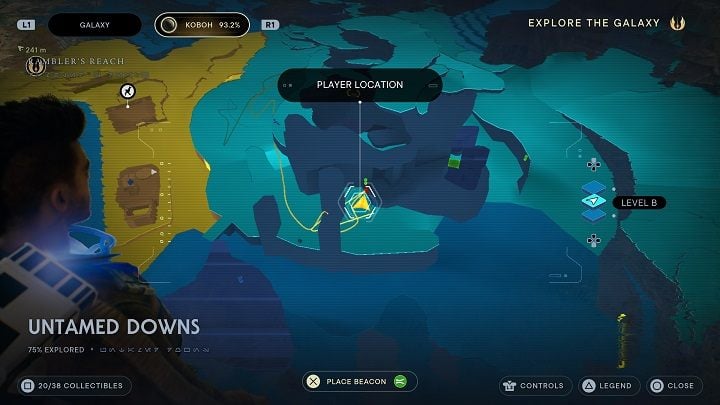
Behind the rock where the Priorite Shard was, there is an echo with a databank entry.
Seed Pod #10 - Palm Fruit Shell
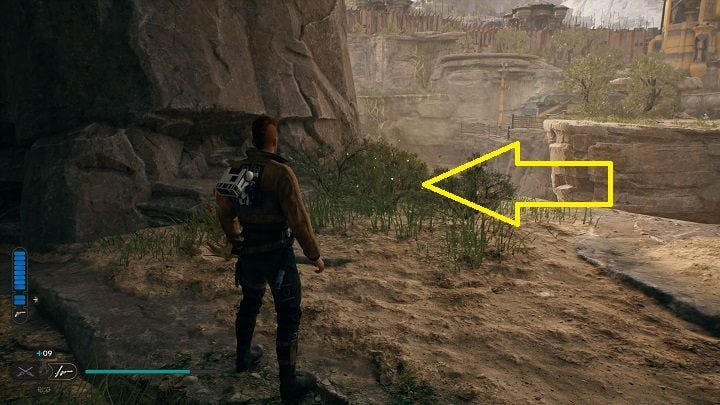
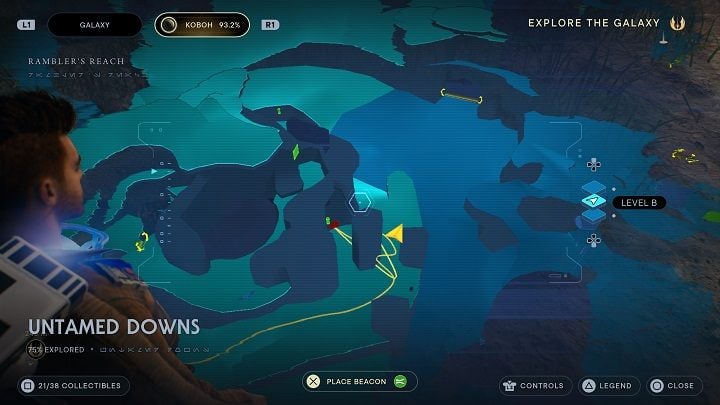
The last seed plant in the area is nearby.
Chest #2 - Legs: Swooper
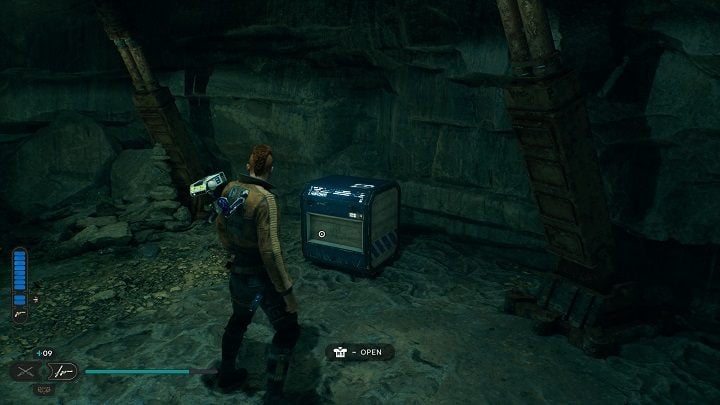
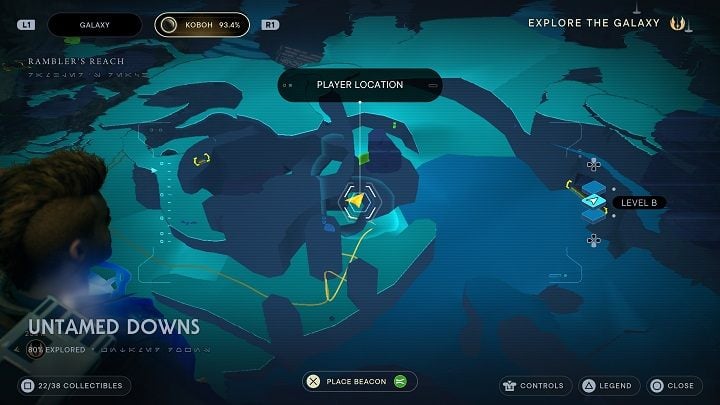
Head to the right of the closed circular door and you will find an opening that allows you to see the fuse inside. After shooting at it, you will be able to go inside. You'll find a chest there.
Databank #7 - Bilemaw Burrow
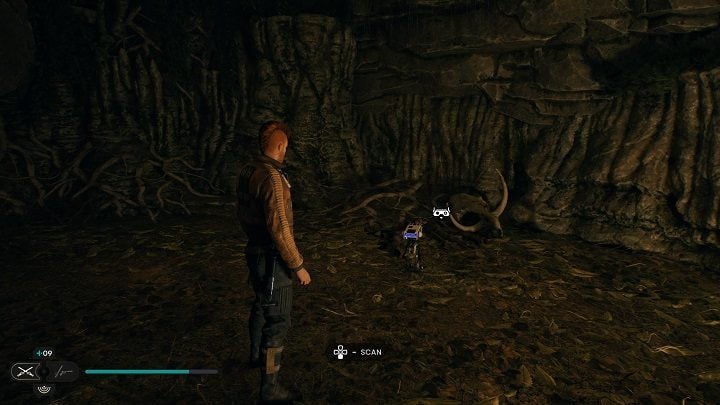
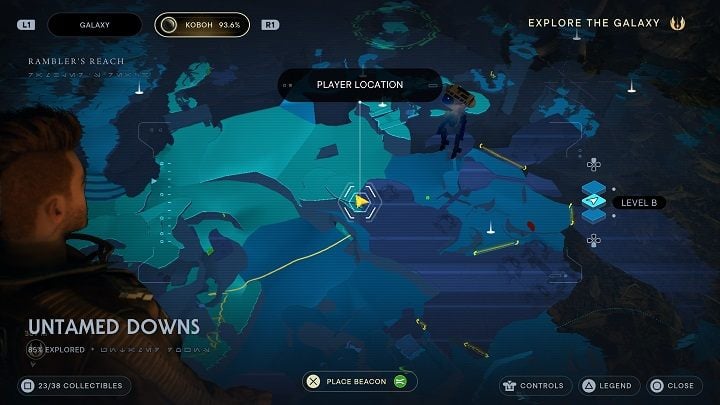
Take the path down (it is near the hole in the wall) and walk towards the cave by the water. Inside it you will find a Bilemaw and a databank entry (this one is located a little deeper).
Databank #8 - Turgle Makes a Deal
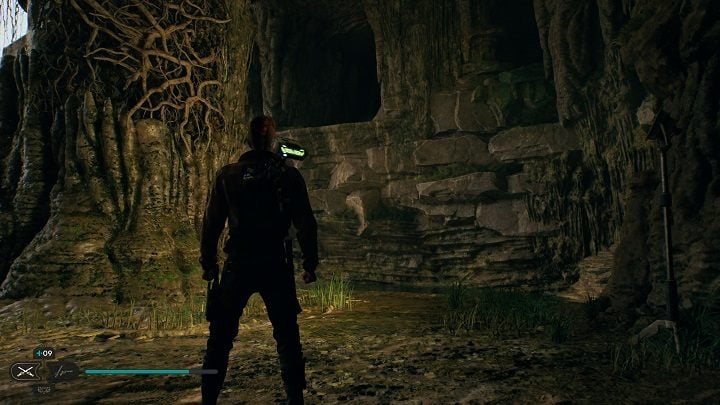
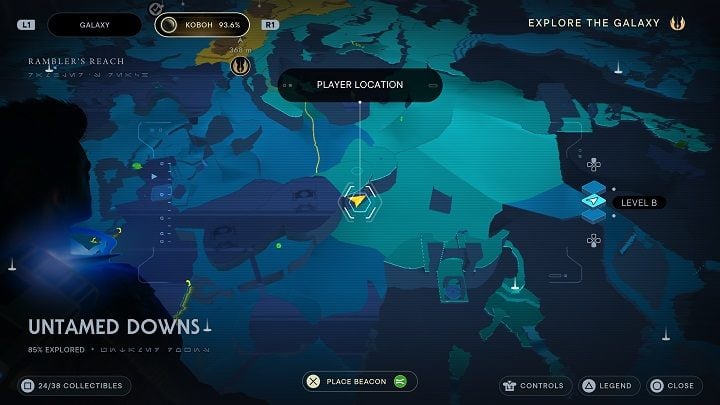
At the entrance to the cave is a small chamber on an elevation. You can get to it by jumping off Nekko's back or by using nearby vines.
Chest #3 - Jacket: Mountaineer
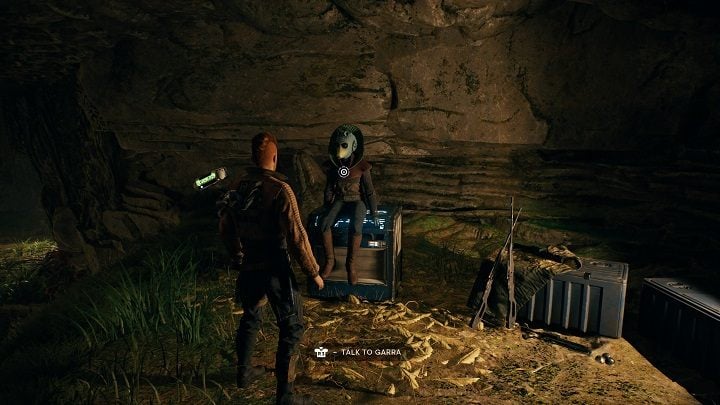
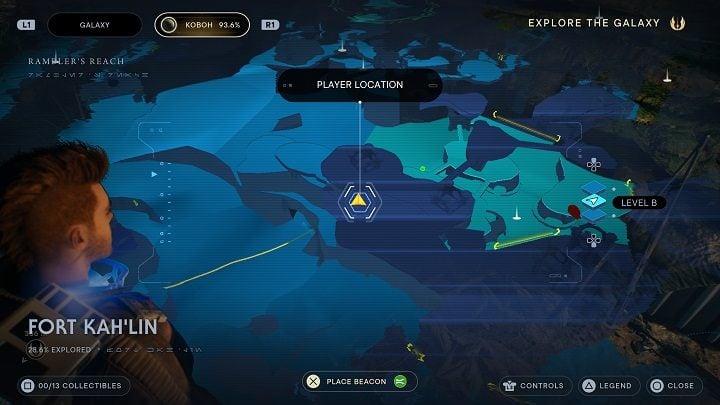
From there, walk ahead and jump to another ledge. You will eventually reach the chest. To open it you will have to chase away a certain person first. Tell her that possession of contraband is illegal.
Chest #4 - Grip: Arakyd Heavy
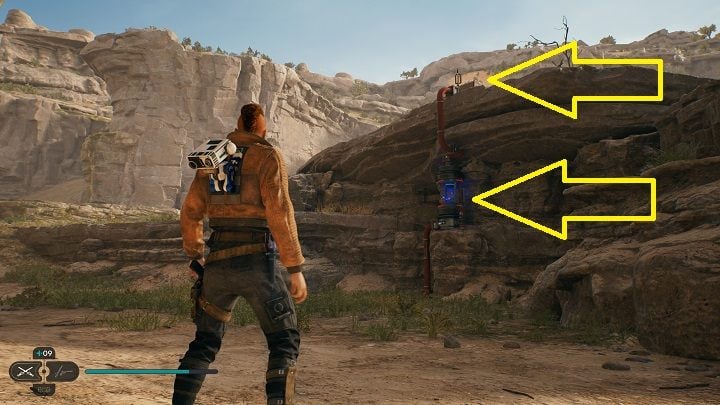
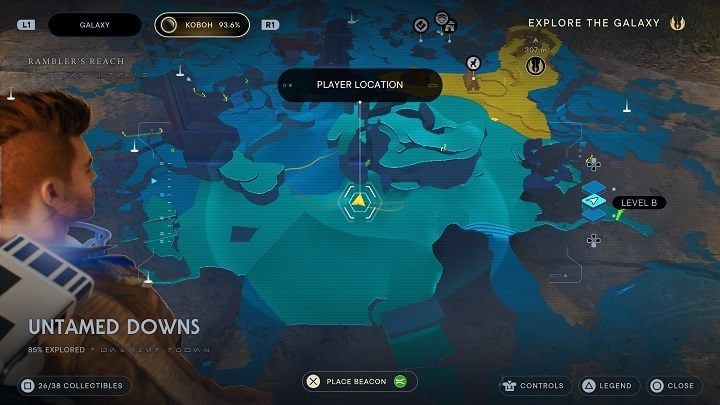
Leave the cave and head toward the center of the area. You will come across a fuse and a chest located on a rock.
Treasure #5 - Priorite Shard
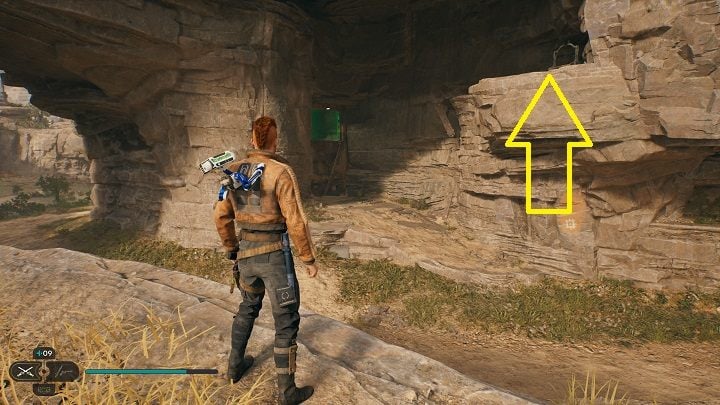
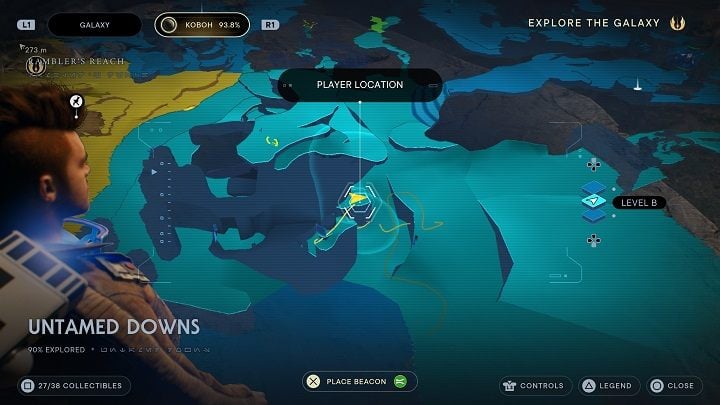
Standing near the chest, you can see the shelf where the treasure is located. There is a green barrier to the left of it. You need a Nekko to reach it.
- Star Wars Jedi Survivor guide
- Star Wars Jedi Survivor: Game Guide
- Star Wars Jedi Survivor: Secrets and Collectibles
- Star Wars Jedi Survivor: Koboh
- Jedi Survivor: Gorge Crash Site - list of secrets
- Jedi Survivor: Winding Ravine - list of secrets
- Jedi Survivor: Water Treatment Works - secrets
- Jedi Survivor: Corroded Silo - secrets
- Jedi Survivor: Chamber of Fortitude - list of secrets
- Jedi Survivor: Flooded Bunker - secrets
- Jedi Survivor: Derelict Dam - list of secrets, part 1
- Jedi Survivor: Derelict Dam - list of secrets, part 2
- Jedi Survivor: Derelict Dam - list of secrets, part 3
- Jedi Survivor: Southern Reach - list of secrets, part 1
- Jedi Survivor: Southern Reach - list of secrets, part 2
- Jedi Survivor: Hunter's Quarry - list of secrets
- Jedi Survivor: Pyloon's Saloon - list of secrets
- Jedi Survivor: Sodden Grotto - list of secrets
- Jedi Survivor: Riverbed Watch - list of secrets
- Jedi Survivor: Foothilll Falls - list of secrets
- Jedi Survivor: Smuggler's Tunnels - list of secrets
- Jedi Survivor: Collapsed Passage - list of secrets
- Jedi Survivor: Chamber of Duality - list of secrets
- Jedi Survivor: Phon'Qi Caverns - list of secrets (part 1)
- Jedi Survivor: Phon'Qi Caverns - list of secrets (part 2)
- Jedi Survivor: Mountain Ascent - list of secrets
- Jedi Survivor: Chamber of Detachment - list of secrets
- Jedi Survivor: Fogged Expanse - list of secrets
- Jedi Survivor: Marl Cavern - list of secrets
- Jedi Survivor: Imperial Post 8L-055 - list of secrets
- Jedi Survivor: Summit Ridge - list of secrets
- Jedi Survivor: Observatory Understructure - list of secrets
- Jedi Survivor: Diagnostics Corridor - list of secrets
- Jedi Survivor: Observation Deck - list of secrets
- Jedi Survivor: Rift Passage - list of secrets
- Jedi Survivor: Viscid Bog - list of secrets
- Jedi Survivor: Chamber of Connection - list of secrets
- Jedi Survivor: Loading Gantry - list of secrets
- Jedi Survivor: Lucrehulk Core - list of secrets
- Jedi Survivor: Forward Control Tower - list of secrets
- Jedi Survivor: Yurt Barracks - list of secrets
- Jedi Survivor: Generator Underbelly - list of secrets
- Jedi Survivor: Boiling Bluff - list of secrets
- Jedi Survivor: Swindler's Wash - list of secrets
- Jedi Survivor: Basalt Rift - list of secrets
- Jedi Survivor: Chamber of Reason - list of secrets
- Jedi Survivor: Forest Array - list of secrets
- Jedi Survivor: Rehabilitation Wing - list of secrets
- Jedi Survivor: Bilemaw Den - list of secrets
- Jedi Survivor: Nekko Pools - list of secrets
- Jedi Survivor: Bygone Settlement - list of secrets
- Jedi Survivor: Magma Rift Passage - list of secrets
- Jedi Survivor: Moldy Depths - list of secrets
- Jedi Survivor: Untamed Downs - list of secrets (part 1)
- Jedi Survivor: Untamed Downs - list of secrets (part 2)
- Jedi Survivor: Chamber of Clarity - list of secrets
- Jedi Survivor: Fort Kah'Lin - list of secrets
- Jedi Survivor: Harvest Ridge - list of secrets
- Jedi Survivor: Alignment Control Center - list of secrets
- Jedi Survivor: Devastated Settlement - list of secrets (Part 1)
- Jedi Survivor: Devastated Settlement - list of secrets (part 2)
- Jedi Survivor: Rambler's Reach Outpost - list of secrets (part 1)
- Jedi Survivor: Rambler's Reach Outpost - list of secrets (part 2)
- Star Wars Jedi Survivor: Koboh
- Star Wars Jedi Survivor: Secrets and Collectibles
- Star Wars Jedi Survivor: Game Guide
You are not permitted to copy any image, text or info from this page. This site is not associated with and/or endorsed by the developers and the publishers. All logos and images are copyrighted by their respective owners.
Copyright © 2000 - 2025 Webedia Polska SA for gamepressure.com, unofficial game guides, walkthroughs, secrets, game tips, maps & strategies for top games.
