Jedi Survivor: Basalt Rift - list of secrets
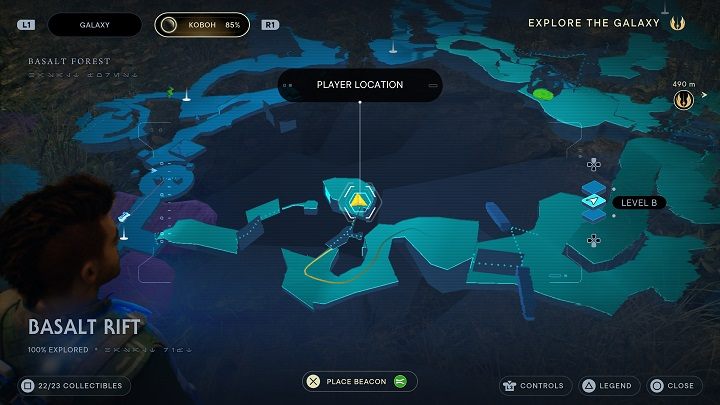
The Basalt Rift is part of the Basalt Forest region on the planet Koboh in the game Star Wars Jedi: Survivor. Our guide will help you find the 23 collectibles that can be found there.
Last update:
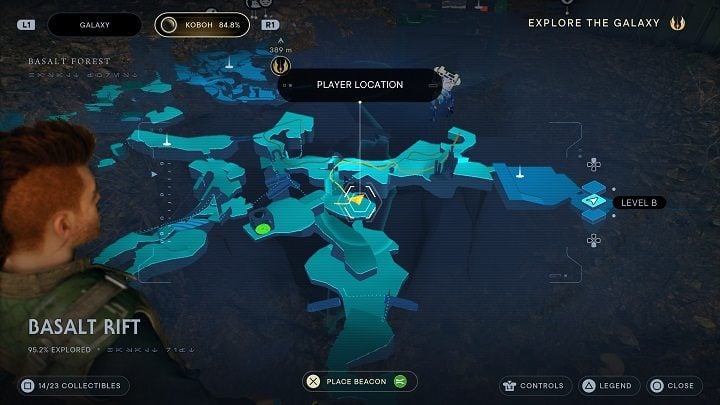
In the Basalt Forest region of Koboh in Star Wars Jedi: Survivor, you can find a smaller zone called Basalt Rift. You can access it from Swindler's Wash region and our collectible walkthrough assumes you begin your search for secrets right there. There are 23 secrets to find in Basalt Rift, including databanks, treasure, or chests.
Some of the secrets can only be accessed after completing the final chapters of the game - the final skill needed for them is unlocked during the fifth chapter of the game.
- Basalt Rift - list of secrets
- Seed Pod #1 - Goldenlight Moss
- Treasure #1 - Priorite Shard
- Databank #1 - Basalt Pillars
- Seed Pod #2 - Goldenlight Moss
- Treasure #2 - Priorite Shard
- Databank #2 - Turf Wars
- Databank #3 - Same Story, Different Planet
- Chest #1 - Hunter Shirt
- Databank #4 - Bilemaw's Revenge
- Chest #2 - Hunter Pants
- Databank #5 - Risk and Research
- Seed Pod #3 - Goldenlight Moss
- Treasure #3 - Datadisc
- Chest #3 - Max Stims Increased
- Chest #4 - Crew Cut
- Databank #6 - The Short Straw
- Treasure #4 - Priorite Shard
- Chest #5 - Dilligence Pommel
- Databank #7 - Bilemaw Pools
- Seed Pod #4 - Goldenlight Moss
- Seed Pod #5 - Goldenlight Moss
- Treasure #5 - Datadisc
- Databank #8 - Koboh Dust
Basalt Rift - list of secrets
There are 23 collectiblesto find here:
- Chests: 5
- Databanks: 8
- Treasures: 5
- Seed Pods: 5
Seed Pod #1 - Goldenlight Moss
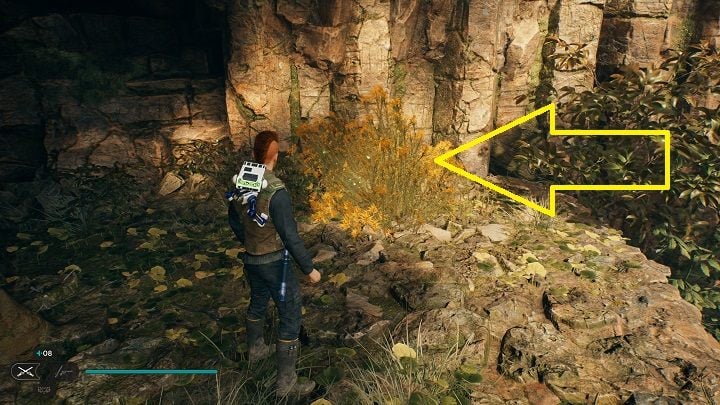
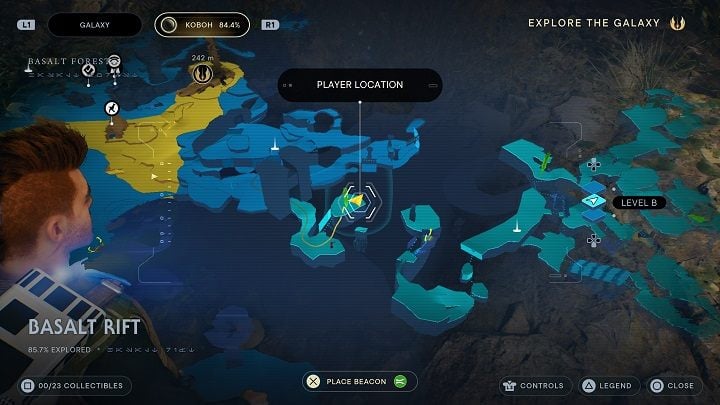
Once you enter Basalt Rift and proceed forward a little, you'll come across a zipline stretched over a chasm. Don't use it, but instead reach the platform on the left. The seeds are at its edge.
Treasure #1 - Priorite Shard
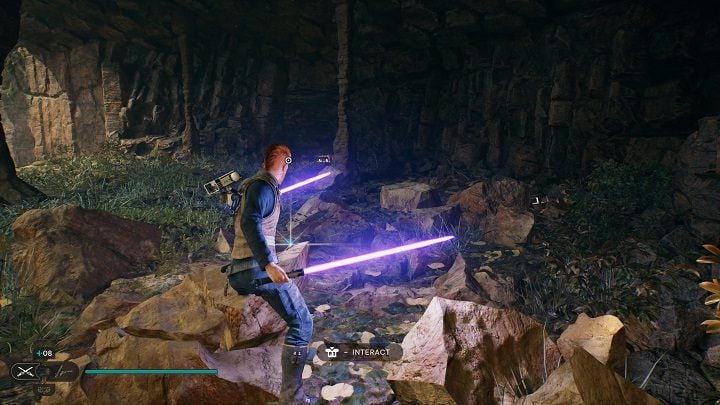
After collecting Seedpod #1, destroy the nearby column to discover a Priorite Shard.
Databank #1 - Basalt Pillars
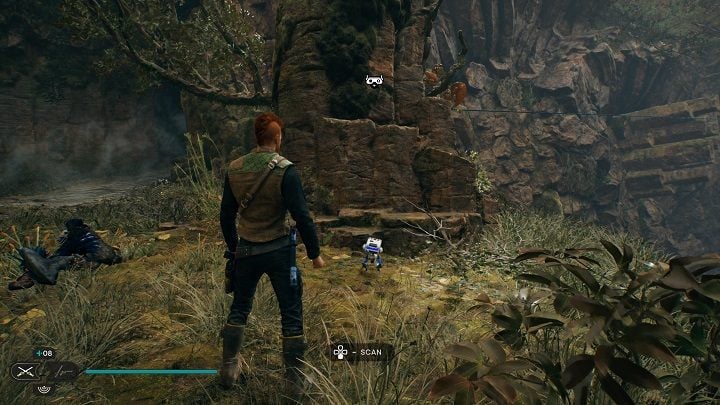
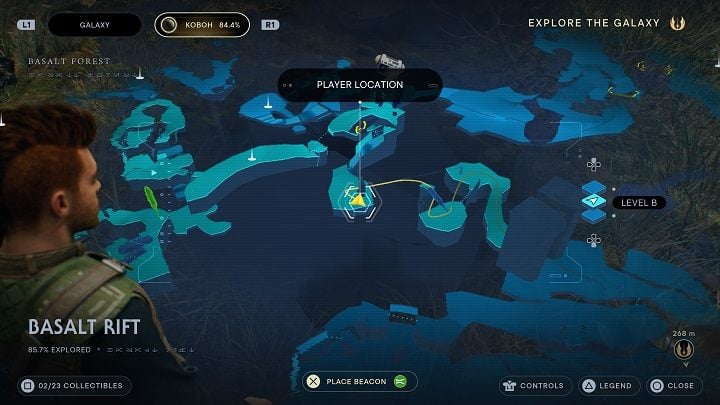
After collecting Treasure #1 get back to the zipline you've encountered and ride it. There is a scannable column not far from where you've landed that adds a new database entry.
Seed Pod #2 - Goldenlight Moss
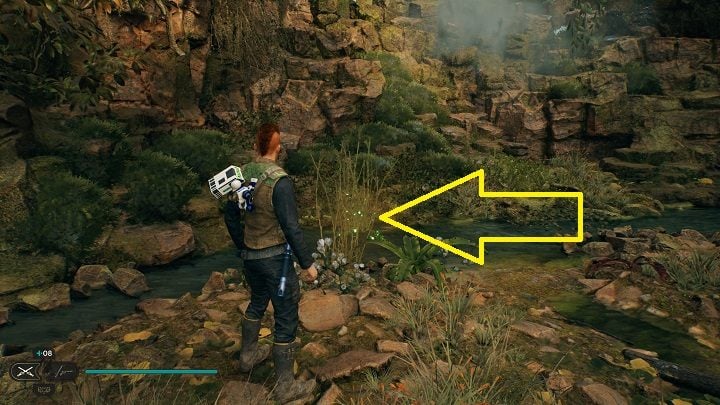
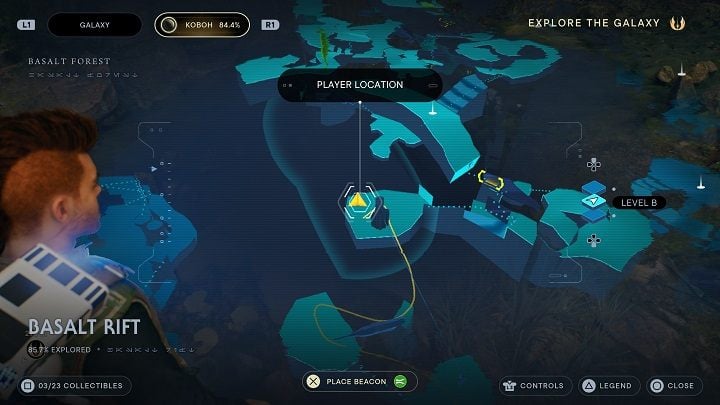
Not far from Databank #1, there is a plant.
Treasure #2 - Priorite Shard
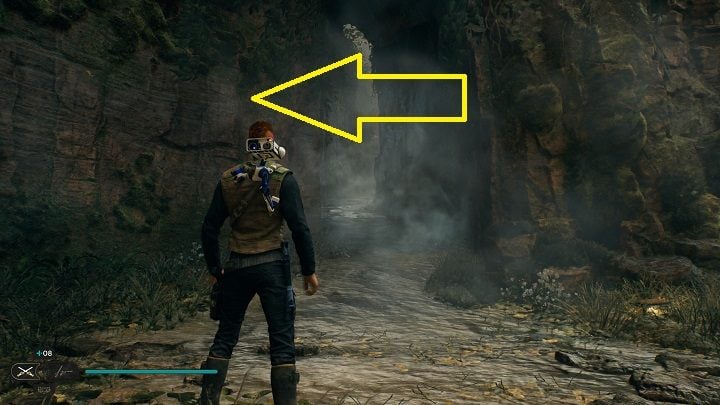
Find a small creek and go upriver by running on walls above it - unfortunately, attempting to go upstream at the ground level doesn't work, as Cal slips with each attempt.
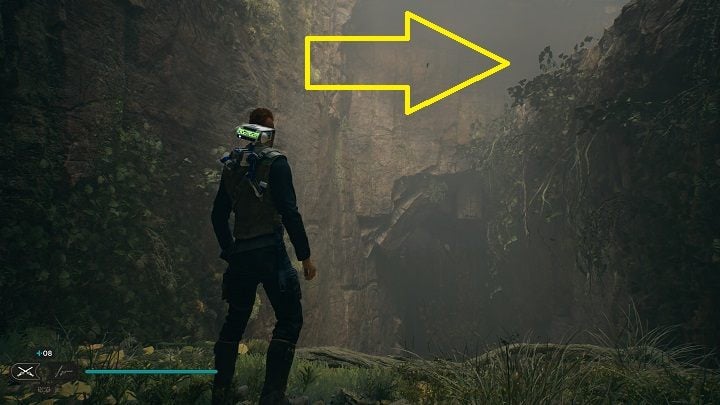
When you reach your destination, turn around and run across another wall, taking you even higher.
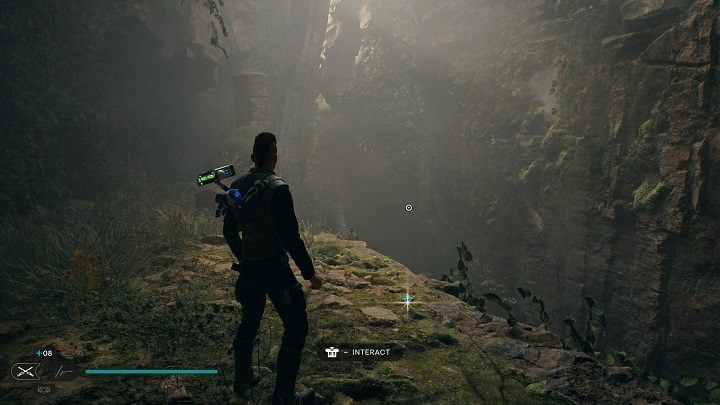
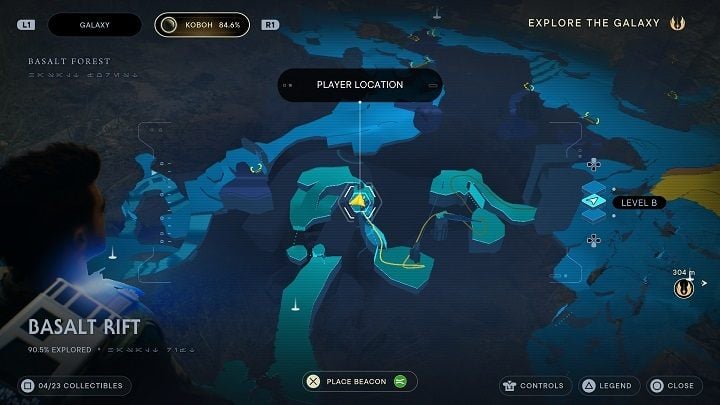
The Priorite Shard is in the upper area.
Databank #2 - Turf Wars
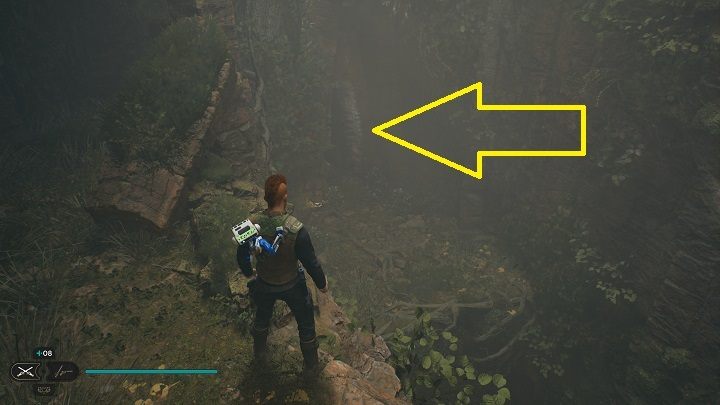
After collecting Shard #2, jump to the lower ledge and go through an opening.
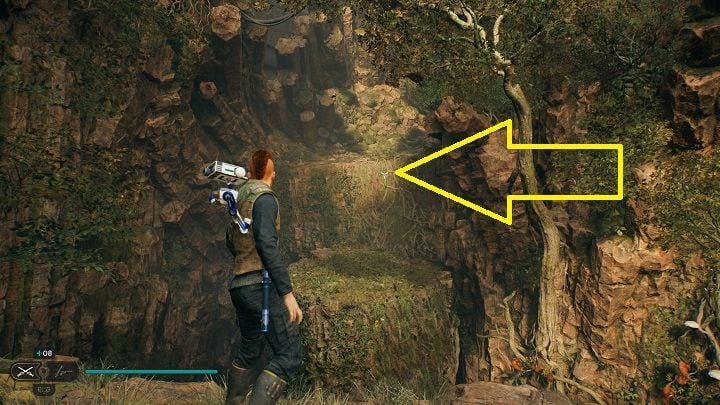
Back outside, follow the path to the left and descend even further. At the edge before a chasm, you can see some vines in the distance, which can be reached by using the Ascension Cable.
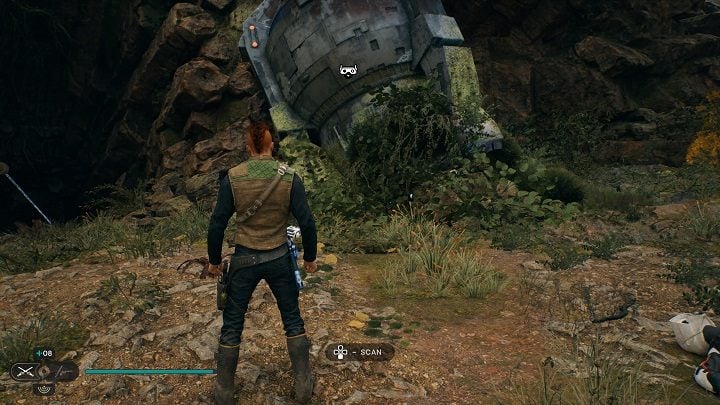
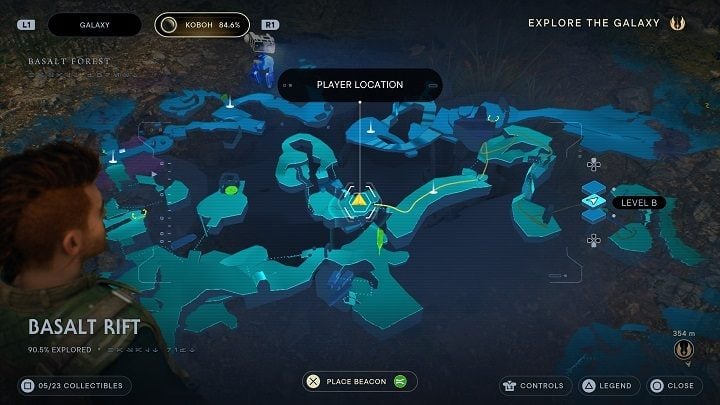
Once on the other side, go right - you'll be a witness to a fight between two enemies. Wait or step right into the battle, then scan the nearby structure. You will receive a databank entry.
Databank #3 - Same Story, Different Planet
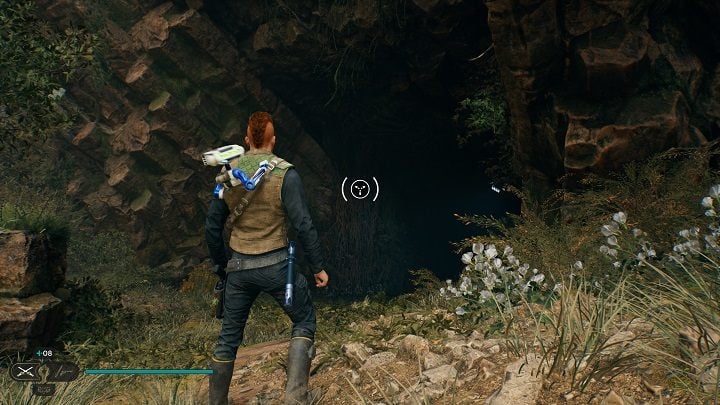
From Databank #2 location, proceed left in the direction of the cave and a wall covered with vines - you can reach it by using the Ascension Cable.
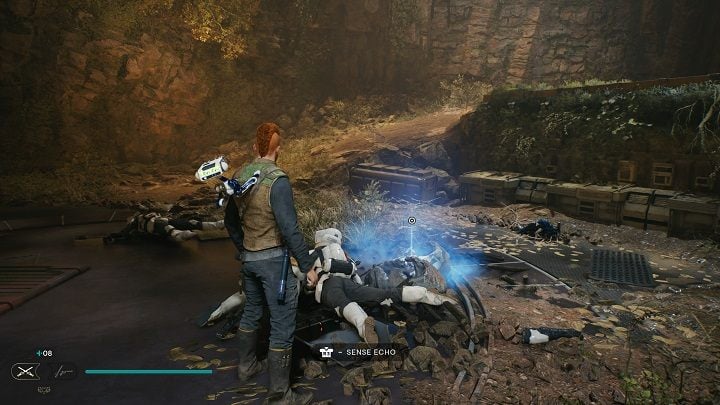
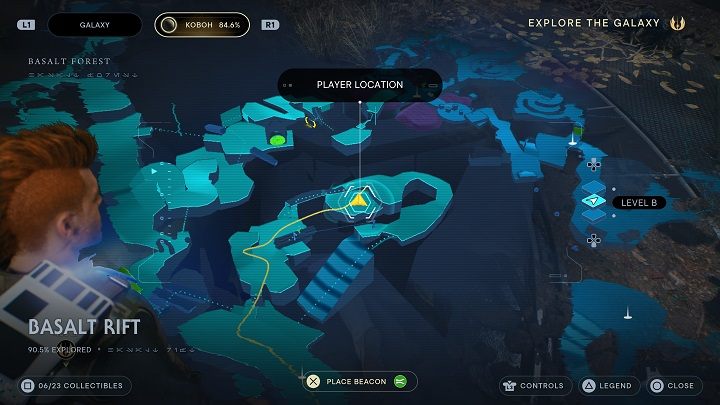
You'll reach a large area with a group of enemies. Defeat them and you'll be able to scan an echo that adds a new database entry.
Chest #1 - Hunter Shirt
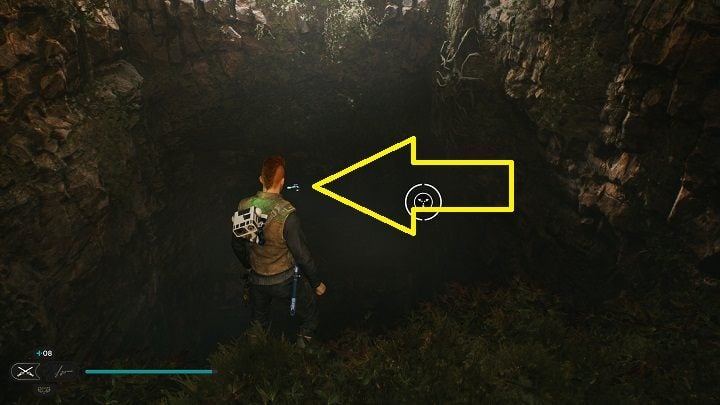
From Databank #3 location, turn around - you'll be before a chasm. There, you can notice a dark cave below. You can access it by using the Ascension Cable.
The chest with an appearance item is inside.
Databank #4 - Bilemaw's Revenge
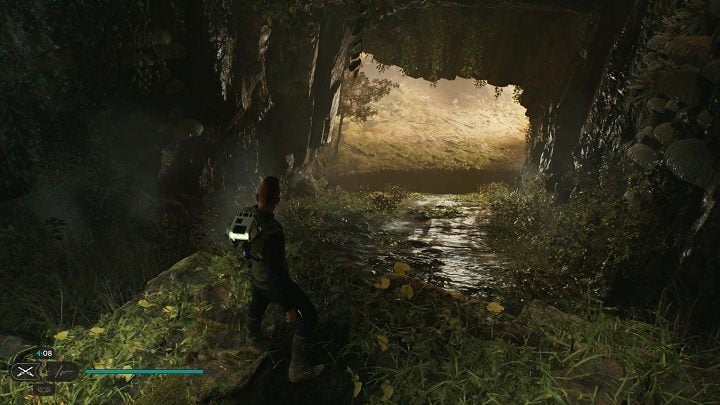
Return to Databank #3 location and this time head forward. Soon, you'll have to ride a steep slope and jump over a chasm.
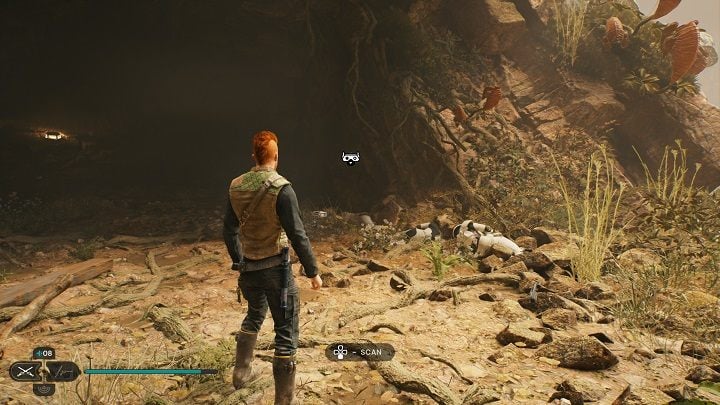
Once on the other side, you'll need to defeat one large opponent and a group of lesser ones. After defeating the opponents, you can scan the area from where the larger opponent emerged.
Chest #2 - Hunter Pants
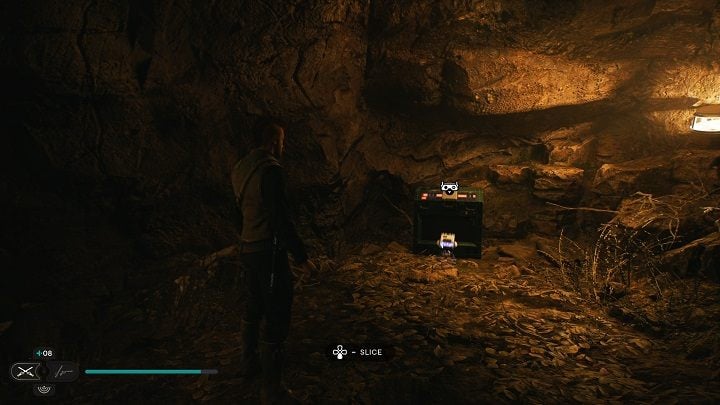
Chest #2 is in the cave which entrance you've scanned moments ago.
Databank #5 - Risk and Research
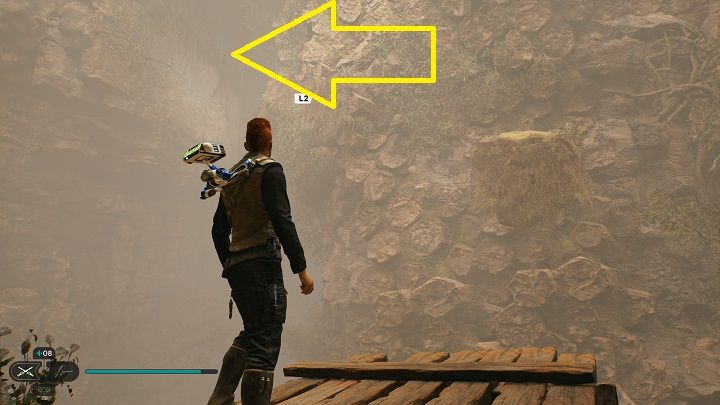
Left from the cave exit is a platform - from it, you can slide the first stone block out of the wall. Jump on the first block and slide out another one until a runnable wall is created - run the complete wall and climb the vines to reach the upper area.
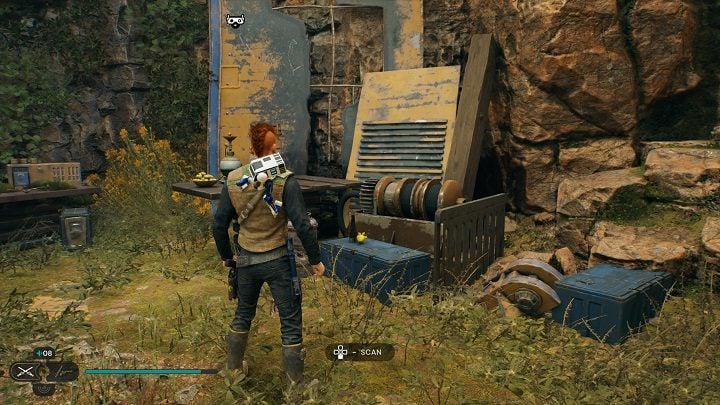
There is a encampment here, and the databank is nearby.
Seed Pod #3 - Goldenlight Moss
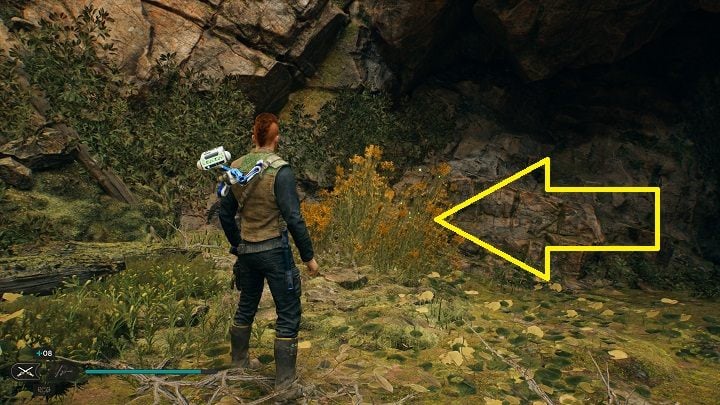
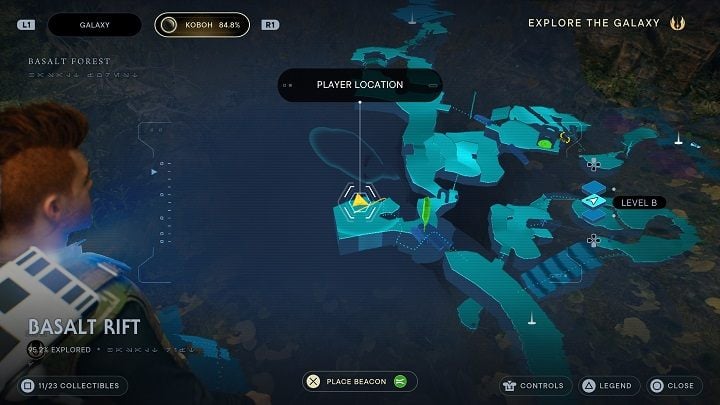
A plant is also in this area.
Treasure #3 - Datadisc
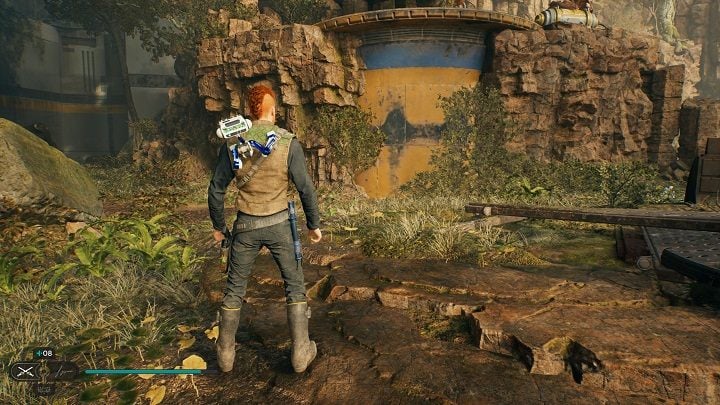
Leave the encampment, and destroy the nearby column, which will create a shortcut back to the meditation point. From the column, go left and go forward for a while until you reach a junction. Follow the left corridor.
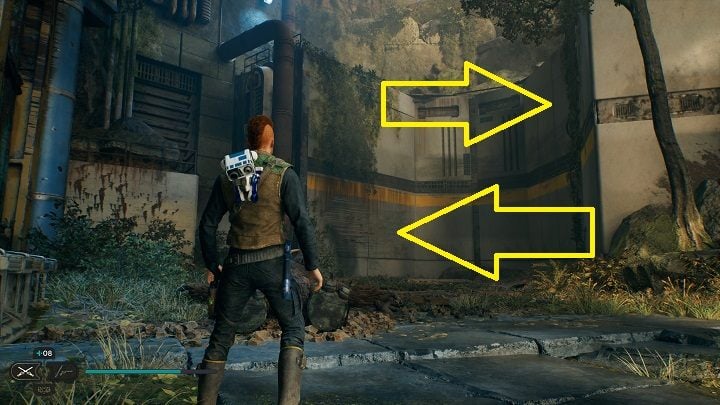
You'll encounter a large enemy that you need to defeat. After defeating him, start climbing nearby walls until you reach some vines.
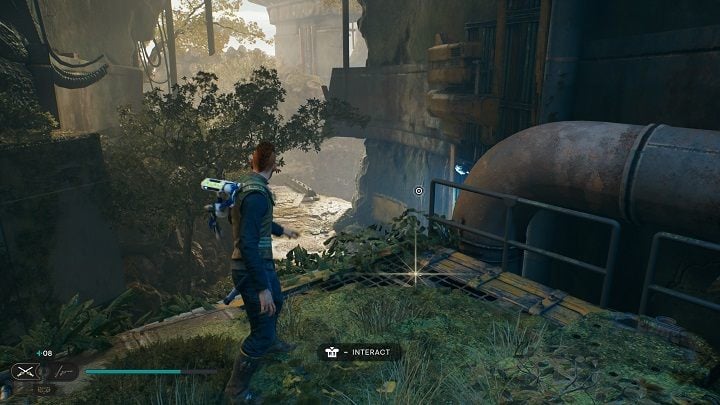
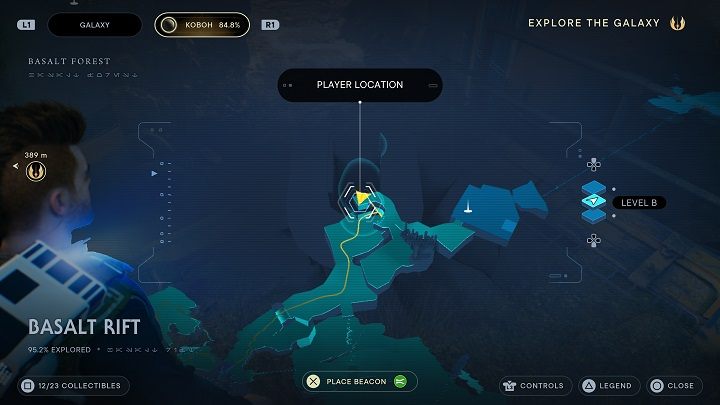
The datadisc is on the upper level.
Chest #3 - Max Stims Increased
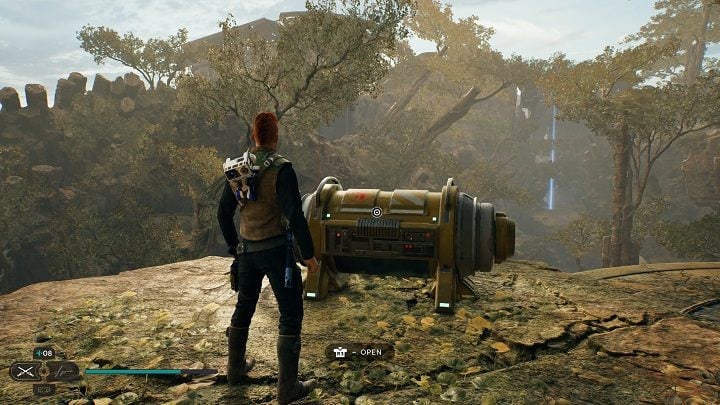
From the datadisc location, start going forward and turn right at the junction. After a short walk, you will come across a large chest containing the stim upgrade.
Chest #4 - Crew Cut
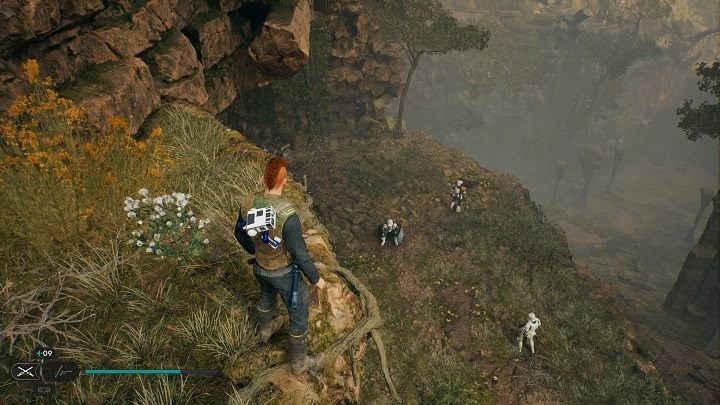
From Chest #3 location, jump down and follow the descending path - you'll pass some crumbled columns, but continue along the path and jump to the next ledge below. You should encounter a group of opponents - this is your destination.
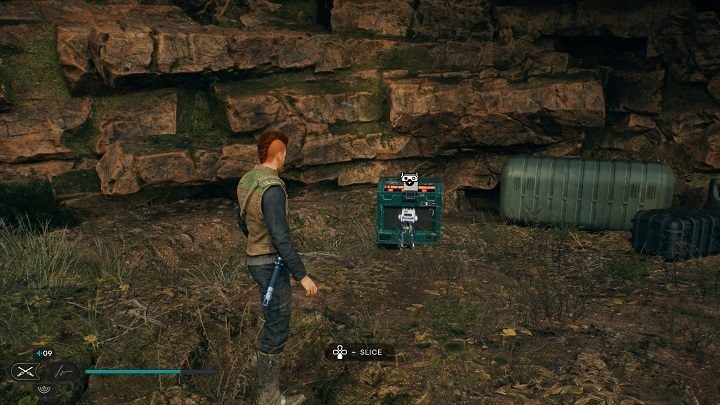
Once the area is clear, you can send BD-1 to open the chest. Inside there is a new appearance item - hairstyle.
Databank #6 - The Short Straw
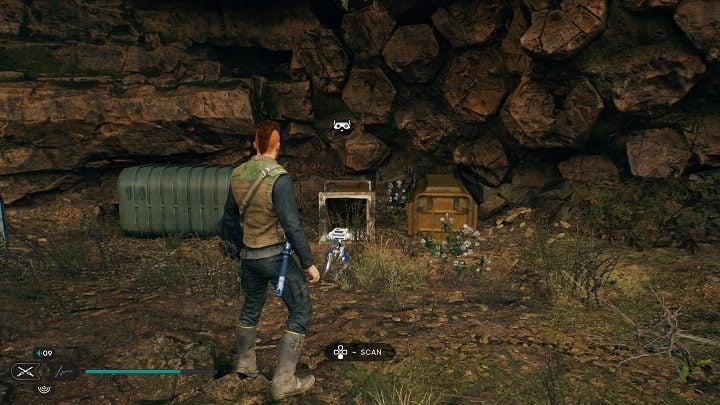
The database entry is in the same area.
Treasure #4 - Priorite Shard
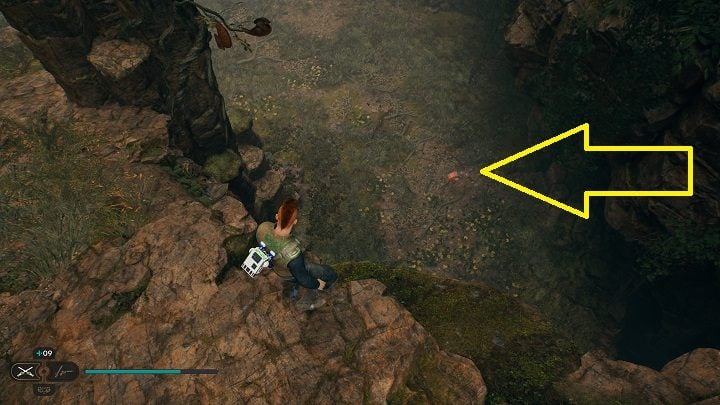
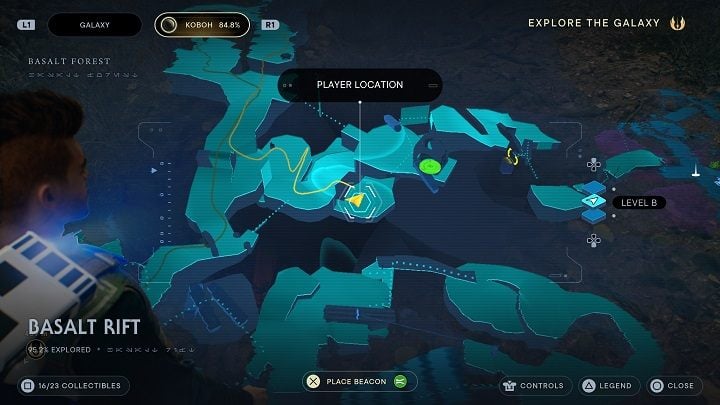
From Chest #4 and Databank #6 locations, descend even more. If while standing at the edge you'll look down, you should see a small droid holding the treasure. Eliminate him as fast as you can, preferably by surprise.
Chest #5 - Dilligence Pommel
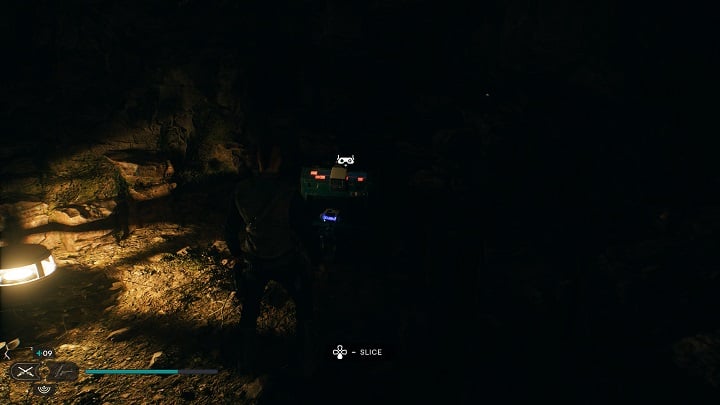
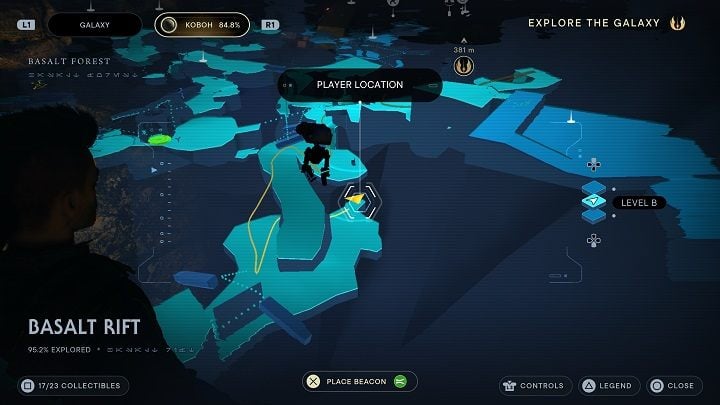
Not far from the droid area, there is a cave entrance. Chest #5 is inside. All you have to do after entering the cave is turn left before the other side entrance.
Databank #7 - Bilemaw Pools
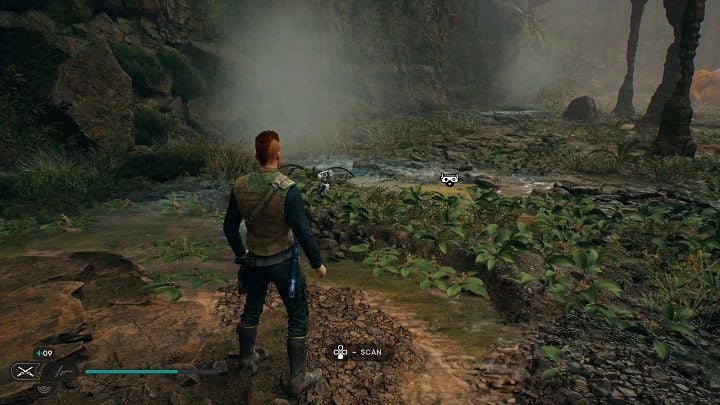
Exit the cave and walk a little forward. The databank is next to the streams.
Seed Pod #4 - Goldenlight Moss
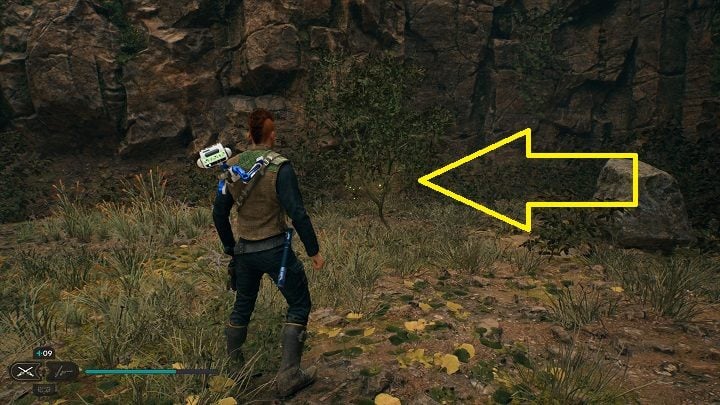
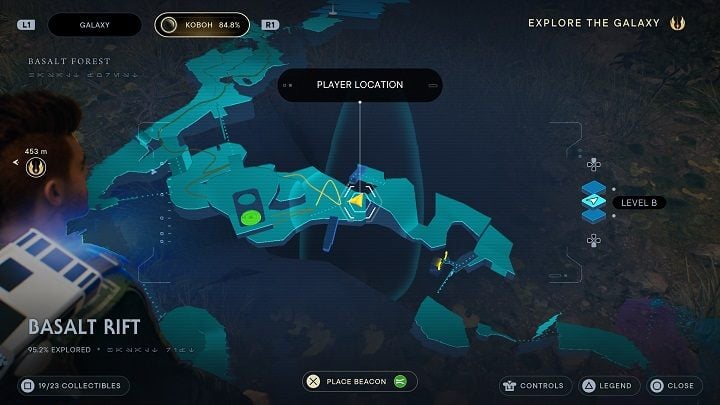
From Databank #7 location, look for a sleeping Bilemaw. The plant you're looking for is right next to him.
Seed Pod #5 - Goldenlight Moss
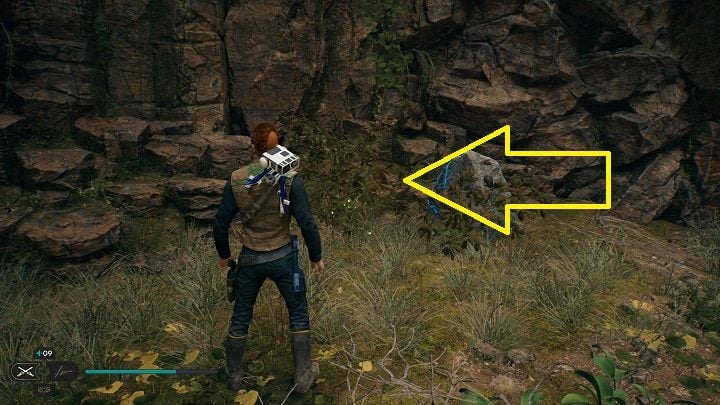
Another, final seedpod is in the same area.
Treasure #5 - Datadisc
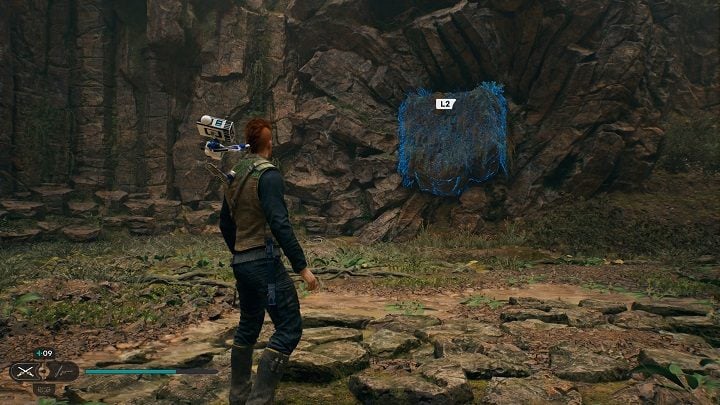
To reach the last Treasure, you'll need to do some climbing. The ledges for the climb are created through blocks in the wall that can be slid out by using Force Pull.
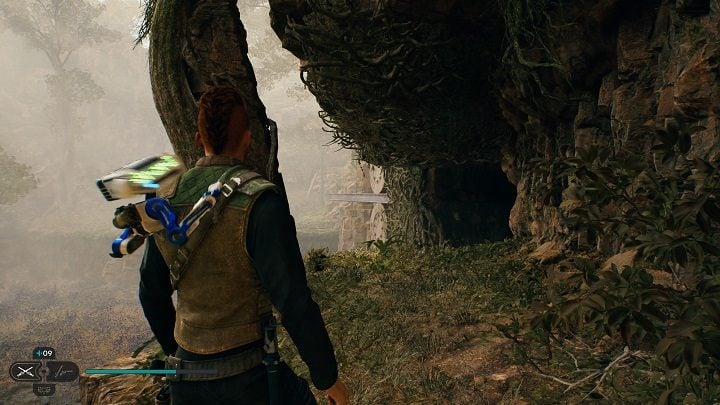
Once you are at the top, use the path leading down, but watch out for dangerous matter at the bodies. Continue going forward until you reach hanging vines (we show the place in the screenshot above).
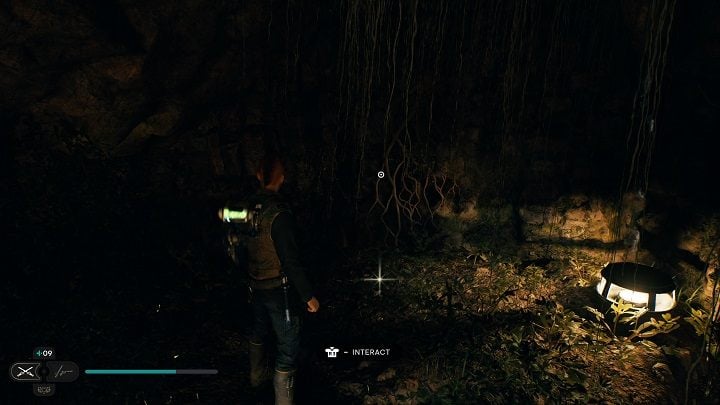
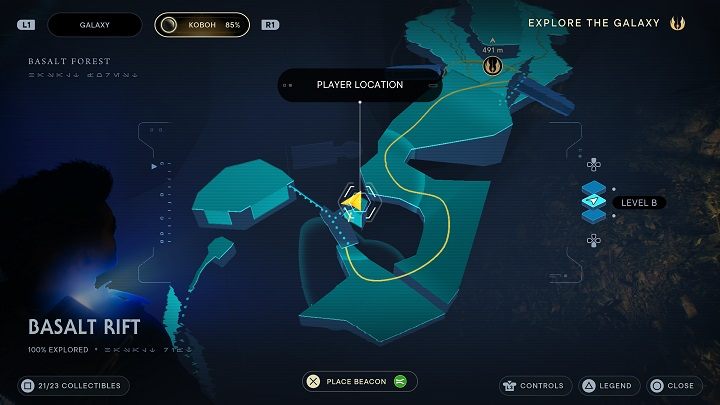
Use the vines to move below the ceiling and reach the end of this path. The treasure (datadisc) you're looking for is in the cave.
Databank #8 - Koboh Dust
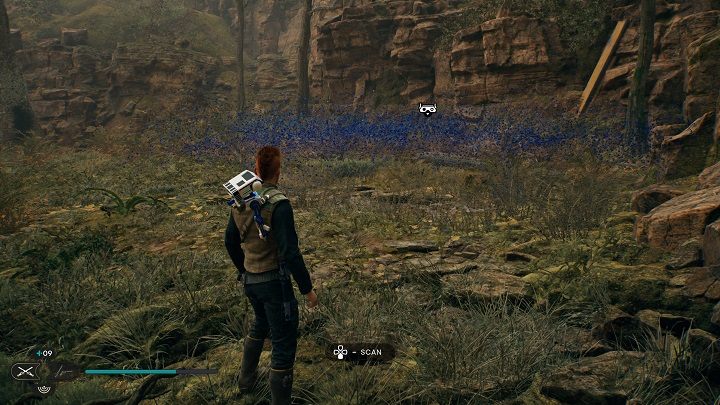
From Treasure #5 location, return to the ceiling vines and go the opposite way. The vines will lead you to a metal structure from which you can jump down to a ledge. Once on the ledge, scan away.
- Star Wars Jedi Survivor guide
- Star Wars Jedi Survivor: Game Guide
- Star Wars Jedi Survivor: Secrets and Collectibles
- Star Wars Jedi Survivor: Koboh
- Jedi Survivor: Gorge Crash Site - list of secrets
- Jedi Survivor: Winding Ravine - list of secrets
- Jedi Survivor: Water Treatment Works - secrets
- Jedi Survivor: Corroded Silo - secrets
- Jedi Survivor: Chamber of Fortitude - list of secrets
- Jedi Survivor: Flooded Bunker - secrets
- Jedi Survivor: Derelict Dam - list of secrets, part 1
- Jedi Survivor: Derelict Dam - list of secrets, part 2
- Jedi Survivor: Derelict Dam - list of secrets, part 3
- Jedi Survivor: Southern Reach - list of secrets, part 1
- Jedi Survivor: Southern Reach - list of secrets, part 2
- Jedi Survivor: Hunter's Quarry - list of secrets
- Jedi Survivor: Pyloon's Saloon - list of secrets
- Jedi Survivor: Sodden Grotto - list of secrets
- Jedi Survivor: Riverbed Watch - list of secrets
- Jedi Survivor: Foothilll Falls - list of secrets
- Jedi Survivor: Smuggler's Tunnels - list of secrets
- Jedi Survivor: Collapsed Passage - list of secrets
- Jedi Survivor: Chamber of Duality - list of secrets
- Jedi Survivor: Phon'Qi Caverns - list of secrets (part 1)
- Jedi Survivor: Phon'Qi Caverns - list of secrets (part 2)
- Jedi Survivor: Mountain Ascent - list of secrets
- Jedi Survivor: Chamber of Detachment - list of secrets
- Jedi Survivor: Fogged Expanse - list of secrets
- Jedi Survivor: Marl Cavern - list of secrets
- Jedi Survivor: Imperial Post 8L-055 - list of secrets
- Jedi Survivor: Summit Ridge - list of secrets
- Jedi Survivor: Observatory Understructure - list of secrets
- Jedi Survivor: Diagnostics Corridor - list of secrets
- Jedi Survivor: Observation Deck - list of secrets
- Jedi Survivor: Rift Passage - list of secrets
- Jedi Survivor: Viscid Bog - list of secrets
- Jedi Survivor: Chamber of Connection - list of secrets
- Jedi Survivor: Loading Gantry - list of secrets
- Jedi Survivor: Lucrehulk Core - list of secrets
- Jedi Survivor: Forward Control Tower - list of secrets
- Jedi Survivor: Yurt Barracks - list of secrets
- Jedi Survivor: Generator Underbelly - list of secrets
- Jedi Survivor: Boiling Bluff - list of secrets
- Jedi Survivor: Swindler's Wash - list of secrets
- Jedi Survivor: Basalt Rift - list of secrets
- Jedi Survivor: Chamber of Reason - list of secrets
- Jedi Survivor: Forest Array - list of secrets
- Jedi Survivor: Rehabilitation Wing - list of secrets
- Jedi Survivor: Bilemaw Den - list of secrets
- Jedi Survivor: Nekko Pools - list of secrets
- Jedi Survivor: Bygone Settlement - list of secrets
- Jedi Survivor: Magma Rift Passage - list of secrets
- Jedi Survivor: Moldy Depths - list of secrets
- Jedi Survivor: Untamed Downs - list of secrets (part 1)
- Jedi Survivor: Untamed Downs - list of secrets (part 2)
- Jedi Survivor: Chamber of Clarity - list of secrets
- Jedi Survivor: Fort Kah'Lin - list of secrets
- Jedi Survivor: Harvest Ridge - list of secrets
- Jedi Survivor: Alignment Control Center - list of secrets
- Jedi Survivor: Devastated Settlement - list of secrets (Part 1)
- Jedi Survivor: Devastated Settlement - list of secrets (part 2)
- Jedi Survivor: Rambler's Reach Outpost - list of secrets (part 1)
- Jedi Survivor: Rambler's Reach Outpost - list of secrets (part 2)
- Star Wars Jedi Survivor: Koboh
- Star Wars Jedi Survivor: Secrets and Collectibles
- Star Wars Jedi Survivor: Game Guide
You are not permitted to copy any image, text or info from this page. This site is not associated with and/or endorsed by the developers and the publishers. All logos and images are copyrighted by their respective owners.
Copyright © 2000 - 2026 Webedia Polska SA for gamepressure.com, unofficial game guides, walkthroughs, secrets, game tips, maps & strategies for top games.
