Resident Evil 3: Hospital - Carlos walkthrough
On this page of our guide to Resident Evil 3 Remake you can find a detailed walkthrough of Spencer Memorial Hospital (while playing as Carlos). While playing as Carlos you have to find a vaccine in order to help infected Jill. In the final part of the section (while playing Carlos), it will also be necessary to defend yourself against a horde of zombies which invades the hospital building.
- Search for a vaccine
- Give the vaccine to Jill
- Defend Jill
- Place the Detonator
- Hold out until the explosion
Search for a vaccine

You start your exploration of the Hospital in the Makeshift Sickroom where the infected, unconscious Jill lies on the bed. Carlos' job is to find a vaccine for Jill. In the room you will find a typewriter and some supplies.
Go to the Lobby and then move through the north door. You'll encounter first zombies near the Reception desk. It's good to regularly eliminate them, as you'll have to return to Jill by using the same way later in the chapter.
While you play Carlos, you'll come across closed containers. You won't be able to open them until Jill is cured - her lock pick is required to unlock them.

When you reach the central corridor, turn east and then north. Go to Lab Reception. You'll find out it's adjacent to Dr. Bard's office. Try using the intercom - Bard is not answering and you need his voice sample to open the office.
On the counter at the reception desk you will find a Tape Player recorder. Unfortunately, you can't use it right away, because you'll still have to find a cassette tape with a recording of the Bard's voice.
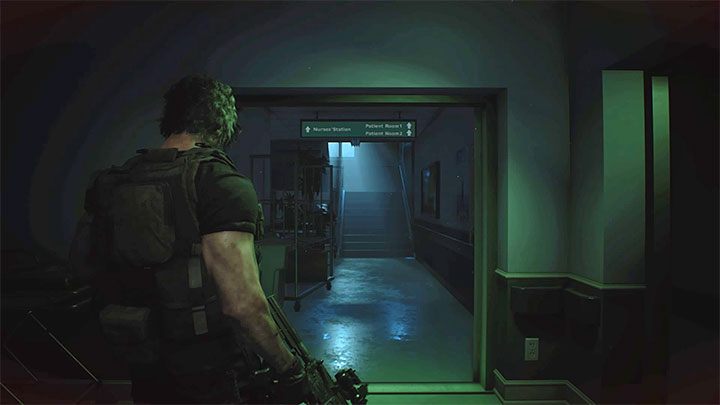
Now head west. In the Emergency Entrance room, adjacent to a closed surgery room, you have to get rid of new zombies and choose the door leading south. After you open them, turn west and take the stairs leading to floor 2F.
When you get to the top floor, choose the northern door to go through the Roof section (watch out for zombies!). This will allow you to reach the main part of level 2F of the hospital.

In the north-western corner of the main corridor you will find a notice board with a Hospital Map attached to it. Taking it will help you find rooms worth exploring.
A visit to the northern Records Room is optional. However, you can find a collectible and a typewriter in this room. Also, you can check other rooms available in the area (it's purely optional). It is worth noting that in the Nurses' Station there is a safe with a weapon upgrade (check the Secrets section of our guide).

To advance in the progress of the main story, you stick to the main corridors and reach the southern part of them. You can jump over the railing in the place shown in the screenshot. It'll make Carlos land in the lower central Courtyard.

You don't have to explore the Courtyard in 100%, but you can find an assault rifle upgrade in this area. The most important objective of visiting this location is to obtain the Key shown in the screenshot.
The exit from the courtyard is in its northern part. You can also open a closed door on the eastern side (which you have bypassed earlier). Return to second floor (2F).
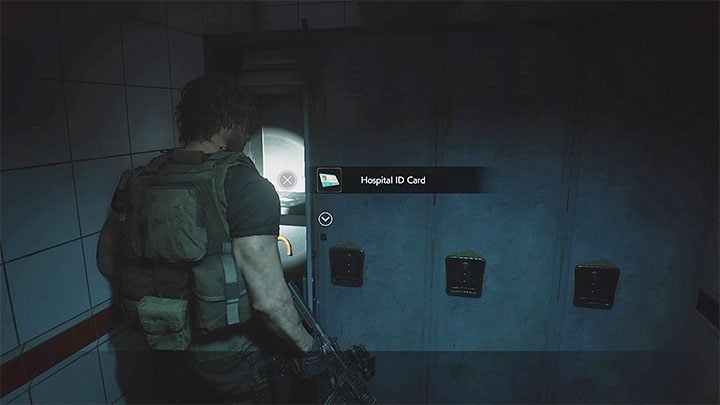
With the newly acquired key, you have to go to the large Staff Room in the eastern part of the Hospital. Use the key to open the small northern storage room.
Inside you will find a row of cabinets. The most important one is the one indicated in the screenshot - it contains the Hospital ID Card of medical personnel. You can start using it to open all doors with electronic locks.

When Carlos tries to leave the Staff Room, the Hunter Beta monster will appear for the first time. The general combat tactics are very similar to the confrontation with the Lickers at the Police Station. Try to start every battle with a flash grenade (one of them should be in a room with a row of cabinets). After the monster is blinded, shoot it with an assault rifle or throw a grenade at it.
Try to avoid a situation in which Hunter Beta manages to get close to Carlos. The claw attacks of these monsters can inflict heavy damage or even lead to immediate death (if Hunter Beta manages to slit Carlos throat). As you are about to encounter these monsters again, we suggest that you should return to the Records Room, save the game and replenish your supplies (take as many grenades and assault rifle ammo as possible with you).
You can optionally use the ID card which you have just acquired to open the Operating Room on the first floor (1F). You can find there a plenty of supplies and a combination to the safe from the Nurses' room.
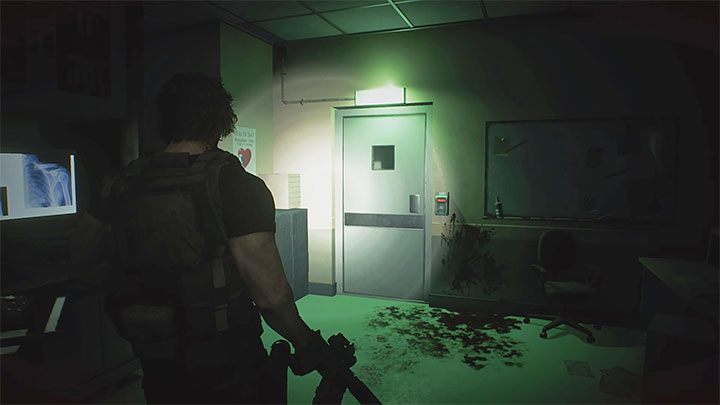
Head to the southern Nurses' Station, but watch out for the many zombies that will come out of the adjacent Sickroom. After cleaning the area, become interested in a door with an electronic lock. Use the recently acquired ID card to open the lock.
Go along the new corridor leading to the Linen Room. Kill all the zombies in this room so you don't have to worry about a surprise attack from one of them.

Your destination is the Treatment Room, but you have to be very careful as there are 2 Hunters inside. It's best to throw a frag grenade inside the room and pray that the first Hunter Beta was killed. The second one can be shot from a greater distance (by standing in the doorway - there's a good chance he won't notice Carlos right away).
After the battle, explore the office - you need to find the Audiocasette Tape. Combine the Audiocassette with the Tape Player in your inventory. This way, you will obtain a Tape Player Tape Inserted.

You need to head back to Lab Reception on 1F. Open the door in the Linen Room, but watch out for the new Hunter that will appear in the upper corridors. Use the frag grenade and retreat to the previous room if necessary.
Go down the stairs to the ground floor and head towards the reception. Along the way, watch out for a group of zombies that will break the glass wall - shoot them all or run quickly passing some of them. You have to use Tape Player. This will unlock access to Dr. Bard's office.

You'll find dead Dr. Bard in the office. Reach the only active computer and interact with it to read the e-mail and watch the recording left by the scientist.
The door to the adjacent room will be unlocked. Open the cabinet and take the Vaccine Sample from it.
Give the vaccine to Jill

Head back to the Makeshift Sickroom, where Jill is unconscious. Expect to encounter another Hunter at the reception desk, but if you don't want to fight him you can try to escape him.
Interact with the bed on which Jill is lying and choose the vaccine from the inventory.
Defend Jill

Tyrell will tell you that a horde of zombies are approaching the hospital. You'll have to protect the recovering Jill and keep the zombies out of the room with her.
Be sure to save the game and replenish your supplies if possible. Try to take 1-2 strong healing items and as much ammunition and grenades as possible. After you enter the lobby, a cutscene will be displayed (a video in which heroes barricade the entrance). The attack of zombie horde will begin.

Zombies will enter the lobby through the windows. Shoot only those that are currently squeezing through the window or have already entered the building. Don't attack zombies that are still outside. There are generators near some shutters - aim at them especially if there is more than 1 zombie near the generator. The monsters will be electrocuted. You can take advantage of this opportunity to attack other incoming zombies, or to target the paralyzed monsters (standing or lying on the floor) more easily.
Look around a lot during the battle so as not to let any zombie surprise Carlos from the side or from behind and bite him. It's a good idea to stand behind the reception counter in the lobby, forcing the monsters to approach Carlos from only two possible directions.
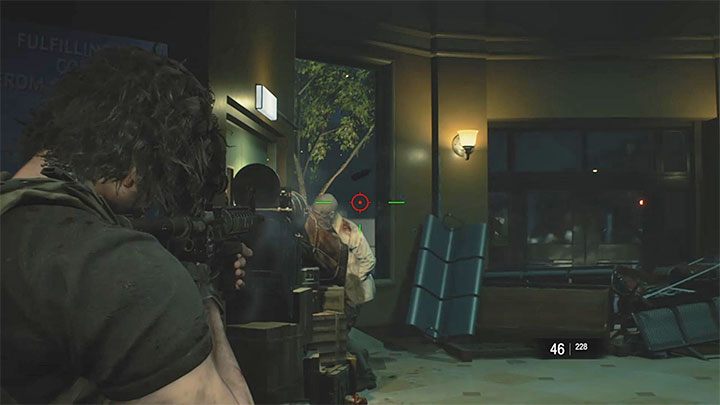
Some zombies will try to break through to the room with injured Jill. They will specifically try to destroy the barricade leading to this room. Eliminate these types of zombies in the first place in order not to fail the whole battle with horde of zombies too early.
In the lobby, you can find numerous items and supplies. Use then if needed, but they will be more useful only in the final phase of the fight.
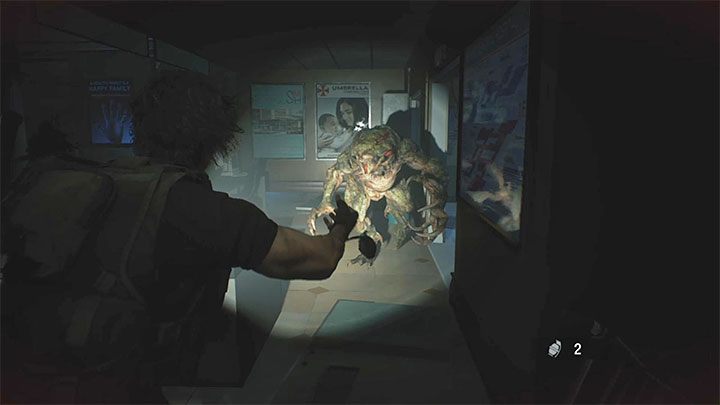
After sufficient advancement in battle, the light will go out. Then, the side room will open. You have to be very careful, because the new Hunter Beta enemy will run out of the side room. We advise you to focus your attacks on him as he is by far the most serious threat to Carlos. You can use a frag grenade to quickly defeat a Hunter.
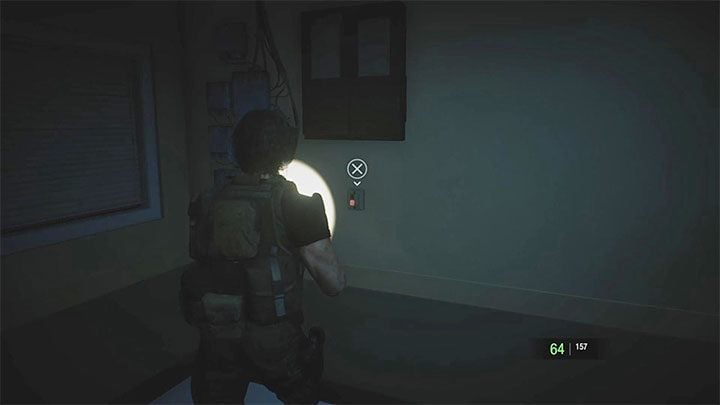
In the newly unlocked side room you will find, among other things, a hip bag, which you can use immediately to collect more items from the area (2 new inventory slots).
Also, there is a switch that allows you to restore the power supply to the lobby. It'll make it easier for you to track down the zombies that appear in this location.

In the final phase of the battle, some zombies with parasites on their heads will also start to appear in the lobby. Try to attack them from a long distance so as to prevent them from attacking Carlos with their tentacles if possible. Don't let them catch the hero either - you can die more easily in this way in contrast to common zombies.
Place the Detonator


Fight until you will watch a cut-scene that depicts how the horde breaks into the lobby. In the crate next to one of the round columns there is a detonator. Combine it with explosive charge (C4) which is also stored in the suitcase.
Hold out until the explosion

At the very end, you must defend yourself for 30 seconds. It's best to get as far away from the horde as possible and fire from a long distance. It's a good idea to hide in the side room - zombies can only approach Carlos from the entrance to the room. If you have any frag grenades in your inventory, then you can also use them to attack groups of zombies.
After the countdown, the C4 explosive charger will explode. The main entrance to the hospital will collapse. You will stop the horde. After another cut-scene, you will return to playing Jill. Also, you will earn the I Need a Hero trophy.
- Resident Evil 3 Guide
- Resident Evil 3: Walkthrough
- Resident Evil 3: Story walkthrough
- Resident Evil 3: Jills apartment and escape walkthrough
- Resident Evil 3: Metro station walkthrough
- Resident Evil 3: Downtown walkthrough
- Resident Evil 3: Substation walkthrough
- Resident Evil 3: Downtown - second visit walkthrough
- Resident Evil 3: Sewers walkthrough
- Resident Evil 3: Demolition site walkthrough
- Resident Evil 3: Downtown - third visit walkthrough
- Resident Evil 3: Police station walkthrough
- Resident Evil 3: Subway Tunnels and Clock Tower Plaza walkthrough
- Resident Evil 3: Hospital - Carlos walkthrough
- Resident Evil 3: Hospital - Jill walkthrough
- Resident Evil 3: Underground Storage walkthrough
- Resident Evil 3: NEST 2 walkthrough
- Resident Evil 3: Final duel with Nemesis walkthrough
- Resident Evil 3: Story walkthrough
- Resident Evil 3: Walkthrough
You are not permitted to copy any image, text or info from this page. This site is not associated with and/or endorsed by the developers and the publishers. All logos and images are copyrighted by their respective owners.
Copyright © 2000 - 2026 Webedia Polska SA for gamepressure.com, unofficial game guides, walkthroughs, secrets, game tips, maps & strategies for top games.
