Crash Bandicoot N. Sane Trilogy: Tomb Wader
Collectibles:
- Clear Gem - Smash all 88 crates.
- Blue Gem - Unlock Death Route and complete it without dying.
- 1 secret area (Death Route).
- 1 bonus round.
Note - It is best to play this stage twice. Ignore the Death route the first time around and try to reach all the crates. On the second playthrough, complete the Death Route.
Description:
This is a new stage in the tomb and it is much more difficult than Sphynxinator. This is so, because virtually for the whole time, you have to handle water fluctuations and escape into safety before you drown. Additionally, reaching the end of the secret path, where there is a Blue Gem, is also quite demanding.
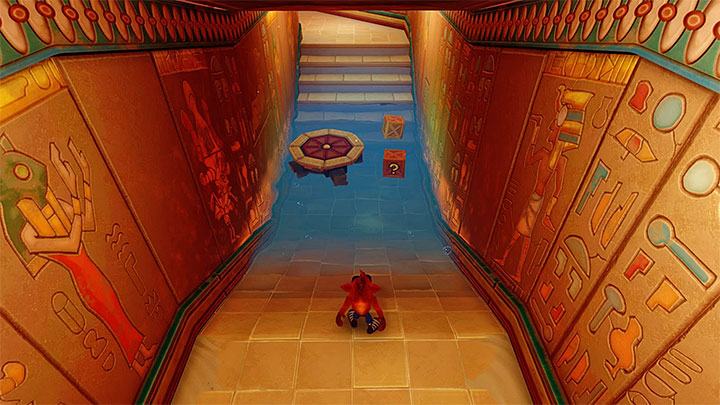
Eliminate the first beetle (or jump over it) and reach the rotary mechanism. Hit the mechanism with Spin attack to move the stone blocks apart. This will only last for a moment, so be quick.
In the location shown in the above screenshot, you will learn a new game mechanic, which will be appearing throughout the stage. In specific locations, water level changes at regular intervals. You cannot remain on the path when the water level is rising, or you will drown. There are two ways to handle this - dash into safety, before the level starts rising, or find safe spots where you can wait this through. In this particular case, the safe spot is the round platform. This variant is especially effective when you are playing this stage for the first time, because you do not have to race against time and it is better to be safe.
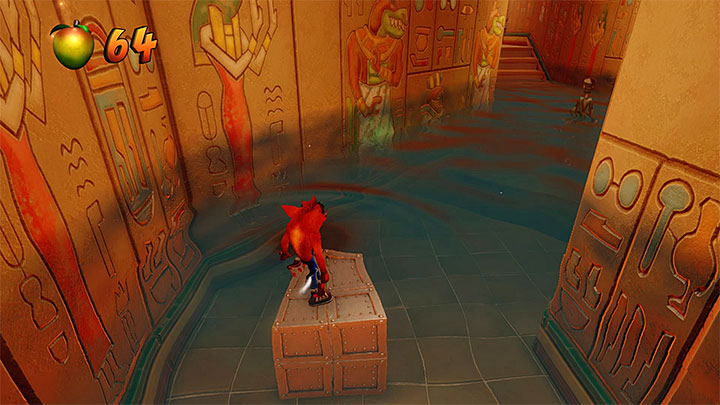
Smash crates in the area that is being flooded and move on. In the next corridor, you will run into a mummy surrounded with spikes and, although it is possible to jump onto it, it is much better to get around it quickly. Carefully, approach the next area that is being flooded and start running when the water starts to drop. Along your path, jump onto the two TNT crates and stop on the small square ledge shown in the above screenshot.
After the water drops, move on. In one of the corridors ahead, there is the first opponent with a shield, who reacts to your attempts to get around and blocks your way. Fortunately, you can eliminate him using slide.
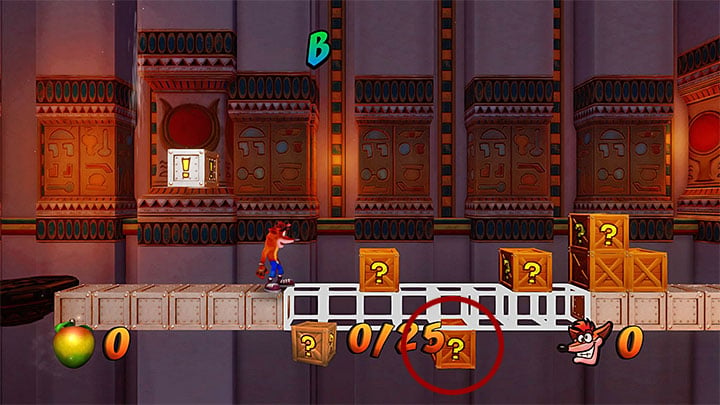
In the spot where the opponent used to be, there is a plate with the question mark that allows you to start the bonus round (remember that dying here will not prevent you from unlocking the Death Route). This round is quite demanding. After you start, you first should jump towards the crate shown in screenshot 1 and return to the starting point (use double jumps). After that, hit the first crate with the exclamation mark, which will extend a bridge.
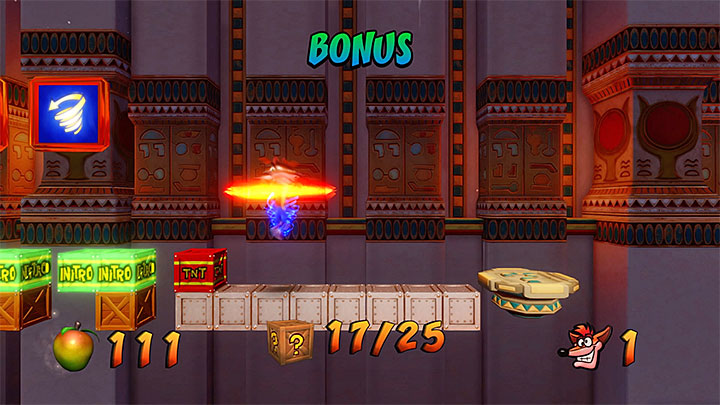
Some crates are hanging above the pit, but they are easy to smash. The ending is what is very demanding. First of all, you have to smash crates hanging high above and hit the second crate with the exclamation mark. Then, take a double jump and do a tornado to glide right and land to the right of the TNT crate (shown in screenshot 2). You cannot glide too low or you will bump into the red crate and it will explode. After you land, jump onto the TNT crate to start a countdown and trigger the explosion.
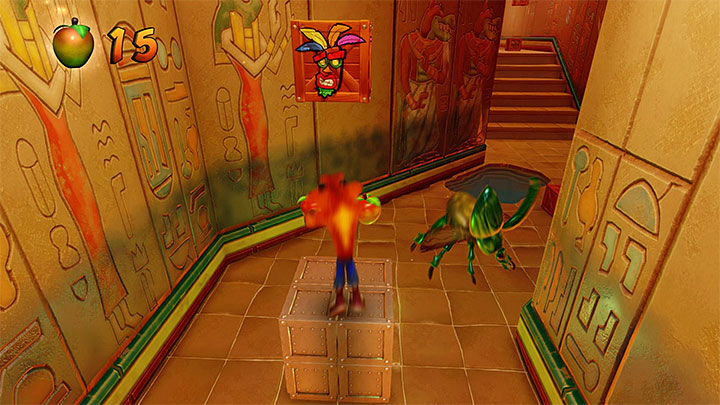
After you return to the main part of the tomb, move on. Wait for the water level to drop, hit the rotary mechanism and dash into the next location. Along your path, stop on the platform, where there is a crate and an Aku Aku mask (shown in the above screenshot). Move on only after the water level drops again. In the next corridor, watch out for the block sliding out from the left. You can jump off the block and avoid a mummy surrounded with spikes.
Approach another area being flooded and in this case, watch out for the second opponent with shield. Quickly, slide into him and reach the safe ledge nearby. Jump onto the neighboring round platform and smash the crate suspended over it to obtain extra life. After water level drops again, move on and take a double jump over the pit to the right to avoid a bunch of green crates.
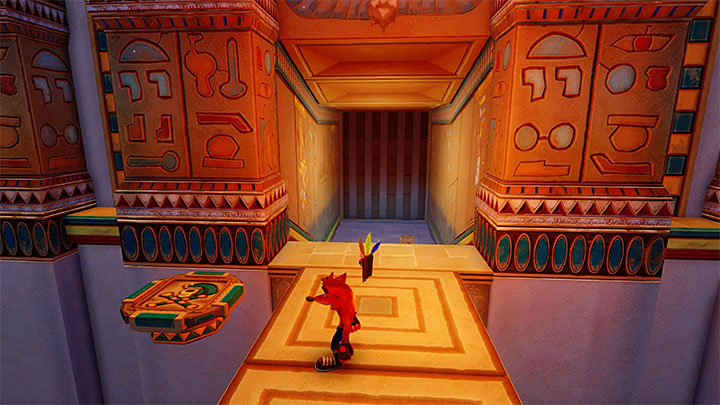
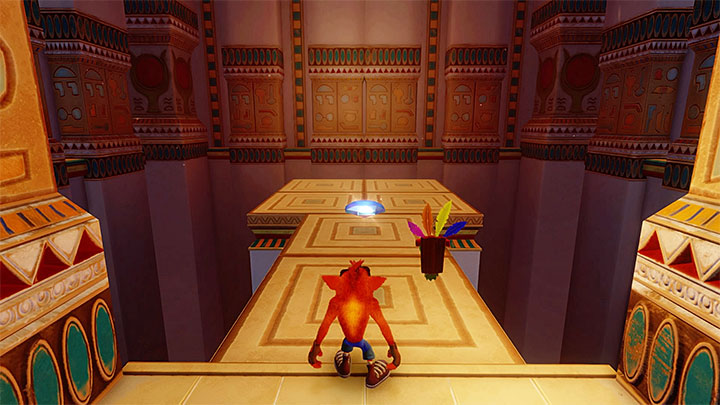
If you have not died yet, apart from a checkpoint, soon you will find a plate with skull shown in screenshot 1 that will take you to the Death Route. Start exploration of this area by reaching the round platforms and reaching the exclamation marks hanging above them. In that location, also watch out for the mummy with spikes, opponent with shield and two blocks sliding out which may push you into the chasm.
Stop by the rotary mechanism for a moment, hit it at the right moment and get around some green crates on the left. Again, do not hurry across the flooded areas and avoid being knocked down by two blocks (one on the left and one on the right). Stop on the round platform and wait until you can hit the rotary mechanism. Get around the last extending block(it is best to use tornado to glide above the chasm) and reach the chamber with Blue Gem shown in screenshot 2. Right next to you, there is a portal that you can use if you want to complete this stage.
Note - If you do not want to go through the beginning of this stage once again, commit suicide after you have obtained the gem. You will return to the last checkpoint without losing the Blue Gem.
After you return into the main part of the tomb, wait for the water level to drop, hit the exclamation mark and give the rotary mechanism a turn. Stop on the stable ledge, because it is highly probable that you will not make it to the very end. In the next corridor, there are more crates to smash, as well as a violet crystal. Again, wait for the right moment to move on and eliminate the opponent with shield along your way. Move on and in the next corridor, reach the round platform with a crate with the exclamation mark over it. Smash it, eliminate the opponent with shield and move on.
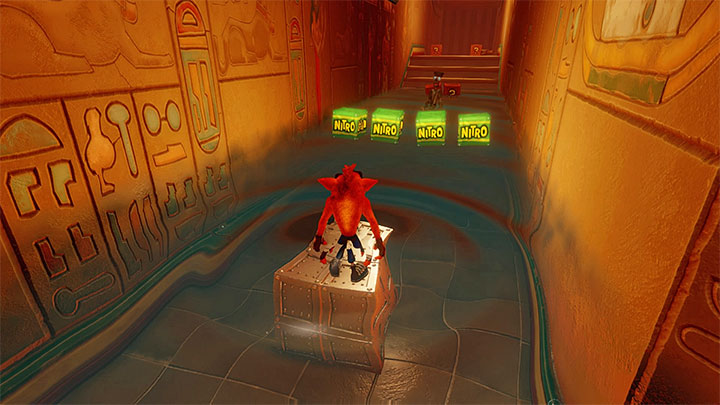
Stop on the square ledge. in the distance, you will spot a small wall of green crates and a mummy with spikes (shown in the above screenshot). It is best to avoid these threats by double-jumping over them and activating tornado. Past the stairs, there is a new rotary mechanism, Hit it and follow the last flooded corridor. Watch out for the explosive crates here and reach successive round platforms. At the end of the corridor, there are a crate with the exclamation mark, a nitroglycerine crate and a portal ending this stage.
Note - After you have finished this stage, you will have to fight the boss - Nitrus Gin. The battle has been described in a separate part of this walkthrough.
- Crash Bandicoot N. Sane Trilogy Game Guide
- Crash Bandicoot N. Sane Trilogy: Levels and Bosses
- Crash Bandicoot N. Sane Trilogy: Levels
- Crash Bandicoot N. Sane Trilogy: Crash Bandicoot 3 - Egyptian location
- Crash Bandicoot N. Sane Trilogy: Crash Bandicoot 3 - Egyptian location guide
- Crash Bandicoot N. Sane Trilogy: Sphynxinator
- Crash Bandicoot N. Sane Trilogy: Bye Bye Blimps
- Crash Bandicoot N. Sane Trilogy: Tell No Tales
- Crash Bandicoot N. Sane Trilogy: Future Frenzy
- Crash Bandicoot N. Sane Trilogy: Tomb Wader
- Crash Bandicoot N. Sane Trilogy: Crash Bandicoot 3 - Egyptian location
- Crash Bandicoot N. Sane Trilogy: Levels
- Crash Bandicoot N. Sane Trilogy: Levels and Bosses
You are not permitted to copy any image, text or info from this page. This site is not associated with and/or endorsed by the developers and the publishers. All logos and images are copyrighted by their respective owners.
Copyright © 2000 - 2025 Webedia Polska SA for gamepressure.com, unofficial game guides, walkthroughs, secrets, game tips, maps & strategies for top games.
