Crash Bandicoot N. Sane Trilogy: Ruination
Secrets:
- Clear Gem #1 - Find all the crates (84 in total)
- Clear Gem #2 - Found in a secret area (accessible if you've managed to acquire the Green Gem which can be picked up in an earlier part of the level)
- 1 Secret Area (accessible if you've managed to acquire the Green Gem which can be picked up in an earlier part of the level)
- 1 Bonus Area
Walkthrough:
The level takes place in ruins, which means that you'll need to focus on precision during every jump. Aside from the above, Ruination sports a number of difficult obstacles (gorillas, tipping platforms) which previously appeared only in the secret areas of previous levels.
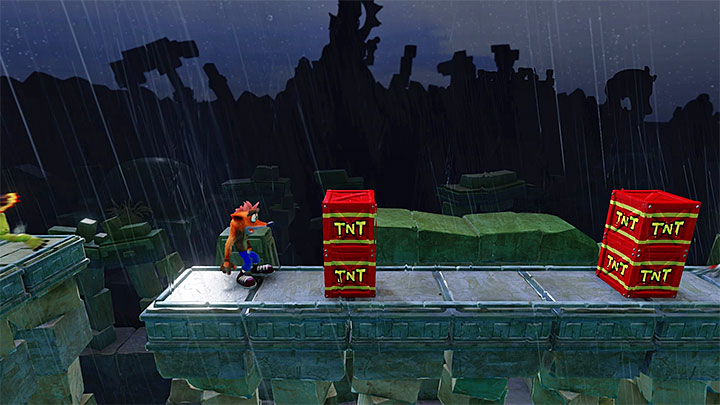
Wait for the first statue to stop spewing fire and continue through the platform. Avoid smashing into the crates before you, as there is a green crate behind the first row that may be detonated by accident.
Start moving through the platforms and land on a white mouse. You can use the opponent as a springboard to continue to the next platform or stop in order to destroy a chest on your left. One of the platforms ahead contain a mouse and a lizard. Land next to the mouse and perform a slide to take care of the opponent and be safe from the lizard which is lethal when touched from a normal pose.
Continue following the available path and wait for the fire sculpture to stop spewing fire and reach the checkpoint on the other side of the footpath. Turn right and wait for an opportunity to take care of the lizard patrolling the next platform. Spring from two TNT crates and use an opportunity to land on a intruding monkey that jumps between the crates. Nevertheless, you can simply continue with the level.
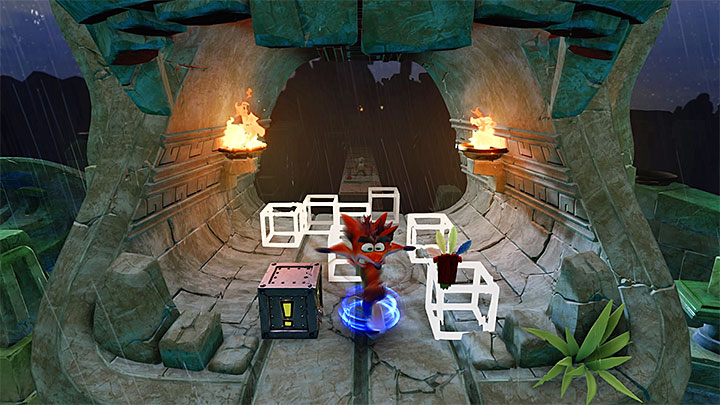
The next ledge contains two nitroglycerin crates that you'll need to go past. Unfortunately, you cannot stop, as the stony blocks between them will fall off if you stand on them for too long. Use the springboard crate to pick-up an Aku Aku mask and continue to a detonator crate (screenshot above). Hitting it will fill the forms next to the crate - unfortunately, it will turn out that you've unlocked a set of nitro crates. Try to jump past them or quickly run past the area before the crates appear.
You'll encounter another monkey - get rid of it without stopping, as some of the floor blocks will crumble and fall down into the abyss.
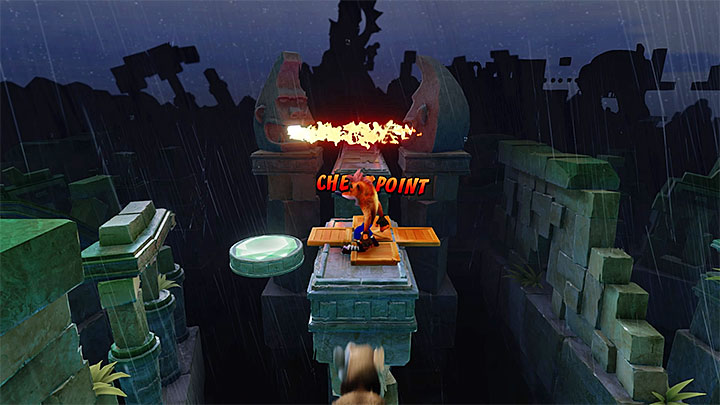
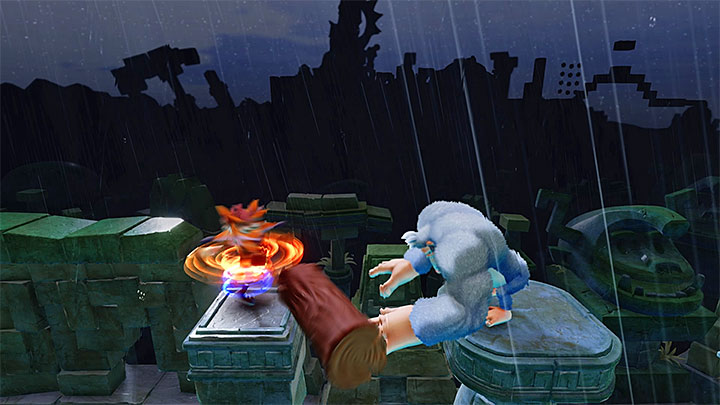
Stop in the area shown on screenshot 1. If you've managed to acquire the Green Gem from The Eel Deal (Ice Warp Room - level 15), you'll be able to use a platform that leads to a secret area. Start moving right - your task is to reach a gorilla that attempts to get rid of you by throwing large bales which bounce off each platform (five in total). Every second platform is safe - wait for the bale to go through and destroy it by utilizing your spin attack. Finally, get rid of the gorilla itself (screenshot 2).
Make your way down the path to reach a new obstacle - two totems that spew fire in a forward-backward manner. To get past the area, stay behind the first flame and wait for an opportunity to stick to the second totem. Soon you'll encounter a new set of platforms on which you'll have to avoid the thrown bales. Continue by jumping onto swinging platforms - jump when your current platform is as close to the next one as possible.
Turn left and continue by jumping through collapsing platforms. Proceed north once you've managed to reach a safe area and destroy the bales thrown by the next gorilla. Finally, go past a long bridge and follow the platforms until you've picked up the Clear Gem. Note - die after getting the gem, as otherwise you won't be able to get all the crates (you'll be reverted to the starting area, but you'll have the gem in your possession).
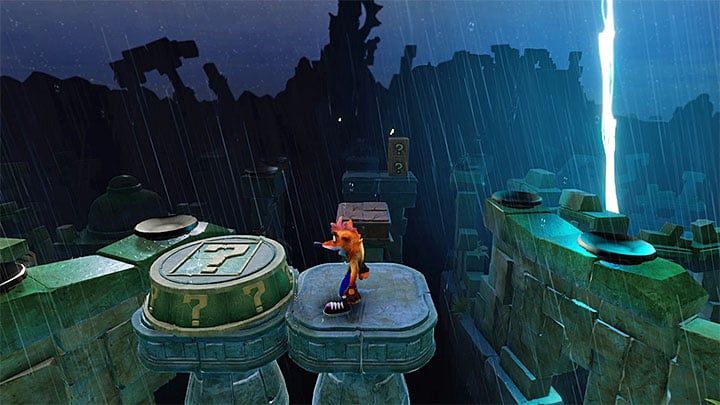
If you've managed to return to the main path, activate the checkpoint and wait for a right moment to jump to the neighboring ledge, as the area is guarded by two fire totems. Get past the moving platforms to reach a safe zone and an entrance to the bonus area (screenshot 1).
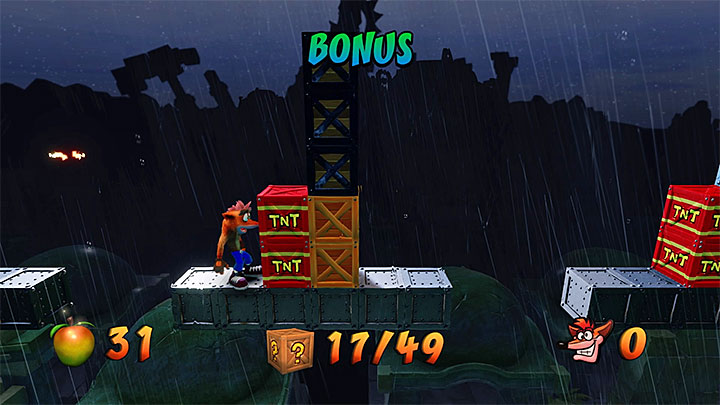
The bonus area contains 49 crates and is characteristic for its high difficulty level. Begin by climbing the wall of crates found next to the starting area. Use the lowest fragment of the wall and perform belly flops (Circle in midair) to destroy the reinforced crates. Proceed by hitting the nearby detonator crate and continue moving right. You'll encounter additional crates - focus on the area shown on screenshot 2. Your goal is to perform a clean spring from the TNT crate and land on the top of the tower. If you've managed to do so, wait for the explosion to clear the crates and take care of the remaining ones using your belly flop. Proceed the same with the second tower.
The bonus area is not over yet - the final part of the section sees you destroy a group of crates fixed above a chasm. You'll have to clear out both normal and reinforced crates - the latter type is destroyed after 5 hits.
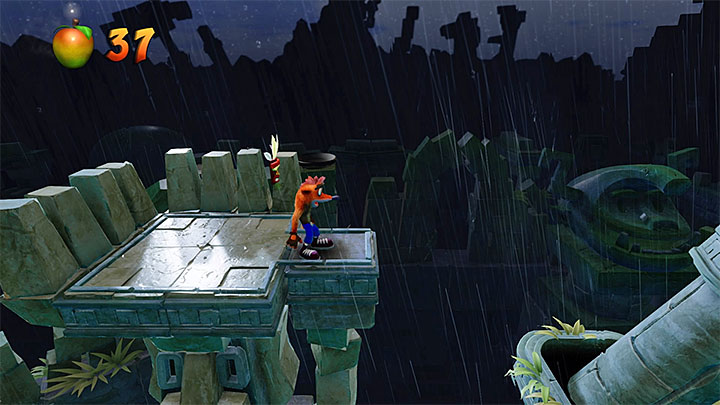
You should be delivered back to the area where you've begun the bonus section. Abstain from jumping until the monkey on the platform ahead of you has moved further away. Start following the monkey and land on one of the extended platforms to take care of the opponent using your spin attack. Continue moving forward if the path ahead (including the fire totems) is clear and quickly run through the unstable bridge.
Continue scaling the platforms, especially as one of the final crates offers a mask protecting you from instant death. Activate the checkpoint and land on a mouse placed between the green crates. The next walkway is guarded by a lizard, but you can get rid of it by activating the TNT charges or by performing a slide.
The screenshot above shows the beginning of an difficult section. You'll encounter three rotating platforms which tip in a rotating or a horizontal manner. Your task is to clear them one by one when the next platform is as close to the current one as possible, as well as keep moving in order to avoid falling from the moving platform.
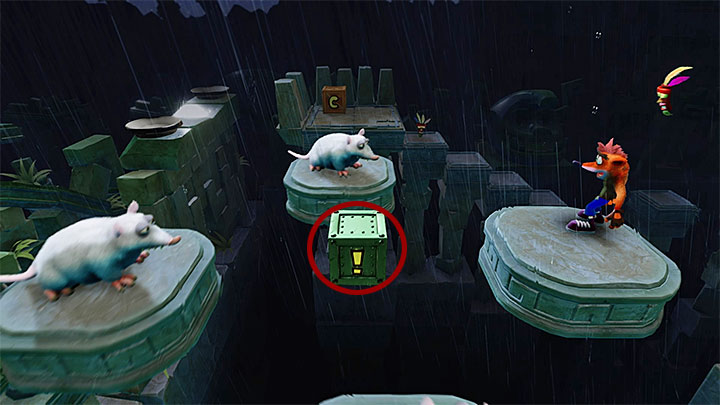
Proceed forward and pick-up the purple crystal found along the way. You'll encounter a new set of rotating platforms with mice on each one of them. Land on one of the rodents and make an attempt to land on the detonator crate found in the middle. Landing on the platform requires accuracy, but it will allow you to detonate all the remaining nitro crates which will be added to your score.
Jump to the nearby checkpoint and start moving right. Your task is to get past a new gorilla. Proceed as usual - make careful jumps to the further platforms and be ready to destroy incoming bales until you've reached the enemy itself. Finish the stage by jumping on the upper ledge and use the portal to return to the warp room.
You are not permitted to copy any image, text or info from this page. This site is not associated with and/or endorsed by the developers and the publishers. All logos and images are copyrighted by their respective owners.
Copyright © 2000 - 2025 Webedia Polska SA for gamepressure.com, unofficial game guides, walkthroughs, secrets, game tips, maps & strategies for top games.
