Crash Bandicoot N. Sane Trilogy: Midnight Run
Collectibles:
- Clear Gem - Smash all 35 crates.
Description:
this is a return to the Orient Express level from the beginning of the game. As Coco, you will have to travel over the Great Wall, mounted on a tiger. Apart from avoiding the opponents and all sorts of traps, you will also have to smash crates. All of these are more demanding here and, if you want to complete this level perfectly, you will have to play it at least once, to remember the way the objects are placed.

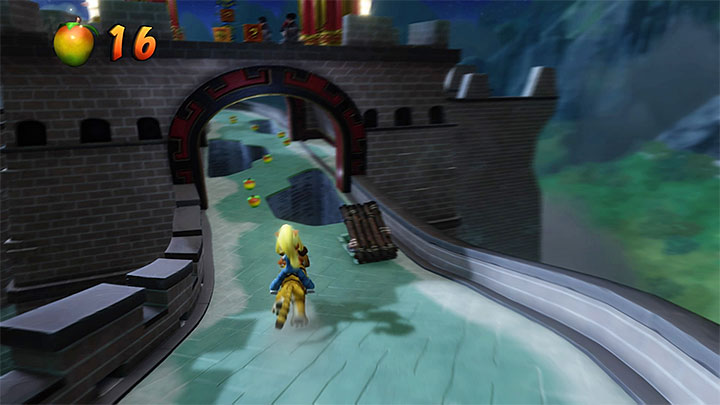
Just like in Orient Express, in several situations, you will have the opportunity to use a ramp, occurring as a result of one of the opponent's hiding behind the planks. The first such ramp is right after you start this mission, but ignore it, because destructible crates are in the bottom part of the path.
Along your way, remember to jump towards the crates suspended over the path. Paradoxically, the first one is the most difficult to smash, because it has you to take a jump somewhat earlier, or turn right in mid-air.
Get around the obstacles (remember that you have to run underneath some of the dragons). Take interest in the second ramp, shown in the above screenshot, where there is a crate over it. First, smash two nearest crates and jump towards the more distant ones, suspended over the main path.

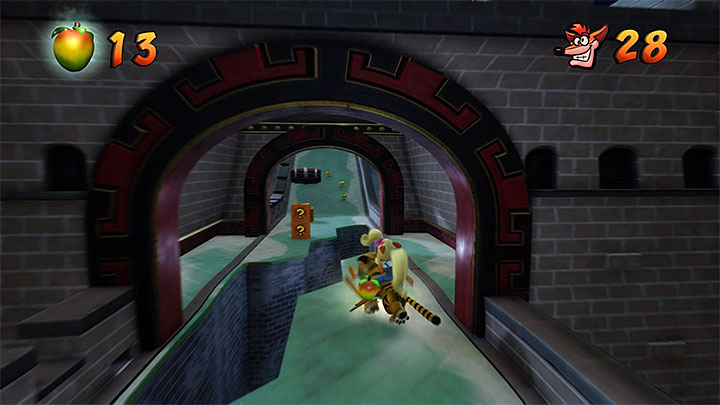
Some of the dragons will soon start to behave a little bit different and, to avoid them, try to keep close to the right, or the left, edge of the path (you do not even have to take any jumps then). Soon, you will approach a tower with the third ramp. Ignore it, because there are some crates on the main path (the above screenshot).
You will find the violet crystal towards the end of the mission. After you land on the left part of the wall, jump quickly over to the right to avoid the worker and grab the item. Soon, the tiger will take the final jump and you will be able to go to the portal that ends this mission.
Note - After you have finished this stage, you will have to fight the boss - Dingodile. The fight has been described in a separate part of this guide.
You are not permitted to copy any image, text or info from this page. This site is not associated with and/or endorsed by the developers and the publishers. All logos and images are copyrighted by their respective owners.
Copyright © 2000 - 2026 Webedia Polska SA for gamepressure.com, unofficial game guides, walkthroughs, secrets, game tips, maps & strategies for top games.
