Castlevania Lords of Shadow 2: Mission 9 - The Second Acolyte
#7 Keyhole for a Dungeon Key

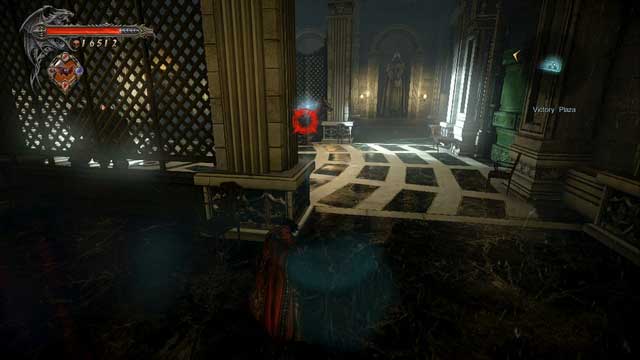
Use your Bat Swarm on one of the patrolling guards (the one standing further away from you) to distract him and the one that will arrive to help him, allowing you to get past them to the other side of the room - to get there you can possess the other guard or use Mist to slip near them undetected. After reaching the other side, stand above the grid without the airflow (closest to the elevator) and use your Mist power again to get to the lower level. You will get into a room with a Memorial.

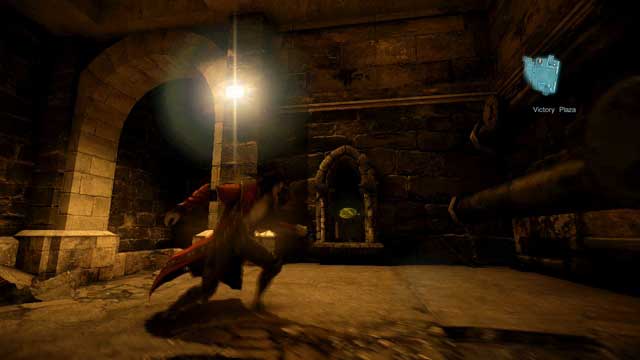
Collect it and use a nearby Shadow Portal and cross the narrow tunnel below ground to get to another room. After reaching it, use a Shadow Portal to regain your form and activate a nearby keyhold with a Dungeon Key to collect experience points.
- Castlevania: Lords of Shadow 2 Game Guide & Walkthrough
- Castlevania Lords of Shadow 2: Game Guide
- Castlevania Lords of Shadow 2: Piles of Sacrifice and Dungeon Keys - First pass
- Castlevania Lords of Shadow 2: Mission 2 - The Three Gorgons
- Castlevania Lords of Shadow 2: Mission 3 - The Antidote
- Mission 4 - Next Stop: Castlevania
- Castlevania Lords of Shadow 2: Mission 5 - The Blood Curse
- Castlevania Lords of Shadow 2: Mission 6 - The Antidote II
- Castlevania Lords of Shadow 2: Mission 7 - Pieces of a Mirror
- Castlevania Lords of Shadow 2: Mission 8 - The Hooded Man
- Castlevania Lords of Shadow 2: Mission 9 - The Second Acolyte
- Castlevania Lords of Shadow 2: Mission 10 - The Mirror of Fate
- Castlevania Lords of Shadow 2: Mission 11 - Revelations
- Castlevania Lords of Shadow 2: Piles of Sacrifice and Dungeon Keys - First pass
- Castlevania Lords of Shadow 2: Game Guide
You are not permitted to copy any image, text or info from this page. This site is not associated with and/or endorsed by the developers and the publishers. All logos and images are copyrighted by their respective owners.
Copyright © 2000 - 2026 Webedia Polska SA for gamepressure.com, unofficial game guides, walkthroughs, secrets, game tips, maps & strategies for top games.
