Castlevania Lords of Shadow 2: Mission 2 - The Three Gorgons
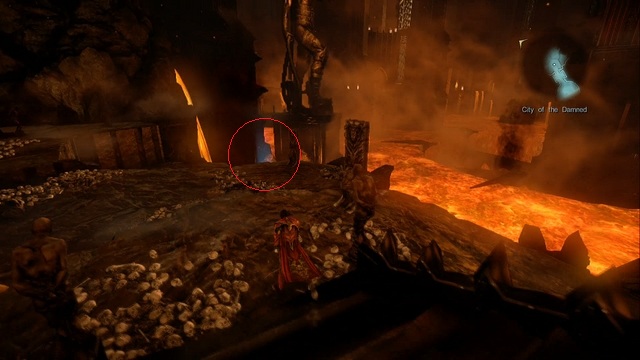
After regaining control, collect the Soldier Diary laying by the left wall. Afterwards, go inside a round room and activate the mechanism on the left side. Get out of the elevator and head forward, to initiate another cutscene. After that collect the Void Gem from the Pain Box located in front of you - you should be able to see the blue light from the entrance to the elevator. Continue in the direction of the marked on the map to initiate another cutscene and encounter a new enemy.
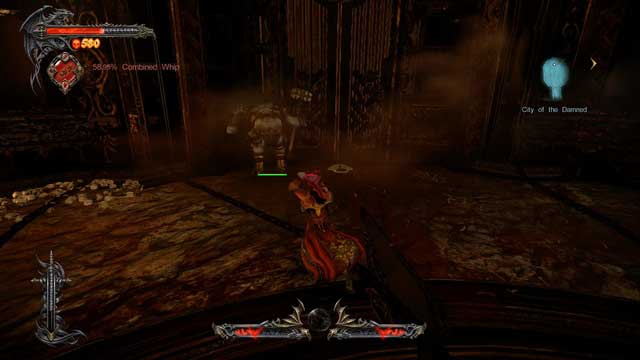
Dungeon Jailer is a strong, heavily-armored foe. As you still can't use your Chaos powers, which allow to pierce through the armor, the most effective way of dealing with him is to wait a bit until he decides to charge at you. When that happens, jump to the side at the last moment and observe as he smashes into the wall, stunning himself in the process - use this few precious seconds to damage him as much as you can. Rinse and repeat if it's needed and if you are having problems with the fight, consider getting rid of the smaller ones before concentrating on the Jailer. Upon death, Dungeon Jailers drop a Dungeon Key - it's one of the two ways of acquiring it (the other being the Chupacabras' shop - you will gain access to it later in the game). Dungeon Keys are required in a number of places to push the story forward (Dungeon Jailers will wait for you at those places to drop the key) and to activate mechanisms in hidden places (it will award you with 2,000 points of experience for doing so) - you saw one such mechanism, looking like a keyhole, in the previous mission.
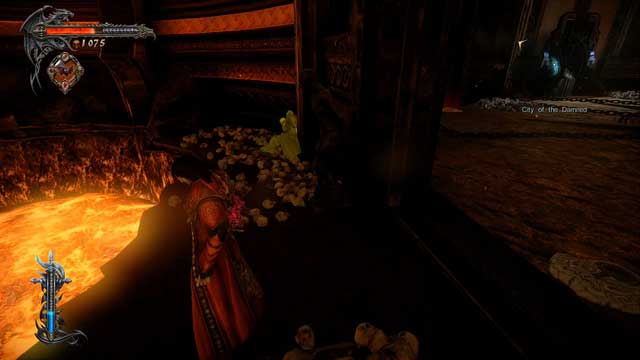
Use the key to activate the indicated device and open the gate with it. Don't go through it yet - instead, get close to a locked gate to the left of it and activate the blood mechanism. After a short while the gate will unlock - go through it and turn around to your right side and collect the Soldier Diary you will find there. Go back to the "device room" and open the gate to the right from where you found the diary (those which were opened after you used the Dungeon Key).
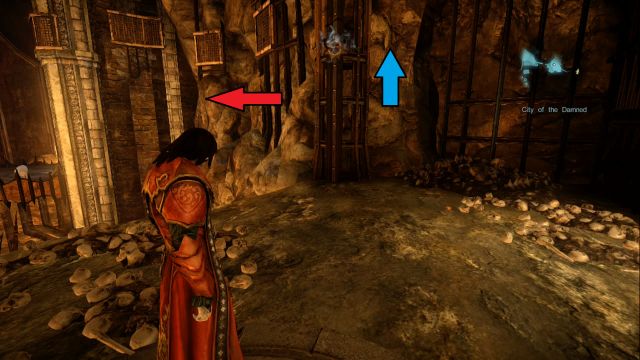
The red arrow leads to the wolf, the blue one to the keyhole for the Dungeon Key.
Go left, in the direction of the marker on the map - after a while you will reach an altar to activate the White Wolf Medallion. Summon the wolf, climb up, and then go to the left to get to the ledge where the wolf is awaiting you. There's nothing really you can do at the moment, so use the altar again and get back to the previous location (to the castle).
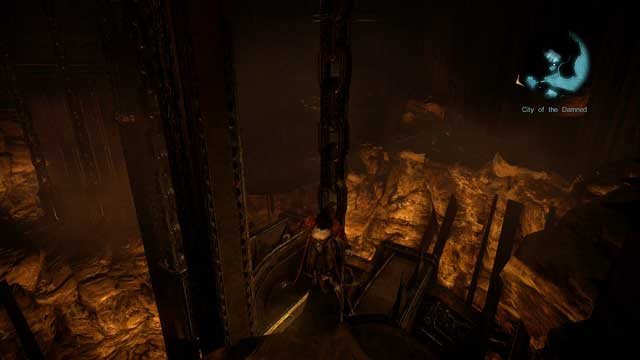
Go to the right from the gate that you came from (from the room in which the device controlling the doors is), jump on the rocks, and after that get on the stone bar to stand in front of a giant chain. Jump on the chain and start climbing up - notice that the chain will be dragged down, increasing in speed the longer you're going to be climbing it. To slow it down, you have to jump on the footholds to the left from time to time, stay there for a few seconds and get on the chain again when it stops. When you climb to the top, jump to the left, and then again, to reach another chain - you have to climb it down this time. Wait for it to fall down low enough for you to jump on the foothold to the left and continue your trip until you reach 3 chains hanging close to each other.
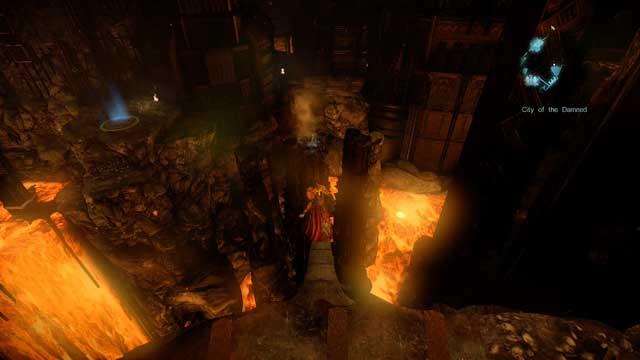
To get to the top you need to jump from one chain to another, jumping diagonally, until you are high enough to jump on the ground to the left. Now you will have to jump through a number of vents - be wary though, as lava will burst from them from time to time, knocking you down and teleporting you back to the save point. Observe the vents to know when to jump - just before the eruption the vent will exhale steam. Also, remember that some of the ledges you will jump on will crumble after you land on them, so you can't stay on them for very long and you need to jump soon after landing. Get to the other side to activate a save point and initiate a cutscene.
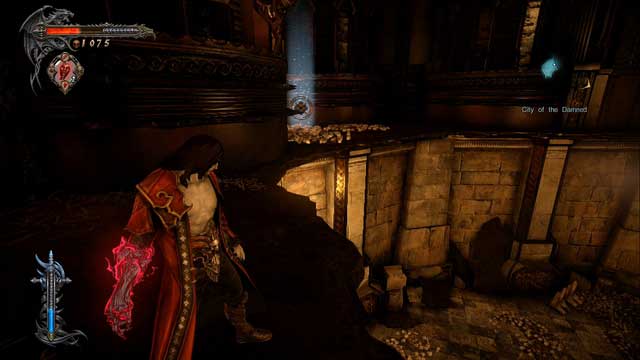
Stand on the edge and turn the camera to the left - you will find there a Pain Box with a Life Gem inside. Jump to the treasure, pick it up, and then jump down, where you will encounter a small group of enemies. After dealing with the threat, climb up the wall on the other side. Pick the Soldier Diary from the corpse and get to the device in front of you. With it you can create a bridge to get to the other devices - in order to "connect" it to a place where another device is, at least one fragment of the bridge must touch the edge. Firstly, extend the bridge all the way forward, to connect it to the place where the second device is and go through the bridge. Instead of activating the device, go up the stairs to initiate a cutscene with a Chupacabras.
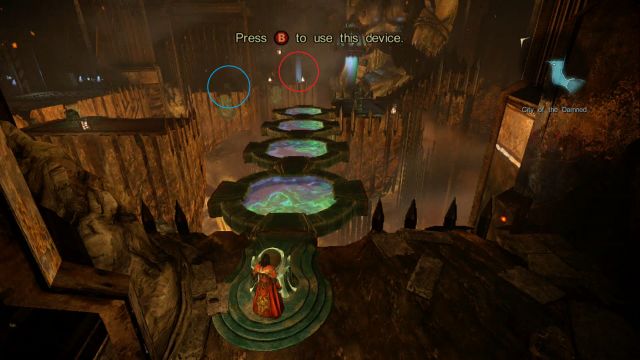
After it ends, get close to the second device and get to the one in front of you, extending the bridge all the way forward again. Activate the third device and get to the one in front of you - you need to press up, right and up again to connect it. At the fourth device extend it to the left, rotate your camera to the left as well and extend it to the left two more times (you should "wrap it around yourself" with that combination). Cross the bridge and collect a Void Gem from a Pain Box and then get back to the device you were at just a moment ago (fourth device).
Activate it and press up, right, right, cross the bridge and go to the right, to activate a mechanism that will release the Chupacabras' cage. Get back to the fourth device, activate it and press left three times to get the cage on the platform. Afterwards, activate the button again and press up, up, and right to link the platform to the third device and be able to get there. Activate the third device, press left, rotate your camera to the left (just as you did with the Pain Box) and press left twice to connect the cage to the seal breaker, freeing Chupacabras. After the cutscene ends, the Chupacabras will open the gate for you - go through it and cross the bridge to get to another location.
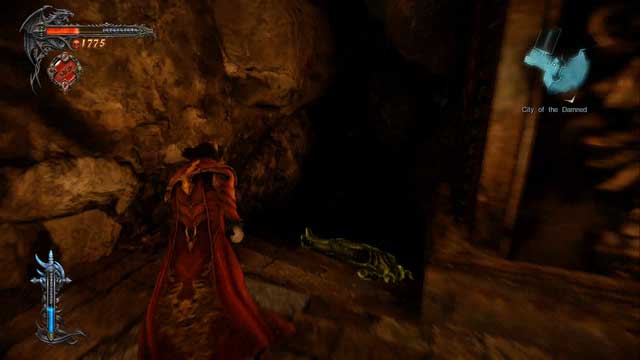
Run up the stairs on the left side to activate a cutscene - be ready for a QTE sequence to avoid taking damage from a new enemy, Harpy of the Depths. Due to the fact that Harpies spent most of their time in the air, you might have some trouble fighting with them. The best solution to this problem is to use your Void Projections to freeze them and bring them down to the ground, where you can easily dispatch them. Rinse and repeat until all the Harpies are gone and go back to the room that you came from (climb the wall opposite the marker on the map). To the left of the stairs you just climbed, in a small hollow, you will find a corpse with a Soldier Diary.
Get back to the place where you fought the Harpies and climb up the destroyed gate, leading to a bridge - another Soldier Diary awaits you there. Collect it and cross the platform connecting two buildings. You will encounter some more Harpies - the same rules apply, so just use your Void Projections to get rid of them. After the fight jump on the pillar (through a hole in the balcony) and jump along the footholds to the other side.
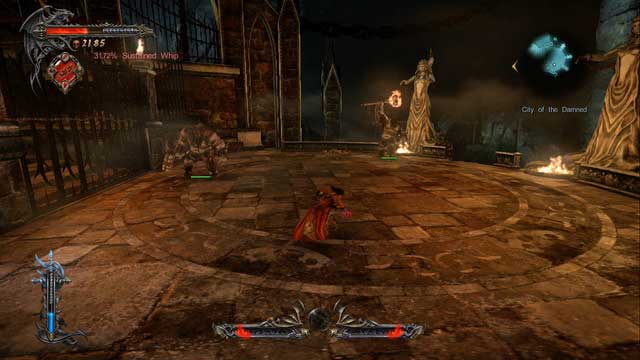
You will encounter two Dungeon Jailers this time. The best solution to this problem (as you still lack the power of Chaos) is to just wait patiently for them to charge at you and dodge the attack at the last moment - the enemy will smash into the wall, stunning him, so you can deal some nice damage without fear of counterattack. Remember, that this time there are two enemies, so pay attention to their attacks and try to dodge them instead of blocking, and don't attack them head on, as they are armored and most your attacks will just bounce off. After dealing with them, take two Dungeon Keys that they dropped and activate the device to open up the gate.
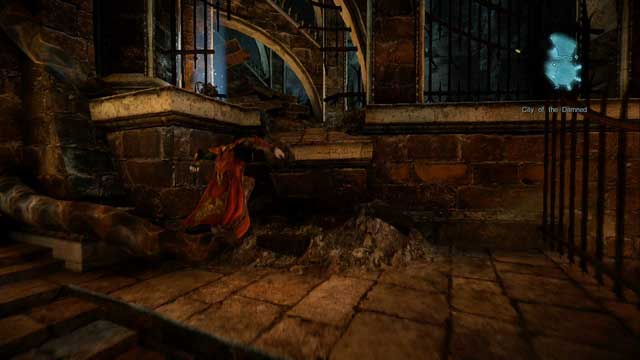
Climb up the stairs - while halfway, go to the right to collect a Void Gem from a Pain Box. After collecting the treasure, continue towards the room. Activate the device in the statue to open a secret passageway leading underground. After running down the stairs, you will find yourself on a crossing - take the Soldier Diary by the corpse and go into a hole, to the opposite direction to the marker on the map. At the bottom of the hole there is a keyhole (to the right) where you can use your Dungeon Key to get an enormous amount of experience. Collect it, climb up and go in the direction of a giant X on the map.
Boss - Gorgon
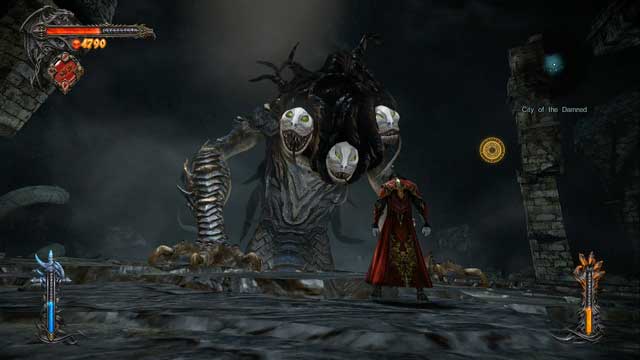
There are two similarities between this fight and the previous one, with Raisa - it's fairly easy and mobility is your biggest friend. Most of Gorgon's attacks are very easy to dodge, provided that you are always in motion. Possible moves are:
- Punch attack, in two variants, depending on the direction it comes from: vertical (to avoid it jump in any direction) and horizontal (to avoid it you must jump backwards, to get some space between you and the boss).
- Fireballs - Gorgon will use them whenever you will try to keep your distance from him. Fireballs are trivial to dodge, because their velocity is low - remember to be in motion and you shouldn't have any trouble to avoid them. Remember, that some of them will hit the ground, exploding and igniting the area - keep away from the fire to avoid being damaged.
- Light beams from the eyes - similarly to the fireballs, this attack is used only when you are out of the boss' melee range. Initially, a light will appear under your feet, which will follow you for a few seconds, after which the light will explode - again, be mobile and you should be fine.
- Meteor Rain - an attack bringing down a shower of meteorites, which explode upon contact with the ground, setting it aflame in a similar manner to fireballs. This attack covers almost the whole arena, leaving a tiny scrap of land (often right in the middle of the arena) intact, which is why you have to carefully observe the course of meteorites to be able to see where they won't hit.
- Fire Breath - Gorgon will start inhaling air for a few seconds, after which he will breathe a stream of fire at you. There are two ways to avoid this attack - you can either jump sideways (attack won't follow you) or you can use Void Projections, to stop his attack and activate a cutscene, ending the fight in the process.
Besides the boss himself, you will have to face tentacles at the back of the arena. They deal almost no damage and the biggest problem is that fighting them can be annoying. The tentacles are there so you can replenish your Magic supply - each one of them drop a few Blood Orbs upon "death", even when you don't have your focus bar filled.
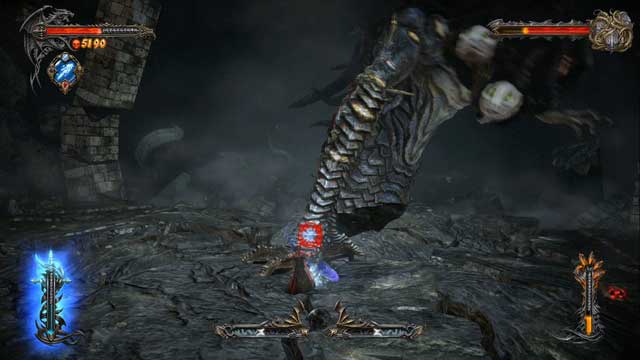
At the beginning of the fight, you must destroy a stone wall created by the enemy - use your newly acquired Chaos Claws, which allow you to destroy armored targets. After breaking through the wall, keep on attacking the enemy (unfortunately, you will be forced into aerial combat again) until its health drops to about 2/3 - a QTE sequence will begin after that, during which the Gorgon will smash his hand in the ground and you will have to freeze it by using Void Projections. After that, you need to climb it until you reach one of its heads - here you will encounter another QTE sequence, after which the enemy will fall to the ground and you will have a brief window of time to attack him. Soon, one of its heads should be gone.
At this point you have to repeat the whole process from the beginning - another QTE sequence will be initiated when the boss' health drops to 1/3 value. This time the frozen hand will be protected by a stone armor - destroy it by using Chaos Claws and climb it up again. An unpleasant surprise awaits you - the enemy will hide his head, preventing you from attacking it. Wait for a few seconds for it to emerge again and jump between footholds to avoid the boss' hand. Destroy the exposed head to get into the final part of this battle.
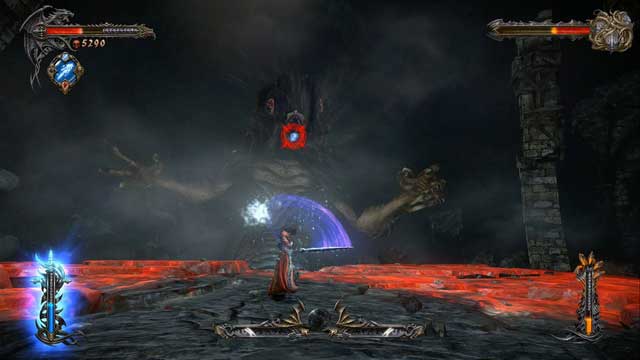
When the Gorgon is left with only one head, you will have to avoid his attacks until he uses his Fire Breath attack - at this point all you have to do is freeze him with Void Projections to initiate a final QTE sequence, which will end the fight.
After collecting the Primordial Gem you will be awarded with a new ranged ability - Chaos Bomb (you can read more about it in the section about Ranged Attacks). Afterwards, climb up using the "stoned" boss' left hand to get to the upper level.
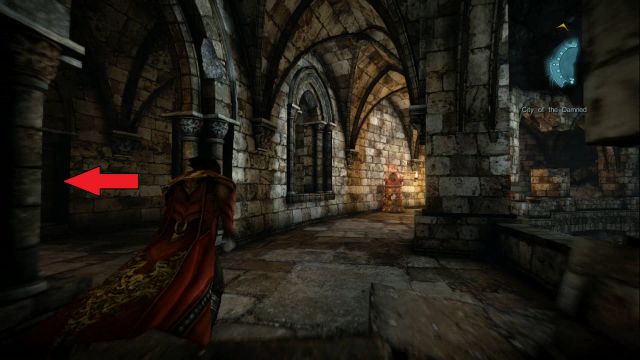
Run through the corridor and a while before getting to the Magic Font turn to the left - at the end of the corridor to the left there's a Pain Box with your first Chaos Gem inside. Collect it, replenish your Magic at the font and blow up the roof (in the indicated place) with your Chaos Bombs to open up a passage. Run down the stairs and activate the device and get down using the elevator. After getting to the bridge, you will encounter another Dungeon Jailer - but this time you finally have your Chaos Claws. Use your newly acquired weapon to literally punch through Jailer's armor - as long as you have Chaos Magic you can attack him head-on as much as you want, as your attacks will break his armor. Take the key he dropped, activate the device and get through a bridge - a cutscene will be initiated and soon after you will be taken to the Chupacabras' shop.
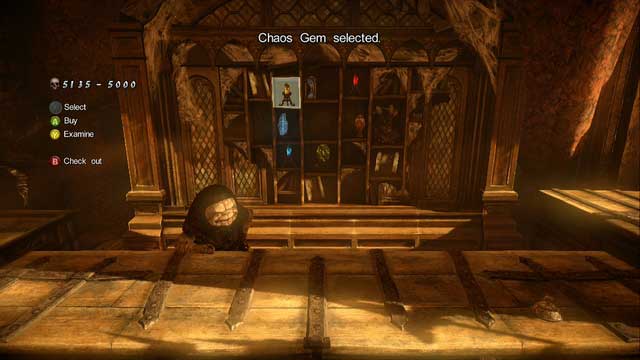
You can buy all the things you may want here: Gems (only once, though), Relics (up to 3 at once) and Dungeon Keys. The currency is experience, so you should think about each transaction done here, especially at the beginning of the game. There's also a special mirror in the shop, which allows you to do challenges - to activate it you need a Kleidos (which you will soon find). After you're done with shopping, get back to the elevator - another cutscene will initiate and you will be given a Talisman of the Dragon (read section about Additional Equipment to find more about it).
- Castlevania: Lords of Shadow 2 Game Guide & Walkthrough
- Castlevania Lords of Shadow 2: Game Guide
- Castlevania Lords of Shadow 2: The Main Campaign - walkthrough
- Castlevania Lords of Shadow 2: Prologue - Castle Siege
- Castlevania Lords of Shadow 2: Mission 1 - Bioquimek Corporation
- Castlevania Lords of Shadow 2: Mission 2 - The Three Gorgons
- Castlevania Lords of Shadow 2: Mission 3 - The Antidote
- Mission 4 - Next Stop: Castlevania
- Castlevania Lords of Shadow 2: Mission 5 - The Blood Curse
- Castlevania Lords of Shadow 2: Mission 6 - The Antidote II
- Castlevania Lords of Shadow 2: Mission 7 - Pieces of a Mirror
- Castlevania Lords of Shadow 2: Mission 8 - The Hooded Man
- Castlevania Lords of Shadow 2: Mission 9 - The Second Acolyte
- Castlevania Lords of Shadow 2: Mission 10 - The Mirror of Fate
- Castlevania Lords of Shadow 2: Mission 11 - Revelations
- Castlevania Lords of Shadow 2: The Main Campaign - walkthrough
- Castlevania Lords of Shadow 2: Game Guide
You are not permitted to copy any image, text or info from this page. This site is not associated with and/or endorsed by the developers and the publishers. All logos and images are copyrighted by their respective owners.
Copyright © 2000 - 2026 Webedia Polska SA for gamepressure.com, unofficial game guides, walkthroughs, secrets, game tips, maps & strategies for top games.
