Castlevania Lords of Shadow 2: Mission 8 - The Hooded Man
#14 Chaos Gem
The first gem in this mission can be found at the very beginning. Mist through the bars located opposite your starting location and turn left from the place with a keyhole. Mist through another bars and go to the end of the street, to collect a Chaos Gem from a Pain Box.
#15 Void Gem
After emerging on the surface, take care of the enemies awaiting you and go forward, until you reach a bridge. From there, turn to the right (there's nothing in front of you and you can't do much by going to the left), go through the bars, and then collect a Void Gem from a Pain Box on the right side.
#16 Life Gem
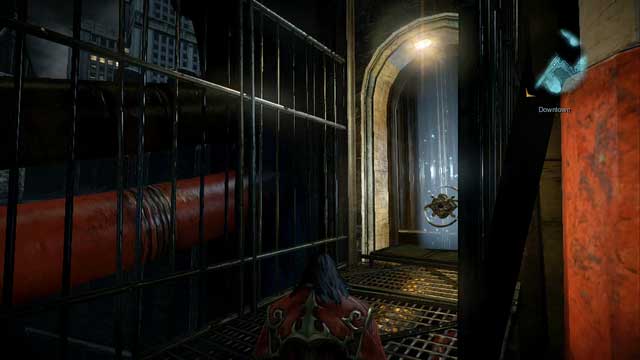
Climb up a metal platform and turn to the right - you should be able to see a Pain Box there. Collect a Life Gem from inside it and go in the opposite direction, to the other side of the platform. You can't really miss it as you will be walking by near it.
#15 Chaos Gem
After the scene with Abaddon and Hooded Man, go straight ahead until you reach the end of the street - there's an entrance there to a collapsed tunnel, where you can find another Chaos Gem.
#17 Life Gem, #16 Void Gem and #16 Chaos Gem
After going through the hatch, eliminate all the enemies and use a Chaos Bomb on a ladder (to your left, looking from the place you entered the street after emerging from the hatch - there's a purple trail nearby) to pull it down. Climb the ladder, run up the stairs, grab a handhold near the window (above you there's a Pain Box - to get to it you need to jump off from the roof of the building) and continue all the way to the right, until you finally enter the building. Use the platforms to get to the first Pain Box, in which you will find a Life Gem and continue your climbing until you reach the roof.
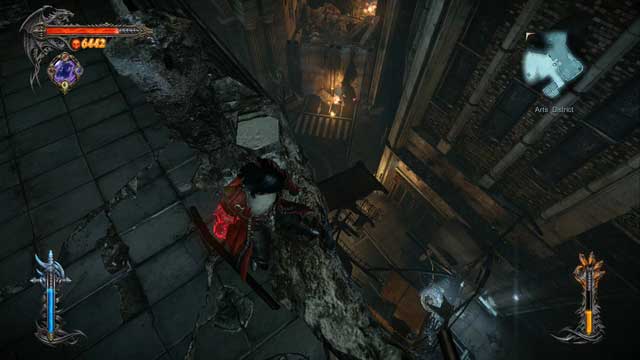
Enter a small room on the roof of the building, leading to an elevator shaft. Stand on the edge of the shaft, turn your camera to look down, and you should be able to see a Pain Box in a small gap in the wall - jump into the gap and collect a Void Gem from the box. Get back on the roof of the building, stand on the edge and jump down, to get to a Pain Box mentioned earlier. Collect a Chaos Gem from inside of it.
#18 Life Gem and #17 Chaos Gem
After the boss fight (with Abaddon) you will get back on the street, where you will encounter two Riot Mechs. After eliminating both Mechs, run into a small alley (in the opposite direction to the marker on the map - there's a White Wolf Medallion altar nearby) and climb up, to where the wolf awaits you after activating the medallion. Jump on a bar extending from the building, next on a signboard and climb up to reach a Pain Box - there's a Life Gem hidden inside.
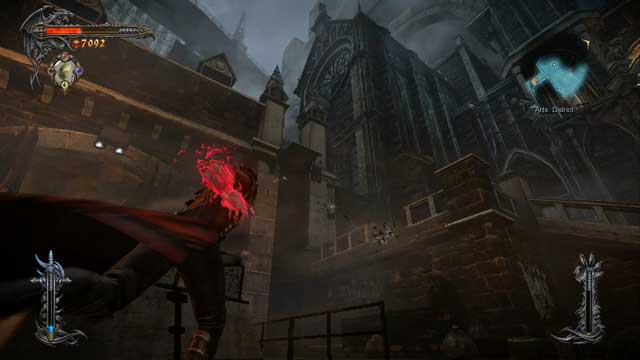
Get back to the main street and locate a clock tower - inside it you will find another Pain Box. Get through the wall to arrive at the base of the tower and climb it up. Collect a Chaos Gem from inside and get back on the main street once more.
#17 Void Gem
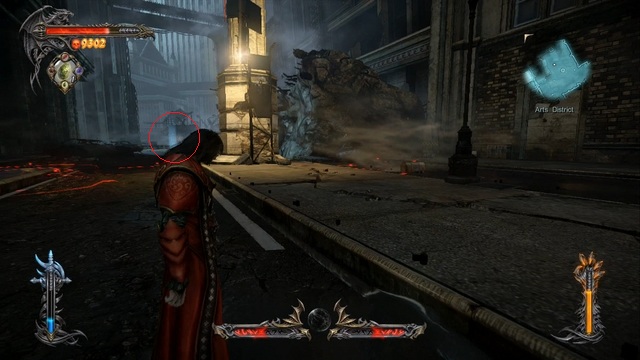
Locate the proximity mines, which are placed at the base of a white, tall tower - behind the tower, at the end of the street, there's a Pain Box. Get there by passing through the minefield (remember, you can "outsmart" the mines by using a dodge just before the mine activates) and defeat a Riot Mech protecting the collectible. Collect a Void Gem from the box and climb up the white tower you just passed.
#18 Chaos Gem
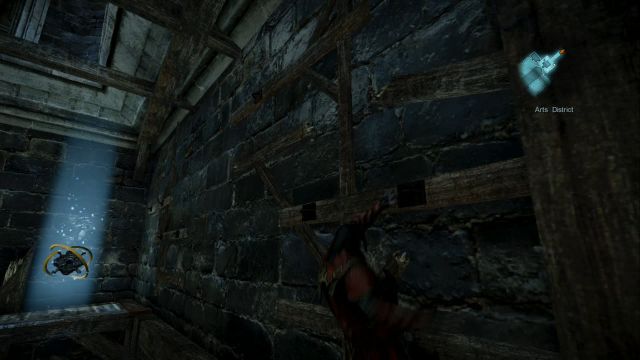
Get to the tower indicated by the purple trail. You will reach the stairs - directly above you there's a last collectible in the area, a Pain Box (with a Chaos Gem inside). Go upstairs and grab the gem.
- Castlevania: Lords of Shadow 2 Game Guide & Walkthrough
- Castlevania Lords of Shadow 2: Game Guide
- Castlevania Lords of Shadow 2: Gems - First pass
- Castlevania Lords of Shadow 2: Mission 1 - Bioquimek Corporation
- Castlevania Lords of Shadow 2: Mission 2 - The Three Gorgons
- Castlevania Lords of Shadow 2: Mission 3 - The Antidote
- Mission 4 - Next Stop: Castlevania
- Castlevania Lords of Shadow 2: Mission 6 - The Antidote II
- Castlevania Lords of Shadow 2: Mission 7 - Pieces of a Mirror
- Castlevania Lords of Shadow 2: Mission 8 - The Hooded Man
- Castlevania Lords of Shadow 2: Mission 9 - The Second Acolyte
- Castlevania Lords of Shadow 2: Gems - First pass
- Castlevania Lords of Shadow 2: Game Guide
You are not permitted to copy any image, text or info from this page. This site is not associated with and/or endorsed by the developers and the publishers. All logos and images are copyrighted by their respective owners.
Copyright © 2000 - 2026 Webedia Polska SA for gamepressure.com, unofficial game guides, walkthroughs, secrets, game tips, maps & strategies for top games.
