Castlevania Lords of Shadow 2: Mission 10 - The Mirror of Fate
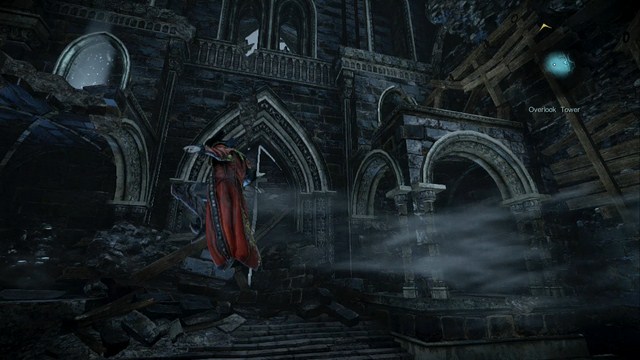
You will be rewarded with a Dissipated Storm achievement and after another cutscene you will regain control over your character. Ignore the hole behind you and climb up a wooden scaffolding on the right side of the room. From there you can jump on a ledge on the other side of the room, where a Pile of Sacrifice is located. Use your double jump to get there and collect a Kleidos' Nail. Get back on a previous ledge and go to the other room.

Jump down and go to the left of your landing spot - you will find a body containing a Soldier Diary, lying by one of the pillars. Collect it and go towards the marker on the map, to get to Trevor and initiate a series of cutscenes.
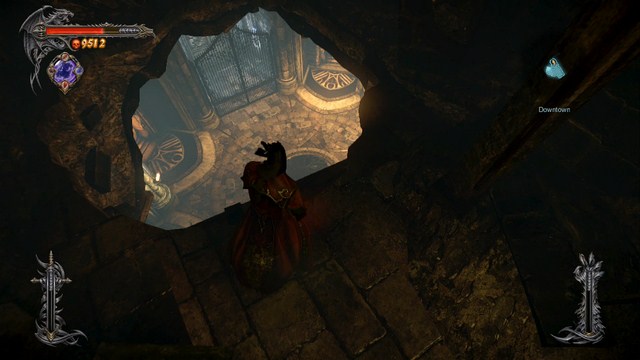
After leaving the elevator, to towards the marker on the map - you can't collect anything at the moment, so just focus on this goal. Your task is to get into a room you visited during one of the previous missions but where you couldn't do anything. Go downwards all the time and soon you will arrive in the mentioned room.
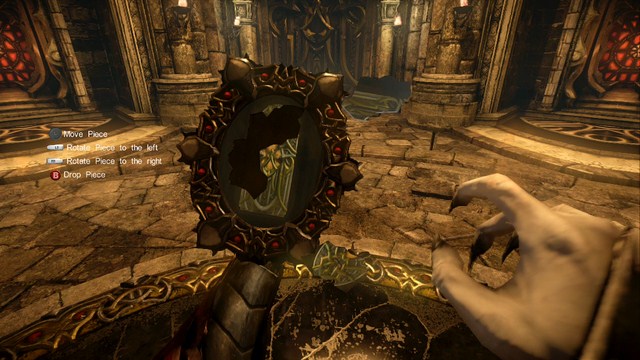
Activate the device in the center of the room to use the Mirror of Fate, which became your new and last item in the game, which you will use a few more times. You will have to complete the mirror from the fragments - use the on-screen information to navigate the pieces. To be able to place a fragment on the mirror frame, you need to rotate the piece and place it in a proper place - the piece will automatically be placed on its spot. After completing the mirror, the doors in front of you will be opened. Go through them to the next room.
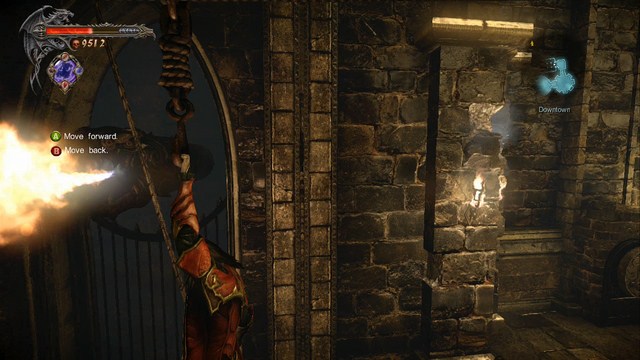
Another cooperation section between you and your ally. Grab the rope located just before the broken bridge and wait for Zobek's Lieutenant to operate the device. You need to get to the other side, avoid the flames. If this section gives you some problems:
- Try to adjust the camera to the right, to be able to see clearly where the flame comes from.
- Observe the flame-spitting nozzles - each of them work on an individual schematic and after completing it they turn off for a few seconds, giving you the time to cross them.
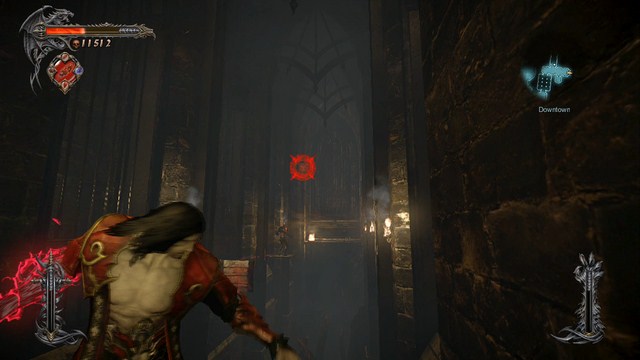
After getting to the other side, a bridge will be raised and your ally will join you. Another puzzle awaits you, but before you enter it, go through a corridor towards the closed door and turn right - behind the bars you will find a keyhole for a Dungeon Key. Collect the reward and go back to the place where your ally awaits you.
This section is harder than the previous one, because you can't lead to a situation in which your ally will get hit by a fireball - you will be dragged back to a save point and will have to start over again. A few tips:
- For the footbridges to be extended, you need to stand on the ground, on a certain plate - both of them activate different footbridges (check which one activates what and plan your actions in advance), and if you leave a plate (or jump in the air) every footbridge (besides the one your ally is standing on) will be retracted.
- The fireball is fired on your position - it means, that if you stand on a right plate and your ally is on the left side of the corridor, he won't be hit and if you get hit by it, the only thing that will happen is your health bar shrinking a little. It's the most important thing you must remember all the time. Additionally, if you will stay in motion, stepping from one plate to another fast enough, the fireball mechanism won't be able to fire any projectiles at you at all, because it need a few seconds to aim itself on you.
- You can activate the footbridges you ally will jump onto by hitting them with a Shadow Dagger.
The order, in which you should activate the footbridges and the plates you need to stand on to be able to hit them is as follows:
- stand on the left plate and hit the right, closest footbridge;
- move to the right plate, wait for it to fire a fireball and throw a dagger at the left, closest footbridge (your ally will jump to the side);
- step on a left plate and throw a dagger at the next footbridge to the left (ally will jump to the front);
- get back on the right plate and throw a dagger on a left footbridge, just in front of your ally;
- wait a bit (standing on the right plate) for the mechanism to aim the fireball at you and after it fires the projectile, jump on the left plate and throw the dagger at the right footbridge, at the end of the corridor.
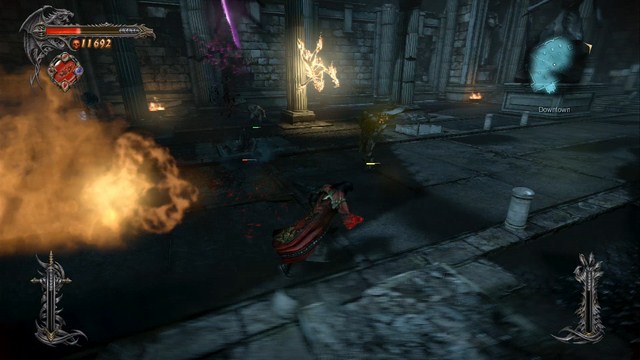
After your ally reaches the other side, the door will open. After getting through them, jump down to initiate a cutscene, after which you will have to face a new enemy - Dark Monk.
Dark Monks are one of the most difficult enemies you will encounter in the game. Most of their attacks are impossible to block, and to make it even worse they are extremely mobile, and they like to attack from afar. Their most dangerous ability, however, is that they can open a portal, through which they can summon reinforcements. There are green orbs levitating above the portal - if there are at least 3 of them and you won't destroy them soon enough, get ready for an arrival of another enemy - Dark Apostle.
Paradoxically, fighting with this enemy is extremely easy - practically the only attack, he will throw at you, as a fire breath. It can easily be avoided (don't try to block it, though), because the enemy needs a long time to prepare it, which gives you plenty of time to get away from him. Close the portal (by destroying the green orbs), deal with the Apostle and kill all Monks, to end the fight. Afterwards, go towards the marker on the map and activate a device (to the right you can find a statue where you can replenish your health) to get to the other side.
After a short cutscene you will be back in the room controlled by the Mirror of Fate. Finish the puzzle again and enter the throne room. This will trigger a lot of cutscenes and you will have to face fragments of battles you encountered earlier. After all this, you will have to face another boss.
Boss - Zobek
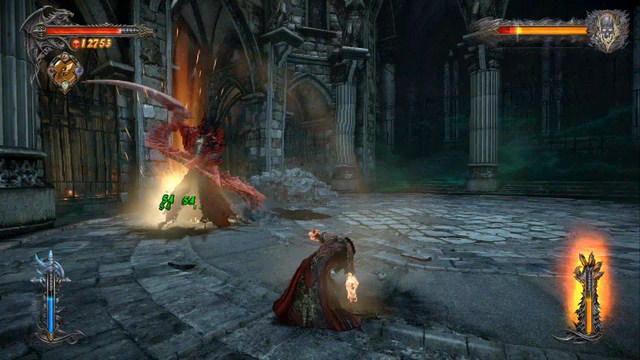
Most of Zobek's attacks are based on his chain-like weapon. Almost all of them, besides one which he hardly even uses, are unblockable and are insanely difficult to dodge - Zobek waves his weapon in all directions like a madman, which means, that if you are close to him when he starts his attack, it's almost certain that you will get hit.
There's one method, to avoid those attacks - you must use hit & run tactics. Get close to him, hit him a few times and immediately jump back - if he starts his unblockable attack, he won't be able to reach you. There's a chance that he won't attack at all and will just close in on you - in this case rinse and repeat the whole process. It's an irritating way of getting through this encounter, because it takes a lot of time to do so, but it will allow you to avoid most of his attacks.
Besides his melee attacks, Zobek uses another one - he summons a beam of energy, which will follow your trail for a few seconds (fortunately, it moves slowly, so you won't have much trouble to outrun it). If it reaches you, a QTE sequence will be initiated - if you hit the button at the right moment, you won't get any damage at all. He generally uses this attack when you are out of his melee attacks' reach.
When his health drops to about 2/3 value, he will leave the arena and an army of living corpses will emerge in his place. Undead aren't really a threat on their own, but you have to be extra careful about their grab. If you notice one of them running at you, you must avoid getting grabbed at all cost - if you fail to do so, you will encounter an extremely irritating QTE sequence and you will lose an enormous amount of health if you won't set yourself free quick enough.
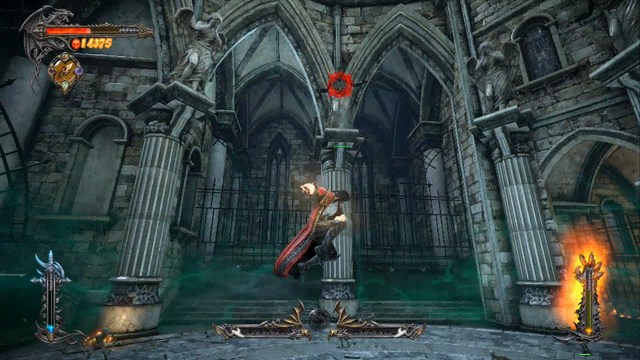
To get rid of them and force Zobek back into the arena, you must destroy the ghost-like sculptures that were summoned by the boss himself - they are above the arena and you can reach them with your Shadow Daggers (you need few of them to destroy one sculpture) or Chaos Bombs (one hit destroys the sculpture). After destroying 4 of those sculptures, the undead will start to fade away and Zobek will return.
There are two things related to the "undead stage" :
- If needed, you can farm tons of experience here - the undead respawn indefinitely, provided that you leave at least one ghost-like sculpture intact. Use the Stolas' Clock relic to increase the experience inflow even more.
- It's a good method of restoring your supplies of Void and Chaos Magic - there are dozens of enemies and your Combat Focus bar should fill in an instant, resulting in a mass of Blood Orbs scattered everywhere (undead drop a few Blood Orbs on death even if you haven't filled your focus bar).
After the "undead stage", Zobek returns and the fight looks exactly the same as before. After getting to 1/3 health, Zobek will again leave the battlefield to his corpse army - repeat the process of destroying the sculptures to get rid of them once and for all. After dropping his health near zero, he will revert back to his human form to regenerate himself and his weapon will float around him, protecting him from your reach. Use your Mist power to get through the chain shield, which will initiate a cutscene, ending the fight in the process.
- Castlevania: Lords of Shadow 2 Game Guide & Walkthrough
- Castlevania Lords of Shadow 2: Game Guide
- Castlevania Lords of Shadow 2: The Main Campaign - walkthrough
- Castlevania Lords of Shadow 2: Prologue - Castle Siege
- Castlevania Lords of Shadow 2: Mission 1 - Bioquimek Corporation
- Castlevania Lords of Shadow 2: Mission 2 - The Three Gorgons
- Castlevania Lords of Shadow 2: Mission 3 - The Antidote
- Mission 4 - Next Stop: Castlevania
- Castlevania Lords of Shadow 2: Mission 5 - The Blood Curse
- Castlevania Lords of Shadow 2: Mission 6 - The Antidote II
- Castlevania Lords of Shadow 2: Mission 7 - Pieces of a Mirror
- Castlevania Lords of Shadow 2: Mission 8 - The Hooded Man
- Castlevania Lords of Shadow 2: Mission 9 - The Second Acolyte
- Castlevania Lords of Shadow 2: Mission 10 - The Mirror of Fate
- Castlevania Lords of Shadow 2: Mission 11 - Revelations
- Castlevania Lords of Shadow 2: The Main Campaign - walkthrough
- Castlevania Lords of Shadow 2: Game Guide
You are not permitted to copy any image, text or info from this page. This site is not associated with and/or endorsed by the developers and the publishers. All logos and images are copyrighted by their respective owners.
Copyright © 2000 - 2026 Webedia Polska SA for gamepressure.com, unofficial game guides, walkthroughs, secrets, game tips, maps & strategies for top games.
