Mission 4 - Next Stop: Castlevania
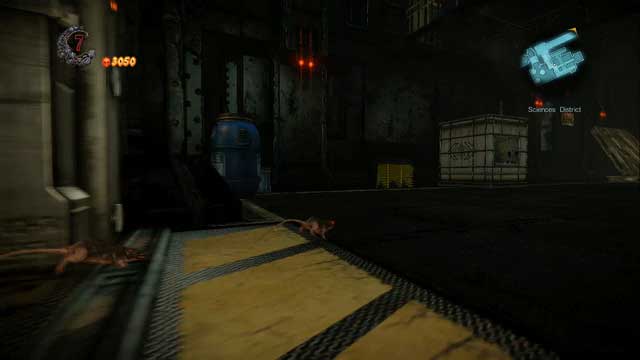
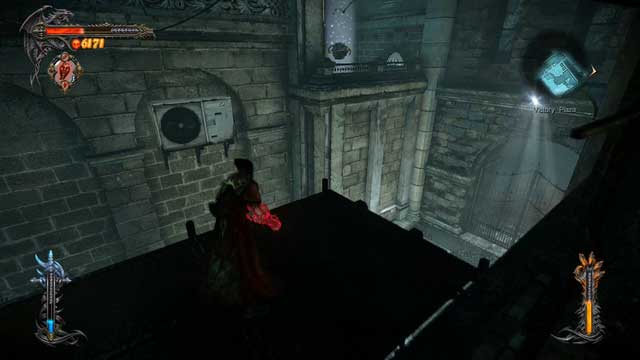
You were here during the Bioquimek Corporation mission. Go towards the marker on the map, until you reach a door which you must open by switching a lever. After getting through, turn to the left where you will find a Shadow Portal, needed to find a nearby collectible. Leave it at this moment and go to the room in which there were 2 Golgoth Guards (you used Bat Swarm for the first time there). Kill all the enemies you encounter and get back to the portal, to turn yourself into a rat. Go through the ventilation shaft in the room you possessed the guard to gain access to your first Pain Box (the place can be seen on the picture above). Go through the tunnel (go forward on the crossing), until you reach a cable you need to bite through.

After doing that, get back to the crossing and go to the left, which will allow you to get out of the ventilation faster. Now go to the room where there were 2 Golgoth Guards and enter another ventilation shaft (in the close vicinity to the ladder you climbed after using your Bat Swarm for the first time). Go through the tunnel, then under a turned-off fan to get outside on the other side, where you will find a Pain Box with a Life Gem inside. To activate the box you need to active the nearby Shadow Portal to get back to your Dracula form. To get out of that place, you need to get into the rat form again and go through the ventilation all the way back.
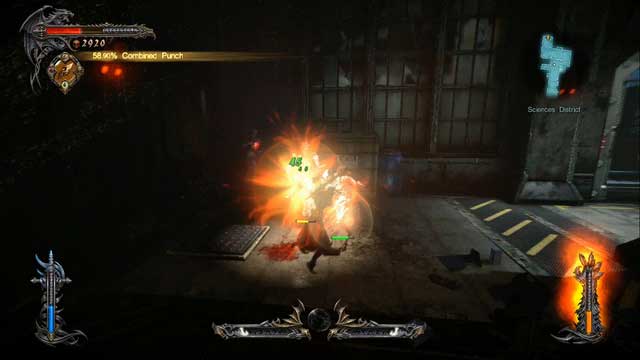
After getting your Dracula's form back, go in the direction of the marker on the map (it's the same route as when you were here on the Bioquimek Corporation mission) - if you need your Magic refilled, check the location of the White Wolf Medallion altar (you will walk by it either way), because there's a Magic Font near it. Go into the room with a ventilation shaft you froze with your Void Projections - you will meet an old enemy (Possessed Citizen) with a new equipment (shotgun or a grenade launcher-like weapon). They are not a major threat, but they can be incredibly annoying, especially in a larger group - it's hard to avoid their ranged attacks (the best way is to stay airborne as much as you can - you can dodge to an extent on the ground, but you need proper timing to do so successfully) - and they can fire upon you even while you are attacking them. The best method to deal with deal is the same as with the vampires - knock them up into the air and defeat them in aerial combat, as they won't be able to counterattack. If you are having an especially hard time fighting them, use a Stolas' Clock relic to slow their movements.
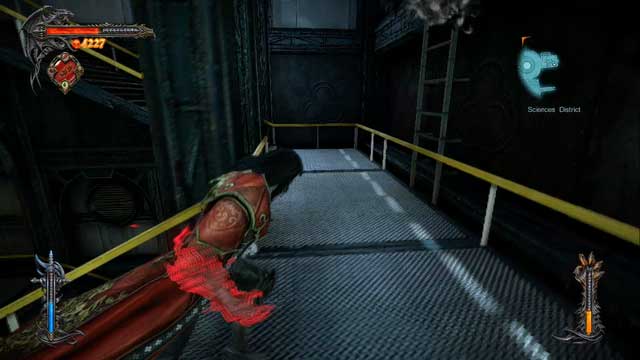
Feed on the statue's heart and follow the marker on the map, until you reach a chamber in which you met the boss (Raisa). There's another encounter with weapon-wielding Possessed Citizen here, so apply the same tactic as before to deal with them. After the fight, get to the arena where you fought Raisa, where's yet another group of annoying enemies. After dealing with the last group, go through the stairs leading towards the marker on the map. On the mezzanine (halfway through the floor) before the highest floor there's a ladder to the right - climb it up, go through the tunnel and jump down to encounter a small group of Riot Police. After dealing with them, collect the nearby Memorial and go back to the stairs you were just climbing (there's no point into going to the other tunnel - you will exit it in a place where you started the Bioquimek Corporation mission) and continue your journey to the marker on the map.
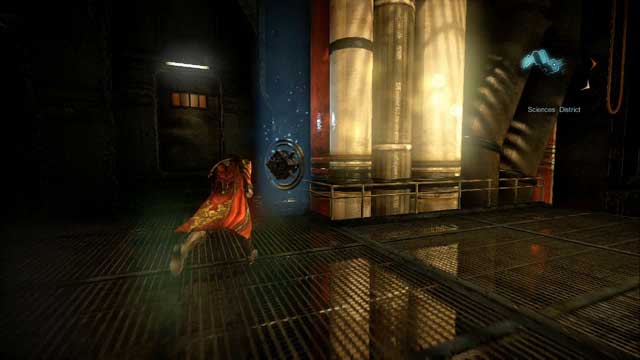
Soon you should reach a frozen corridor. The ice is blocking the mechanism controlling the door - get rid of it by using Chaos Bombs and open the now unblocked door with a switch on the left side. Afterwards, jump through the gap to get to the other side, and jump down a platform below you, where you can find another Pain Box with a Chaos Gem inside. A bit further you will encounter another group of gun-wielding enemies.
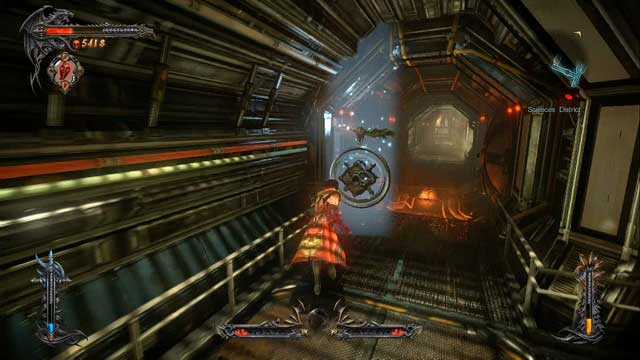
Get rid of them and turn to the tunnel on the left (just before the crossing) - you will come across yet another Pain Box, with a Chaos Gem inside. Collect it and go through the opposite tunnel, until you reach a tower that you will have to climb.
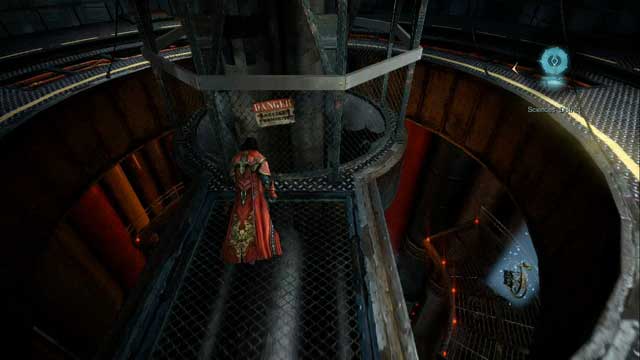
You should be careful while climbing - some of the handholds are "protected" with electricity or a steam vent, which will hurt you and knock you down all the wait to the base of the tower. After reaching the top, stand on the edge and look below - you should be able to see a Pain Box there. Jump down, collect a Chaos Gem from it and climb up to the top of the tower again. Jump to the other platform and go through it until you reach a place in which you must climb some ladders and cables. When you reach the top, go towards the marker on the map (in the opposite direction there's a collectible, but you can't get to it yet). Replenish your Magic with the nearby Magic Font and climb up the stairs to get to a Pain Box with a Void Gem hidden inside.

Go to the right of where you found the gem and jump down over the railing. Collect the Memorial and unlock the doors by using Chaos Bombs in the indicated places. Afterwards, get inside and activate the elevator.

To the left from the elevator's exit, there's a handhold you need to jump onto in order to start climbing up, and then jump on the nearby contained. Go "onboard" the contained until you reach another one below you - jump at the right moment to land on it. To get to the end of its course, you need to avoid the "electric gates" on its way - avoid the first one by hanging down the container's side and climb up and go on top of it to go through the second one. Afterwards, jump on the ground below.
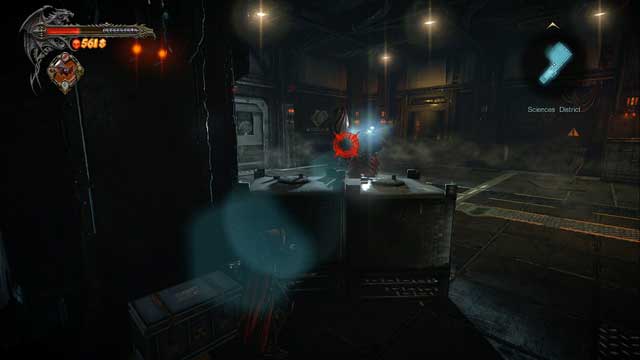
Collect a nearby Memorial and jump down the tunnel towards the marker on the map. Turn the valve on the door to open them and jump further down. You will run into another stealth section in the game. In order to slip by, you need to use your Bat Swarm on the guard standing in the corner of the room (the one that is not moving) - the other one will come to his aid and you will have to sneak up on and possess him. With his "help" open the door on the left side.
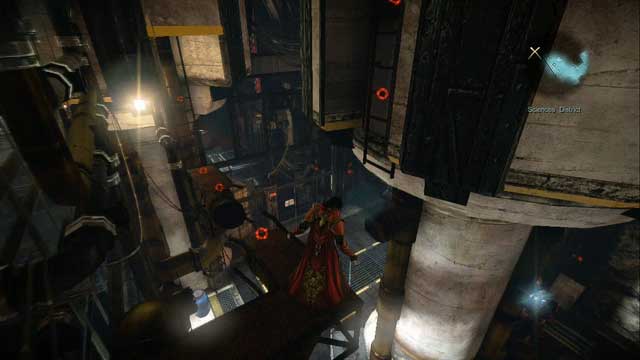
After getting through a pair of doors, you will run into another guard - use your Bat Swarm on him and quickly climb up the ladder on the right side. Jump over the fence, landing on another ladder, and move to the right, being above the ground all the time. Soon, to your right, you will notice a ladder - climb it up to collect a Life Gem from the Pain Box inside the small room. Get back to the footbridge and continue ahead. Jump off the ladder in such a way so that the guard won't see you and sneak up on him to possess him. Afterwards, open up the gate leading to the other section of this room.
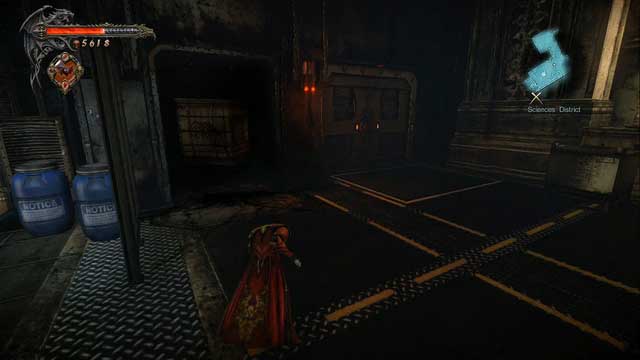
You have reached the train, but it's protected by a pair of Golgoth Guards - besides, your only way into the train is through the grid below the door. Get back to the place you used your Bat Swarm on the guard - there's a Shadow Portal near the door you came through just a second ago. Use it to get into your rat form and get inside the train by using the mentioned grid below the door. Afterwards, locate a Shadow Portal inside the wagon to get yourself into your Dracula form. After a cutscene you will find yourself on the roof of one of the wagons - you will encounter a new enemy, Satan's Soldier.
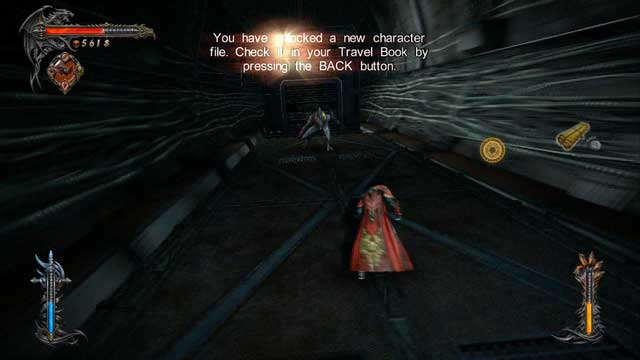
Well, technically, he's not that new, as you met him while you were playing as the "old weak Dracula", but that encounter couldn't really be called a fight. The duel itself isn't really very difficult - hit him long enough for him to start flashing in yellow, which will indicate that you must grab him to initiate a cutscene. Afterwards, you will be inside a wagon with a Golgoth Guard - get out of it by jumping through the window on your right and climb up the wagon to reach its roof.
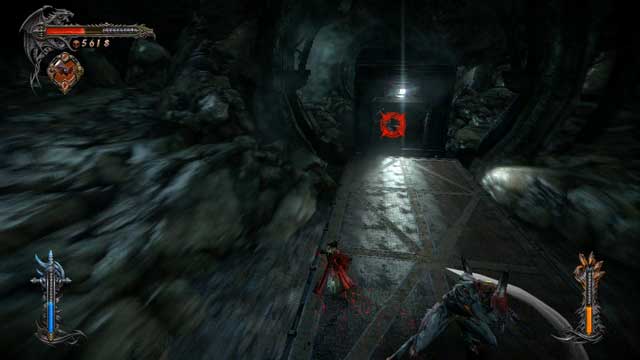
After a short cutscene, you will land on a wagon again, with Satan's Soldier attacking you melee range and a Golgoth Guard standing on the other wagon, trying to disconnect the one you are standing on from the rest of the train. Ignore the nearby enemy and use your Bat Swarm on the guard, which will initiate another cutscene. After regaining control over your character, climb up the wagon - you must do this before the train enters a tunnel. After yet another cutscene you will have to get to the ladder on the left side of the wagon, move to the right and jump inside it through the window.
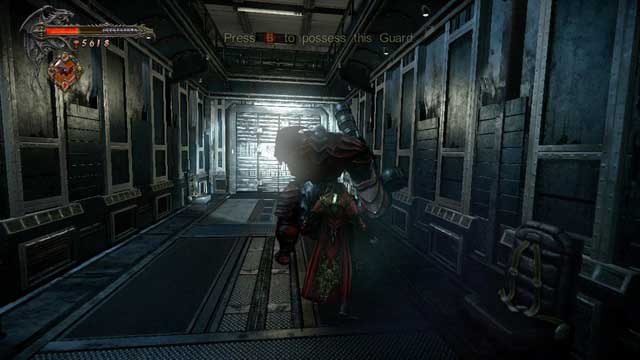
You will face a Golgoth Guard again, but don't move from behind the cover, behind which you landed upon entry to the wagon, and wait for the guard to turn around - when that happens, sneak up on and possess him. Using your temporary body open the door, which will trigger another cutscene and you will face Satan's Soldier again.
If you want to, you can make this fight a lot easier by using the Stolas' Clock relic - after hitting the enemy just once the fight will be practically over, as he won't even be able to move. Another advantage of using it during this fight, is the fact that you will earn an enormous amount of experience in the process.
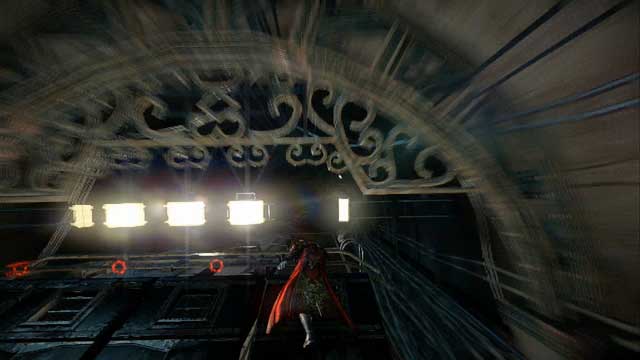
Soon, the fight will end, and the train will enter a tunnel, interrupting the fight. Another encounter with a Golgoth Guard awaits you. Run to the wagon the guard is in, trying to stick to the right side, and climb up the door on the right. After getting on the side of the wagon, move to the right, avoiding the guard's attacks and climb to the top. Now you will have to avoid light bars - look for a gap in between them and position yourself into it, so you won't be hit by them. After about a dozen of lights come by the action will move inside the wagon and you will encounter Satan's Soldier for the last time.
Mini Boss - Satan's Soldier

This time the enemy will have a health bar, as in the case of a regular boss fight. However, it's nothing like that - Satan's Soldier is easy to defeat and you can use the Stolas' Clock relic again (which you should do) to make the encounter extremely easy. After emptying his health bar, the fight will end, and you will leave the training in a flashy style, to meet a familiar face - Zobek's Lieutenant.
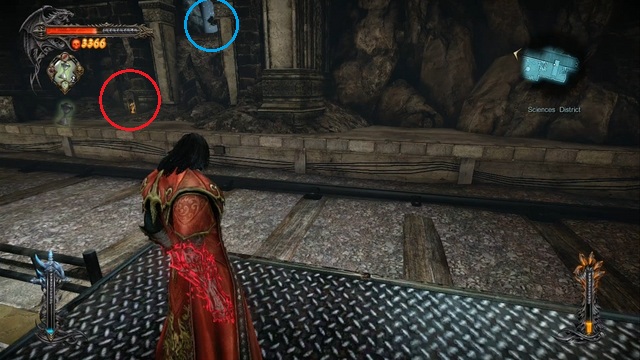
After regaining control over your character, go along the railroad tracks in the direction from which the train came - there's quite a long journey before you, so be patient. You should soon get to the station from which the train set off - there's a couple of things to do here. Get rid of a group of vampires awaiting your arrival, then go to the other side of the rails, to collect a Memorial - above it you can see a Pain Box, but you lack a necessary skill to get to it (the screen above shows the location of both collectibles).
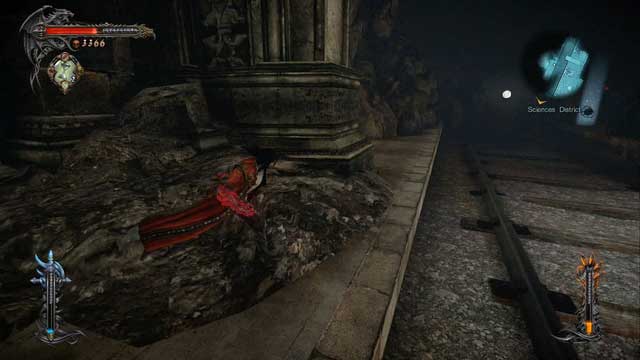
Standing near the place from where you collected a Memorial, turn around to the right - you should be able to see a Pain Box located at the end of the rails. Go there and collect a Life Gem from inside the box.
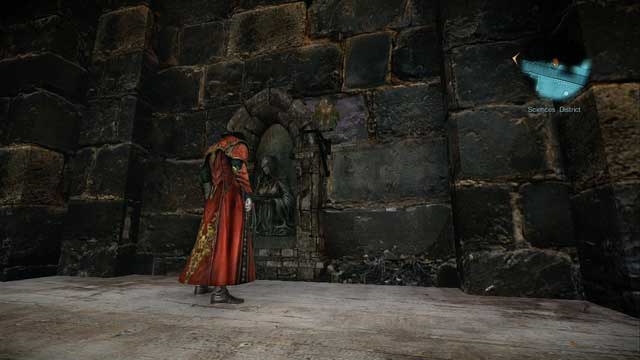
The last thing you can do here is to use a Dungeon Key to activate the device holding a 2,000 experience point boost - you can find the keyhole to the left of where you found a Memorial.
After collecting all the above mentioned things, go back to where the train crashed, then climb up the wall where Zobek's man awaits you. Jump down and switch the lever to restore power, and go through newly opened door, in the direction of the marker on the map.
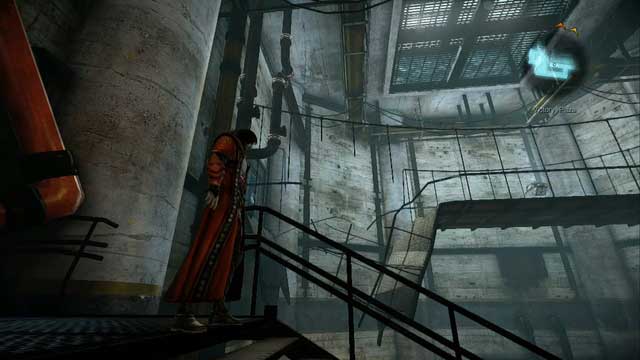
You will reach a large room - below you there's a group of enemies awaiting you (they are unaware of you, though), and above you there's a platform holding a Pain Box, which is inaccessible for you at the moment. Jump down and get rid of Possessed Citizen. Zobek's Lieutenant will provide backup - he won't be dealing a lot of damage, but some enemies will focus him instead of you, making the fight a lot easier. After dealing with the first wave, reinforcements will arrive - this time wielding guns, but it's not something that you can't handle.
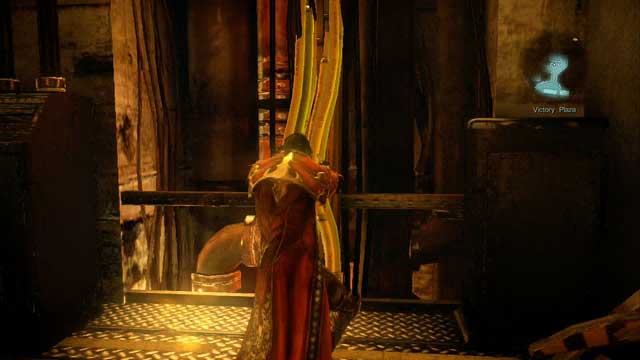
The passage is blocked by cables hanging from the top - use a nearby switch, to turn the power off, then ask your ally to hold the lever for you. Run through previously blocked passage and go forward - near the wall you will find another bundle of cables, which you must tear apart, to turn the power off permanently, allowing you ally to catch up to you.
Standing in the way, that the cables you just destroyed are to your right, go straight ahead, turn right, jump down, and then get to a small hole in the wall, where you will find a keyhole for a Dungeon Key. Active it, if you have the required key - if not, ignore the place for now. Climb back up and head towards the marker on the map. You will soon run into a group of enemies, among which you will find a new, regular enemy - a smaller version of Satan's Soldier.

Fighting him is nothing really special - he's just a smaller, weaker version of the mini boss you fought at the end of the previous level. Avoid his unblockable attacks and get away from him after dealing the finishing blow - his corpse will explode, sending a shockwave to all directions.

After dealing with the enemy, you will notice that the passageway is blocked - to get through it you will have to cooperate with your ally. Climb up a metal construction resembling a scaffolding and press the indicated button to grab and launch Zobek's Lieutenant - follow the on-screen instructions, and both of you will soon be behind the gate.
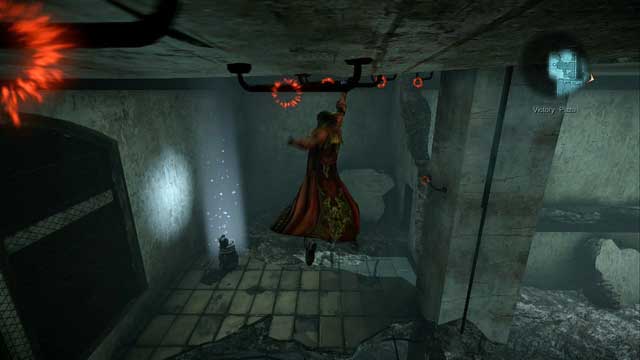
You will arrive at a collapsed building - there's plenty of climbing and jumping here. Climb up a pillar situated at the center of the room and your ally will leave you. Continue your journey (remember that you can highlight your course by pressing the block button) until you reach something that previously was a second floor - there you will find a Pile of Sacrifice. Jump down, collect the Kleidos' Nail from it, and then get back on the ceiling.
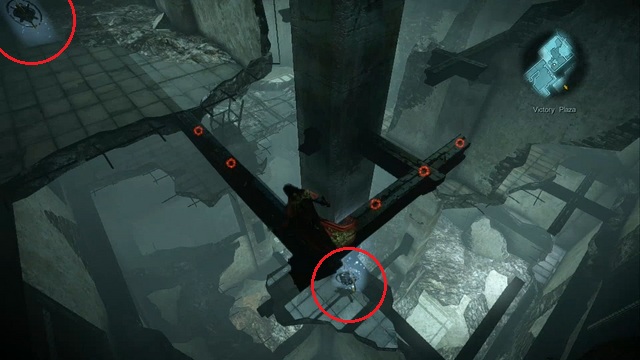
After getting to the highest floor, you will be able to see two Pain Boxes (screen above shows their location) - first, collect the one located on your level (highest floor), and then go back for the one situated below you. As you have noticed, both boxes contain a Chaos Gem. The exit from this room is located on the floor where you found the second Pain Box - just head towards the marker on the map.
After leaving the collapsed building, you will see a Pain Box right in front of you, on a adjacent building - unfortunately, you lack a skill necessary to get there, so for now ignore it. Jump down and get close to the place market with a large X on the map, to initiate a cutscene, after which you will change the scenery again.
- Castlevania: Lords of Shadow 2 Game Guide & Walkthrough
- Castlevania Lords of Shadow 2: Game Guide
- Castlevania Lords of Shadow 2: The Main Campaign - walkthrough
- Castlevania Lords of Shadow 2: Prologue - Castle Siege
- Castlevania Lords of Shadow 2: Mission 1 - Bioquimek Corporation
- Castlevania Lords of Shadow 2: Mission 2 - The Three Gorgons
- Castlevania Lords of Shadow 2: Mission 3 - The Antidote
- Mission 4 - Next Stop: Castlevania
- Castlevania Lords of Shadow 2: Mission 5 - The Blood Curse
- Castlevania Lords of Shadow 2: Mission 6 - The Antidote II
- Castlevania Lords of Shadow 2: Mission 7 - Pieces of a Mirror
- Castlevania Lords of Shadow 2: Mission 8 - The Hooded Man
- Castlevania Lords of Shadow 2: Mission 9 - The Second Acolyte
- Castlevania Lords of Shadow 2: Mission 10 - The Mirror of Fate
- Castlevania Lords of Shadow 2: Mission 11 - Revelations
- Castlevania Lords of Shadow 2: The Main Campaign - walkthrough
- Castlevania Lords of Shadow 2: Game Guide
You are not permitted to copy any image, text or info from this page. This site is not associated with and/or endorsed by the developers and the publishers. All logos and images are copyrighted by their respective owners.
Copyright © 2000 - 2026 Webedia Polska SA for gamepressure.com, unofficial game guides, walkthroughs, secrets, game tips, maps & strategies for top games.
